Honey Glazed Roasted Pork Ribs
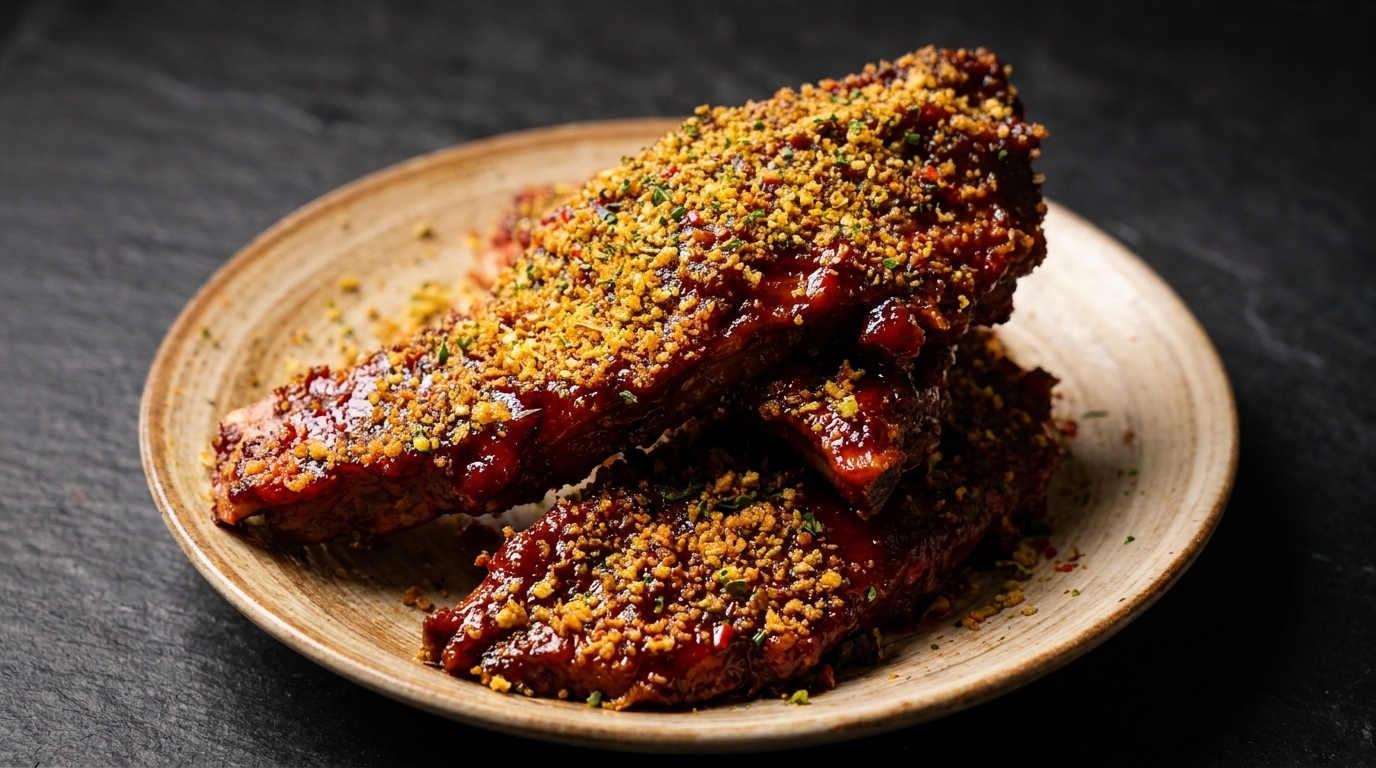
These tender and juicy ribs are coated in a rich honey garlic glaze created by slow roasting in a foil packet before finishing with a high heat sear.
Slow roasted pork ribs are a classic way to transform simple ingredients into a delicious meal. By using an aluminum foil pouch to steam the meat first, the connective tissues break down for a tender result. A final touch of honey glaze provides a sweet and savory finish that makes every bite irresistible.
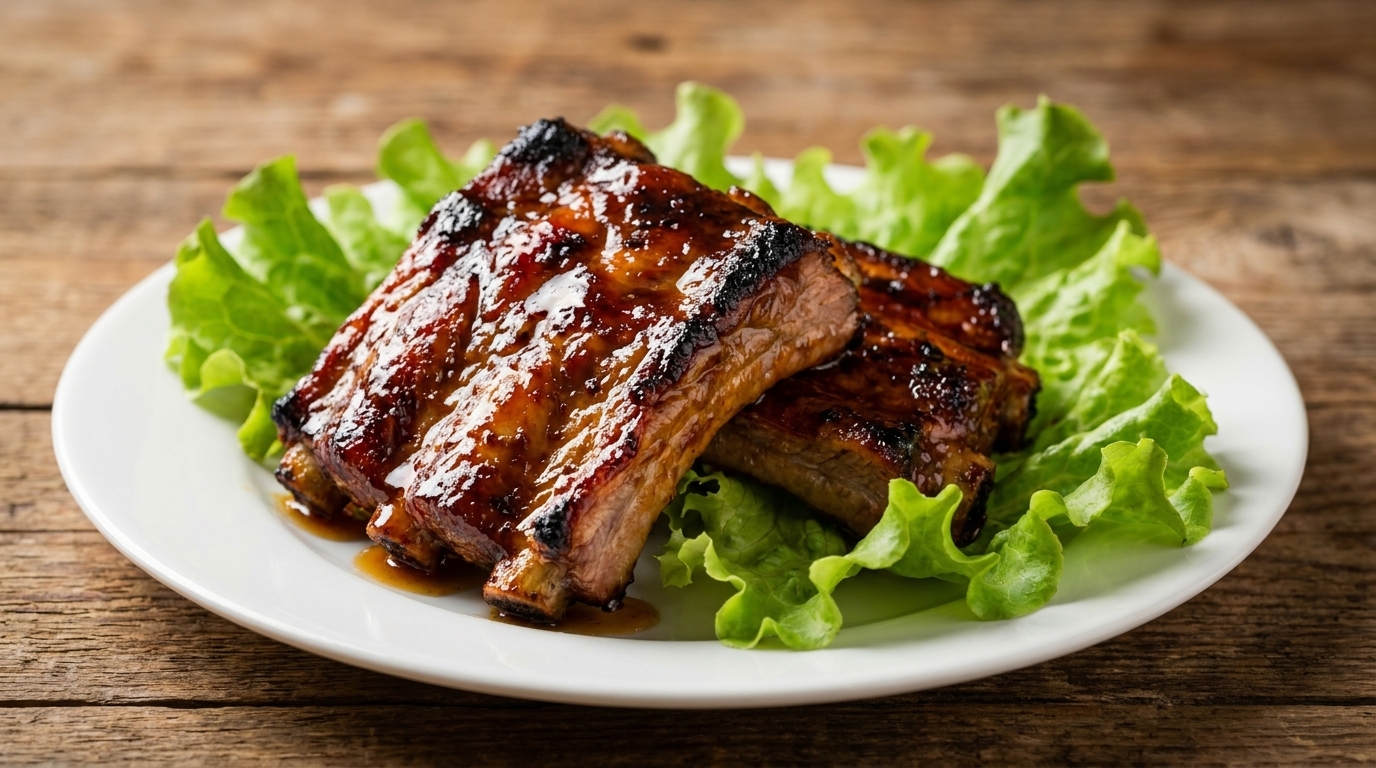
Ingredients
- 1 kg pork ribs
- 4 tbsp char siu sauce or BBQ sauce
- 1 tbsp light soy sauce
- 1 tbsp cooking wine
- 3 cloves garlic, minced
- 1 tbsp honey
- to taste fresh lettuce leaves
Instructions
- 1Prepare and Marinate Ribs
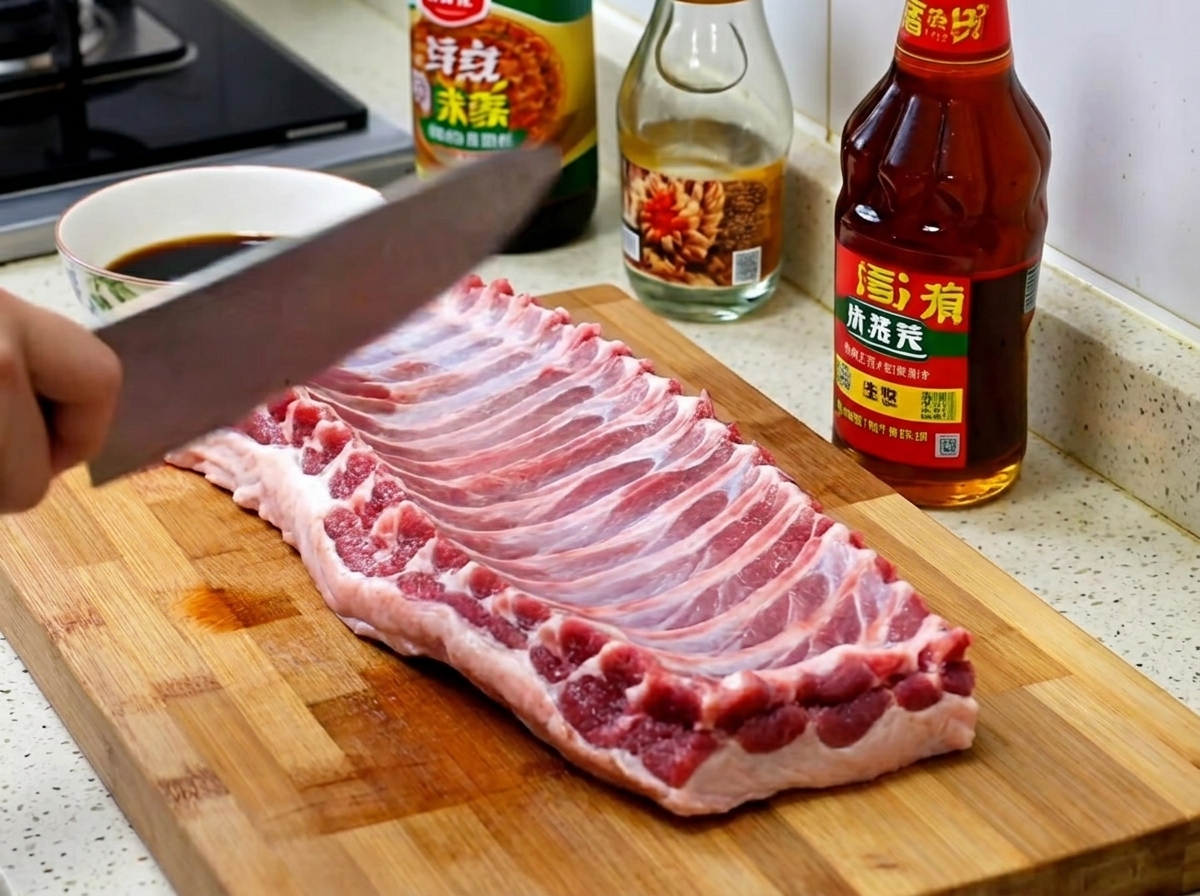
Place the pork ribs into a stainless steel bowl. Add the char siu sauce or BBQ sauce, light soy sauce, cooking wine, and garlic cloves. Ensure all pieces are thoroughly coated and let them marinate for at least 30 minutes to absorb the flavors.
Tip: For the best flavor, use high-quality char siu sauce and ensure the ribs are completely submerged in the marinade. - 2Massage the Marinade
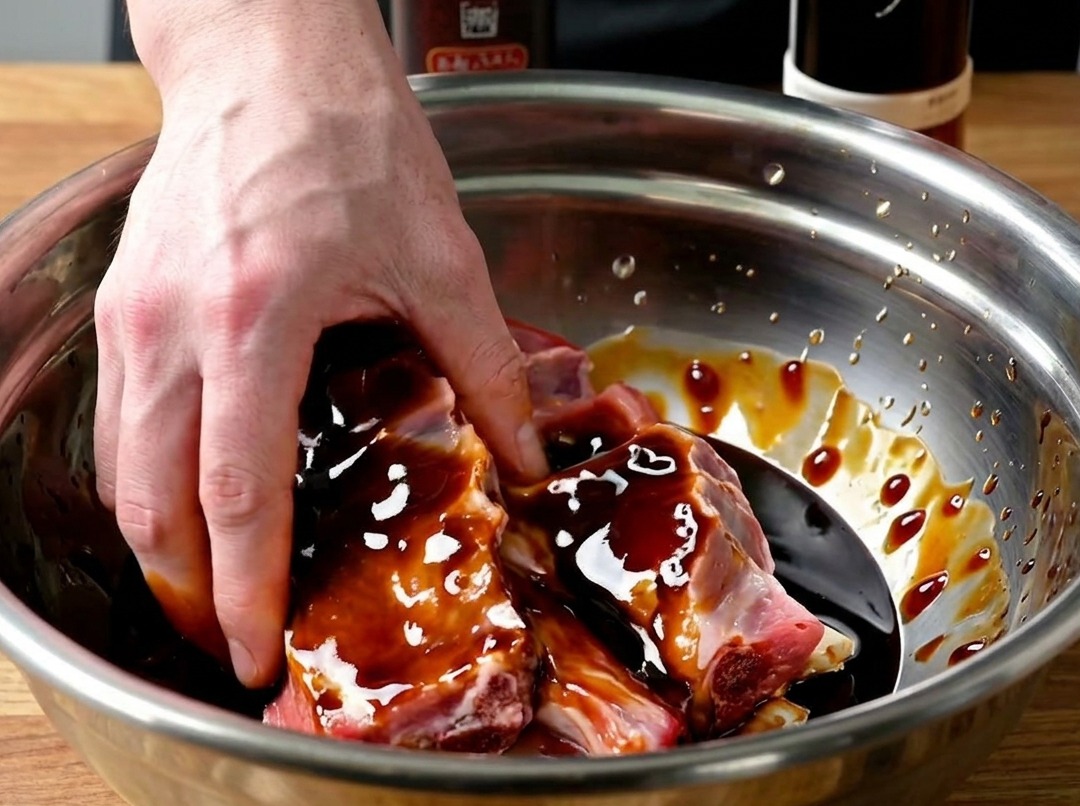
Using your hands, thoroughly rub and mix the marinade into every part of the pork ribs. This manual action helps the sauce penetrate deeper into the meat, ensuring a more tender and flavorful result after roasting.
Tip: Wearing food-safe gloves makes this process easier and cleaner. - 3Arrange on Foil
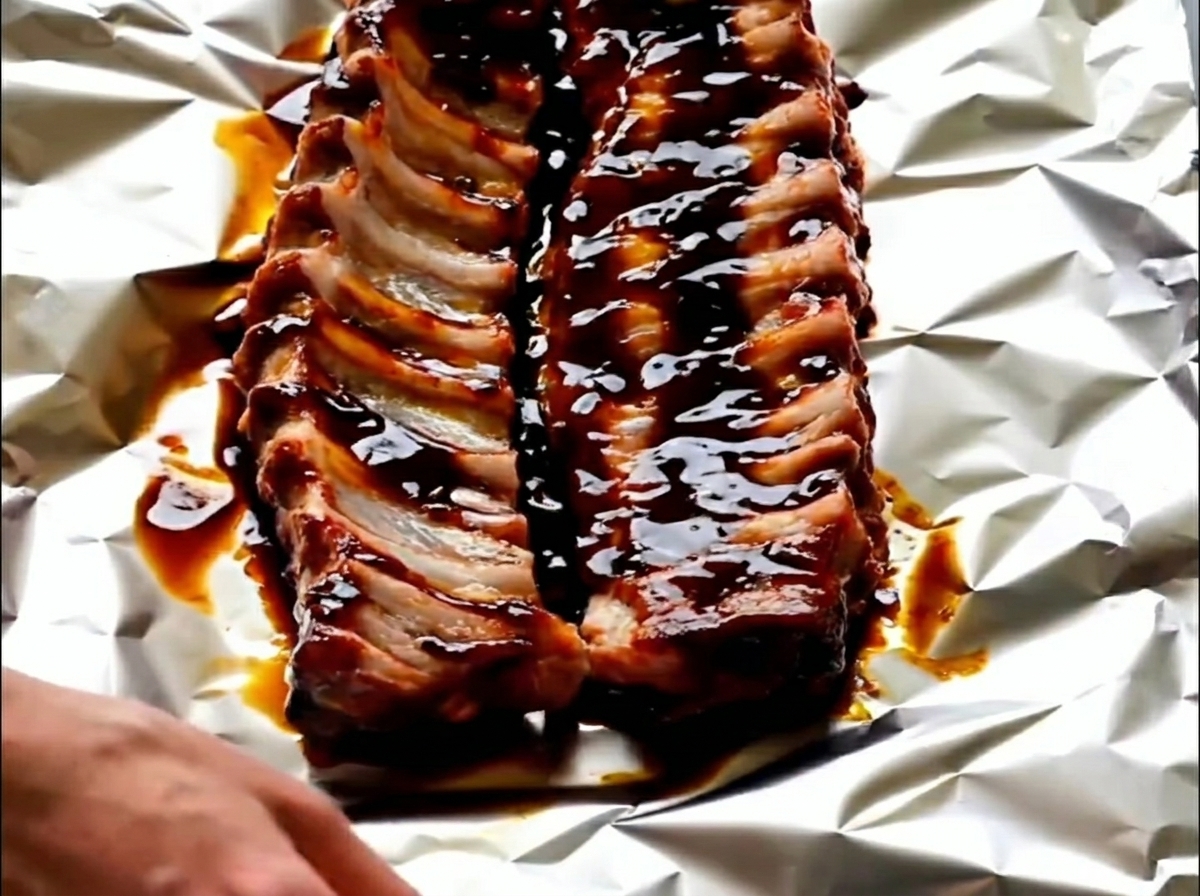
Lay out a large sheet of aluminum foil. Carefully transfer the marinated pork ribs onto the center of the foil, arranging them so they can be easily wrapped.
Tip: Ensure the shiny side of the aluminum foil is facing inward to help reflect heat and cook the ribs more evenly. - 4Seal the Foil Pack
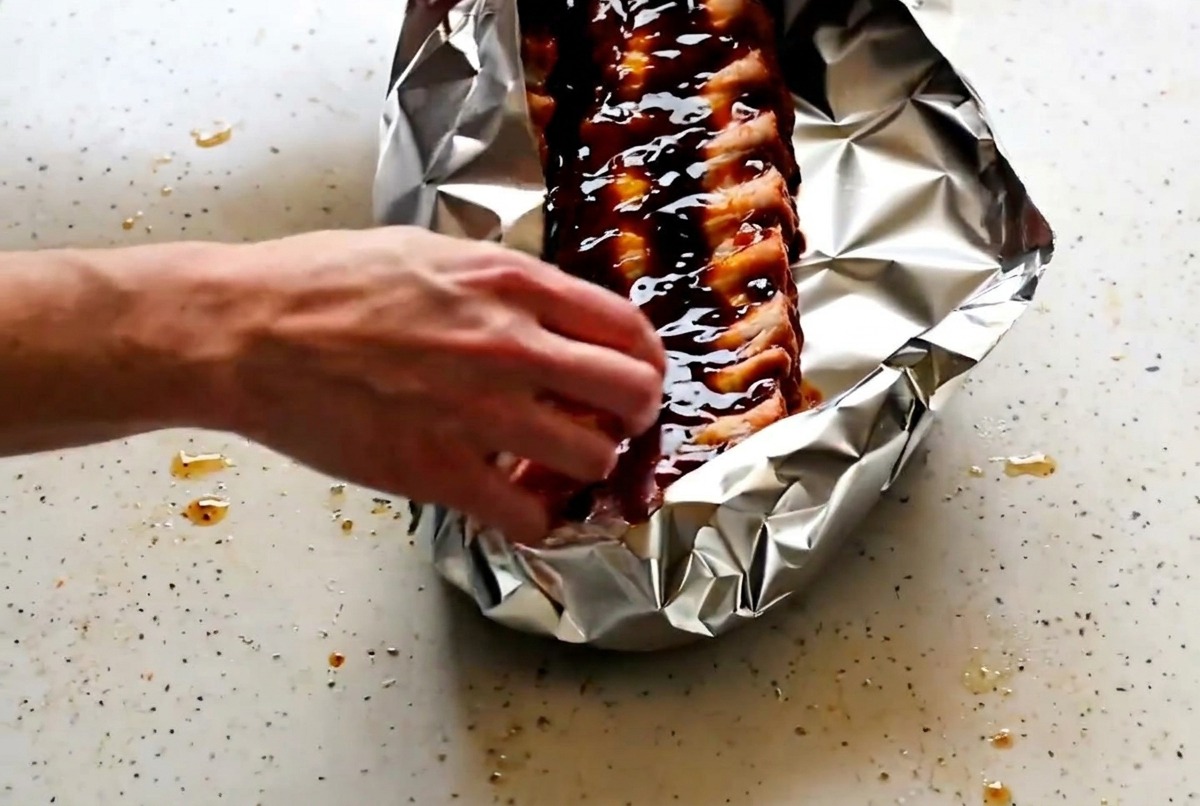
Fold the edges of the aluminum foil upward and crimp them tightly to create a sealed pouch. Wrapping the ribs completely is essential to lock in moisture and create a steaming effect that makes the meat tender and fall-off-the-bone.
Tip: Be careful not to puncture the foil with the rib bones while sealing. - 5Roast the Ribs
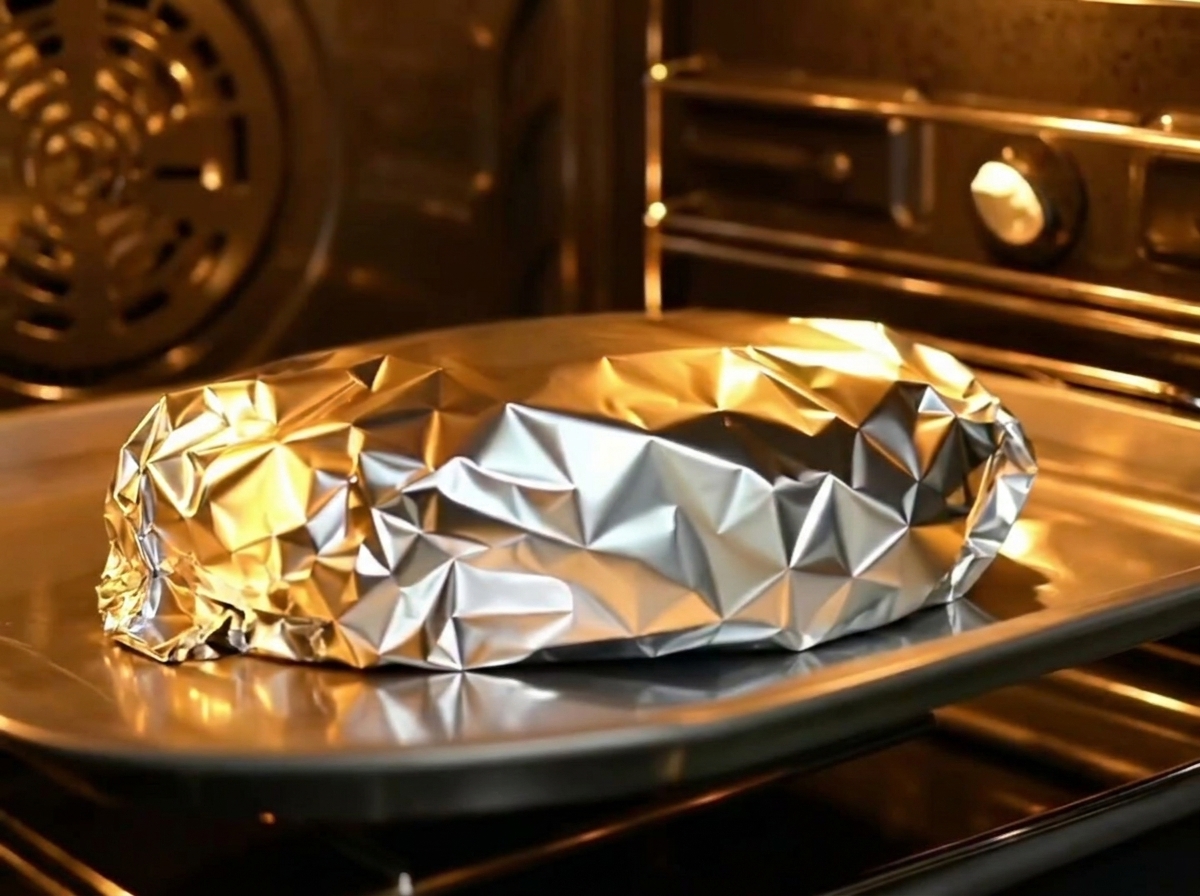
Place the sealed foil package onto a baking tray. Roast the ribs slowly in a preheated oven at a low temperature. Patience is key; slow-roasting allows the connective tissues to break down for maximum tenderness.
Tip: Use a middle rack position in your oven for even heat distribution. - 6Open and Glaze
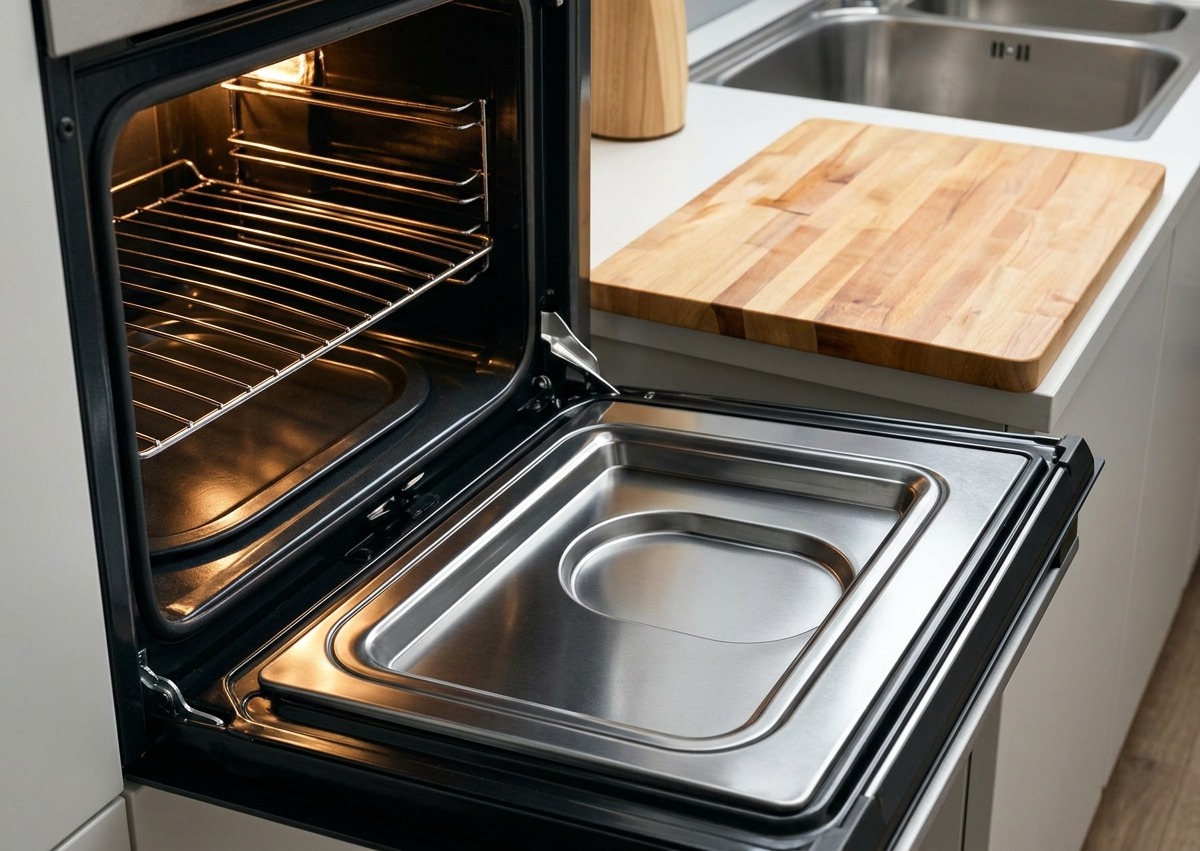
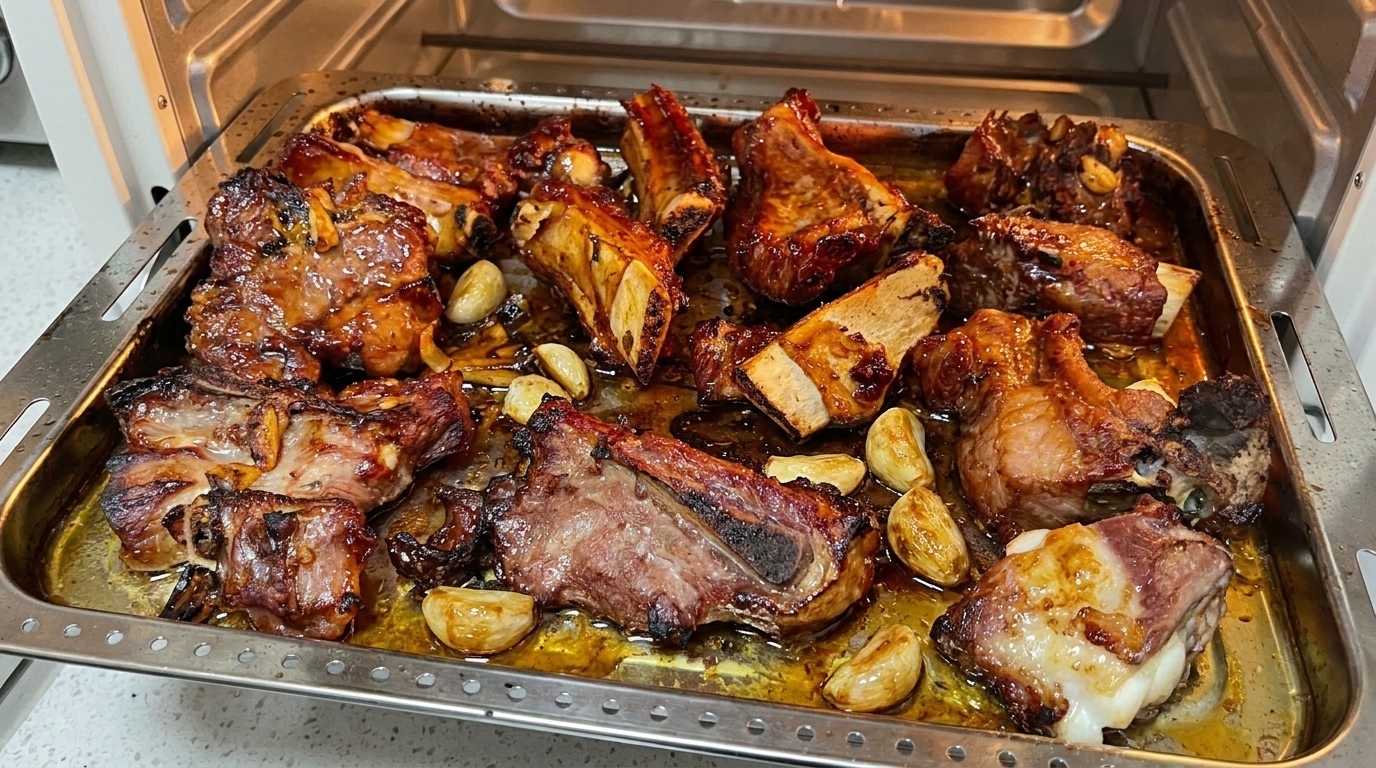
Once the ribs are tender, carefully open the foil package using kitchen scissors. Brush the surface of the ribs generously with the remaining sauce, and optionally add a layer of honey for extra sheen and sweetness. Return to the oven for 10-15 minutes to caramelize the exterior to a nice, deep color.
Tip: Keep a close eye during this final stage so the honey glaze caramelizes without burning. - 7Glaze the ribs
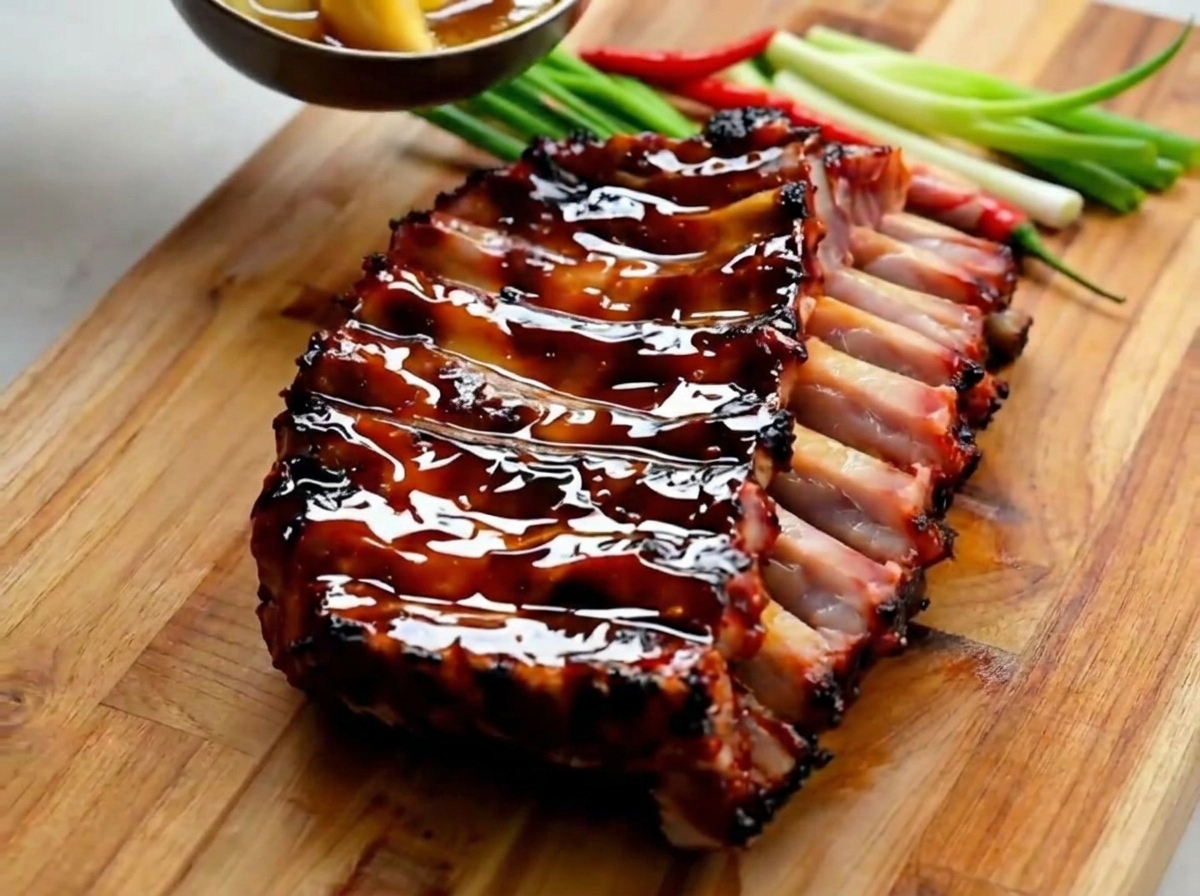
Remove the roasted ribs from the oven and carefully open the aluminum foil. Use a brush to apply an even layer of the sauce over the surface of the meat. You may add honey at this stage to enhance the glaze and sweetness as desired.
Tip: Applying the glaze after the initial slow roast ensures a glossy, flavorful finish that doesnt burn during the long cooking process. - 8Final roast
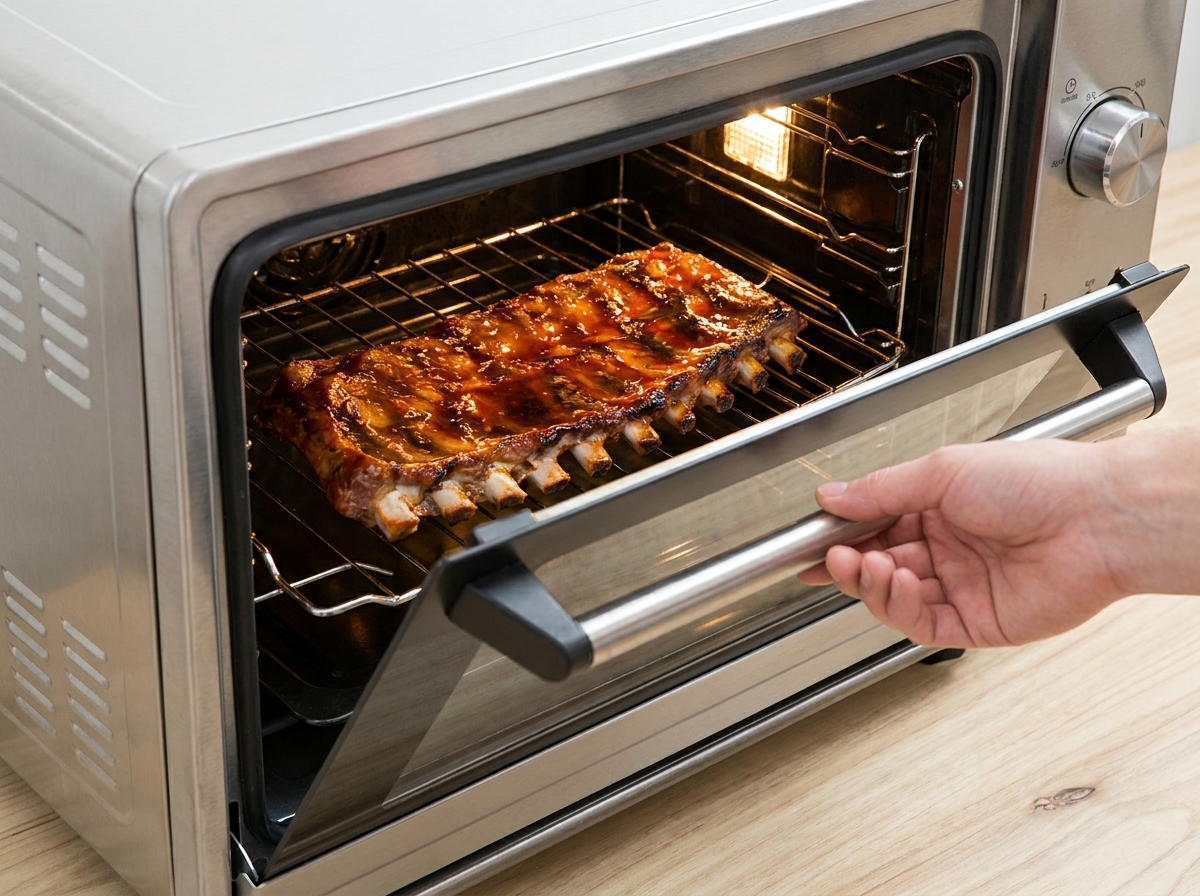
Place the glazed ribs back into the oven. Roast for an additional 10-15 minutes until the surface develops a nice, caramelized color. Once done, remove from the oven and cut into pieces for easier serving.
Tip: Keep a close watch during these final minutes to ensure the honey-based glaze caramelizes perfectly without burning.