Double Cheese Baked Chicken Cutlet
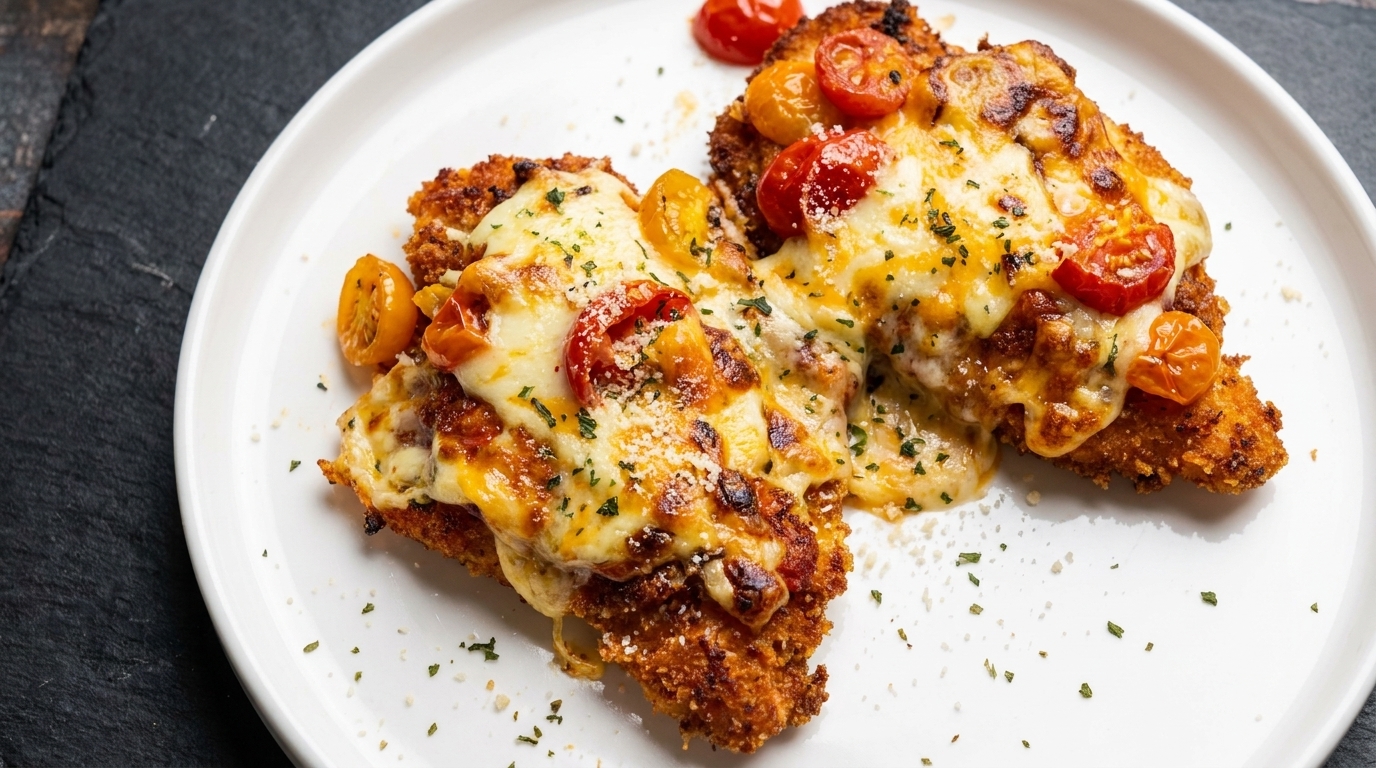
Experience restaurant-quality chicken at home with this skillet-baked cutlet, featuring crispy breading, juicy meat, and a bubbly, charred cheese finish.
This double cheese baked chicken cutlet is a transformative way to prepare chicken breast without needing an oven or air fryer. By butterflying and tenderizing the meat, it stays incredibly juicy, while the pan-seared crust provides the perfect base for tangy homemade tomato sauce and a decadent layer of melted mozzarella and parmesan. It is a hearty, flavorful dish that brings a sophisticated bistro feel directly to your kitchen.
Ingredients
- 500 g chicken breast
- 300 g cherry tomatoes
- 2 eggs
- 0.5 bulb garlic
- 2 shallots
- 100 ml white wine
- to taste tomato sauce
- to taste mozzarella cheese
- to taste parmesan cheese
- to taste breadcrumbs
- to taste flour
- to taste olive oil
- to taste parsley salt
- to taste dried parsley
- to taste oregano
- to taste paprika
- to taste black pepper
Instructions
- 1Prepare the chicken
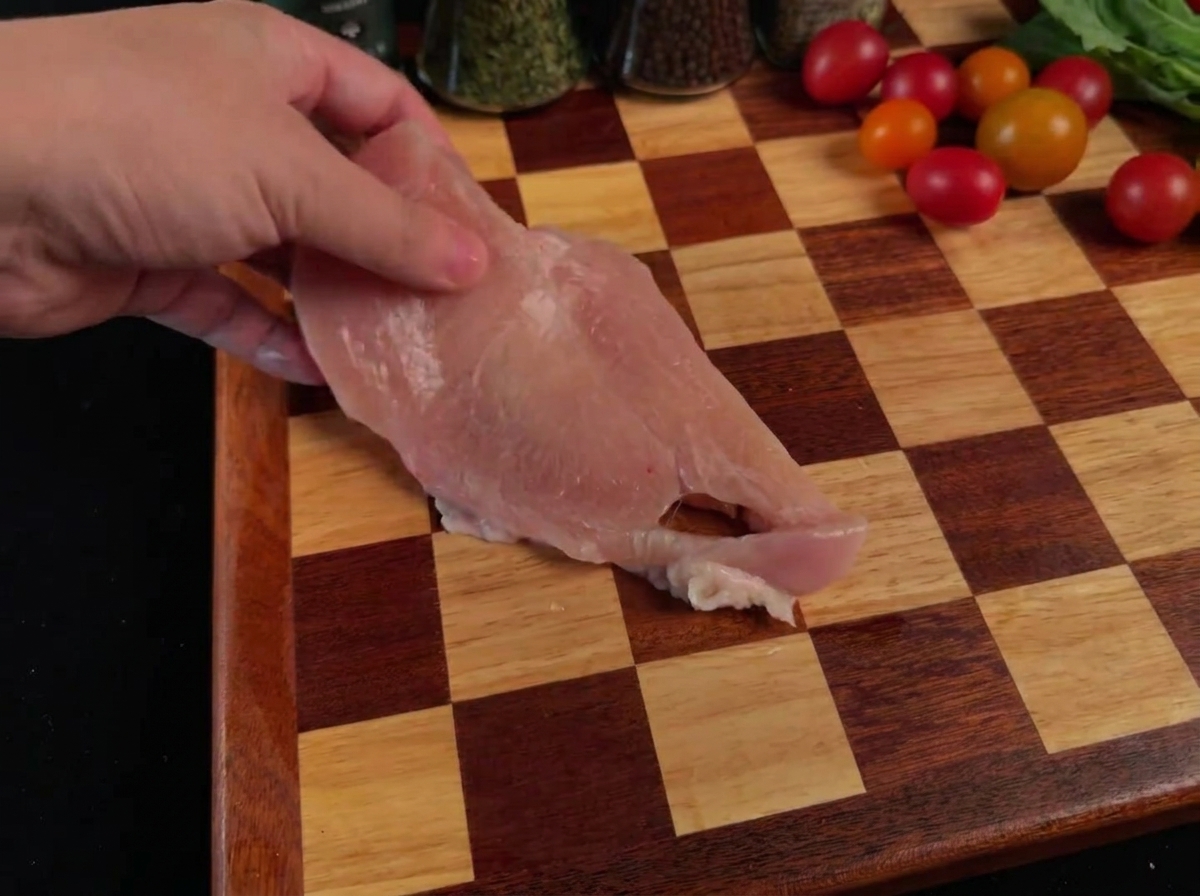
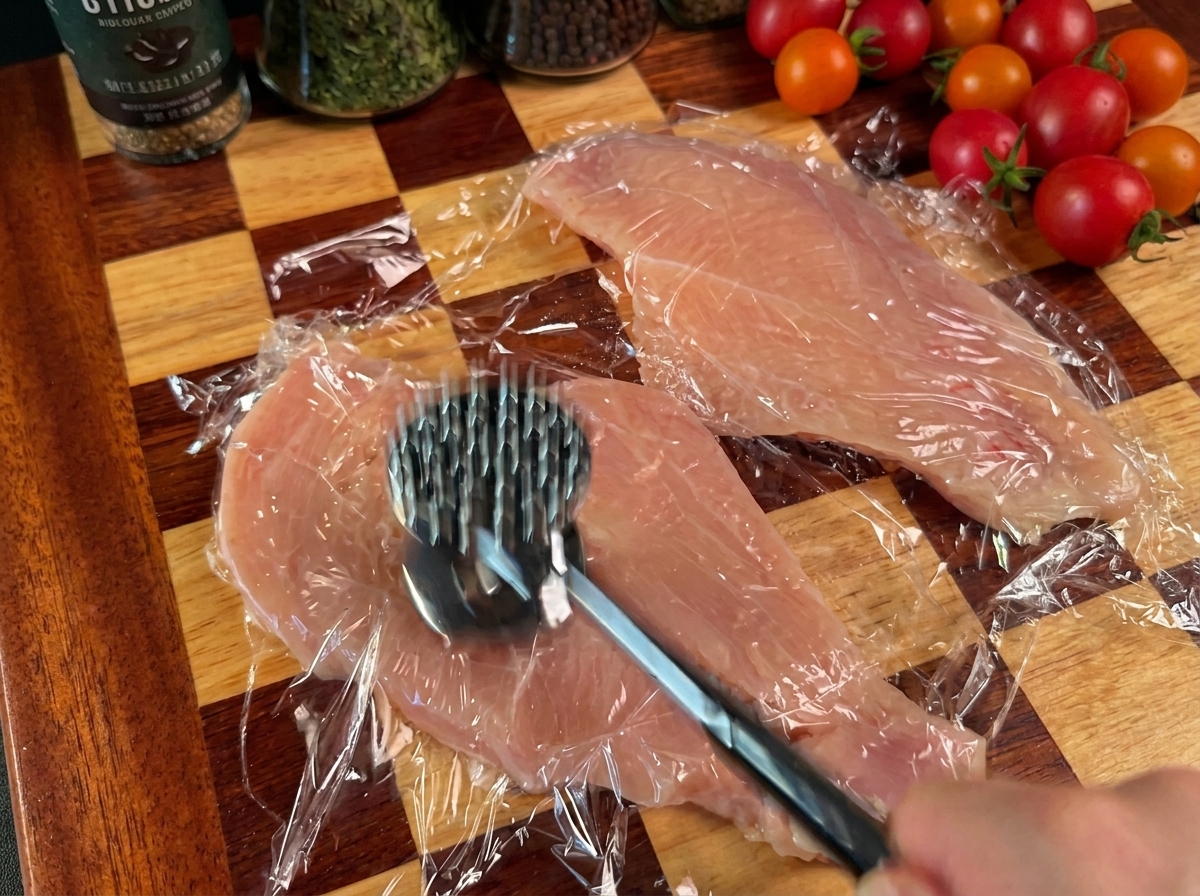
Butterfly the chicken breast into two thinner, even pieces. Place a sheet of plastic wrap over the meat and use a meat mallet to pound it to a uniform thickness, which ensures even cooking and tender results.
Tip: Pounding the chicken is crucial; it helps the meat cook evenly and prevents it from becoming dry. - 2Set up stations
Prepare three shallow bowls for your breading station. Place flour in the first bowl, beaten eggs in the second, and the seasoned breadcrumb mixture in the third.
Tip: Organize your bowls in order from left to right to make the coating process quick and clean. - 3Marinate the chicken
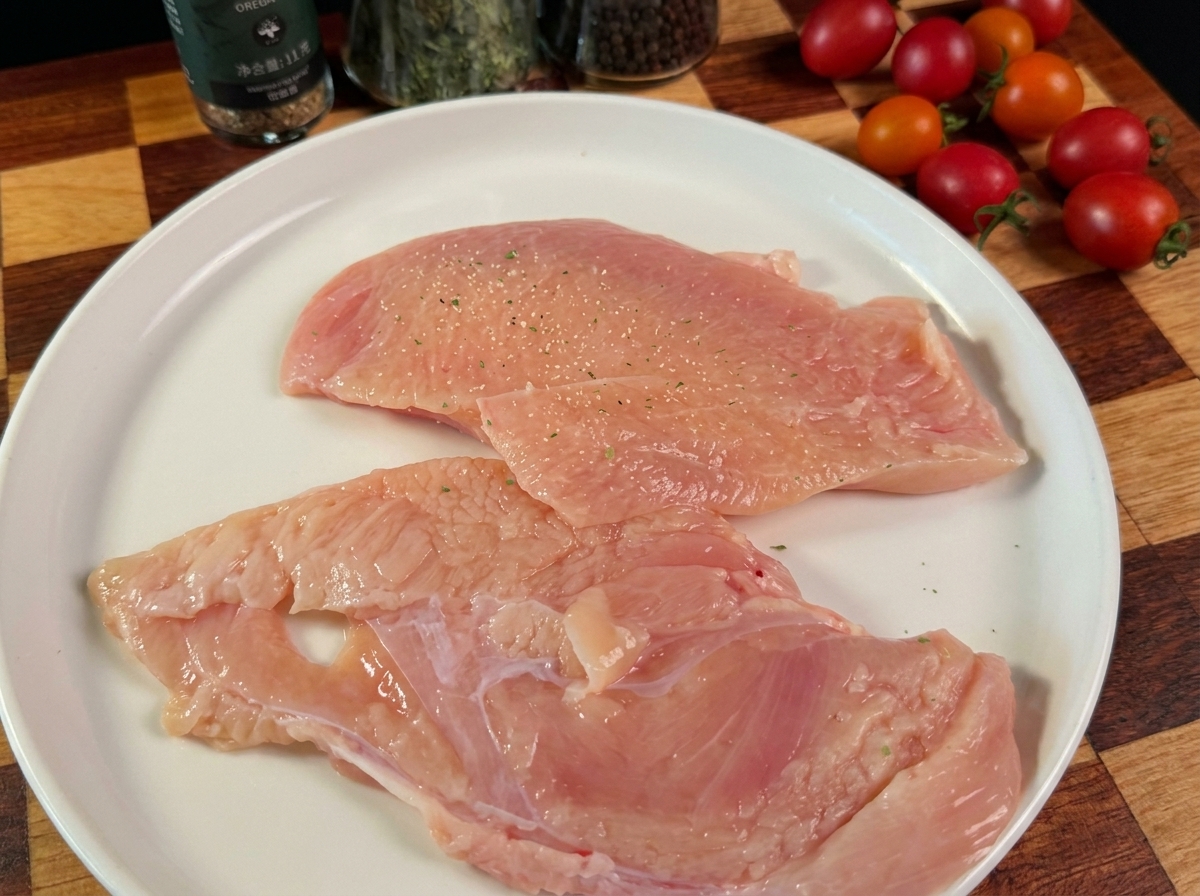
Season the pounded chicken breast pieces with parsley salt and black pepper. Allow the chicken to marinate for 30 minutes to develop flavor.
Tip: Letting the chicken rest with the seasonings ensures the flavor penetrates the meat. - 4Prepare the tomatoes
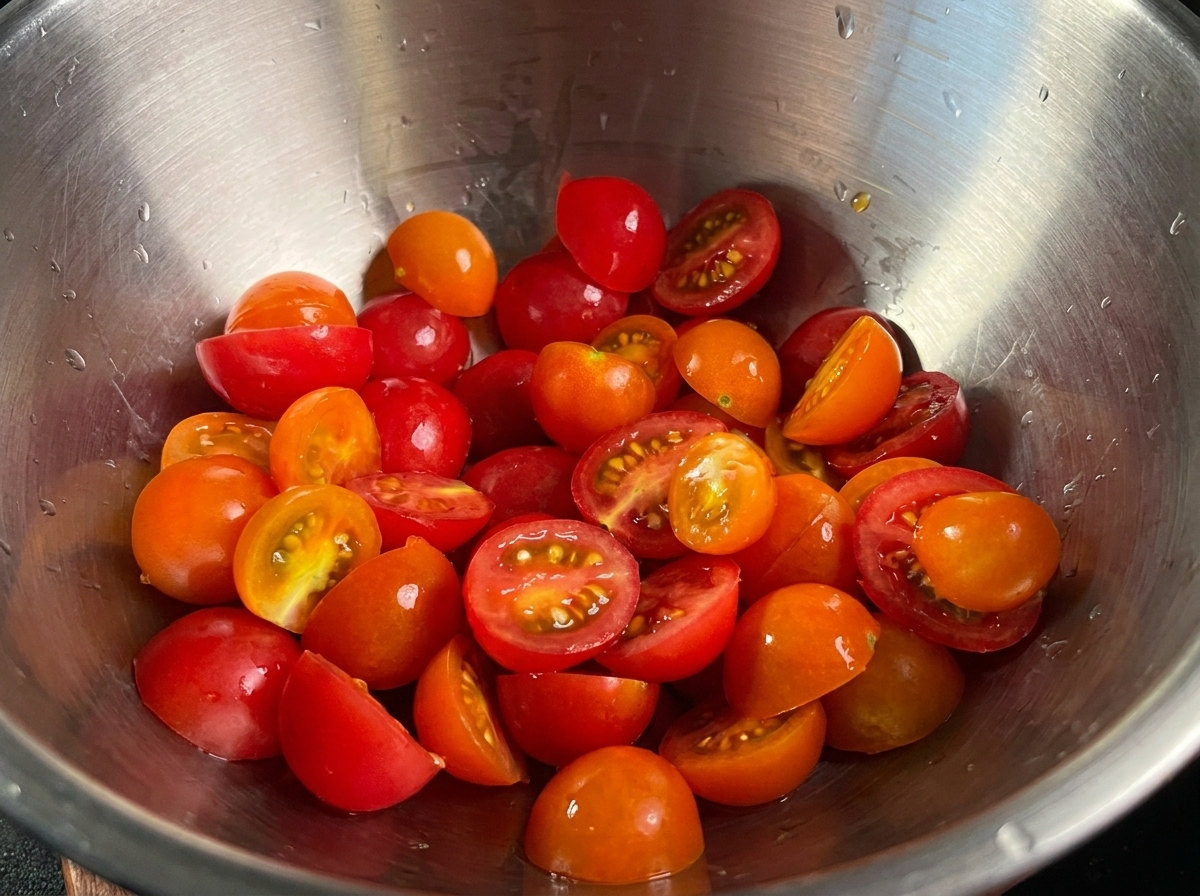
Slice the colorful cherry tomatoes in half. Cutting them open helps release their juices, which will contribute to the flavor of the tomato sauce.
Tip: Using a variety of tomato colors provides a better flavor profile and a more appealing look. - 5Sauté aromatics
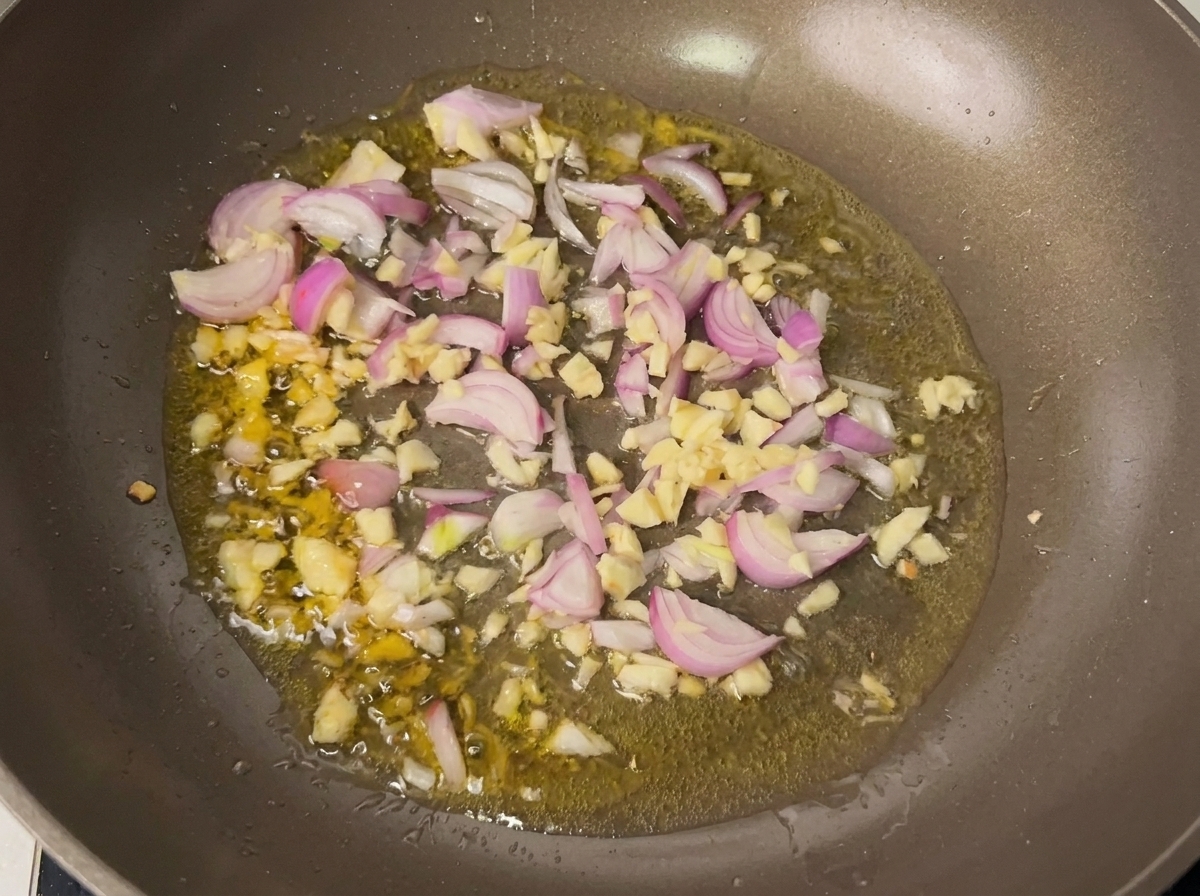
Heat oil in a pan and add the chopped garlic and shallots. Sauté over medium heat until they become fragrant and softened.
Tip: Watch the heat carefully so the garlic and shallots brown gently without burning. - 6Cook the tomato sauce
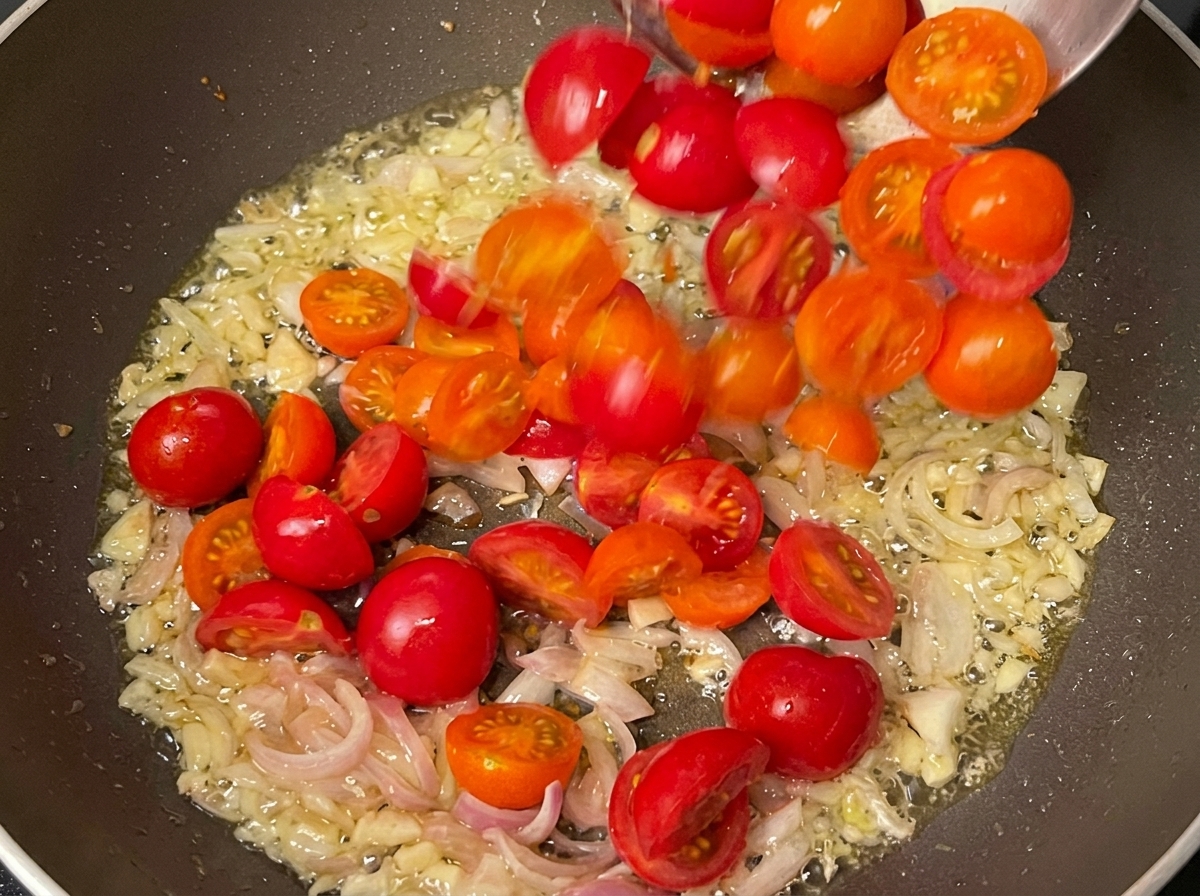
Add the halved cherry tomatoes to the pan with the sautéed garlic and shallots. Stir-fry them together to begin building the base for the tomato sauce.
Tip: Cook the tomatoes until they begin to soften and release their juices into the pan. - 7Simmer the sauce
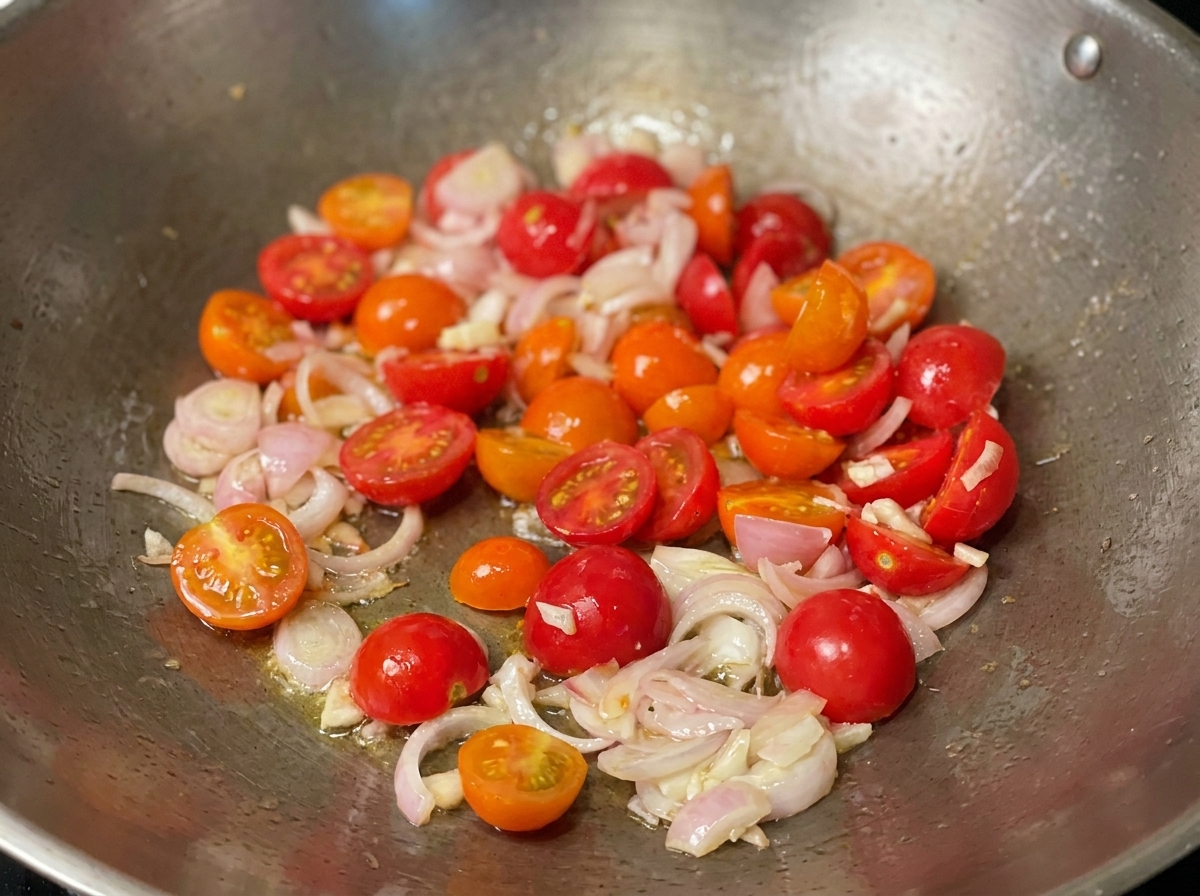
Continue cooking the tomato mixture over medium heat until the tomatoes break down and the sauce thickens into a rich, flavorful consistency.
Tip: If the sauce becomes too thick add a splash of water or more wine to maintain the right texture. - 8Deglaze and season the sauce
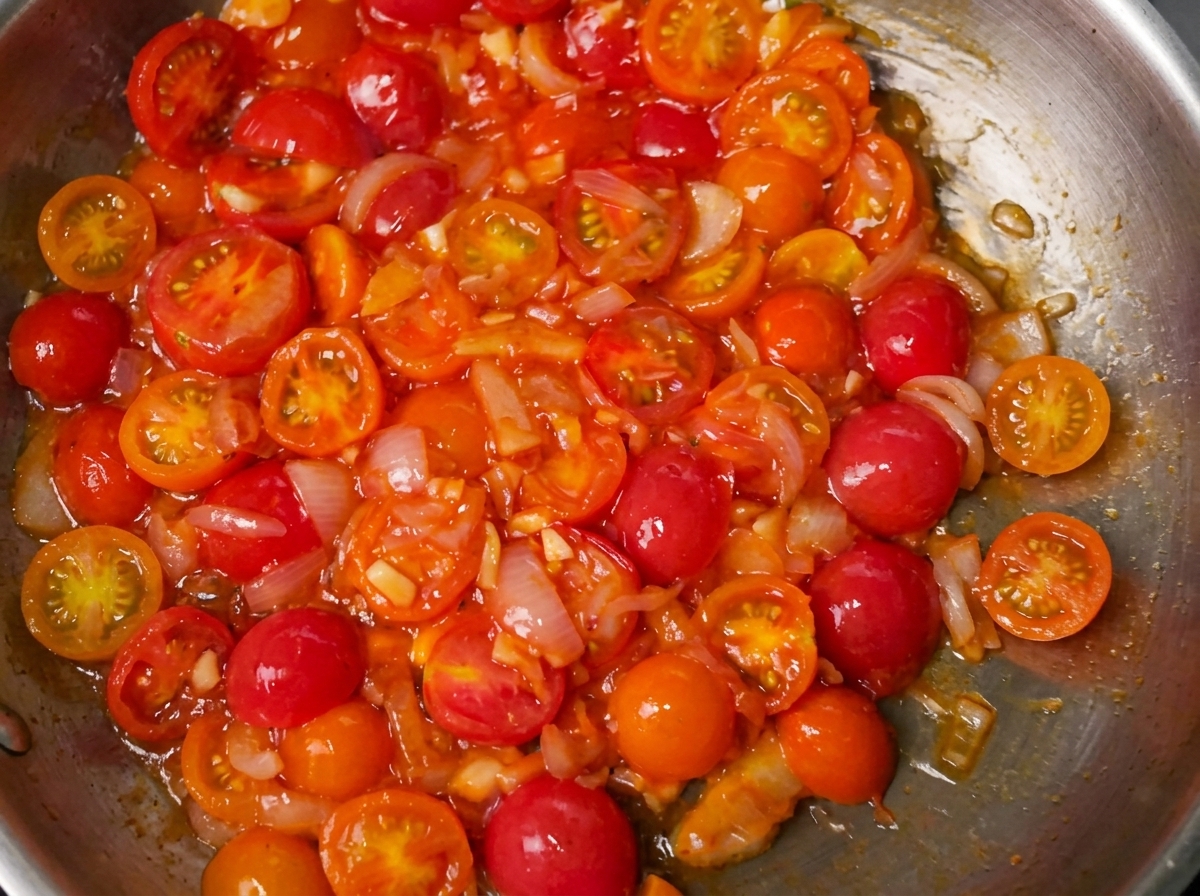
Add 100ml of white wine to the pan with the tomato mixture. Stir in the oregano, paprika, and parsley salt to build depth of flavor. Simmer until the sauce is well-combined and aromatic.
Tip: The white wine adds acidity that balances the sweetness of the tomatoes and the richness of the cheese later. - 9Prepare the breadcrumb mixture
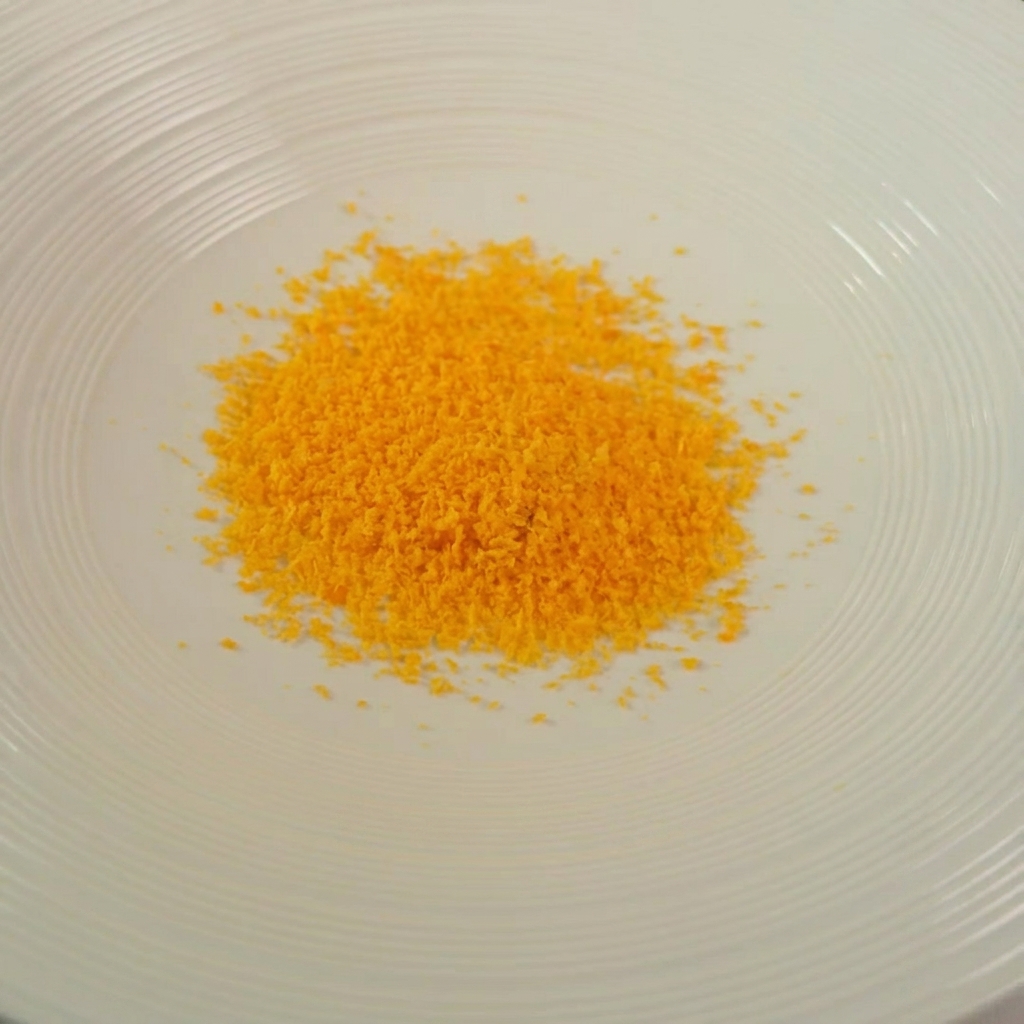
In a bowl, combine the breadcrumbs with paprika, dried oregano, and grated parmesan cheese. Mix everything thoroughly until well-incorporated to ensure each chicken cutlet gets a flavorful, crispy coating.
Tip: Mixing the spices directly into the breadcrumbs ensures even distribution of flavor in the crust. - 10Dredge the chicken
Take the marinated chicken cutlet and coat it thoroughly in a thin, even layer of flour. Shake off any excess to ensure the breading adheres properly in the next steps.
Tip: A light dusting of flour is essential for helping the egg wash and breadcrumbs stick to the meat. - 11Apply egg wash
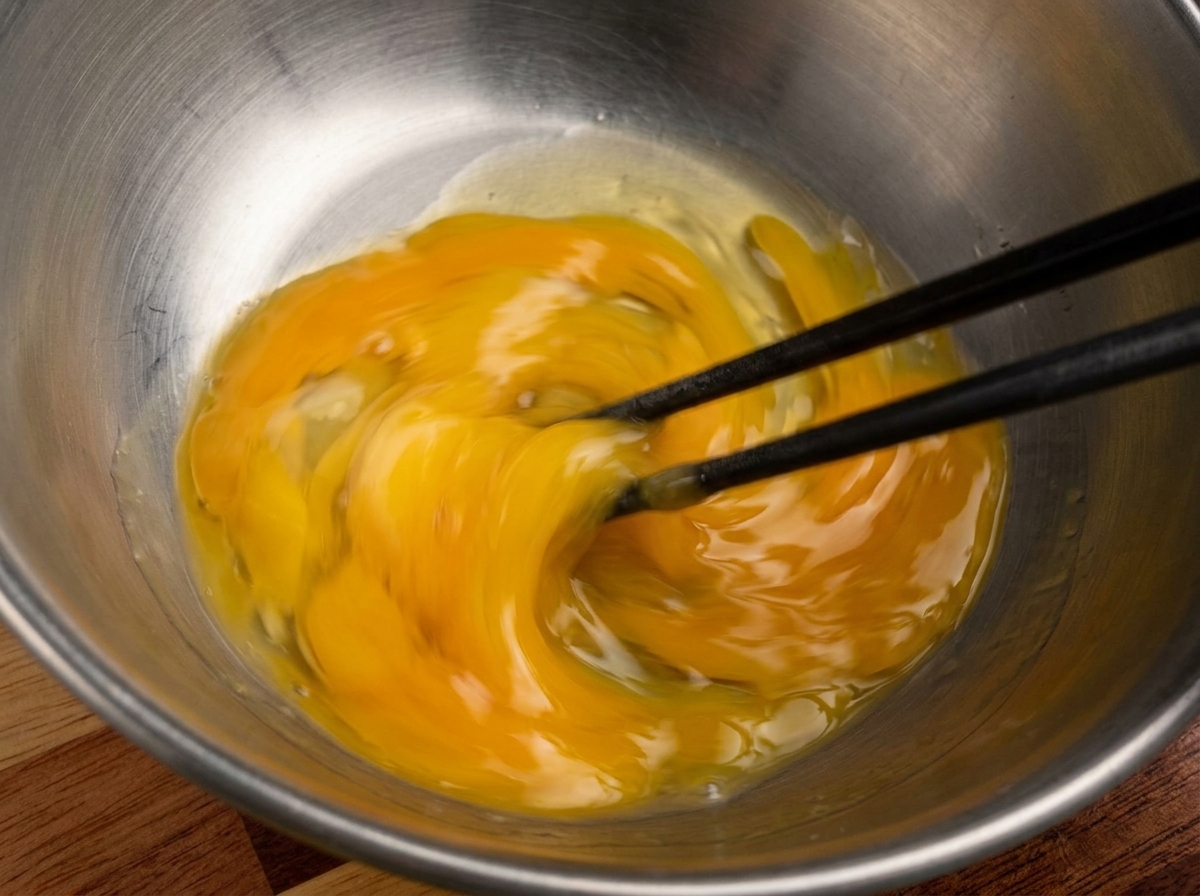
Dip the flour-coated chicken cutlet into a bowl of beaten eggs. Ensure the cutlet is fully covered in the egg wash, then lift it and allow the excess to drip off before coating in the breadcrumb mixture.
Tip: Letting the excess egg drip off prevents the breading from becoming gummy or too thick. - 12Coat with breadcrumbs
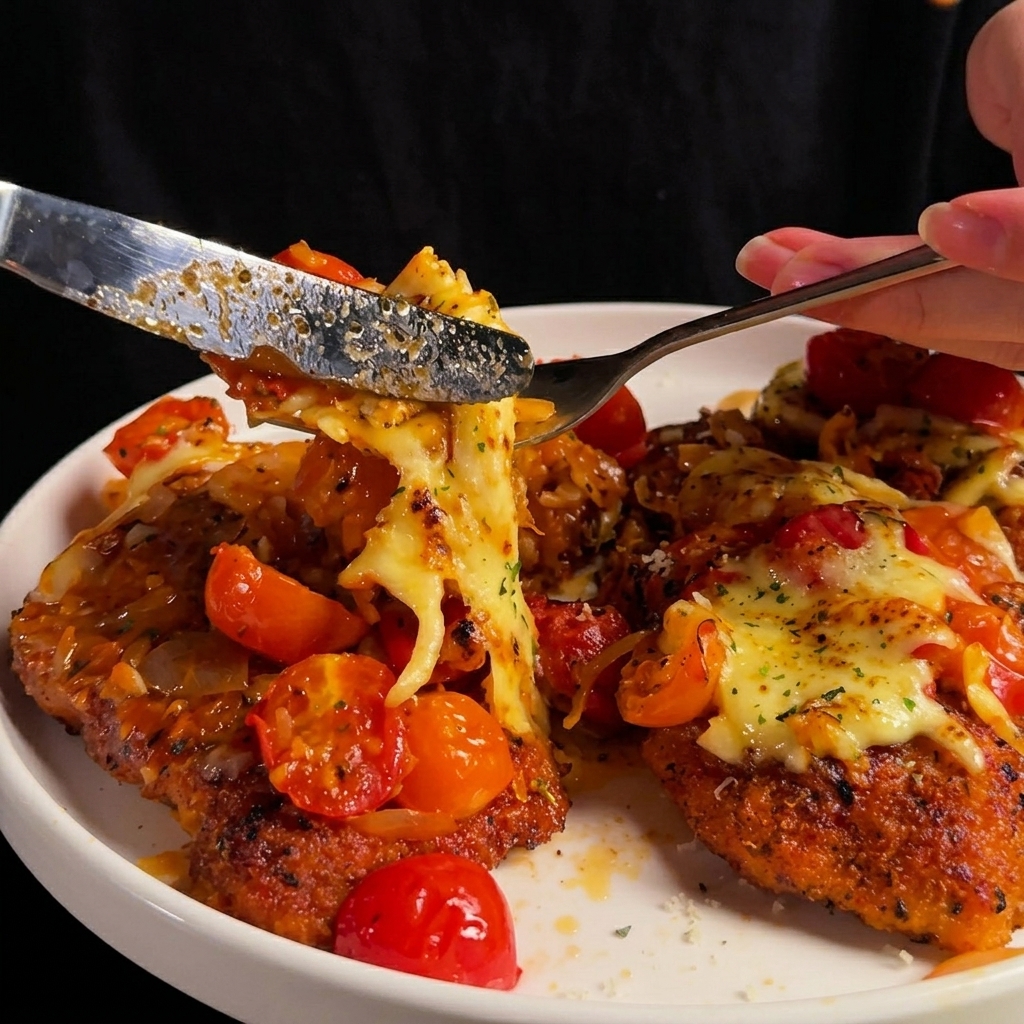
Take the marinated chicken cutlet coated in flour and egg wash, and press it firmly into the seasoned breadcrumb mixture. Ensure the chicken is evenly covered to lock in the moisture for a crispy exterior.
Tip: Mix paprika, oregano, and grated parmesan into your breadcrumbs for extra flavor. - 13Pan-fry the chicken
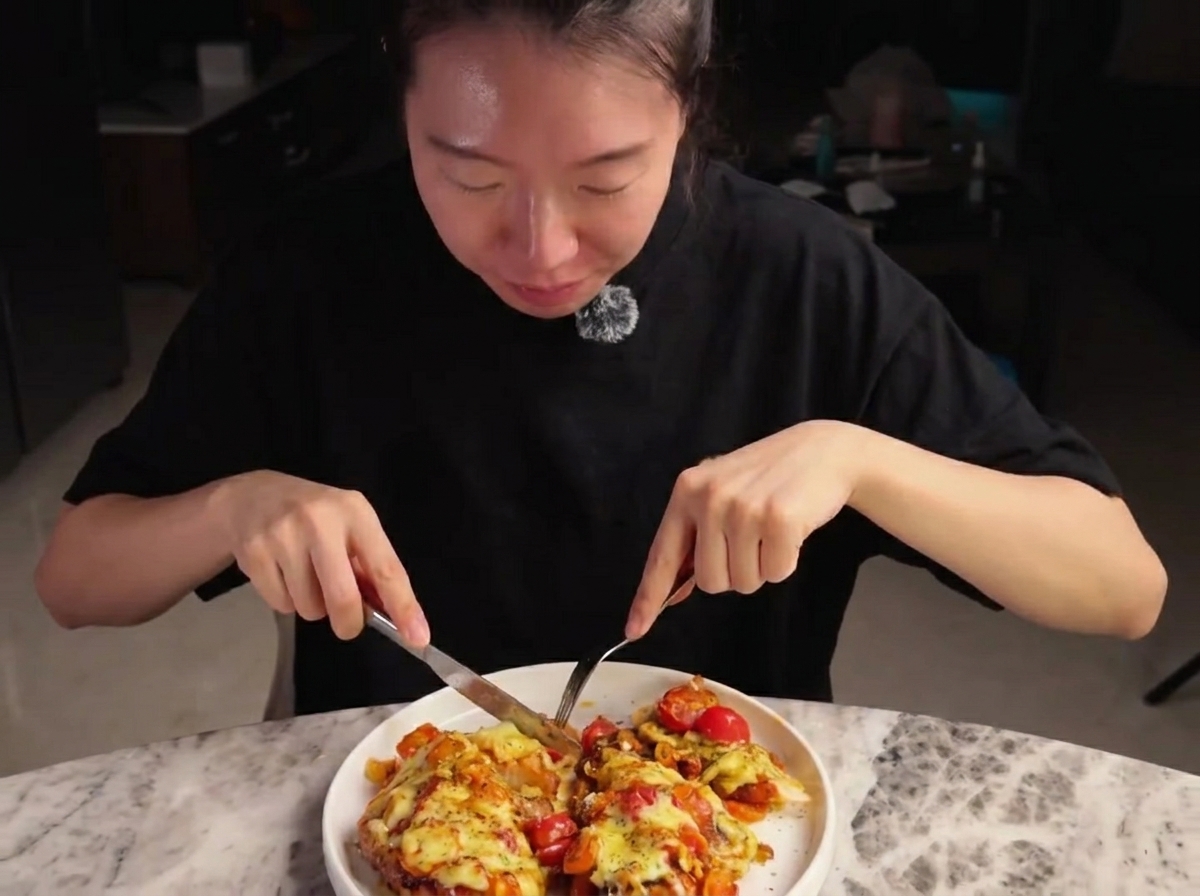
Spray the pan with olive oil and place the breaded chicken cutlets into the pan. Cook over medium-low heat for about 6 minutes before flipping to ensure the chicken is evenly golden and cooked through.
Tip: Keep the heat at medium-low to prevent burning the breadcrumbs before the chicken is cooked inside. - 14Top with tomato sauce
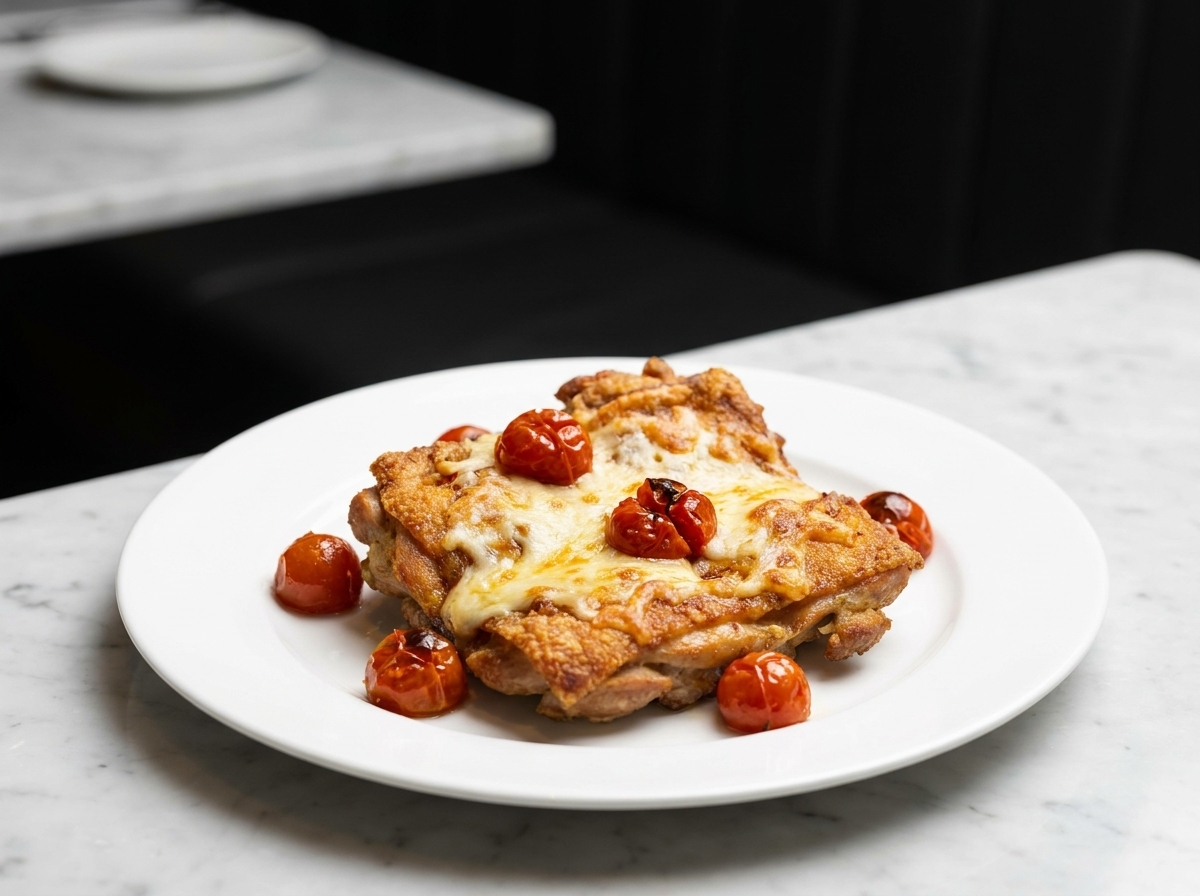
Once the chicken is flipped, generously spread the prepared homemade tomato sauce over each piece of chicken. This adds moisture and a vibrant, tangy flavor to the dish.
Tip: Make sure your sauce is thickened before spooning it onto the chicken so it stays in place. - 15Add mozzarella cheese
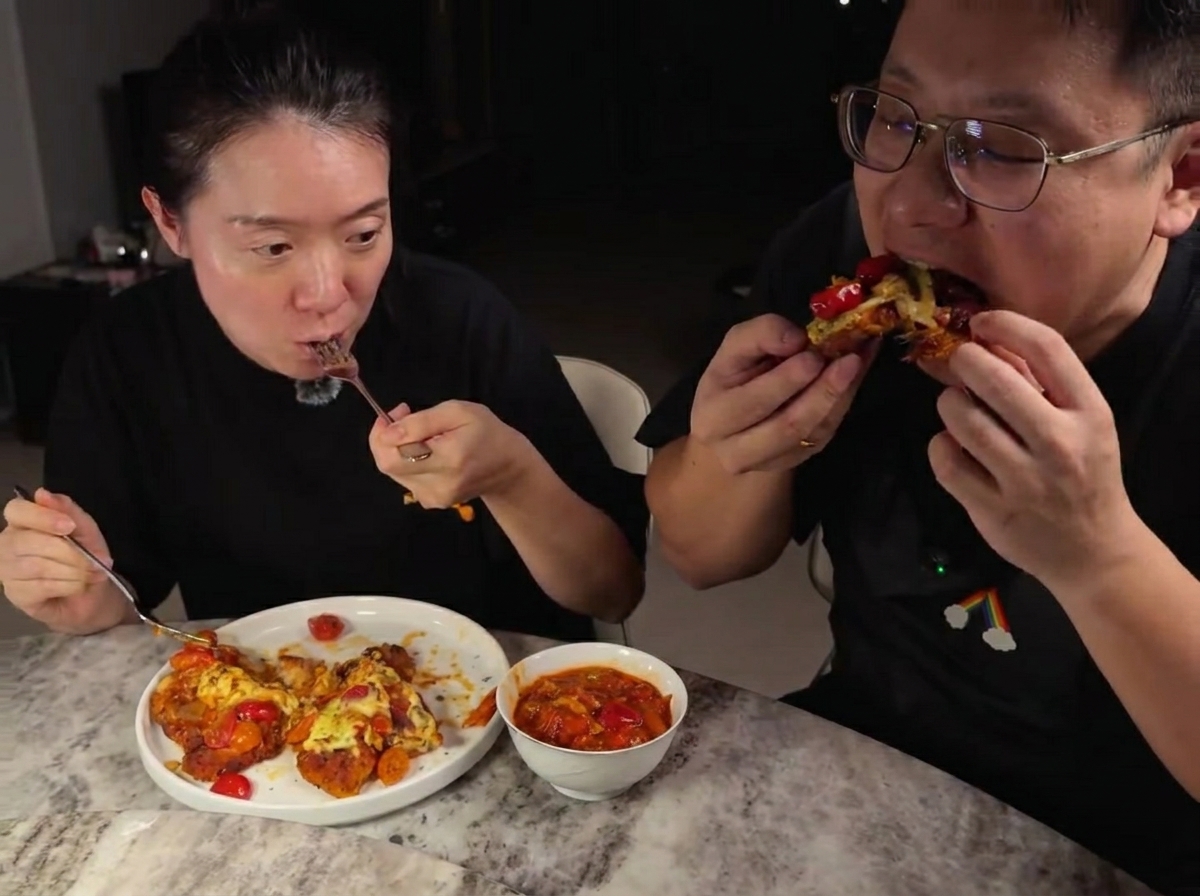
Generously sprinkle shredded mozzarella cheese over the tomato-topped chicken cutlets. Cover the pan and let it cook for another 6 minutes until the cheese is perfectly melted and the chicken is fully cooked.
Tip: Using a lid helps trap the steam and ensures the mozzarella melts thoroughly. - 16Sear and garnish
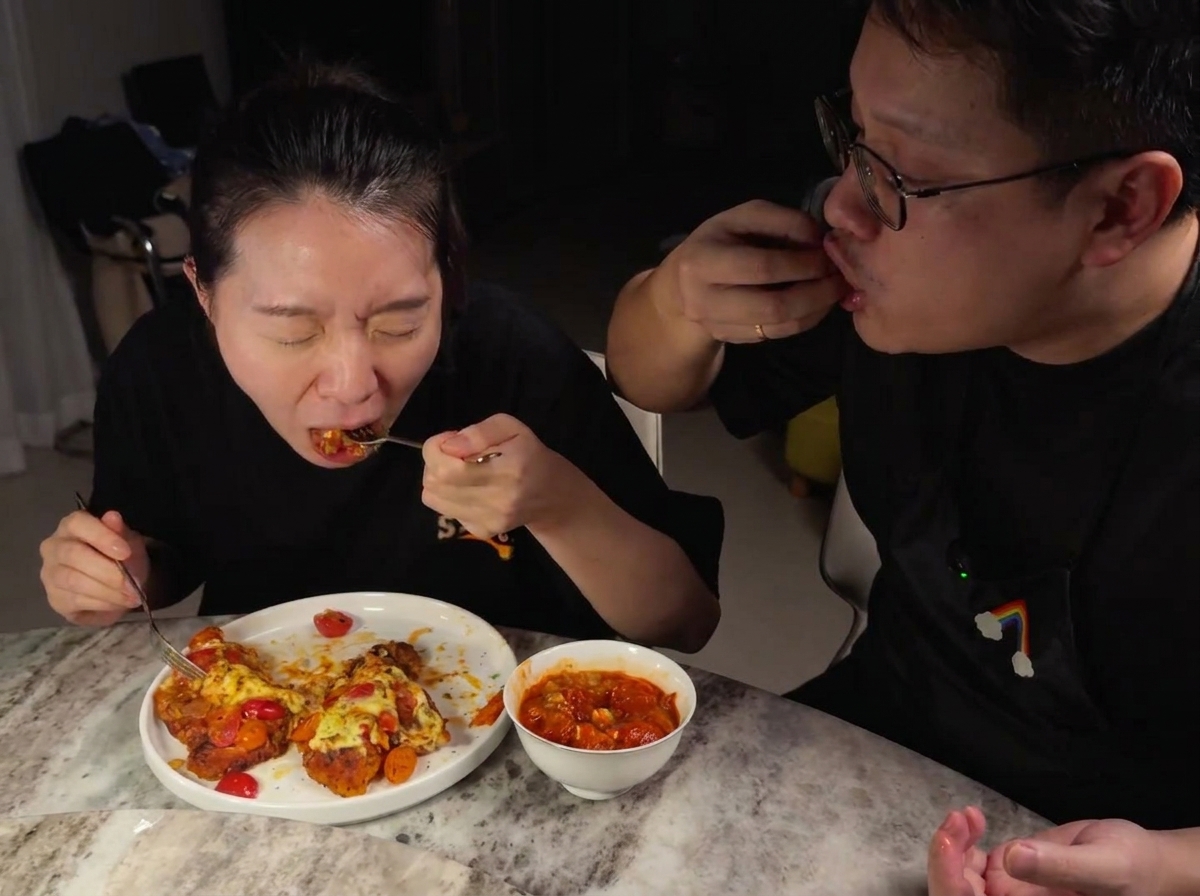
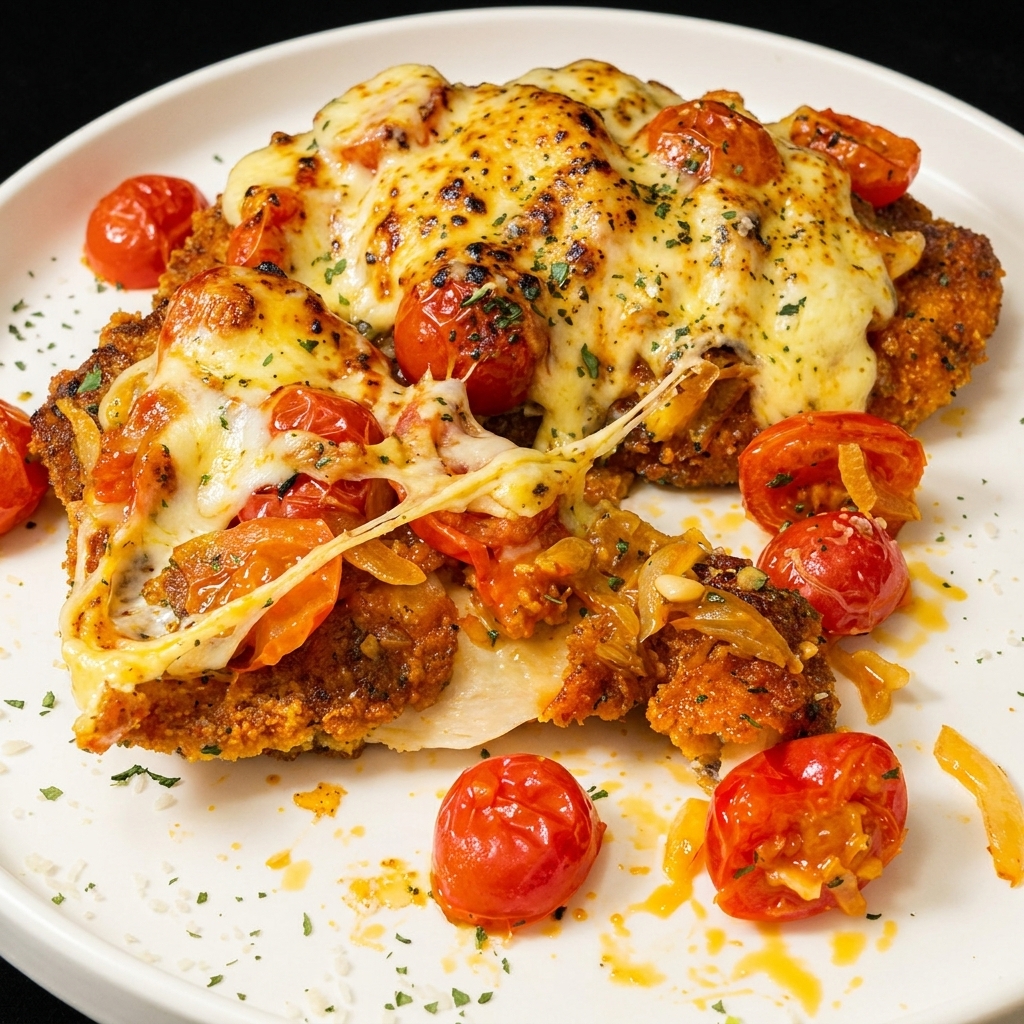
For a restaurant-quality finish, use a kitchen torch to sear the melted mozzarella cheese until charred and bubbly. Finish by sprinkling with extra parmesan cheese and dried parsley before serving.
Tip: If you dont have a kitchen torch, you can place the pan under a broiler for a minute to achieve a similar charred effect.