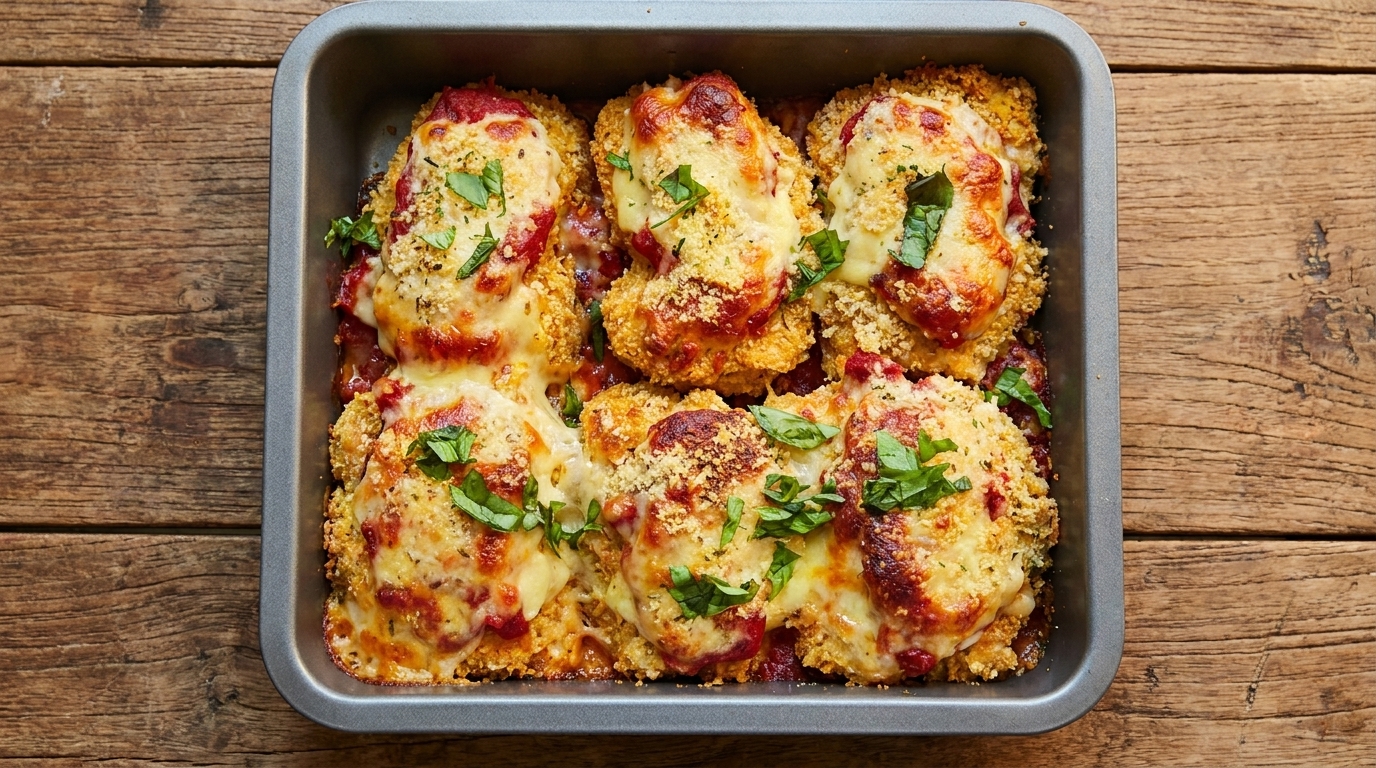
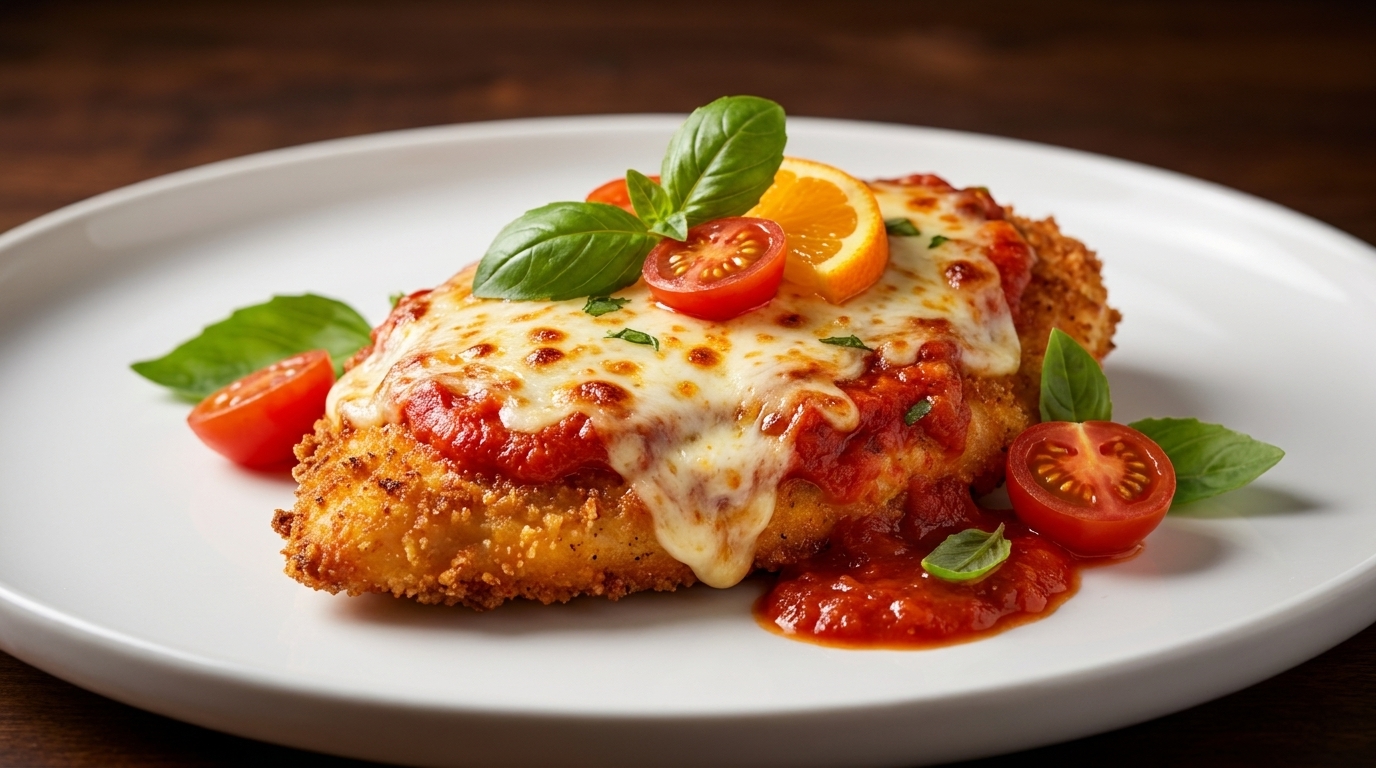
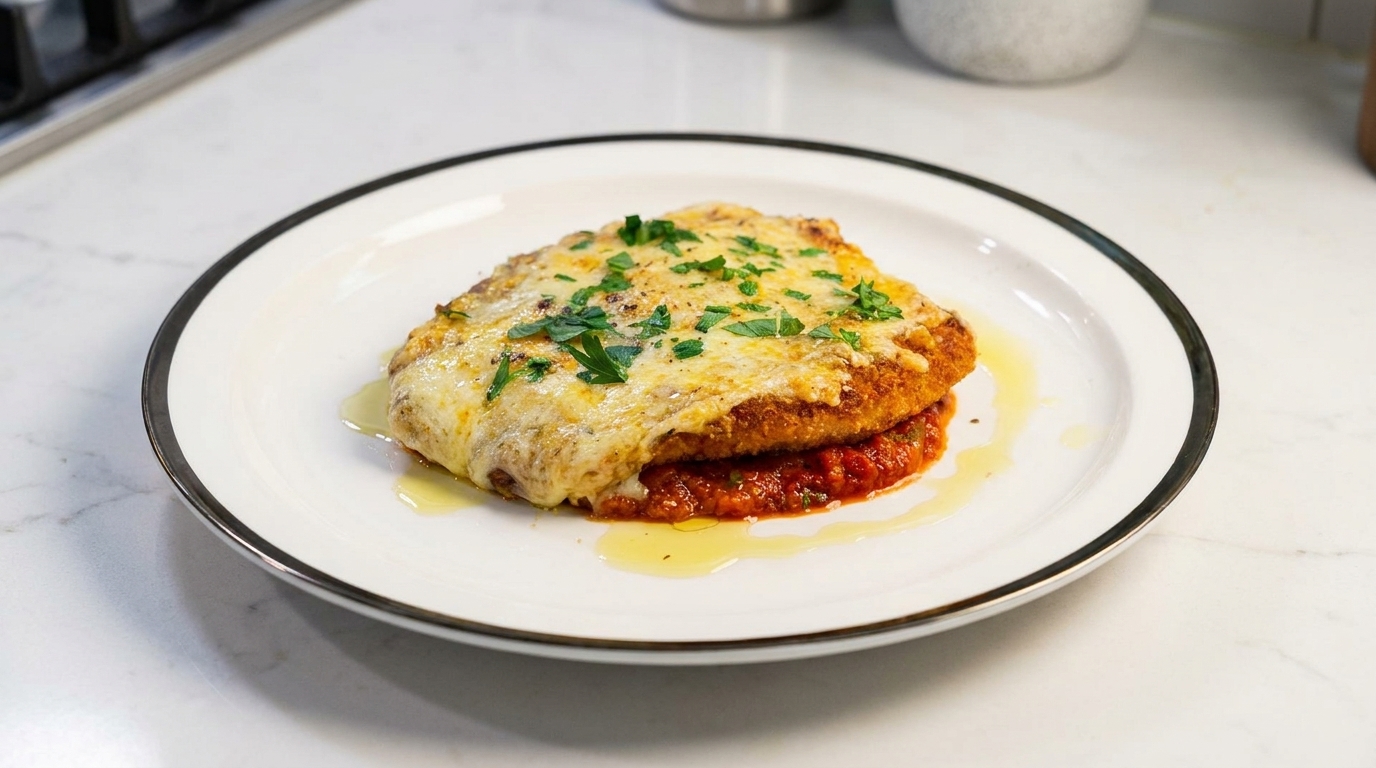
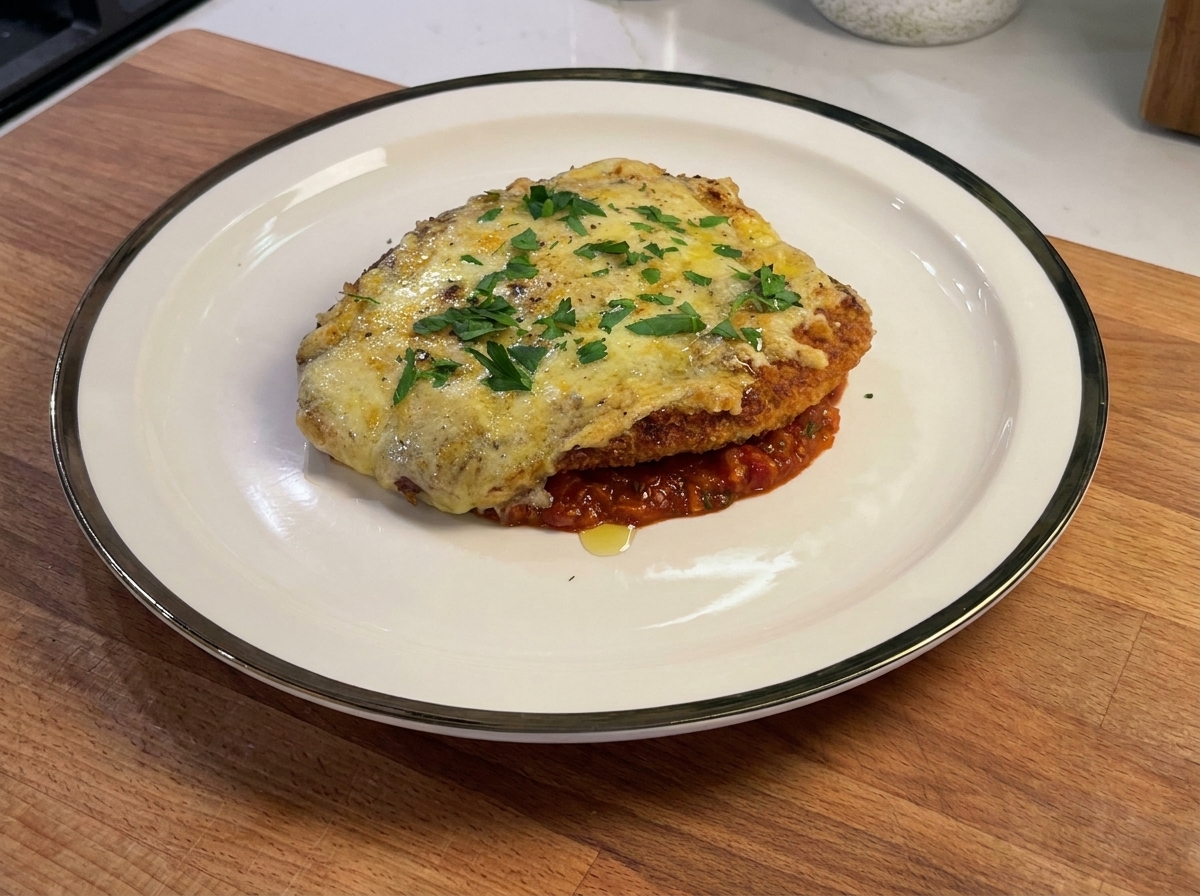
Classic Chicken Parmesan
Crispy, golden-fried chicken breast topped with bubbly melted mozzarella and parmesan, served over a rich, aromatic tomato sauce for a restaurant-quality meal.
Chicken Parmesan is a beloved comfort dish that balances crispy, breaded chicken with savory tomato sauce and gooey melted cheese. This version streamlines the process for home cooks, focusing on a precise shallow-fry technique and a quick, flavorful sauce that avoids the common pitfall of a soggy crust. It is a perfect example of how simple, high-quality ingredients can elevate a quick dinner into a true restaurant-style experience.
Ingredients
- 2 chicken breasts
- 1 cup flour
- 2 eggs, whisked
- 1.5 cups breadcrumbs
- 1/2 cup parmesan cheese, grated
- 1/2 cup mozzarella cheese, shredded
- 400 g canned tomatoes
- 2 tbsp olive oil
- 1 shallot, chopped
- 2 cloves garlic, minced
- 1 tsp oregano
- 1/2 tsp chili flakes
- to taste salt
- to taste black pepper
- to taste garlic powder
- to taste sugar
- optional fresh parsley
- optional olive oil for drizzling
Instructions
- 1Slice the chicken breast
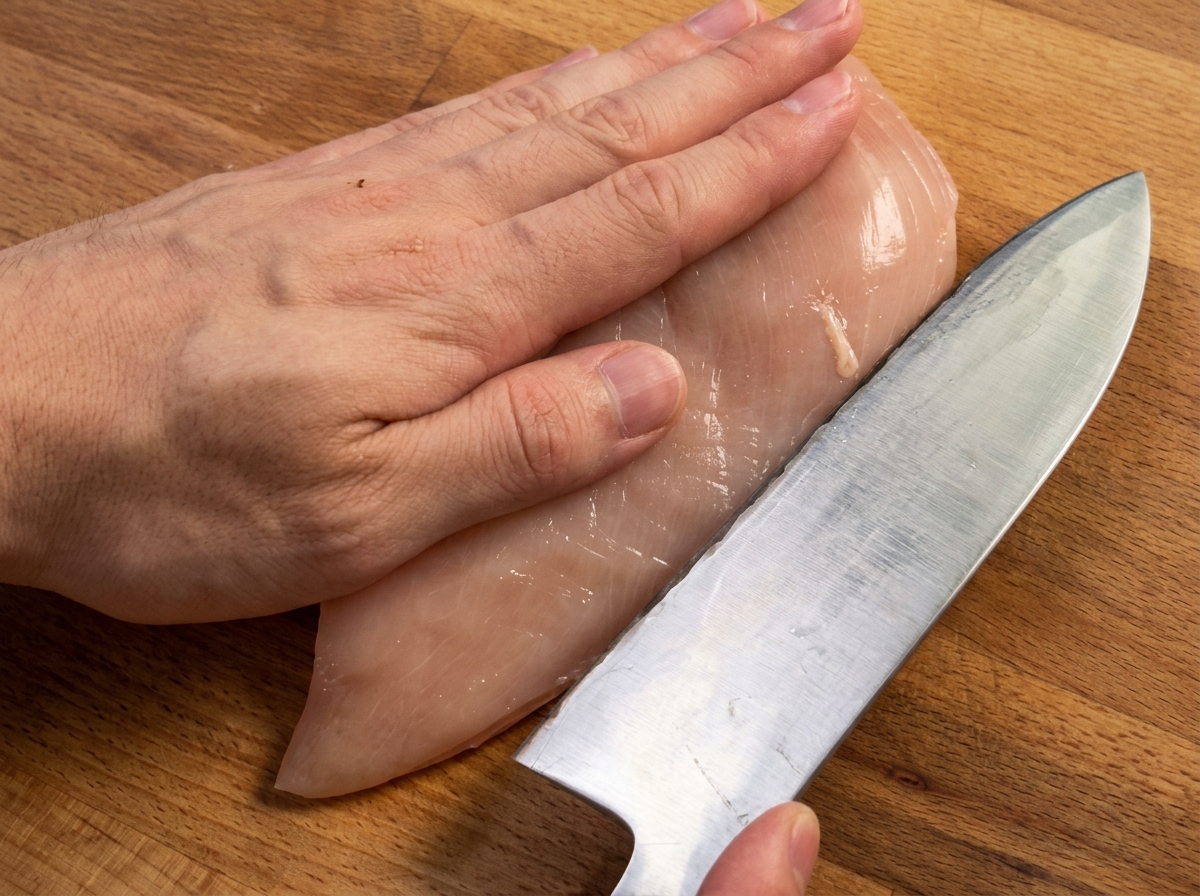
Place the chicken breast on a cutting board and carefully slice it horizontally into two thinner, even pieces. This helps the chicken cook quickly and evenly.
Tip: Keep your hand flat on top of the chicken to hold it steady while slicing for better control. - 2Flatten the chicken
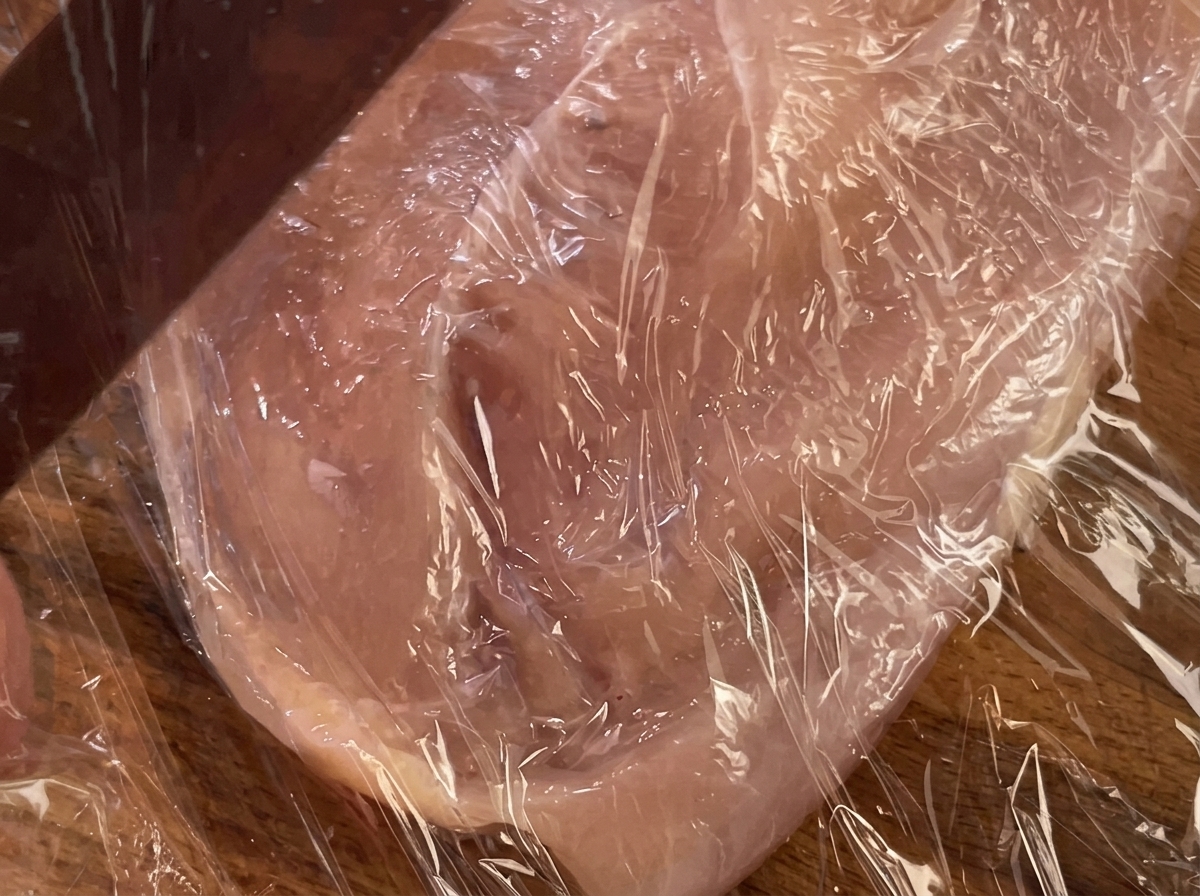
Cover the chicken slices with a sheet of plastic wrap and use a rolling pin or the bottom of a flat pan to gently flatten them to an even thickness.
Tip: Using plastic wrap prevents the chicken from sticking to your tools and keeps your workspace clean. - 3Season the chicken
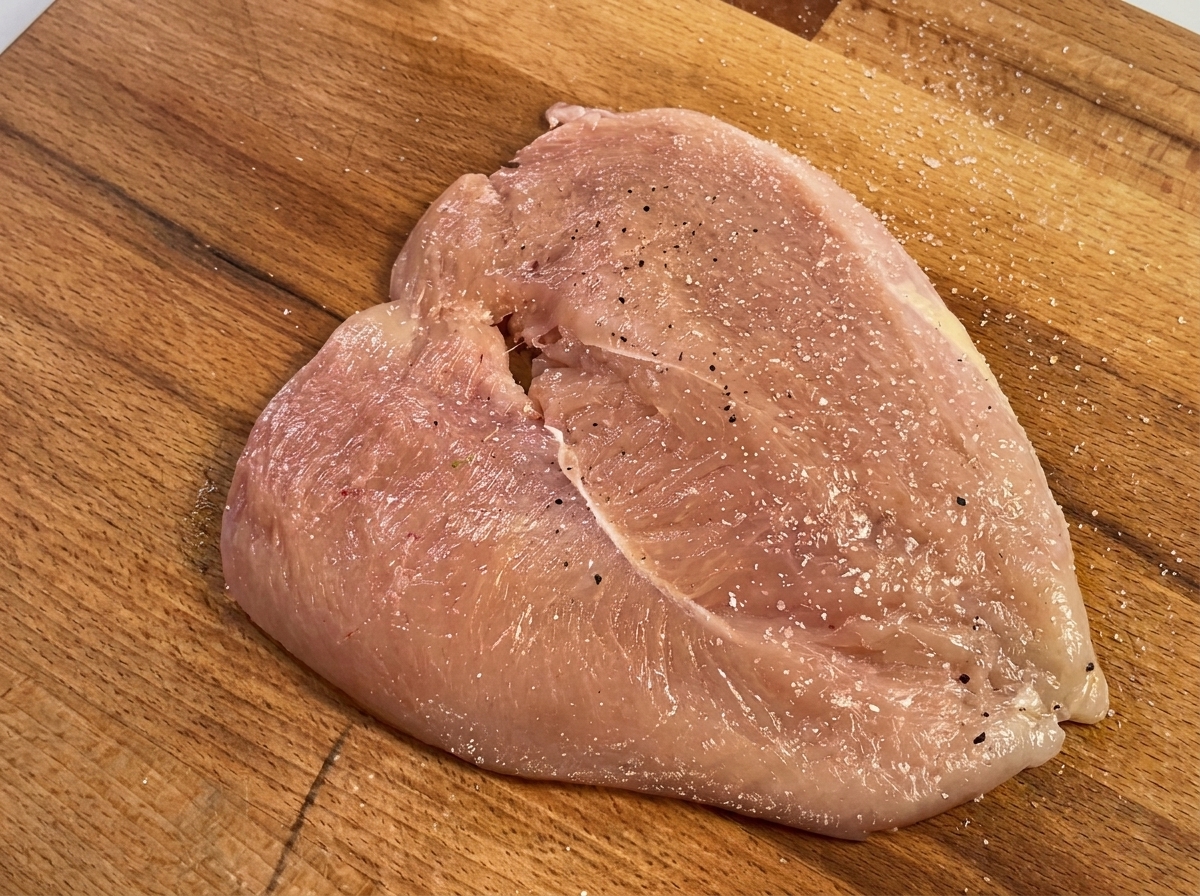
Generously season both sides of the flattened chicken breast slices with salt and freshly cracked black pepper.
Tip: Seasoning before coating ensures the flavor penetrates the meat rather than just the breading. - 4Dredge in flour
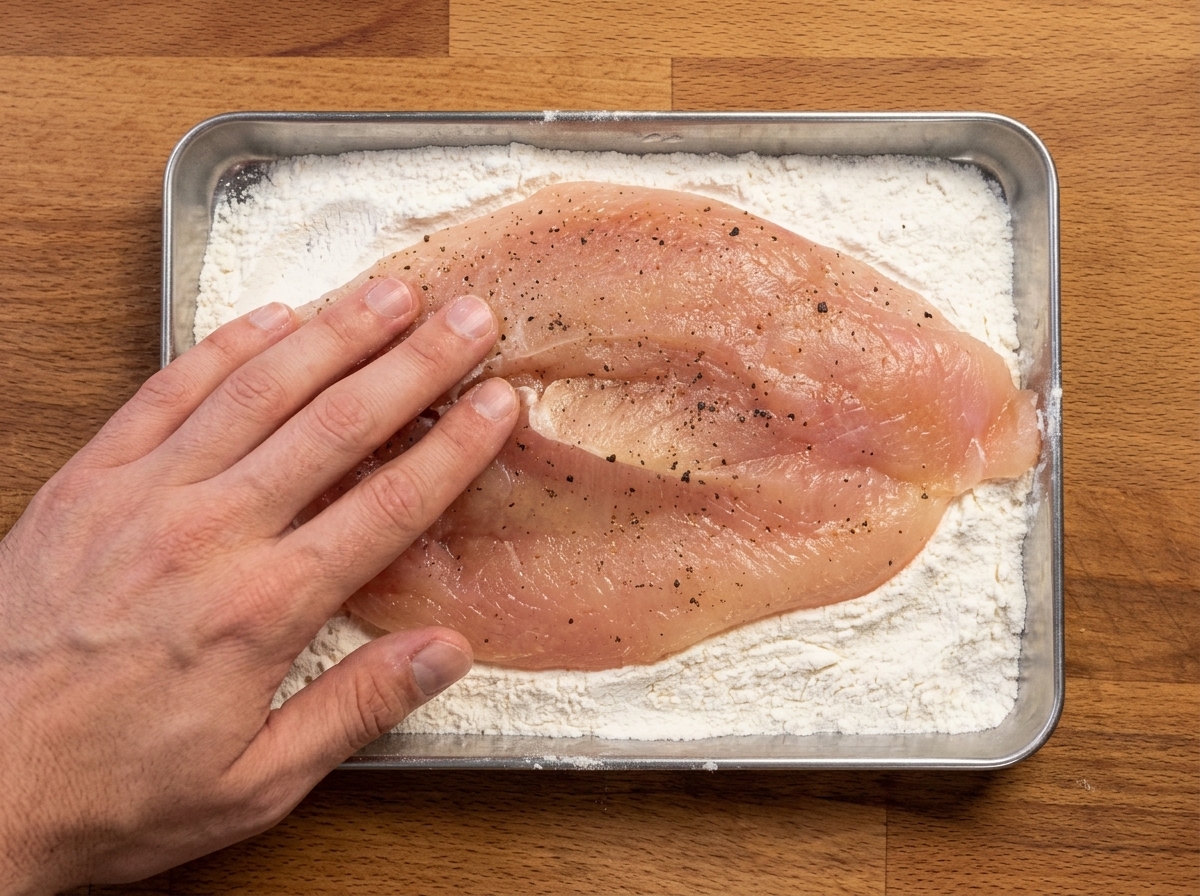
Place the seasoned chicken breast into a shallow tray filled with a mixture of flour, salt, pepper, and garlic powder. Press down firmly to coat both sides completely, shaking off any excess flour.
Tip: Ensuring an even, light coating of flour helps the egg wash adhere better in the next step. - 5Dip in egg wash
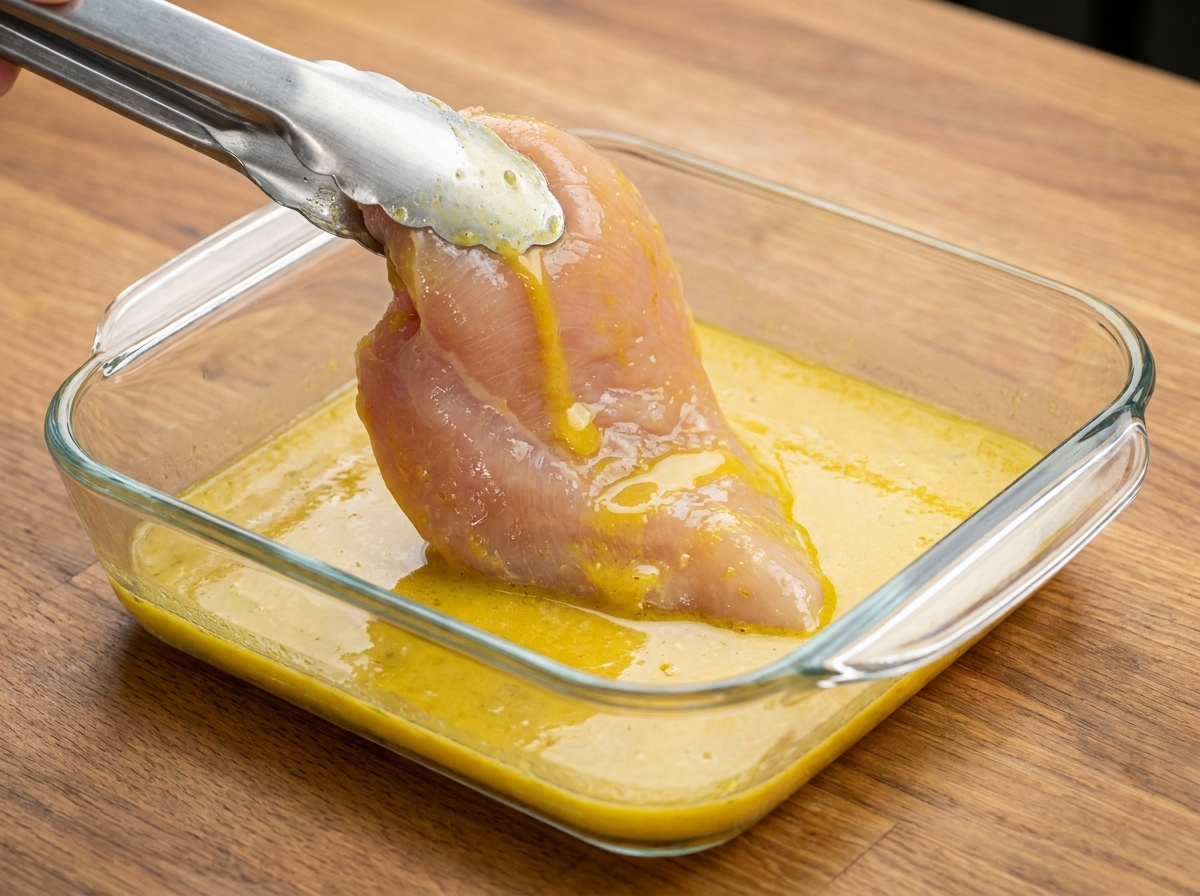
Carefully lift the floured chicken breast and dip it into a tray of whisked eggs. Make sure the entire surface is coated, allowing any excess egg to drip off back into the tray.
Tip: Use tongs to handle the chicken to keep your fingers clean during the coating process. - 6Coat with breadcrumbs
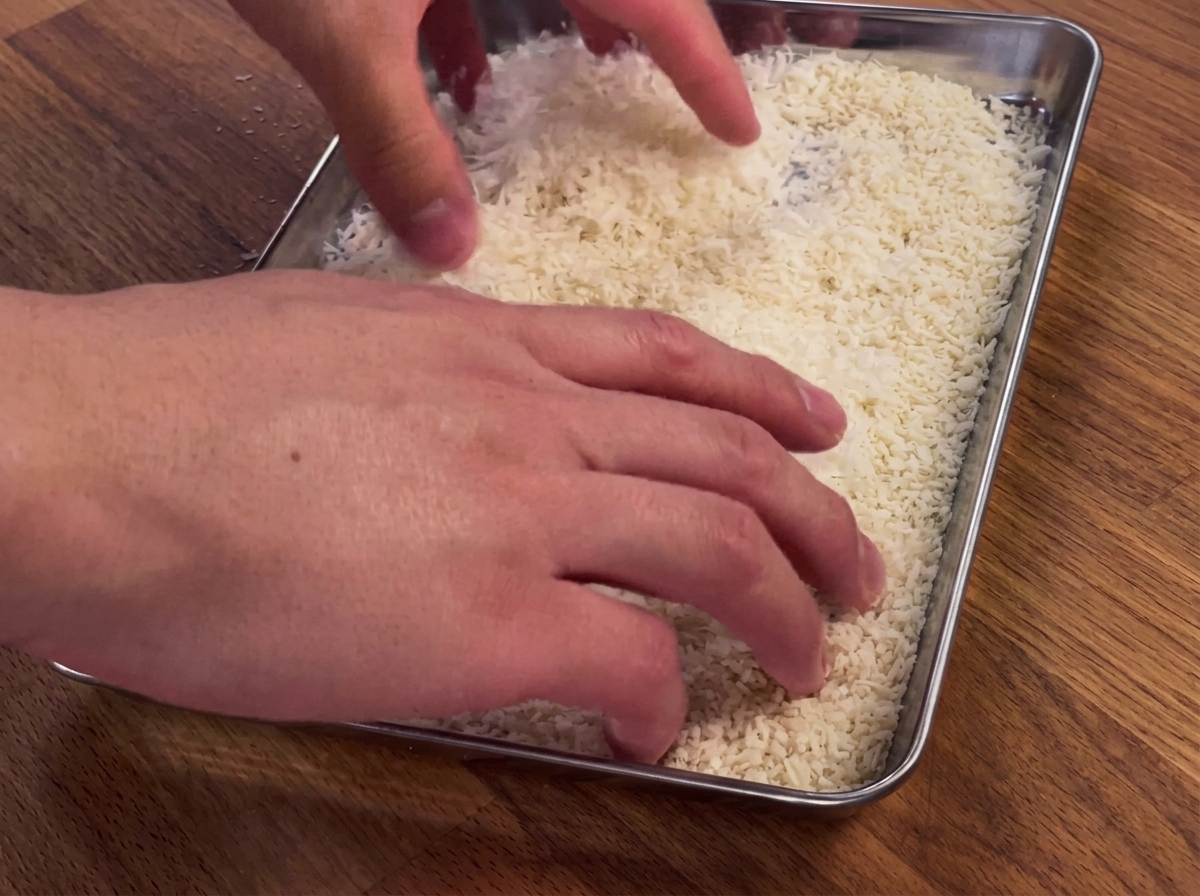
Place the egg-coated chicken into a tray containing a mixture of breadcrumbs, parmesan cheese, and a pinch of salt. Press the chicken firmly into the breadcrumbs to ensure a uniform, crunchy coating on all sides.
Tip: For the best crust, press the crumbs into the meat rather than just rolling it. - 7Shallow fry the chicken
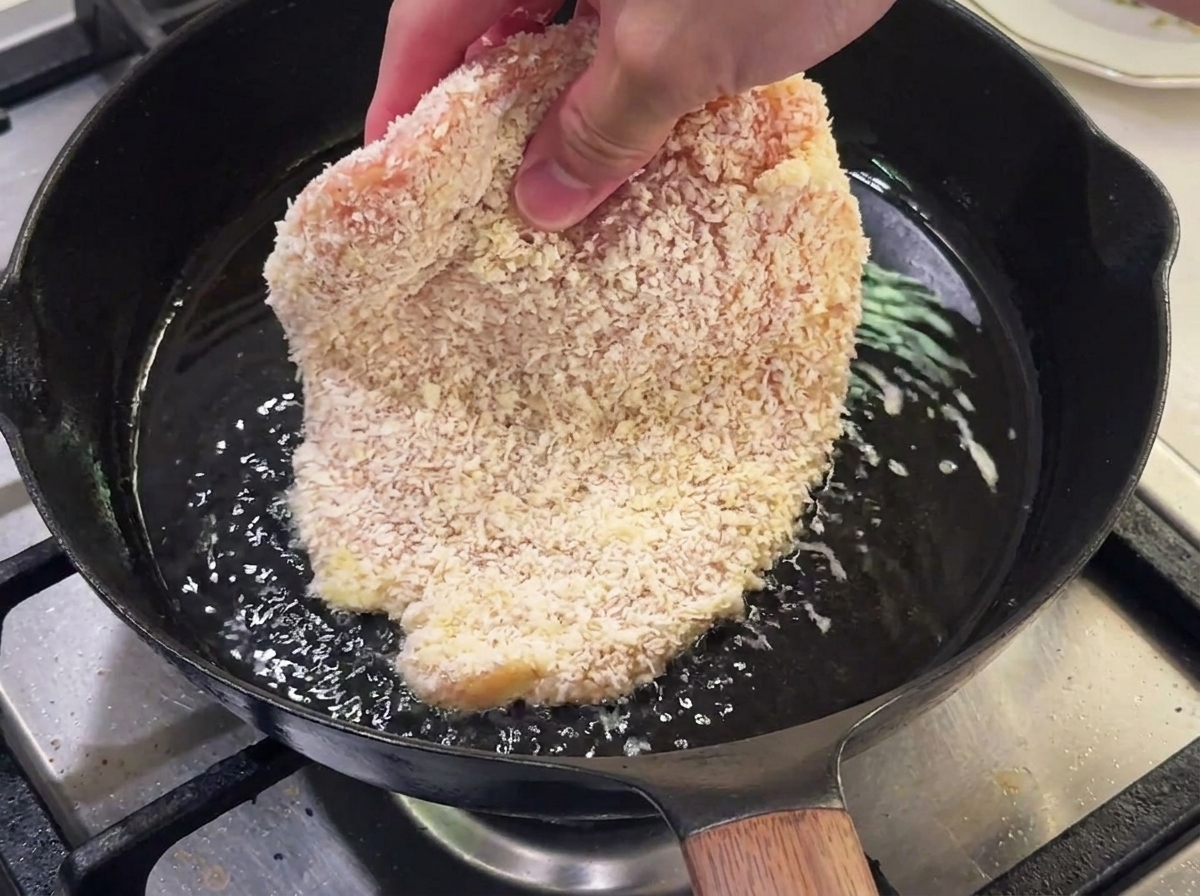
Place the breaded chicken breast into a pan with hot salad oil. Use the shallow frying method, where the oil does not fully submerge the meat, to achieve a crispy texture on both sides.
Tip: Keep the oil depth moderate to ensure even cooking without excessive absorption. - 8Baste the chicken
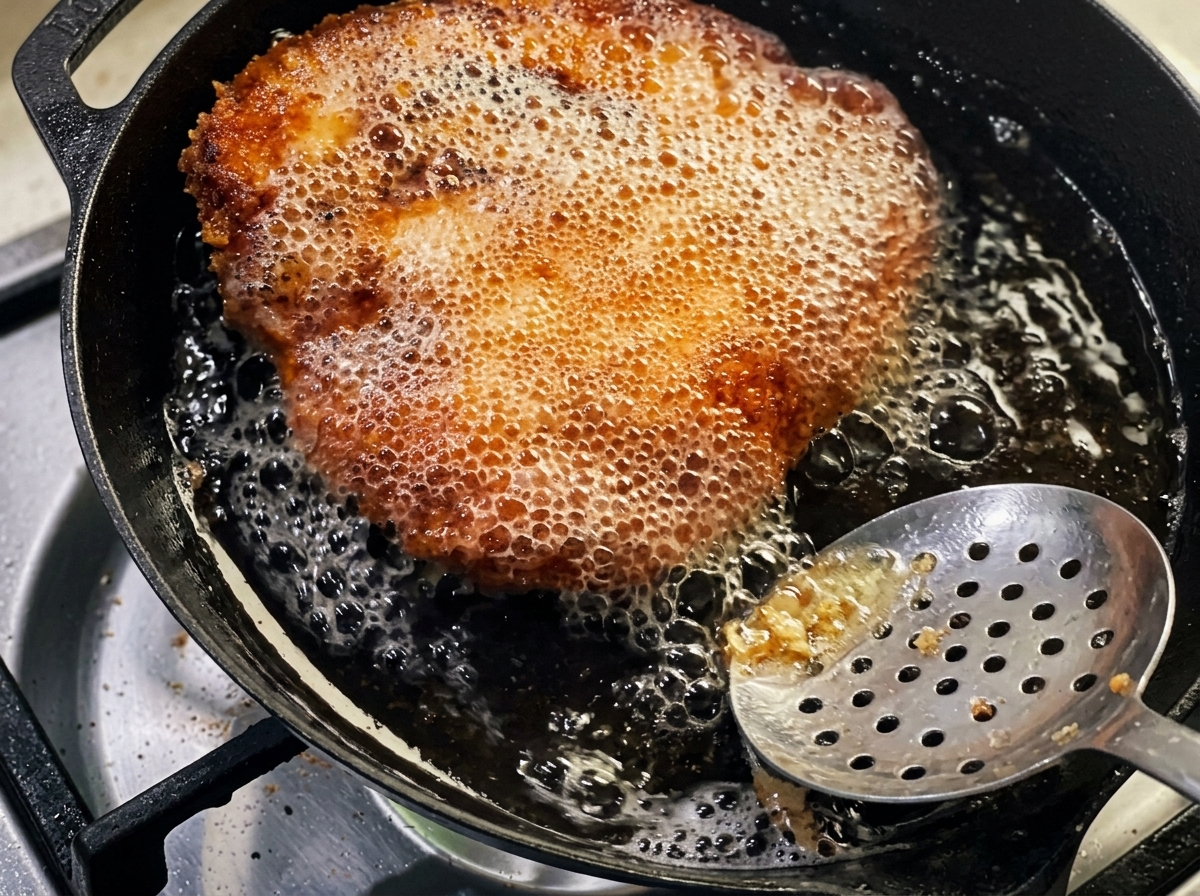
After flipping the chicken, use a spoon to repeatedly baste the top of the chicken breast with the hot oil from the pan. This process accelerates browning and helps the chicken cook through evenly.
Tip: Continuous basting is key to a perfectly golden and crisp crust. - 9Sauté aromatics
Heat olive oil in a pot and add the chopped shallots, sautéing until fragrant. Then, stir in the finely chopped garlic and continue to fry until the mixture releases a rich aroma.
Tip: Be careful not to burn the garlic, as it can turn bitter quickly. - 10Prepare tomato sauce
To the sautéed aromatics, add half a can of tomatoes along with chili flakes and oregano for flavor. Season with salt and sugar to taste, then simmer on low heat for 10 minutes.
Tip: The sugar balances the acidity of the tomatoes perfectly.