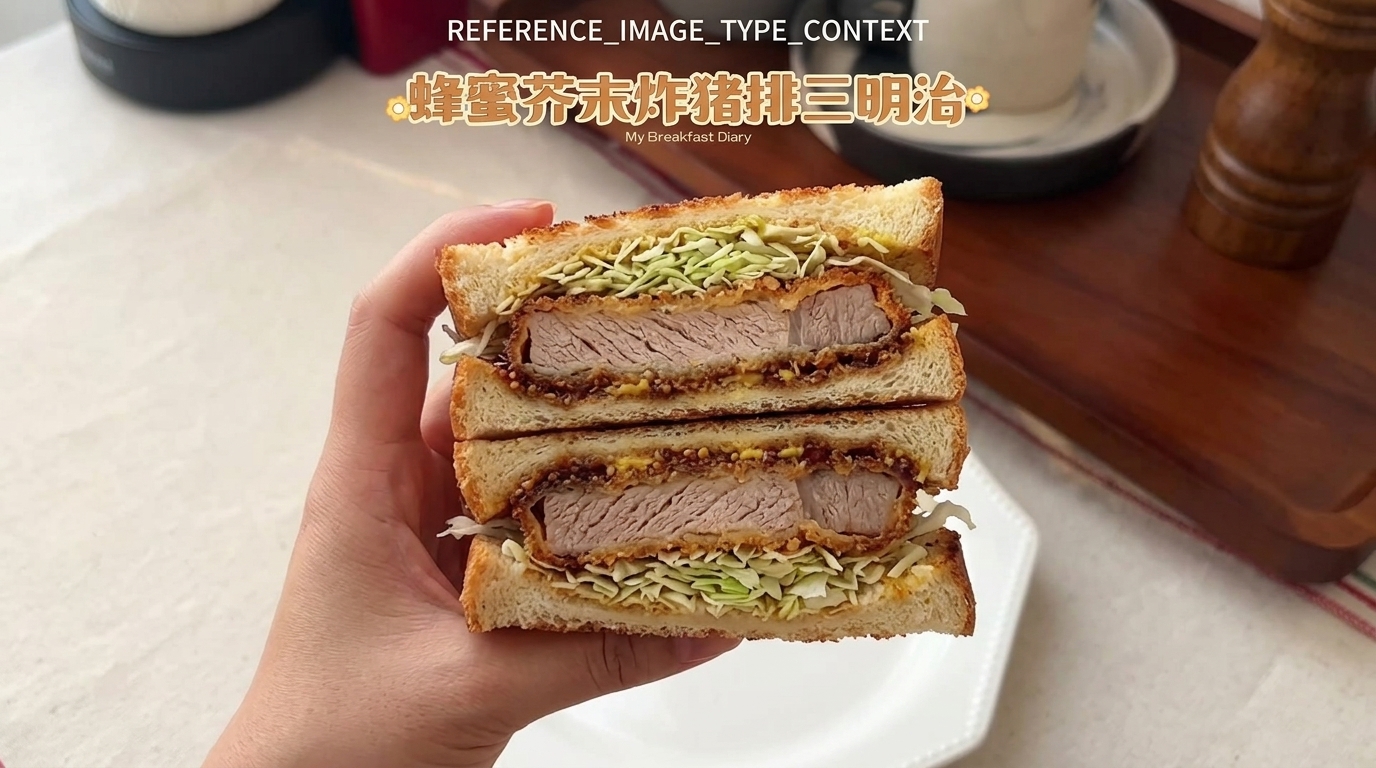
Honey Mustard Fried Chicken Sandwich
A masterclass in crunch — double-fried panko chicken breast layered with tangy honey mustard and fresh greens on buttery toasted bread.
Inspired by the precision of Japanese katsu, this sandwich uses a signature double-frying method to create an incredibly crisp exterior while keeping the chicken breast moist and tender. The combination of pungent coarse-grain mustard and sweet honey cuts through the richness of the fried protein, making every bite balanced and bright.
Ingredients
- 2 pieces chicken breast
- 1 tsp garlic powder
- 12 cup cornstarch
- 2 large eggs, beaten
- 1 cup panko breadcrumbs
- 4 slices white toast
- 2 tbsp coarse-grain mustard
- 1 tbsp honey
- 2 tbsp low-fat mayonnaise
- 1 cup shredded lettuce or cabbage
- to taste salt and pepper
- as needed cooking oil
Instructions
- 1Prepare the chicken
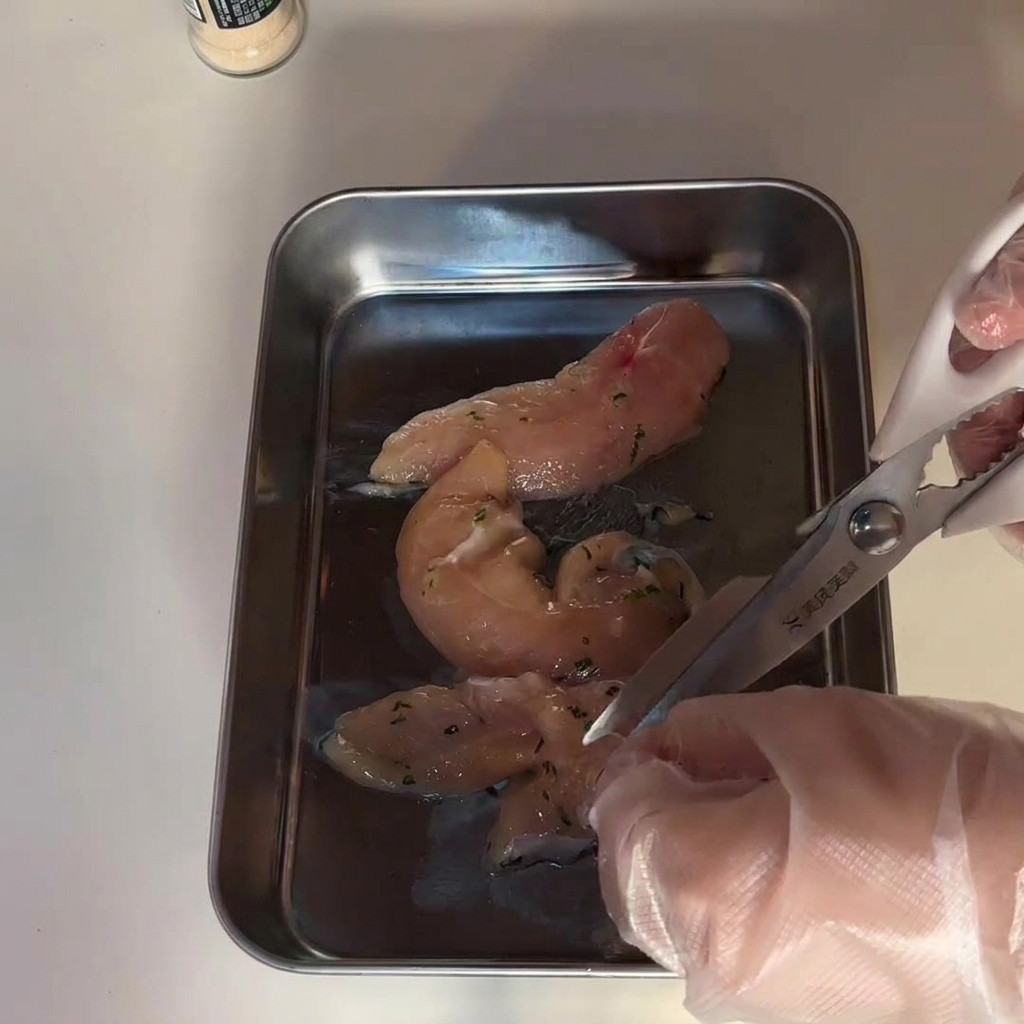
Begin by preparing the chicken breasts. If using whole or thick breasts, use kitchen scissors or a sharp knife to cut them into thinner, even cutlets on a clean metal tray. This ensures the chicken will fry uniformly and stay juicy without burning the crust.
Tip: Using a low-fat or pre-marinated parsley chicken breast is a great base. Ensure the pieces are cut to an even thickness so they cook through at the same rate. - 2Season with garlic powder
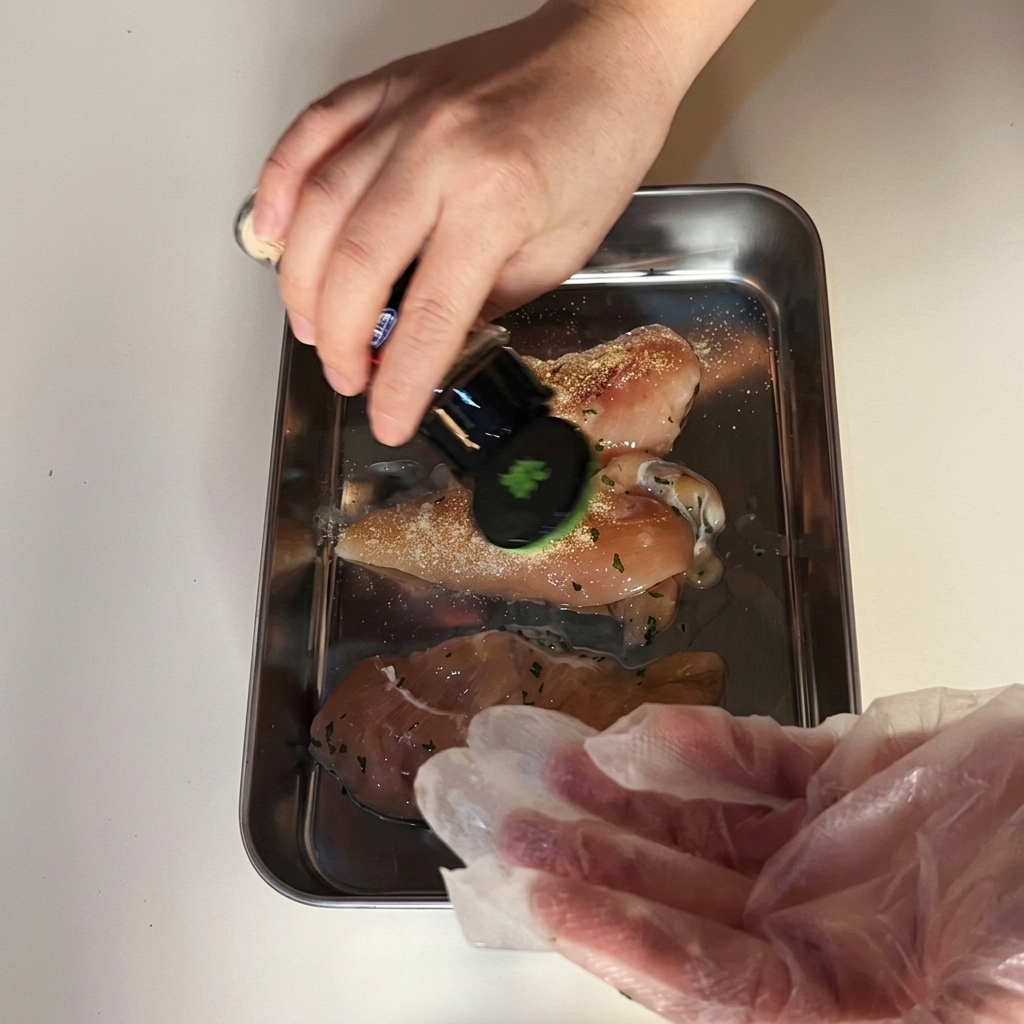
Generously sprinkle garlic powder evenly over both sides of the chicken pieces. Since chicken breast can be quite mild, you can also add an appropriate amount of salt and pepper at this stage if you prefer a more savory and robust flavor profile.
Tip: Seasoning the meat directly before the breading process guarantees that the flavor is infused into the chicken itself, not just sitting on the outer crust. - 3Set up the breading station
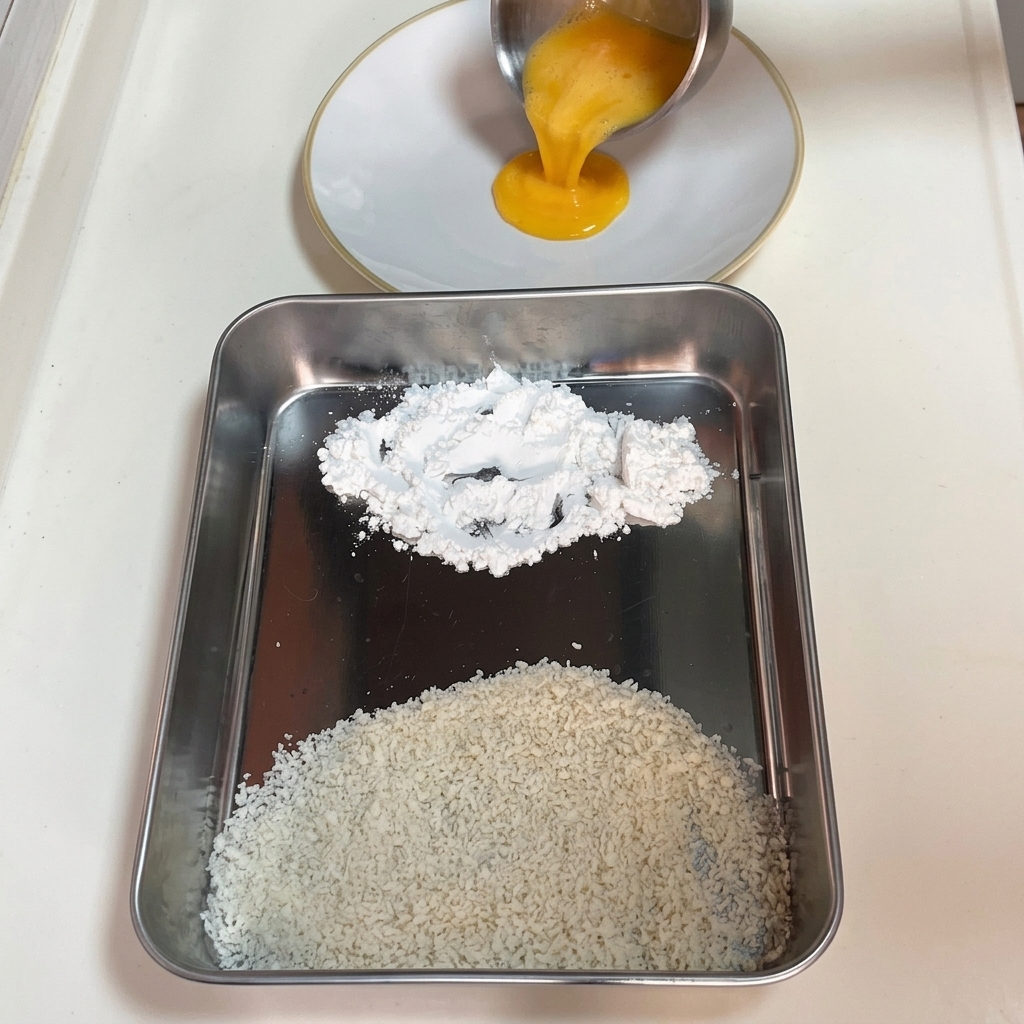
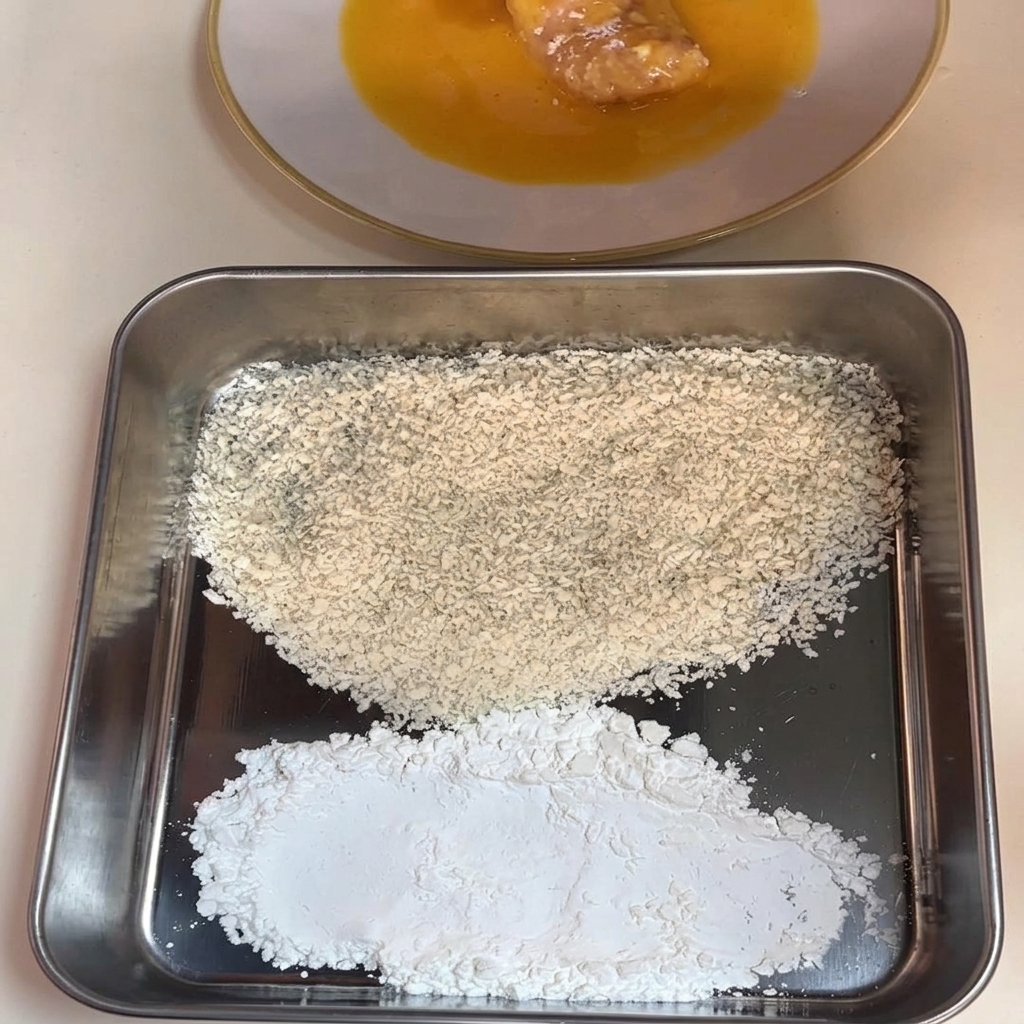
Prepare your standard breading station to coat the chicken. Pour well-whisked whole egg liquid into a shallow plate or bowl. On a separate, wider tray, arrange your dry ingredients by creating two distinct piles: one of cornstarch and another of breadcrumbs.
Tip: Keeping your wet and dry ingredients physically separated from the start ensures a neat workspace and prevents the breadcrumbs from clumping prematurely. - 4Dredge in cornstarch
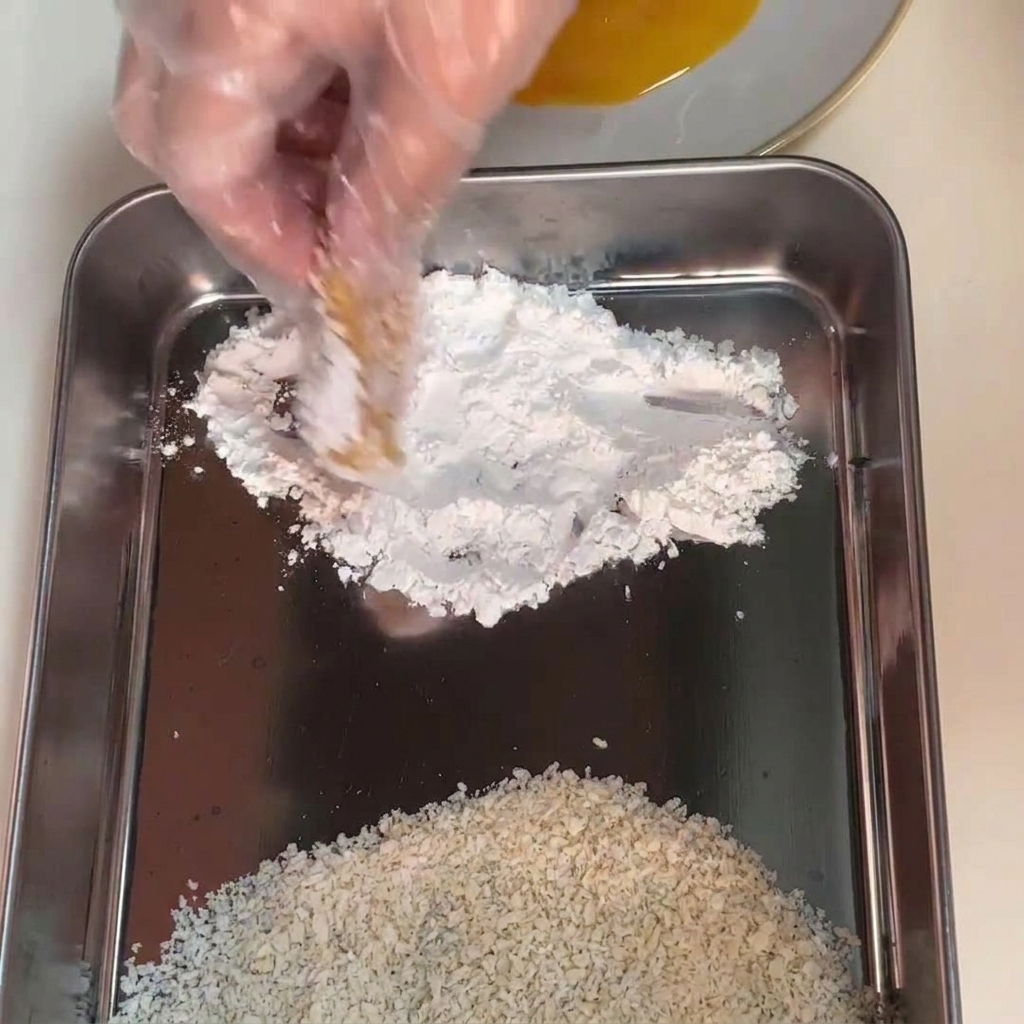
Take one piece of the seasoned chicken breast and place it into the pile of cornstarch. Toss it gently to ensure the meat is completely and evenly coated with a thin layer on all sides. Shake off any excess powder.
Tip: The cornstarch acts as a dry primer, absorbing surface moisture and giving the egg wash something to adhere strongly to. - 5Dip into the egg wash
Immediately transfer the starch-coated chicken breast into the shallow plate of beaten egg. Flip the chicken over a few times so the entire surface is completely enveloped in the wet egg liquid, leaving no dry spots exposed.
Tip: Lift the chicken and let any excess egg wash drip off for a second before transferring it to the breadcrumbs to avoid creating soggy clumps. - 6Coat with breadcrumbs
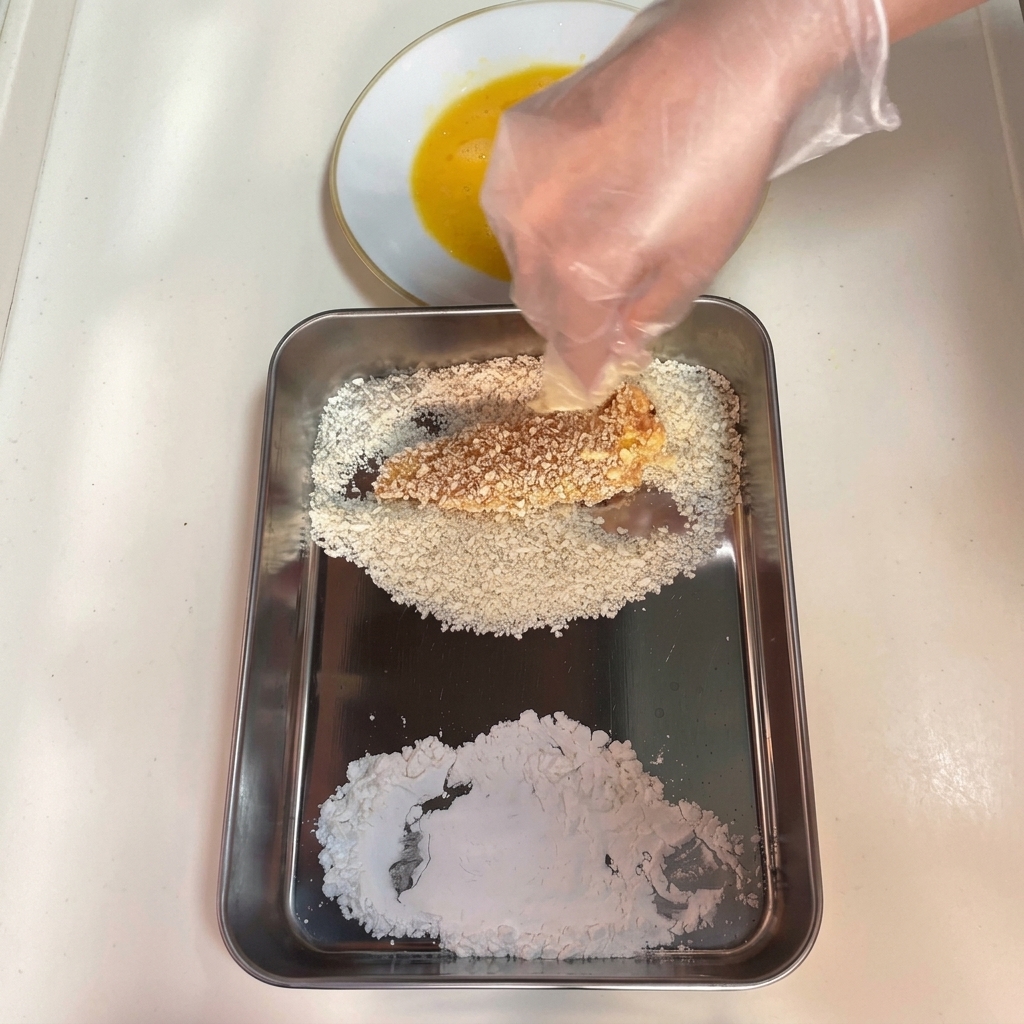
Move the egg-washed chicken into the pile of breadcrumbs. Use your hands to bury the chicken in the crumbs, pressing down firmly multiple times. Make sure the breadcrumbs stick well to all sides, creating a thick, even crust ready for frying.
Tip: Use one hand exclusively for wet ingredients and the other for dry ingredients. This wet hand and dry hand technique keeps your fingers from getting breaded. - 7Begin the first fry
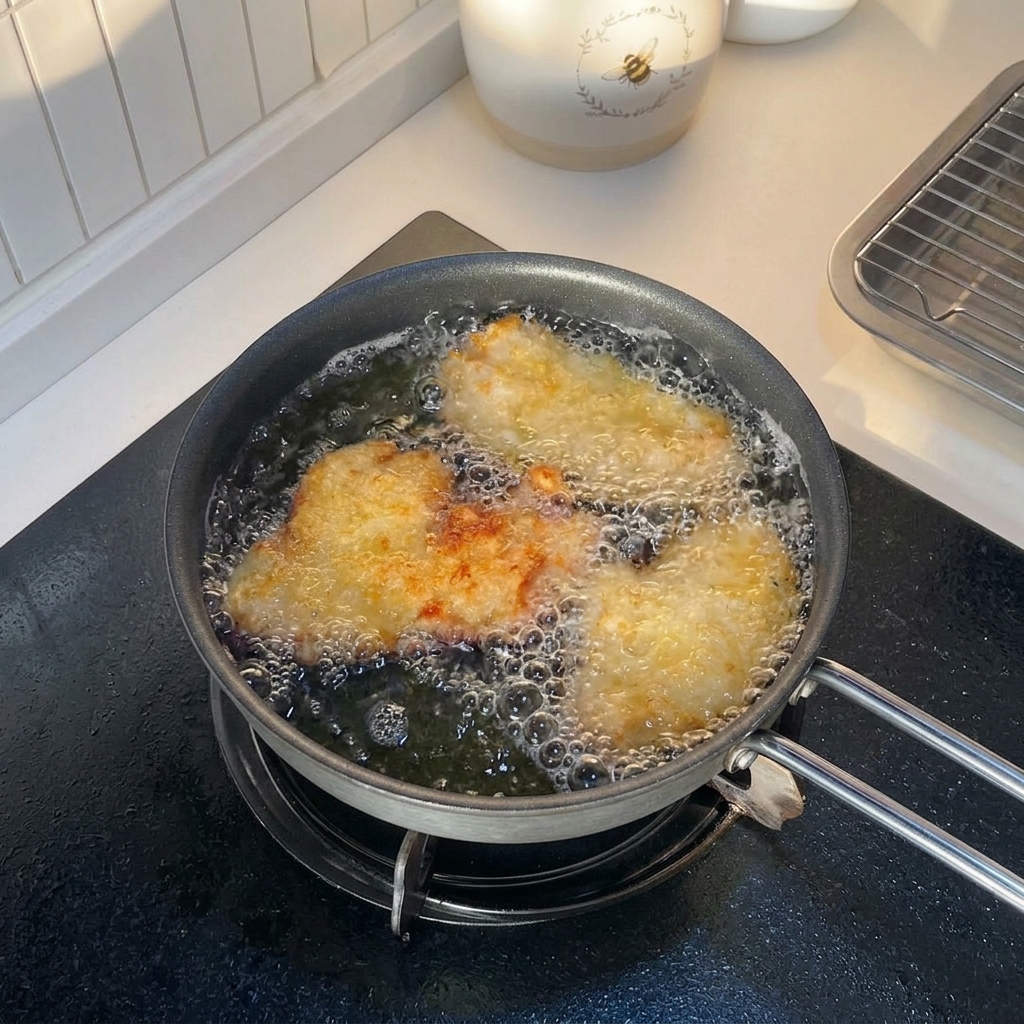
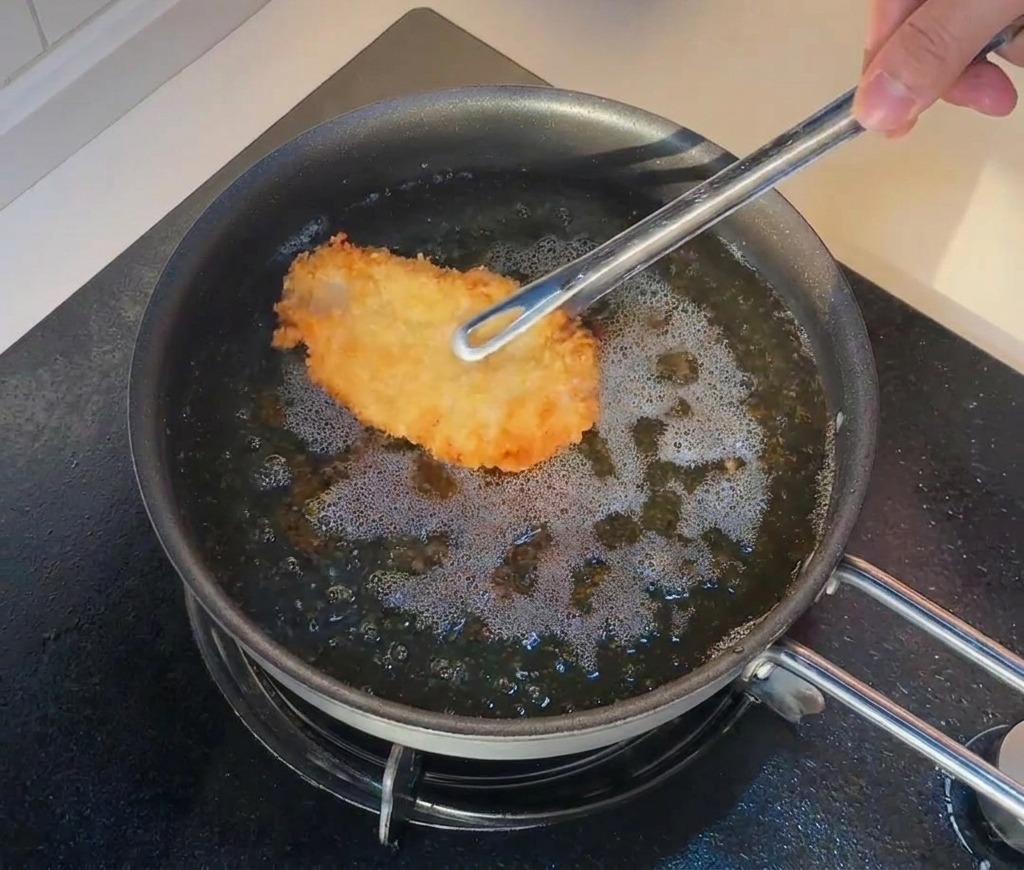
Heat your cooking oil to approximately 160°C. Carefully lower the breaded chicken into the pan. Let the chicken fry undisturbed for at least 2 minutes to allow the panko crust to set firmly before attempting to move it.
Tip: Do not move the chicken immediately after placing it in the oil; letting the crust set first is crucial for a perfectly crispy exterior. - 8Flip and finish first fry
Once the edges of the chicken look golden, flip the pieces over. Continue frying for another 2 to 3 minutes until both sides are a light golden brown and the chicken is cooked through.
Tip: Frying over medium-low heat during this first round ensures the thick chicken breast cooks all the way through without burning the breadcrumb coating. - 9Remove the chicken
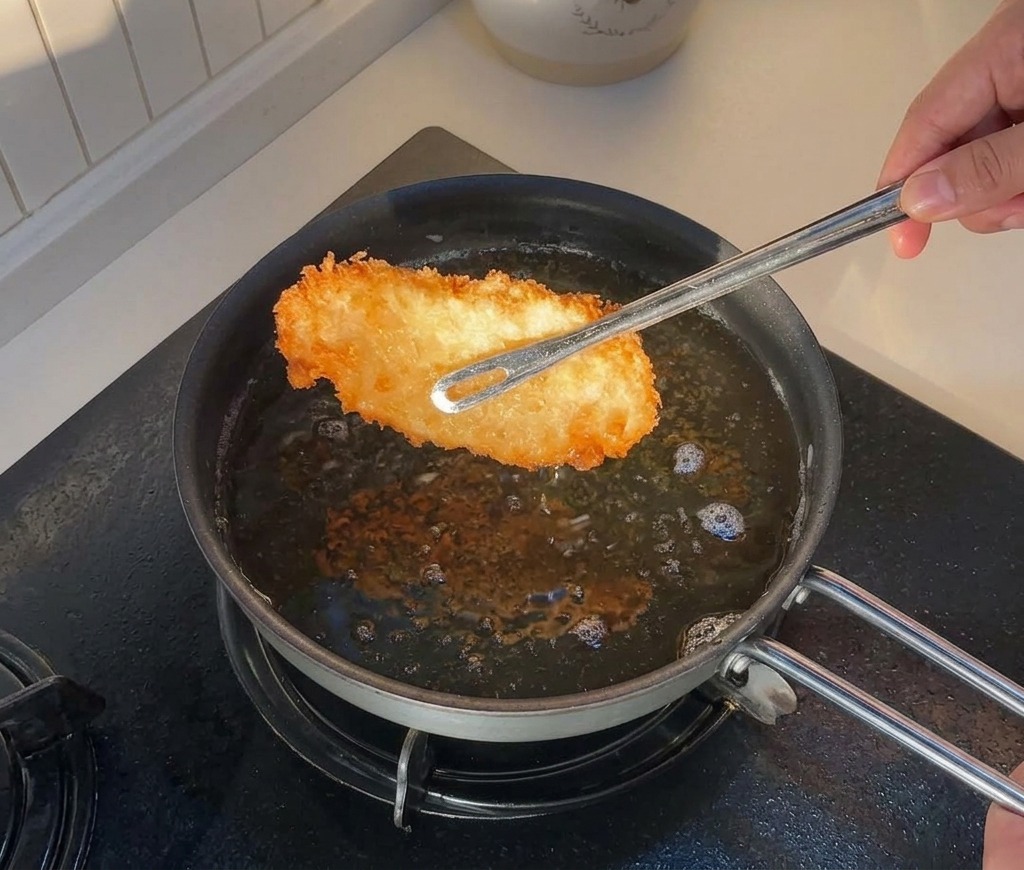
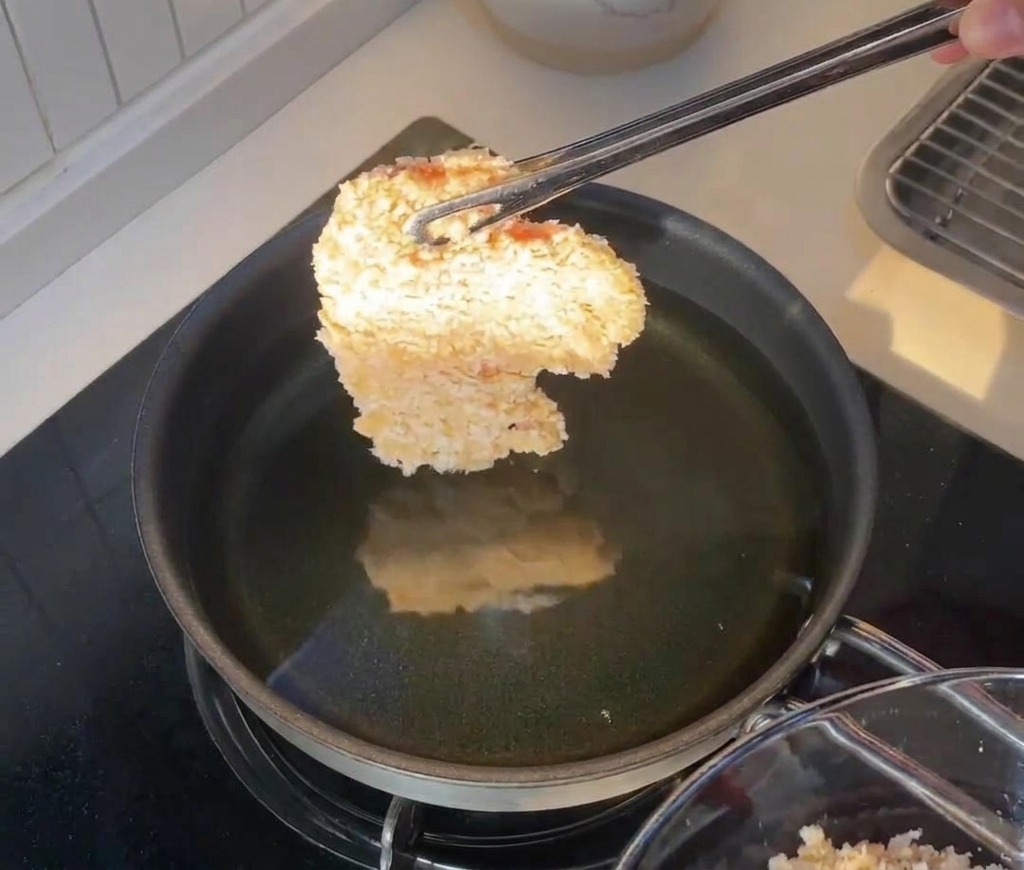
Once the chicken breast has set and is lightly browned after about three minutes of frying, use tongs to carefully lift it out of the hot oil. Allow any excess oil to drip back into the pan before setting the chicken aside.
Tip: Shake off the excess oil gently over the pan before resting the chicken to help keep the bottom crust from becoming soggy. - 10Second fry for crispiness
Raise the oil temperature and carefully lower the previously fried chicken breast pieces back into the hot oil for a second fry. Fry each side for only about 10 seconds to achieve a dark golden and extra crispy crust.
Tip: The second fry is crucial; the higher temperature quickly crisps the exterior and forces out excess oil for a less greasy finish. - 11Rest the chicken
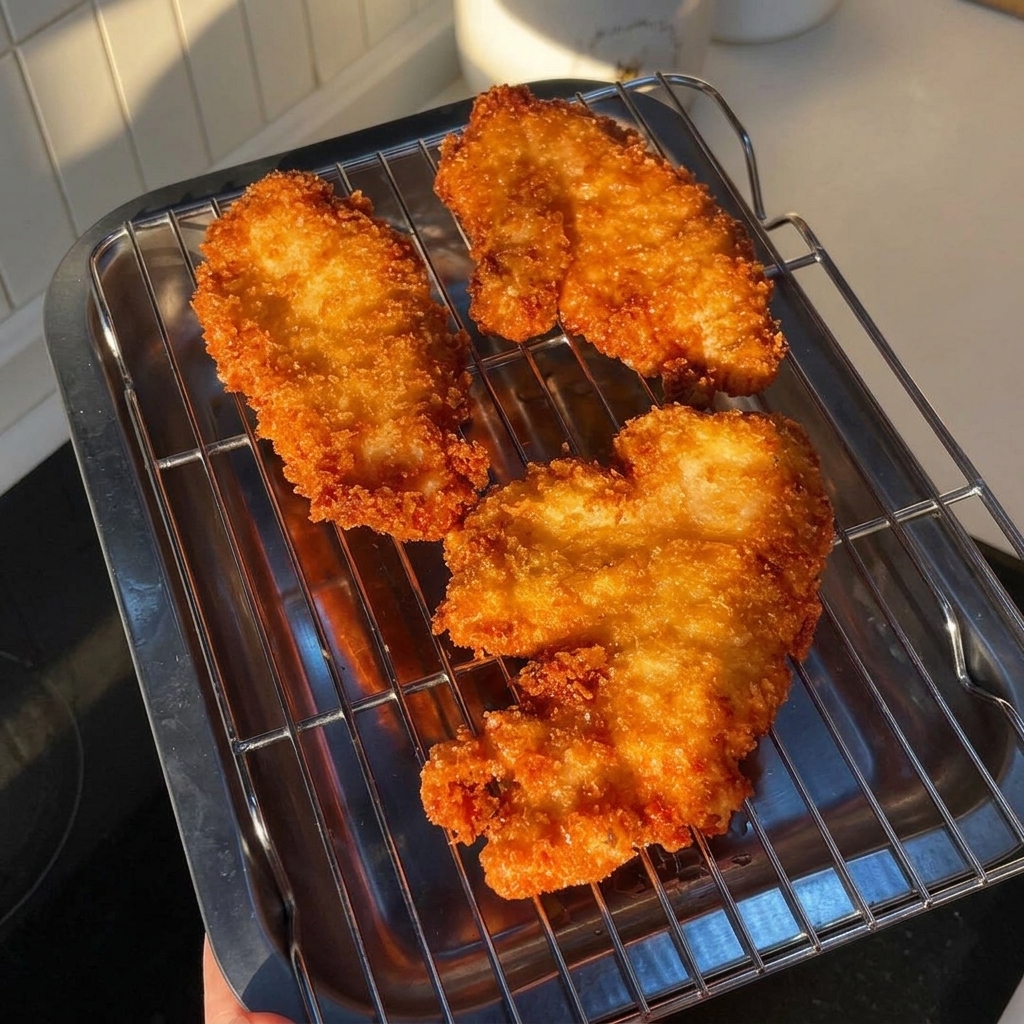
Transfer the dark golden, double-fried chicken pieces onto a wire cooling rack. Resting the meat on a rack rather than paper towels prevents the bottoms from getting soggy from trapped steam, keeping the crust perfectly crunchy.
Tip: While the chicken is still hot, you can sprinkle it with cumin powder and chili powder for an extra kick of flavor. - 12Prepare the honey mustard
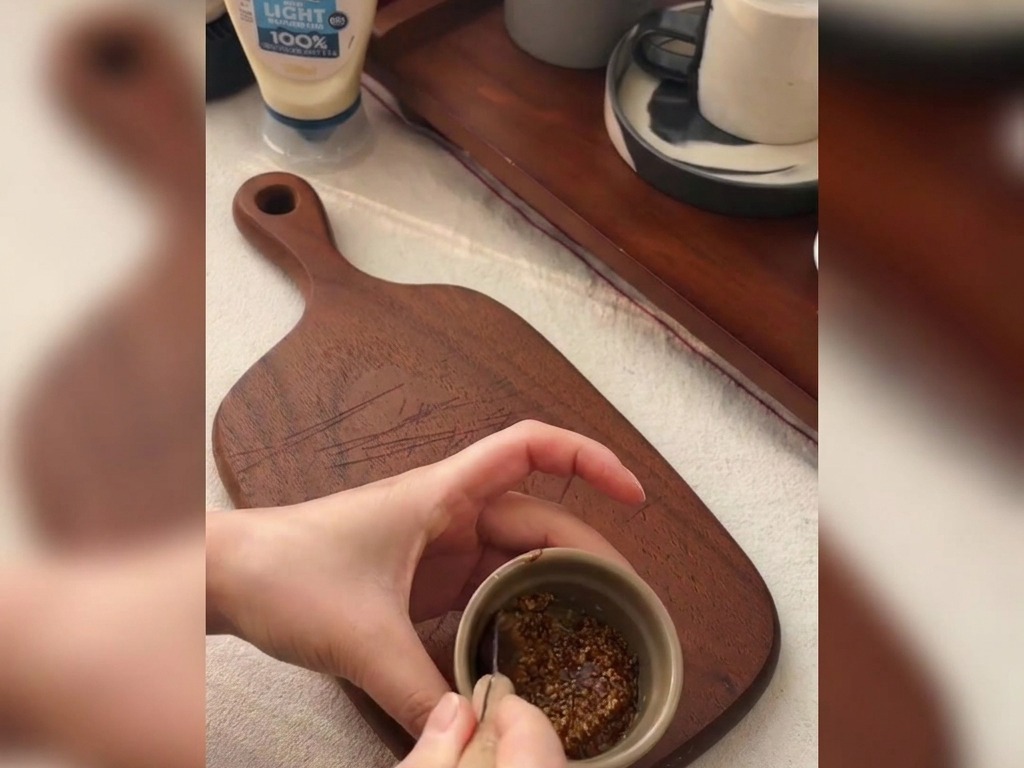
In a small bowl, combine coarse-grain mustard with a drizzle of honey to create a sweet and tangy spread for the sandwich. Stir the mixture thoroughly until well incorporated.
Tip: If you have store-bought Korean honey mustard at home, you can easily substitute it to save preparation time. - 13Apply mayonnaise
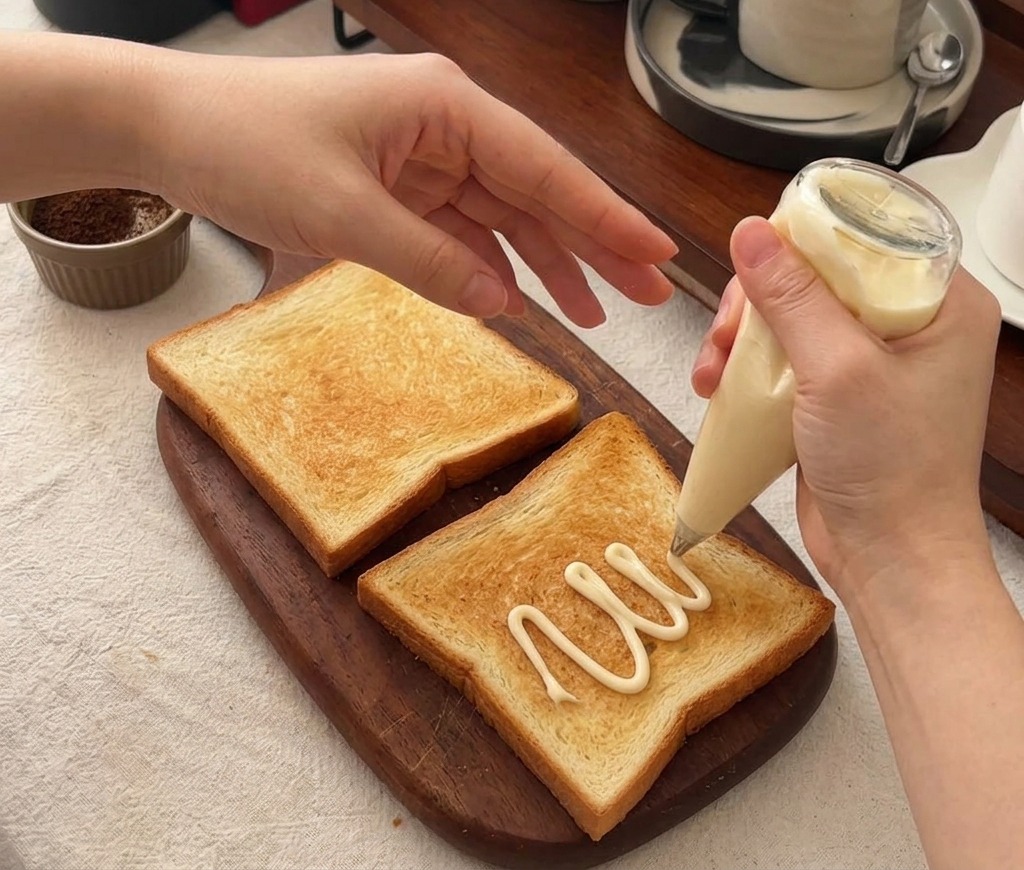
Take two slices of toasted bread. Squeeze a generous amount of low-fat egg yolk mayonnaise onto one of the slices, creating a zigzag pattern for even coverage.
Tip: You can toast the bread slices slightly beforehand in a toaster or pan for an extra crunchy texture. - 14Spread honey mustard
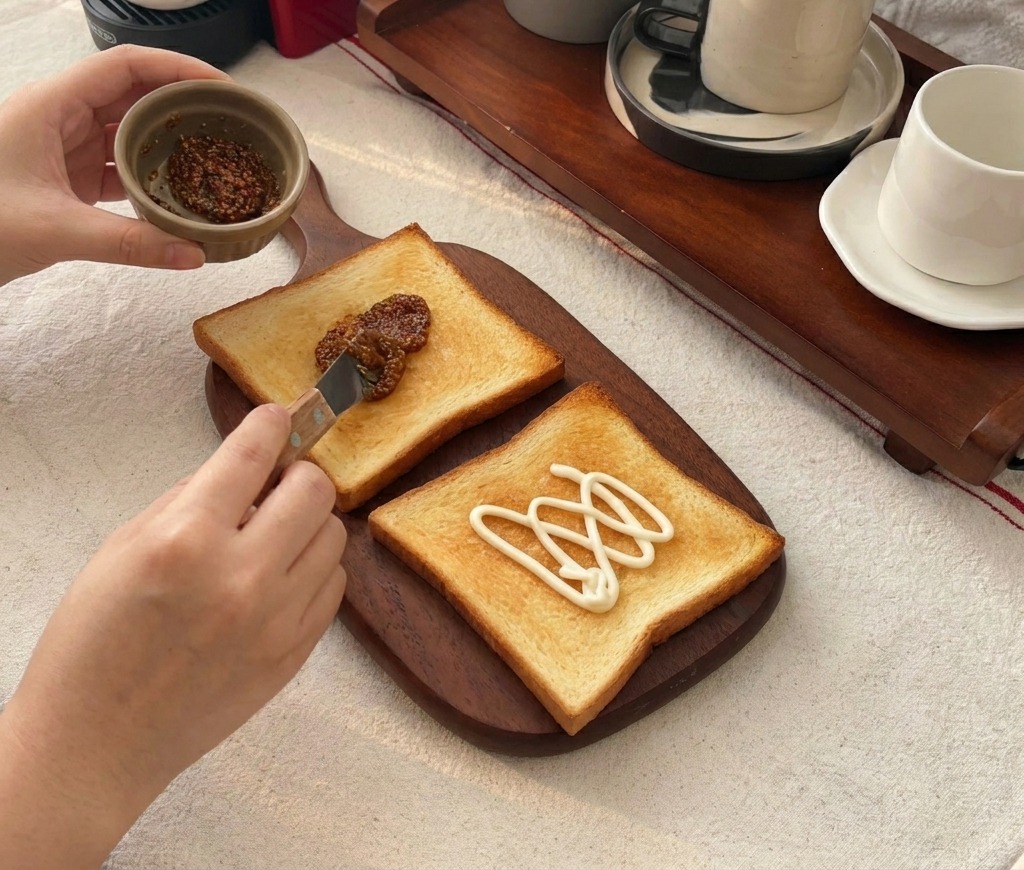
On the second slice of toasted bread, add coarse-grain mustard mixed with honey. Use a small knife or spreader to distribute the mustard mixture evenly across the surface.
Tip: Adjust the ratio of honey to coarse-grain mustard according to your preference for sweetness versus tanginess. - 15Add the fried chicken
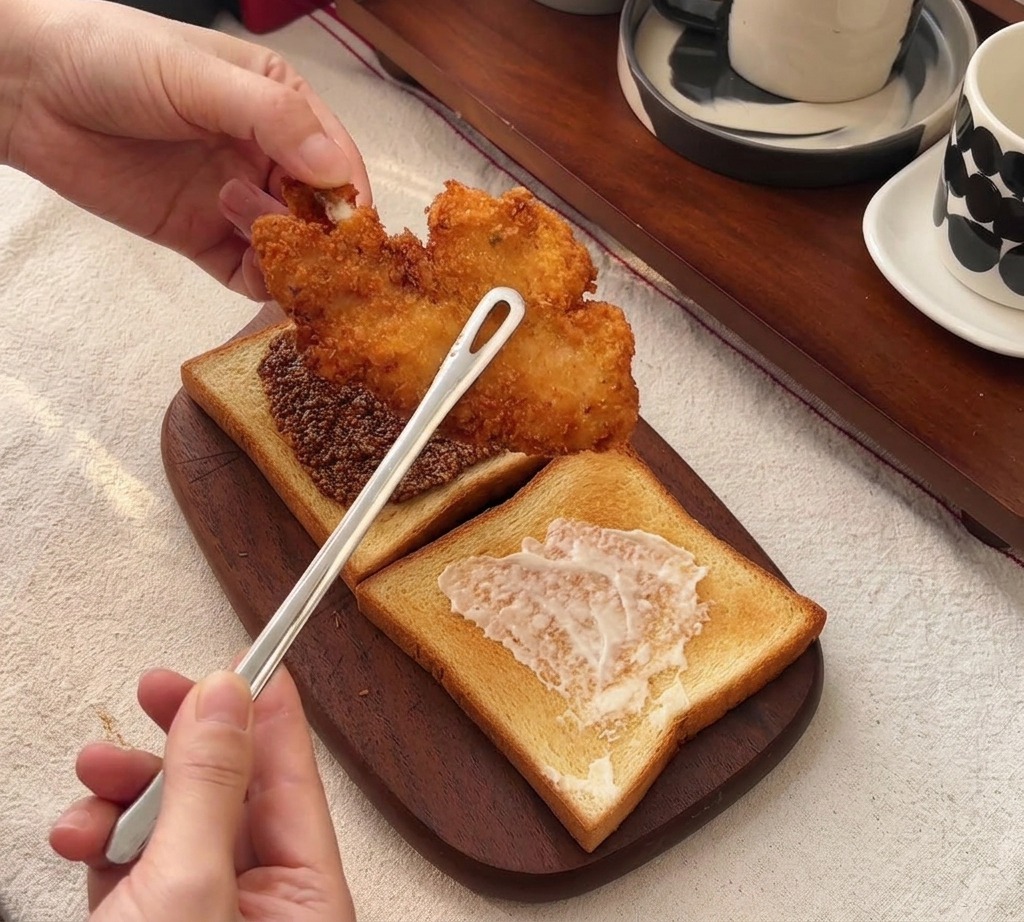
Using tongs, carefully pick up the double-fried, crispy chicken fillet and place it directly onto the toast slice that has been coated with the honey mustard spread.
Tip: Ensure the chicken has been briefly drained of excess oil on a wire rack before placing it on the bread to keep the sandwich from getting soggy. - 16Assemble and serve
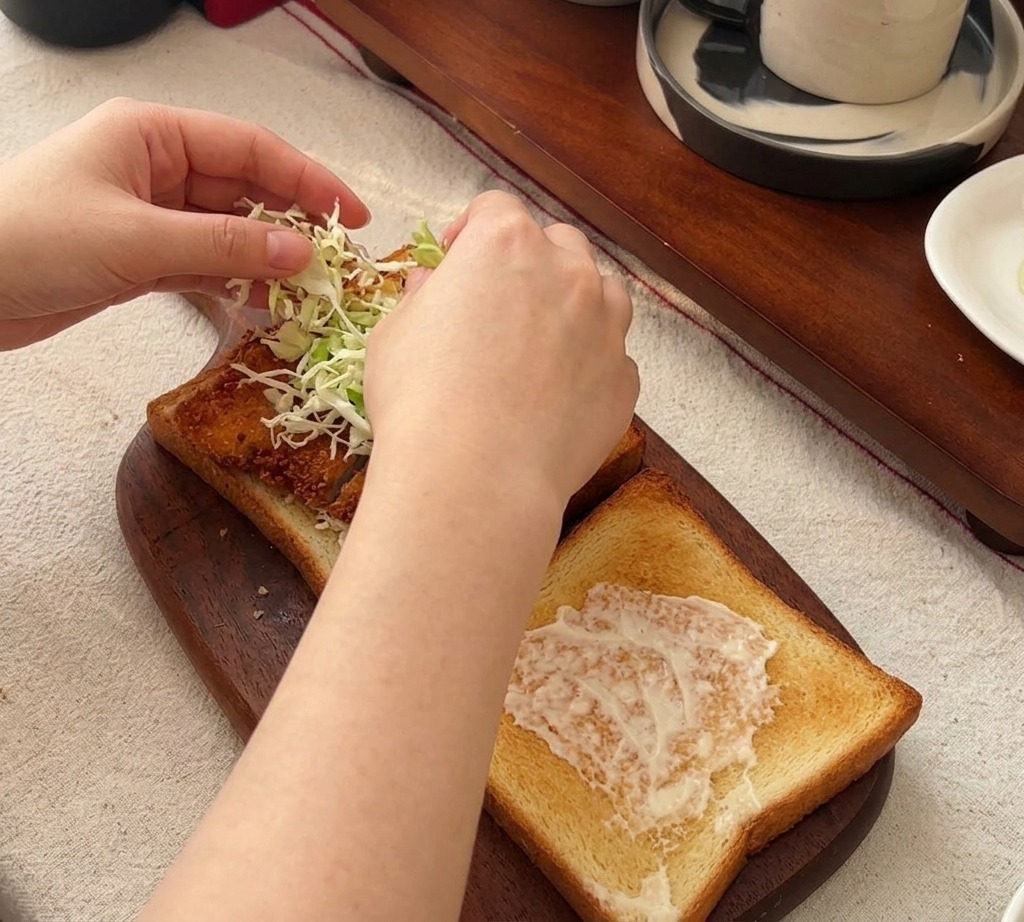
Pile a generous amount of shredded lettuce or cabbage onto the honey mustard toast. Top with the second slice of mayo-coated toast, press down gently, and slice the sandwich in half to reveal the crispy cross-section.
Tip: Make sure the shredded lettuce is completely dry before adding it to maintain the overall crispness of the sandwich layers.