Homemade Teriyaki Chicken Burger
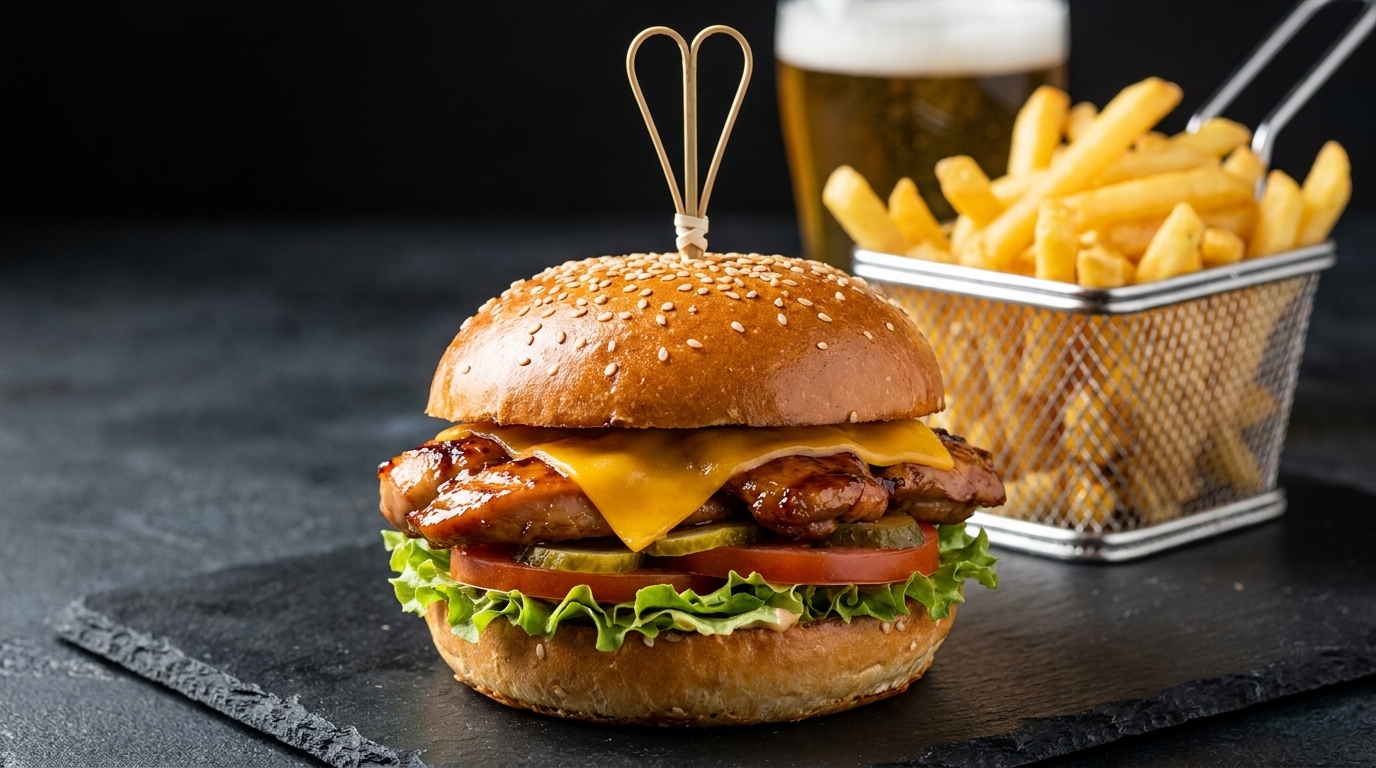
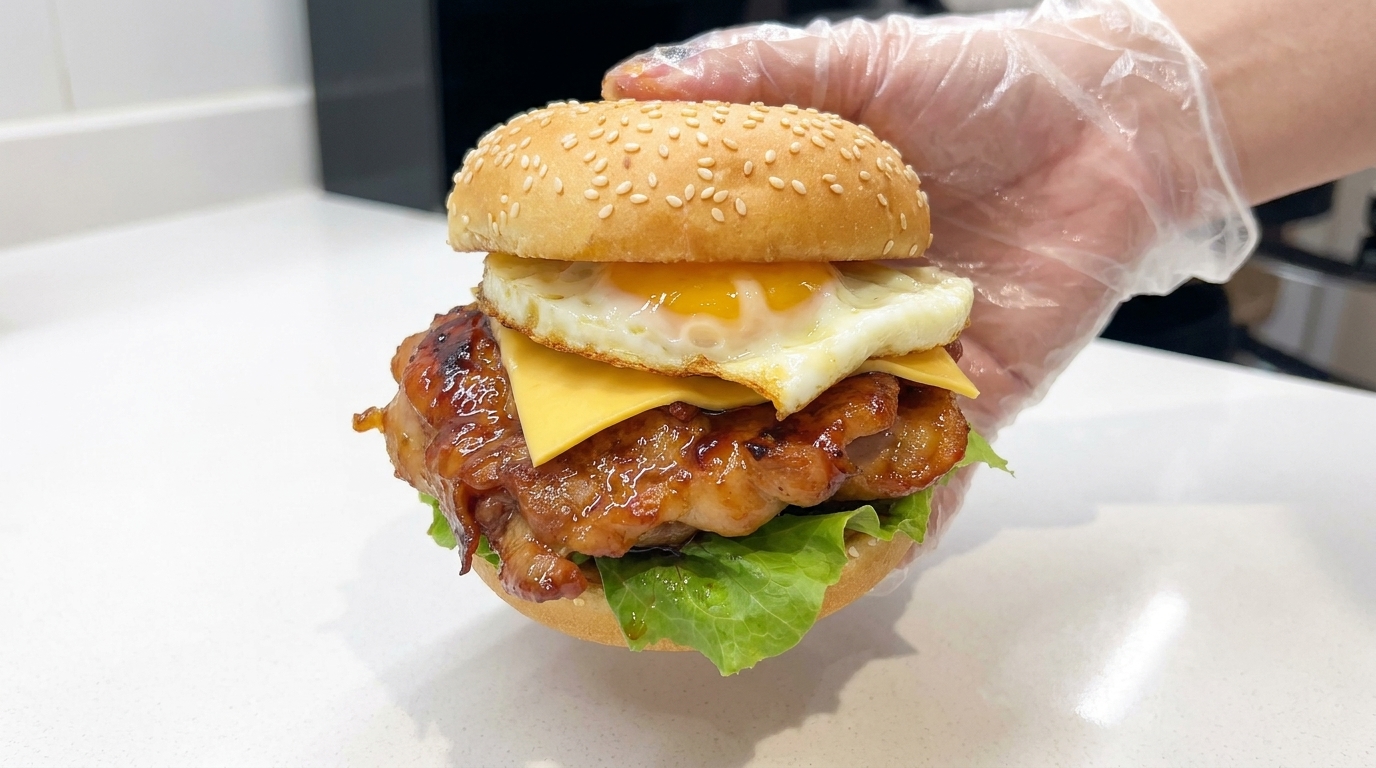
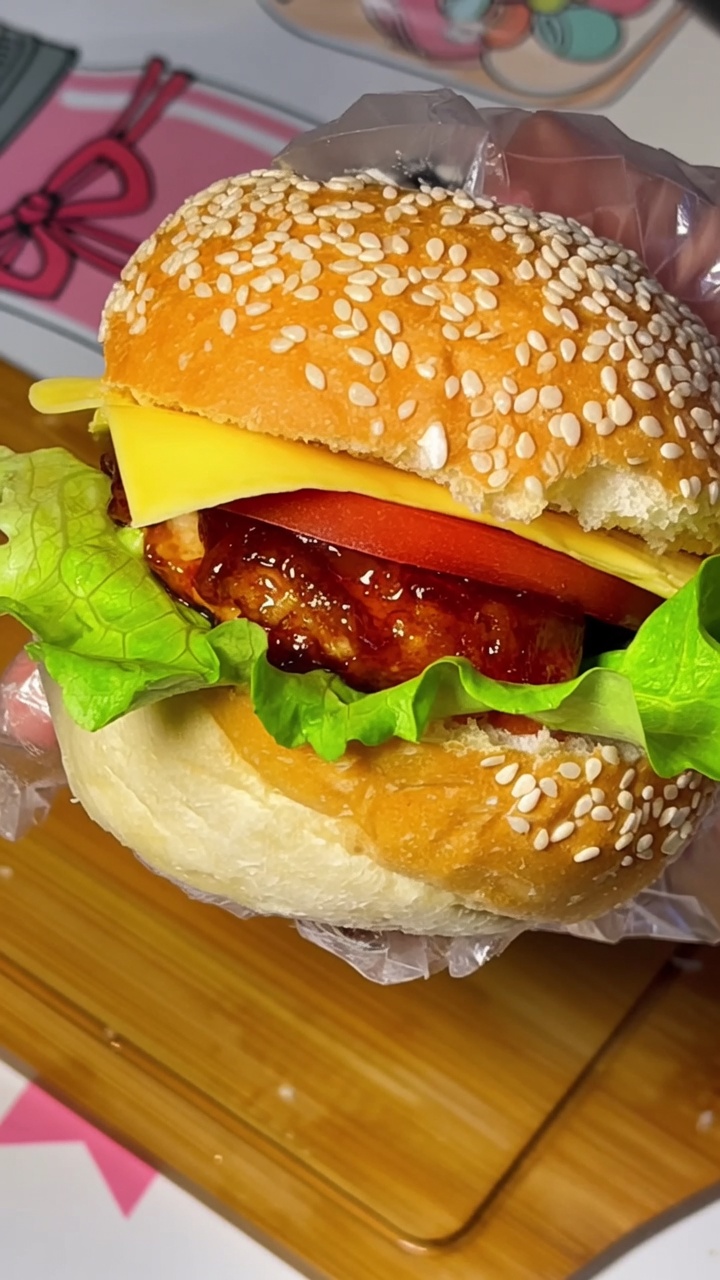
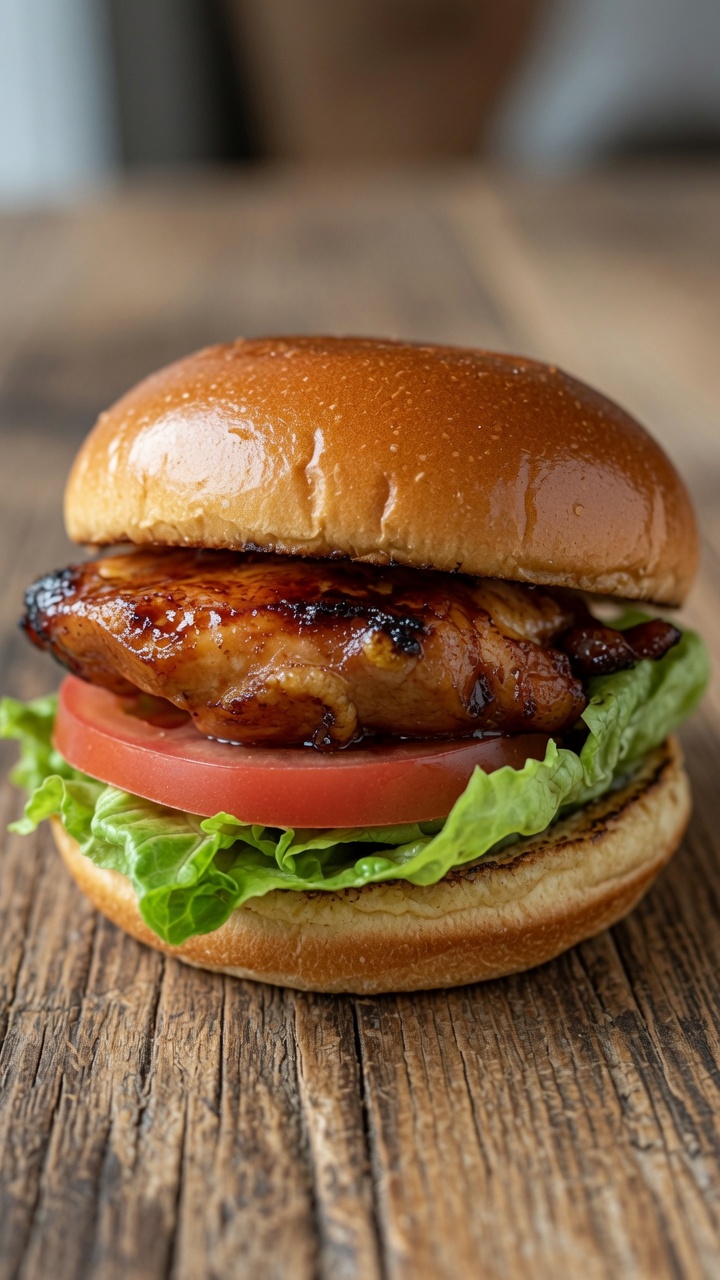
Elevate your burger game with this homemade teriyaki chicken burger featuring a succulent, honey-glazed chicken thigh, a fried egg, and melted cheese on a soft, scratch-made bun.
This teriyaki chicken burger brings together the comforting textures of a bakery-fresh bun with the savory, umami-packed flavors of traditional Japanese-style teriyaki. By marinating the chicken thighs overnight and crafting the buns from scratch, you achieve a level of depth and tenderness that elevates the humble burger into a gourmet experience. It is the perfect balance of sweet, salty, and creamy, finished with a sunny fried egg for extra richness.
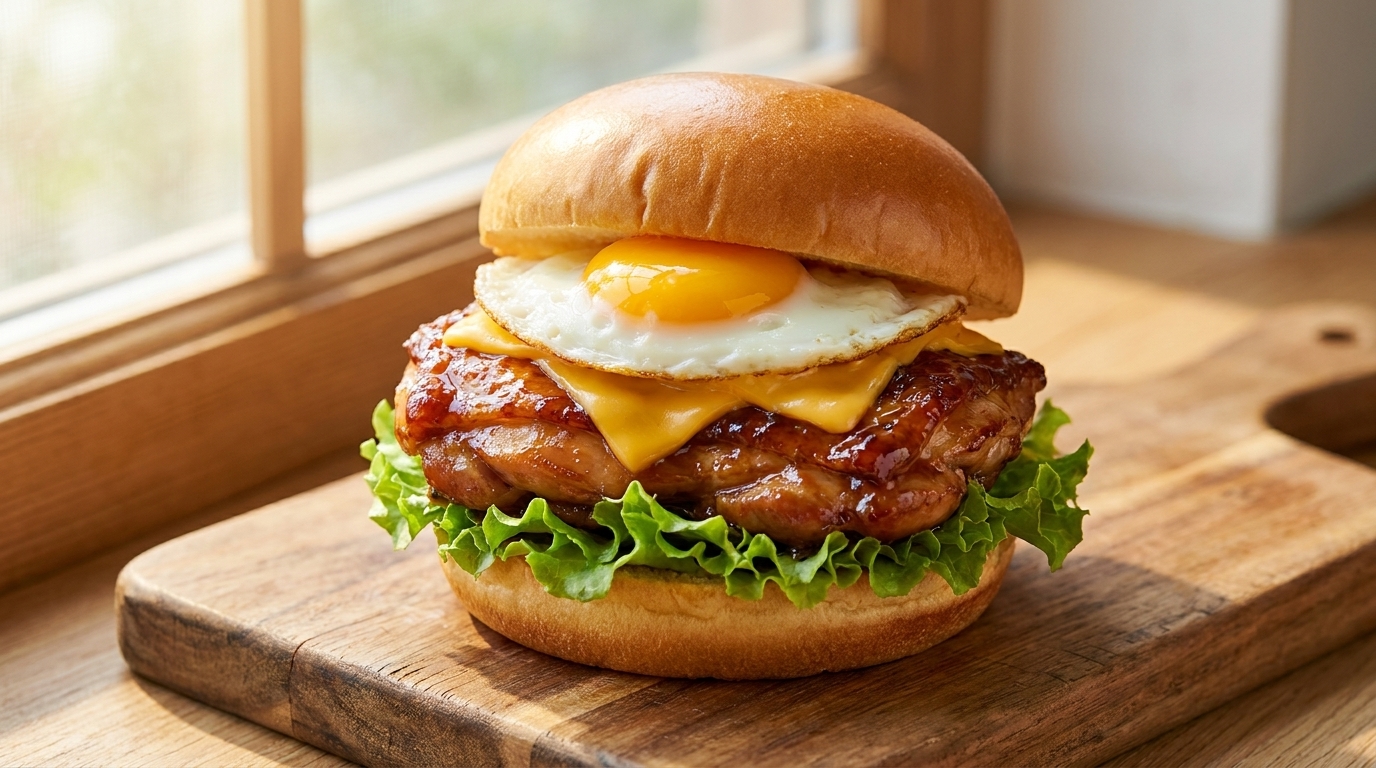
Ingredients
- 6 chicken thighs, boneless
- 1 yellow onion, sliced
- 1 tbsp fresh ginger, minced
- 1 tbsp garlic, minced
- 2 tbsp honey
- 3 tbsp light soy sauce
- 1 tbsp dark soy sauce
- 1 tbsp oyster sauce
- 1 tsp sugar
- 500g all-purpose flour
- 7g instant yeast
- 50g sugar
- 250ml lukewarm milk
- 1 egg
- 30g milk powder
- 40g butter, softened
- 6 eggs, for frying
- 6 cheddar cheese slices
- 6 lettuce leaves
- to taste mayonnaise
- to taste ketchup
- to taste MSG, pepper
Instructions
- 1Debone the chicken thighs
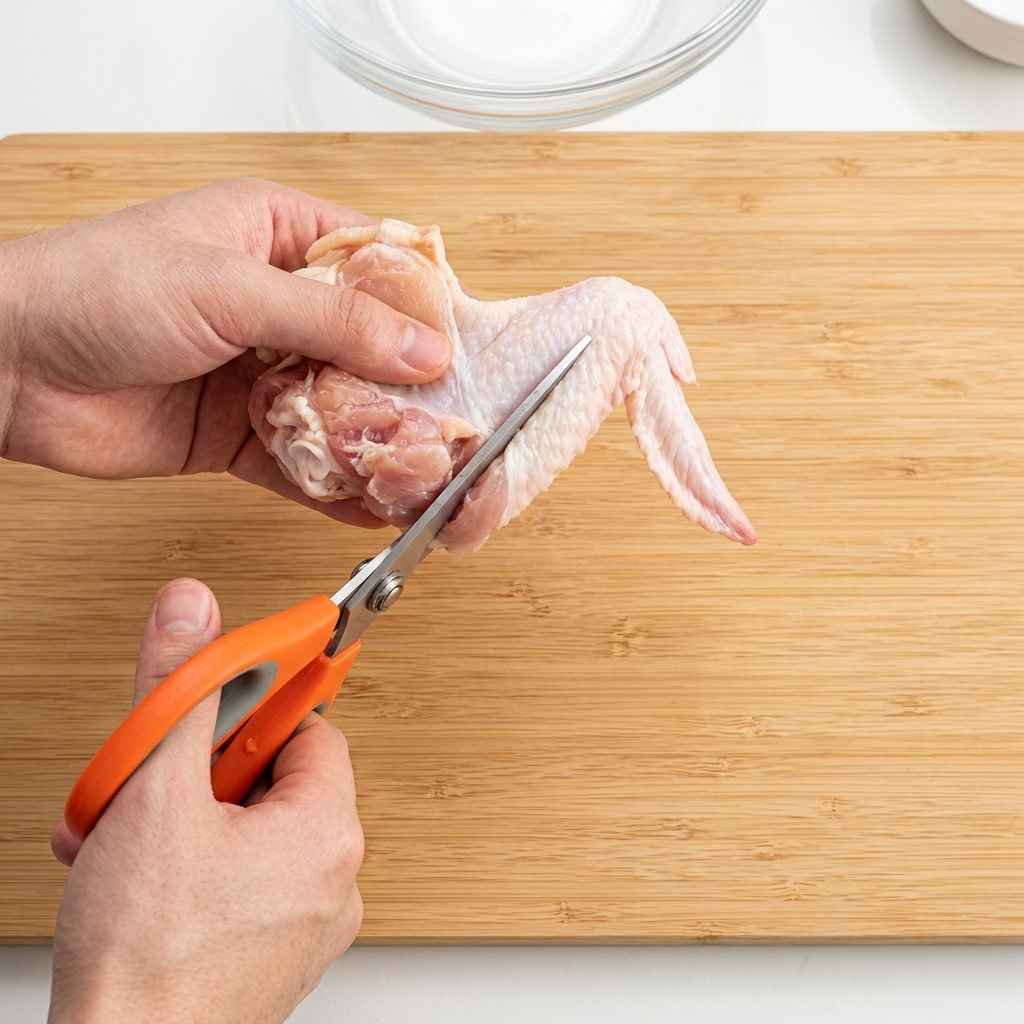
Place the chicken thighs on a clean cutting board. Using a pair of sharp kitchen scissors, carefully cut along the bone to detach the meat. Work slowly to remove the bone entirely, keeping the thigh fillet intact for even cooking.
Tip: Keep the chicken skin on for added flavor and texture when pan-frying. - 2Marinate the chicken
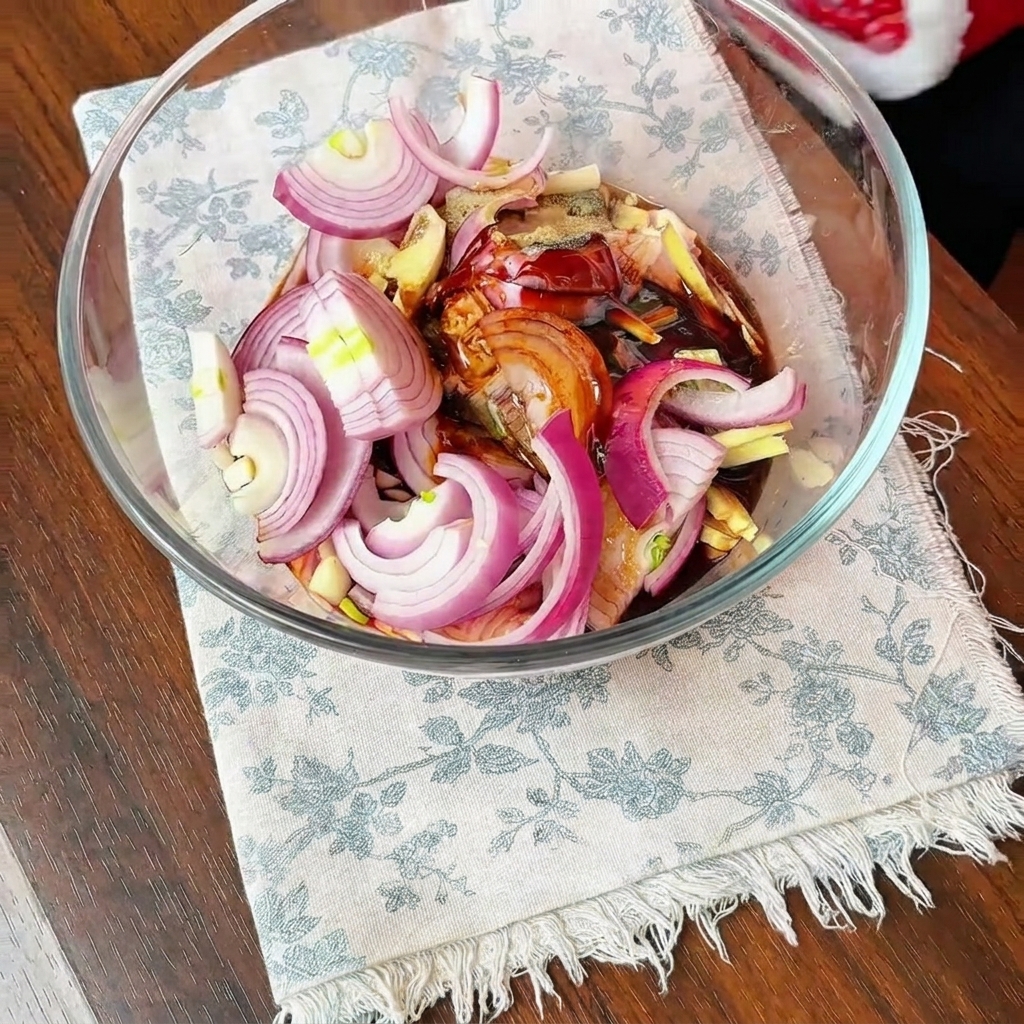
In a large mixing bowl, combine the deboned chicken thighs with sliced onion, ginger, garlic, pepper, sugar, MSG, honey, light soy sauce, dark soy sauce, and oyster sauce. Massage the marinade thoroughly into the meat to ensure it is well-coated. Cover and refrigerate, preferably overnight, to allow the flavors to penetrate deep into the chicken.
Tip: If you are short on time, marinating for at least 30 minutes at room temperature can work in a pinch. - 3Prepare the burger dough
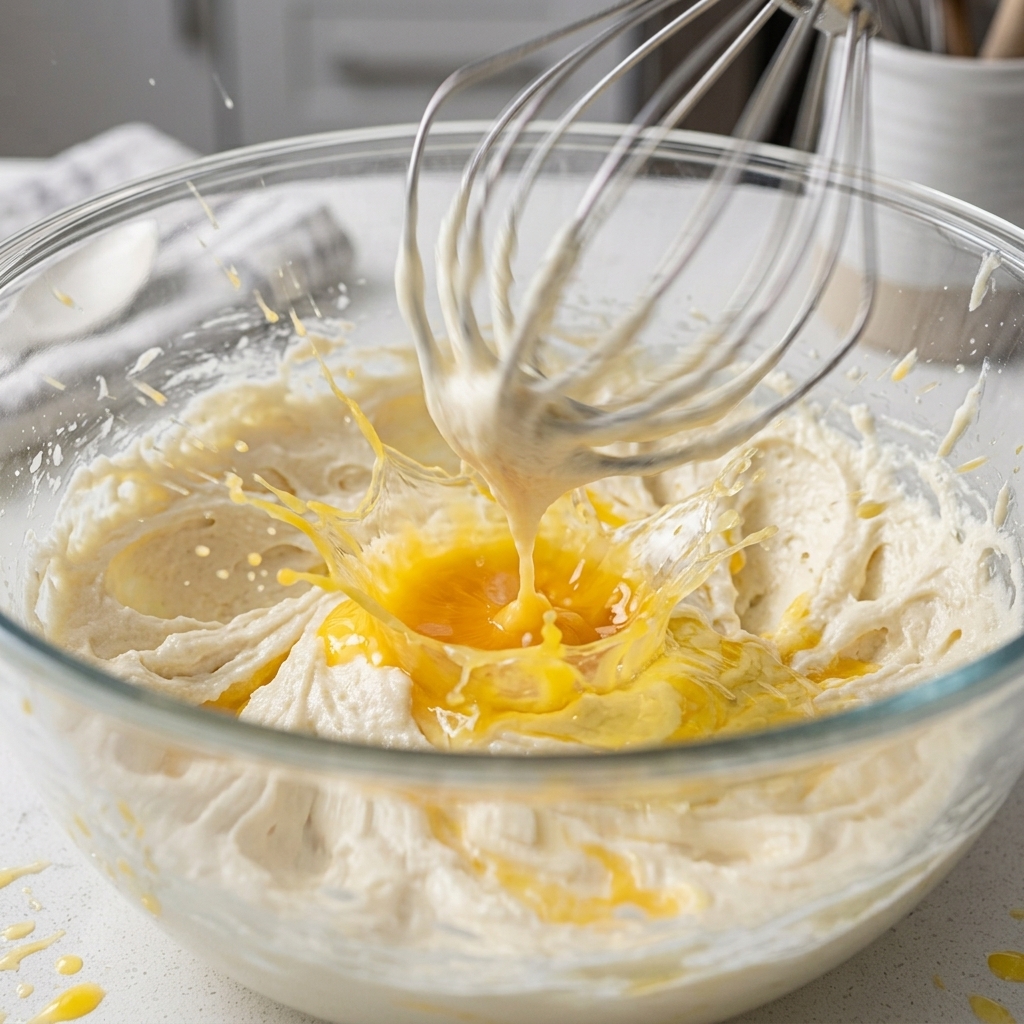
In the bowl of a stand mixer, combine flour, yeast, sugar, milk, an egg, milk powder, and butter. Mix on a low to medium speed until the ingredients come together and the dough becomes smooth and elastic. Proper kneading ensures a soft and airy bun structure.
Tip: Ensure your milk is lukewarm, not hot, to avoid killing the yeast. - 4Shape the dough
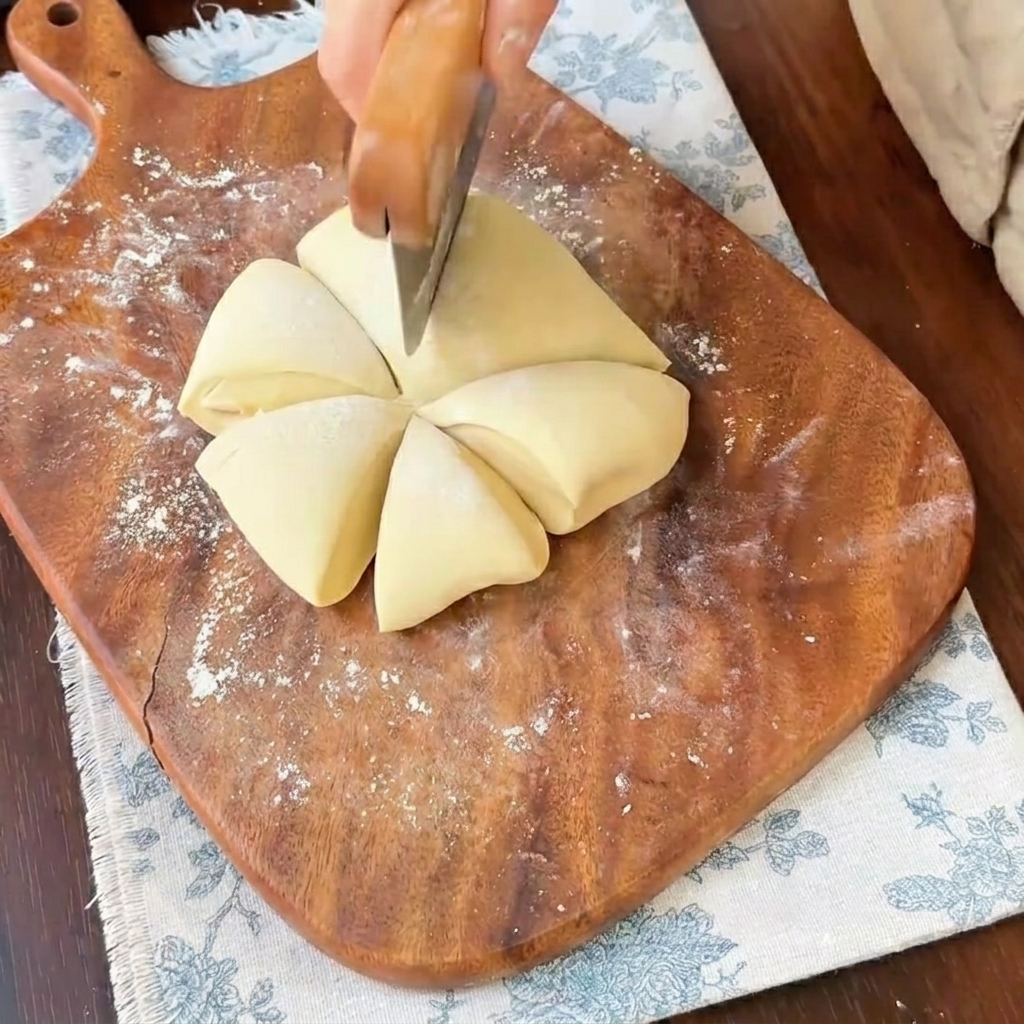
Once the dough is smooth, transfer it to a floured wooden surface. Divide the dough into six equal portions. Use your hands to round each piece into a smooth, tight ball to ensure an even rise during the proofing stage.
Tip: Cover the dough balls with a damp cloth while you work to prevent them from drying out. - 5Apply egg wash and bake
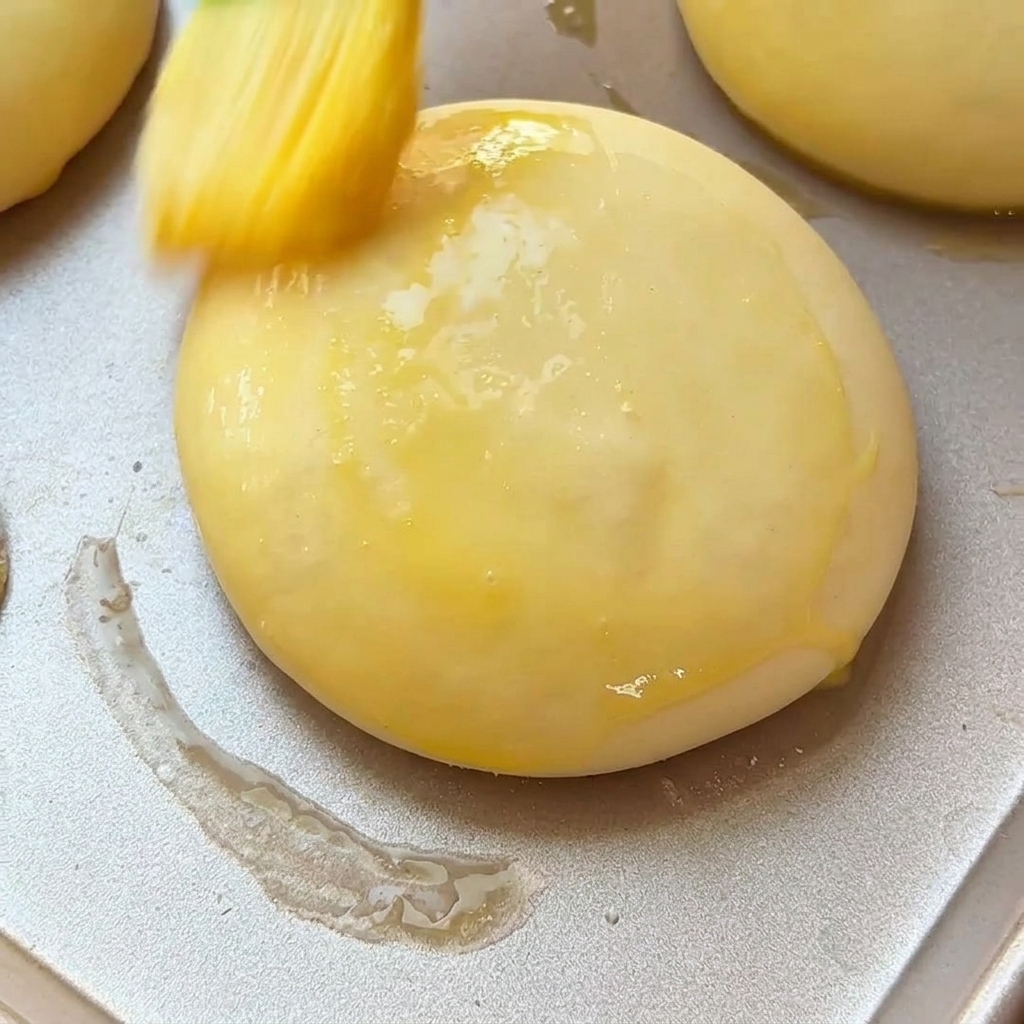
After proofing the shaped dough balls until they have doubled in size, gently brush the tops with an egg wash. This will provide a beautiful, golden-brown sheen once baked. Preheat your oven to 180 degrees and bake for 16-18 minutes until golden and cooked through.
Tip: Whisk the egg with a splash of water or milk for a more even, streak-free application.