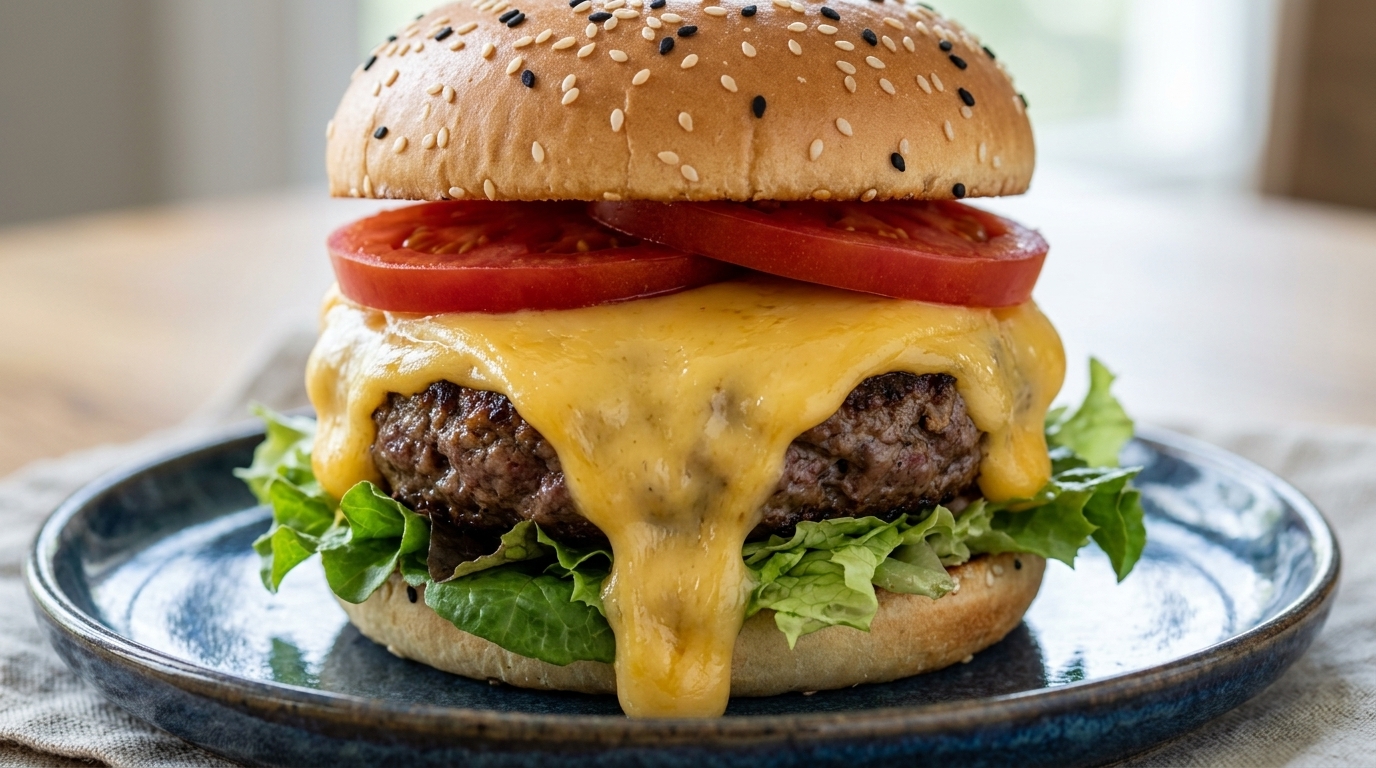
Classic Homemade Beef Cheeseburger
Elevate your burger game with this juicy, homemade cheeseburger. Featuring a seasoned beef patty, perfectly melted cheese, and fresh crisp toppings.
A great cheeseburger is all about balancing rich, savory flavors with fresh textures. By seasoning the ground beef with a touch of Sichuan peppercorn and oyster sauce, you create a patty with incredible depth. Combined with a soft, toasted bun and crisp vegetables, this recipe delivers a classic, mouthwatering experience right in your kitchen.
Ingredients
- 500 g ground beef
- 1 small onion
- 2 slices cheddar cheese
- 2 burger buns
- 2 leaves lettuce
- 1 tomato
- 2 tbsp salad dressing
- 1 tbsp light soy sauce
- 1 tbsp oyster sauce
- 1/2 tsp Sichuan peppercorn powder
- to taste salt
- 1 tbsp vegetable oil
Instructions
- 1Slice the tomatoes

Begin by washing the fresh red tomatoes and placing them on a wooden cutting board. Use a sharp cleaver or knife to carefully cut them into even slices.
Tip: Slice the tomatoes slightly thick so they maintain their shape and provide a juicy bite in the assembled burger. - 2Season the minced beef
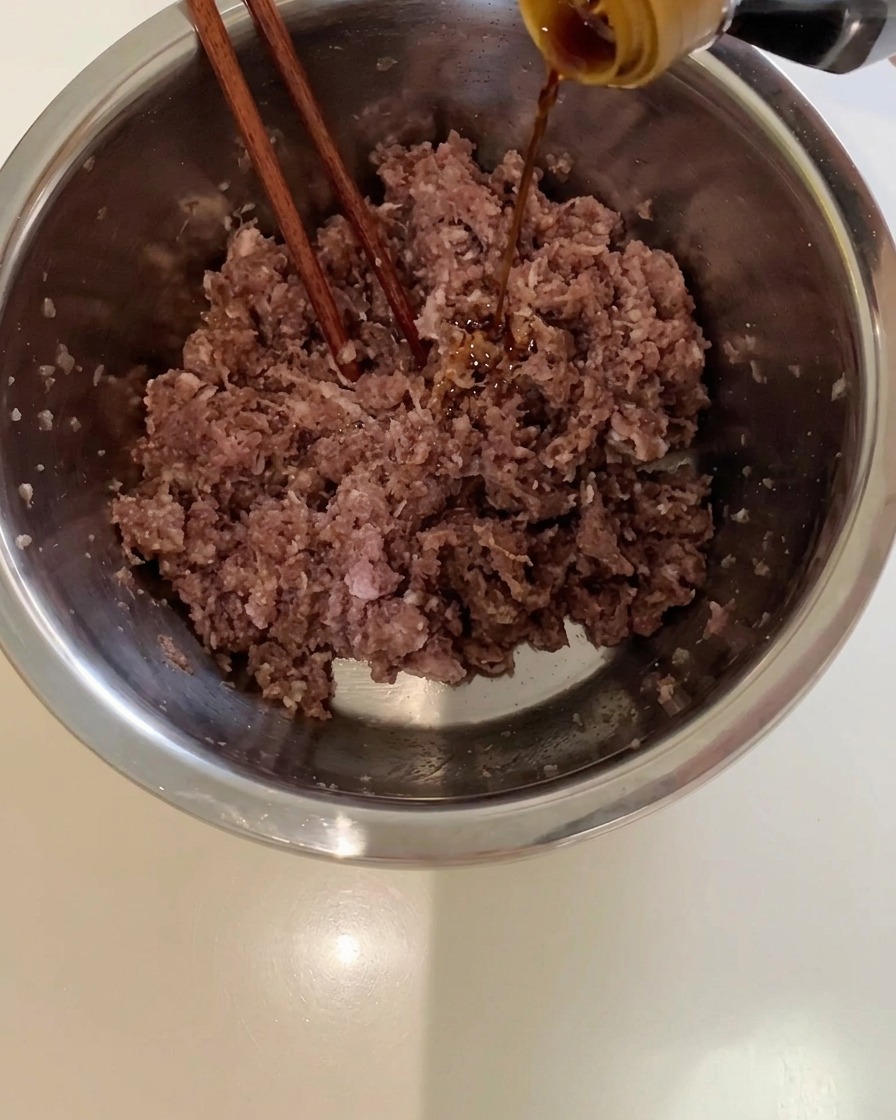
Place the minced beef and minced onion into a large mixing bowl. Pour in the light soy sauce and oyster sauce, then add salt and Sichuan peppercorn powder to give the meat a rich flavor profile.
Tip: Adding a touch of Sichuan peppercorn powder brings a unique, subtle kick that elevates the savory notes of the beef patty. - 3Mix the ingredients well
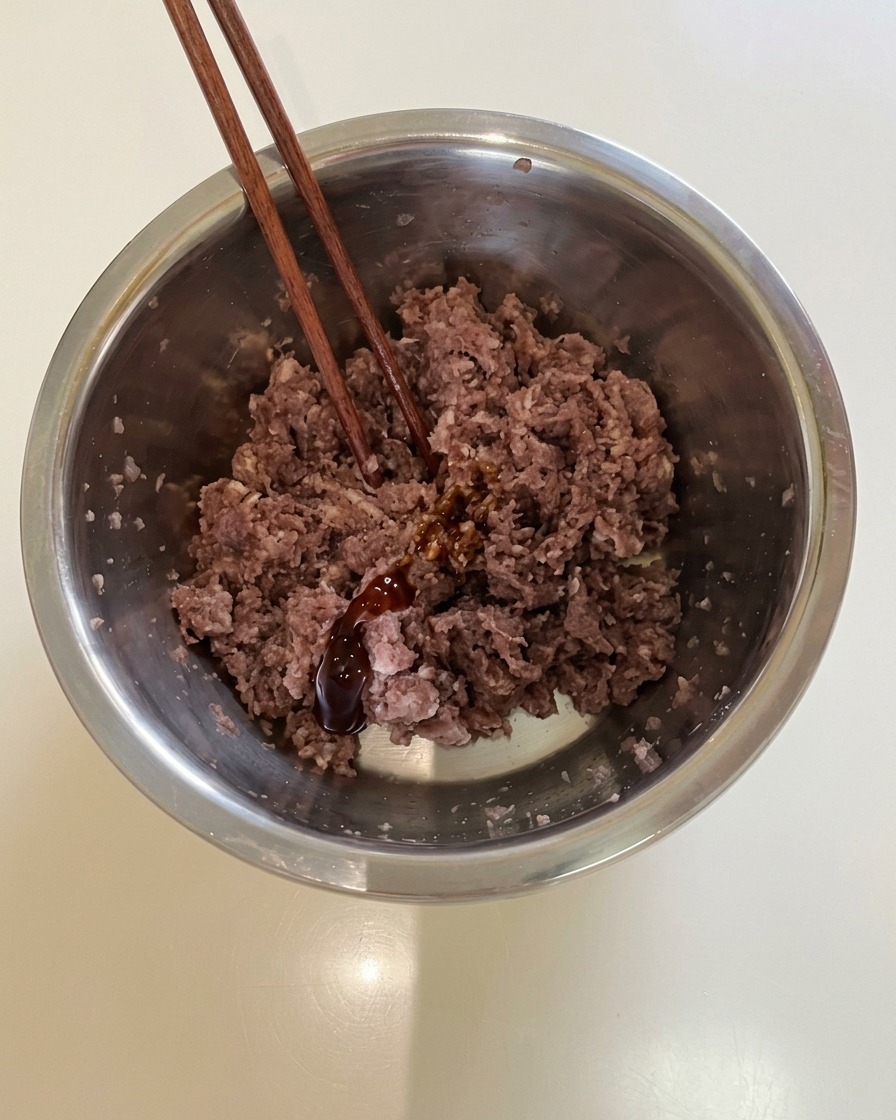
Using chopsticks or a spoon, vigorously stir the minced beef and seasonings together. Ensure all the liquid sauces and spices are fully absorbed evenly throughout the meat.
Tip: Stir the meat mixture consistently in one direction until it becomes slightly sticky; this helps the patties hold their shape during frying. - 4Shape the beef patties
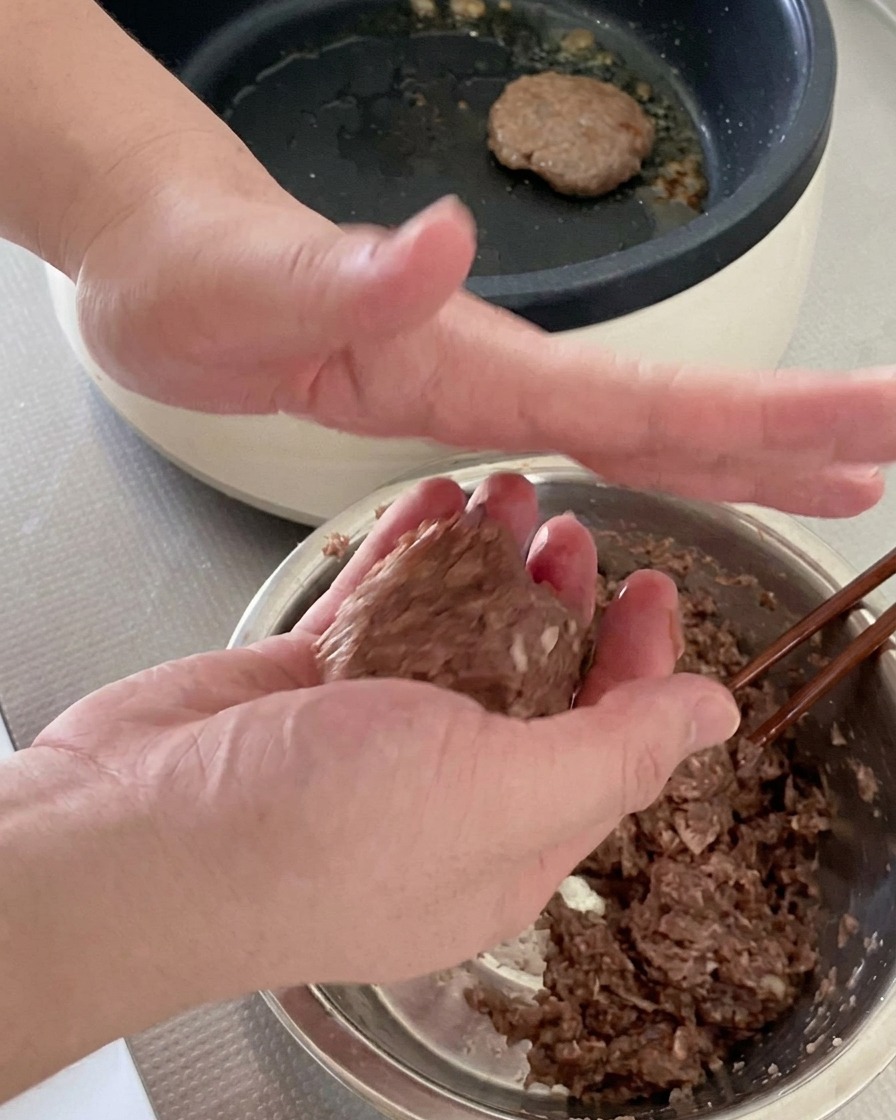
Take a portion of the seasoned minced beef and form it into a rough ball. Toss the meat back and forth firmly between your hands several times to release air pockets and shape it into a round, dense patty.
Tip: Tossing the meat between your hands creates a firmer patty that wont fall apart or crumble when flipped in the pan. - 5Fry the beef patties
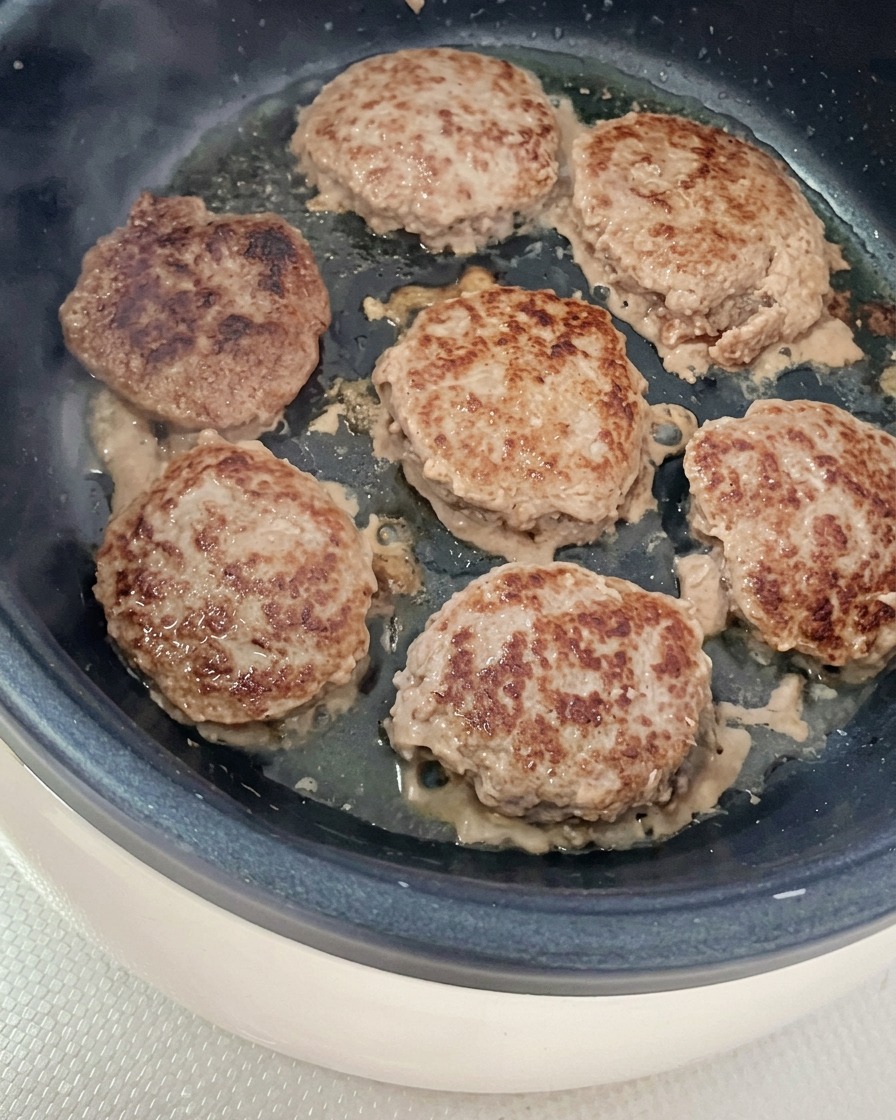
Heat a little oil in a large frying pan over medium heat. Place the shaped beef patties into the pan and fry until the bottoms develop a rich brown crust, then flip to cook the other side.
Tip: Avoid pressing down on the patties with your spatula while they cook, as this squeezes out their natural juices and makes the burgers dry. - 6Toast the burger buns
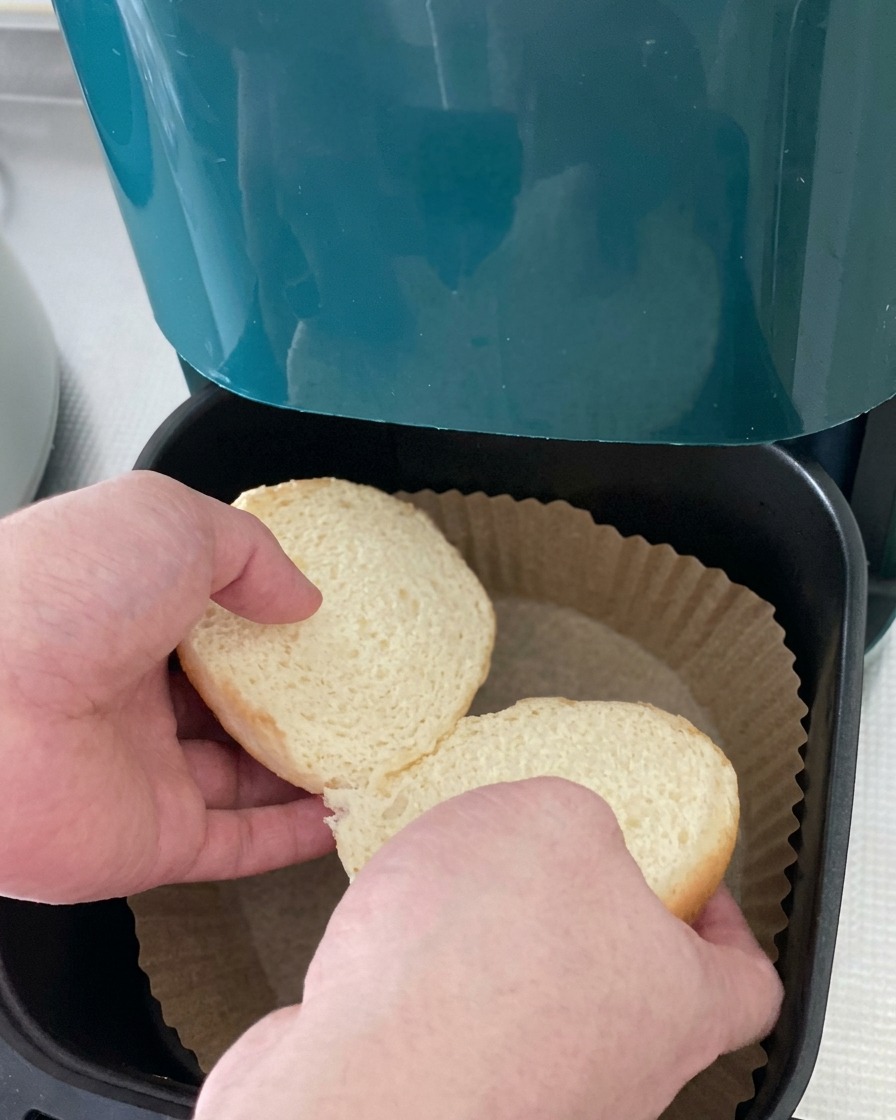
Open the burger buns and place the halves into the basket of an air fryer. Heat them briefly until they become warm, fragrant, and slightly crispy on the edges.
Tip: If using parchment paper in the air fryer, ensure the buns weigh it down properly so the paper doesnt fly up into the heating element. - 7Dress the burger buns
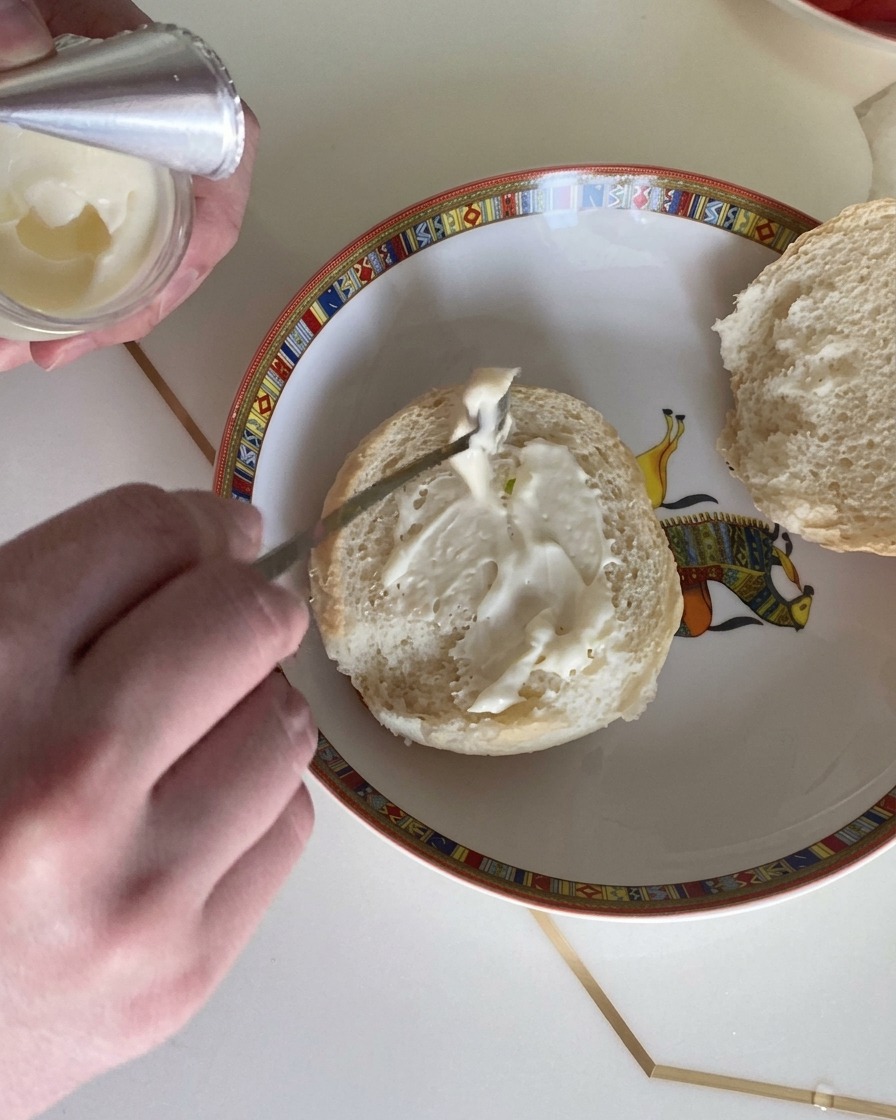
Take the toasted burger buns and spread a generous layer of white salad dressing onto the cut surfaces. This adds creaminess and binds the ingredients together for a better-tasting burger.
Tip: Make sure the buns are lightly toasted or warmed first to prevent the dressing from making them soggy. - 8Add fresh lettuce

Place a fresh, crisp lettuce leaf directly onto the dressed surface of the bottom burger bun. This provides a refreshing crunch and a vibrant color contrast to the finished burger.
Tip: Pat the lettuce leaves dry after washing to ensure they stay crisp when added to the warm patty. - 9Melt the cheese

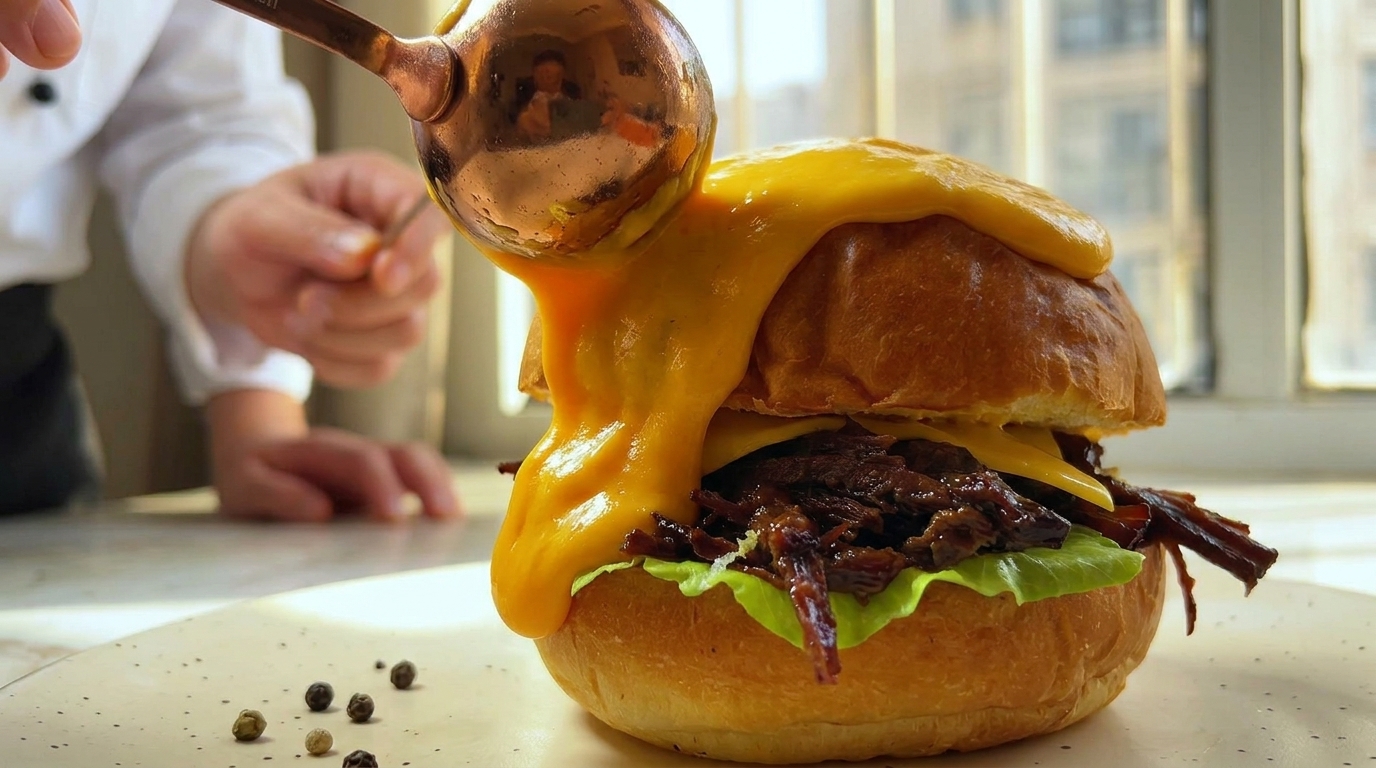
Once the beef patties are cooked, place a slice of yellow cheese on top of each one while they are still in the hot pan. Allow the residual heat to melt the cheese until it becomes perfectly gooey and coats the patty.
Tip: Covering the pan with a lid for a few seconds can help melt the cheese more evenly and quickly. - 10Assemble the patty
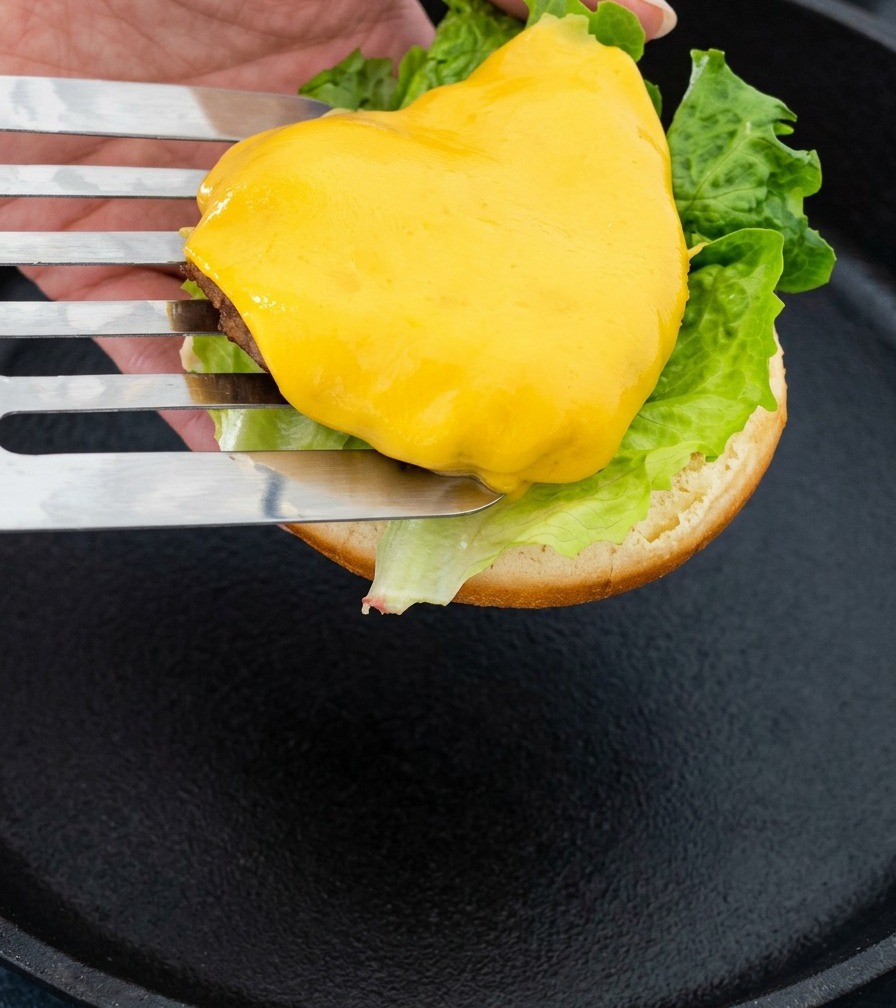
Carefully lift the hot beef patty with melted cheese using a spatula and transfer it onto the prepared bun base, resting it securely on the lettuce leaf.
Tip: Be gentle when transferring to keep the cheese layer intact and centered. - 11Add tomato slices
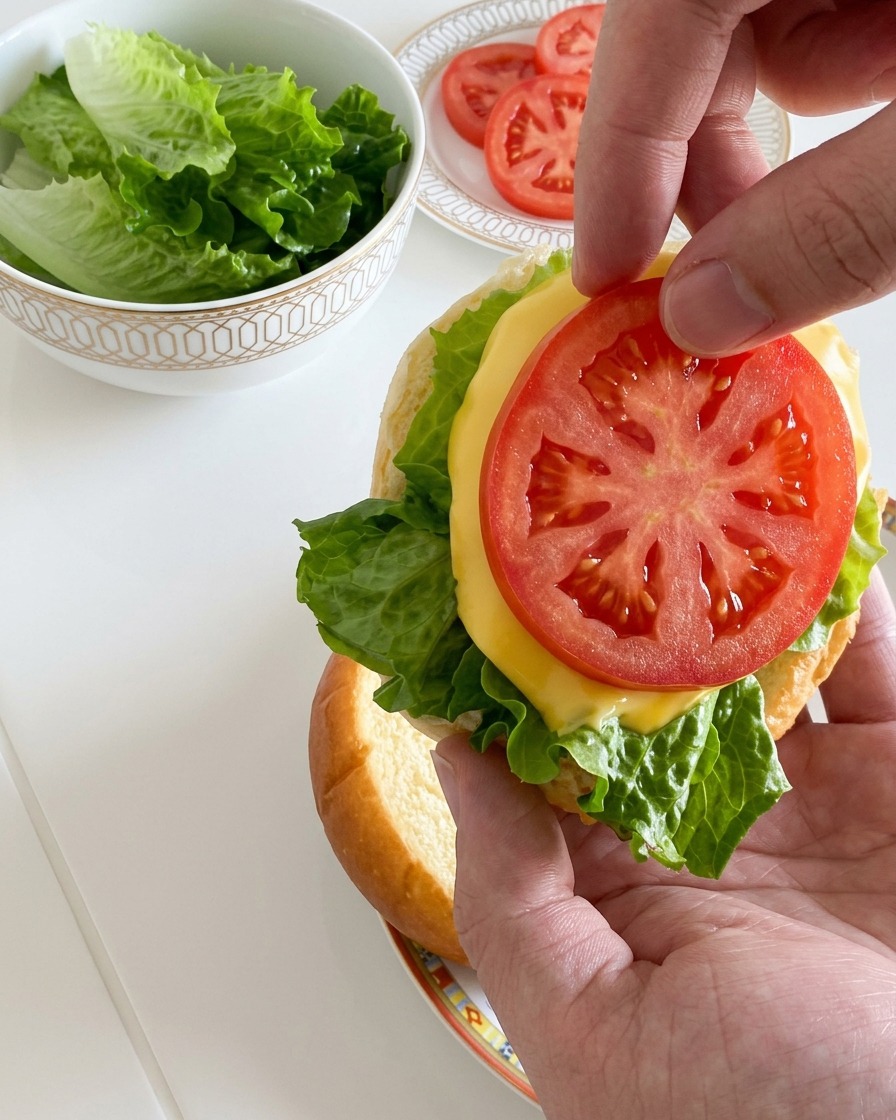
Layer a fresh slice of red tomato on top of the melted cheese. The juicy tomato adds a bright, slightly acidic flavor that balances the richness of the beef.
Tip: Use firm, ripe tomatoes and slice them evenly so they stay in place on the burger.