Japanese Teriyaki Hamburger Steak (Hambagu)
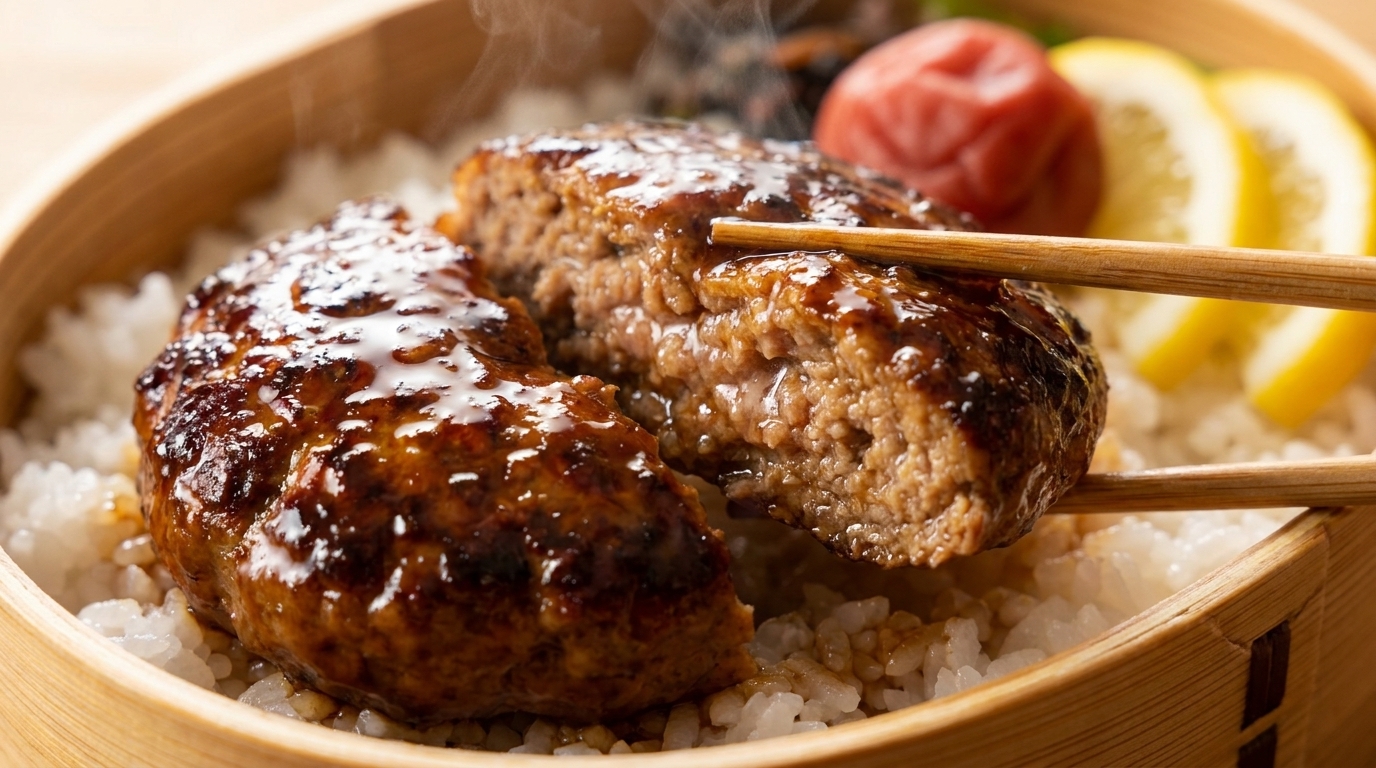
This classic Japanese yōshoku features a thick, incredibly juicy meat patty pan-seared to perfection and generously coated in a sweet, savory, and glossy teriyaki glaze.
Hambagu, or Japanese hamburger steak, is a comforting and wildly popular main dish in Japan. Unlike its American counterpart, it is typically served without a bun, accompanied instead by a bowl of hot white rice. The secret to its signature melt-in-your-mouth texture lies in the precise mixture of milk-soaked breadcrumbs and finely chopped onions kneaded directly into the minced meat.
Ingredients
- 400 g minced meat (beef and pork blend)
- 1/2 onion
- 2 tbsp cooking wine
- 2 tbsp mirin
- 2 tbsp soy sauce
- 1 tbsp sugar
- 1 tsp starch
- to taste salt and black pepper
- 1 tsp grated ginger
- 1/2 cup panko breadcrumbs
- 3 tbsp milk
- 1 egg
- optional white rice
- optional lemon slices
- optional pickled plum
Instructions
- 1Prepare the onions
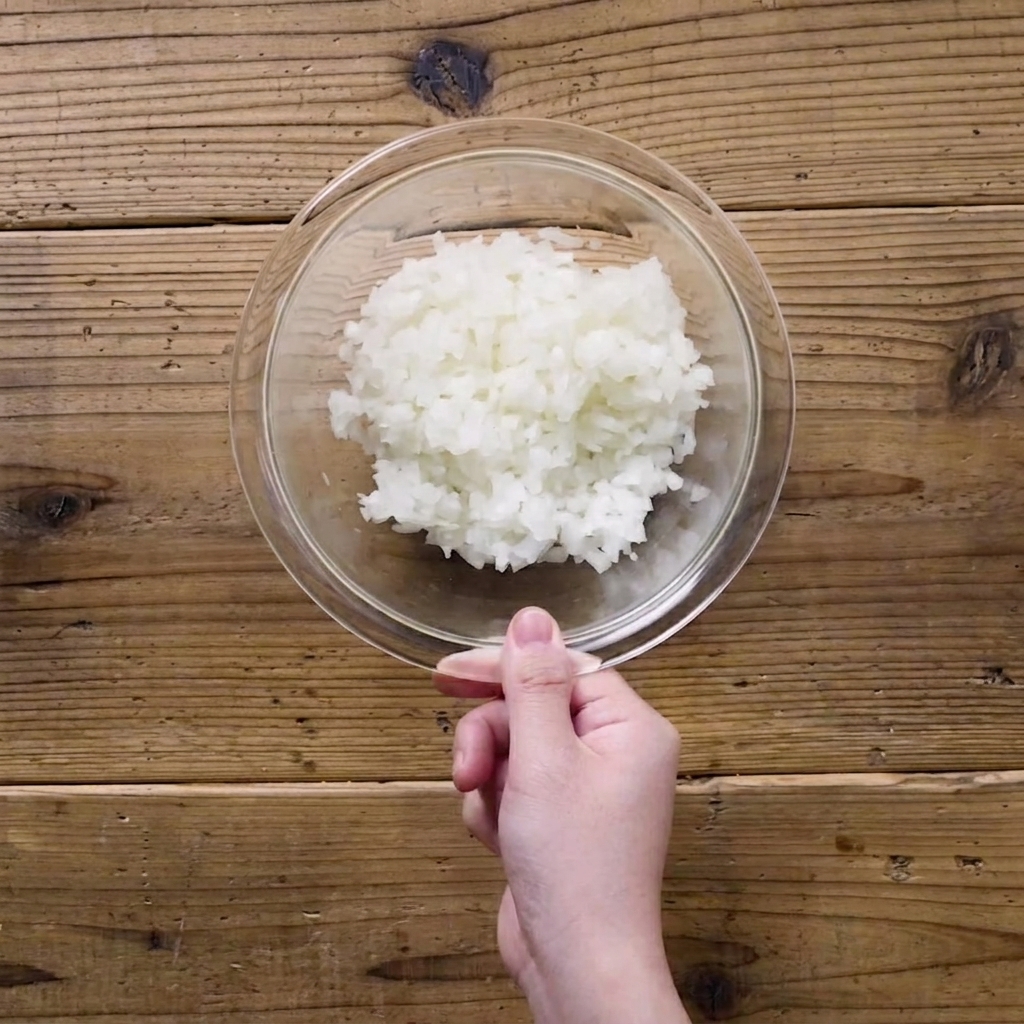
Place the finely chopped onions into a glass bowl and cover it tightly with plastic wrap to help them soften and retain moisture for the patty mixture.
Tip: Covering the bowl prevents the onions from drying out before they are mixed into the meat. - 2Mix the teriyaki sauce
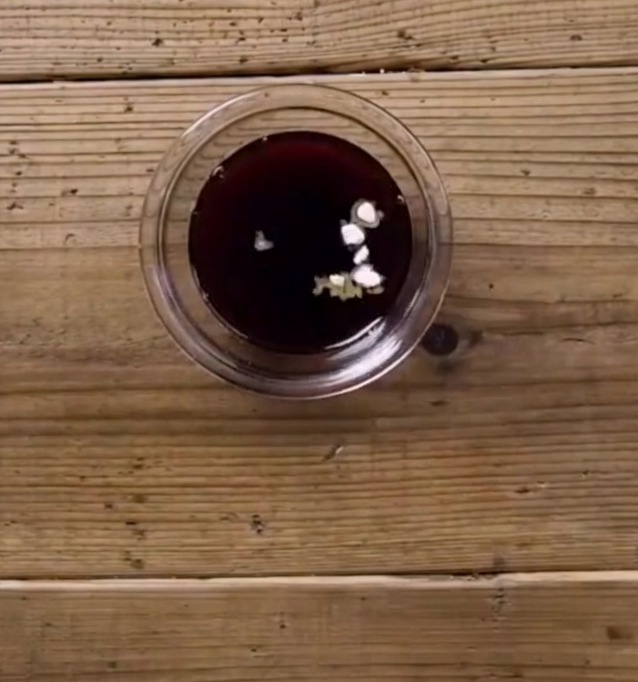
In a small glass bowl, combine the soy sauce, cooking wine, mirin, sugar, and a bit of starch. Stir the mixture well to ensure the sugar and starch are fully dissolved, creating the base for the sweet and savory teriyaki glaze.
Tip: Mixing the starch into the cold liquid now prevents lumps from forming when the sauce is heated later in the pan. - 3Combine patty ingredients
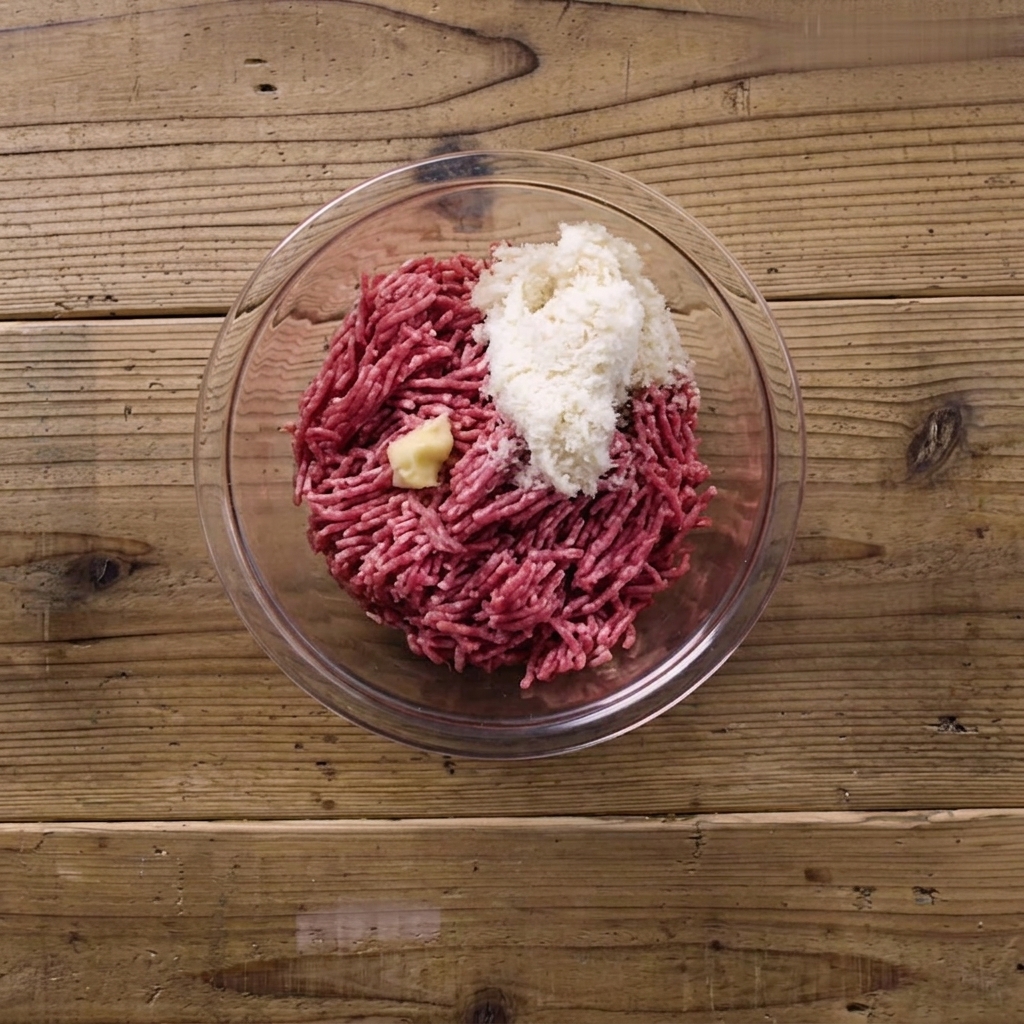
Add a cracked raw egg and milk-soaked breadcrumbs into the bowl containing the seasoned minced meat, salt, pepper, and grated ginger.
Tip: Ensure the breadcrumbs are well-soaked in milk to guarantee a moist and tender texture for the meat patties. - 4Knead the meat mixture
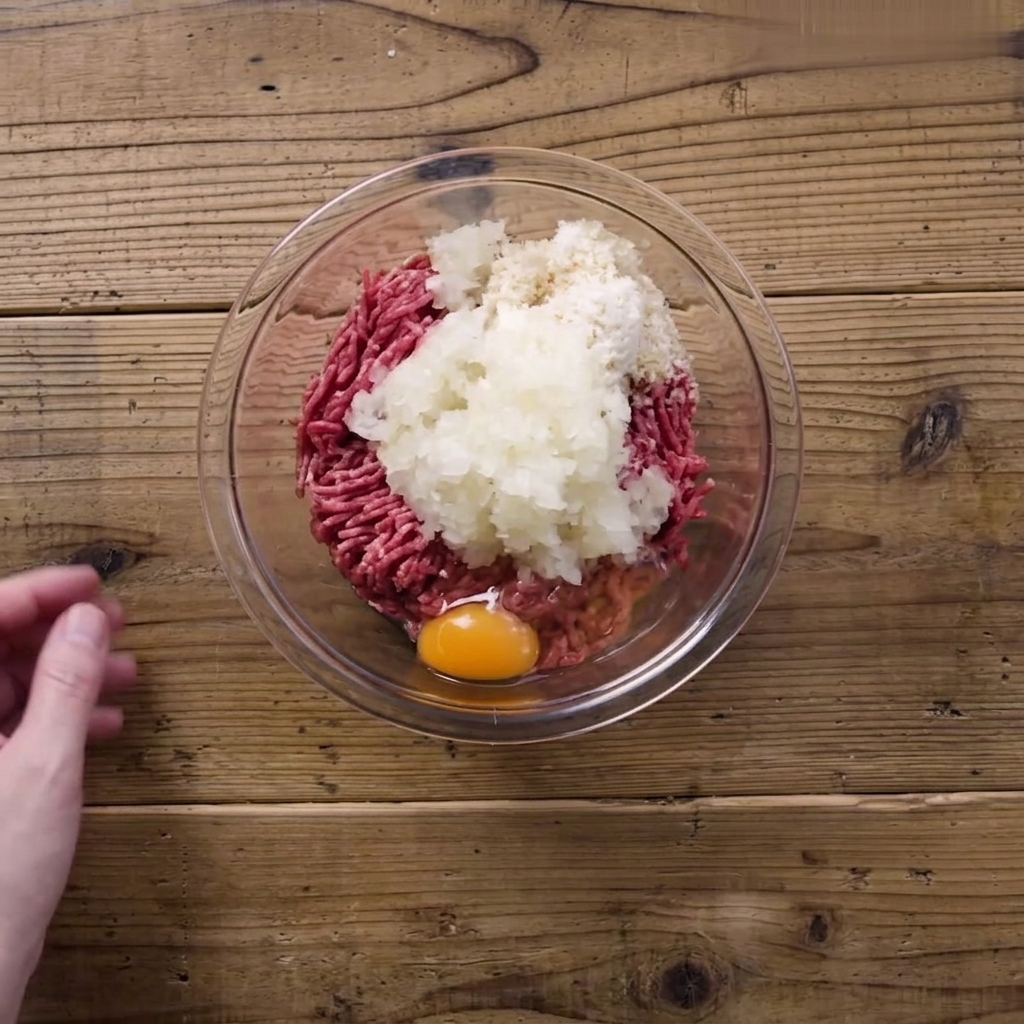
With the raw egg, chopped onions, and milk-soaked breadcrumbs added to the seasoned ground meat, begin to mix everything together. Use your hand to thoroughly knead the ingredients until the mixture becomes uniform and develops a sticky texture.
Tip: Keeping your hands slightly damp or lightly oiled can prevent the meat mixture from sticking to your fingers as you knead. - 5Shape the patties
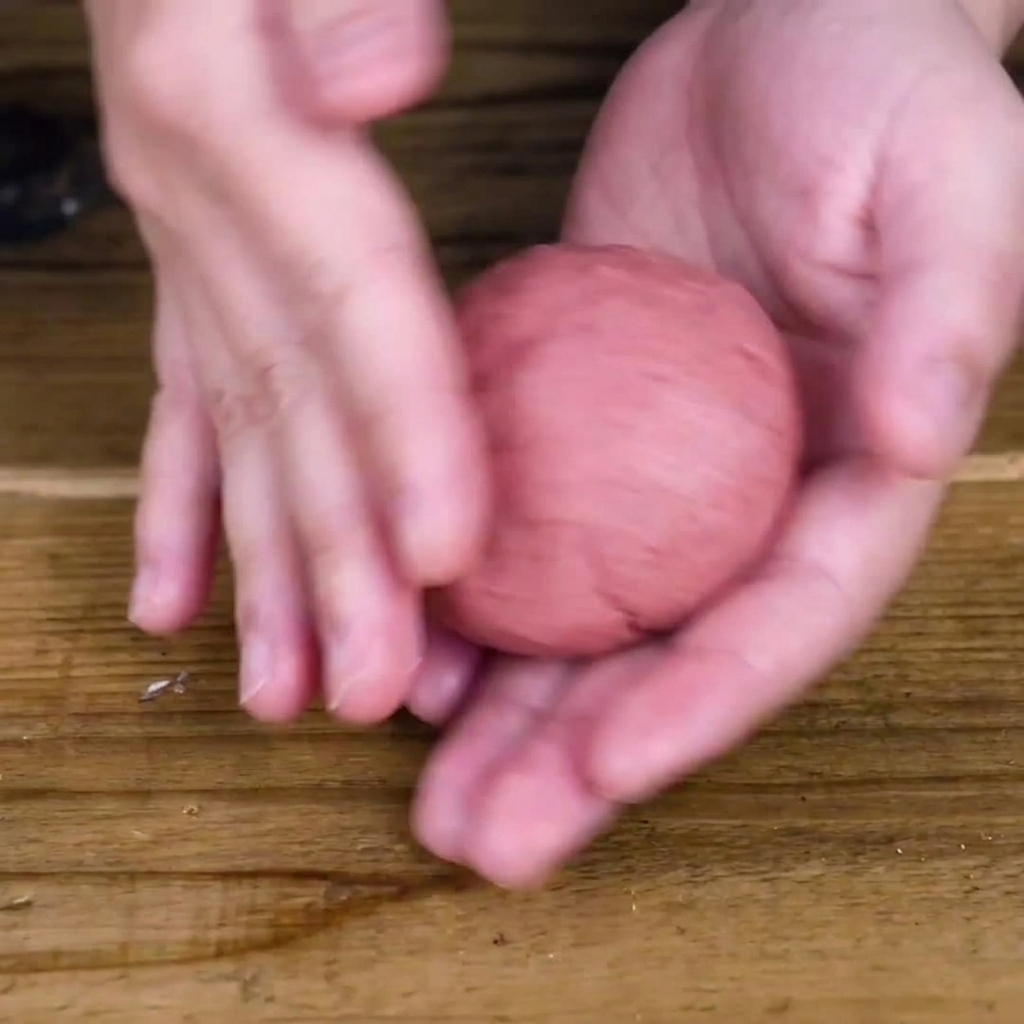
Take the thoroughly mixed meat mixture and use both hands to shape it into thick, round patties, ensuring they are uniform in size.
Tip: Press a slight indentation in the center of each patty to help them cook evenly without puffing up too much. - 6Sear the patties
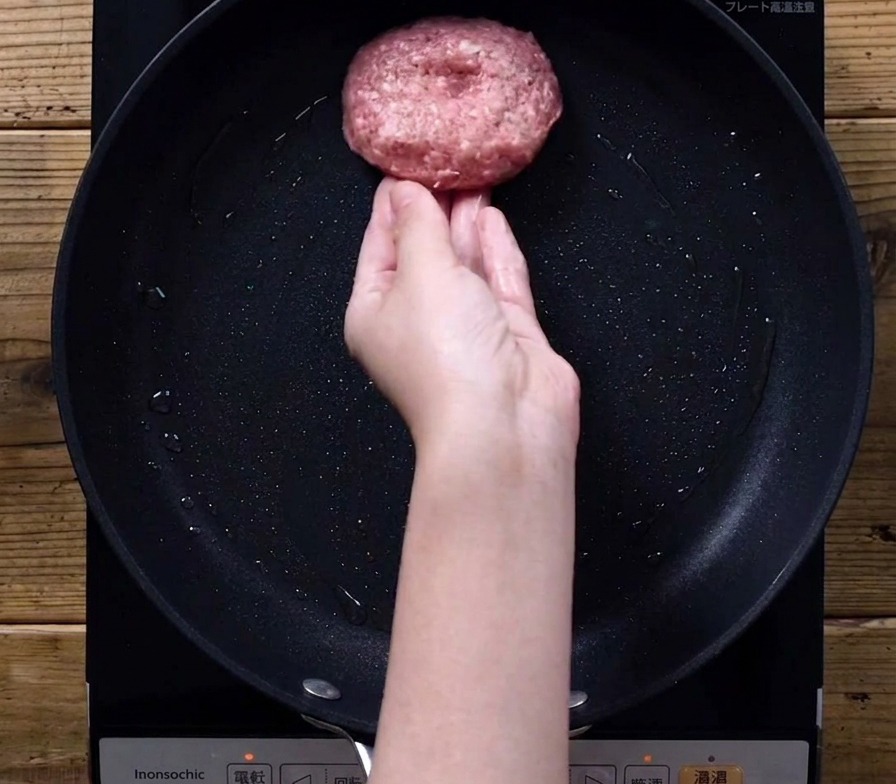
Once shaped, carefully place the thick meat patty into a dark, lightly oiled frying pan. Let the bottom sear until it develops a nice brown crust, setting the stage for the low-heat steam-fry to cook it all the way through.
Tip: Press a small dimple into the center of the patty before cooking; this prevents it from puffing up into a dome as the meat contracts. - 7Steam-fry the patties
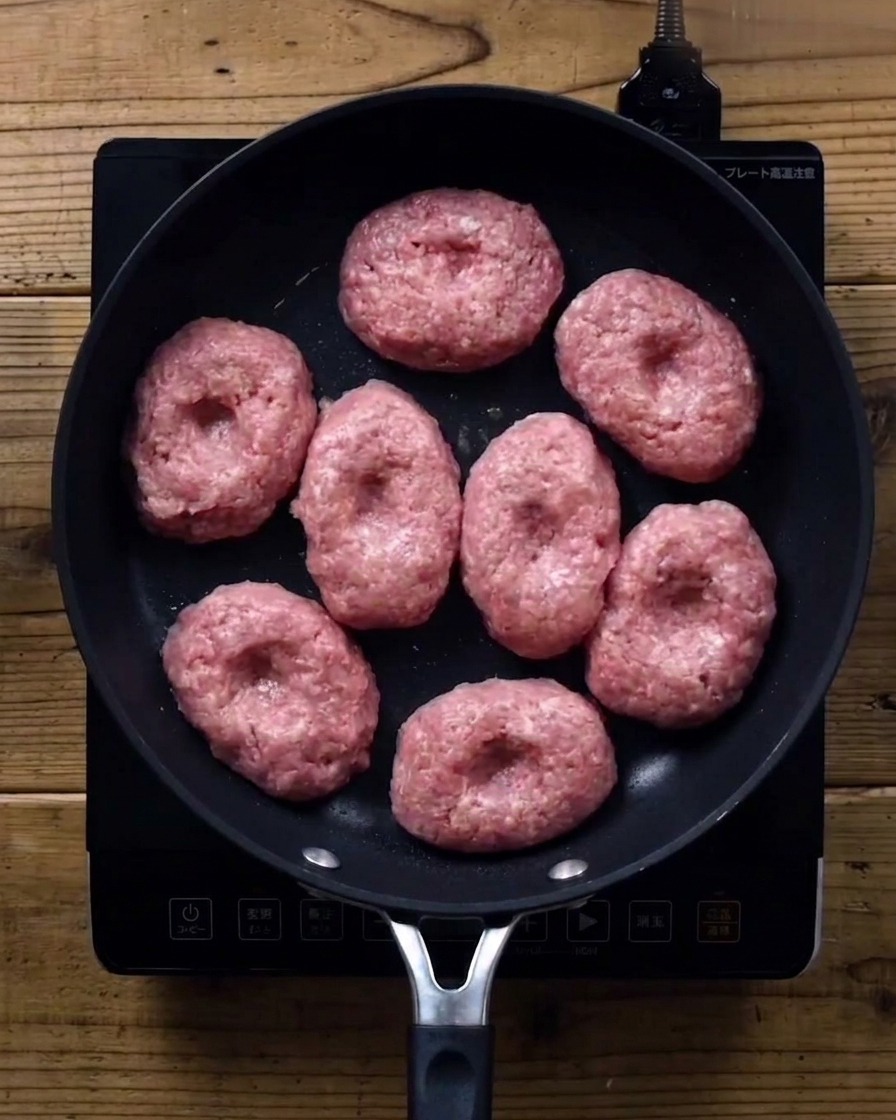
Place the patties in a pan, then cover the pan with a glass lid. Cook on low heat for 5 minutes to steam-fry them thoroughly.
Tip: Keep the heat low to ensure the inside cooks through without burning the exterior. - 8Remove excess oil
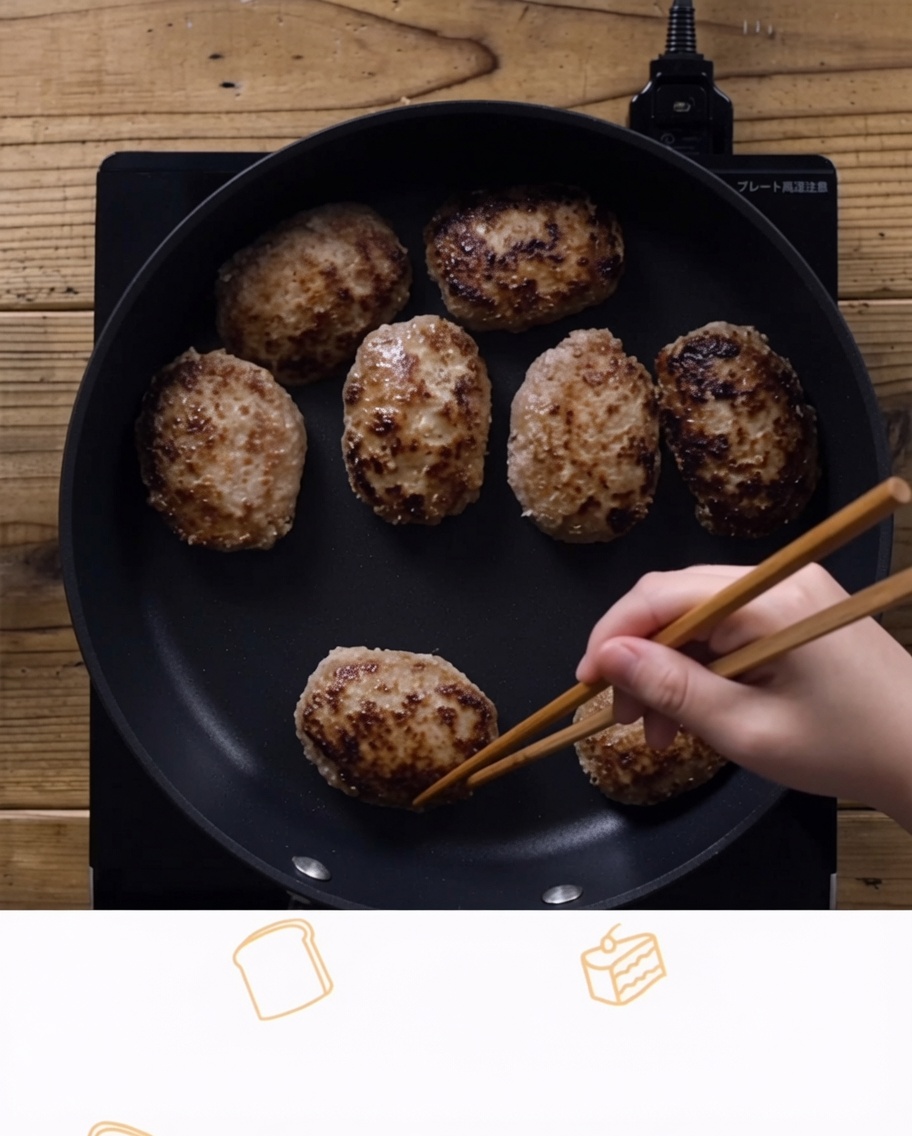
Once the patties are browned, use chopsticks and a paper towel to carefully wipe away any excess oil from the pan.
Tip: Removing excess oil ensures the teriyaki sauce glazes the meat properly rather than becoming too greasy. - 9Add the teriyaki sauce
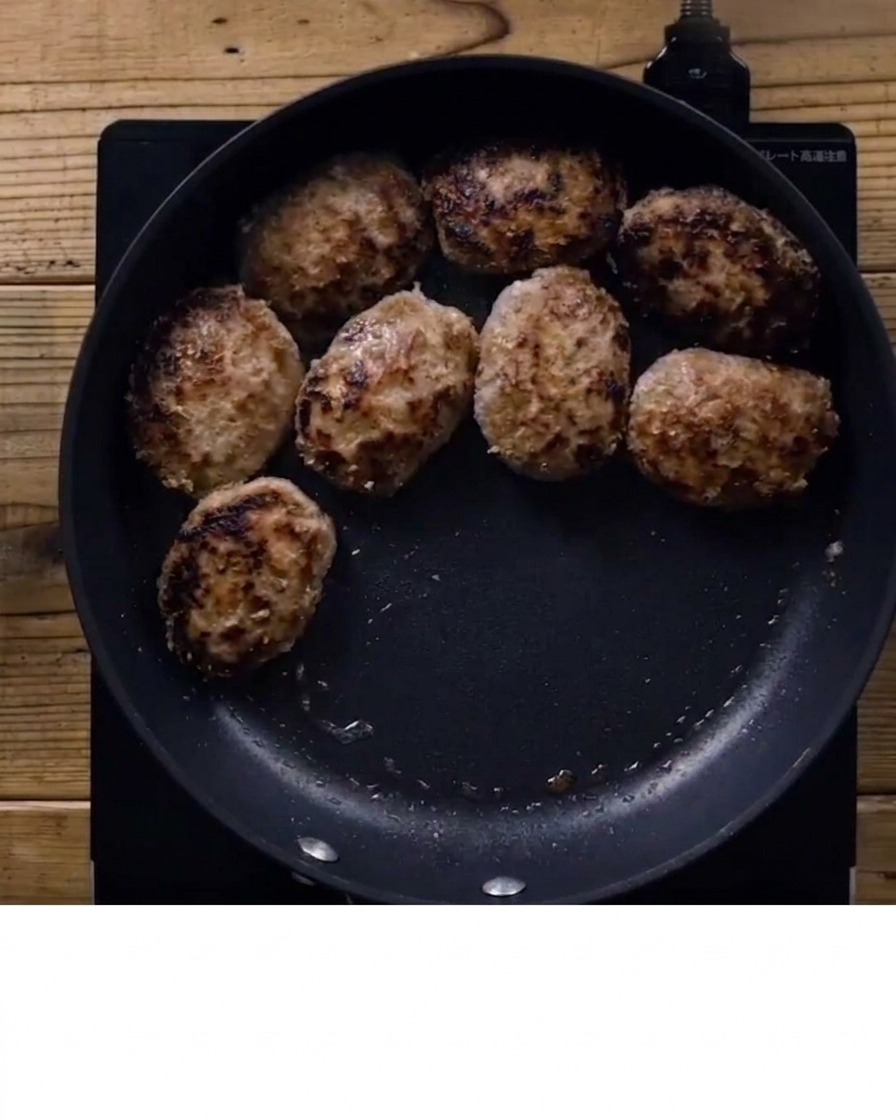
Pour the prepared teriyaki sauce over the browned hamburger steaks in the hot pan, allowing it to bubble up immediately and begin coating the meat.
Tip: Simmer on low to medium heat to allow the sauce to thicken and coat the patties evenly. - 10Simmer and glaze
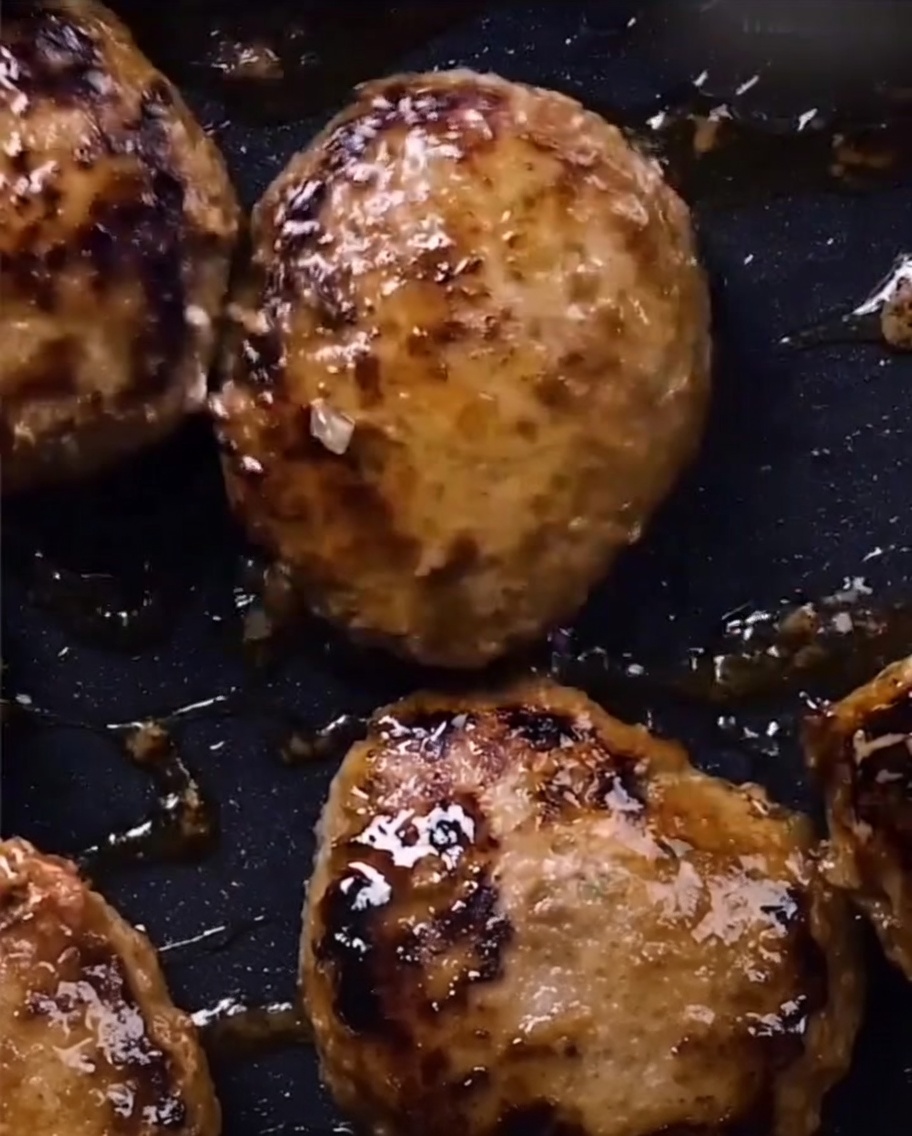
Continue to simmer over low heat, basting the patties frequently with a spoon. Cook until the sauce reduces into a thick, glossy glaze that clings beautifully to the meat.
Tip: Be careful not to burn the sauce as it thickens; the sugars in the mirin and soy sauce will caramelize quickly.