Juicy American-Style Beef Burger
Skip the heavy binders and soy sauce for a true American-style burger experience. This recipe uses a gentle mixing technique and a steam-fry method to create an incredibly tender, juicy beef patty.
While many home cooks are tempted to add eggs or heavy liquid marinades to their burger mix, doing so can result in a dense texture closer to a dumpling filling than a classic hamburger. This recipe relies on minimal seasoning, cold temperatures, and a precise slapping technique to build protein structure without sacrificing tenderness. Frying under a dome lid locks in the moisture, ensuring every bite is rich and juicy.

Ingredients
- 80 g ground beef
- 30 g red onion
- 5 g cornstarch
- 2 g pepper powder
- 2 g salt
- 2 ice cubes (if cooking immediately)
- 1 slice yellow cheese
- 1 hamburger bun
- to taste lettuce, tomato, and burger sauce
Instructions
- 1Season the ground beef
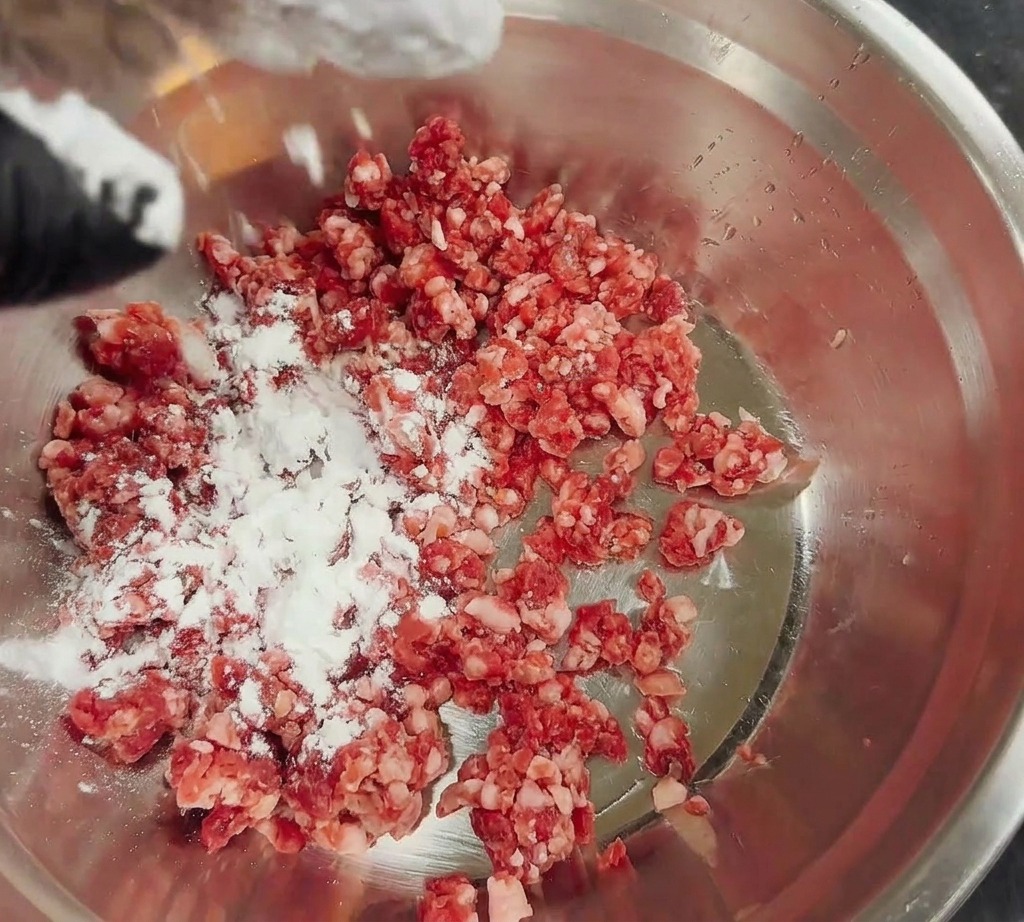
Begin by placing 80 grams of ground beef into a metal mixing bowl. Evenly sprinkle 5 grams of cornstarch and 2 grams of pepper powder over the meat. The cornstarch helps bind the juices during frying, ensuring a moist patty.
Tip: Avoid adding soy sauce or eggs if you want an authentic burger texture; otherwise, it may taste more like a traditional dumpling filling. - 2Grind the onions
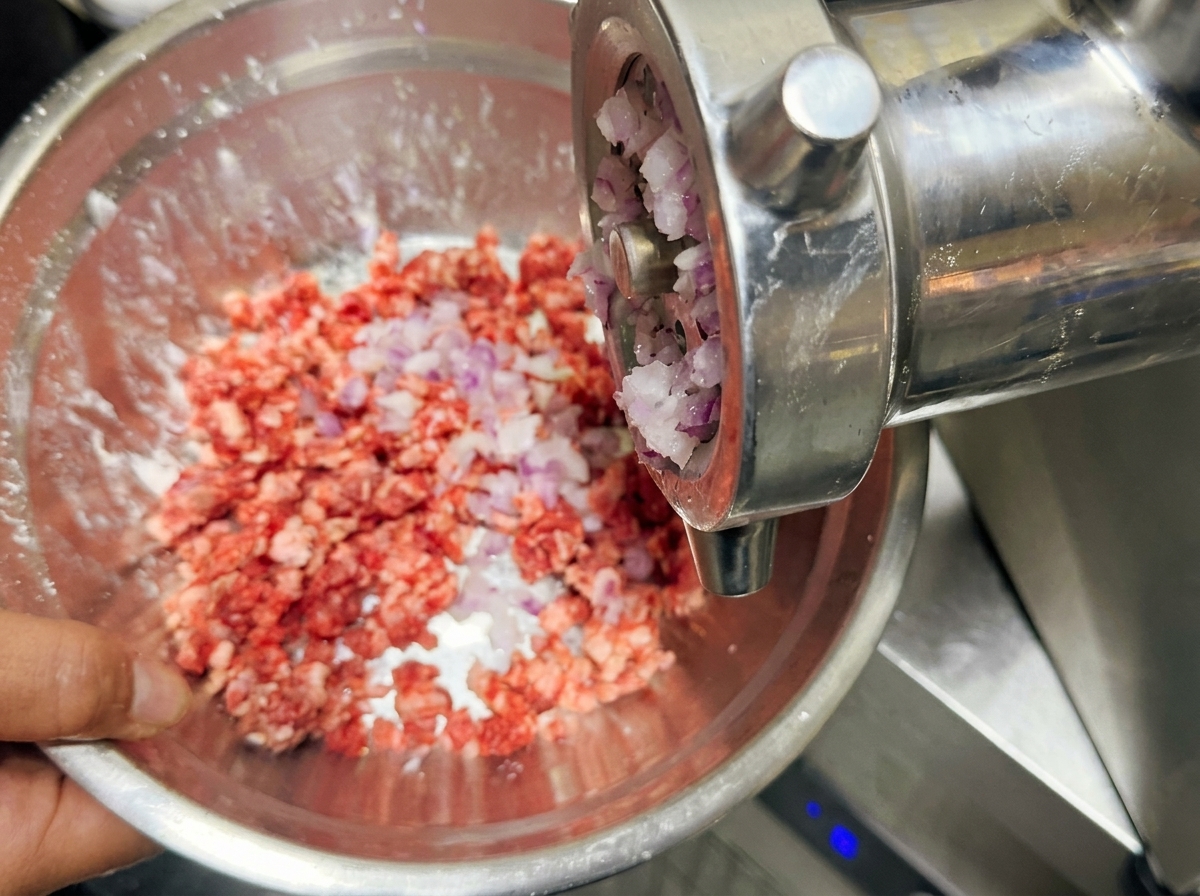
Process 30 grams of red onion through a meat grinder directly into the bowl with the seasoned beef. Grinding the onion ensures it is fine enough to distribute flavor evenly without creating large chunks that might break the patty apart.
Tip: Using a grinder helps release the onion juices, which further seasons and tenderizes the beef from within. - 3Combine the ingredients gently
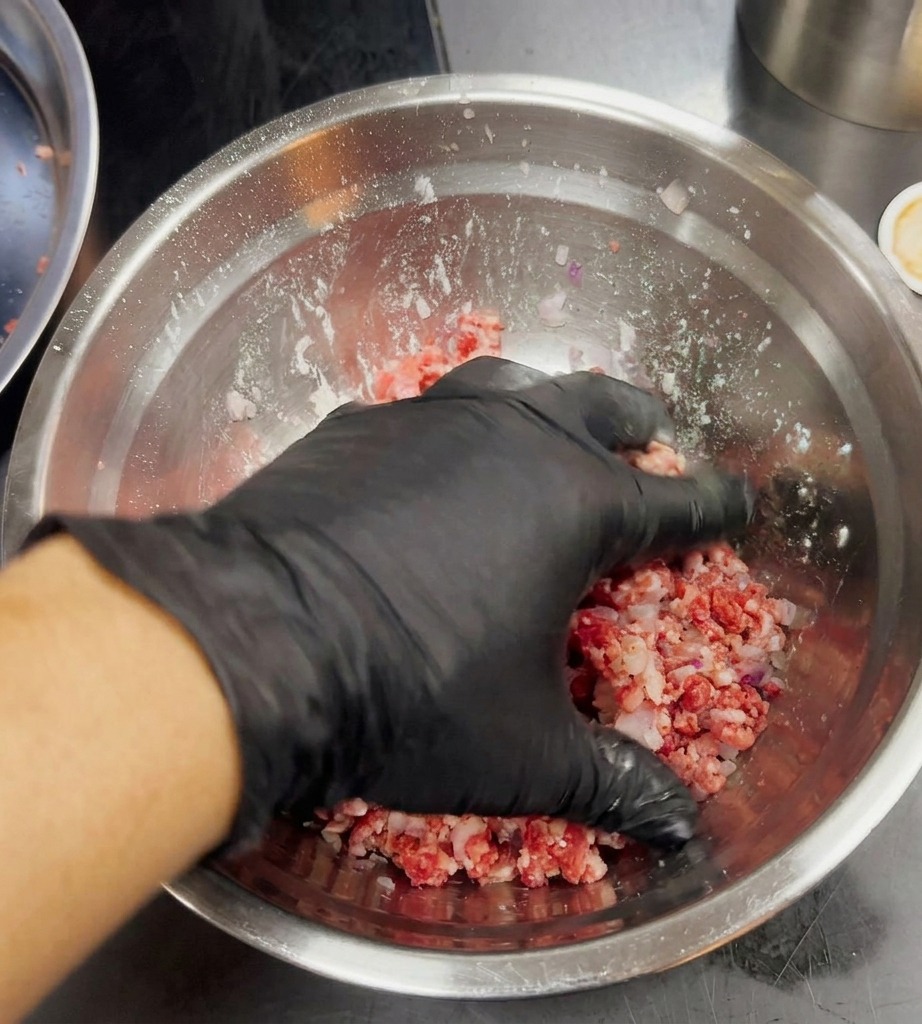
Add 2 grams of salt to the bowl. Using a gloved hand, gently fold and mix the beef, ground onions, and seasonings together. It is crucial to be light-handed during this process to maintain the proper meat texture.
Tip: Do not overwork or use too much force when mixing, as this can make the final patty tough and dense instead of loose and tender. - 4Add ice for immediate prep
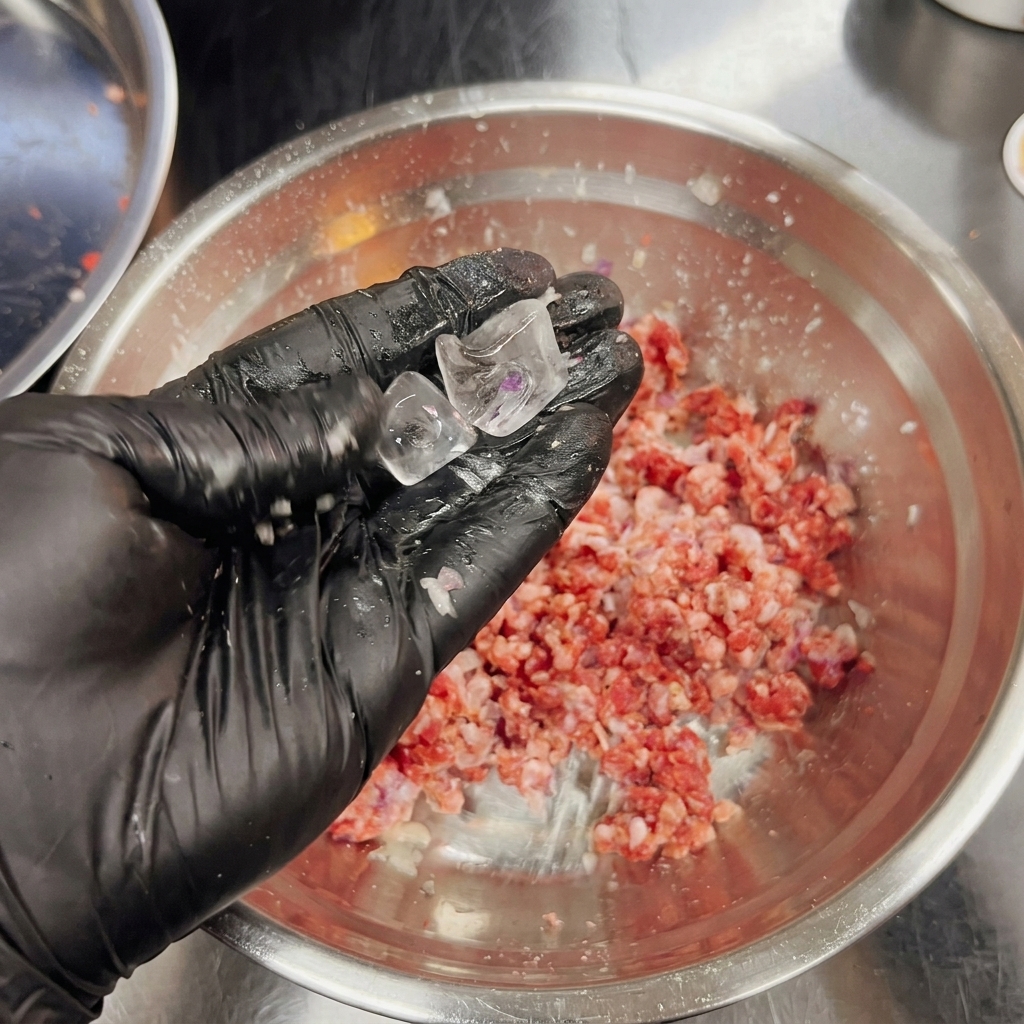
If you plan to fry the patties immediately without chilling the meat first, add two small ice cubes to the mixture. This keeps the fat cold and stable, preventing it from melting too quickly when it hits the hot pan.
Tip: Under normal circumstances where you have time to refrigerate the meat, this ice cube step is not necessary. - 5Slap the meat to develop elasticity
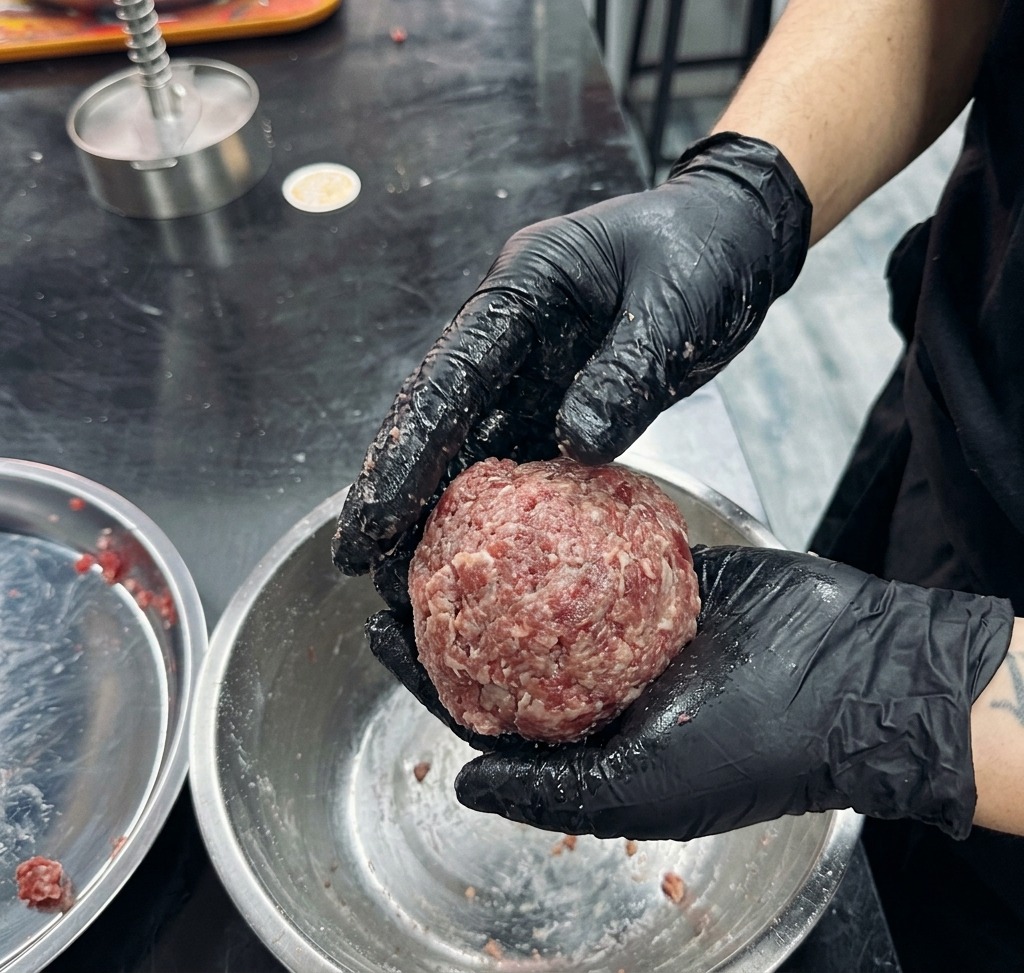
Take a portion of the meat and toss it firmly between your hands. This slapping technique helps the proteins bond just enough to create an elastic, cohesive ball that wont fall apart during cooking.
Tip: Stop once the meat feels loose and soft but has a noticeable springy or elastic feel when handled. - 6Shape the beef patty
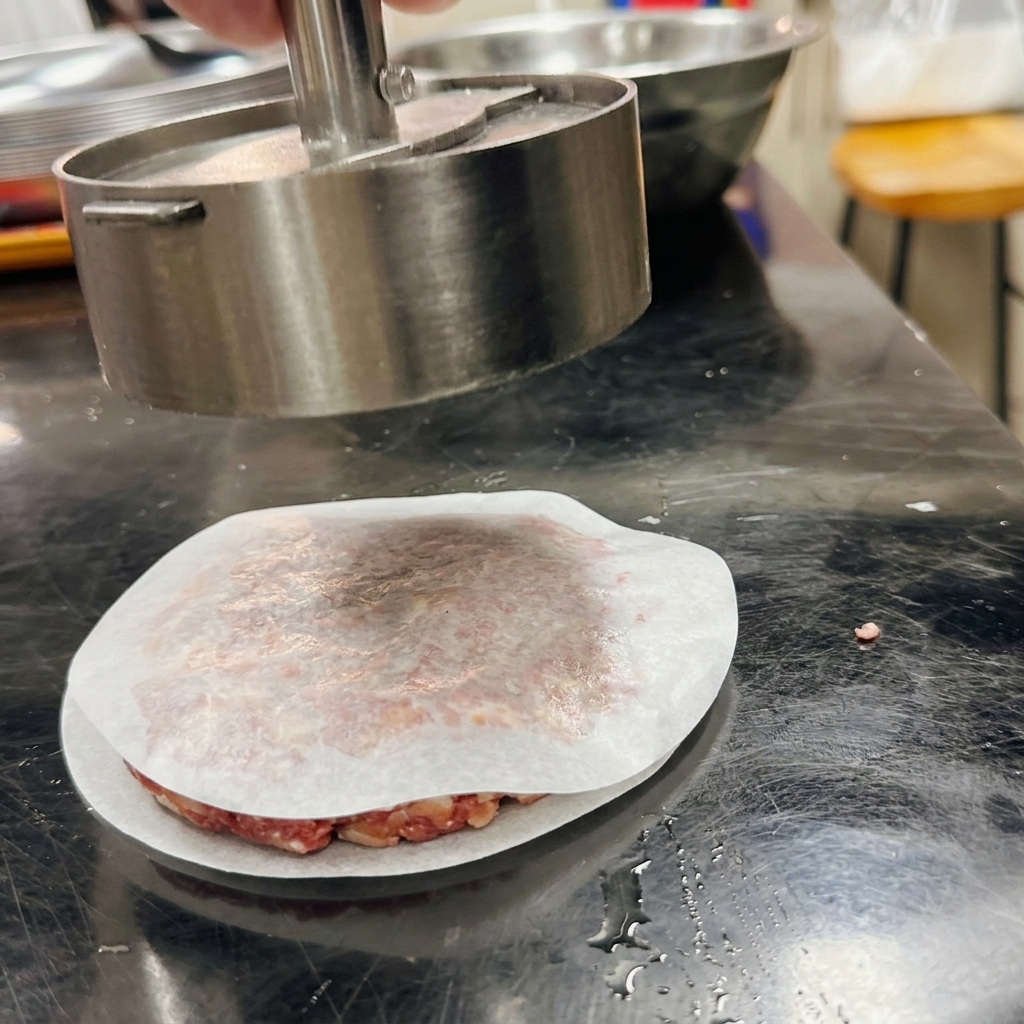
Place the gently mixed ground beef onto a piece of parchment paper and use a cylindrical metal burger press to shape it into a round patty. Press down lightly to form the shape without compressing the meat too much, maintaining a loose and soft texture.
Tip: Do not use too much force when pressing the patty; keeping the meat structure slightly loose ensures a tender bite. - 7Place the patty on the griddle
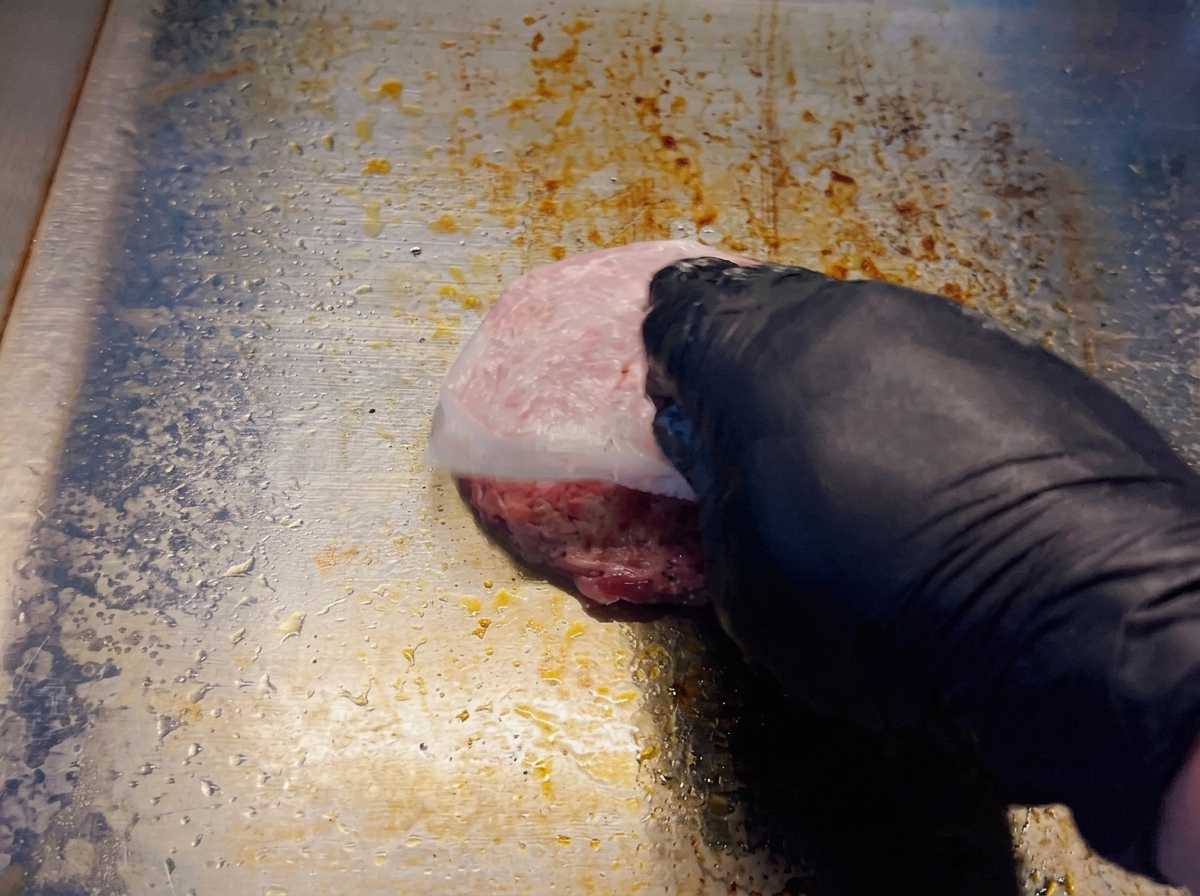
Preheat your flat griddle or pan until the temperature reaches above 200 degrees Celsius. Place the formed beef patty onto the hot surface and carefully peel off the parchment paper to begin frying.
Tip: Ensuring the griddle is over 200 degrees before adding the meat is crucial for achieving a rapid, flavorful sear. - 8Cover to retain moisture
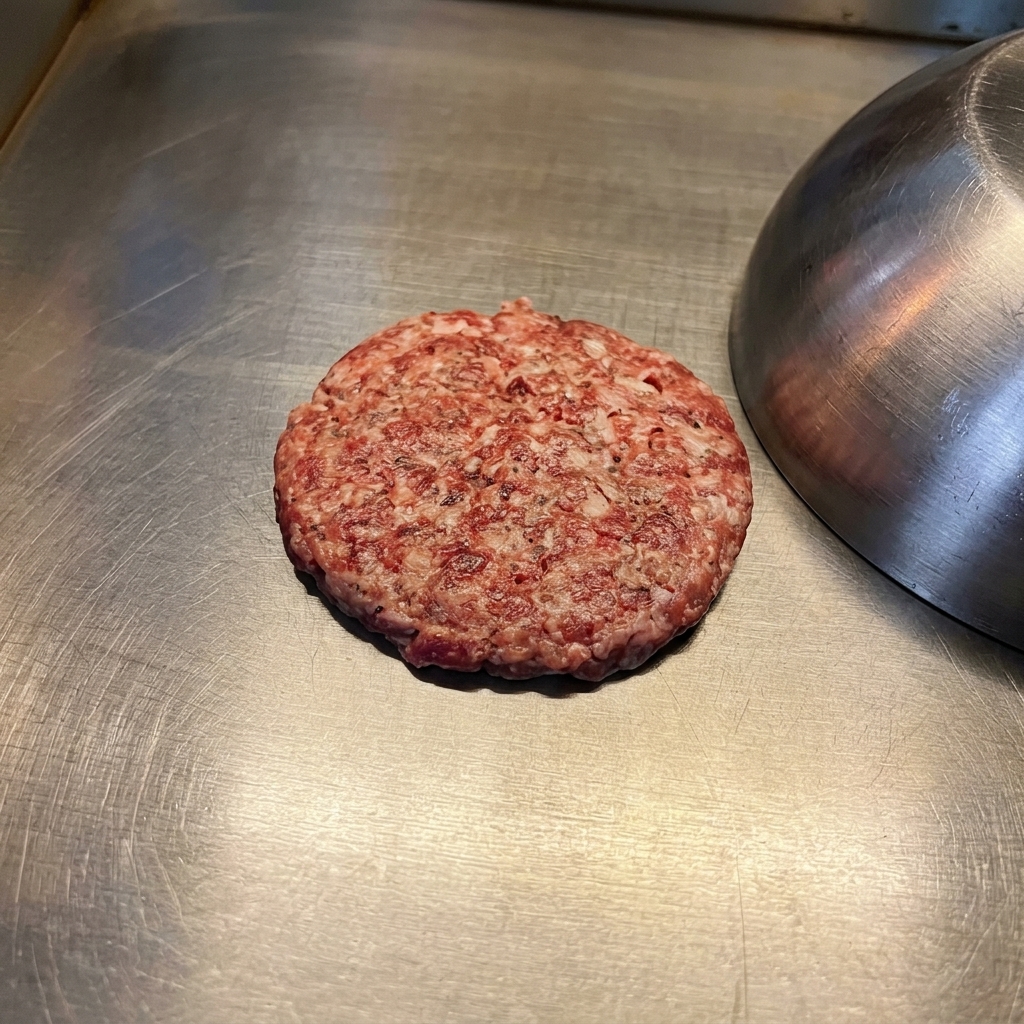
Immediately after placing the patty on the griddle, cover it with a large metal dome lid. This technique traps steam and prevents moisture from escaping, ensuring the beef patty cooks evenly and remains incredibly tender rather than drying out.
Tip: Covering the meat is the secret to a juicy burger, especially when frying at high temperatures. - 9Flip the beef patty
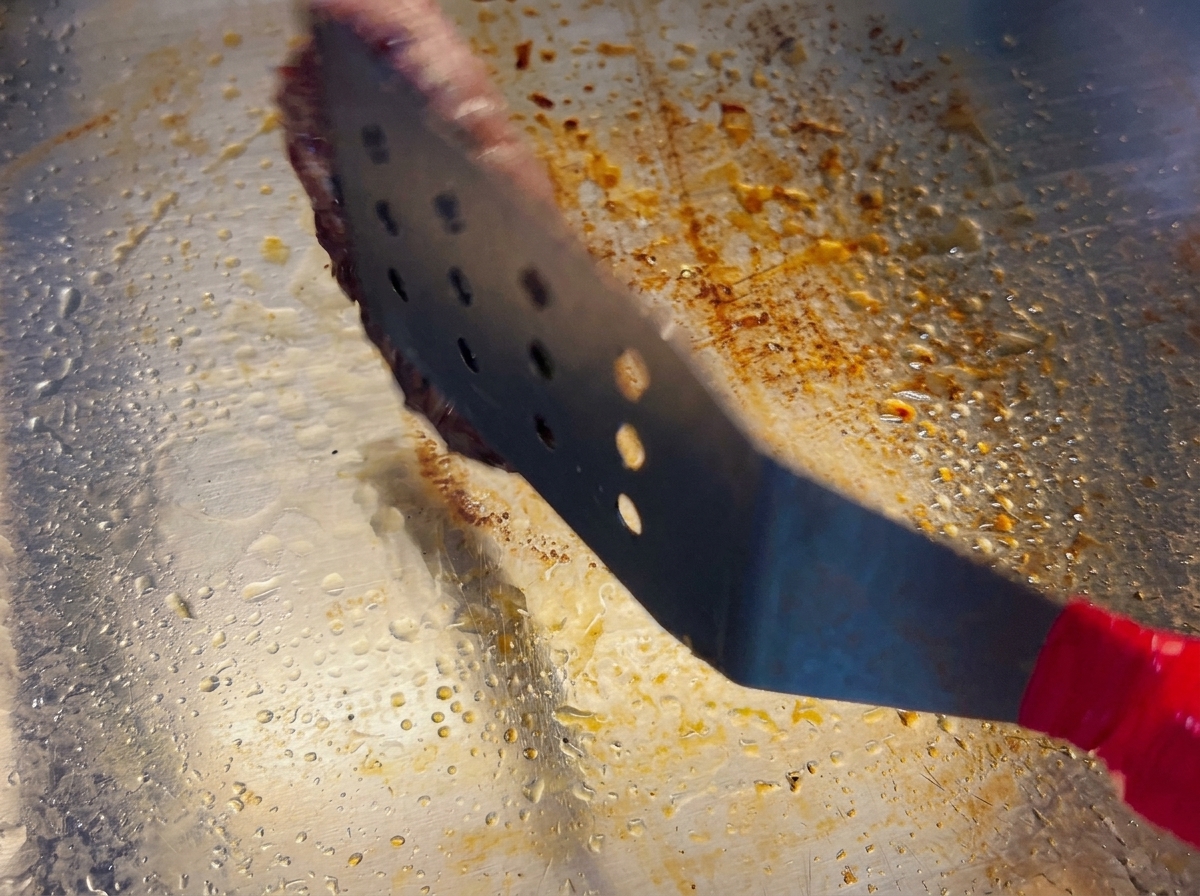
Fry the first side for about 2 minutes until a dark, caramelized crust forms. Remove the dome lid and use a sturdy metal spatula to lift and quickly flip the beef patty over to cook the other side.
Tip: Do not fry it for too long, as overcooking will cause the beef to lose its desirable texture and flavor. - 10Press gently with a spatula
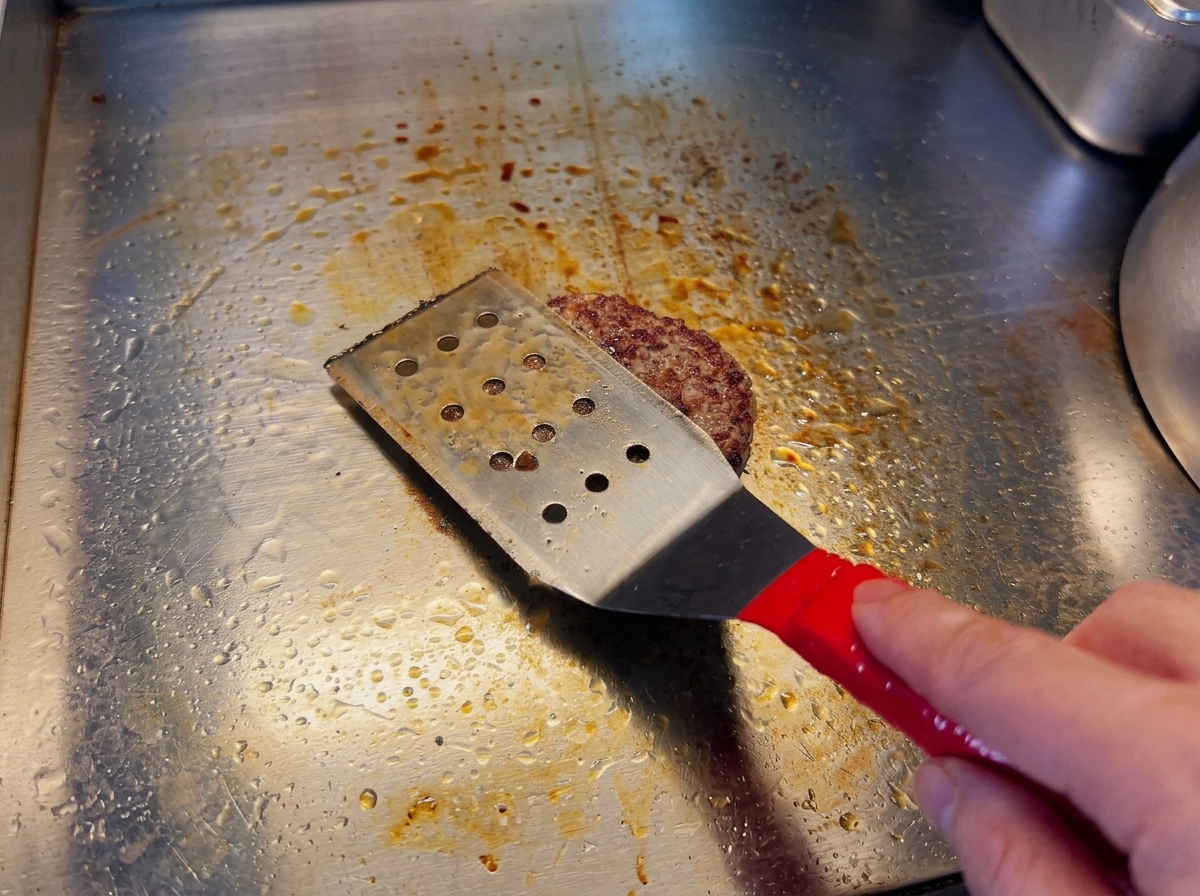
Once flipped, use your spatula to gently press down on the beef patty to ensure even contact with the hot griddle. Continue to fry this second side for approximately 2 more minutes until cooked to your liking.
Tip: Press gently—if you press too hard, you risk squeezing out the flavorful juices you just worked to retain. - 11Add the cheese
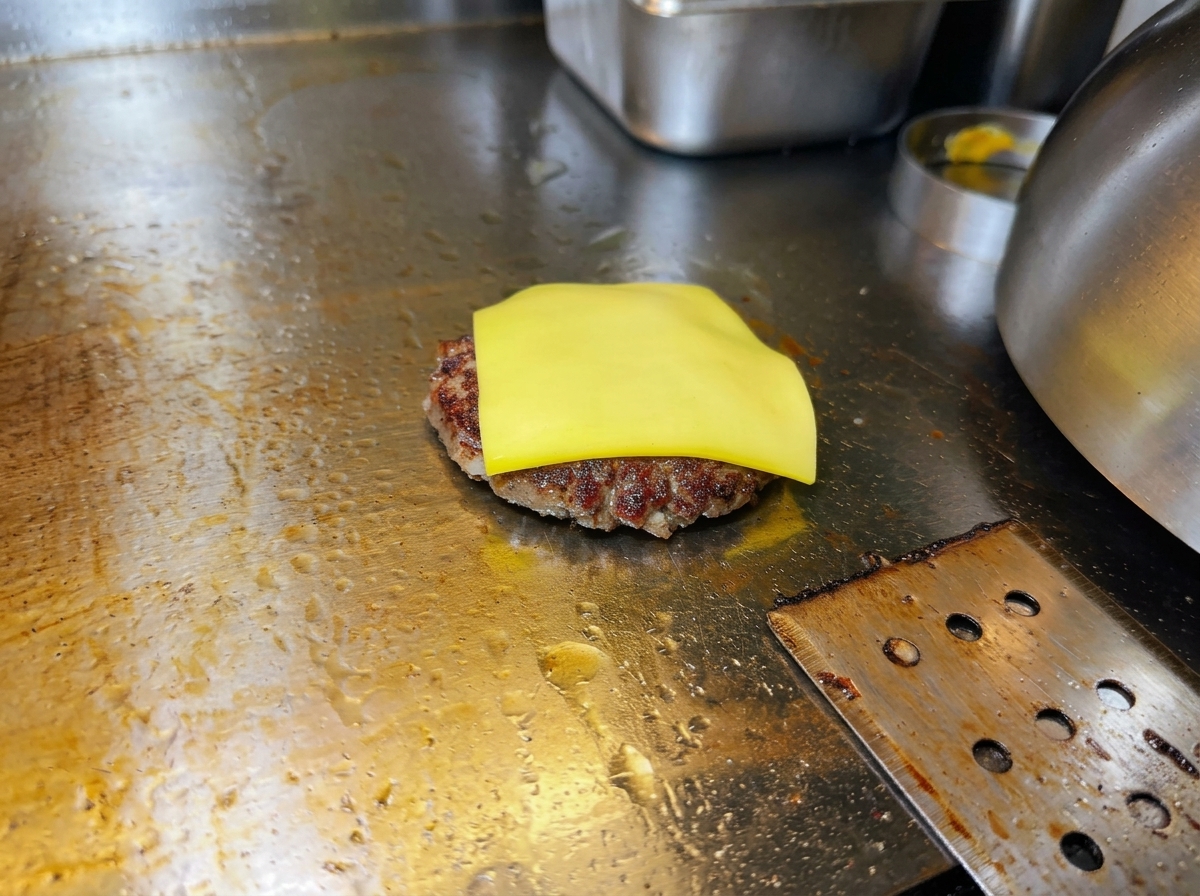
During the final moments of frying, place a square slice of yellow cheese directly onto the seared patty. Allow the residual heat from the beef and the griddle to perfectly melt the cheese before removing it to assemble your burger.
Tip: If you want the cheese to melt faster, you can place the dome lid back over the patty for a few seconds.


