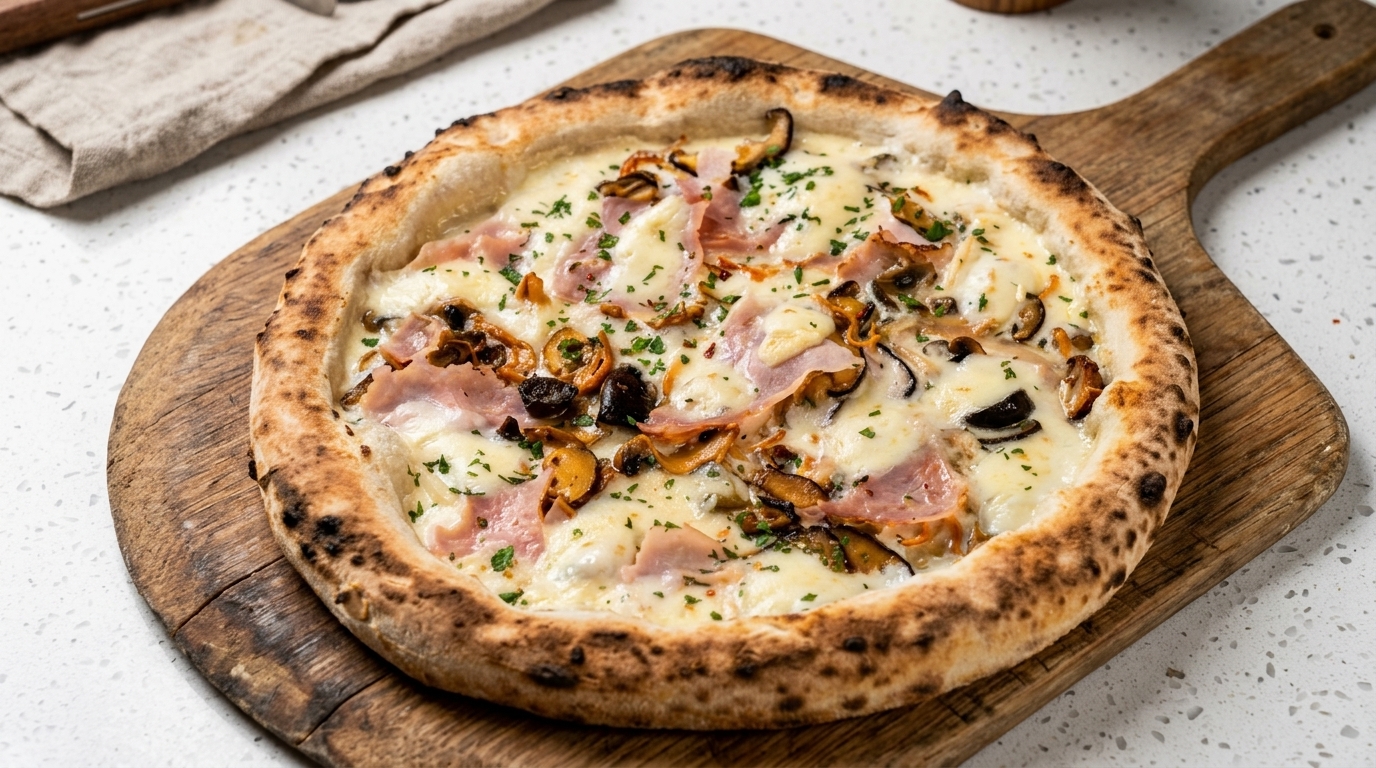
Gourmet Ham
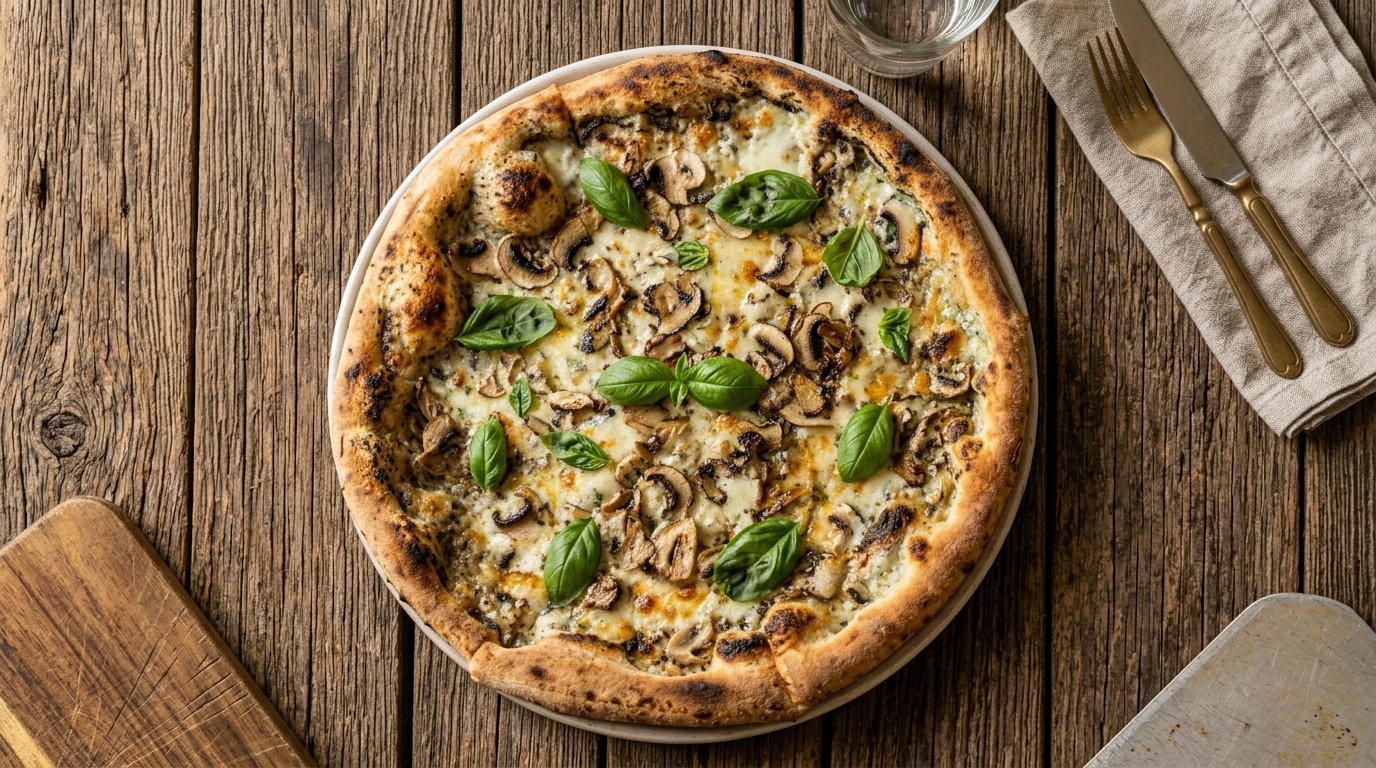
Mushroom White Pizza
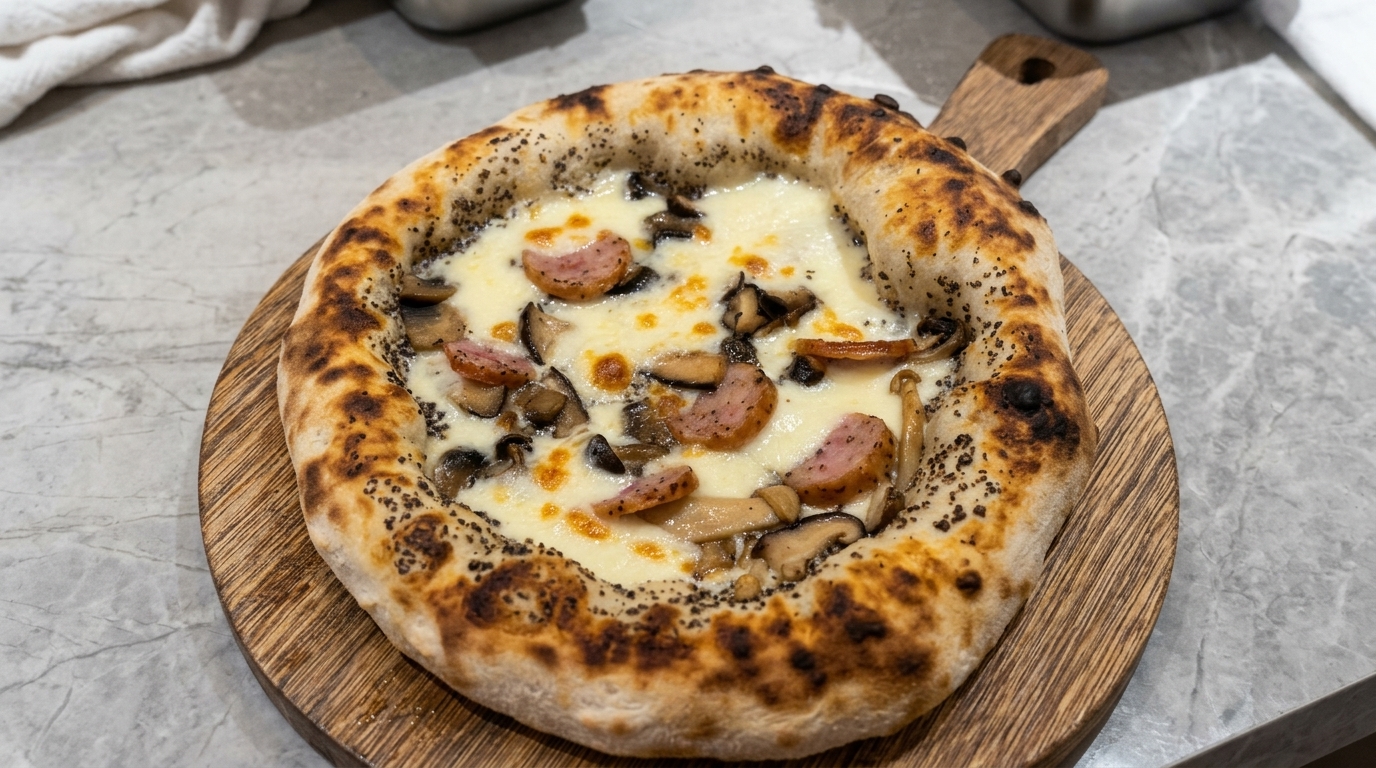
A restaurant-quality white pizza featuring a beautifully blistered crust topped with creamy sauce, rustic torn ham, mixed mushrooms, and fresh mozzarella.
Baking pizza at high temperatures creates a wonderfully charred, airy crust that elevates simple, quality toppings. This recipe uses a rich white sauce base instead of traditional tomato, pairing perfectly with the earthy notes of pre-sautéed mushrooms, cordyceps flowers, and savory ham. Tearing the mozzarella and ham by hand gives the pizza a rustic look and ensures delicious, crispy edges.
Ingredients
- 1 ball (approx 250g) fermented pizza dough
- 12 cup creamy white pizza sauce
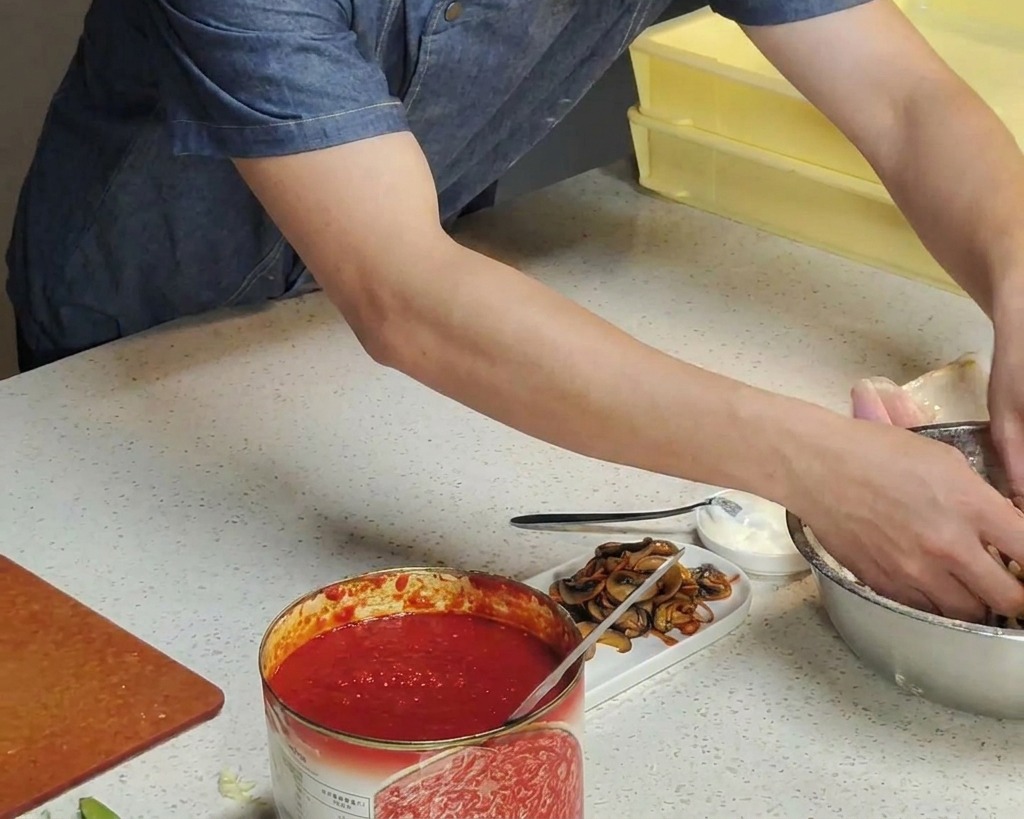
- 1 cup mixed mushrooms (pre-stir-fried)
- 14 cup cordyceps flowers
- 3 slices high-quality pink ham
- 1 ball (125g) fresh white mozzarella cheese
- for dusting dry white flour
- to taste black olives, sliced (optional)
- 2 tbsp dry grated cheese (Parmesan or Pecorino)
- 1 tbsp fresh parsley, finely chopped
Instructions
- 1Take the pizza dough
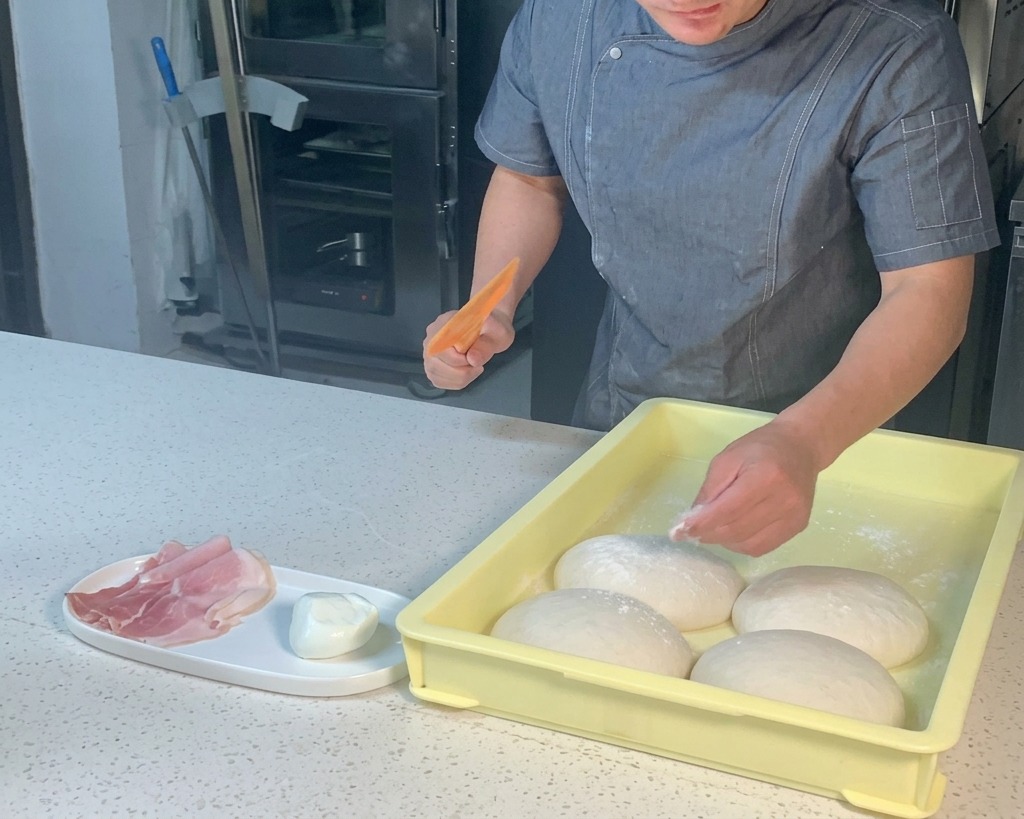
Use a plastic scraper to gently lift a fermented dough ball from the proofing tray. Lightly dust it with dry flour to prevent sticking, then press and stretch the dough out on the counter to form a 12-inch pizza base.
Tip: Handle the fermented dough gently to avoid knocking out the air bubbles, which gives the baked crust a lighter, airier texture. - 2Coat dough in flour
Take the piece of fermented dough and dip it into a container of dry white flour. Press the dough gently to ensure it is evenly coated on both sides, which prevents it from sticking to your hands and the work surface during the stretching process.
Tip: Shake off any excess flour before stretching to maintain the ideal texture and prevent a powdery crust. - 3Press the dough
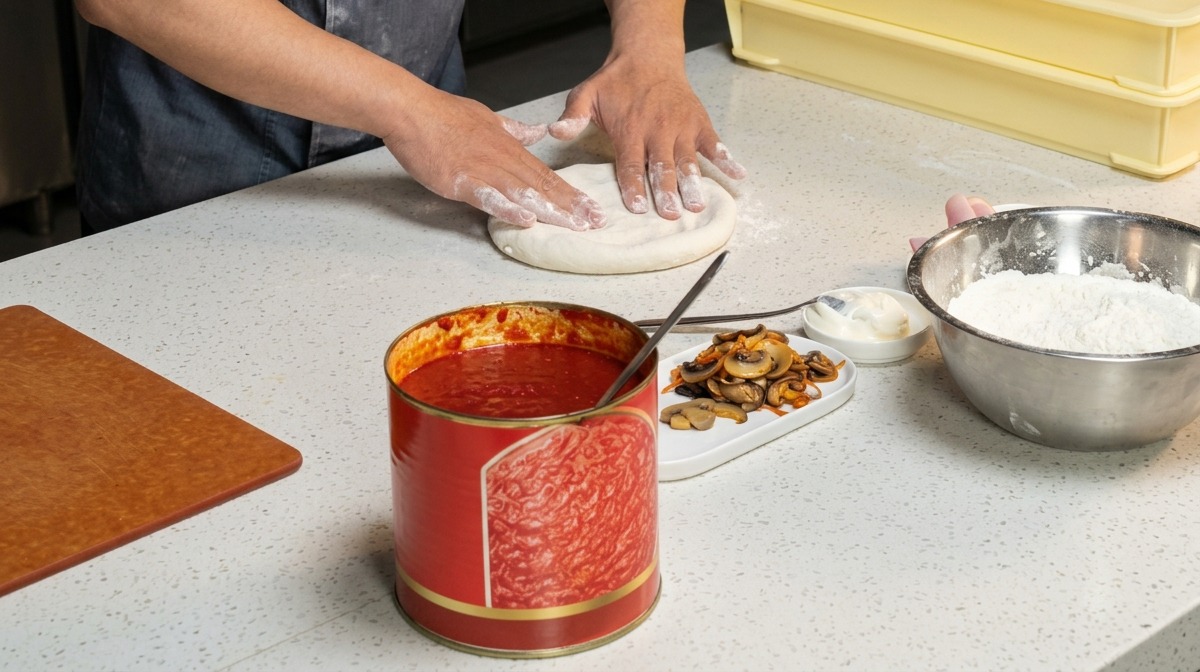
Place the floured dough ball onto the clean counter. Gently press it flat using both hands, working from the center outwards to form a circular base while leaving a slightly thicker edge for the crust.
Tip: Gently pressing rather than using a rolling pin helps preserve the air pockets inside the fermented dough. - 4Stretch the pizza base
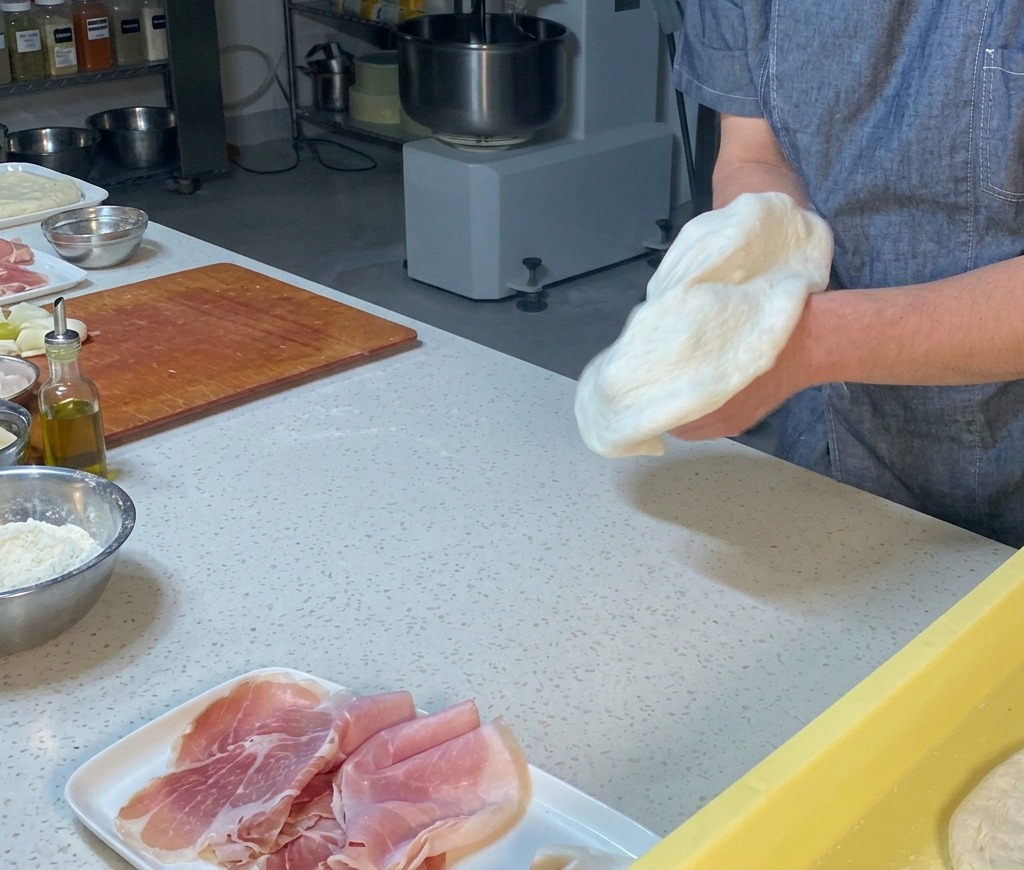
Working on a clean counter, gently press the floured dough, then stretch it out by pulling and tossing it carefully in the air. Continue stretching the dough evenly until it forms a uniform 12-inch circular pizza base.
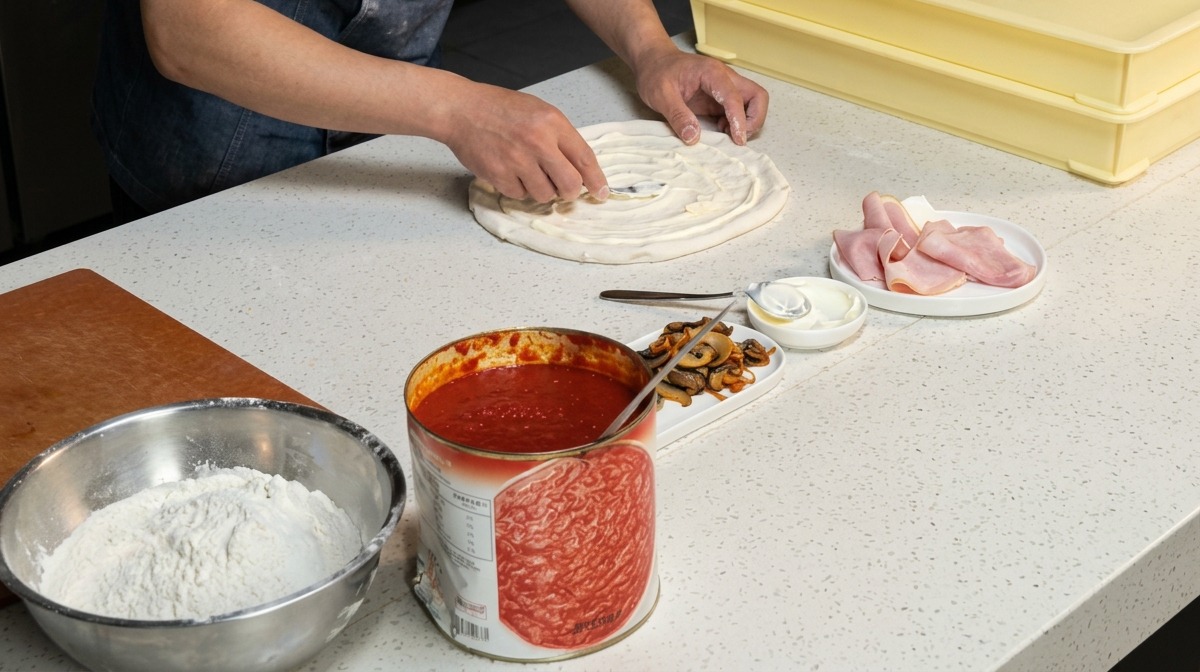
Tip: Use gravity to your advantage by letting the dough hang from your knuckles as you stretch it, which helps avoid tearing the center. - 5Spread the white sauce
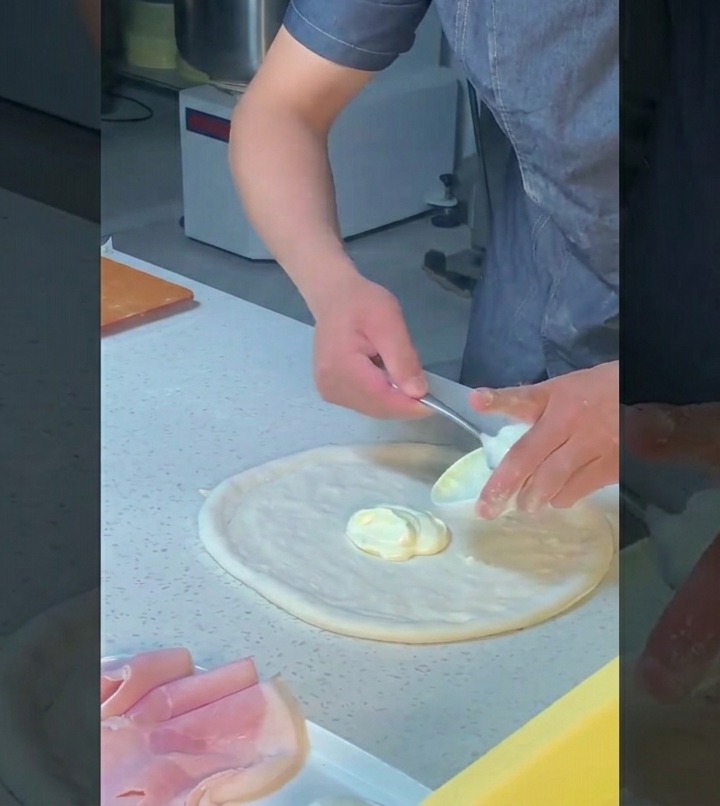
Lay the stretched pizza base flat on your preparation surface. Scoop a generous amount of creamy white sauce onto the center of the dough and use the back of a spoon to spread it evenly in a continuous circular motion.
Tip: Leave a clean, sauceless border around the edge of the dough so the crust can puff up and color nicely in the oven. - 6Arrange the mushrooms
Once the white sauce is perfectly spread, begin layering your toppings by arranging the sauteed sliced mushrooms in an even ring shape over the creamy base.
Tip: Keep the mushrooms slightly away from the very center to prevent the middle of the dough from getting soggy during the fast bake. - 7Add the cordyceps flowers
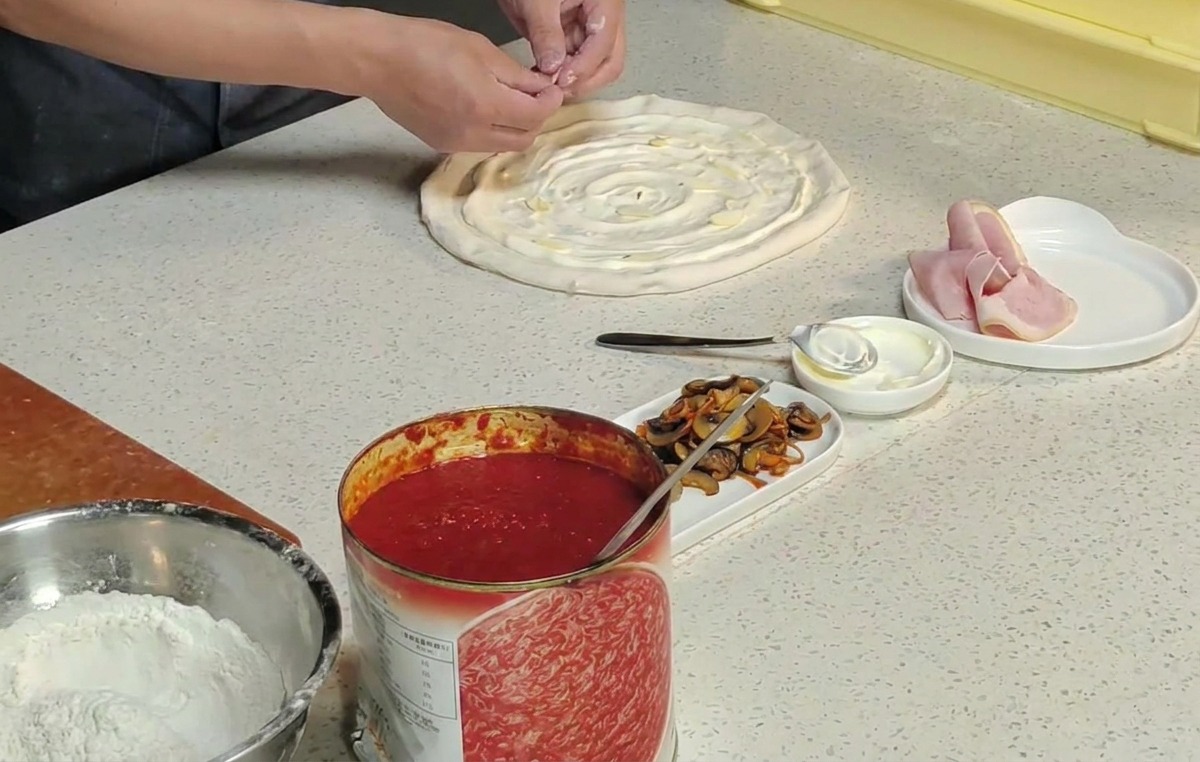
Over the ring of mushrooms, evenly scatter the vibrant orange cordyceps flowers to add both visual appeal and a complementary earthy flavor.
Tip: Pre-cooking delicate fungi like cordyceps briefly before topping ensures they dont burn under the intense 400-degree oven heat. - 8Add the ham
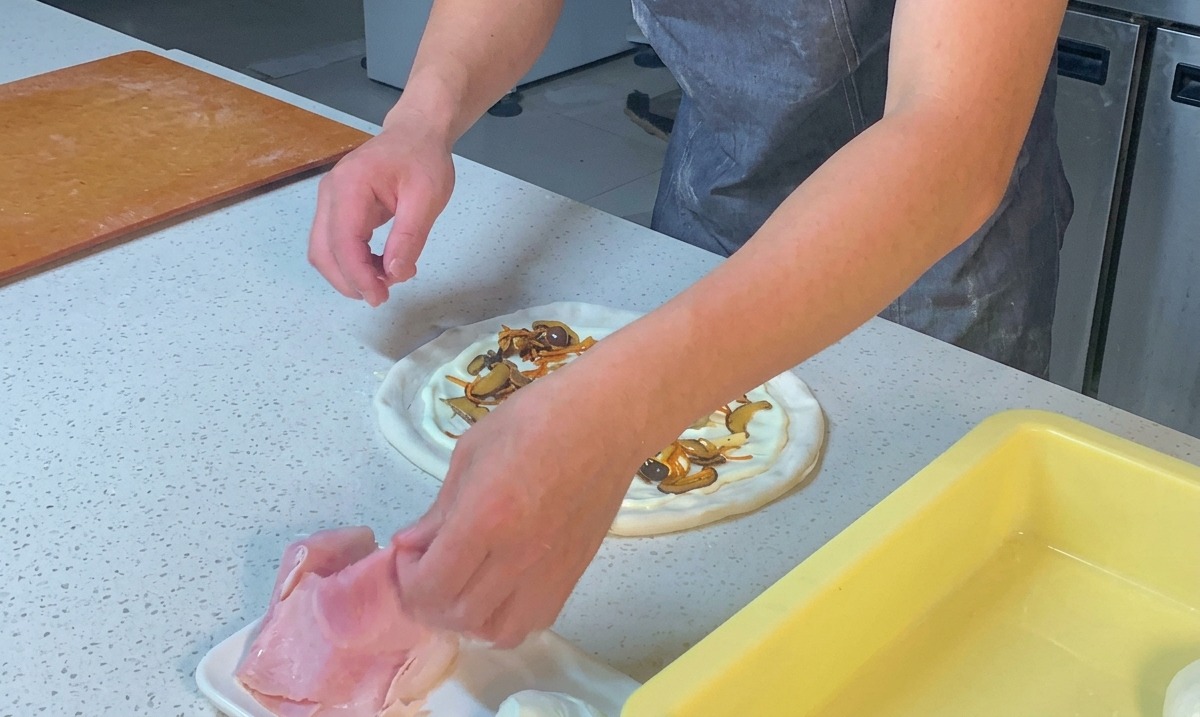
Take slices of high-quality pink ham and tear them into smaller, bite-sized pieces by hand. Scatter the torn ham evenly across the pizza, layering it nicely over the white sauce, mixed mushrooms, and cordyceps flowers.
Tip: Tearing the ham by hand gives it a rustic appearance and creates uneven edges that crisp up beautifully during baking. - 9Tear the mozzarella
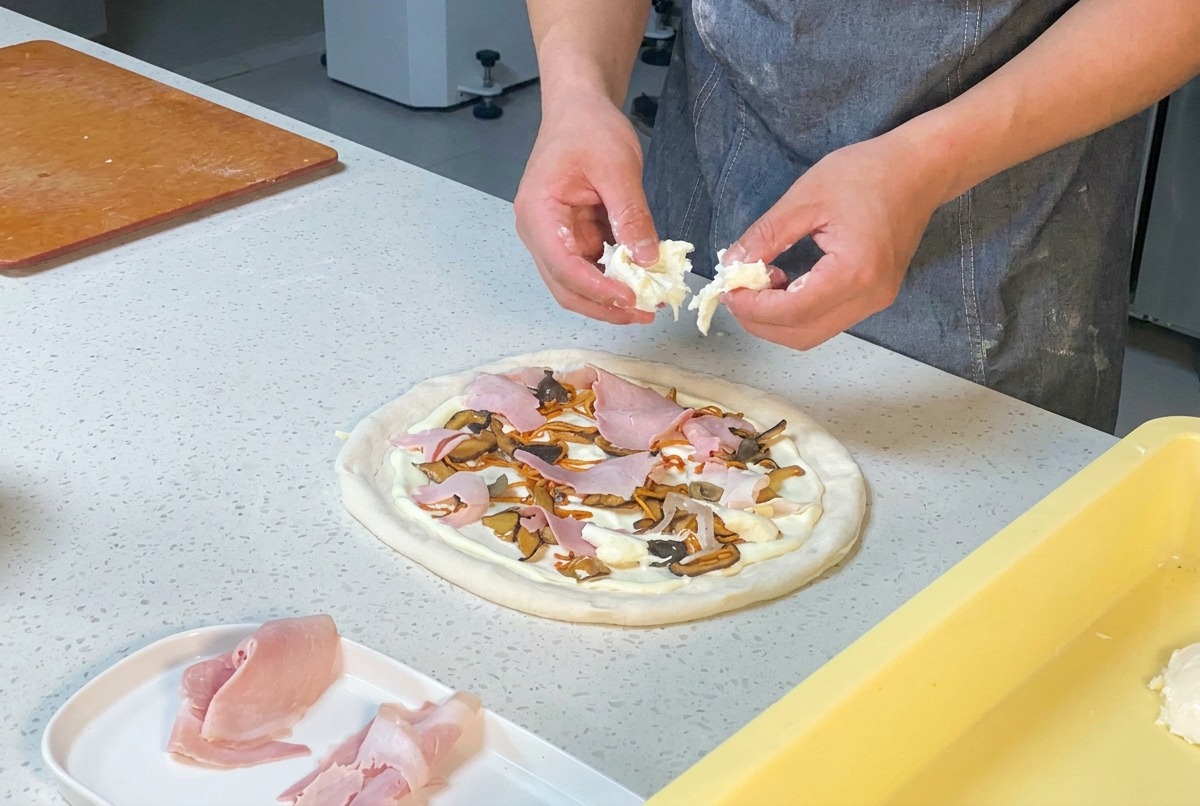
Take a ball of fresh white mozzarella cheese and break it apart by hand. Distribute the torn chunks generously over the layer of mushrooms, cordyceps, and torn ham.
Tip: Tearing the cheese by hand creates irregular, rustic pieces that melt beautifully into distinct pockets of gooey cheese across the pizza. - 10Flour the pizza peel
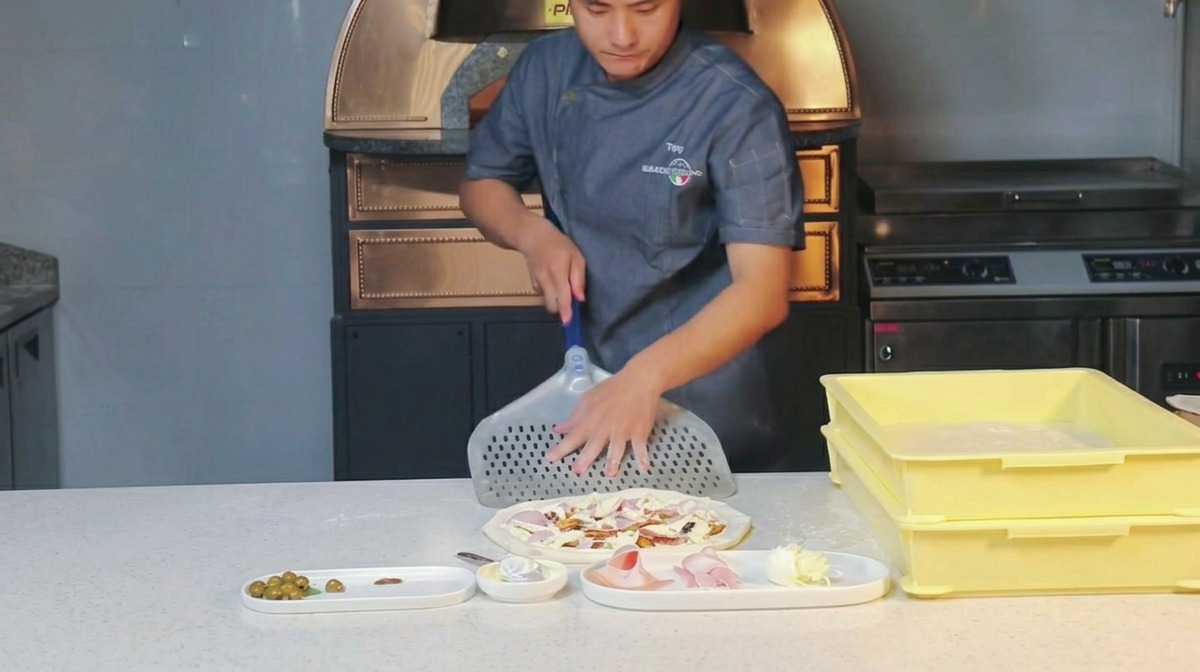
Take a perforated metal pizza peel and lightly sprinkle dry flour over its surface. Spread the flour evenly to ensure the wet dough wont stick to the metal during the transfer.
Tip: Using a perforated peel is highly recommended, as it allows excess flour to fall through the holes, preventing a burnt flour taste on the bottom of your crust. - 11Transfer to the peel
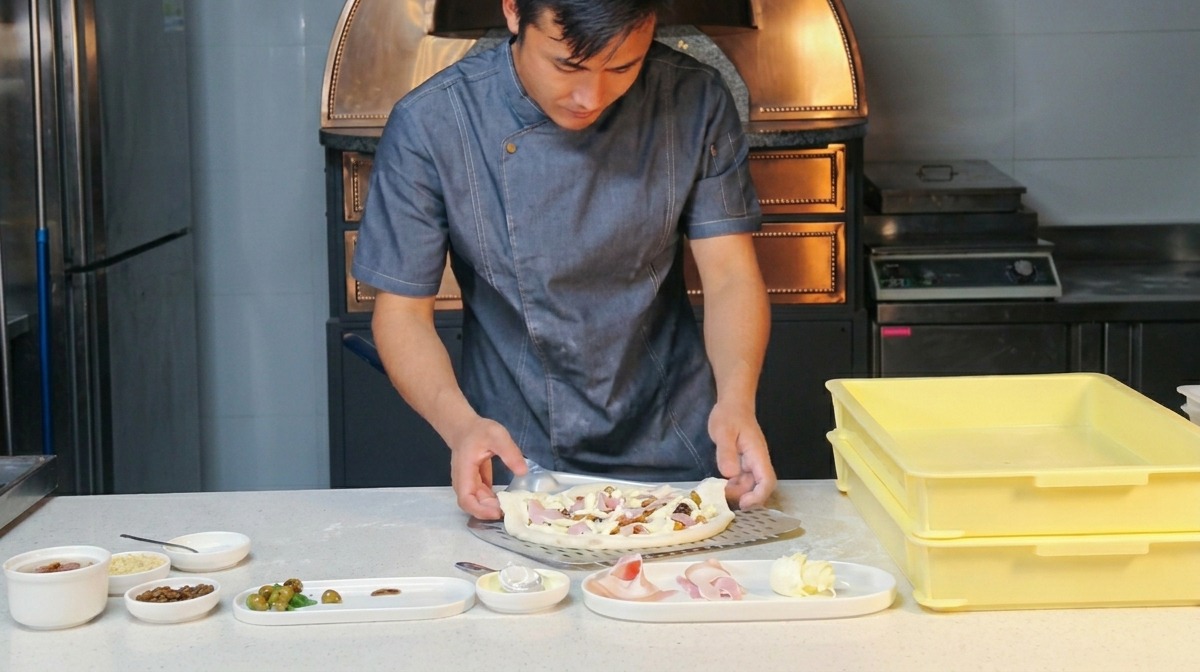
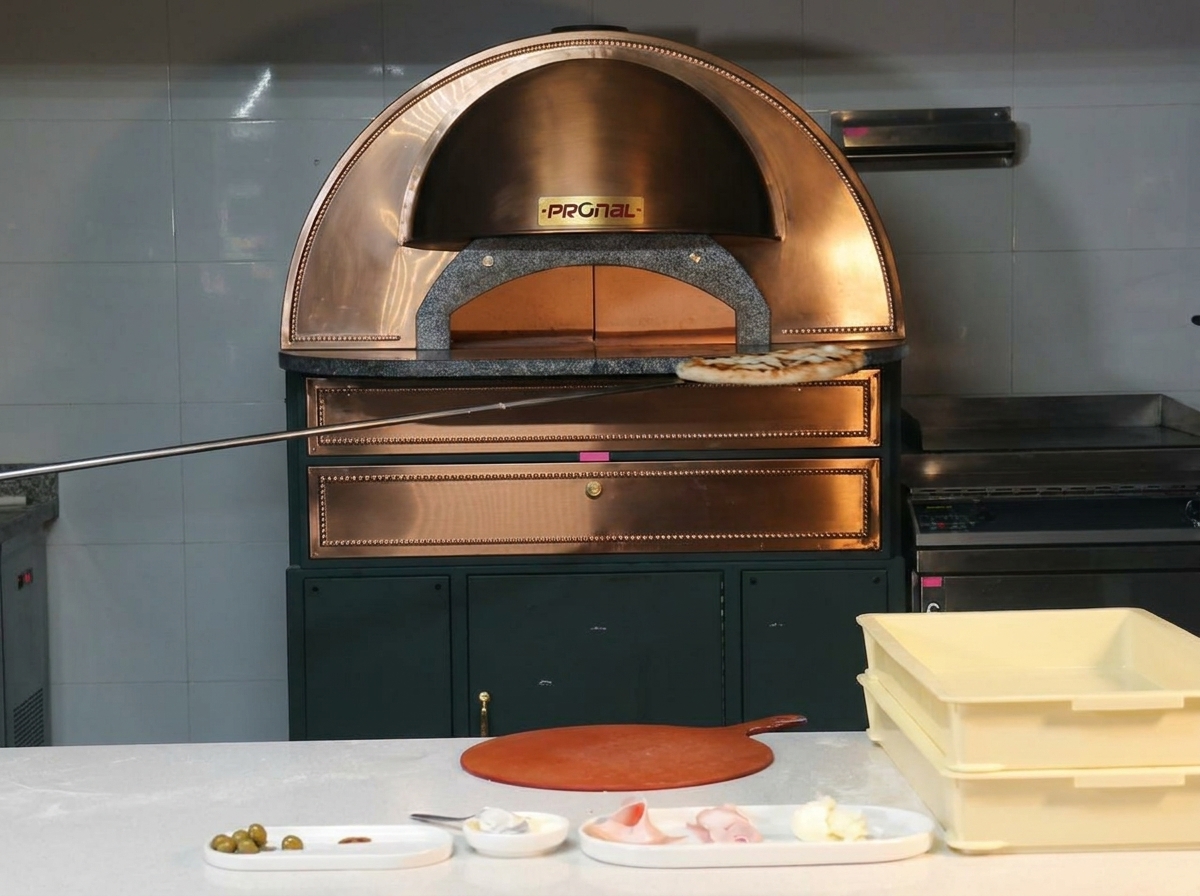
With the pizza fully assembled, use both hands to swiftly and smoothly slide the raw pizza onto the floured metal peel. Work quickly so the moisture from the sauce and toppings doesnt cause the dough to stick to the counter.
Tip: Once the pizza is on the peel, give it a quick, gentle shimmy to confirm the dough glides freely and is ready to be launched into the oven. - 12Transfer to the Oven
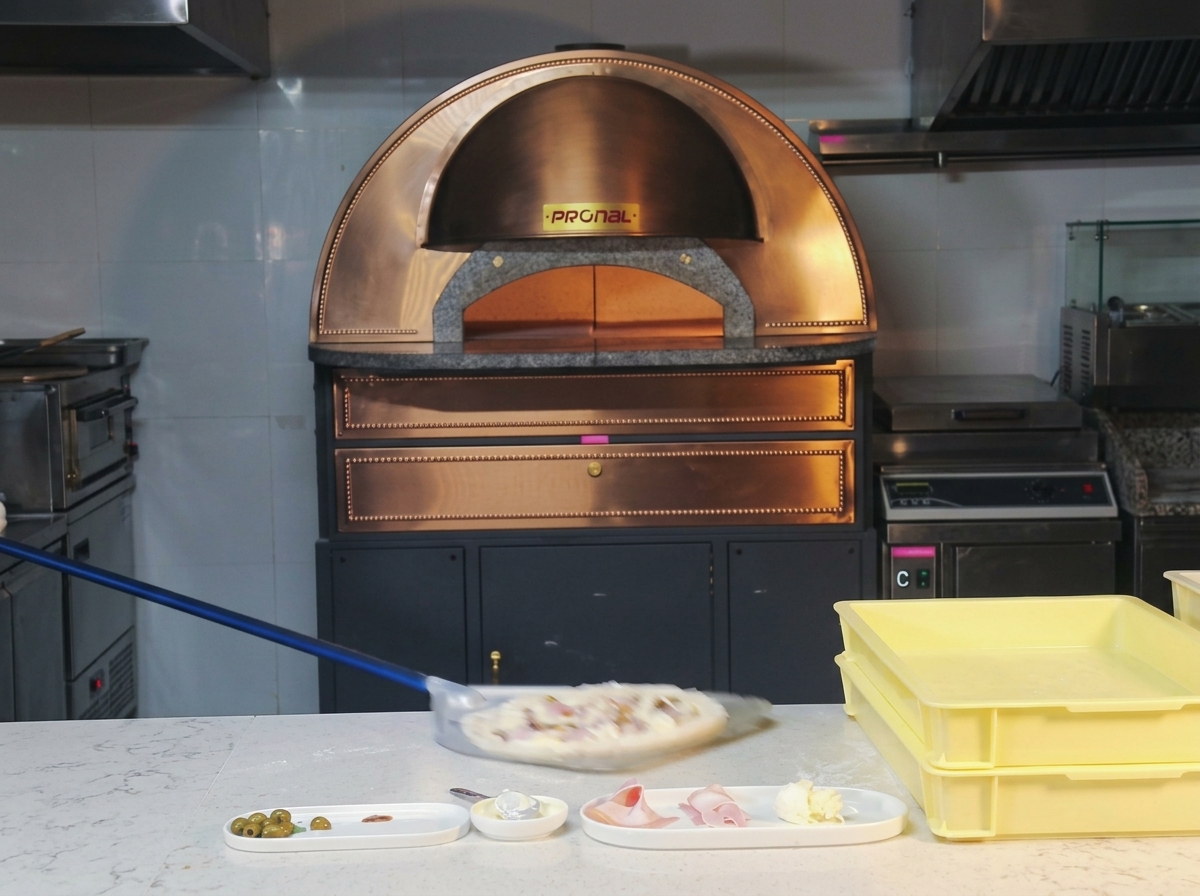
With the dome oven preheated to around 400 degrees, make sure the dough moves freely on your floured pizza peel. Quickly and confidently slide the assembled pizza off the peel and directly onto the hot oven floor.
Tip: A quick back-and-forth shake of the peel before sliding ensures the dough hasnt stuck, preventing the toppings from shifting as it goes in. - 13Rotate for even baking
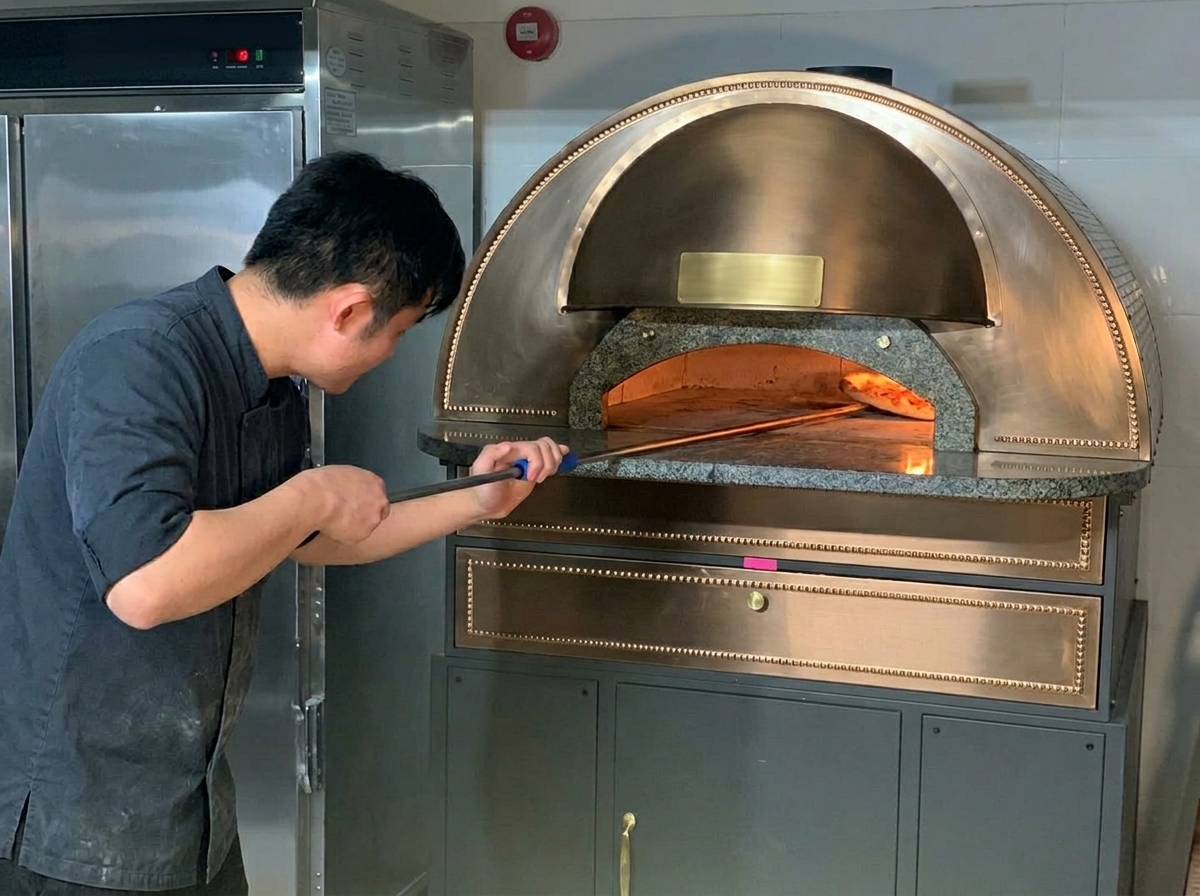
While the pizza is in the high-heat oven baking at around 400 degrees, carefully observe the coloring of the crusts edge and bottom. After about one and a half minutes, slide the pizza peel underneath and rotate the pizza to ensure it browns evenly on all sides.
Tip: Continuous monitoring and rotating are essential when baking at high temperatures to prevent the crust from burning near the heat source. - 14Remove from the Oven
Bake the pizza for about one and a half minutes, keeping a close eye on the coloring of the crust and bottom. Once the edges are nicely charred and the cheese is fully bubbling, use the metal peel to lift the baked pizza out of the oven.
Tip: High-heat ovens cook extremely fast. Always stay by the oven and be ready to pull the pizza out the moment the crust reaches that perfect golden-brown blister. - 15Garnish with Cheese and Herbs
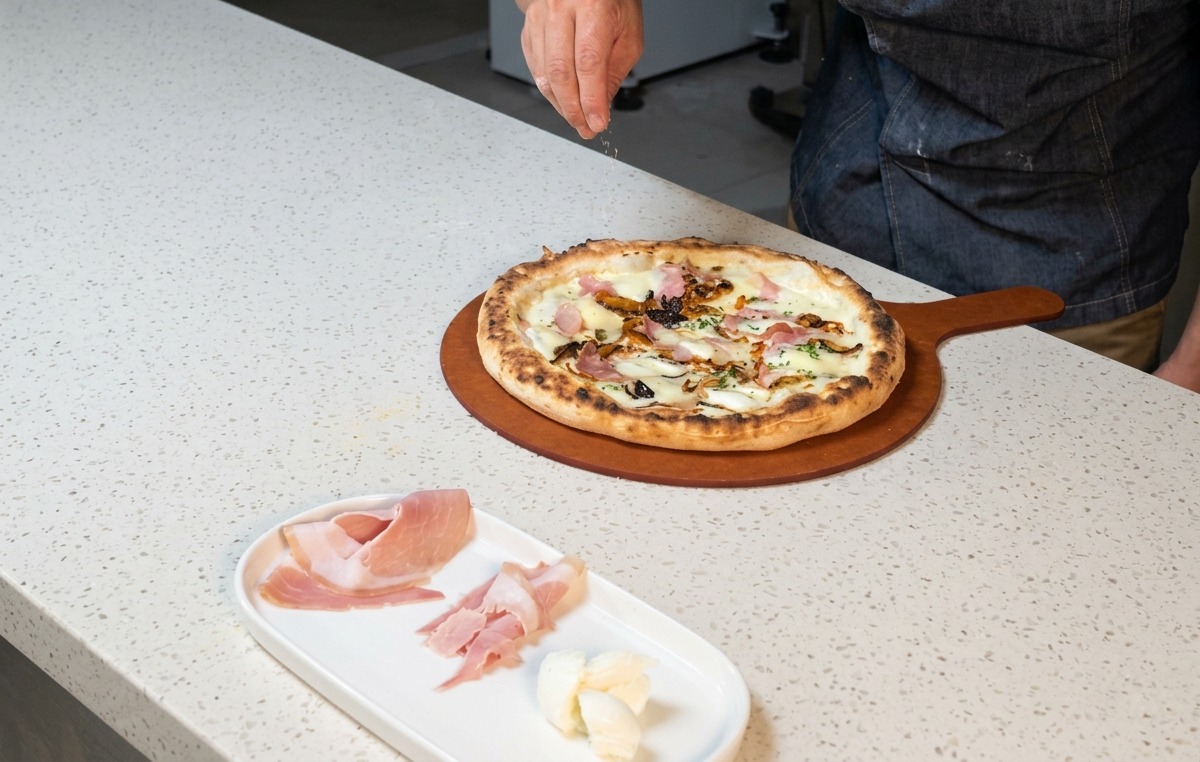
Transfer the freshly baked pizza to a wooden serving peel or cutting board. While it is still piping hot, finish the dish by sprinkling a generous layer of grated dry cheese and finely chopped parsley over the top for a burst of fresh flavor.
Tip: Garnishing with delicate herbs and hard cheeses after the pizza is out of the oven ensures they dont burn under the intense heat.