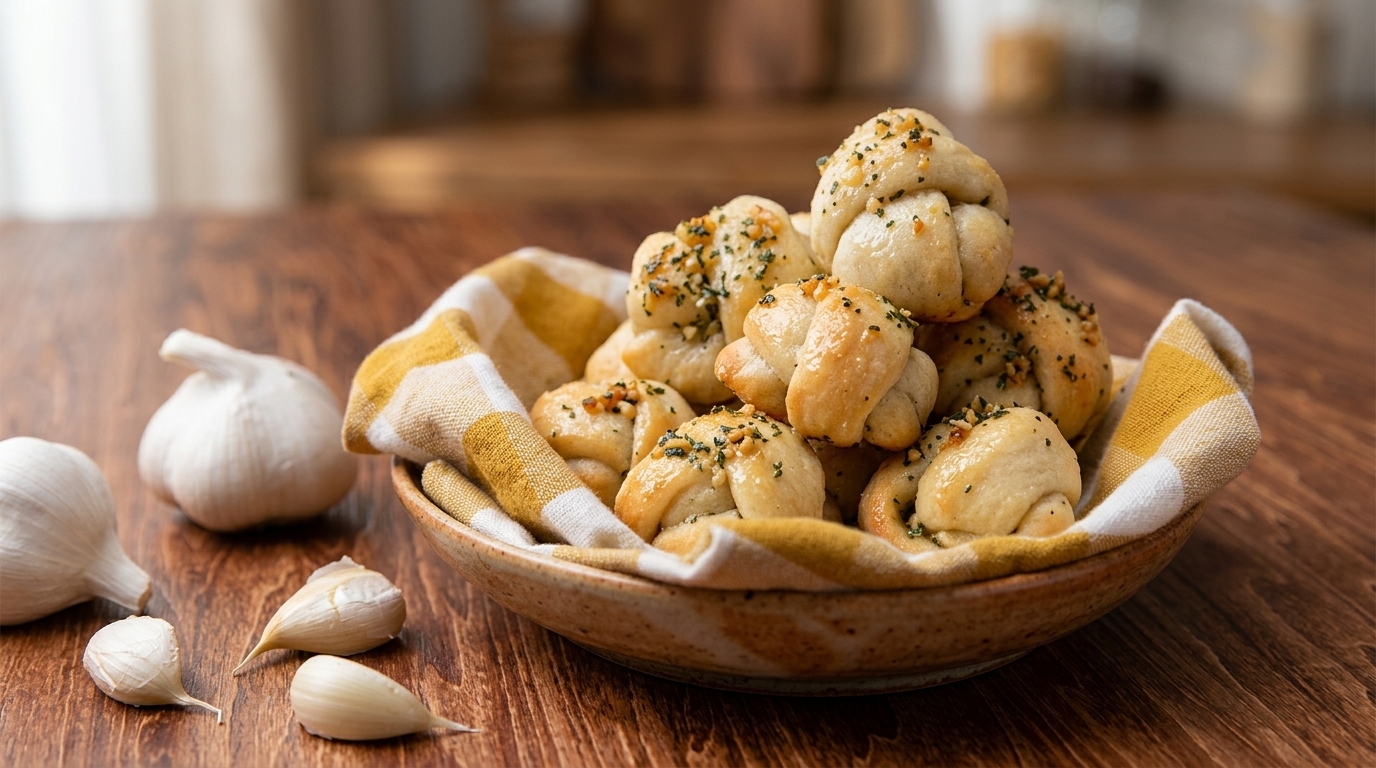
Homemade Mini Garlic Pizza Knots
Soft, pillowy, and undeniably buttery, these mini garlic pizza knots are the perfect savory snack. Made from scratch and coated in a rich garlic herb butter, they bake up golden and irresistible.
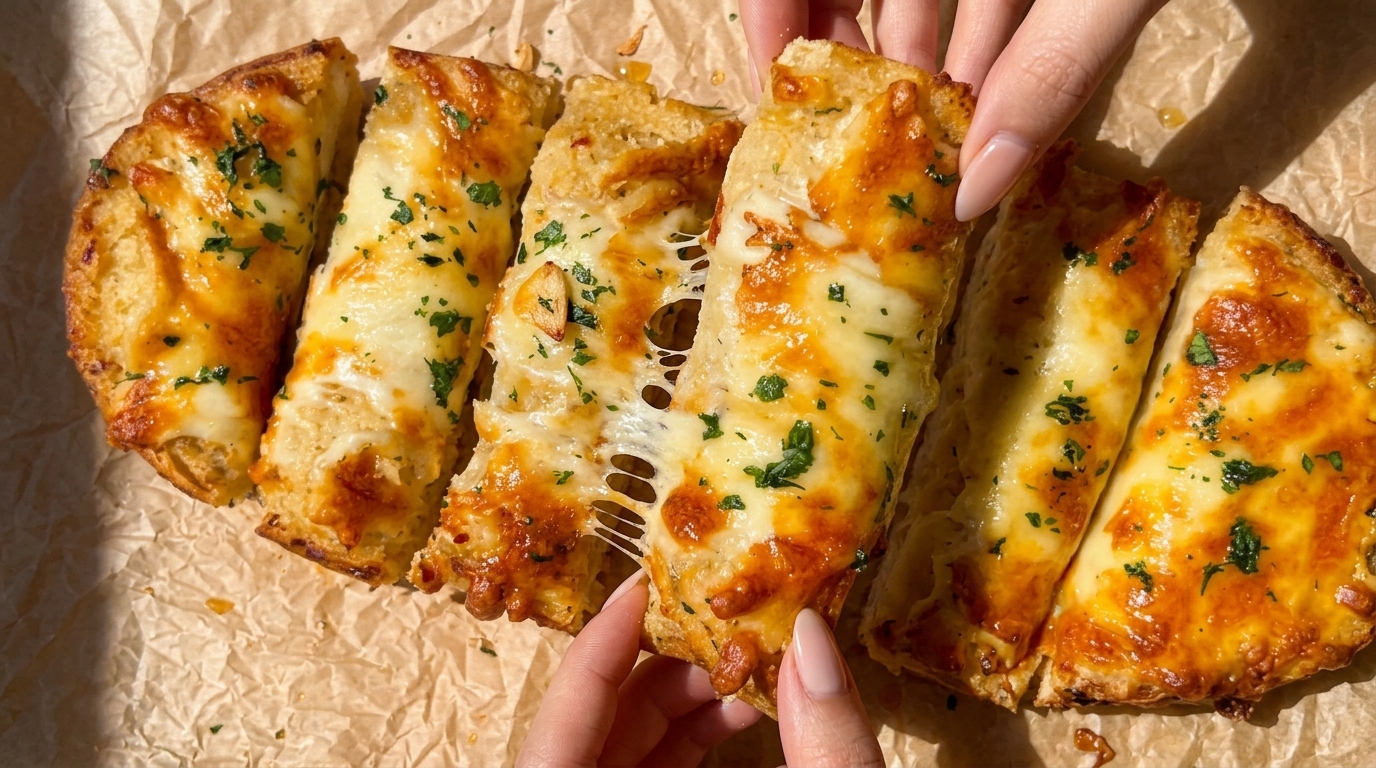
Garlic knots are a staple of Italian-American pizzerias, born as a clever way to use up leftover pizza dough. These mini versions take that classic concept and scale it down into perfectly poppable, bite-sized treats. They pair wonderfully with a warm marinara dipping sauce or simply stand alone as a flavorful, rustic snack.
Ingredients
- 250 g bread flour
- 250 g all-purpose flour
- 2 tsp baking powder
- 1 tsp salt
- 2 tbsp olive oil
- 300 ml water
- 4 tbsp butter
- 3 cloves garlic, minced
- 1 tbsp fresh parsley, chopped
- to taste salt and black pepper
Instructions
- 1Combine dry ingredients
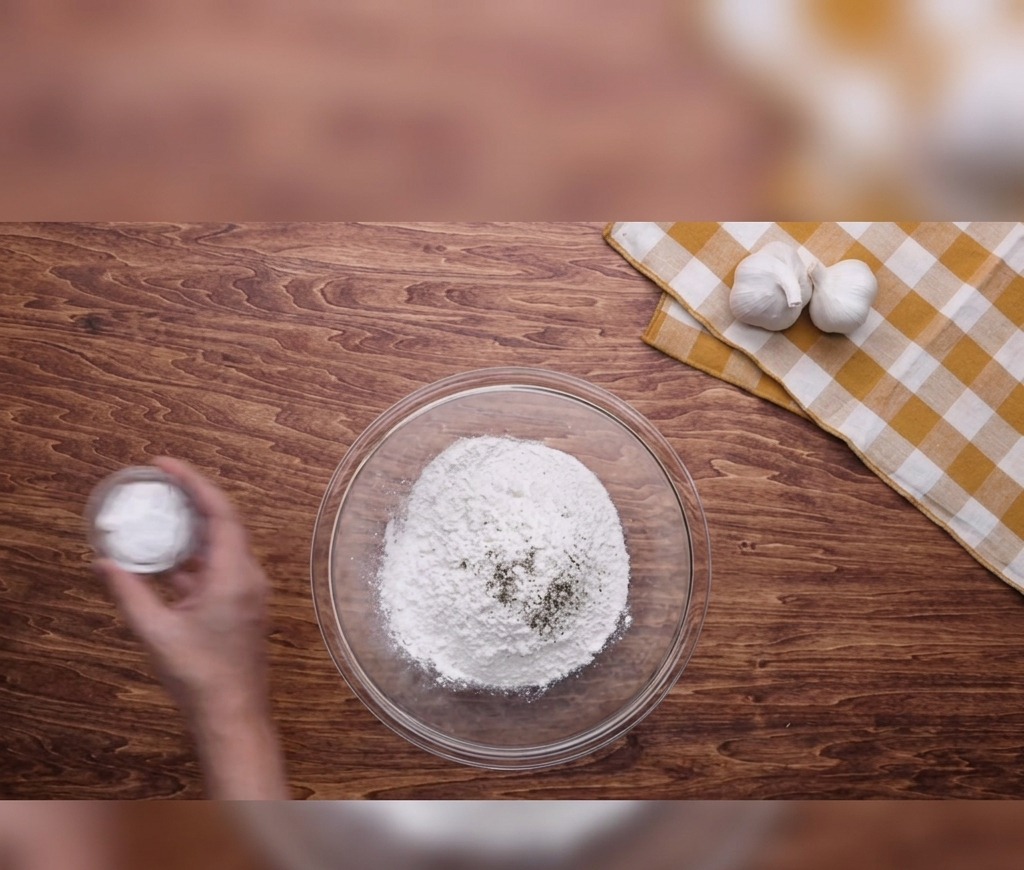
In a large glass mixing bowl, combine the bread flour and all-purpose flour. Add the baking powder and a pinch of salt to the mixture. Using a mix of both flours provides the perfect balance of chewiness and tenderness for the dough knots.
Tip: Sift the dry ingredients together if you notice any large clumps in the flour to ensure an even rise. - 2Mix the dough
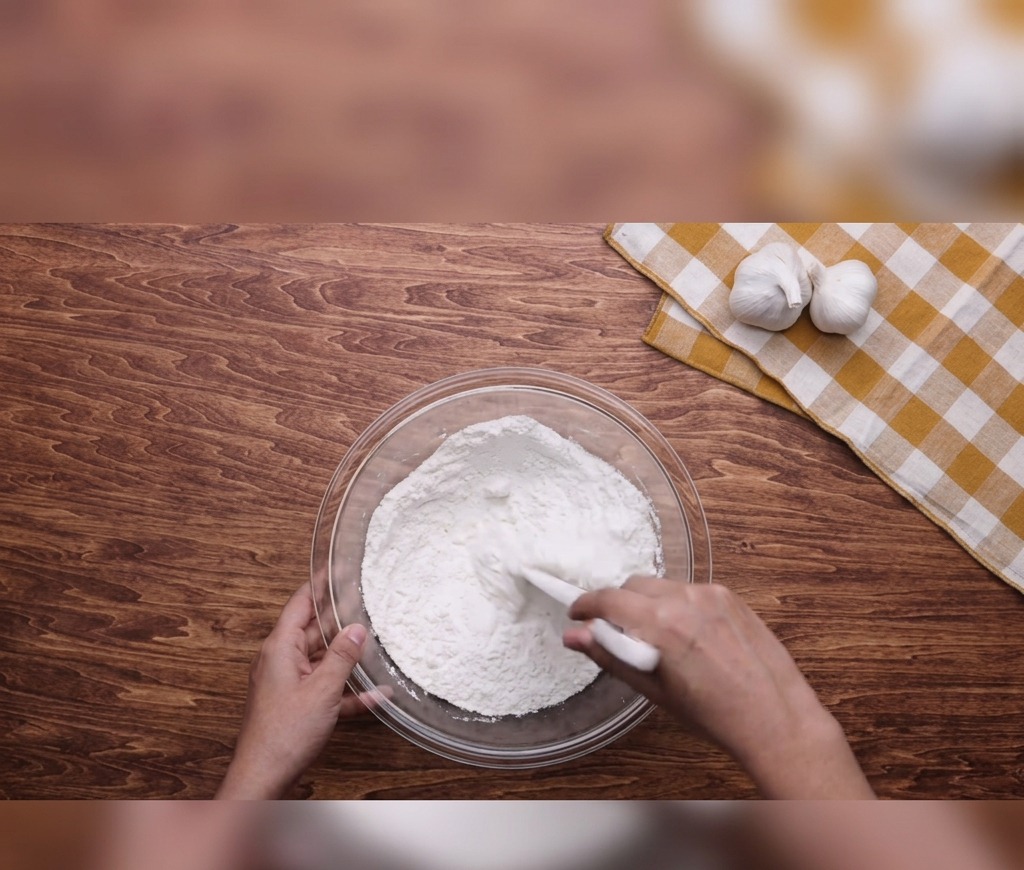
Pour in the olive oil and water. Use a flexible white spatula to stir the ingredients together until the flour is fully hydrated and a shaggy, cohesive dough begins to form. Make sure to scrape the sides of the bowl to incorporate all the dry bits.
Tip: Add the water gradually; depending on the humidity, you might need slightly less or more to reach the right consistency. - 3Knead until smooth
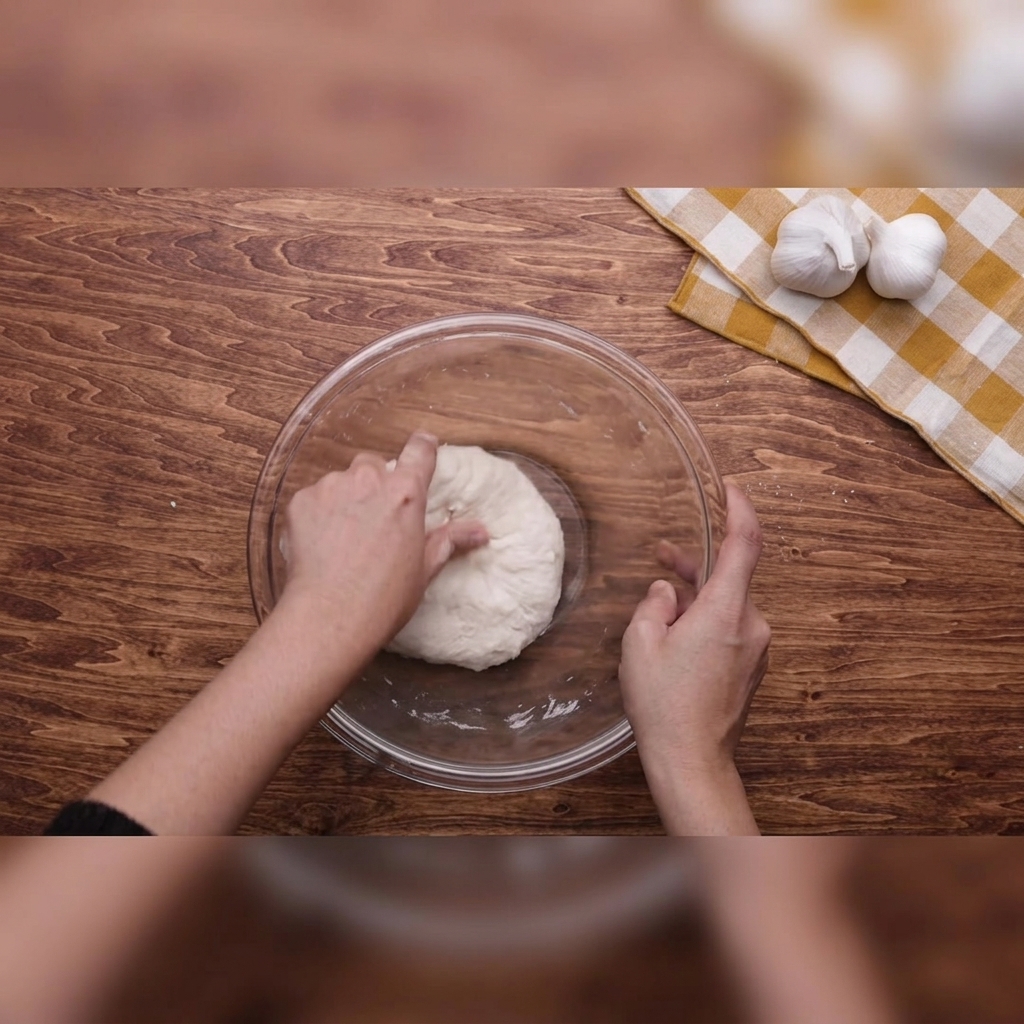
Transition to kneading by hand directly in the bowl. Press and fold the dough repeatedly for several minutes until it transforms from a shaggy mass into a smooth, elastic ball. The dough should feel soft and no longer stick to your hands or the bowl.
Tip: If the dough feels too sticky, add a teaspoon of flour at a time until its manageable. - 4Cut the dough strips
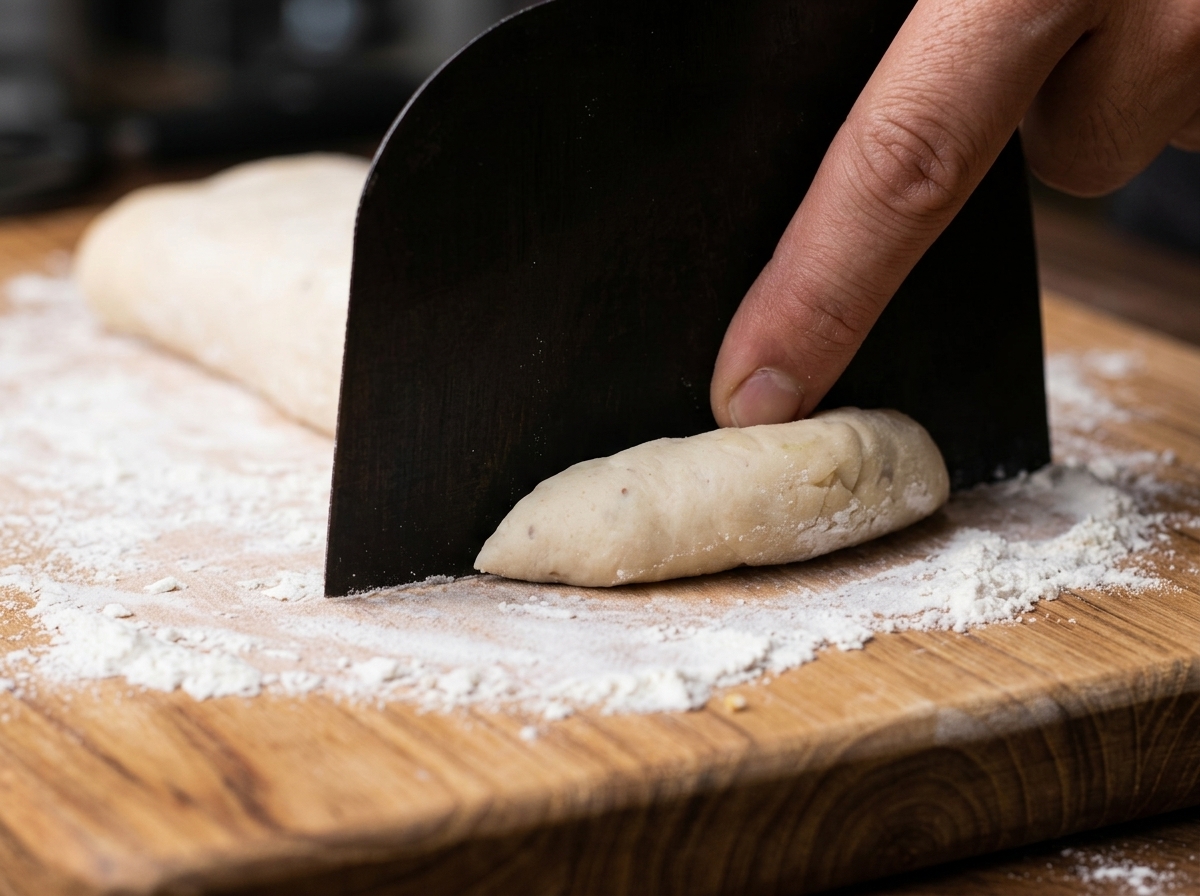
After flattening the dough into a rectangular shape on a lightly floured surface, use a black dough scraper or a sharp knife to cut it into thin, uniform strips. Aim for even widths to ensure that all the garlic knots bake at the same rate.
Tip: Using a dough scraper provides a clean, vertical cut that prevents the dough from stretching or tearing. - 5Shape the knots
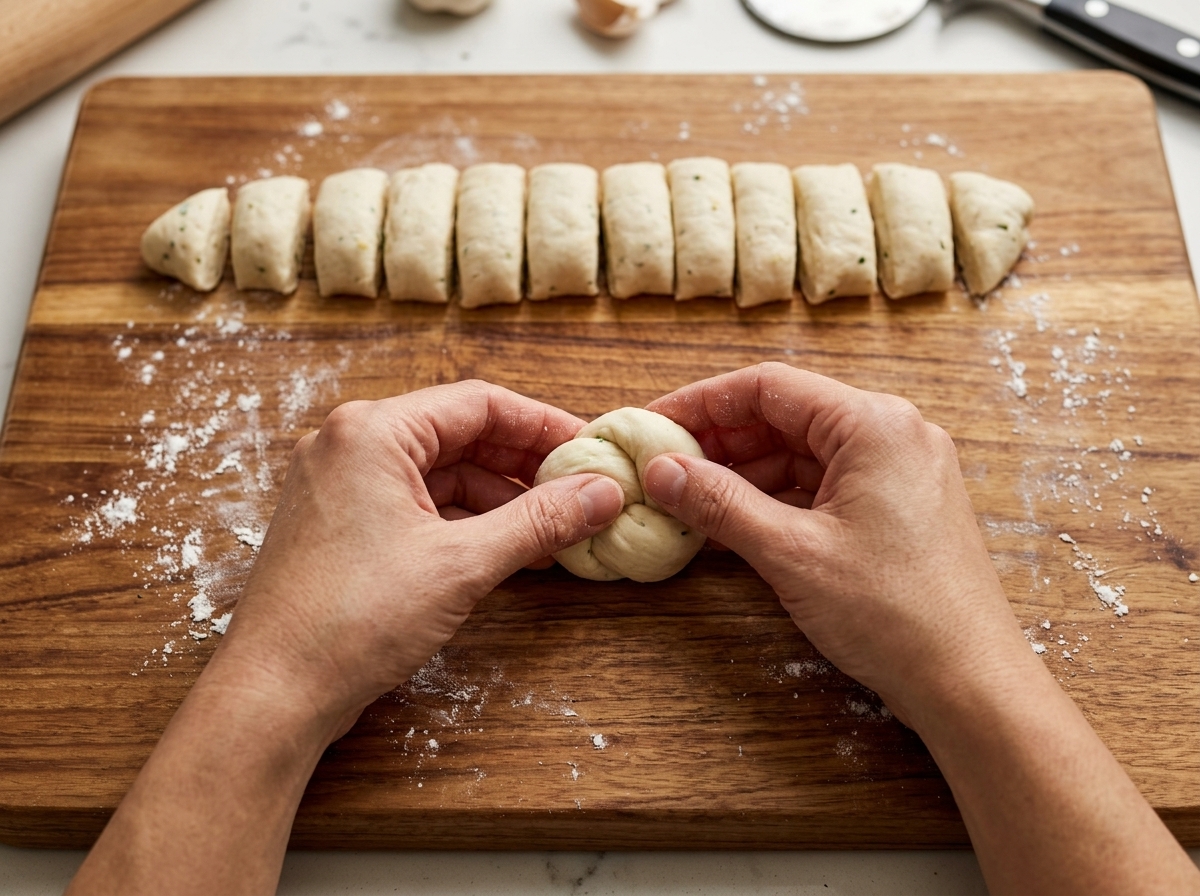
Take an individual strip of dough and gently roll it into a small rope. Tie the rope into a simple overhand knot, tucking the ends neatly to create a rounded shape. Repeat this process with the remaining strips of dough.
Tip: Dont pull the knots too tight; leaving them a little loose allows room for the dough to expand as it bakes. - 6Brush with olive oil
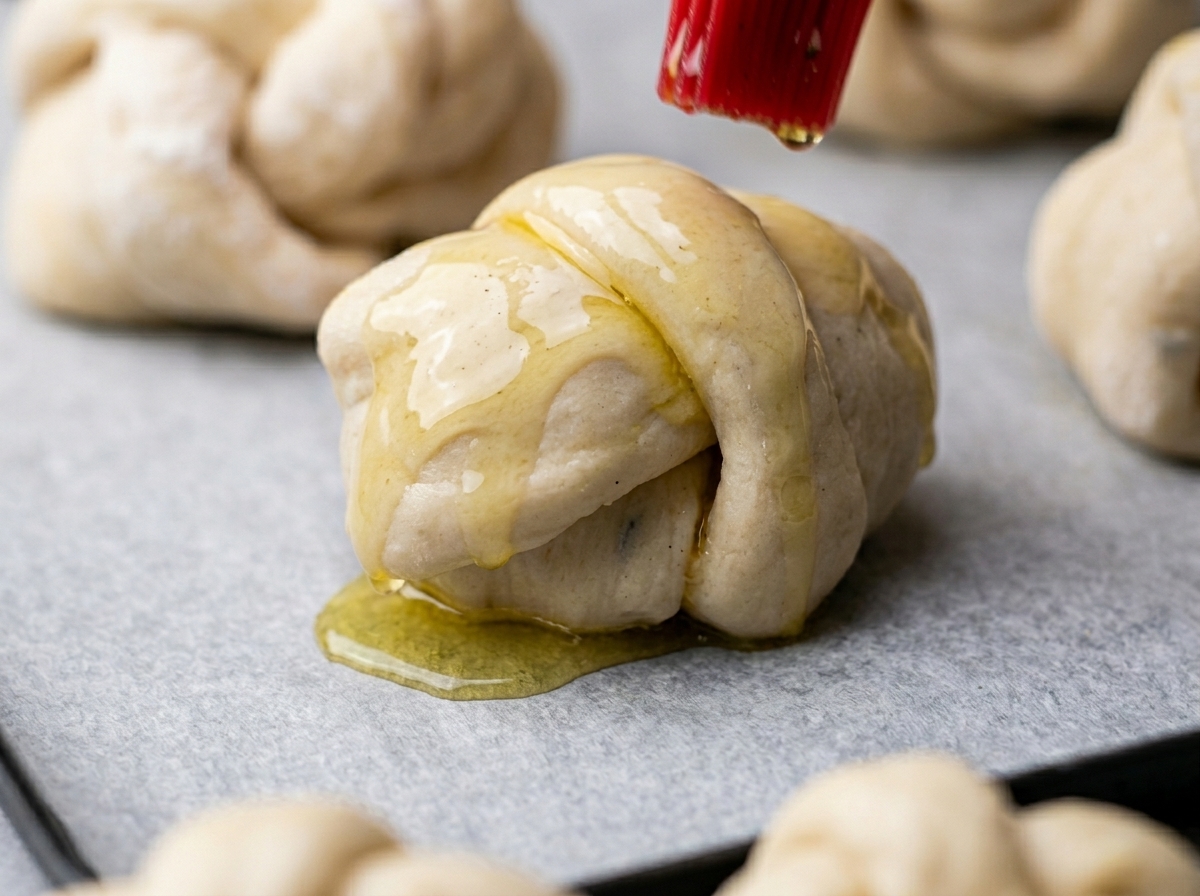
Arrange the shaped knots on a baking tray lined with parchment paper. Use a red silicone pastry brush to generously coat the surface of each knot with olive oil. This will help the knots achieve a beautiful golden-brown color and a crispy exterior in the oven.
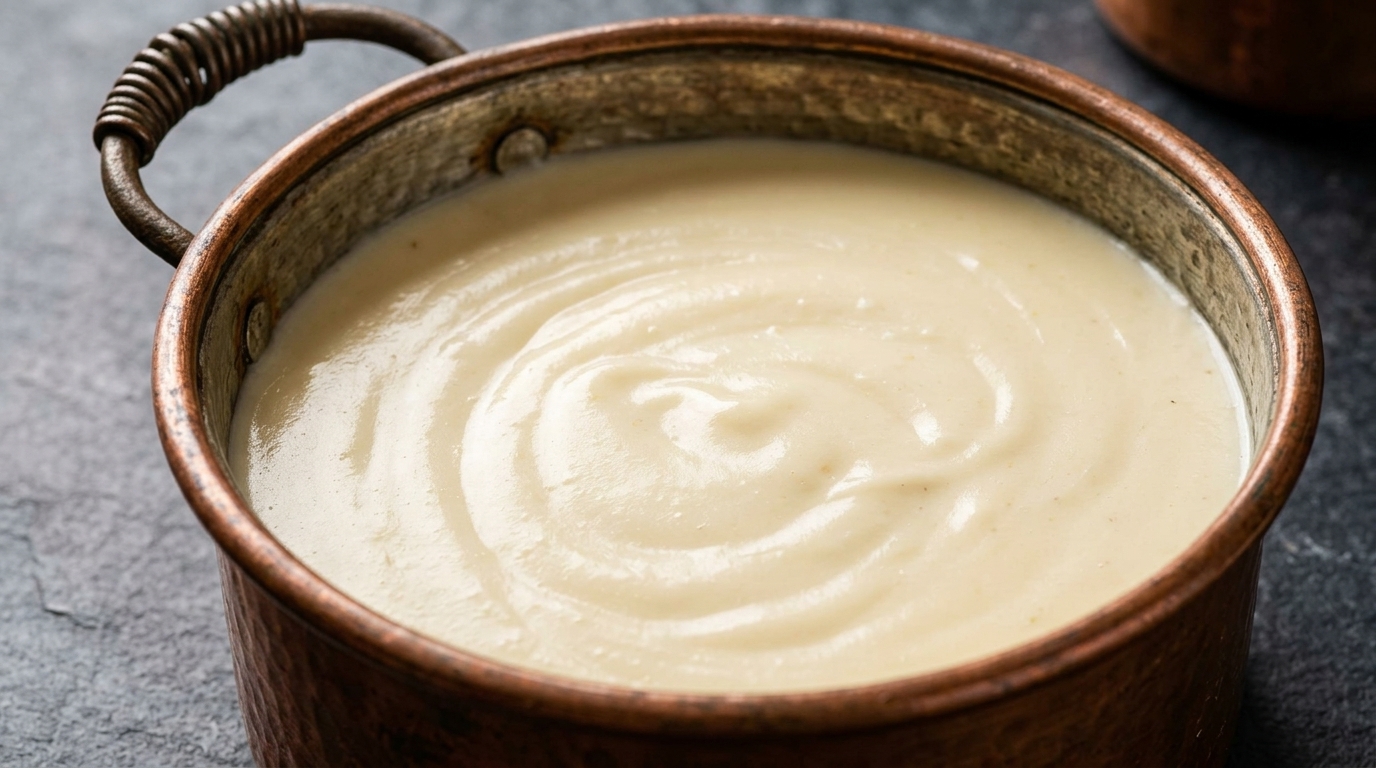
Tip: Make sure to coat the sides and crevices of the knots so they brown evenly all over. - 7Prepare the garlic butter sauce
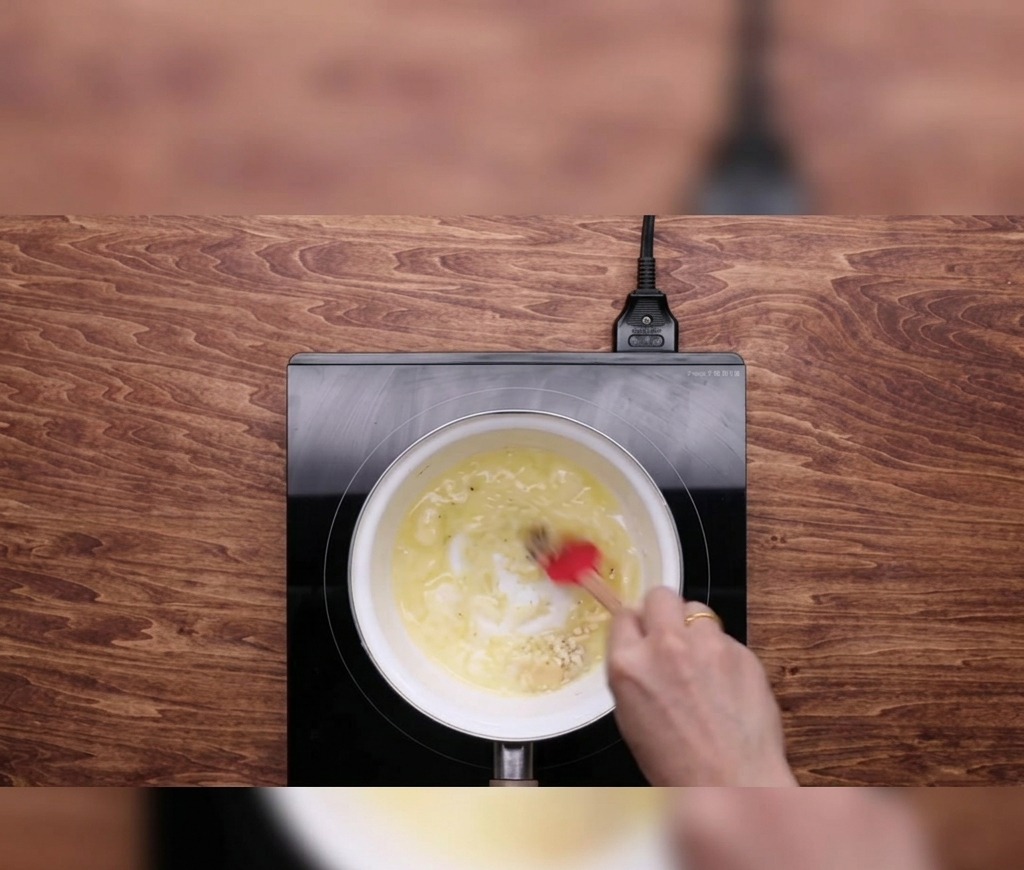
In a small saucepan over low heat, combine the butter, minced garlic, salt, pepper, and olive oil. Stir the mixture constantly until the butter is fully melted and the garlic becomes fragrant. Be careful not to brown the garlic, as it can become bitter.
Tip: Keep the heat low to gently infuse the butter with garlic flavor without burning the solids. - 8Brush with garlic butter
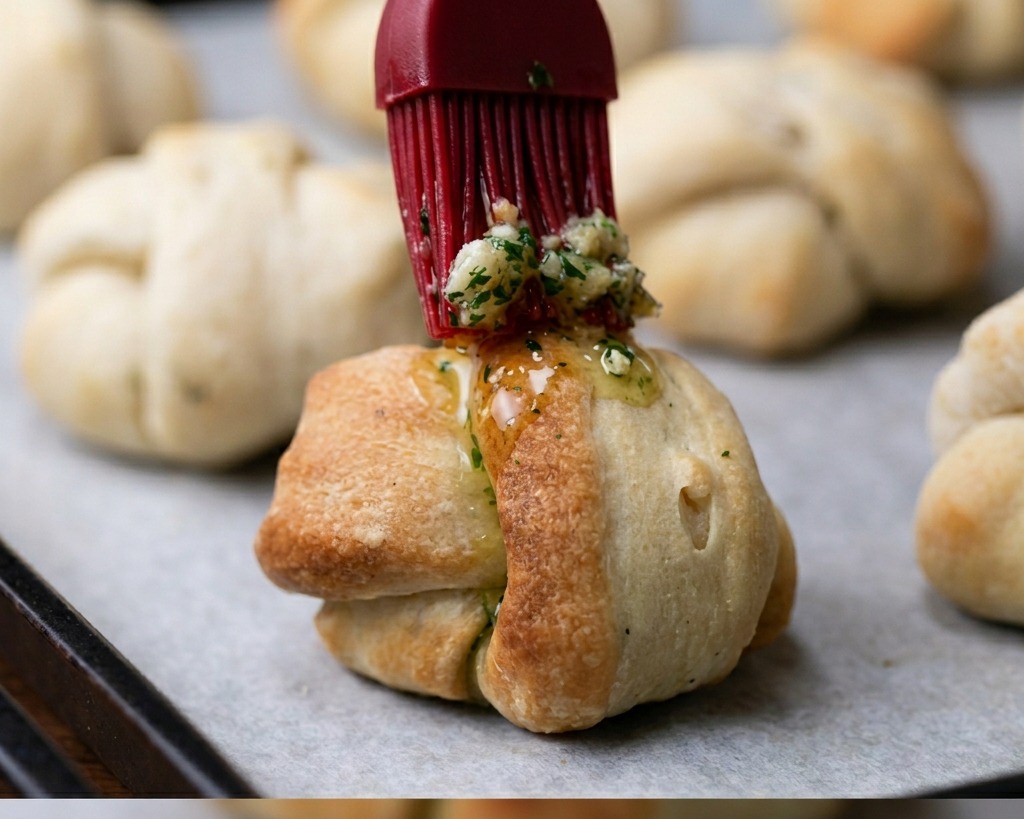
Remove the garlic knots from the oven once they are lightly golden. Use a pastry brush to generously coat each knot with the prepared garlic butter and parsley mixture, ensuring the herbs and garlic bits are evenly distributed over the tops and sides.
Tip: Brush the knots while they are hot so the savory butter soaks into the crust for maximum flavor.