Homemade Orleans Chicken
Mushroom Pizza
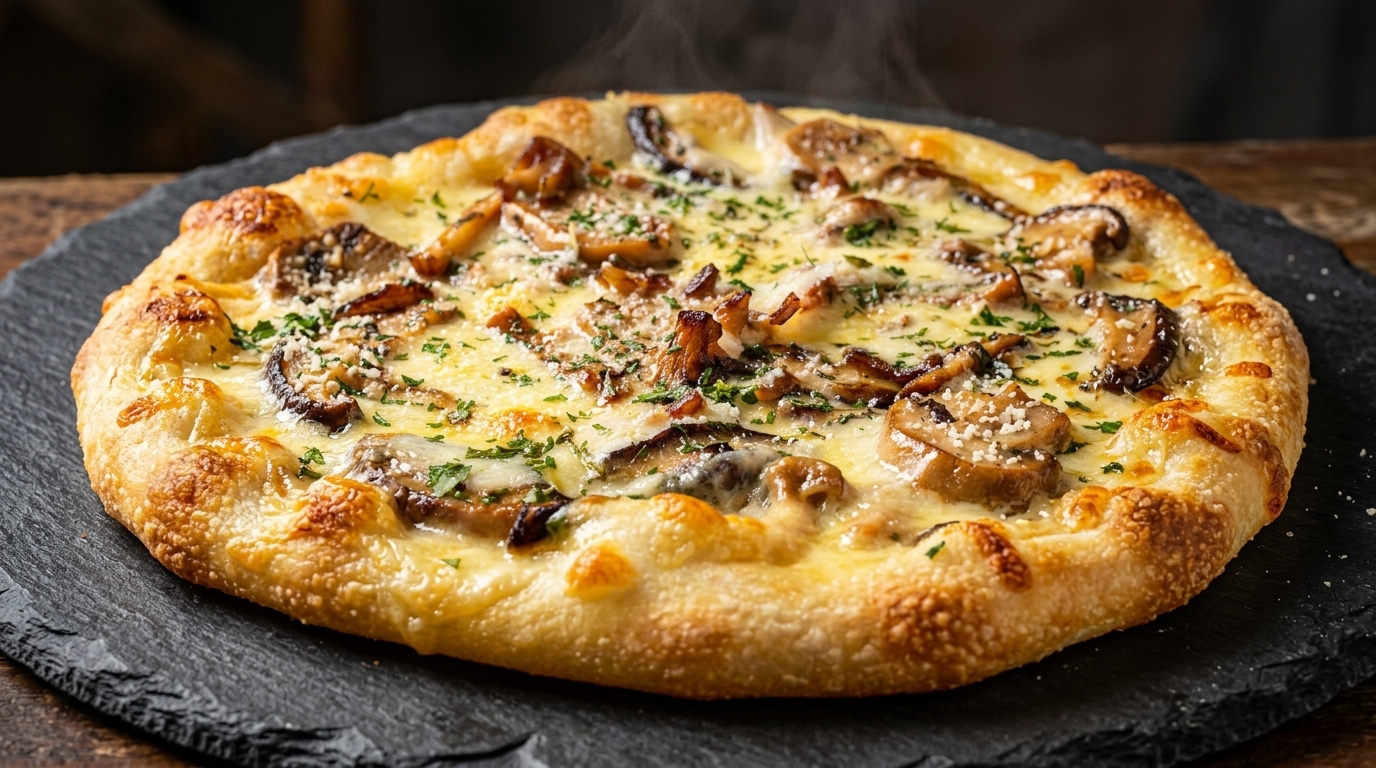
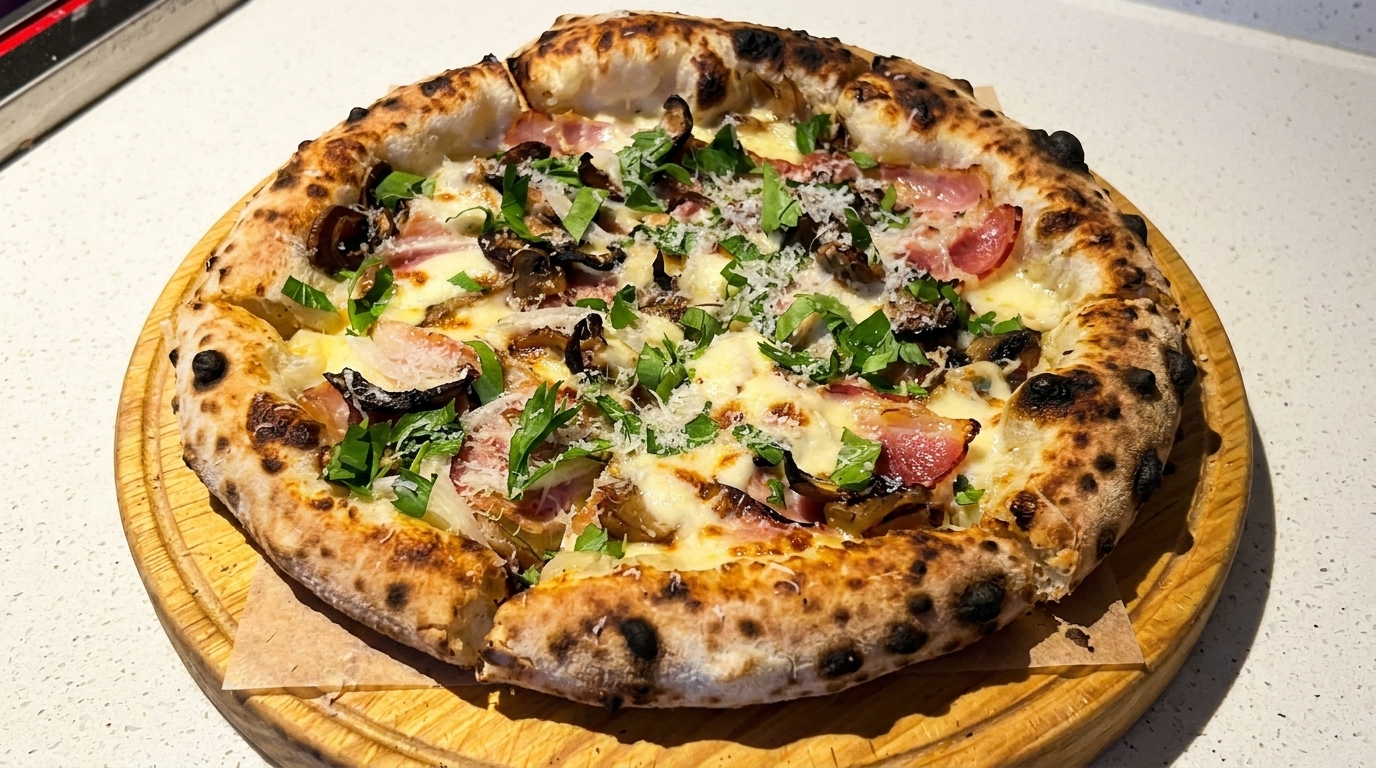
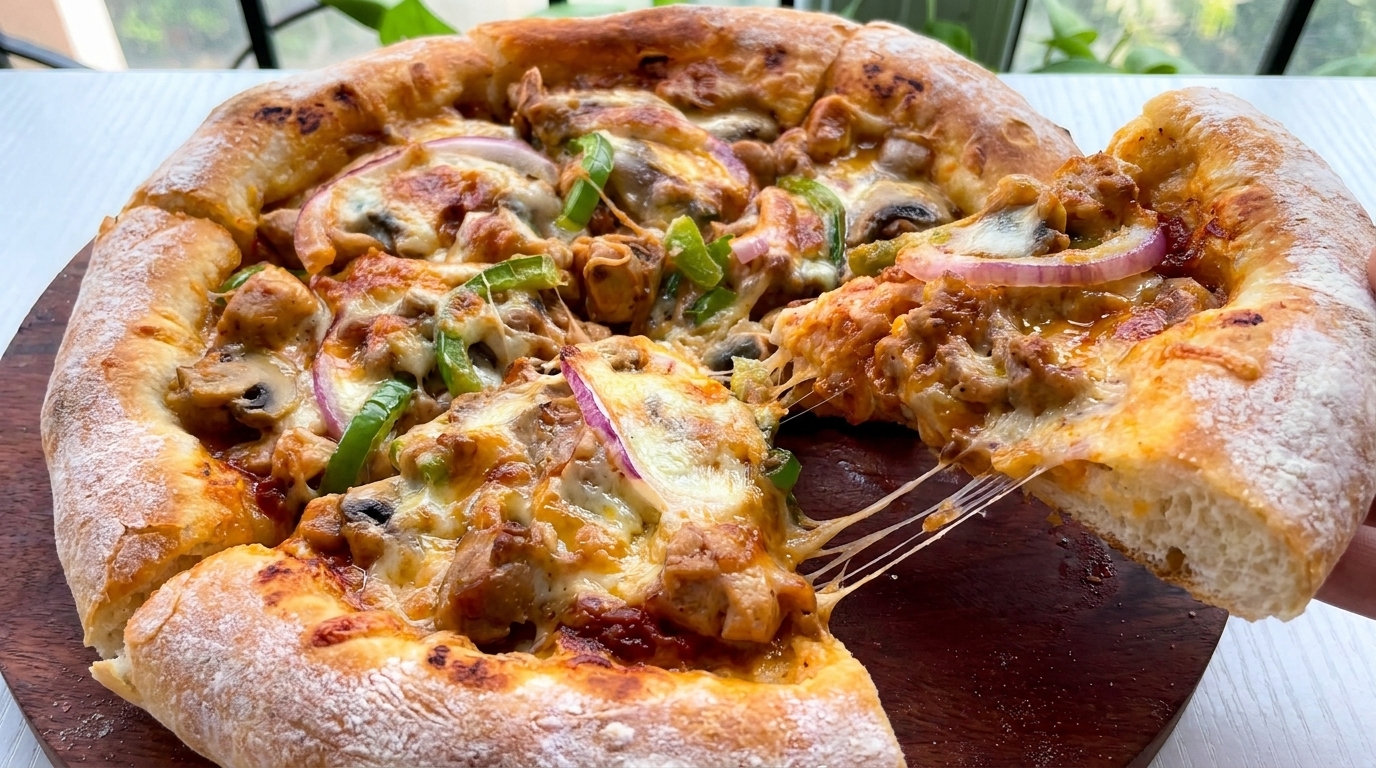
Skip the delivery with this loaded homemade chicken and mushroom pizza. Featuring a high-hydration folded dough and savory Orleans-marinated chicken, it guarantees a perfect cheese pull.
Making pizza at home allows for ultimate control over both the crust and the toppings. This recipe utilizes a no-knead, high-hydration dough technique—folding it at timed intervals to develop the gluten network—resulting in a crust that is delightfully crispy on the outside and airy on the inside. Paired with the distinctively savory and slightly sweet notes of Orleans marinade, the tender chicken provides a robust flavor profile that perfectly complements the earthy mushrooms and gooey, melted mozzarella.
Ingredients
- 1 whole boneless chicken leg, cut into chunks
- 1 tbsp Orleans marinade
- 1 tbsp light soy sauce
- 1 tbsp cooking wine
- 2 slices fresh ginger
- 1 stalk green onion, cut into segments
- 150 g bread flour
- 105 g water
- 8 g olive oil or corn oil
- 5 g white sugar
- 4.5 g fresh yeast
- 2 g salt (plus extra to taste for toppings)
- 1 cup white button mushrooms, sliced
- 12 cup green bell pepper, sliced
- 14 cup red onion, sliced into rings
- 12 cup pizza sauce or ketchup
- 2 cups shredded mozzarella cheese
- to taste black pepper
- for dusting cornmeal or yellow flour
Instructions
- 1Season the chicken chunks
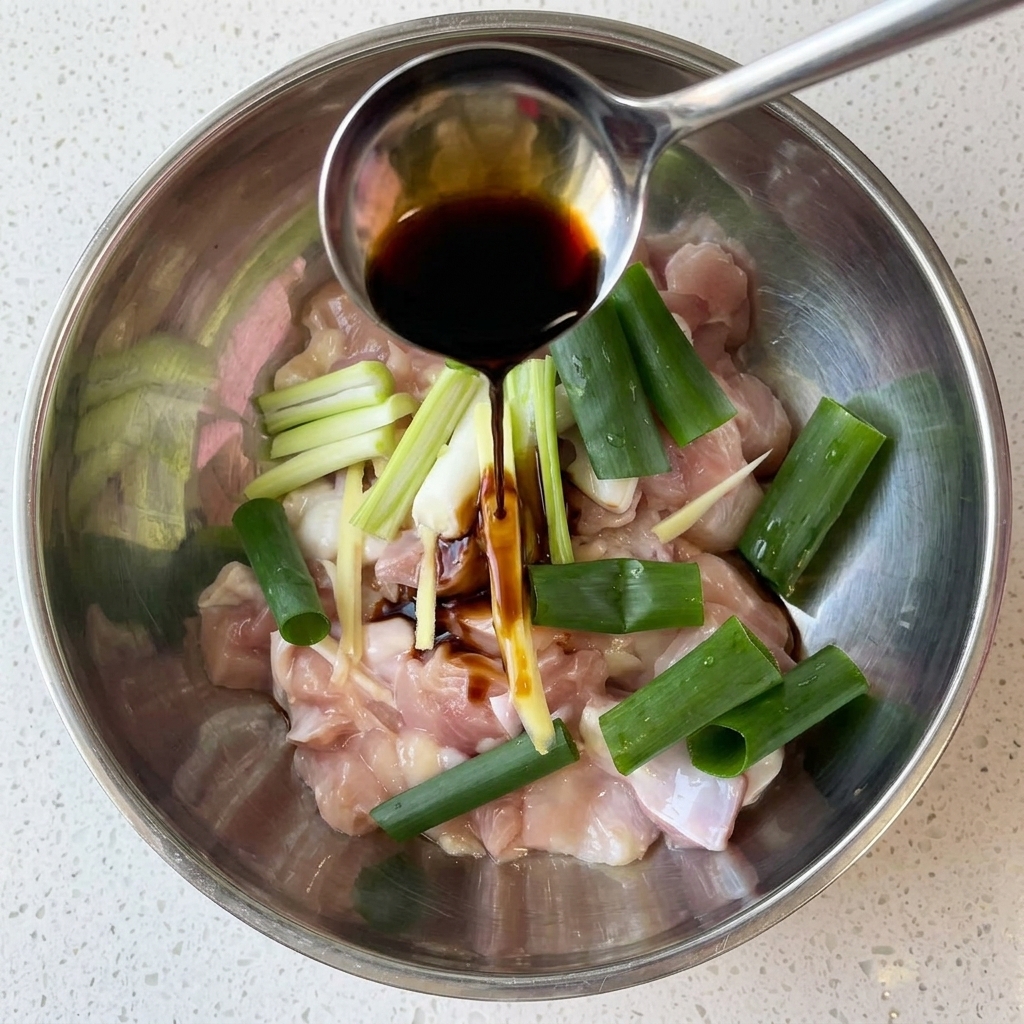
Place the cut chicken leg chunks into a mixing bowl. Add the green onion segments, sliced ginger, cooking wine, light soy sauce, and a pinch of salt to begin building the marinade base.
Tip: Using chicken leg meat instead of breast meat ensures the pizza toppings remain juicy and tender after baking. - 2Marinate the chicken
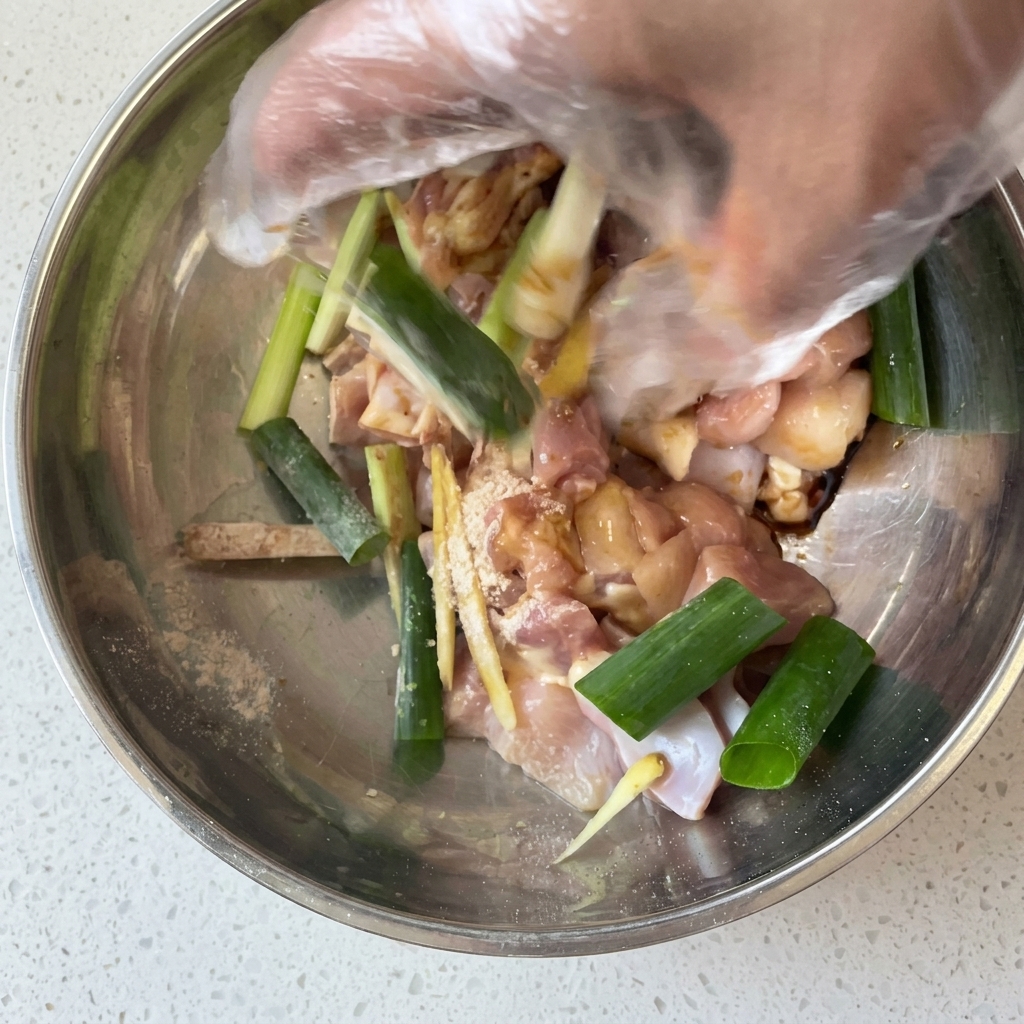
Pour the Orleans marinade over the chicken chunks that were just seasoned. Use a gloved hand to mix everything thoroughly until the meat is evenly coated. Cover the bowl with plastic wrap and refrigerate it to let the flavors meld while you prepare the pizza dough.
Tip: Letting the chicken marinate for at least 30 minutes in the refrigerator will greatly enhance the flavor of your pizza. - 3Mix the pizza dough
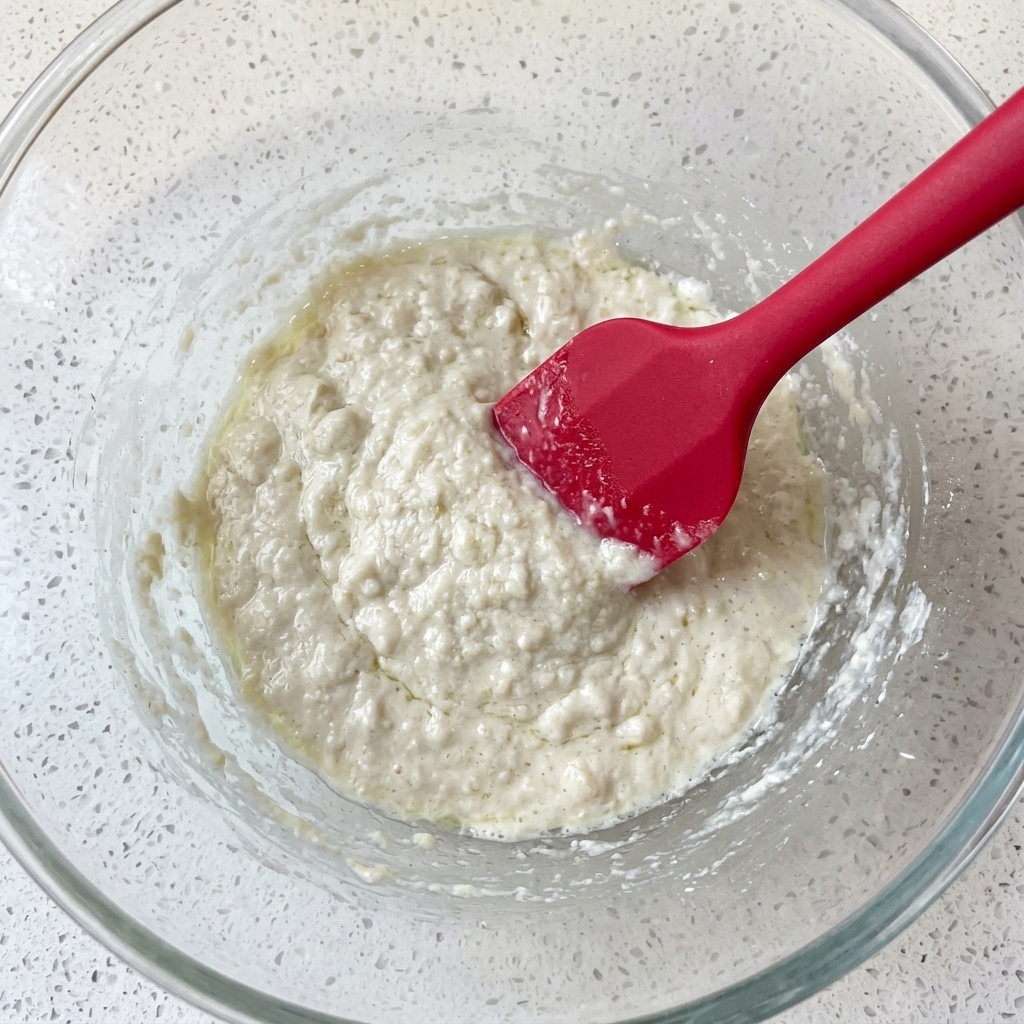
In a glass bowl, combine the water with olive oil, salt, sugar, and fresh yeast. Add the bread flour and stir thoroughly with a silicone spatula until no dry powder is visible. Cover the wet dough with plastic wrap and let it rest.
Tip: Because this dough has a very high water content, it is extremely sticky. Stir directly with a spatula instead of kneading by hand. - 4Fold the pizza dough
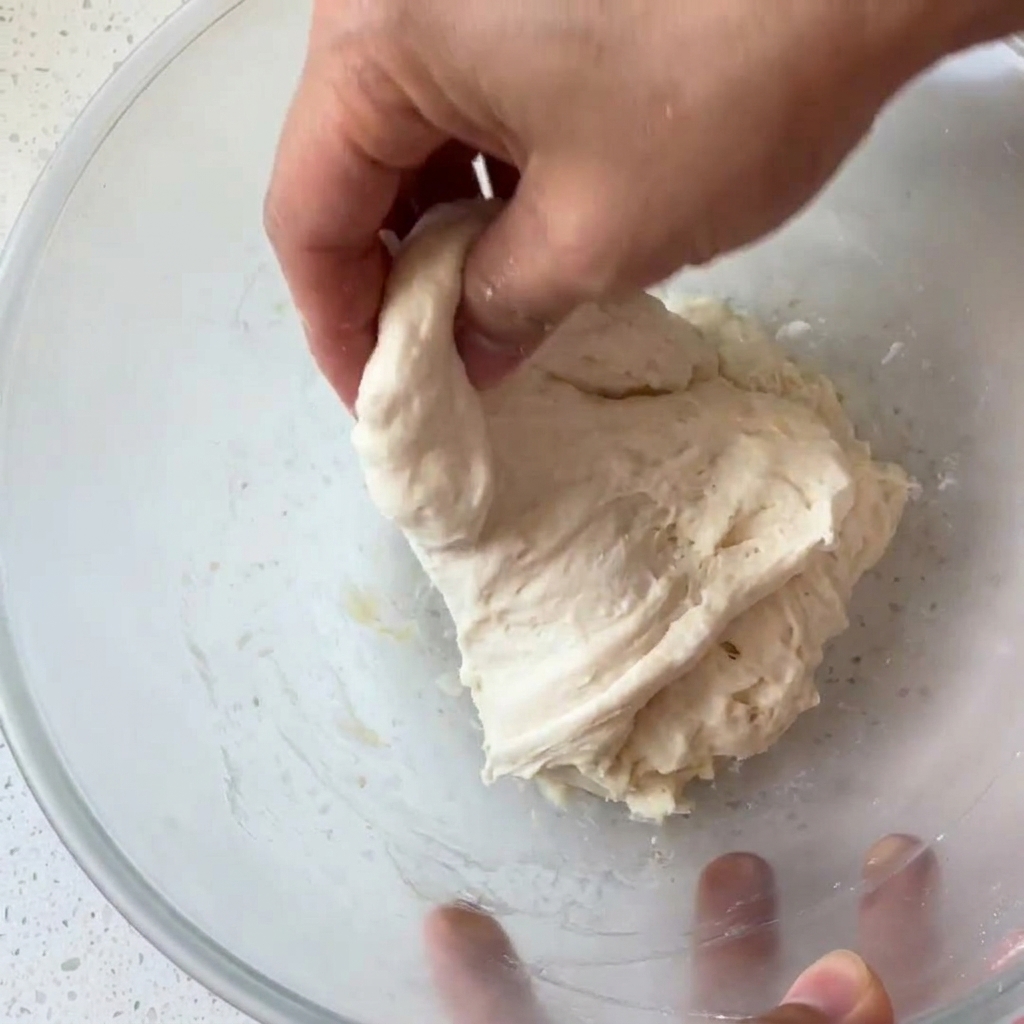
Because this dough has a high water content, do not knead it traditionally. Instead, let the mixed dough rest for 15 minutes, then wet your hands with water to prevent sticking. Grab the edge of the dough, stretch it upwards slightly, and fold it inwards toward the center. Repeat this folding motion 3 to 4 times around the edges.
Tip: If the weather is very hot, you can let the dough rest in the refrigerator to slow down fermentation during the resting and folding stages. - 5Check for the windowpane effect
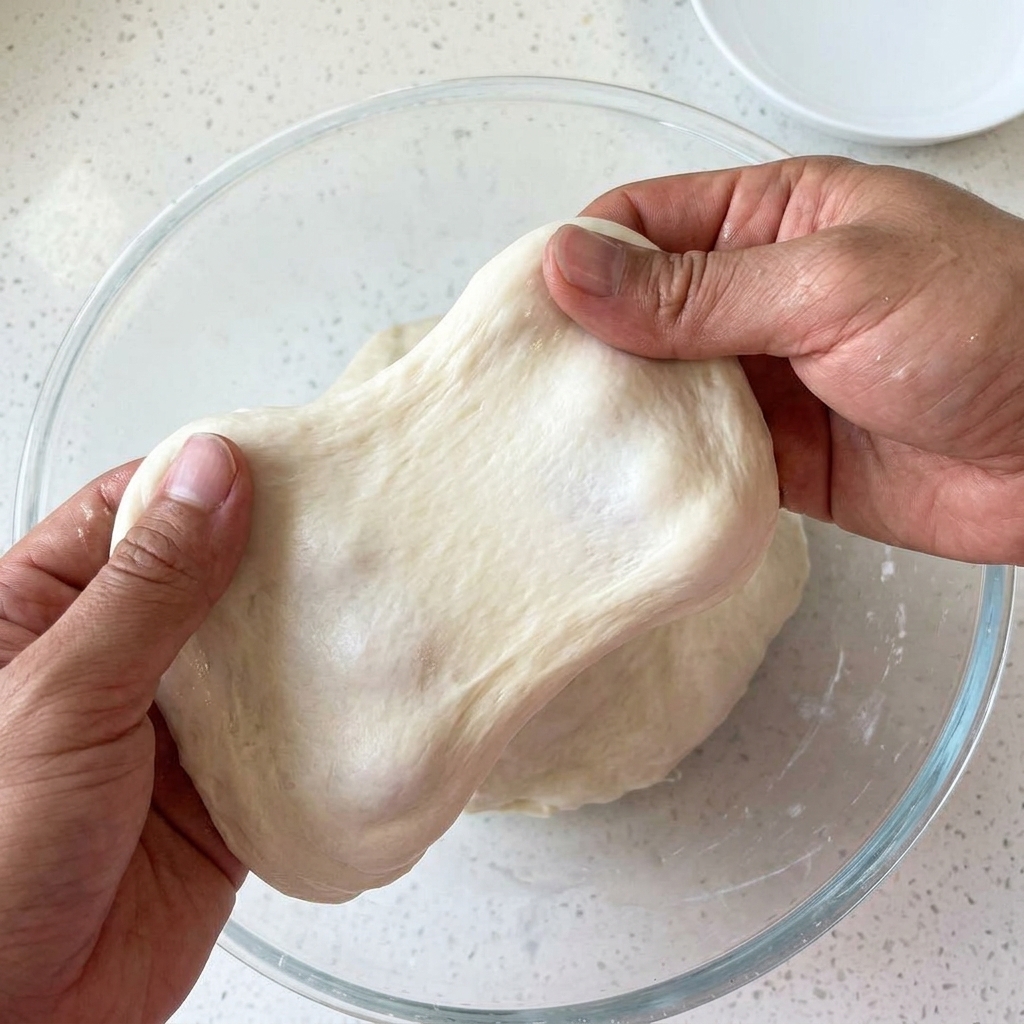
Continue the process of resting for 15 minutes and folding the dough for a total of three times. By the third fold, the gluten network will have developed significantly. You should be able to gently stretch a small section of the dough until it forms a thin, translucent membrane without breaking, which ensures a chewy pizza crust.
Tip: Once the dough reaches this stage, shape it into a round ball and let it ferment until it doubles in size. - 6Add chicken to the skillet
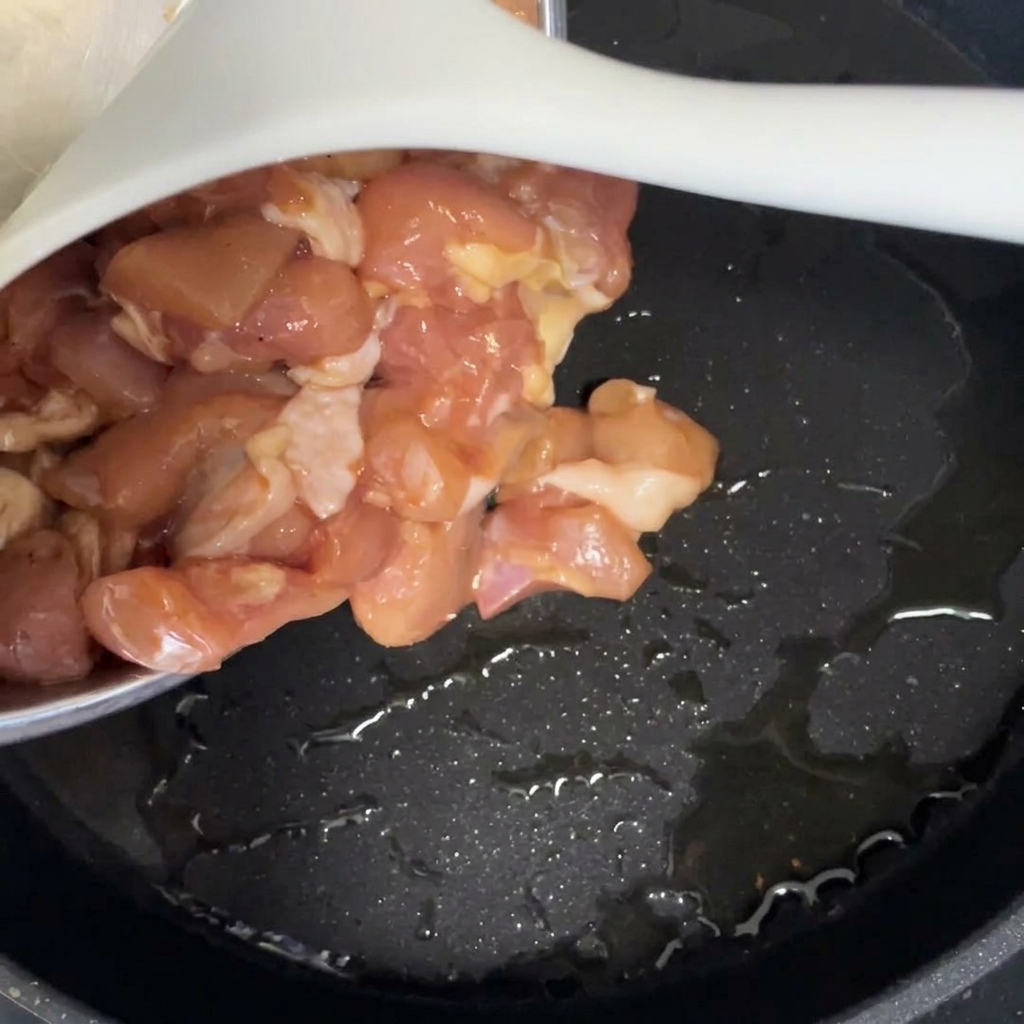
Heat a small amount of cooking oil in a skillet over medium heat. Once the oil is hot, pour in the marinated chicken pieces and spread them out in an even layer to begin cooking.
Tip: Make sure the pan is hot before adding the meat so it sears properly instead of just steaming in its own juices. - 7Brown the chicken pieces
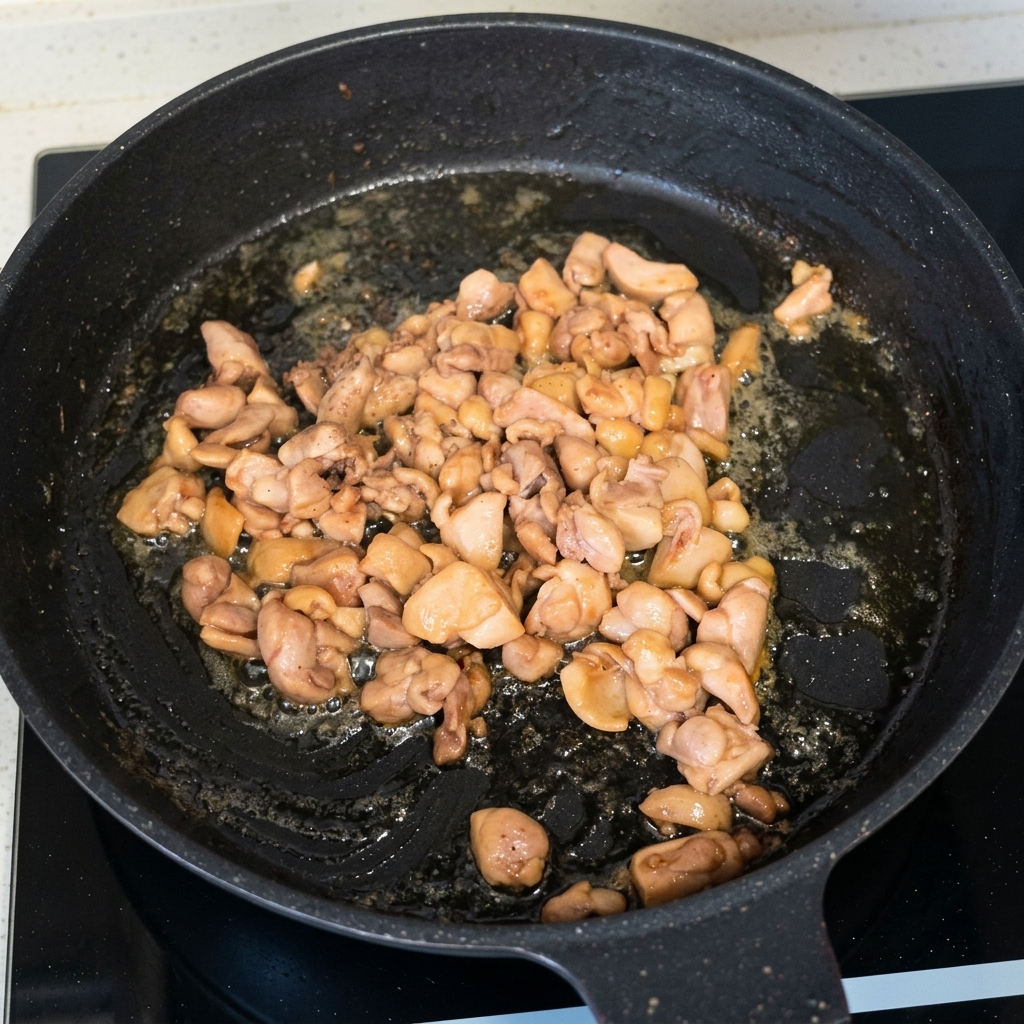
Stir the chicken frequently until it is completely cooked through and the exterior surfaces are nicely browned. Add a sprinkle of black pepper to enhance the savory notes, then remove the meat from the skillet and set it aside.
Tip: Always pre-cook raw meats before adding them to a pizza. The short baking time in the oven is only enough to melt the cheese and crisp the crust, not to safely cook raw chicken. - 8Sauté the mushrooms
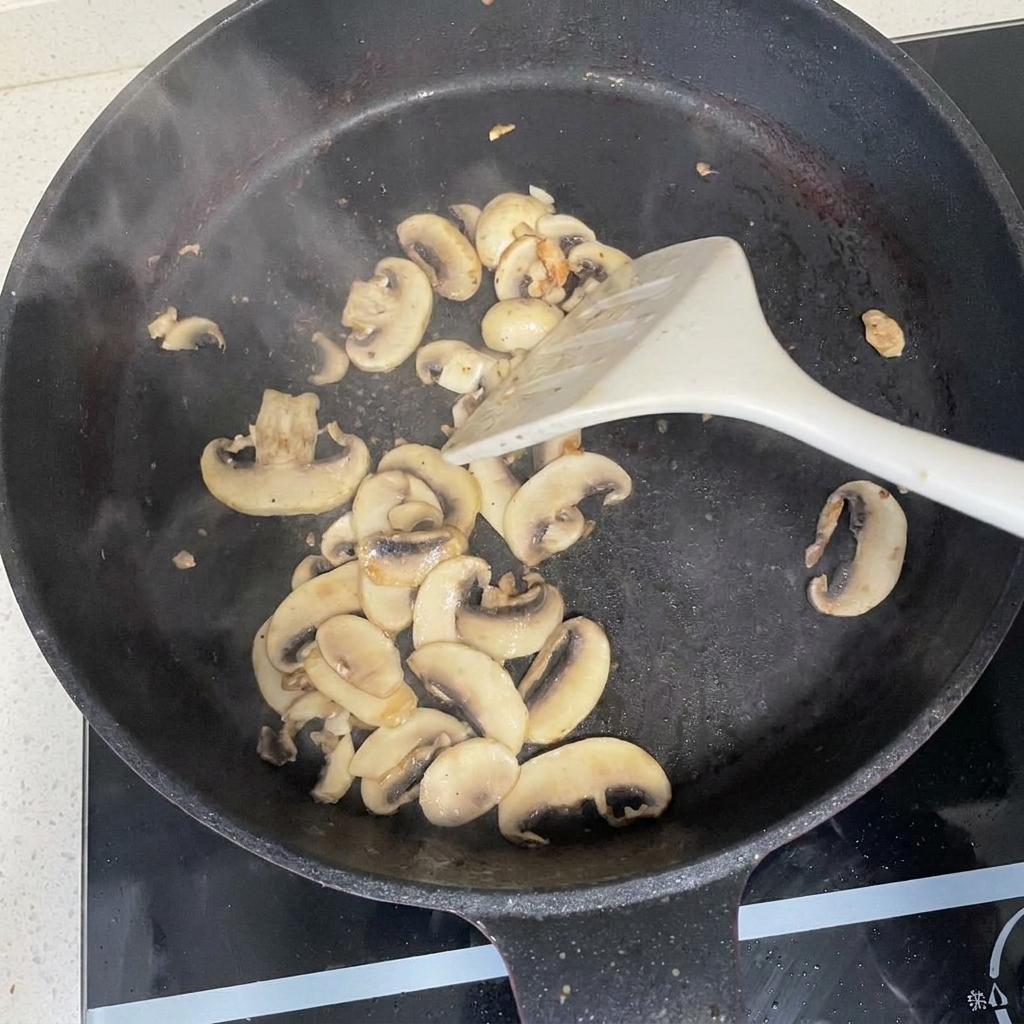
In the same skillet, add the sliced white button mushrooms. Season them with salt and black pepper, and stir-fry using a spatula until they soften and release their moisture. Once tender, remove from the heat and set aside.
Tip: Pre-cooking the mushrooms is crucial; it draws out their excess moisture so it doesnt leak during baking and turn your pizza crust soggy. - 9Rest the pizza dough
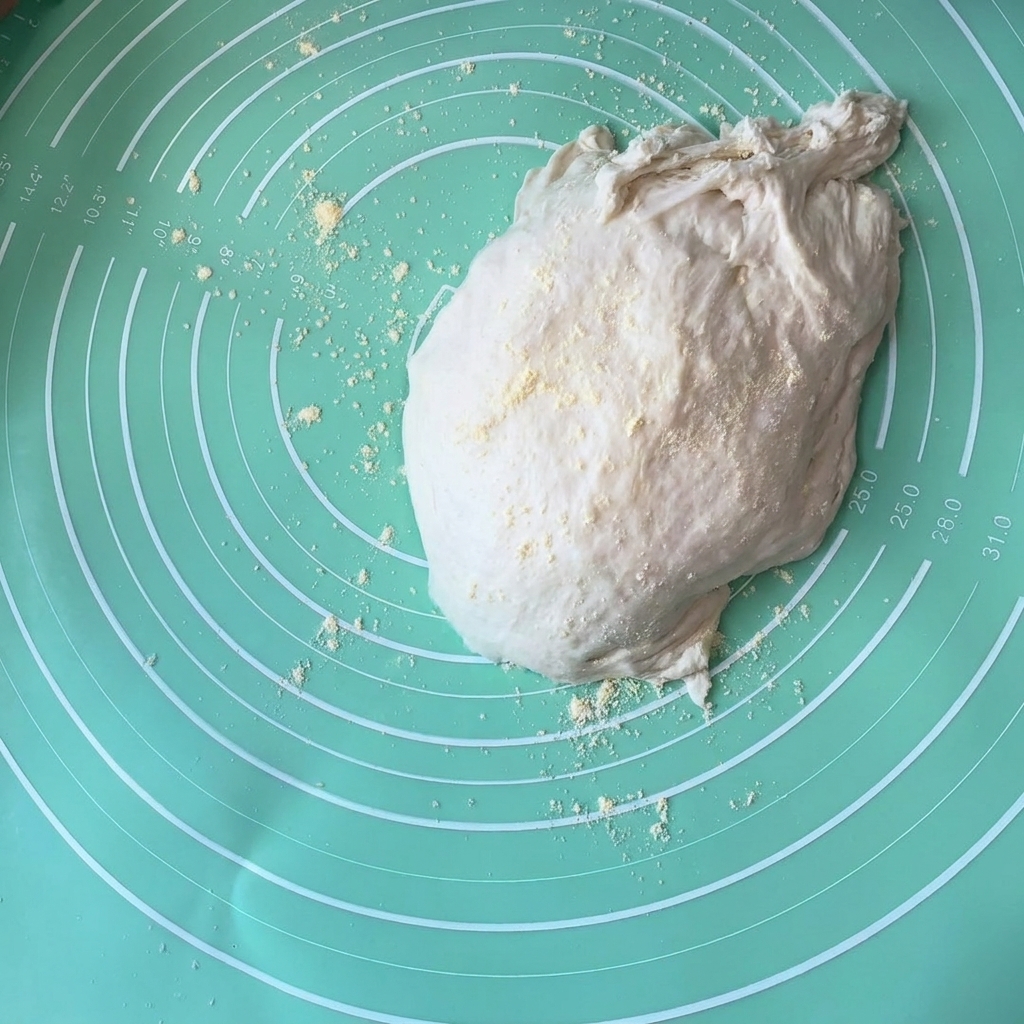
Once the dough has finished its initial fermentation and doubled in size, carefully transfer it onto a silicone baking mat or a clean work surface lightly dusted with cornmeal. Let the rounded dough rest for another 15 minutes before attempting to shape it. This resting period relaxes the gluten and makes stretching much easier.
Tip: Dusting the surface with cornmeal instead of regular flour gives the pizza crust a wonderful, authentic texture and prevents sticking. - 10Shape the pizza crust
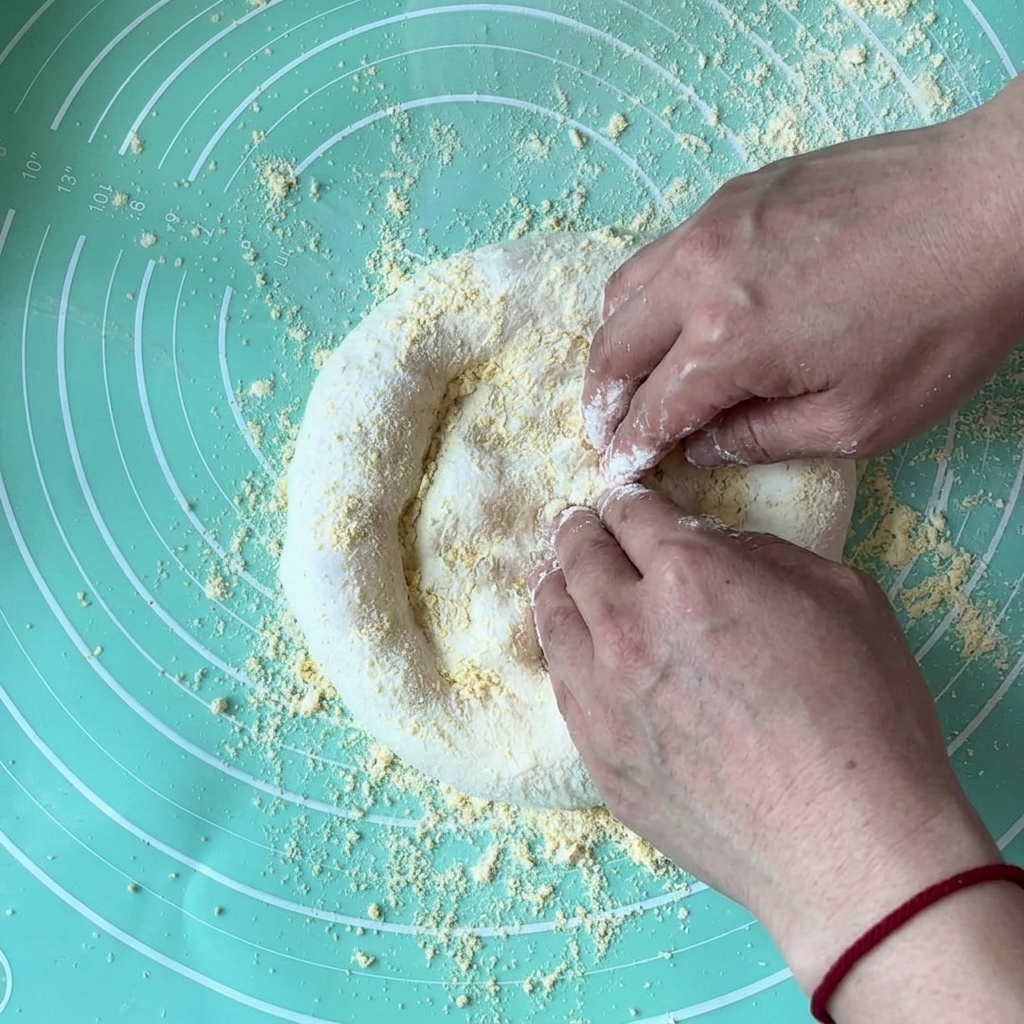
After the dough has rested, generously sprinkle cornmeal or yellow flour over the work surface. Use your fingertips to gently press and push the dough outwards from the center to form an 8 inch circle. Be sure to leave a slightly thicker rim around the edges to form the crust.
Tip: Pressing outward from the center pushes the trapped fermentation gases toward the edges, creating a beautifully puffy and airy rim during baking. - 11Dock the pizza crust
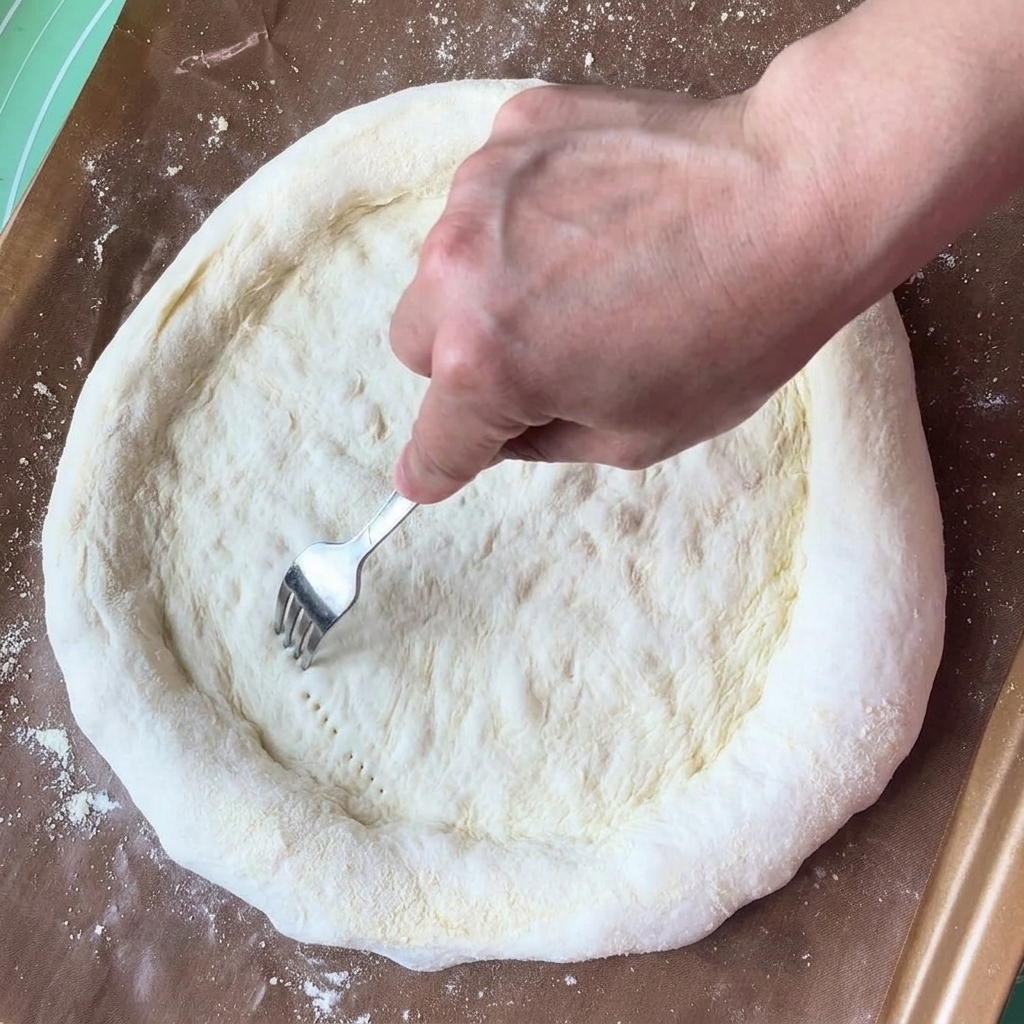
Transfer the shaped crust to a baking sheet. Using a metal fork, poke multiple small holes across the flat center of the dough. This process, called docking, prevents the middle of the crust from puffing up into a giant bubble during baking.
Tip: Dont poke holes in the outer rim; you want that part to rise and become airy and crisp. - 12Spread the pizza sauce
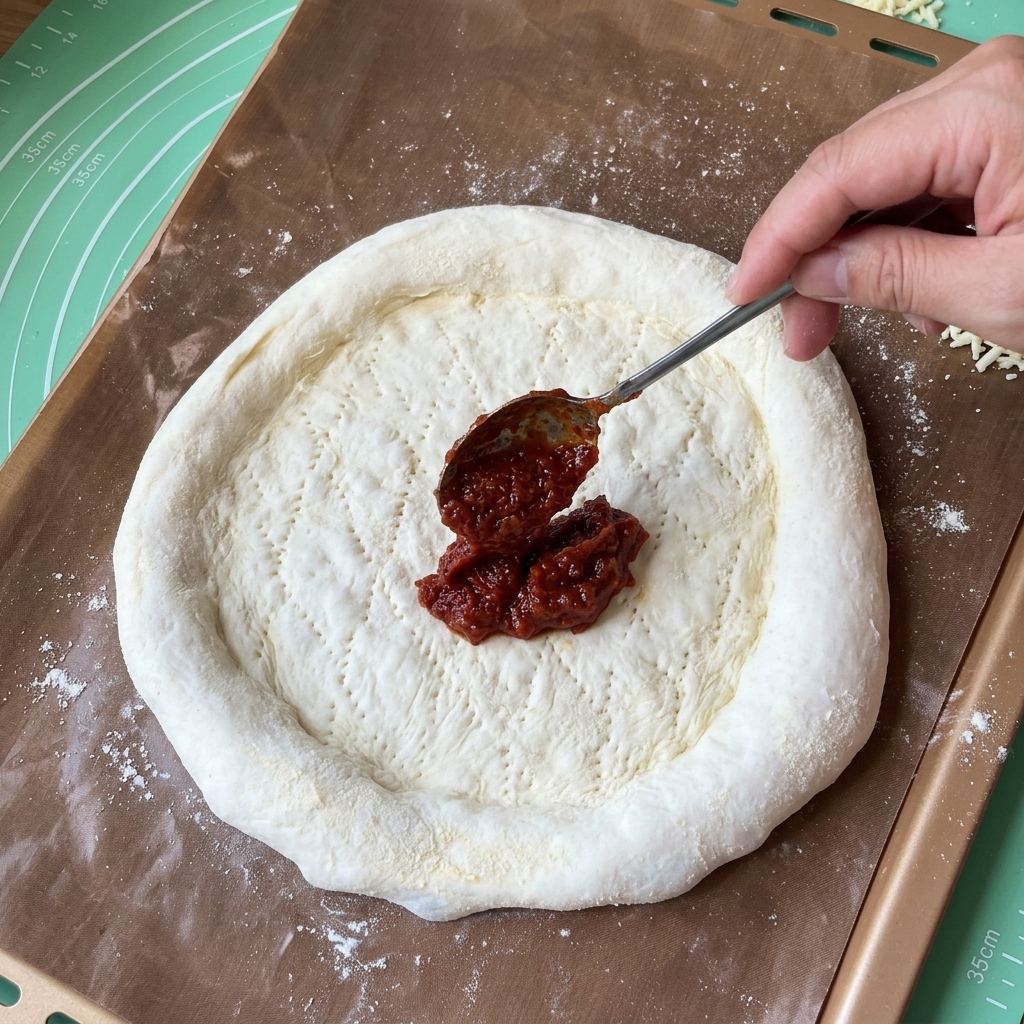
Once the dough is fully shaped and docked, transfer it to a baking sheet. Spoon a generous layer of homemade pizza sauce or ketchup onto the center. Use the back of the spoon to spread the sauce evenly outward, leaving the thick outer rim bare.
Tip: Dont overload the center with too much sauce, as it can make the dough soggy. An even, thin layer is best. - 13Add the base layer of cheese
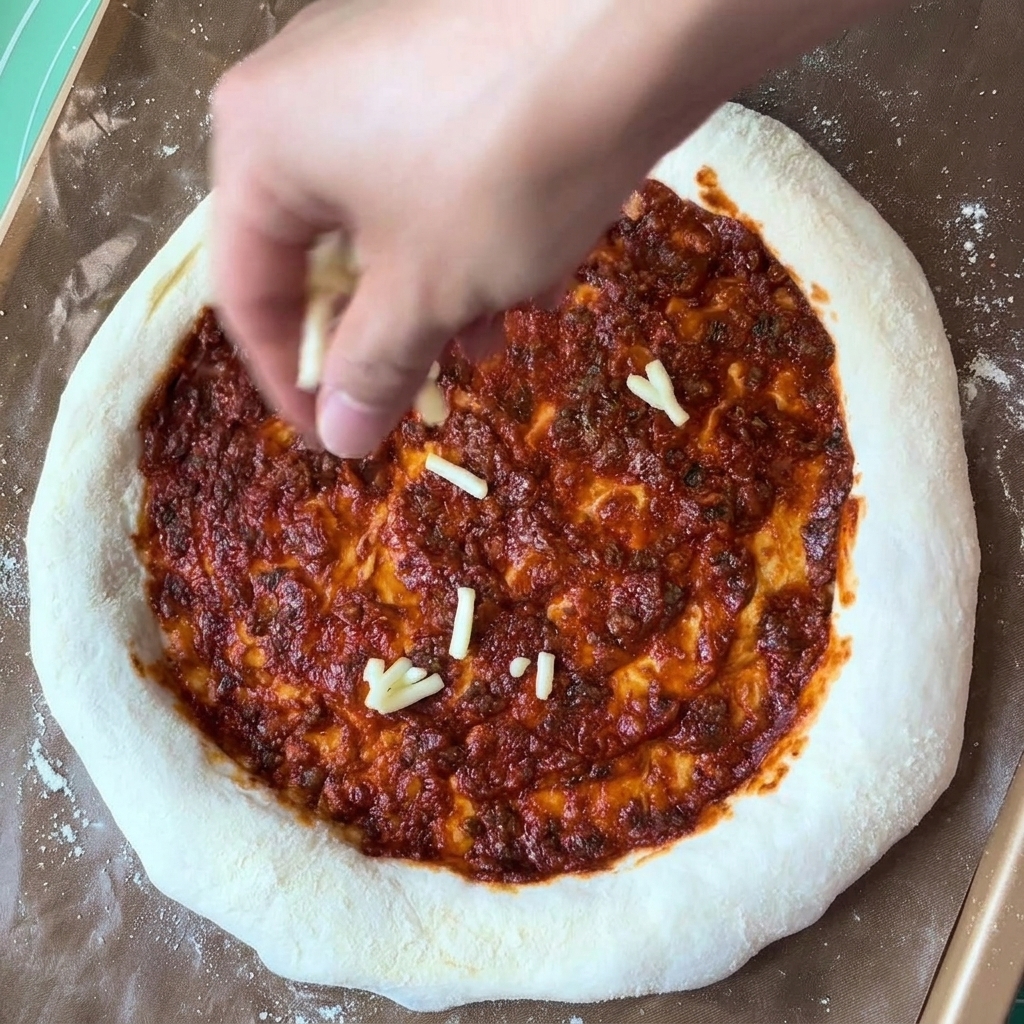
Once the pizza sauce is evenly spread across the dough, evenly sprinkle a base layer of shredded mozzarella cheese over the sauce. This initial layer of cheese acts as a delicious binder to help the chicken and mushroom toppings adhere to the crust.
Tip: Keep this first layer of cheese relatively light, as you will be adding a final, more generous layer of cheese over all the toppings before baking. - 14Add the hearty toppings
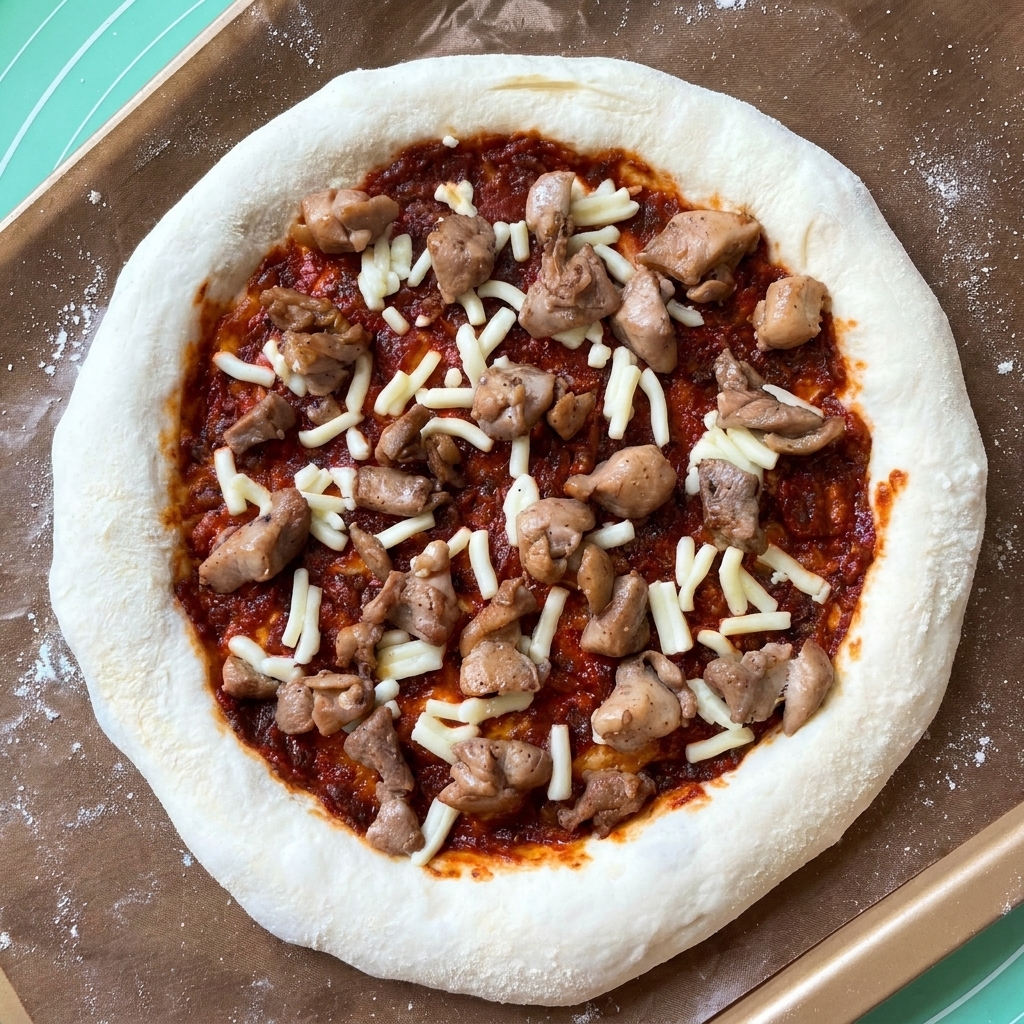
With your sauce and base layer of cheese ready, evenly distribute the precooked chunks of chicken leg meat across the pizza. Follow up by layering the sauteed mushroom slices. Making sure these ingredients are well distributed ensures that every slice of pizza will have a perfect balance of meat and savory mushrooms.
Tip: Layering the heavier meats and mushrooms directly over the base cheese helps them sink in and adhere to the slice, preventing your toppings from sliding off when eating. - 15Layer the fresh vegetables
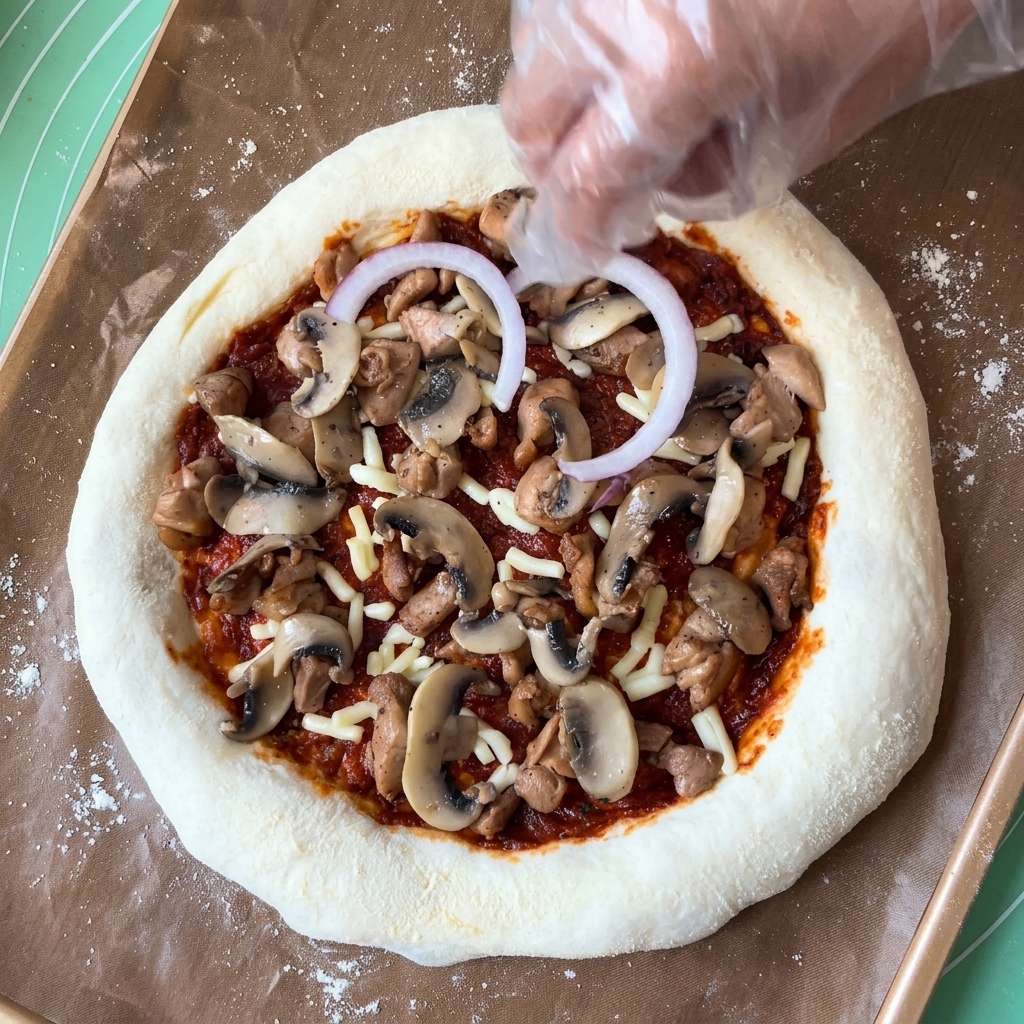
Scatter rings of fresh red onion and slices of green bell pepper over the chicken and mushrooms. These raw vegetables will roast perfectly in the hot oven, adding a bright pop of color, a slight crunch, and a delicious sweet and savory flavor contrast to the rich meats and cheese underneath.
Tip: Slice the vegetables relatively thin so they cook through quickly in the high heat of the oven without burning. - 16Finish with extra cheese
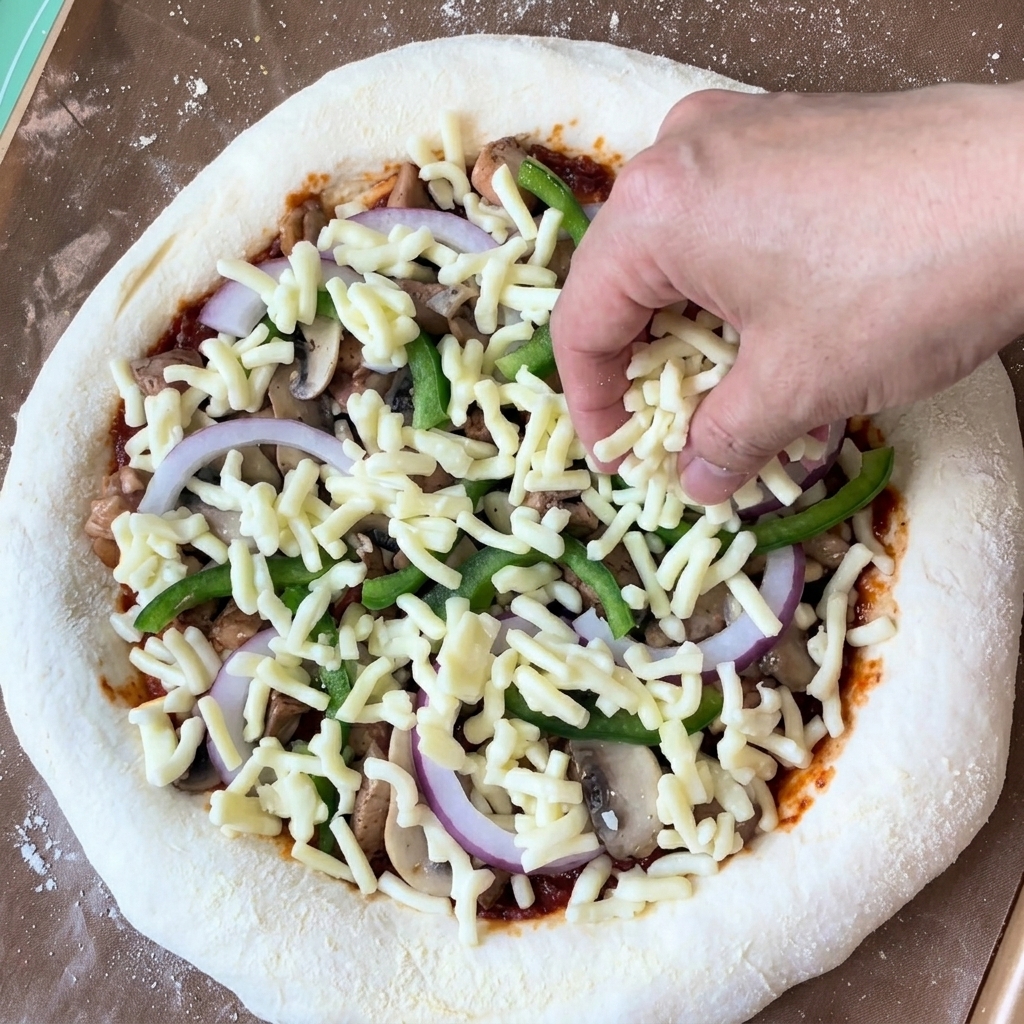
Top off your fully loaded pizza with a generous final layer of shredded mozzarella cheese. This top layer will melt down over all the ingredients, binding everything together and creating that irresistible, golden-brown cheese pull once it comes out of the oven. Transfer the pizza to a preheated oven at 230°C (445°F) and bake for 12 to 13 minutes until the crust is crisp and the cheese is bubbly.
Tip: For the best melt and flavor, buy a block of mozzarella and shred it yourself instead of using pre-shredded cheese, which often contains anti-caking agents.