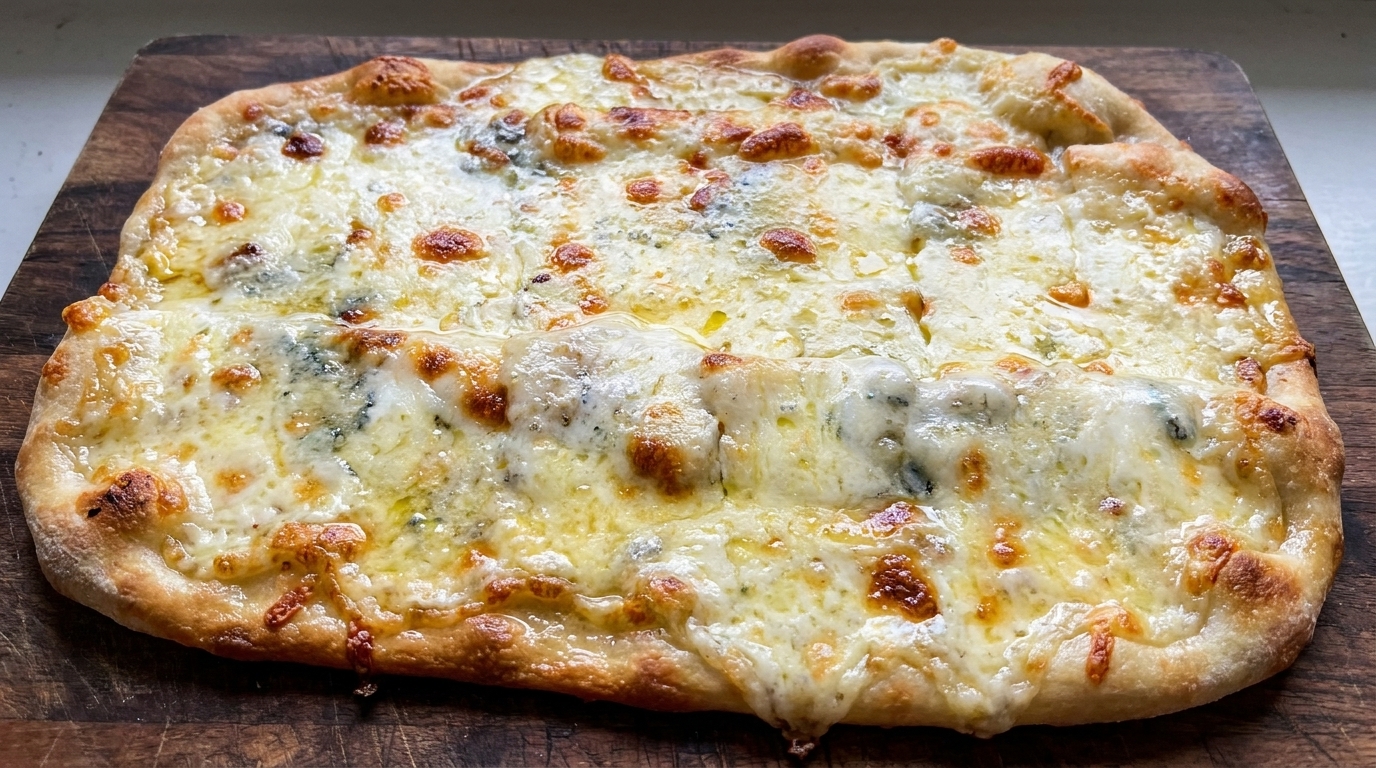
Homemade Quattro Formaggi Pizza
A paradise for cheese lovers, this Quattro Formaggi pizza features a thin, crispy crust loaded with a bubbly, golden-brown blend of four classic cheeses.
Baking an authentic-tasting Italian pizza at home often presents a challenge due to lower oven temperatures. By utilizing a pre-baking method for the high-hydration crust, this recipe ensures a perfectly crispy bottom and airy edges. The combination of Asiago, Gorgonzola, Parmesan, and Mozzarella delivers a rich, complex, and deeply satisfying flavor profile.
Ingredients
- 3 g honey
- 250 ml water
- 2 g yeast
- 250 g flour
- 110 g flour (for second addition)
- 8 g salt
- to taste Asiago cheese
- to taste Gorgonzola cheese
- to taste Parmesan cheese
- to taste Mozzarella cheese
- to taste cooking oil (for handling and greasing)
Instructions
- 1Mix the yeast mixture
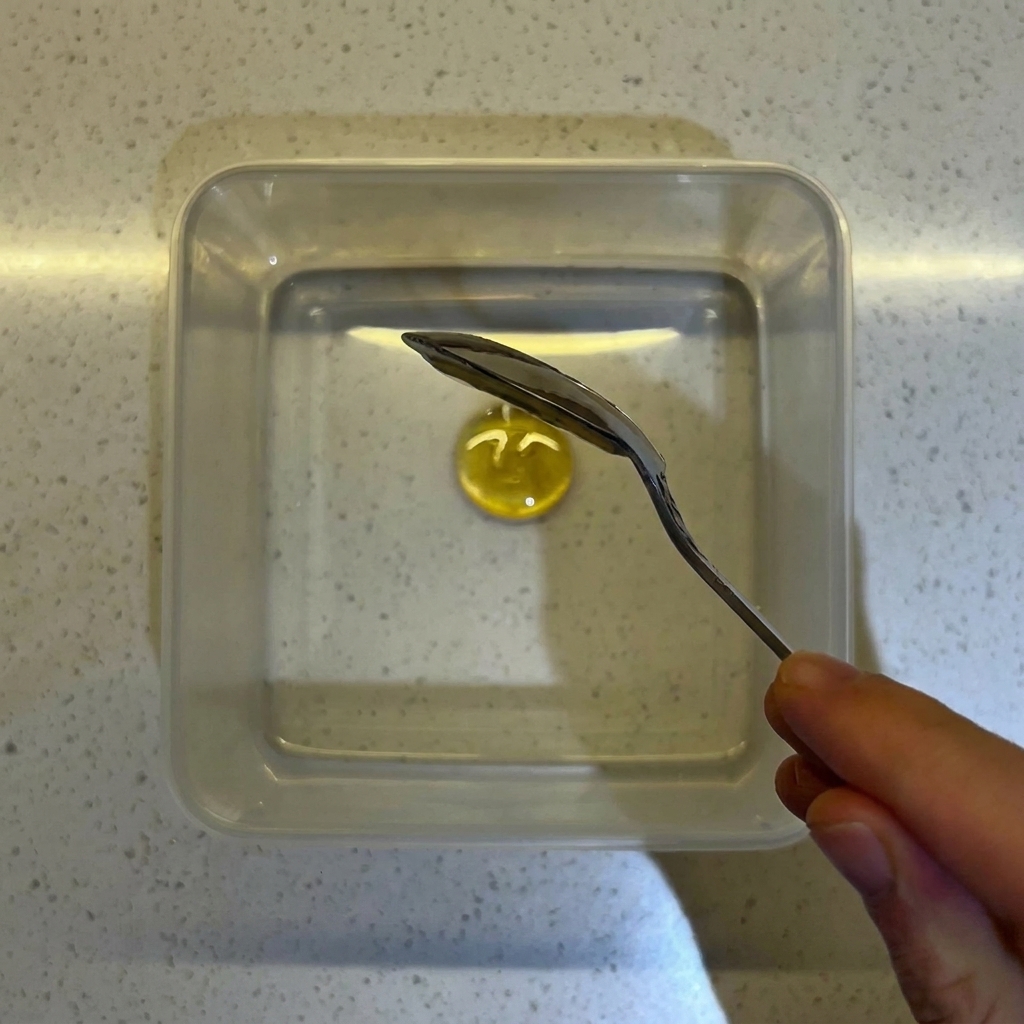
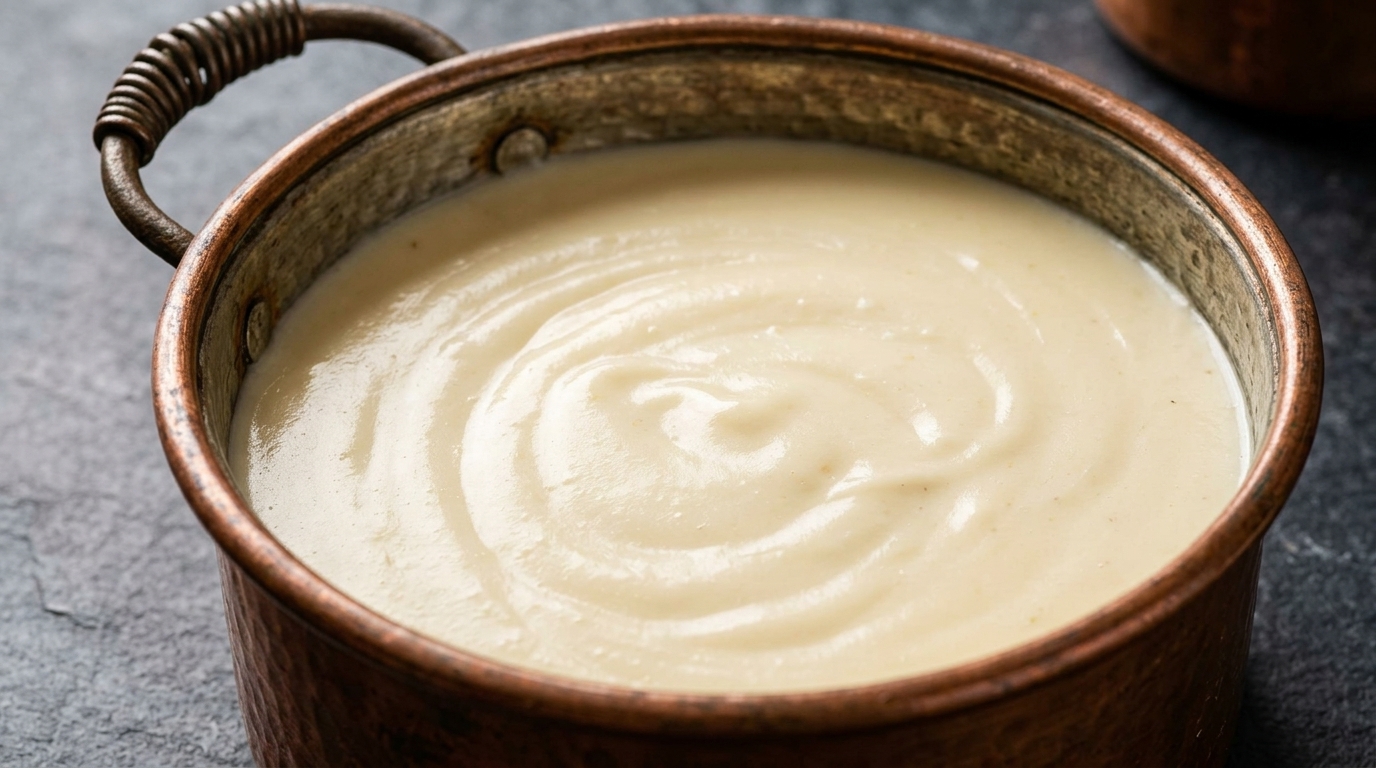
In a clean container, combine 3 grams of honey, 250ml of water, and 2 grams of yeast. Stir the mixture well until the yeast and honey are fully dissolved in the water.
Tip: Ensure the water is at room temperature so the yeast activates correctly. - 2Add flour to the mixture

Slowly pour 250 grams of flour into the yeast water mixture. Take care to pour steadily to avoid spilling.
Tip: Adding the flour slowly helps prevent clumping. - 3Combine into a sticky dough
Using a black spatula, stir the flour and water mixture until all the dry flour is fully incorporated and you have a consistent, wet, and sticky dough.
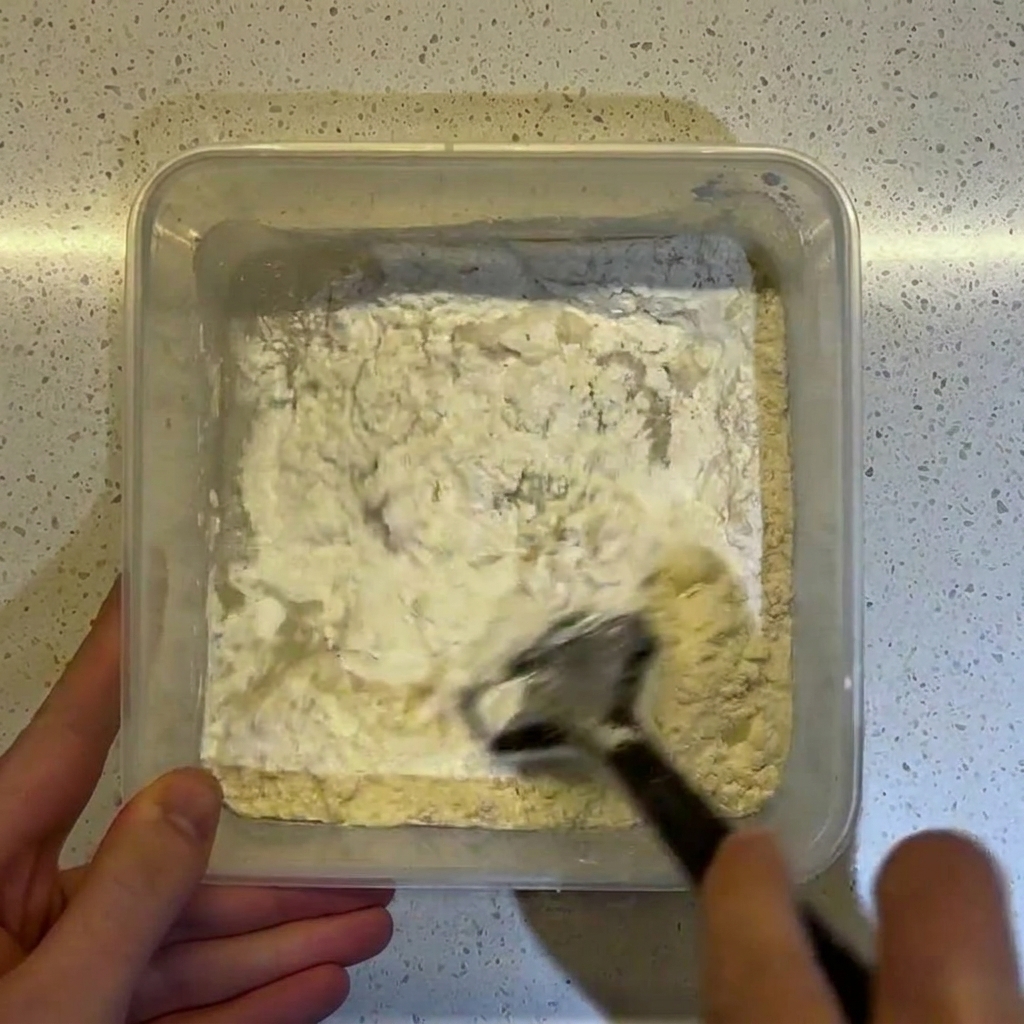
Tip: The dough will be quite sticky at this stage, which is normal for this recipe. - 4Incorporate salt and additional flour

Add 8 grams of salt and 110 grams of flour to the fermented dough. Prepare to mix these in thoroughly to strengthen the dough structure.
Tip: Adding the salt at this stage helps control the fermentation process. - 5Mix until uniform
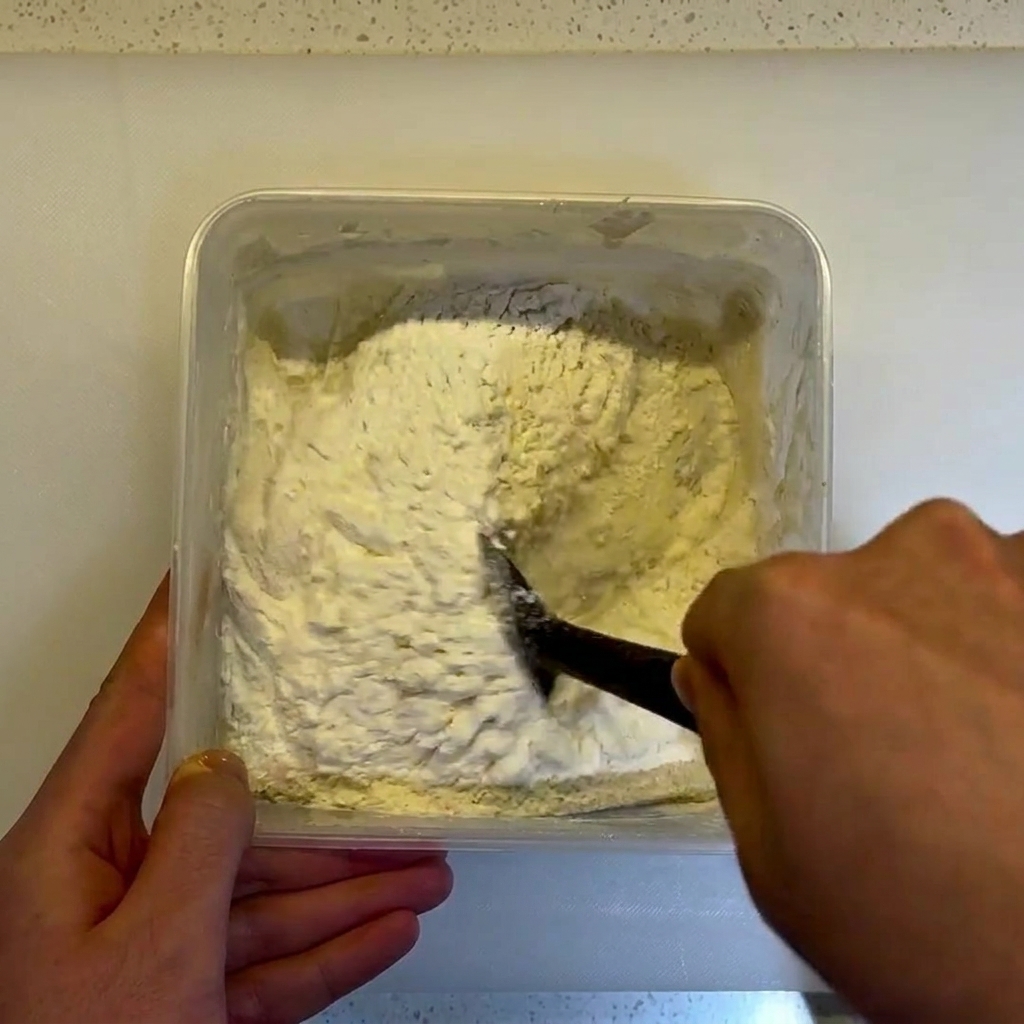
Use the black spatula to mix the dough vigorously. Continue until all the newly added flour and salt are fully incorporated and no dry spots remain.
Tip: Use a bit of strength to ensure all ingredients are fully blended into the dough. - 6Turn out the dough
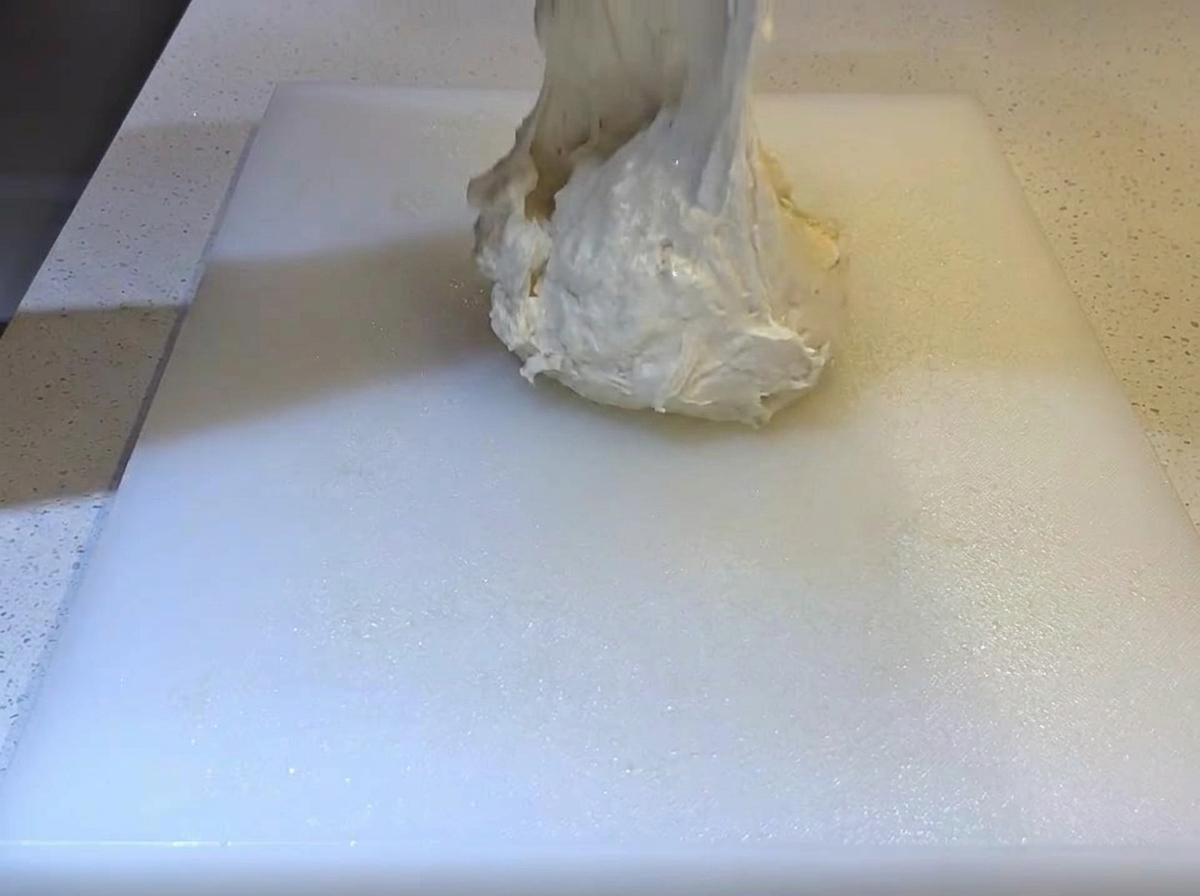
After spraying oil on the cutting board to prevent sticking, carefully turn the soft dough out onto the board.
Tip: Since the dough is sticky, ensure your hands are lightly oiled before handling it. - 7Shape the dough
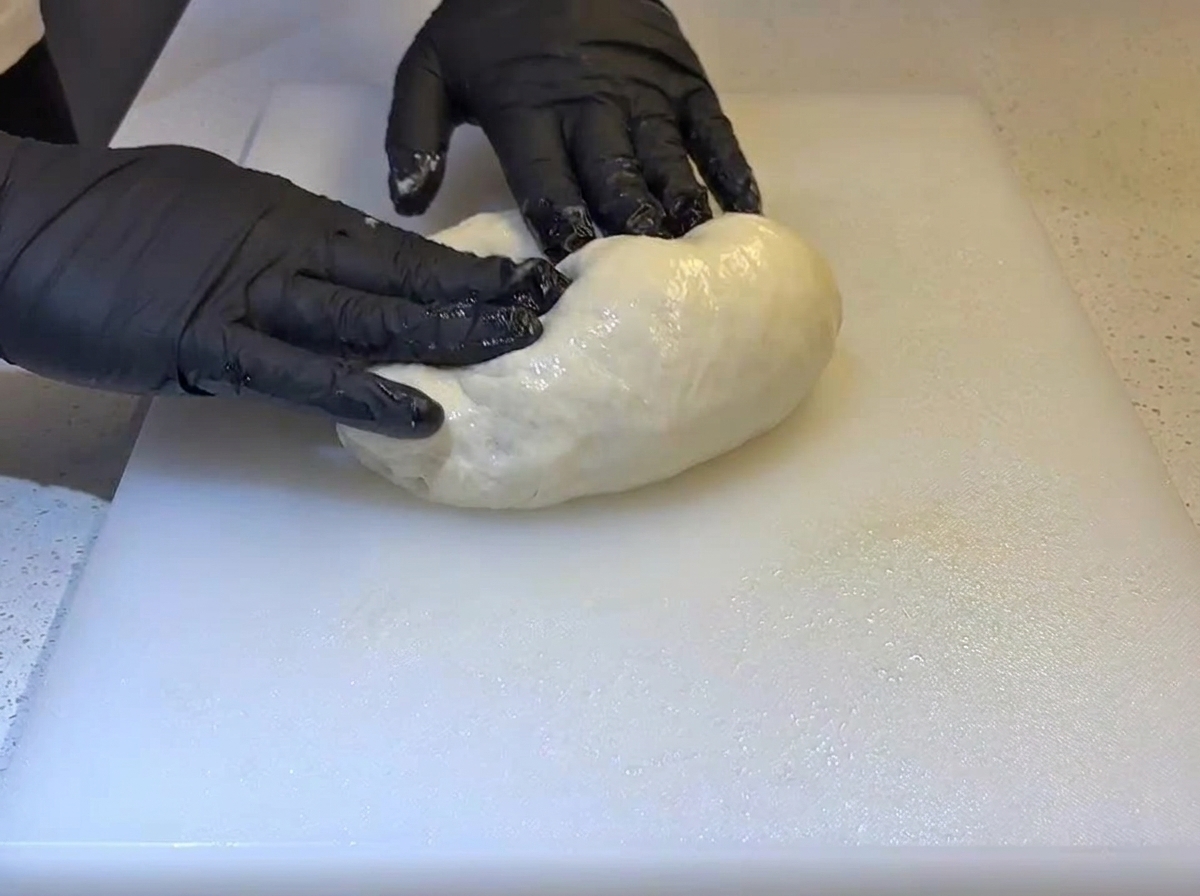
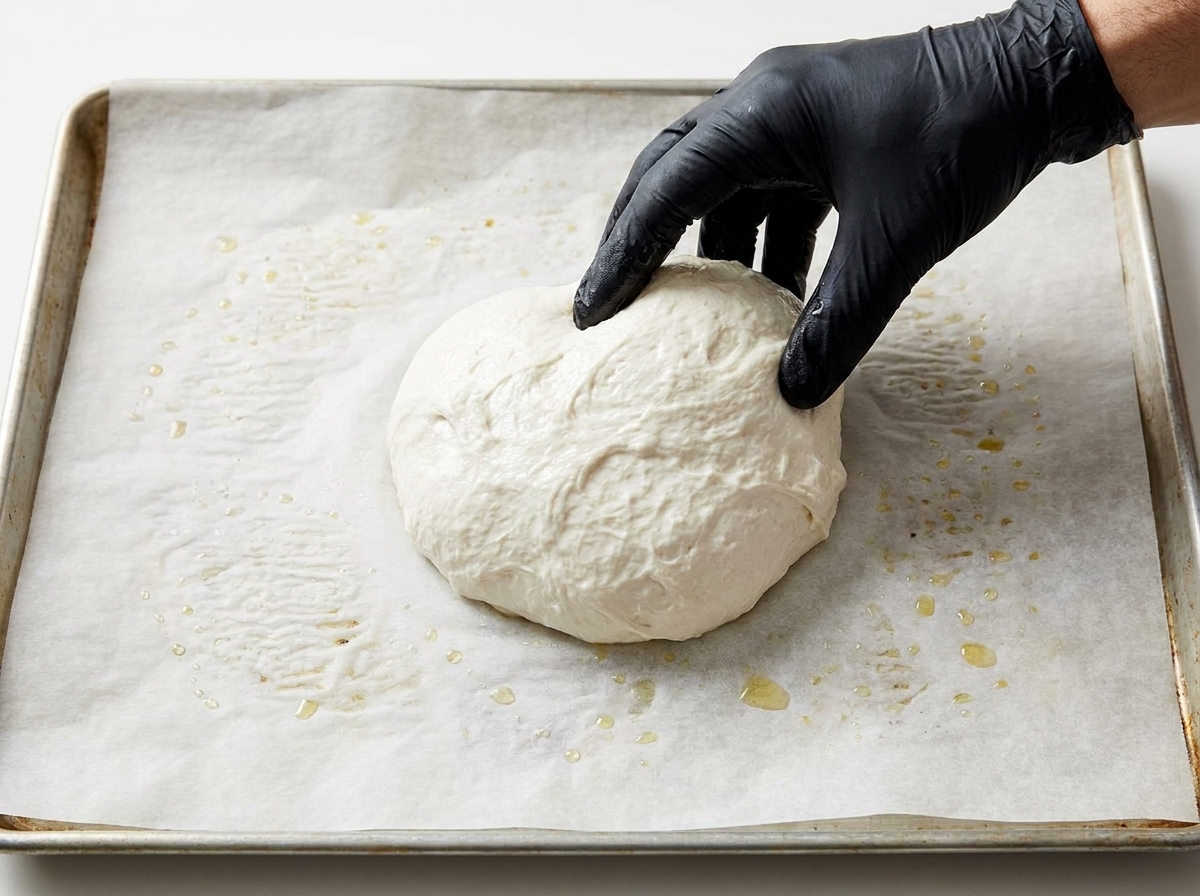
With oiled hands, gently fold and turn the soft dough on the work surface to form a smooth ball. Ensure your hands and the cutting board are well-oiled to prevent sticking, as this high-hydration dough is quite tacky.
Tip: Avoid adding extra flour at this stage, as it will alter the hydration and texture of the crust. Rely on oil instead. - 8Place dough to proof
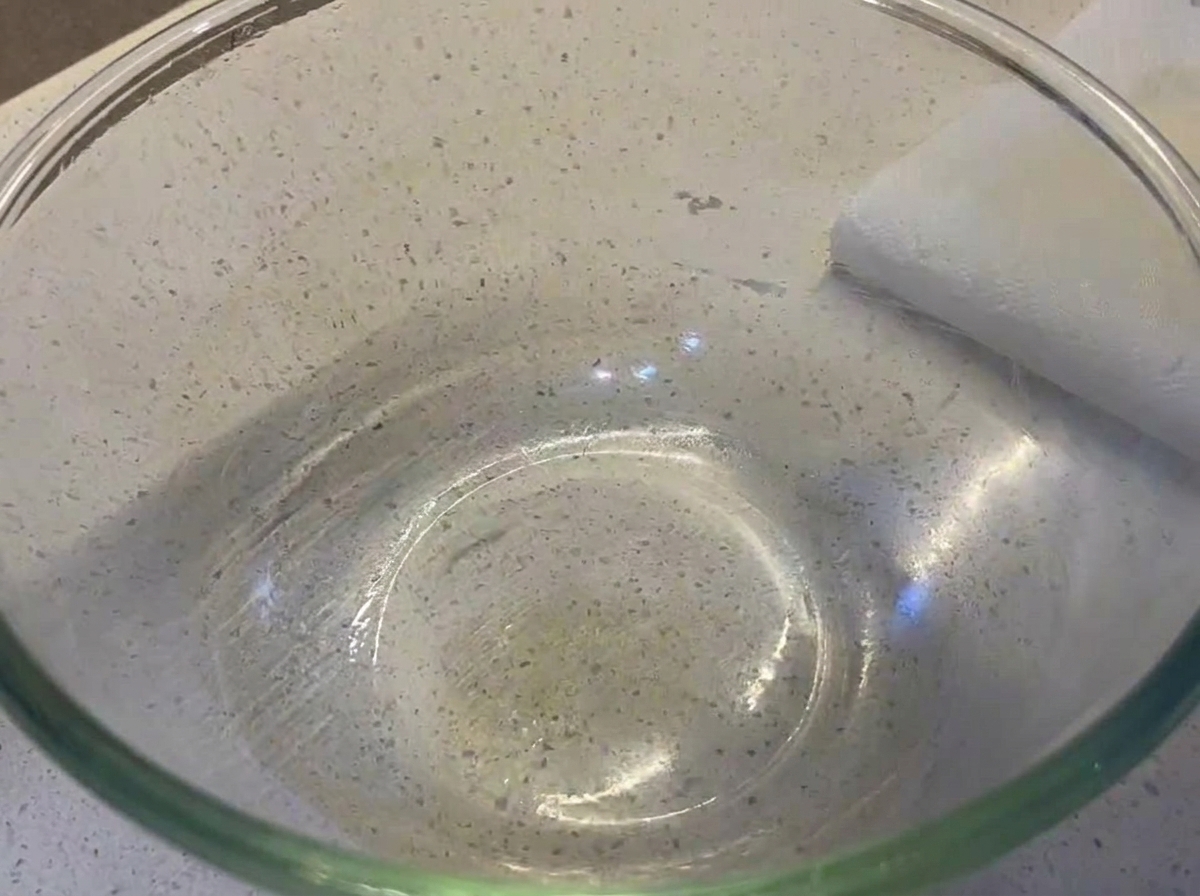
Place the shaped, smooth dough ball into the large glass bowl that has been lightly coated with oil. This environment is ideal for the dough to rest and proof, allowing it to develop structure and flavor for the pizza crust.
Tip: Ensure the bowl is adequately greased so the dough does not stick during the rising process. - 9Divide the dough
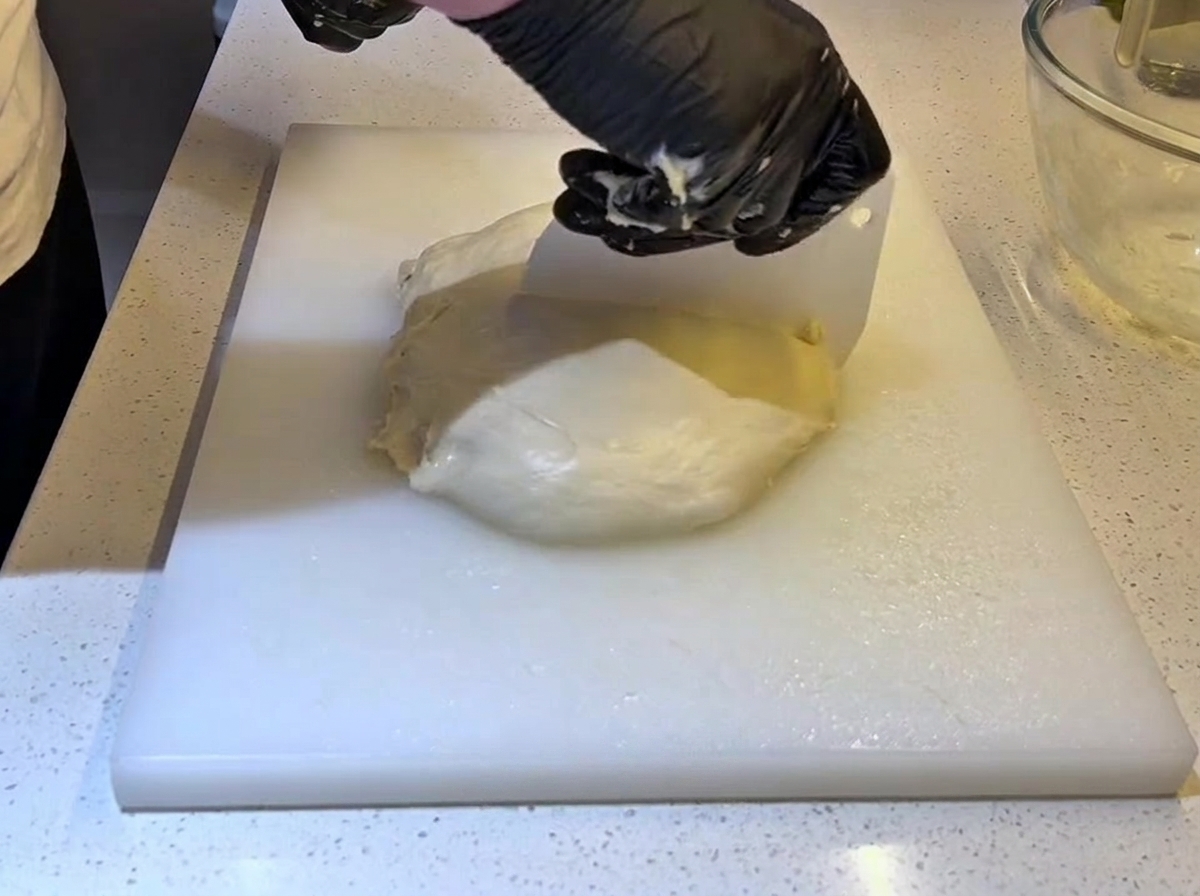
After resting, transfer the dough back to your lightly oiled surface. Use a bench scraper to divide the dough evenly into two equal portions for your pizzas.
Tip: A bench scraper helps cut the dough cleanly without tearing the gluten strands youve developed. - 10Form small dough balls
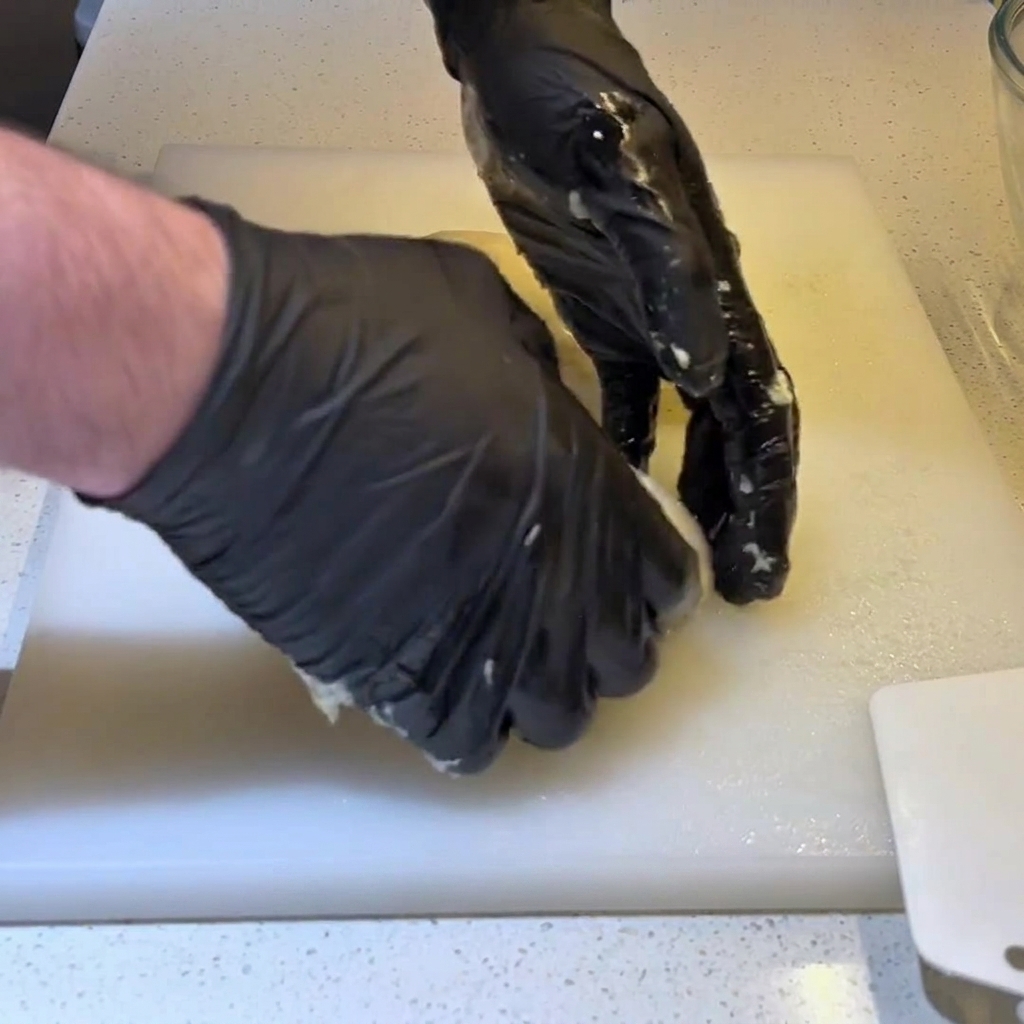
Take each divided portion and gently roll the edges downwards and underneath to form tight, smooth dough balls. This builds surface tension, which helps the crust structure develop properly during baking.
Tip: Tuck the dough firmly to create a smooth top surface, pinching the seams tightly at the bottom. - 11Transfer to baking tray
Prepare a baking tray lined with parchment paper and lightly sprayed with oil. Carefully place the shaped dough balls onto the tray, leaving enough space between them to expand.
Tip: Oiling the parchment paper prevents the delicate dough from sticking during its final proof. - 12Stretch the dough
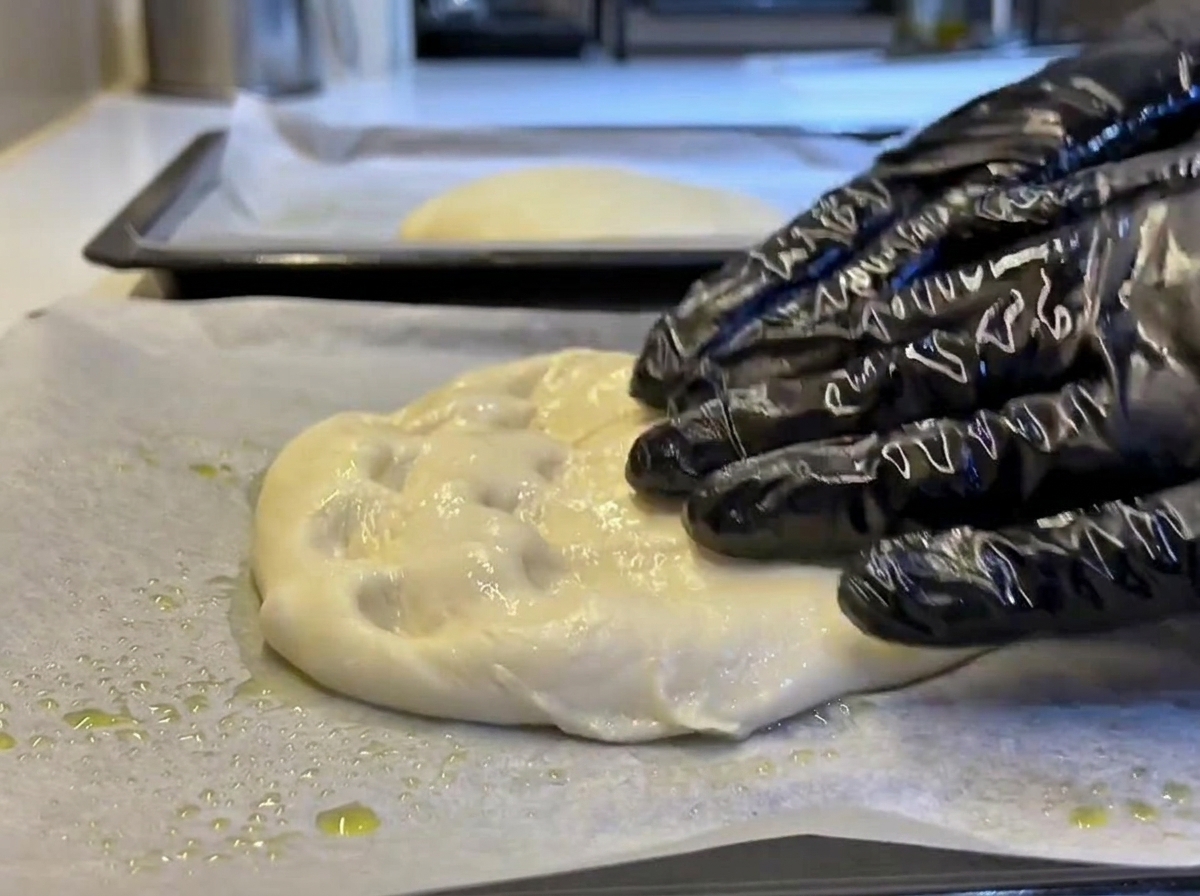
After the final proof, spray a little oil on the dough. Using your fingertips, gently press and push the dough outward to stretch it into a large rectangle, roughly the size of your baking tray.
Tip: Be gentle to preserve the gas bubbles inside the dough. If the dough shrinks back, let it rest for another 5 minutes before continuing. - 13Prick the dough
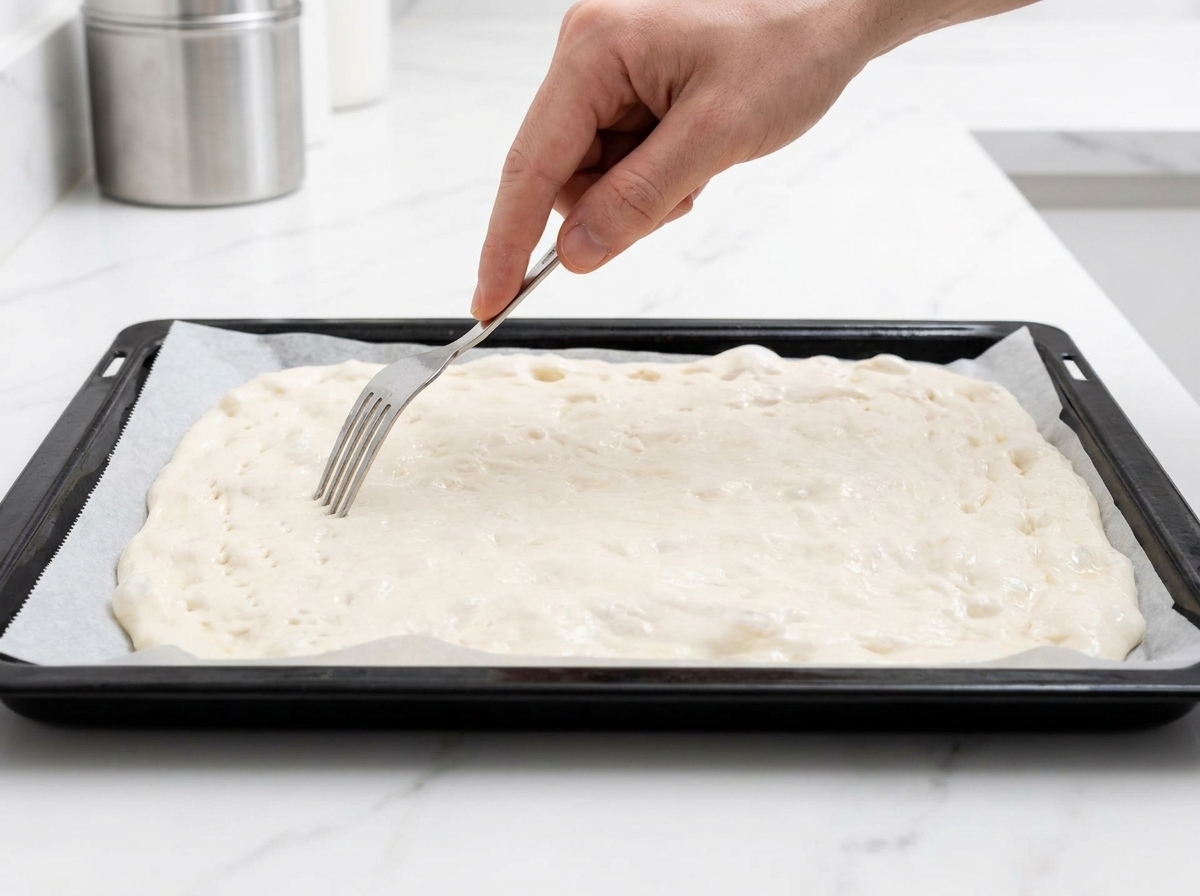
Use a metal fork to poke holes evenly across the entire surface of the stretched dough. This prevents the crust from puffing up uncontrollably like a balloon during the initial bake.
Tip: Make sure to pierce the dough all the way through to the parchment paper so the steam can properly escape. - 14Pre-bake the crust
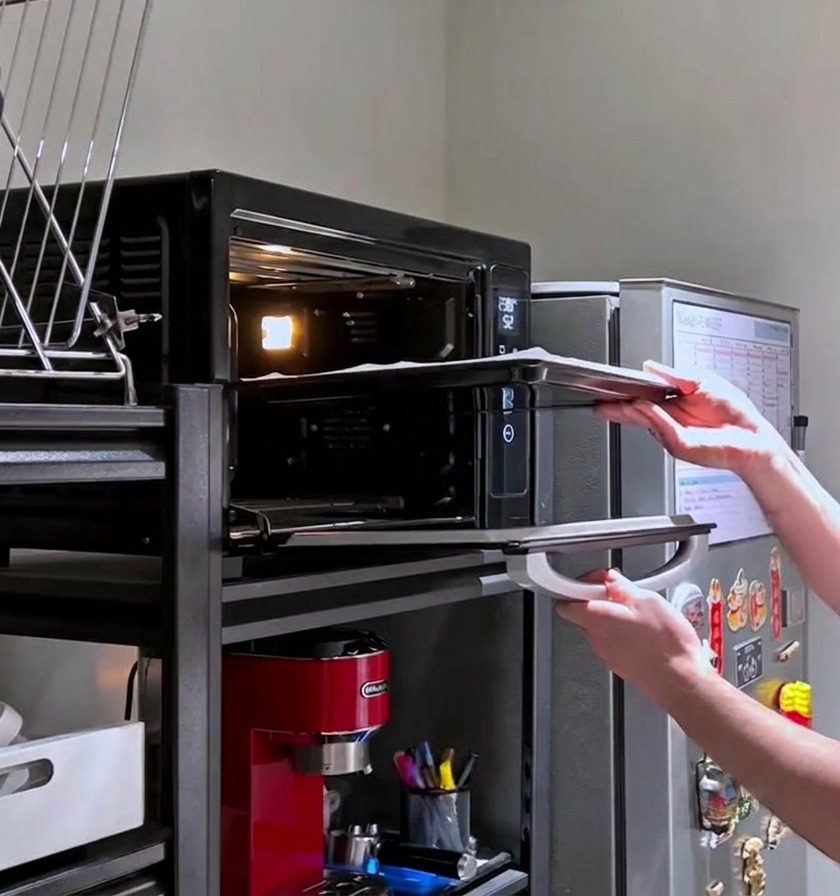
Place the baking tray with the prepared dough into a preheated oven set to 230°C (445°F) with both top and bottom heat. Pre-bake the naked crust for about 8 minutes to ensure it cooks all the way through.
Tip: Because most home ovens cannot reach the extreme temperatures of professional pizza ovens, pre-baking the dough before adding toppings ensures a thoroughly cooked, crispy bottom. - 15Add the cheeses
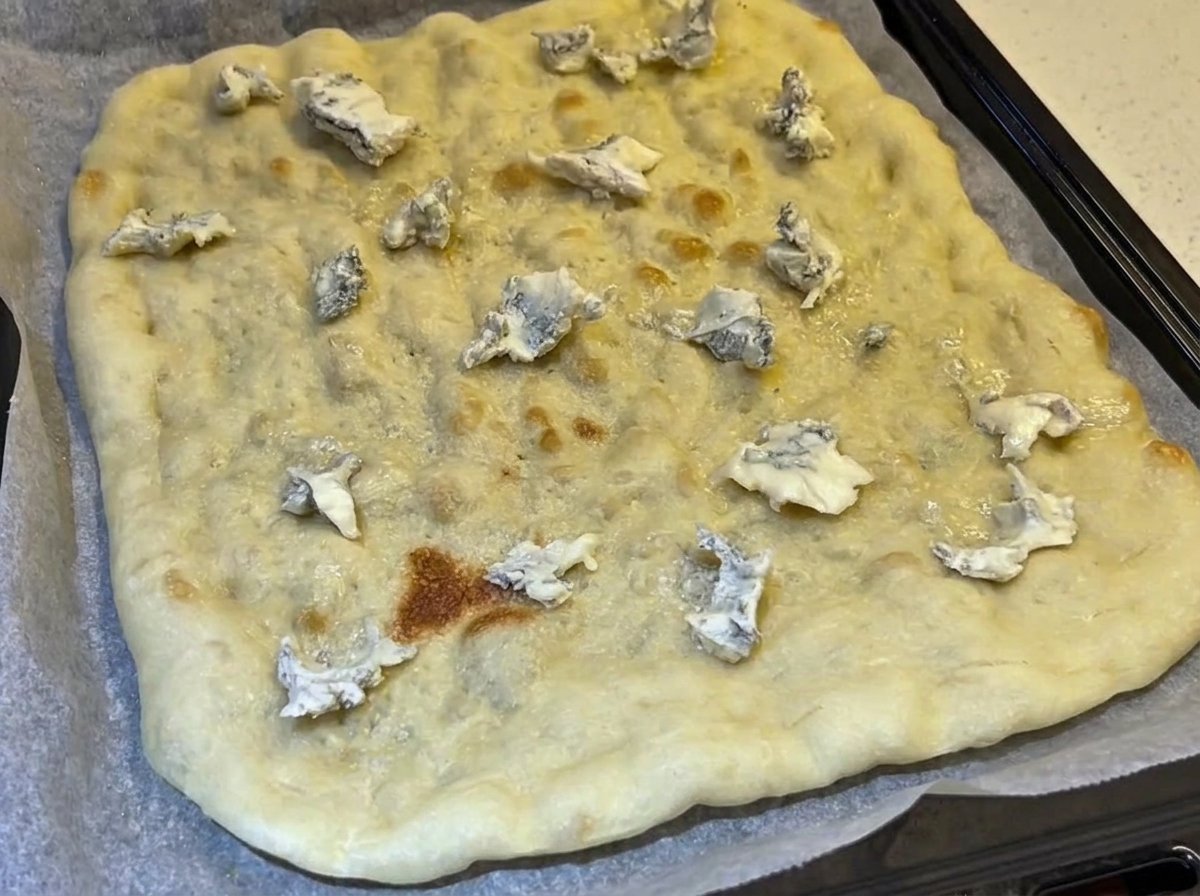
Remove the partially baked crust from the oven. Evenly distribute your four cheeses across the hot surface—scatter chunks of Gorgonzola and Asiago, followed by finely grated Parmesan and Mozzarella.
Tip: Ensure the Parmesan is finely grated so it melts quickly and seamlessly integrates with the softer, chunkier cheeses like Gorgonzola. - 16Melt and bubble
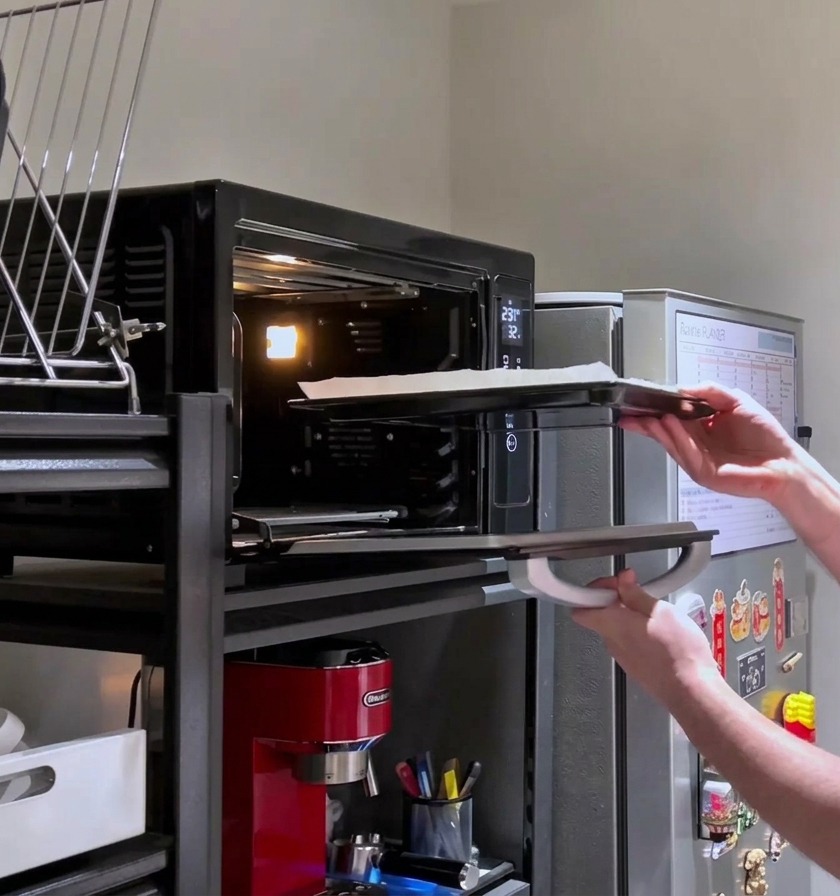
Return the fully loaded pizza to the top rack of the oven. Bake for an additional 6 minutes to allow all four cheeses to melt together into a gooey, bubbling layer.
Tip: Using the top rack for the second bake helps the cheese blister and brown slightly while preventing the already-baked bottom crust from burning. - 17Slice and serve
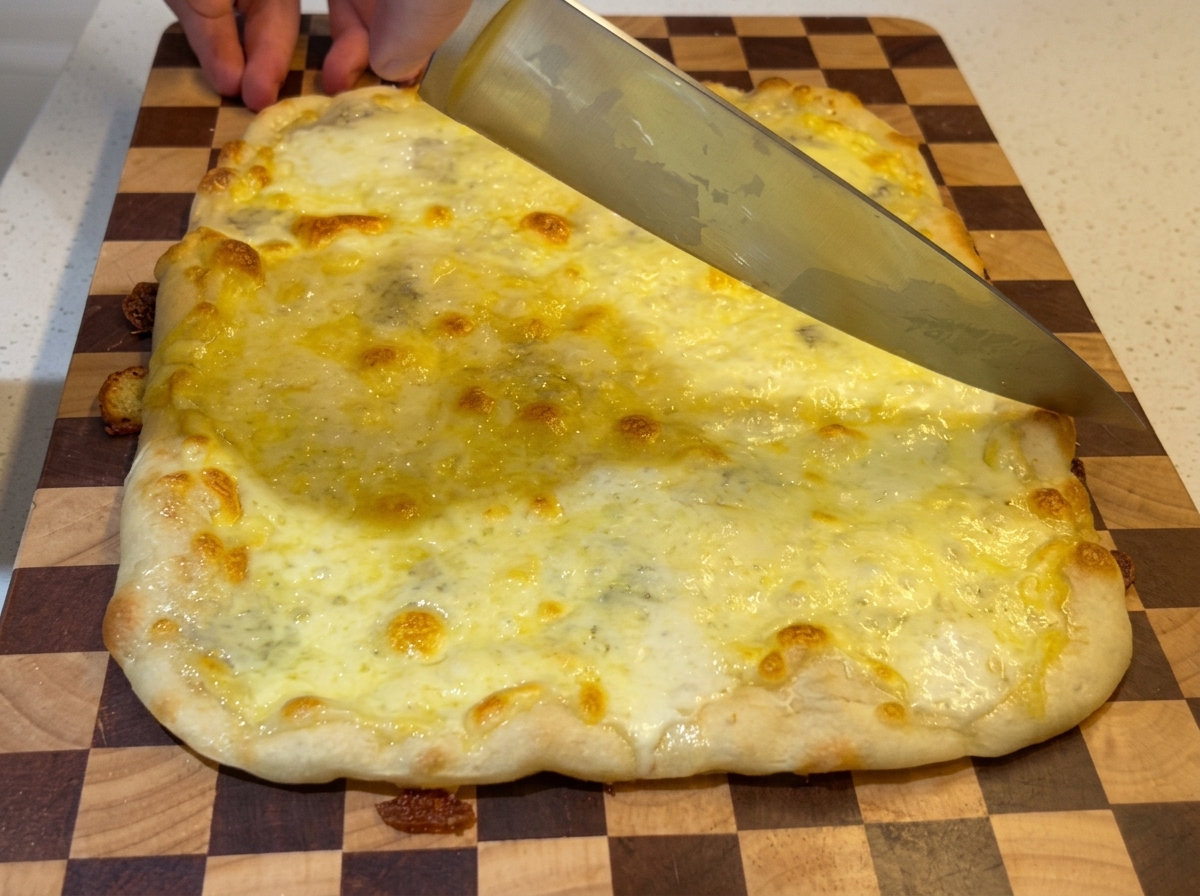
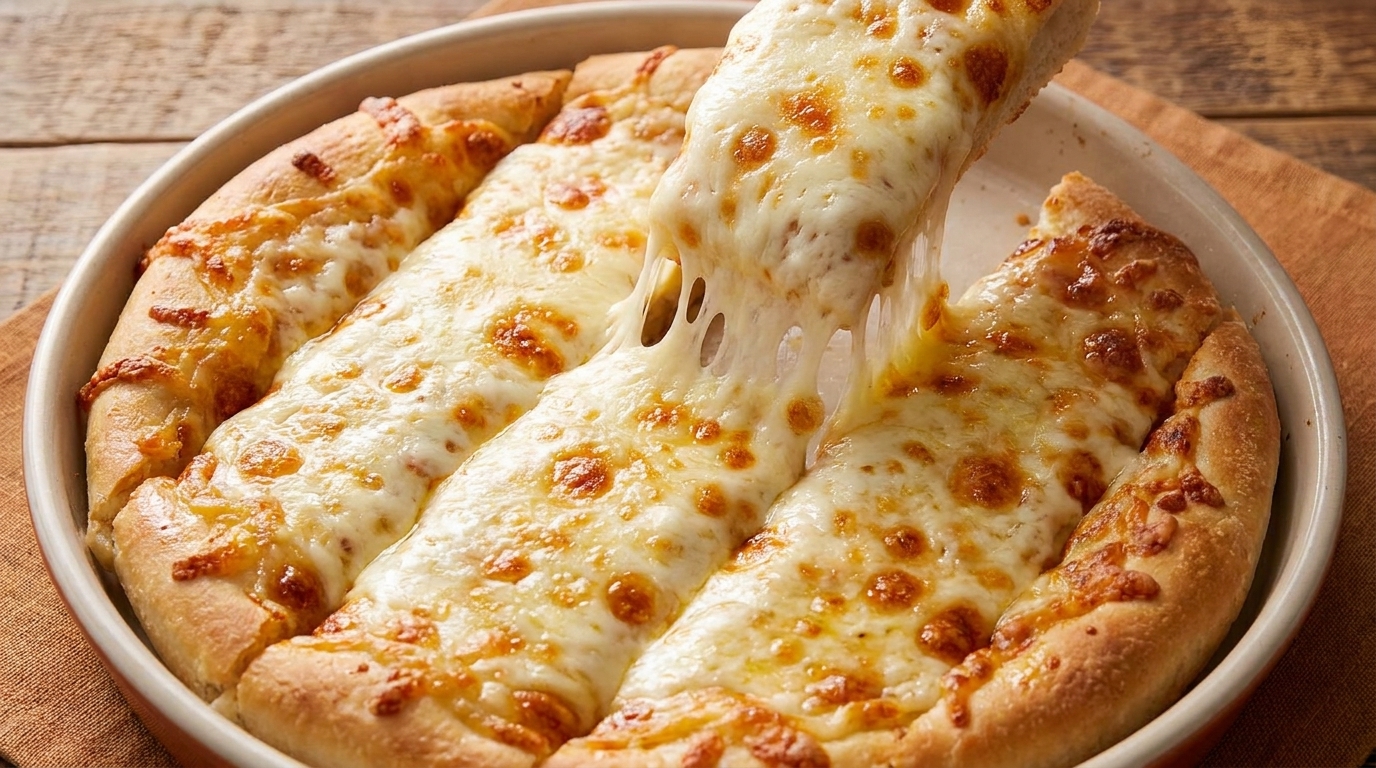
Transfer the hot pizza to a cutting board. Use a large, sharp knife to slice the Quattro Formaggi pizza down the middle and into long, rectangular strips, creating perfectly crispy edges and a soft, chewy center.
Tip: Cutting the pizza into long strips makes it easy to hold and dip, perfectly showcasing the thin, crispy Italian-style crust and the super stretchy cheese.