Italian Sausage
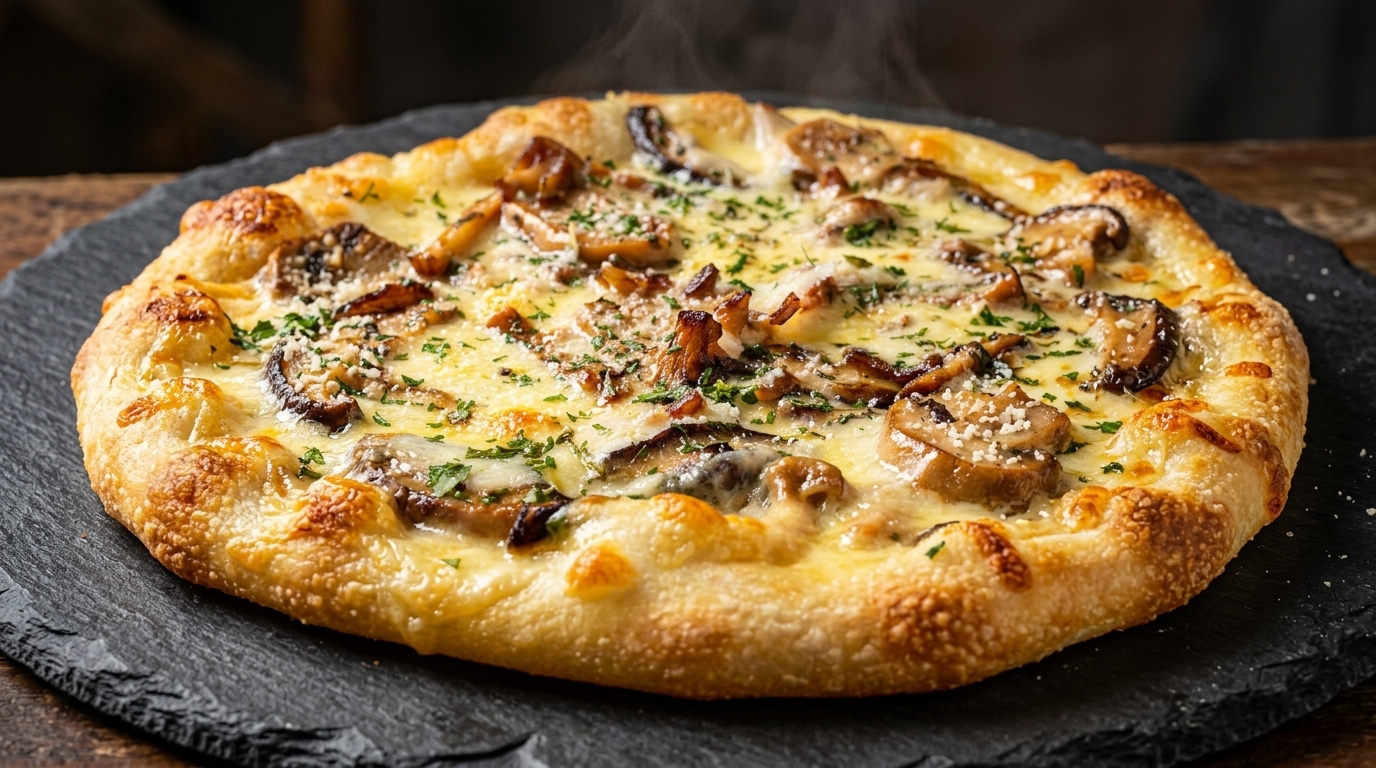
Mushroom Pizza (Pizza Boscaiola)
Master homemade Pizza Boscaiola with this rustic Italian sausage and mushroom recipe. A slow-fermented poolish dough guarantees an airy, blistered crust.
Often called a lumberjack style pizza this classic dish traditionally features earthy ingredients from the forest paired with rich Italian sausage. Using a poolish starter overnight develops a deep and complex flavor along with a wonderfully digestible crust. Pre-cooking the mushrooms ensures the pizza stays perfectly crisp even in a standard home oven.
Ingredients
- to taste honey
- to taste active dry yeast
- to taste bread flour (for poolish)
- 110 g bread flour (for final dough)
- 8 g salt
- as needed olive oil
- 200 g white button mushrooms
- 2 cloves garlic
- to taste salt and black pepper
- 200 g raw Italian sausage meat
- 150 g low-moisture mozzarella cheese
Instructions
- 1Prepare the poolish starter
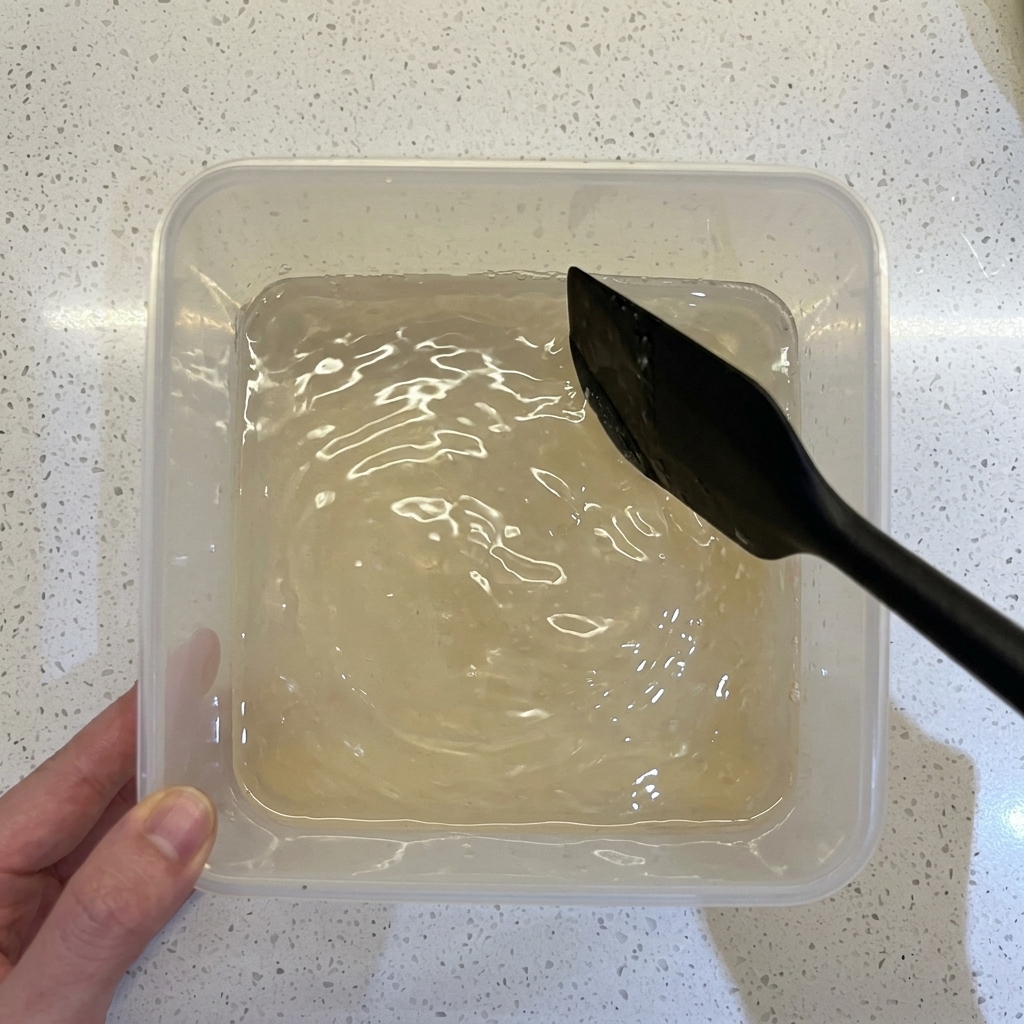
The night before making your pizza, combine water, honey, yeast, and flour in a clear container. Mix thoroughly with a spatula until no dry spots remain. Cover the container and let it rest in the refrigerator to slowly ferment.
Tip: For an extra boost, you can leave the mixture out at room temperature for an hour to kickstart the yeast activity before placing it in the fridge. - 2Mix the final dough
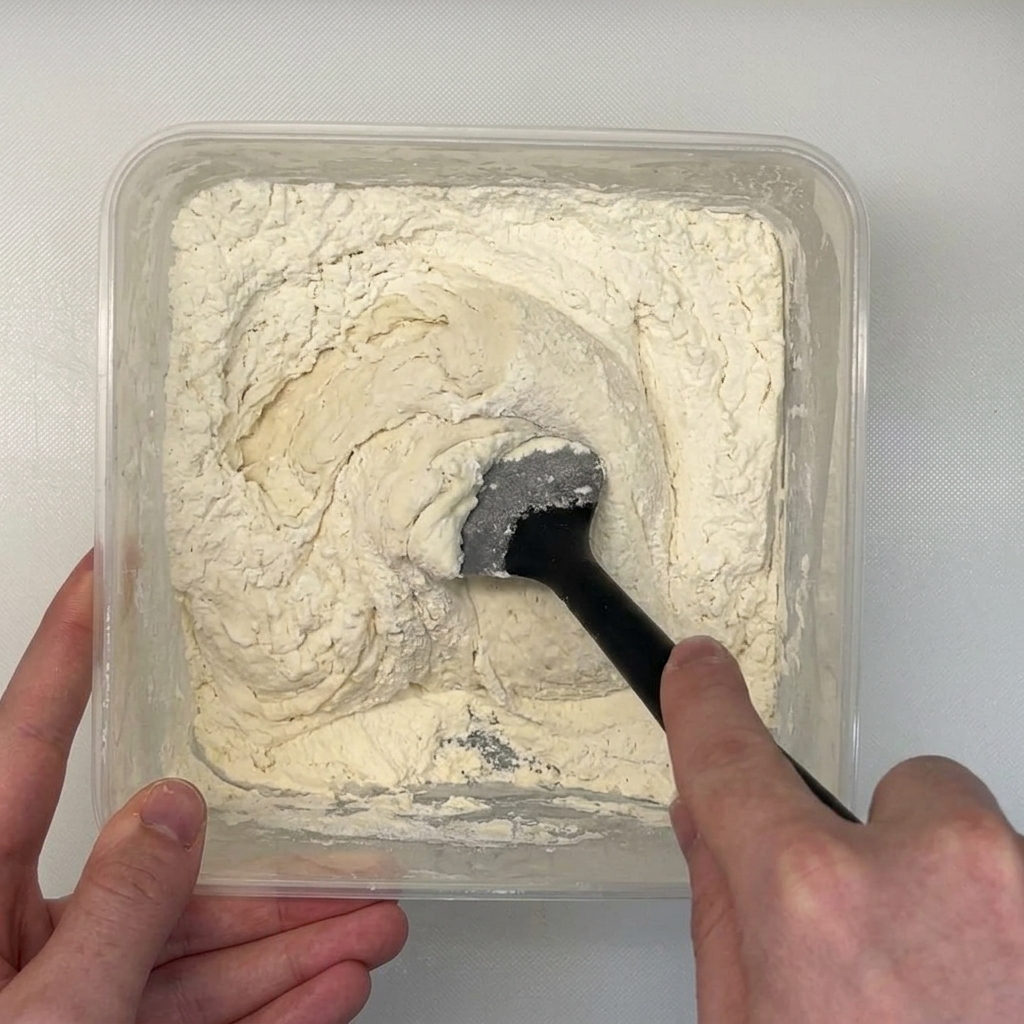
The next day, take the bubbly poolish out of the fridge. Add the remaining flour and salt directly into the container. Stir the mixture vigorously with your spatula until all the dry flour is fully hydrated and incorporated into the dough.
Tip: Mixing in the container helps contain the mess and makes it easier to hydrate the high-moisture dough before you start kneading. - 3Shape the dough

Spray a generous amount of olive oil onto your cutting board and thoroughly coat your hands as well. Pull the dough out of the container and gently fold and tuck the edges under to shape it into a cohesive, smooth ball.
Tip: High hydration doughs are extremely sticky. Always use oil, not extra flour, on your hands and work surface to prevent sticking without drying out the dough. - 4Let the dough rise
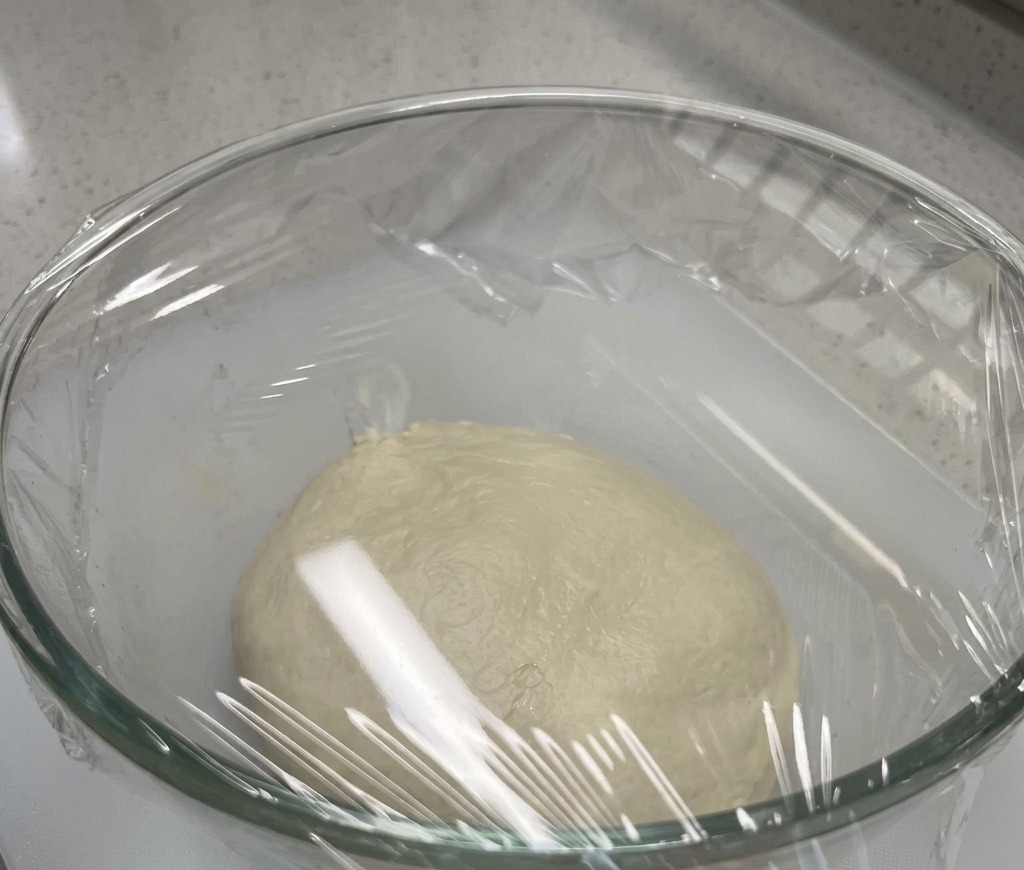
Transfer your shaped dough ball into a lightly oiled glass bowl. Cover the bowl tightly with plastic wrap to trap the moisture and prevent a dry skin from forming. Let the dough rest and rise at room temperature for one hour.
Tip: Ensure the bowl is well-oiled so the dough easily releases when it is time to divide it; otherwise, you risk deflating all the built-up gas. - 5Divide the dough
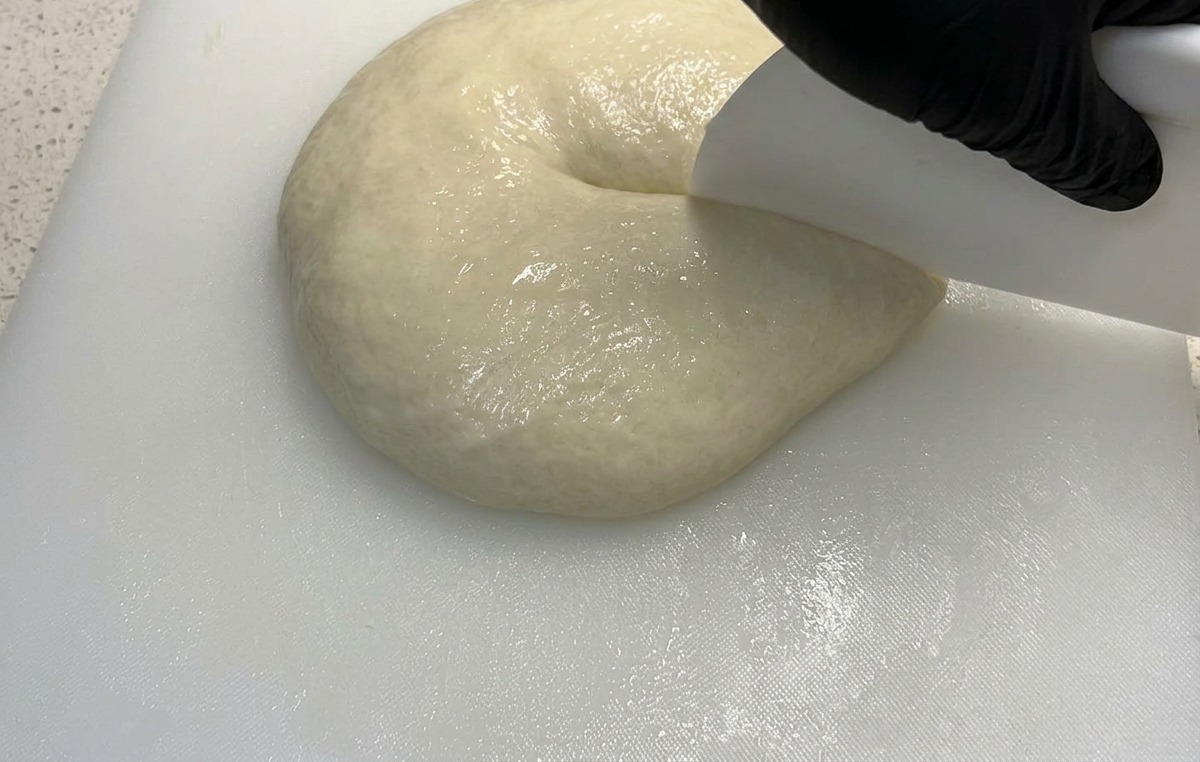
After the first hour of rising, carefully transfer the puffed dough back onto your oiled board. Using a bench scraper, cleanly cut the dough directly down the middle to divide it into two equal portions for two pizzas.
Tip: Use a swift, decisive chopping motion with the bench scraper rather than pulling or tearing, which damages the gluten network. - 6Form final pizza portions

Take each divided half of dough and carefully form it into a tight and round ball while sealing the bottom. Place the shaped dough onto your work surface in preparation for the next stage.
Tip: Creating surface tension by shaping a tight ball helps the dough hold its shape and expand evenly when baked. - 7Final dough proof
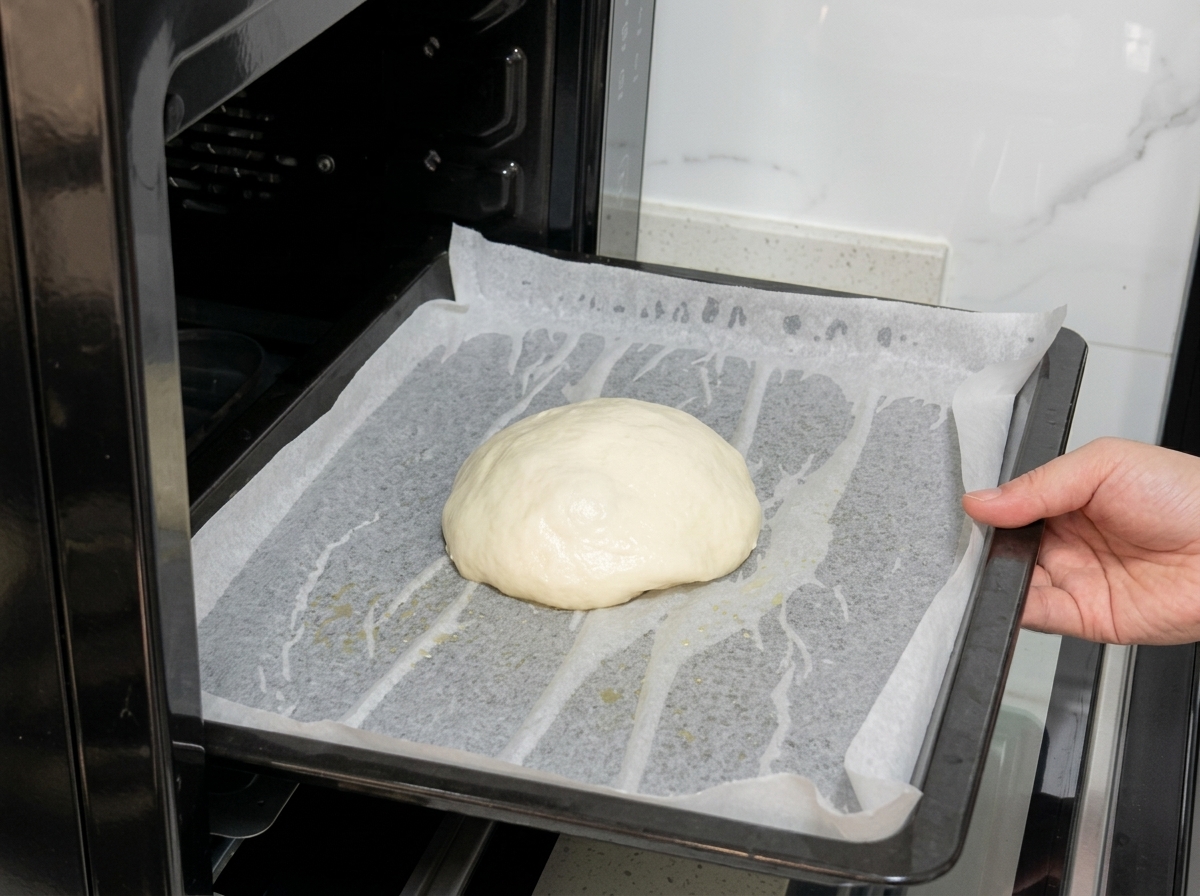
Transfer the shaped dough balls onto a parchment lined baking tray. Place the tray into an unheated and enclosed space to let the dough undergo its final proof for one hour.
Tip: Proofing inside an unheated oven prevents drafts and keeps the temperature consistent for a better rise. - 8Slice the mushrooms
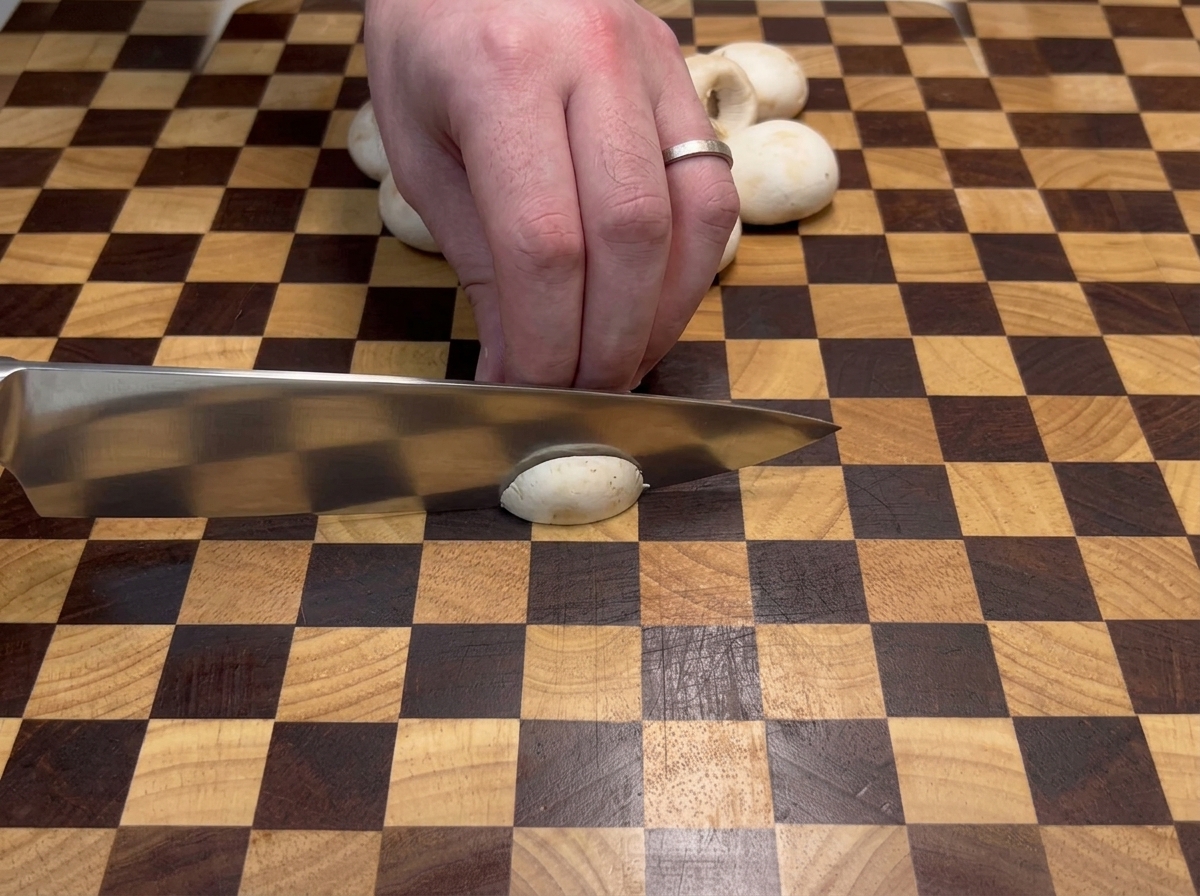
Take the fresh button mushrooms and slice them evenly into medium-thin pieces. Because standard home ovens often cannot reach the extreme temperatures needed to cook raw mushrooms quickly on a pizza without them weeping water and making the crust soggy, it is crucial to slice and pre-cook them beforehand.
Tip: Keep the slices uniform in thickness so they cook evenly when you stir-fry them later. - 9Sauté the mushrooms
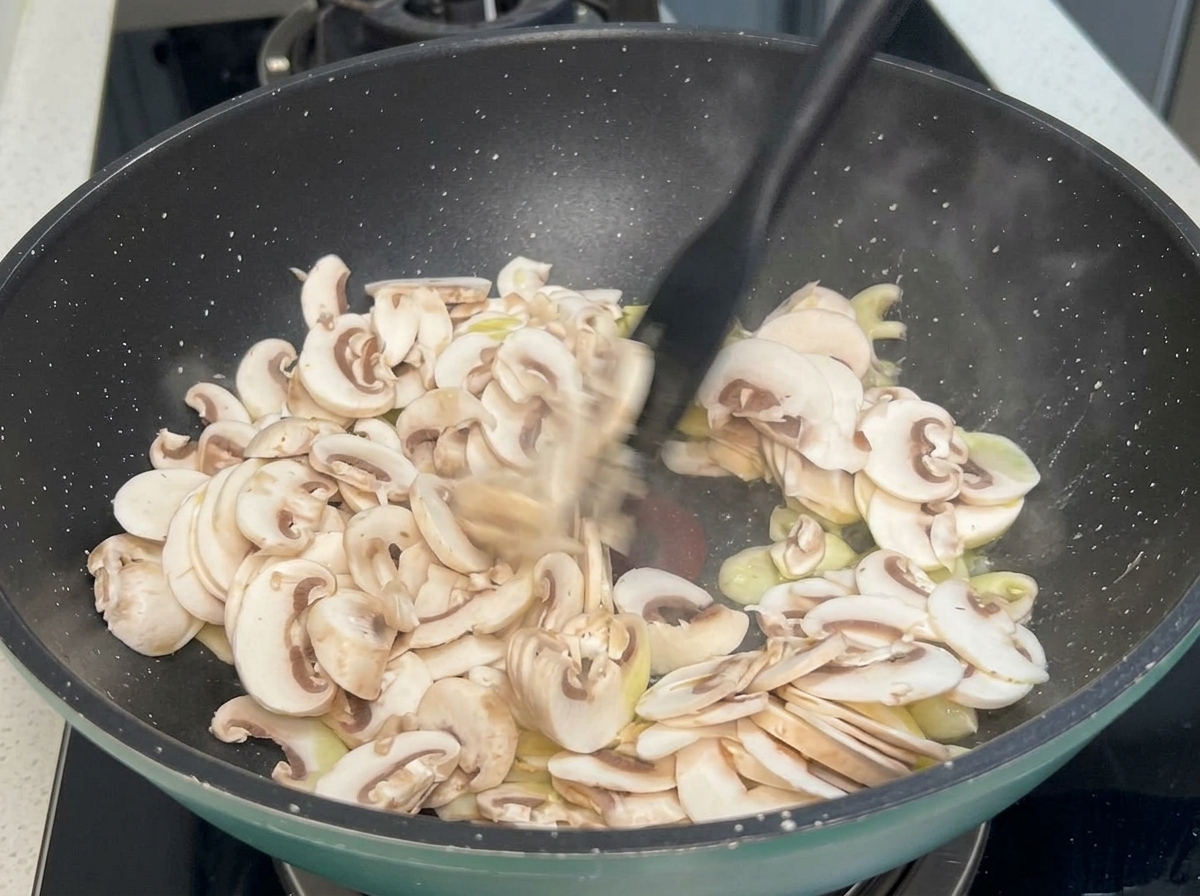
Heat a pan with olive oil and toss in a couple of whole garlic cloves for flavor. Add the sliced mushrooms and sauté them briefly to release their excess moisture. This prevents the pizza from becoming soggy since home ovens usually max out around 230°C.
Tip: Season the mushrooms simply with a pinch of salt and black pepper while sautéing. - 10Stretch the pizza dough
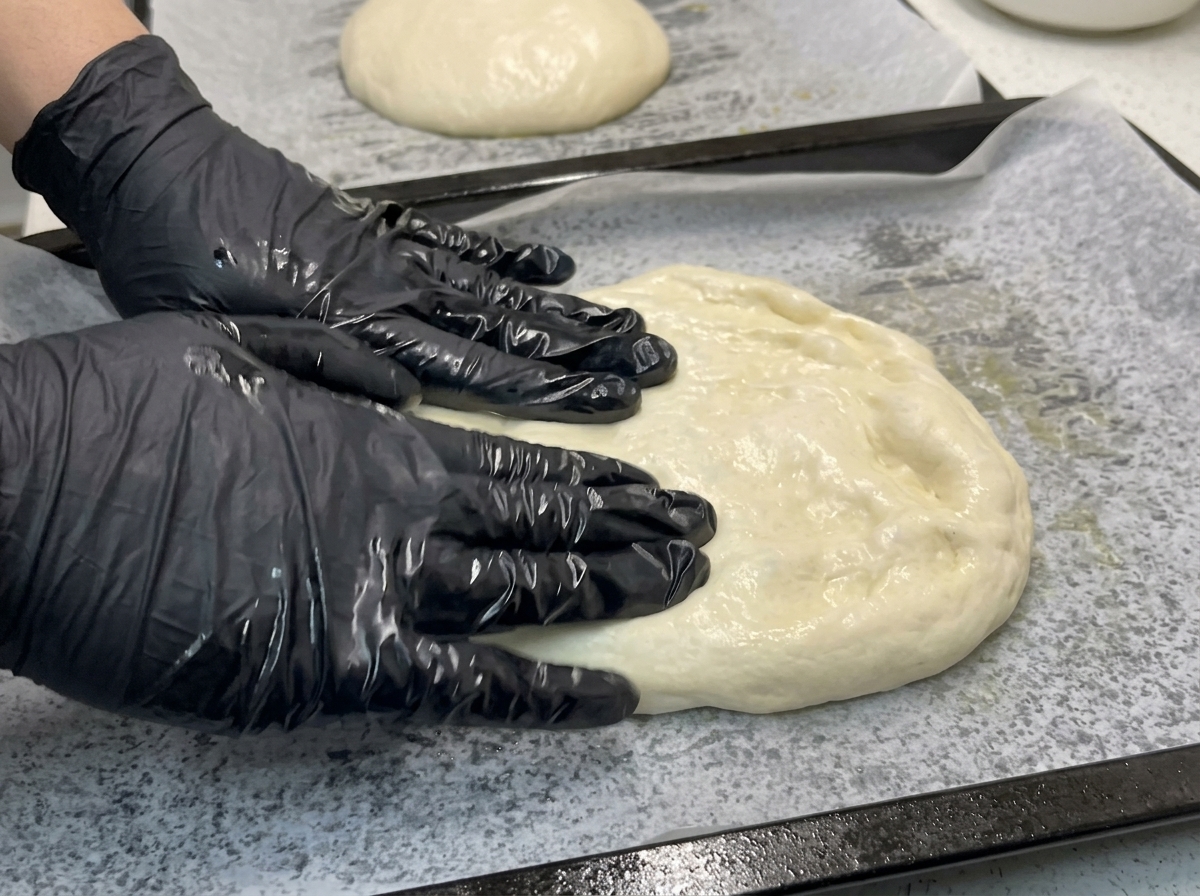
Once the dough has finished its final proof, gently push it out using the pads of your fingers. Press and stretch the dough evenly onto the parchment-lined tray until it forms your desired pizza shape.
Tip: Wearing oiled gloves or lightly oiling your fingertips prevents the sticky dough from tearing as you stretch it. - 11Add the toppings
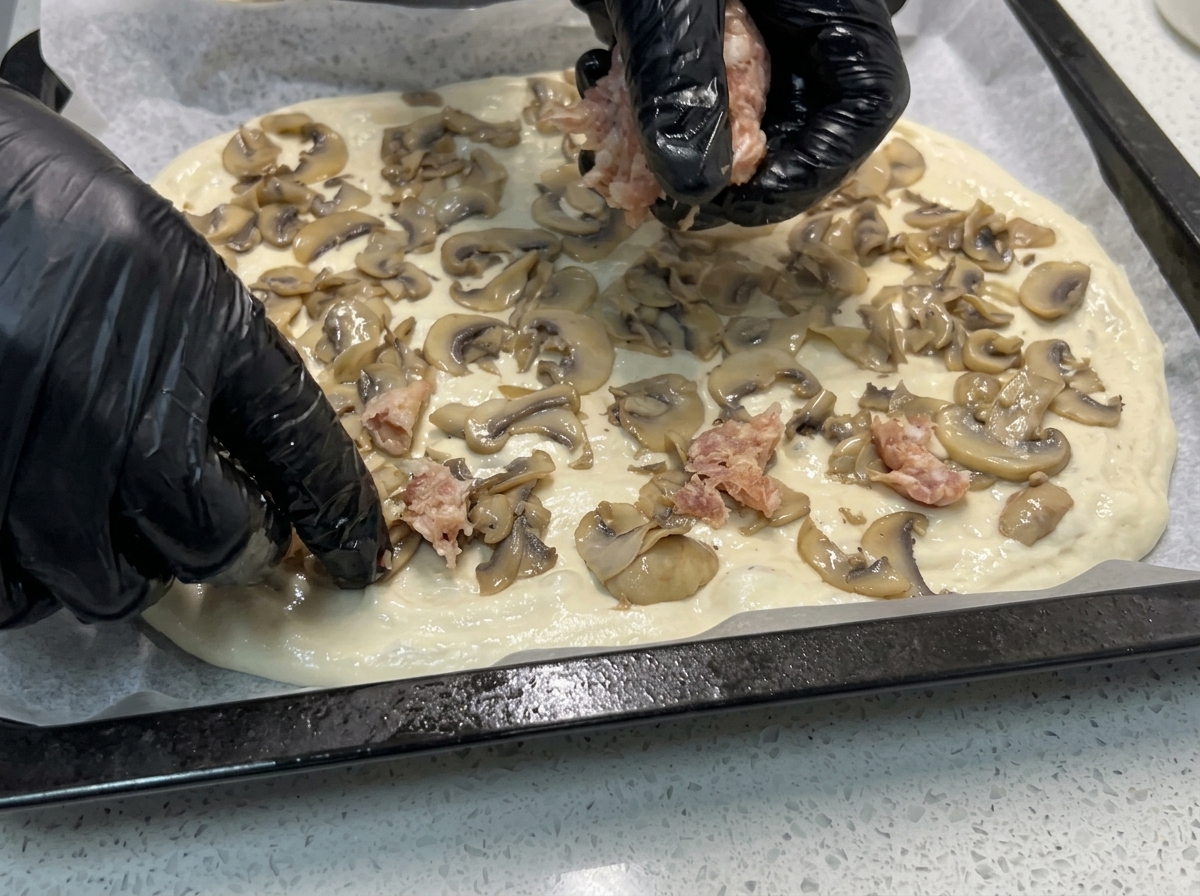
Spread the pre-cooked sliced mushrooms evenly across the stretched dough. Squeeze small portions of fresh, raw Italian sausage meat out of its casing and dot them all over the top.
Tip: Keeping the sausage meat in small, bite-sized dollops ensures it cooks through completely during the initial bake. - 12First bake
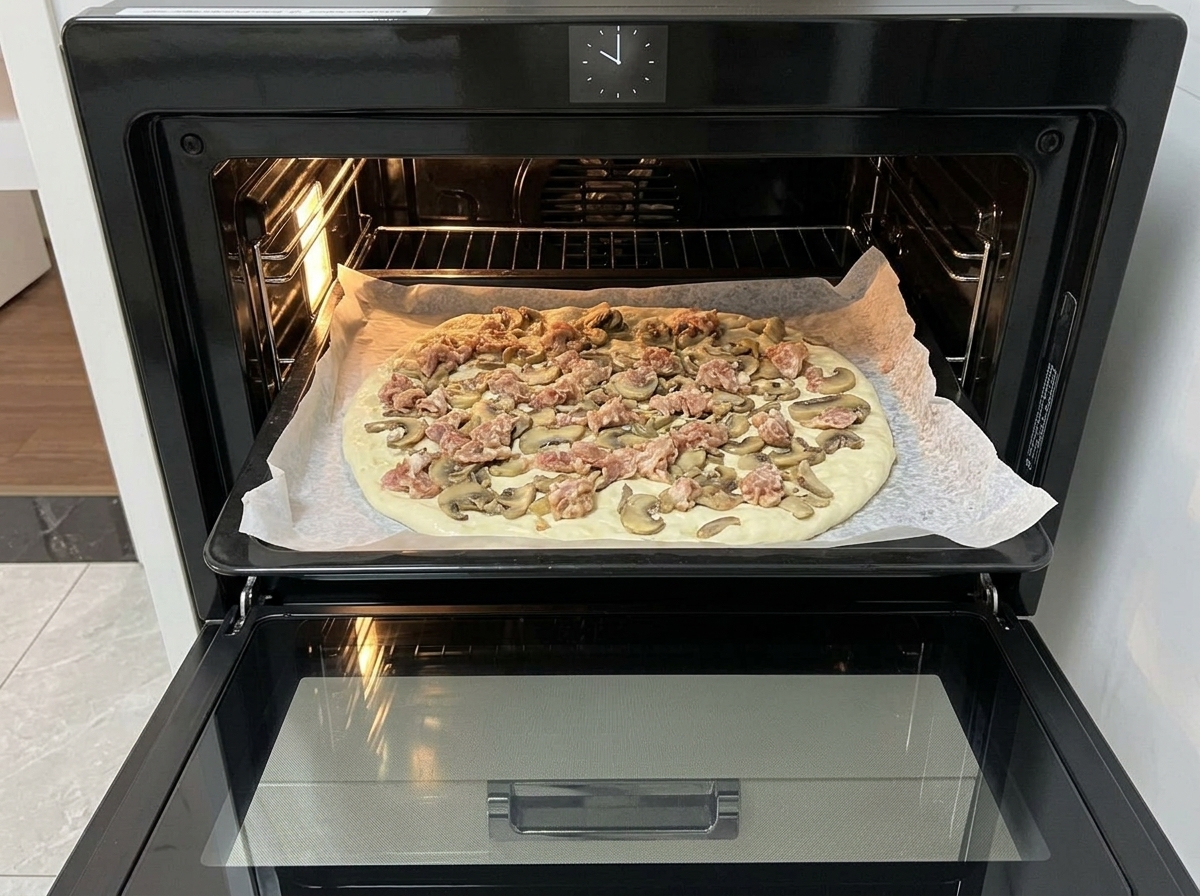
Preheat your oven to 230°C using both top and bottom heat. Place the pizza on the middle rack and bake for about 11 minutes. This initial bake sets the crust and cooks the sausage meat before adding the cheese.
Tip: Wait to add the mozzarella until after this first bake so the cheese doesnt burn before the crust is fully cooked. - 13Add mozzarella cheese
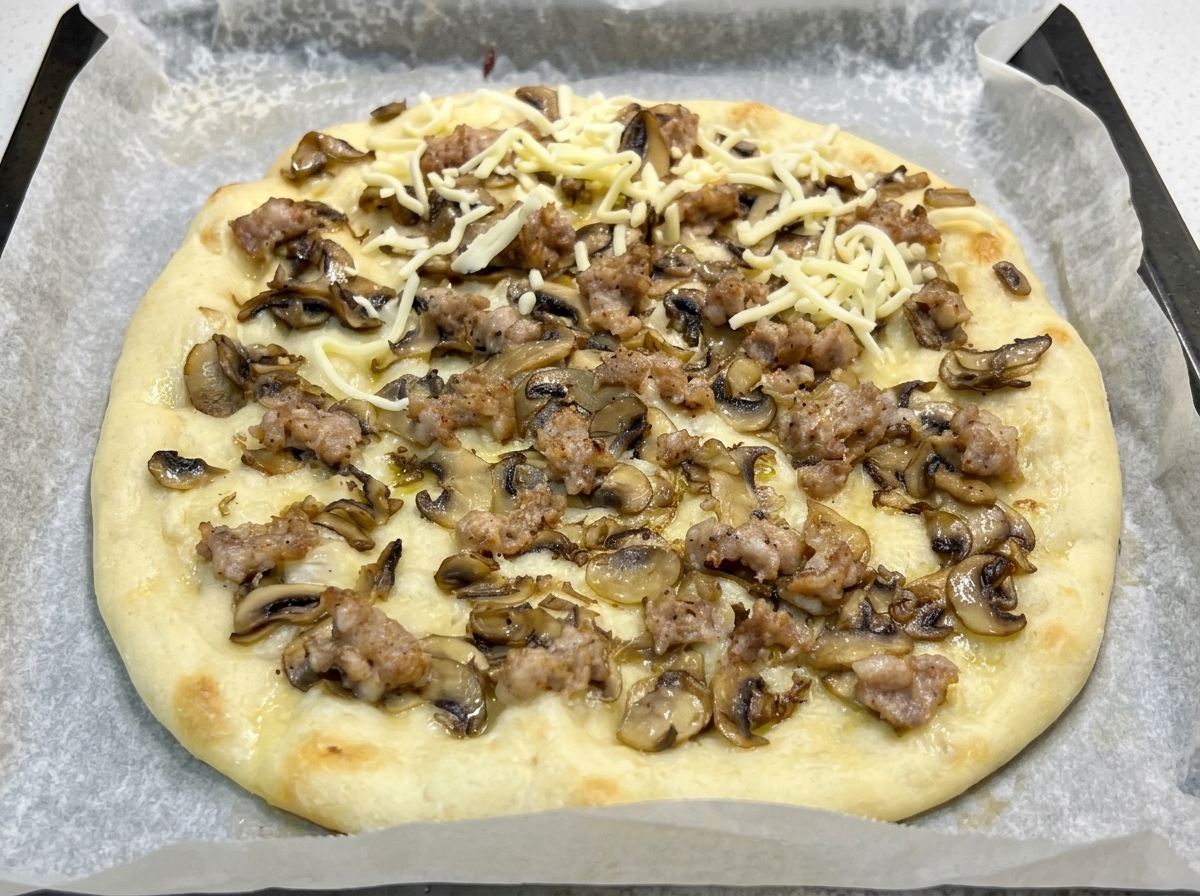
After baking the crust with the sausage and mushrooms for about 11 minutes, carefully remove the pizza from the oven. Evenly distribute a generous layer of shredded mozzarella cheese over the top. Delaying the cheese addition ensures it doesnt burn or separate during the long initial bake.
Tip: Use low-moisture mozzarella to prevent your pizza from becoming waterlogged as the cheese melts. - 14Melt the cheese

Place the pizza back into the oven, but this time position it on the top rack. Bake for an additional 5 to 6 minutes. The direct heat near the top of the oven will rapidly melt the mozzarella, turning it bubbly and slightly golden brown while keeping the toppings juicy.
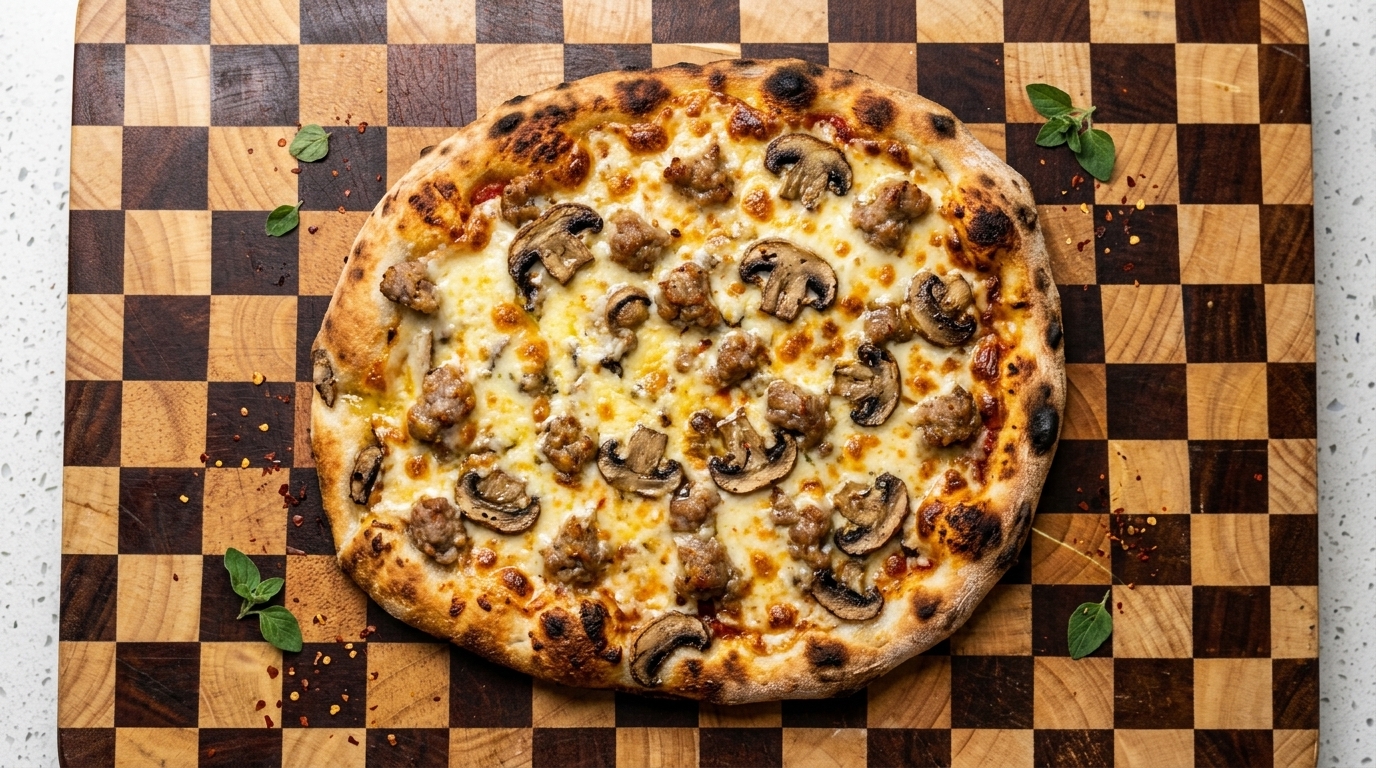
Tip: Watch the pizza closely during these final minutes; cheese can go from perfectly melted to burnt very quickly. - 15Slice and serve
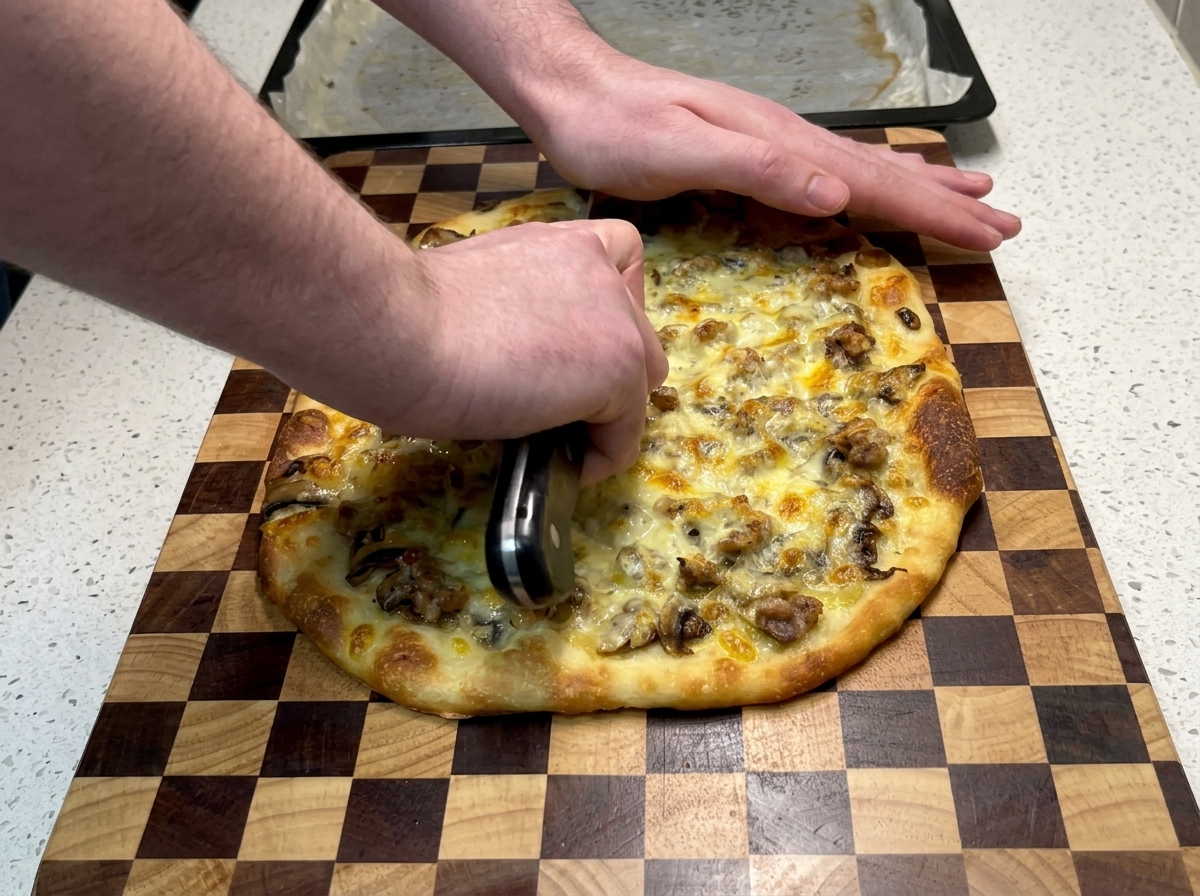
Once the pizza is finished baking, remove it from the oven and transfer it to a large cutting board. Using a large knife or pizza rocker, press down firmly to slice the pizza into manageable rectangular portions. The crust should be wonderfully crisp with perfectly melted cheese.
Tip: Let the pizza rest for 2 to 3 minutes before cutting. This allows the hot cheese to set slightly so it doesnt slide right off the crust.