Spooky Halloween Margaret Cookies
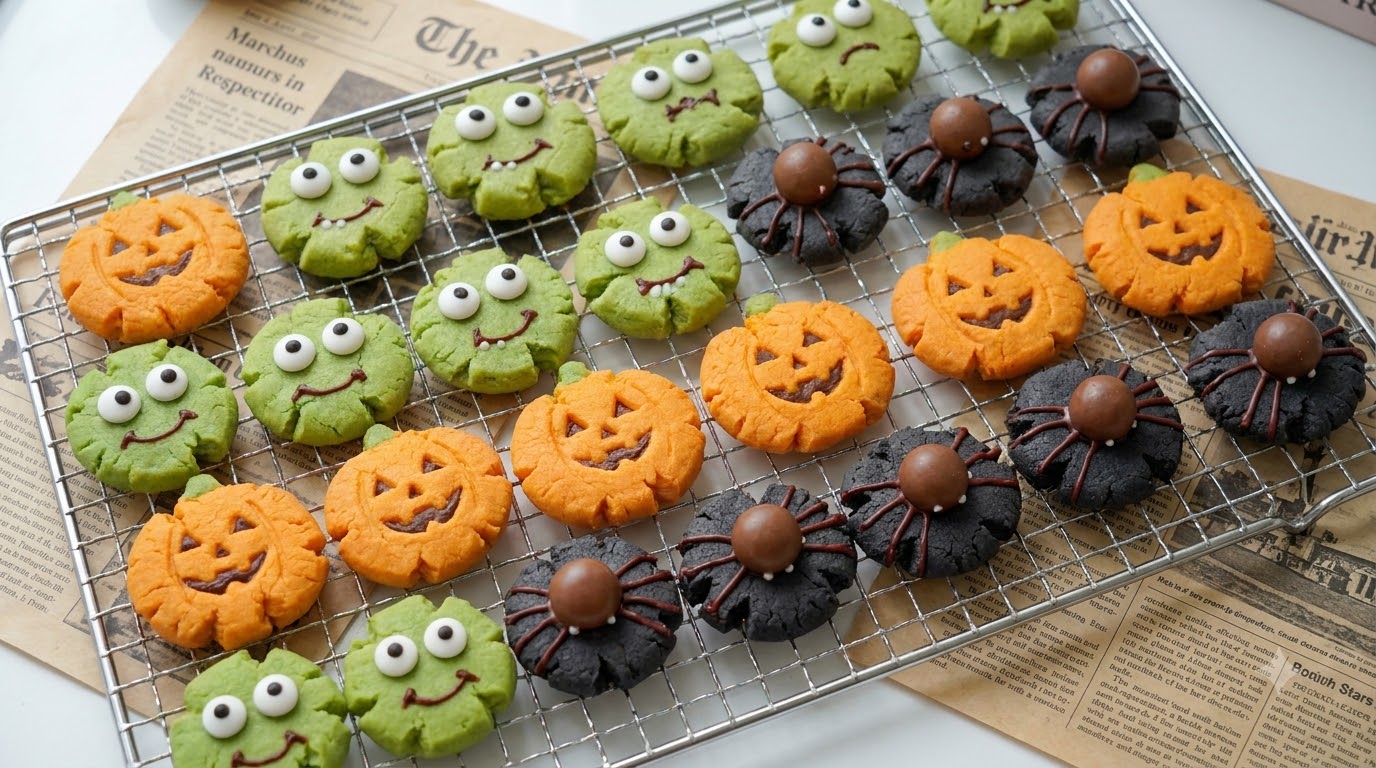
Delightfully spooky and crispy Halloween Margaret cookies shaped like cheerful pumpkins, green monsters, and chocolate spiders, made from an easy egg-yolk dough.
These festive Halloween Margaret cookies combine a melt-in-your-mouth crumbly texture with playful, spooky designs. Colored naturally with golden cheese, matcha, and bamboo charcoal powders, they feature charmingly eerie faces and chocolate details that make them a hit for any autumn celebration.
Ingredients
- 150 g unsalted butter
- 70 g powdered sugar
- 1.5 g sea salt
- 3 hard-boiled egg yolks
- 150 g cornstarch
- 150 g cake flour
- as needed golden cheese powder
- as needed matcha powder
- as needed bamboo charcoal powder
- as needed melted chocolate
Instructions
- 1Mix butter and powdered sugar
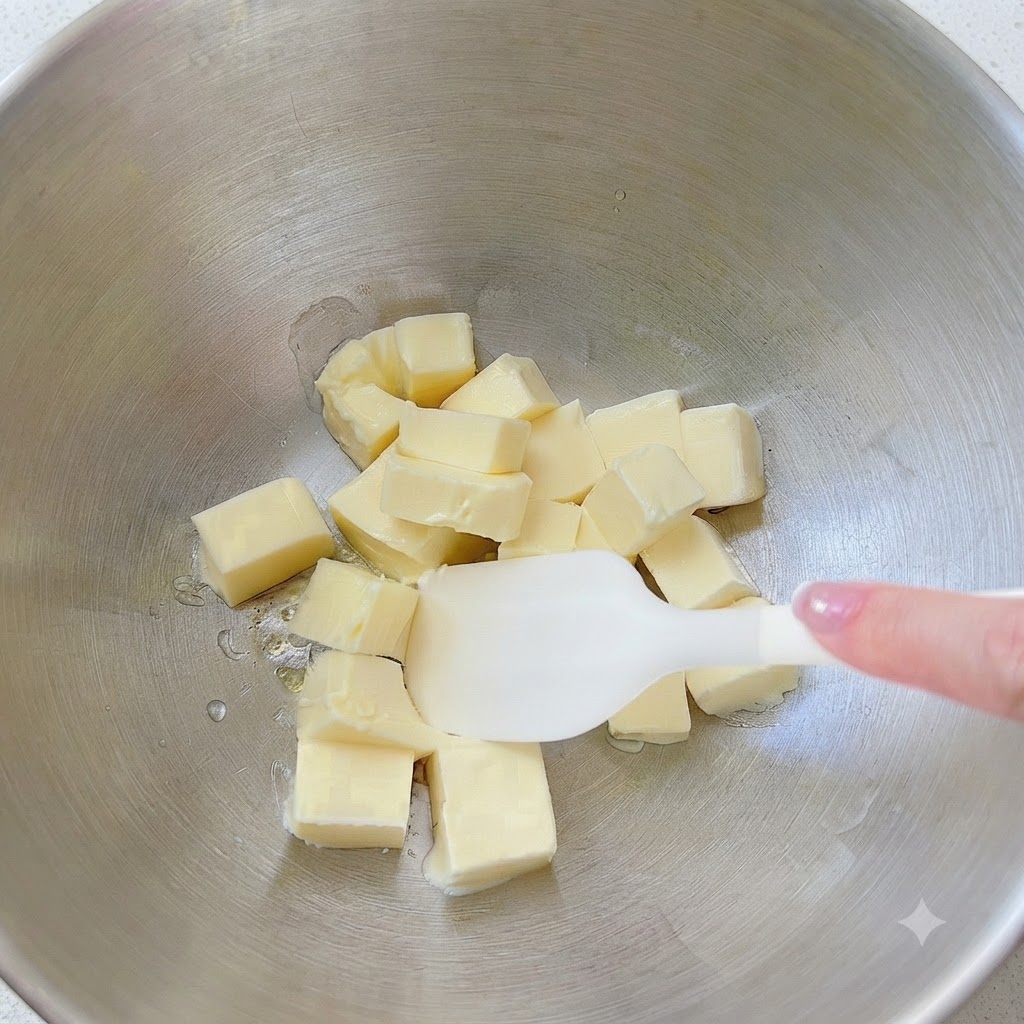
Place softened butter and powdered sugar into a stainless steel bowl and mix them together using a silicone spatula until well combined.
Tip: Ensure the butter is properly softened at room temperature to make mixing easier and smoother. - 2Cream the butter mixture
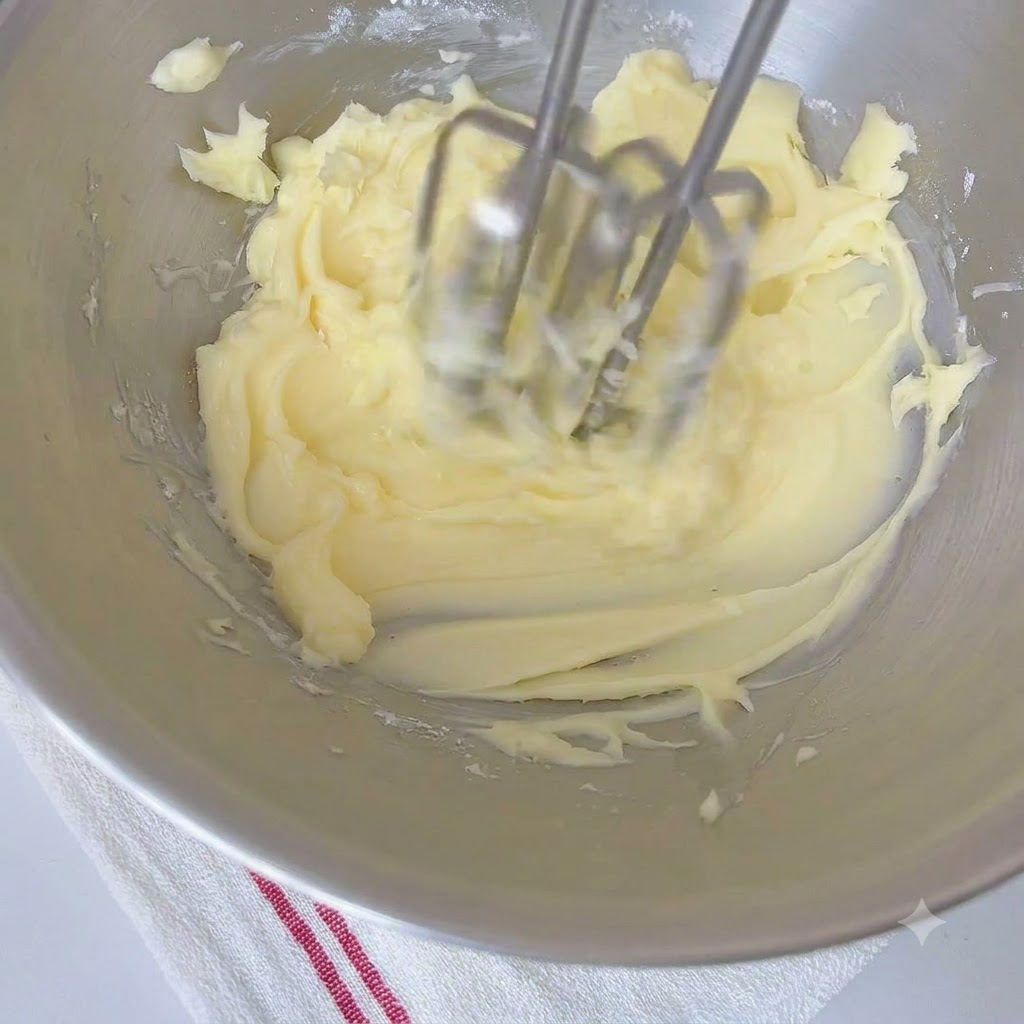
Add sea salt to the butter and sugar mixture, then use an electric hand mixer to cream everything together until it becomes fluffy and increases in volume.
Tip: Whip thoroughly until the mixture turns pale and light to ensure a light, crumbly texture in the baked cookies. - 3Add cooked egg yolks
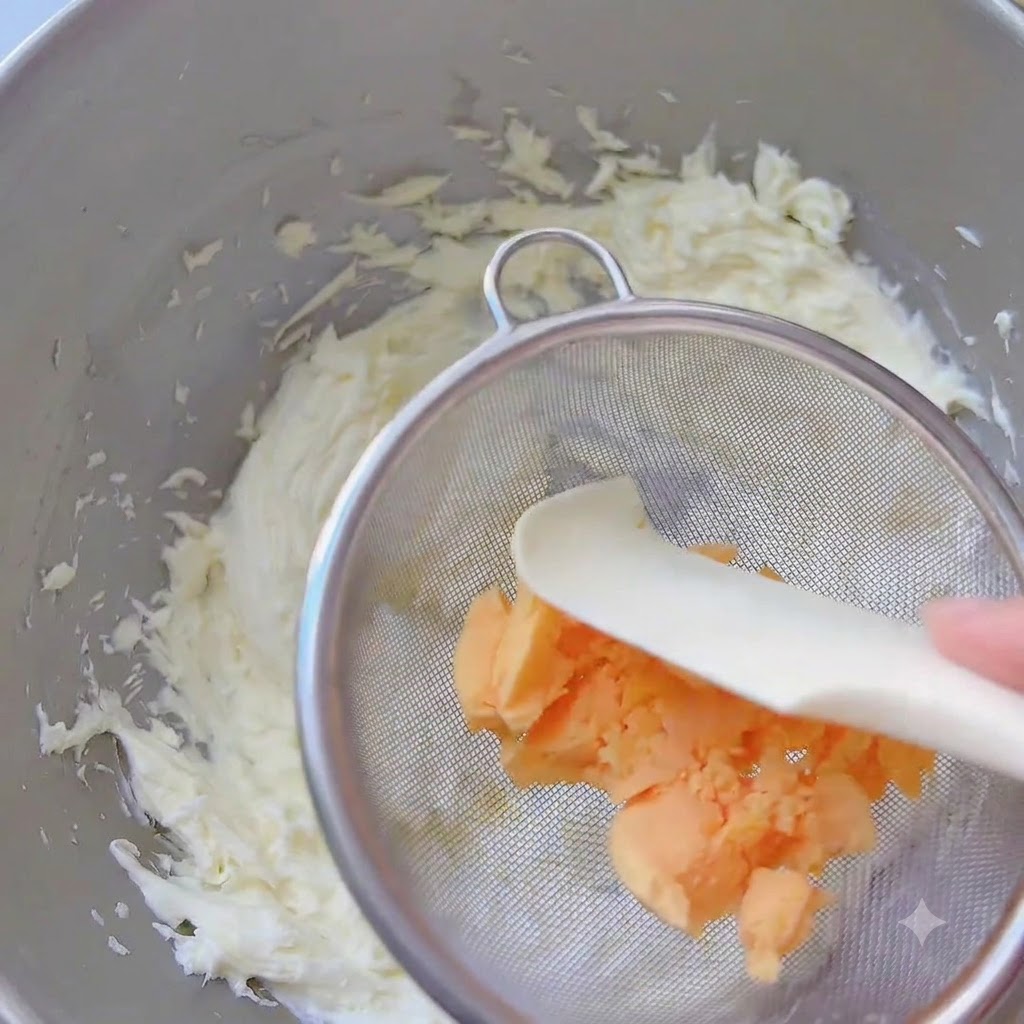
Sift cooked egg yolks into the creamed butter mixture, incorporating them initially with a spatula before using an electric mixer to combine them fully.
Tip: Sifting the cooked egg yolks prevents lumps and helps them blend smoothly into the dough. - 4Add dry flours
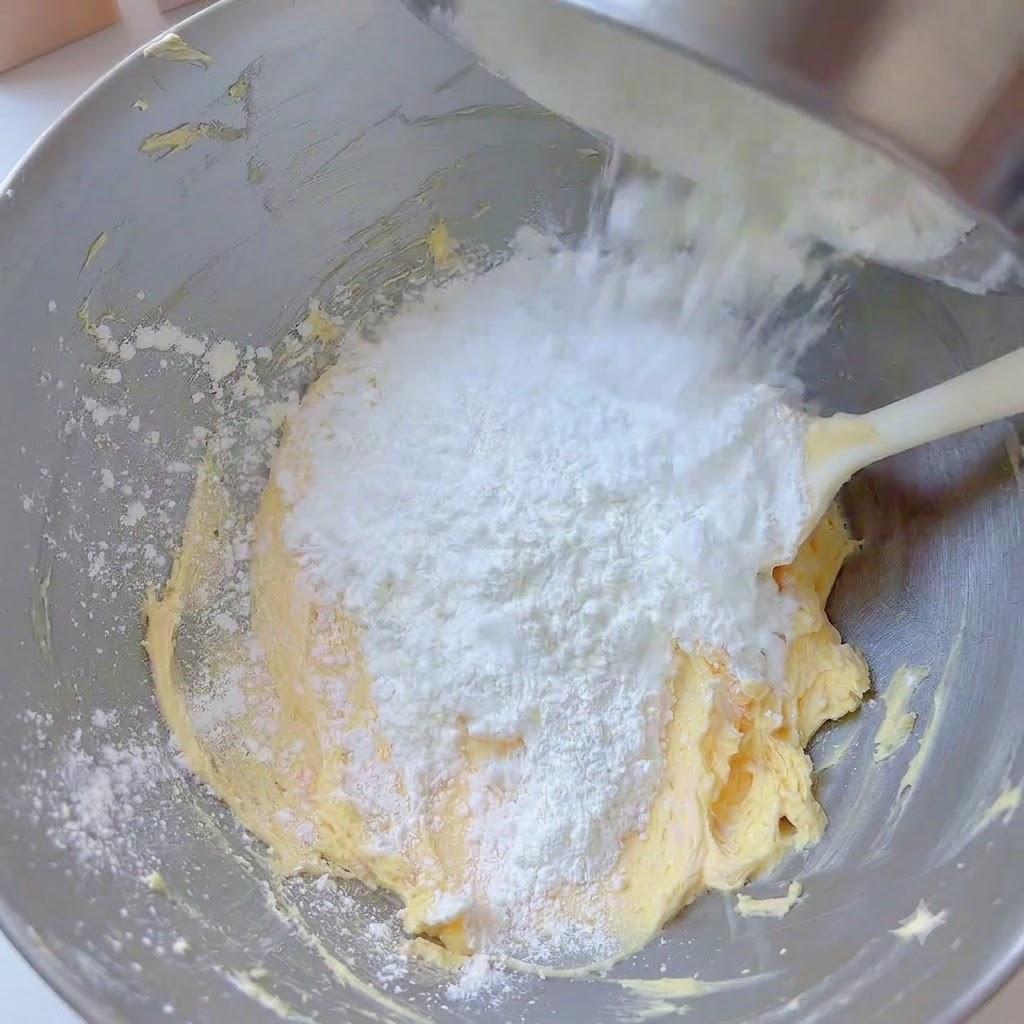
Sift cornstarch and cake flour directly into the bowl with the butter and egg yolk mixture, then mix using a spatula until no dry flour remains.
Tip: Mix gently and avoid overmixing once the flour is added to keep the cookies tender and crunchy. - 5Knead the cookie dough
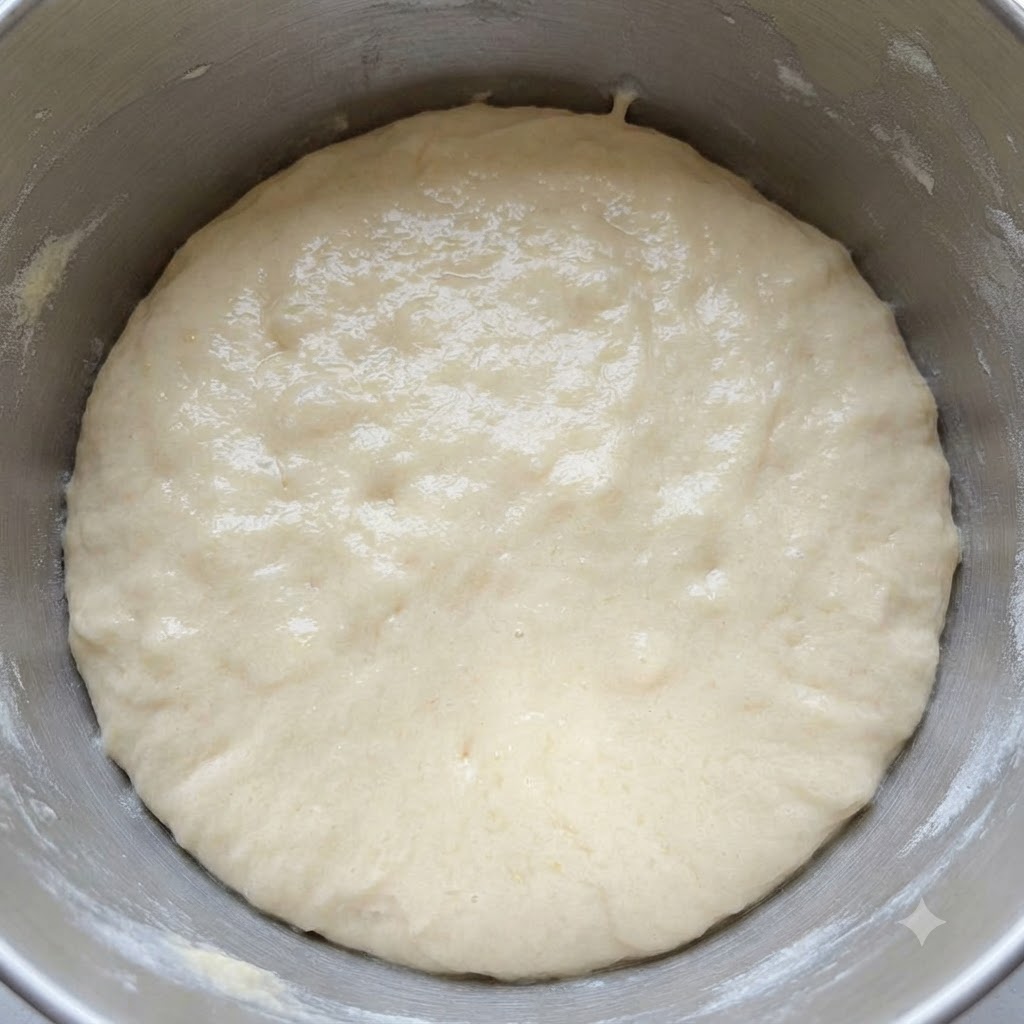
Knead the dough by hand wearing gloves inside the bowl until it forms a smooth and cohesive ball.
Tip: Wear gloves to prevent the butter from melting too quickly from hand warmth while kneading. - 6Color the dough portions
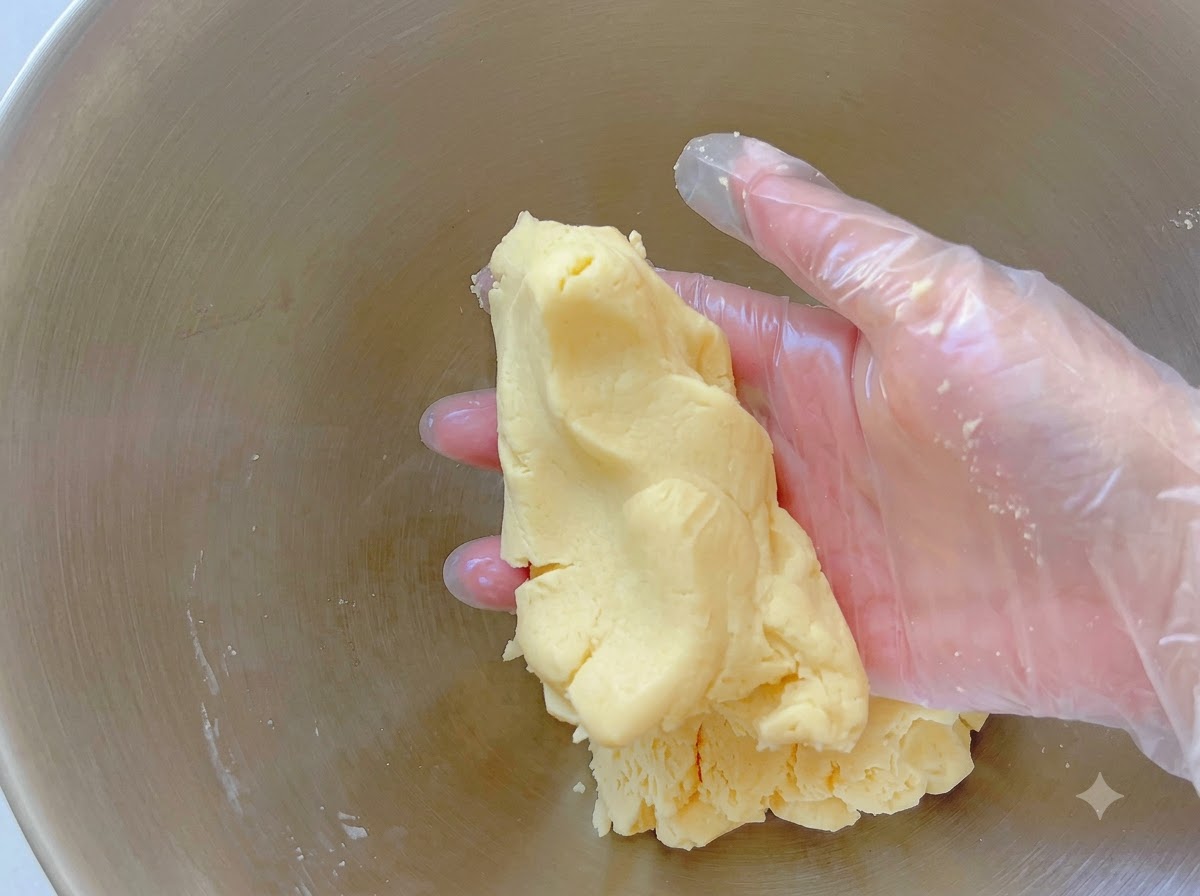
Divide the dough into portions and mix in various food coloring powders—such as golden cheese powder, matcha powder, and bamboo charcoal powder—until you achieve your desired colors.
Tip: Knead the colors thoroughly so the tone is evenly distributed throughout each dough portion. - 7Roll the Dough Balls
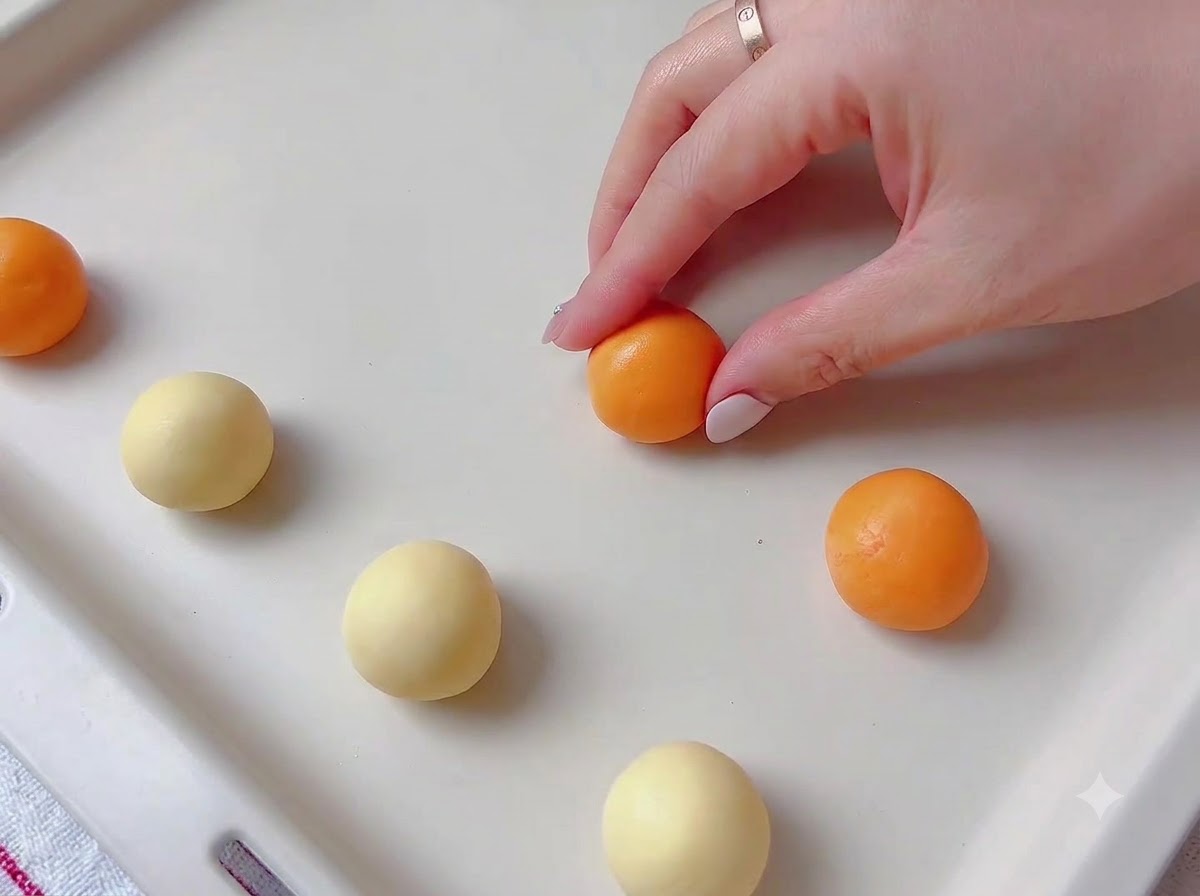
Take portions of the colored cookie dough and roll them into small, uniform balls on a flat surface, ensuring they weigh about 10g each.
Tip: Keep the remaining dough covered while working to prevent it from drying out. - 8Flatten the Dough Balls
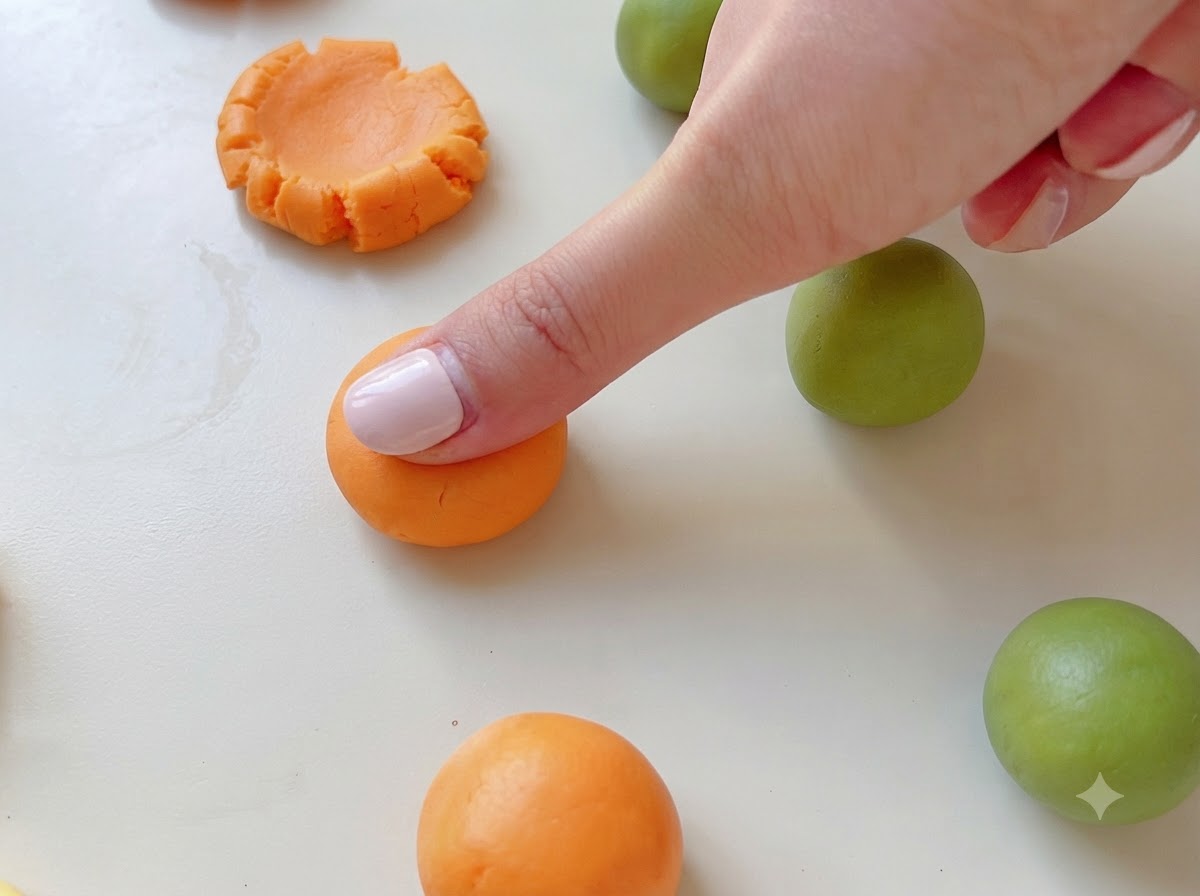
Gently press down on the center of each dough ball with your thumb to flatten them slightly in preparation for decoration.
Tip: Press down gently to avoid cracking the edges too severely. - 9Decorate the Cookie Shapes
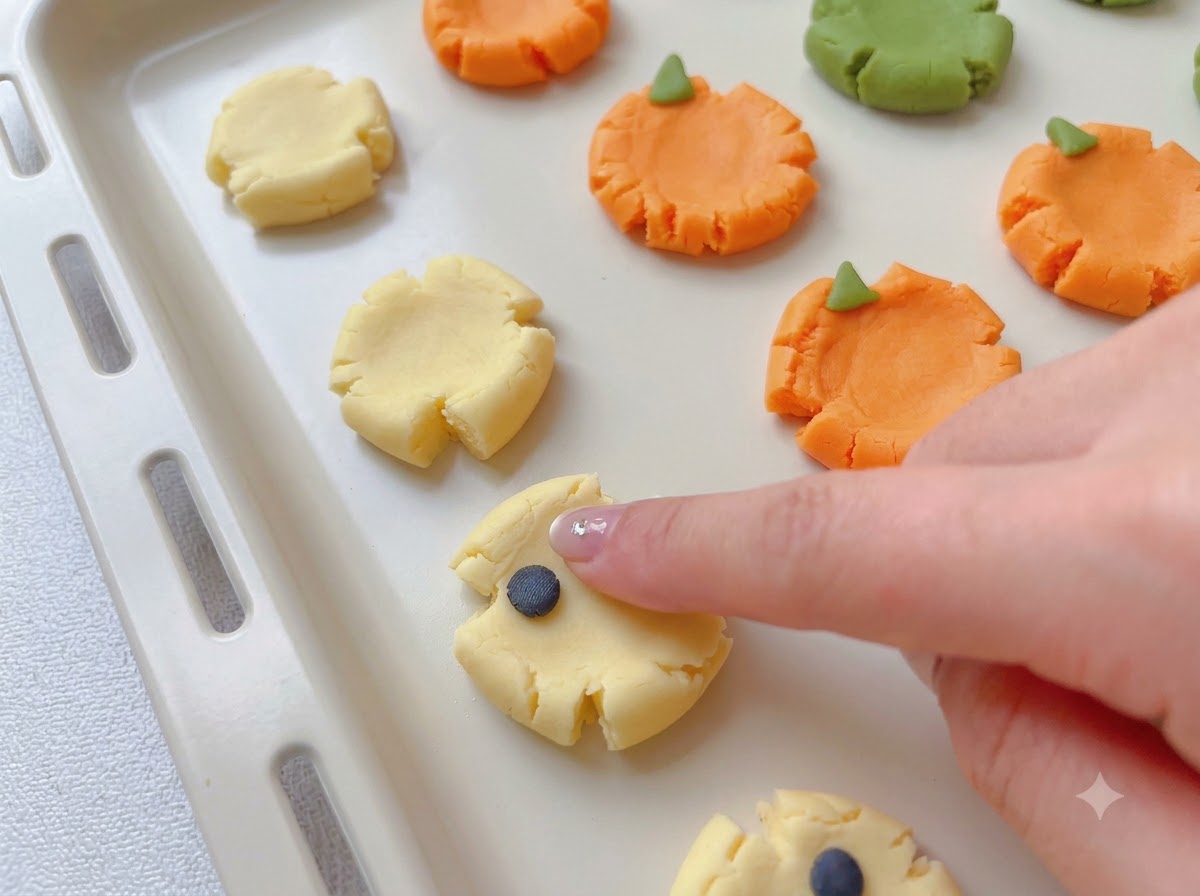
Decorate the flattened dough circles using small pieces of contrasting colored dough to create distinct features like monster faces and pumpkins.
Tip: Press small accent pieces firmly onto the base dough so they dont fall off during baking. - 10Pipe Chocolate Details
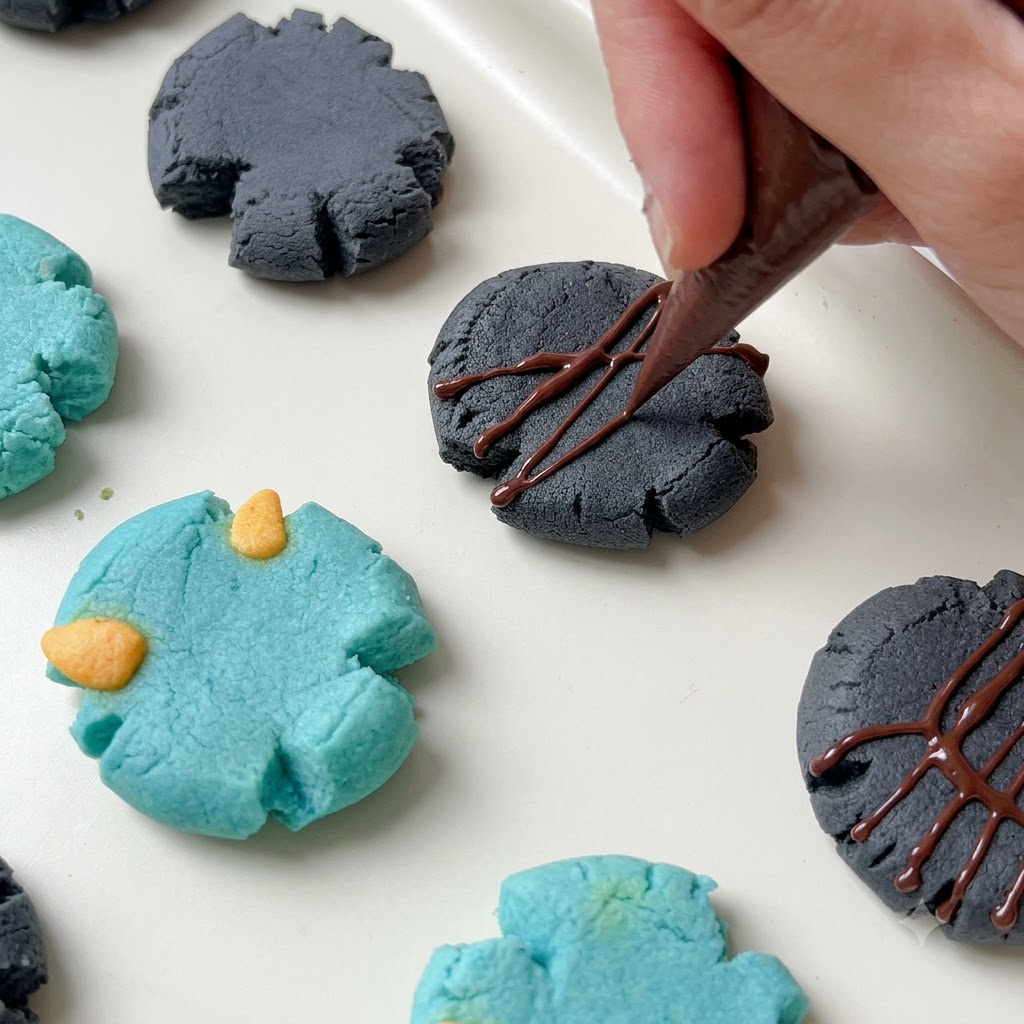
Use melted chocolate in a piping bag to draw fine details, such as spider legs, onto the baked charcoal cookies.
Tip: Let the chocolate cool slightly before piping to prevent it from running too fast. - 11Add Facial Expressions
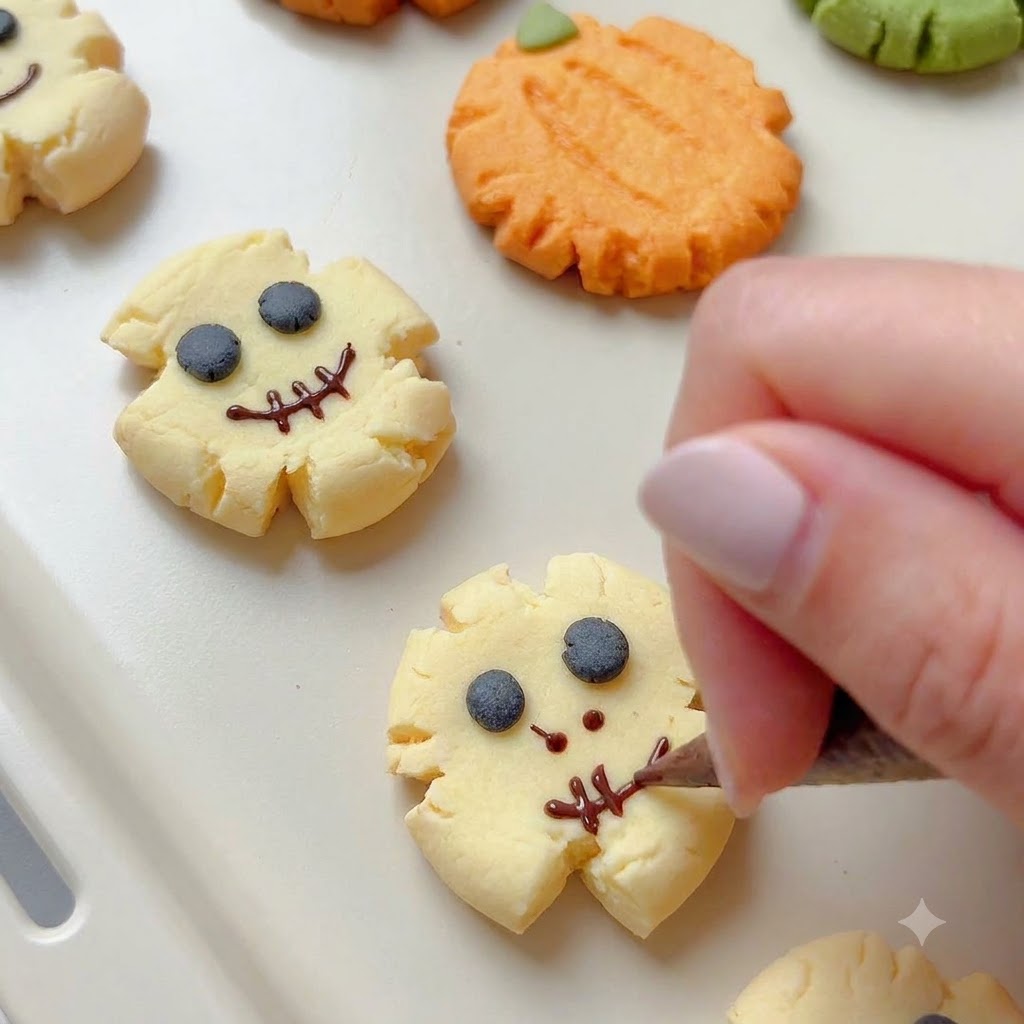
Continue piping chocolate expressions and facial features onto the baked cookies to bring your Halloween designs to life.
Tip: Use a steady hand and a fine tip on your piping bag for neat expressions.