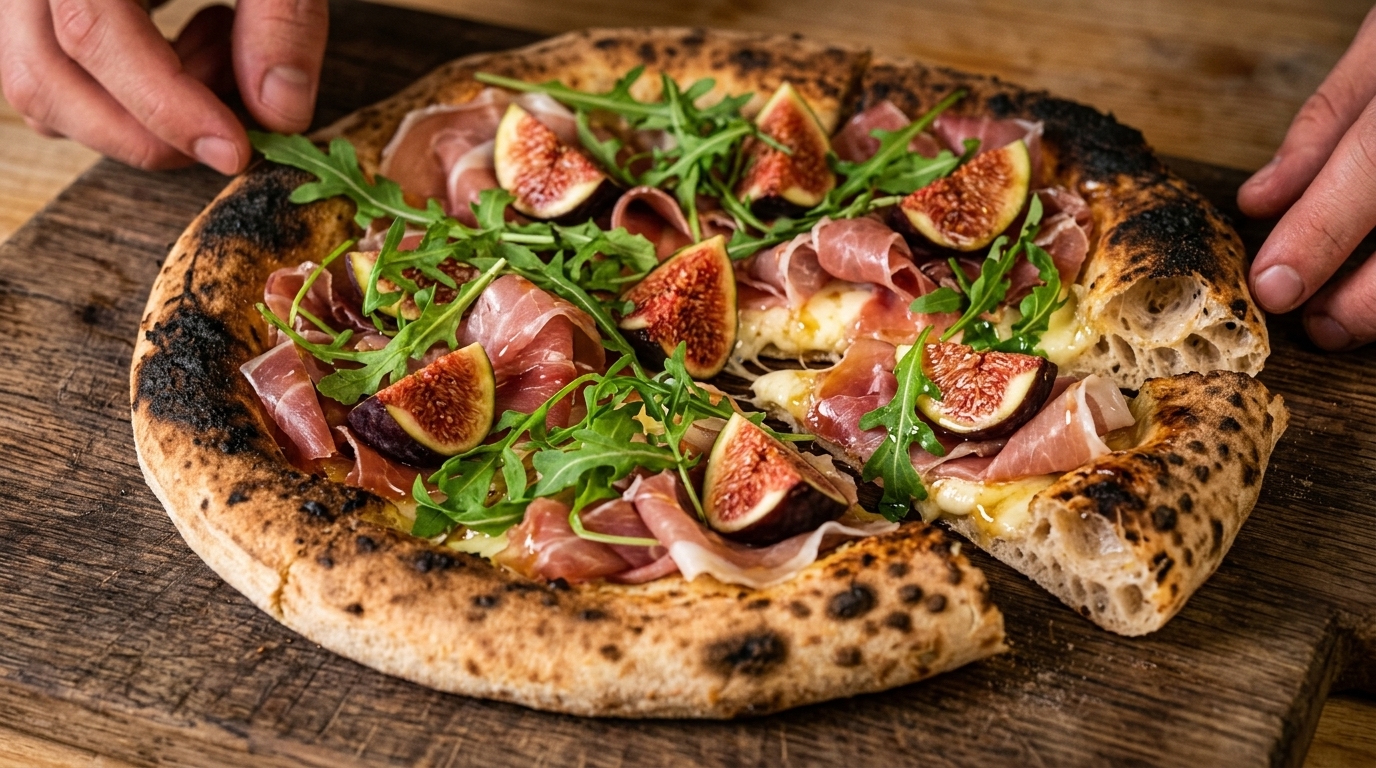
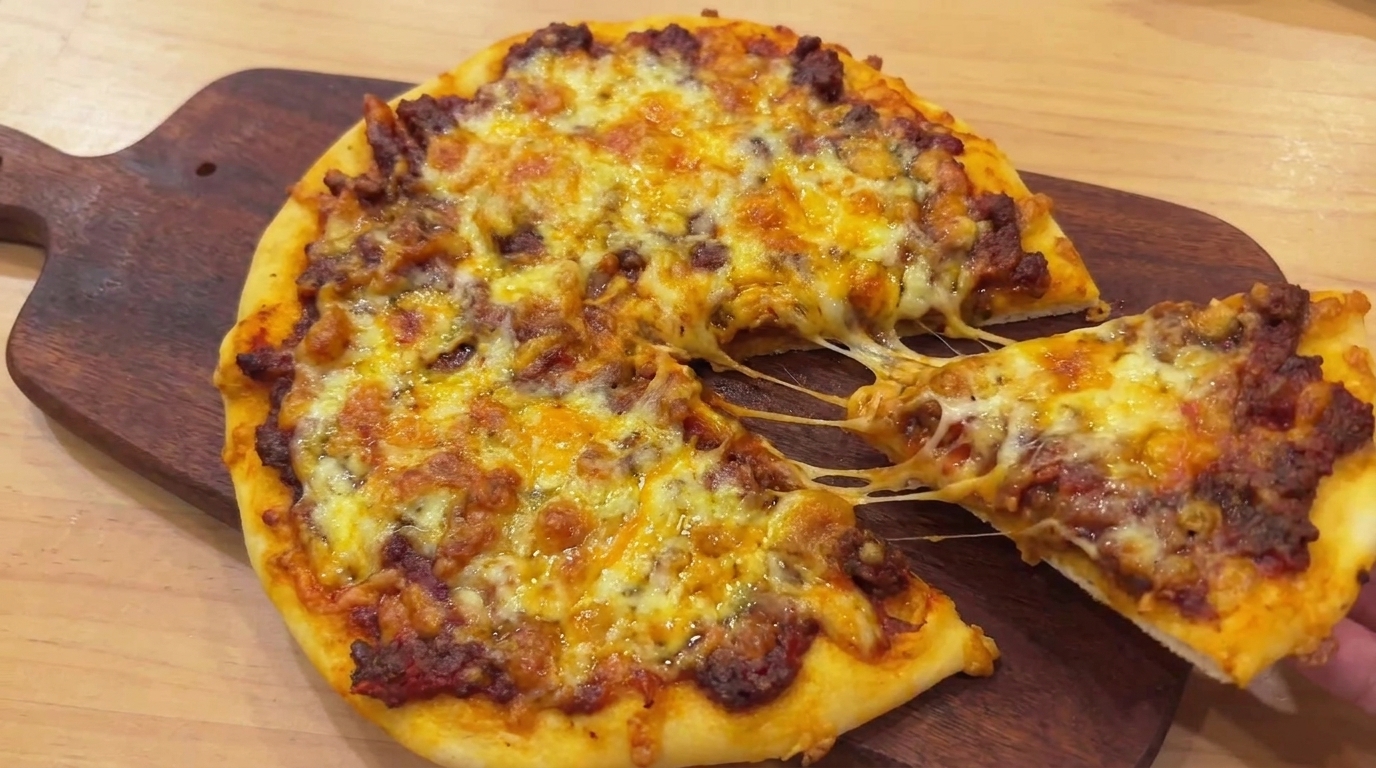
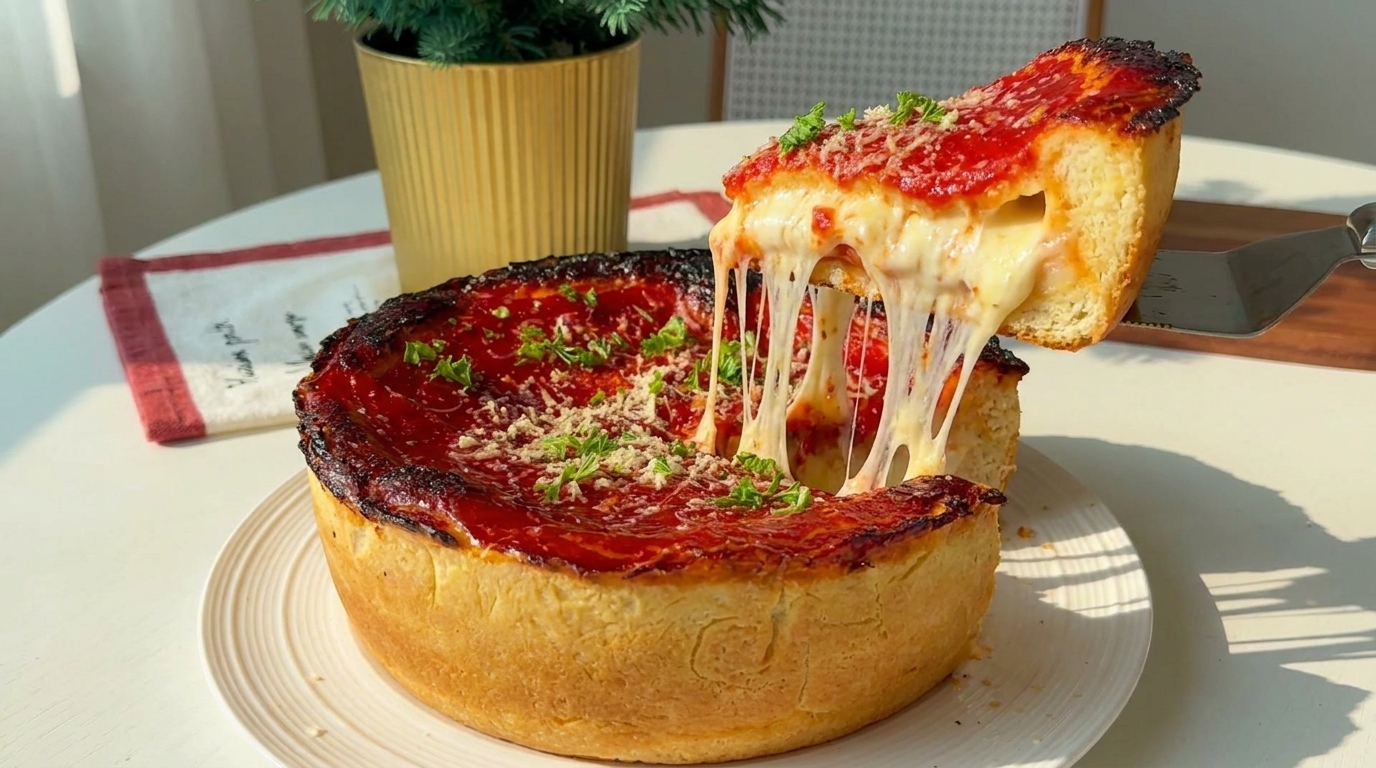
Classic Chicago Deep Dish Pizza
Experience the ultimate Chicago deep dish pizza, featuring a buttery, tall crust packed with layers of cheese, salami, bacon, and crisp vegetables under rich sauce.
Chicago deep dish pizza is an iconic American comfort food, known for its signature high sides and massive, hearty construction. Unlike traditional thin-crust styles, this pie is built almost like a savory cake, requiring a longer bake to ensure the crust turns golden and the internal fillings melt into a gooey, flavorful harmony.
Ingredients
- 500 g all-purpose flour
- 7 g dry yeast
- 300 ml warm water
- 50 g unsalted butter, melted
- 400 g mozzarella cheese, shredded
- 150 g salami, sliced
- 100 g bacon, sliced
- 1 green bell pepper, sliced into rings
- 150 g white mushrooms, sliced
- 200 ml tomato sauce
- 2 tbsp cheese powder
- to taste black pepper
- to taste fresh parsley
Instructions
- 1Activate the yeast
Add the dry yeast to a cup of warm water and stir thoroughly with a small whisk to dissolve the yeast and begin the activation process.
Tip: Ensure the water is warm, not hot, to keep the yeast active without killing it. - 2Combine ingredients
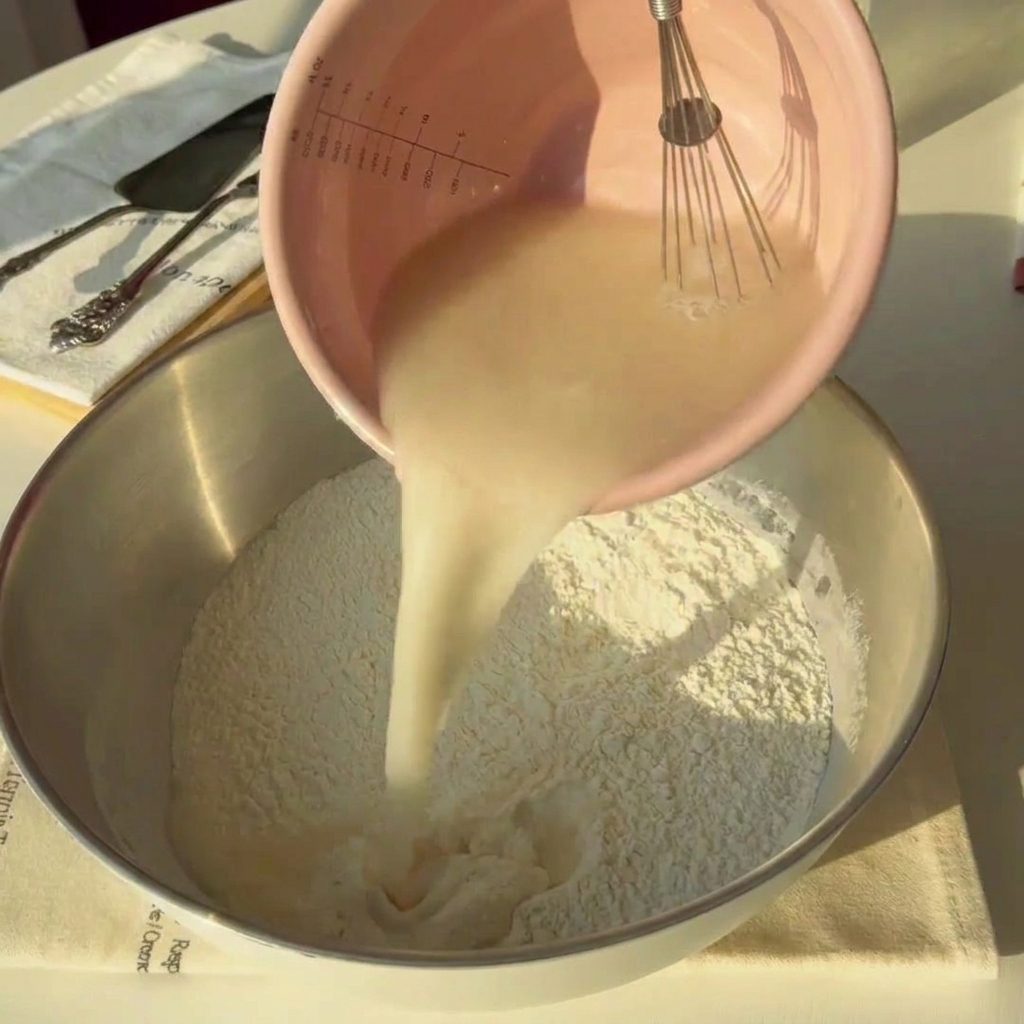
Pour the prepared yeast water mixture directly into a large mixing bowl filled with plain flour.
Tip: Make a small well in the center of the flour to help contain the liquid as you pour. - 3Form the dough

Using your hand, begin kneading the flour and water mixture directly in the bowl to combine them into a rough, shaggy dough.
Tip: Wearing food-safe gloves can help keep your hands clean during this initial sticky stage of kneading. - 4Add the butter
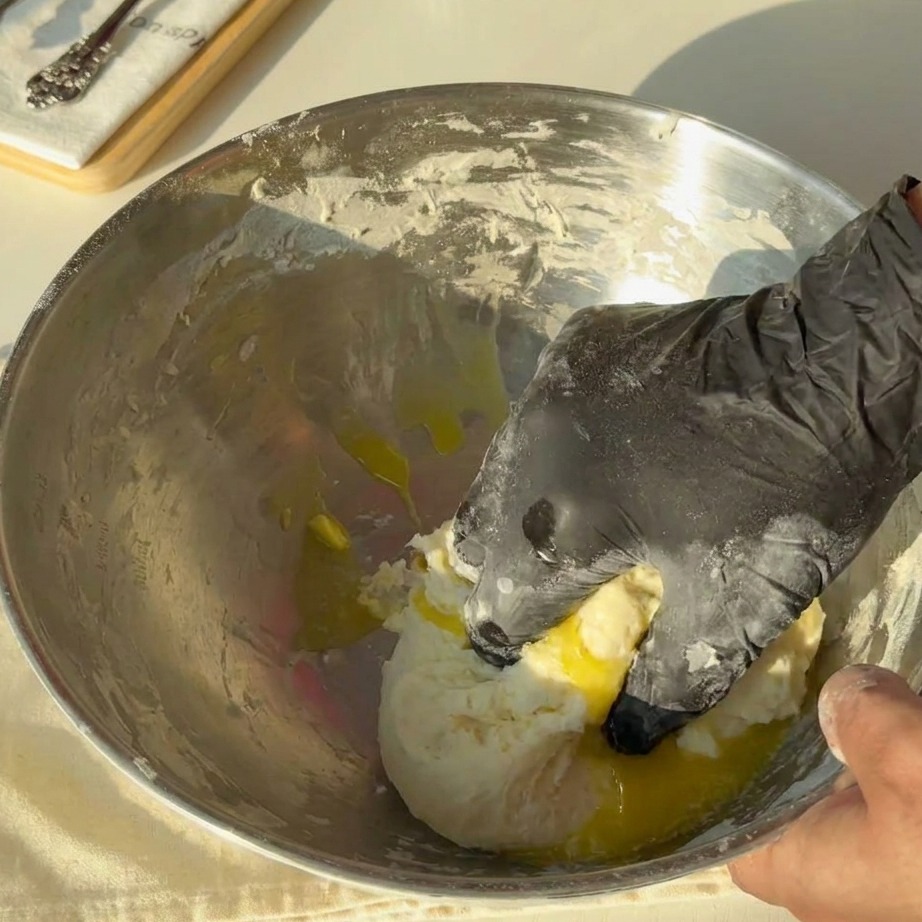
Pour the melted unsalted butter over the partially kneaded dough, which will help enrich the dough and create a softer texture.
Tip: Ensure the butter is melted but not piping hot before adding to the dough. - 5Knead until smooth
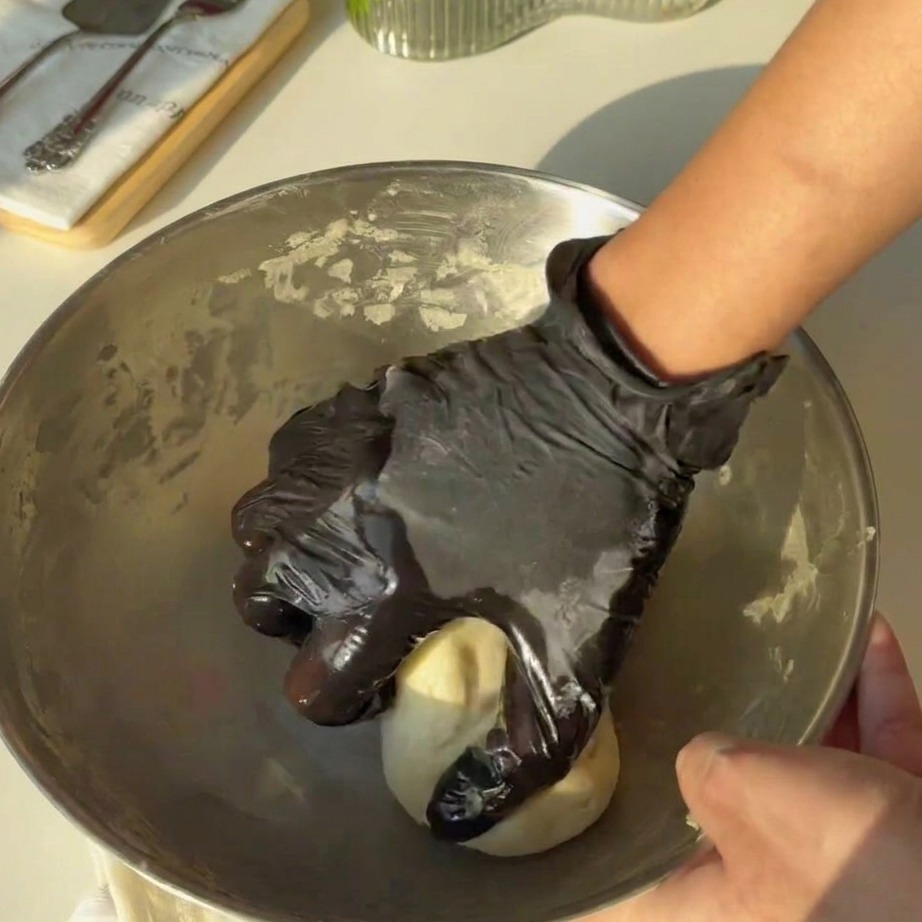
Continue kneading the dough by hand within the bowl. Work the melted butter fully into the dough until the surface becomes smooth, elastic, and uniform.
Tip: Take your time with this step to ensure the gluten develops properly for a better texture. - 6Divide the dough
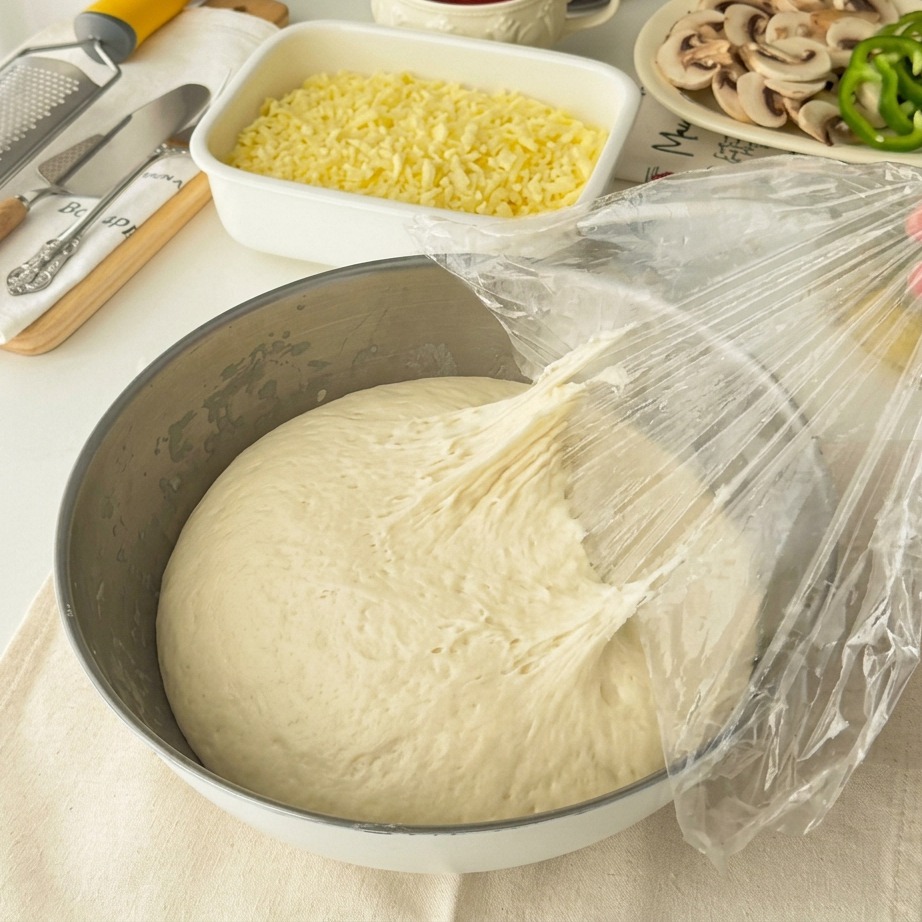
Once the dough has fermented and doubled in size, remove it from the bowl and gently divide it into two equal portions for your recipe.
Tip: Handle the risen dough gently to preserve the air pockets created during fermentation. - 7Roll out the dough
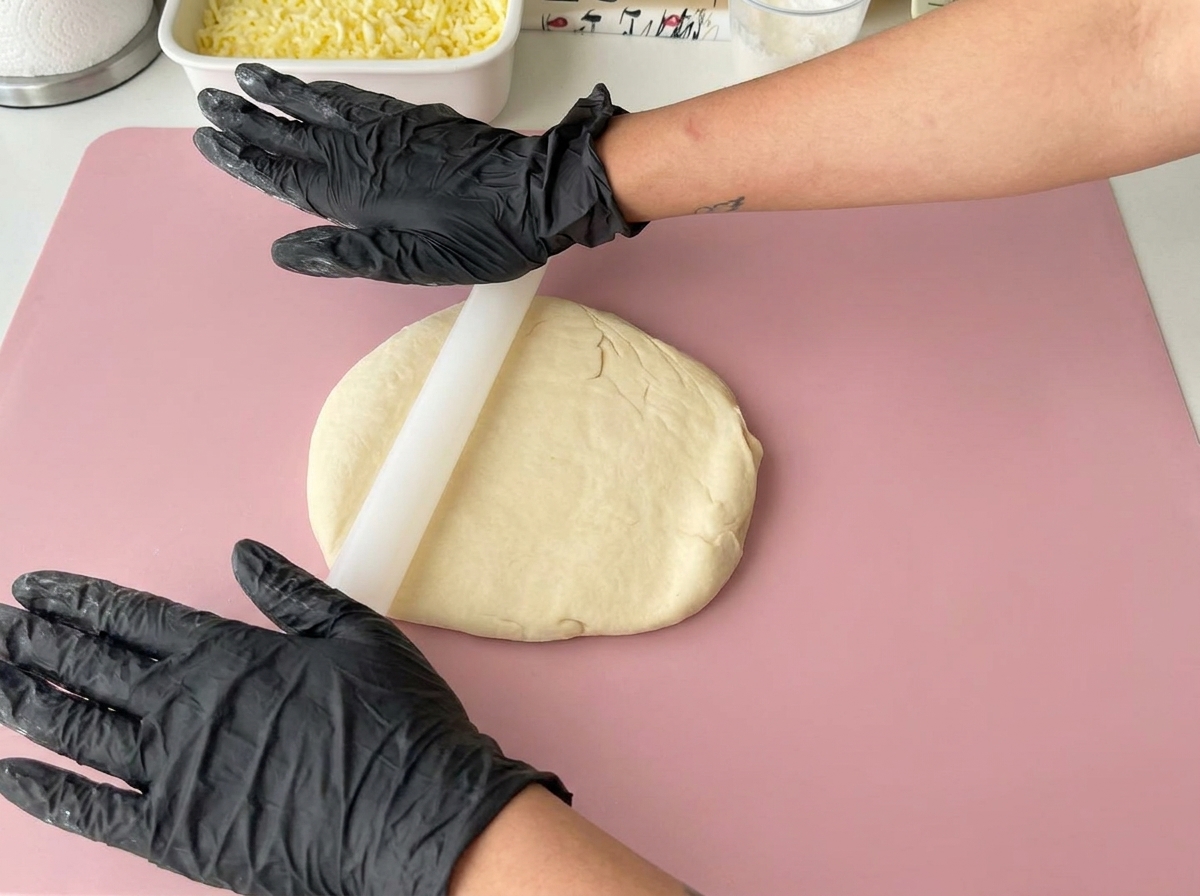
Take the fermented dough and divide it into two equal parts. Use a rolling pin to roll out one piece of dough on a mat until it forms a large, even flat circle suitable for your mold.
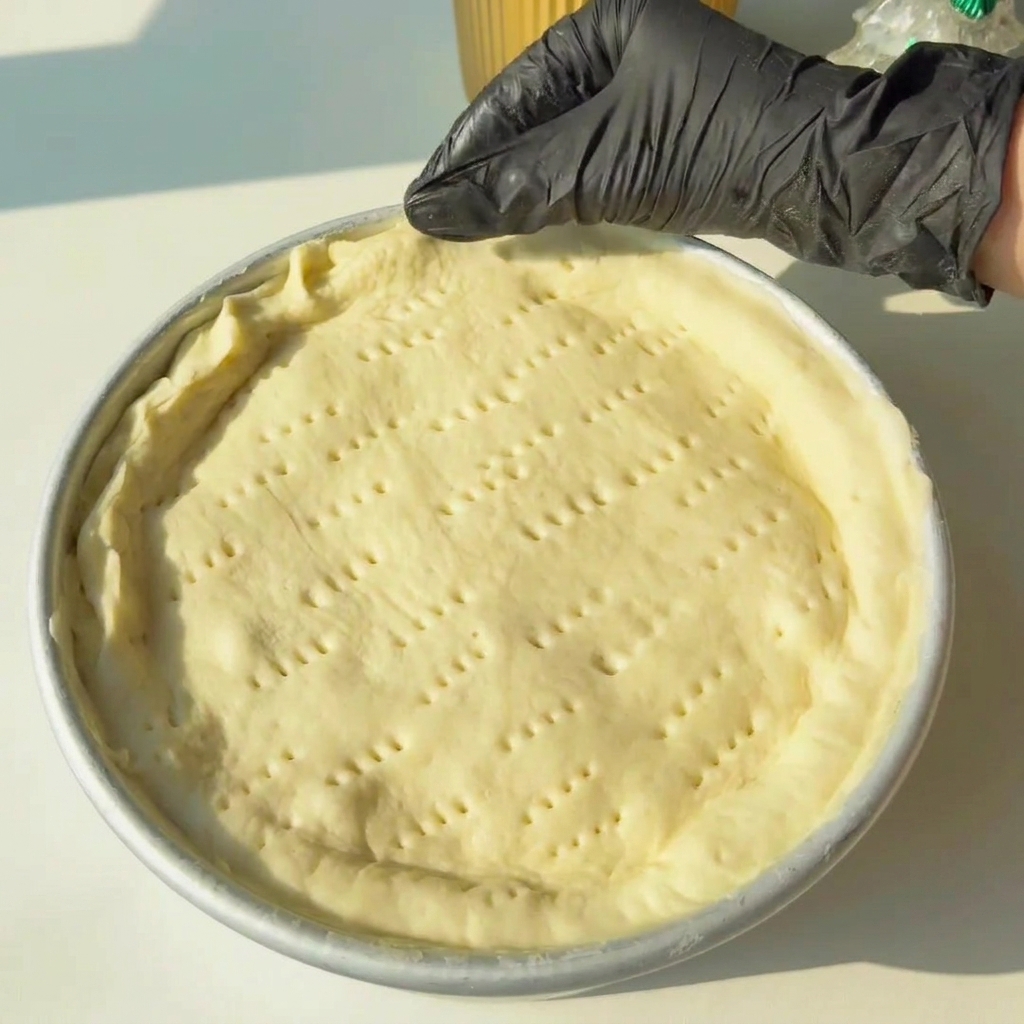
Tip: Keep the surface lightly floured to prevent the dough from sticking to the mat and the rolling pin. - 8Form the crust
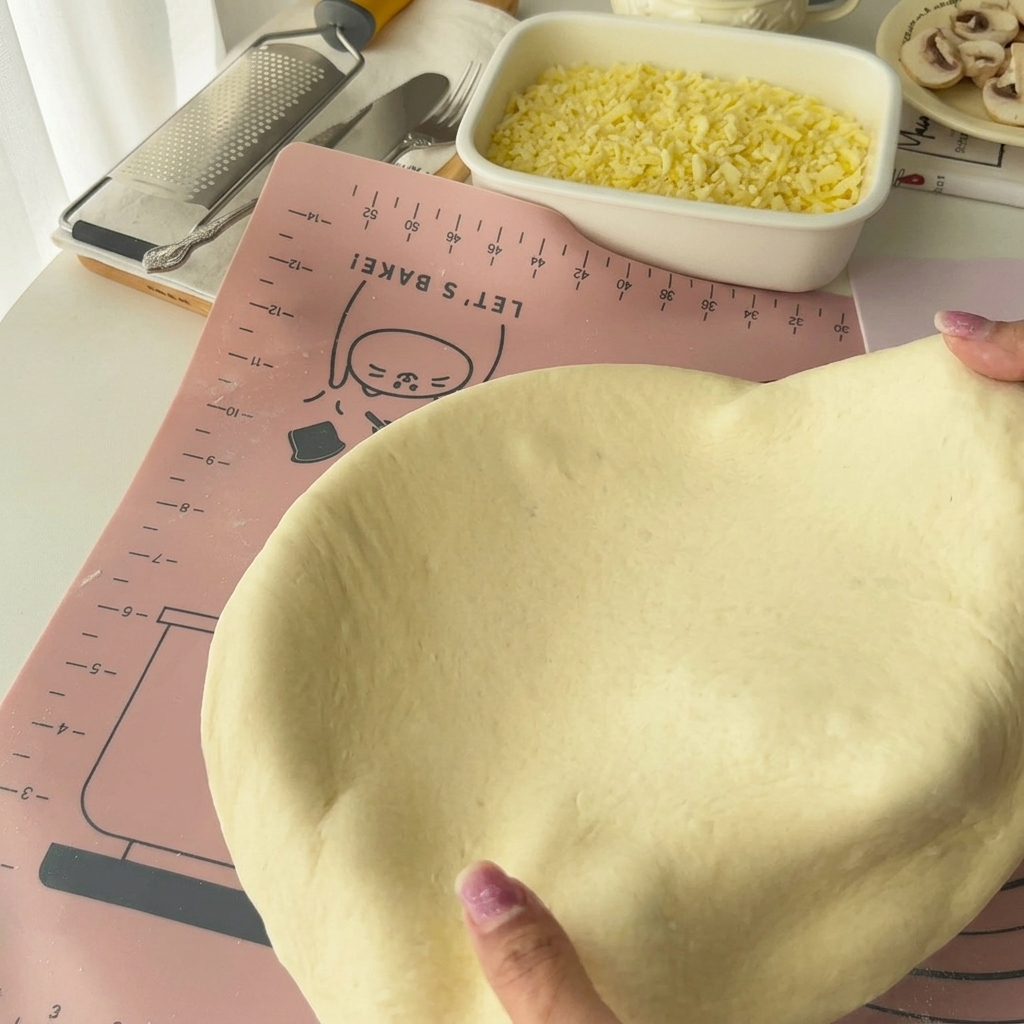
Carefully transfer the rolled-out dough into a pre-greased eight-inch round mold. Gently press it into the bottom and up the sides to ensure it fits snugly and creates a deep shell for the filling.
Tip: Ensure the dough is pressed evenly against the sides to avoid gaps in the crust. - 9Add the first cheese layer
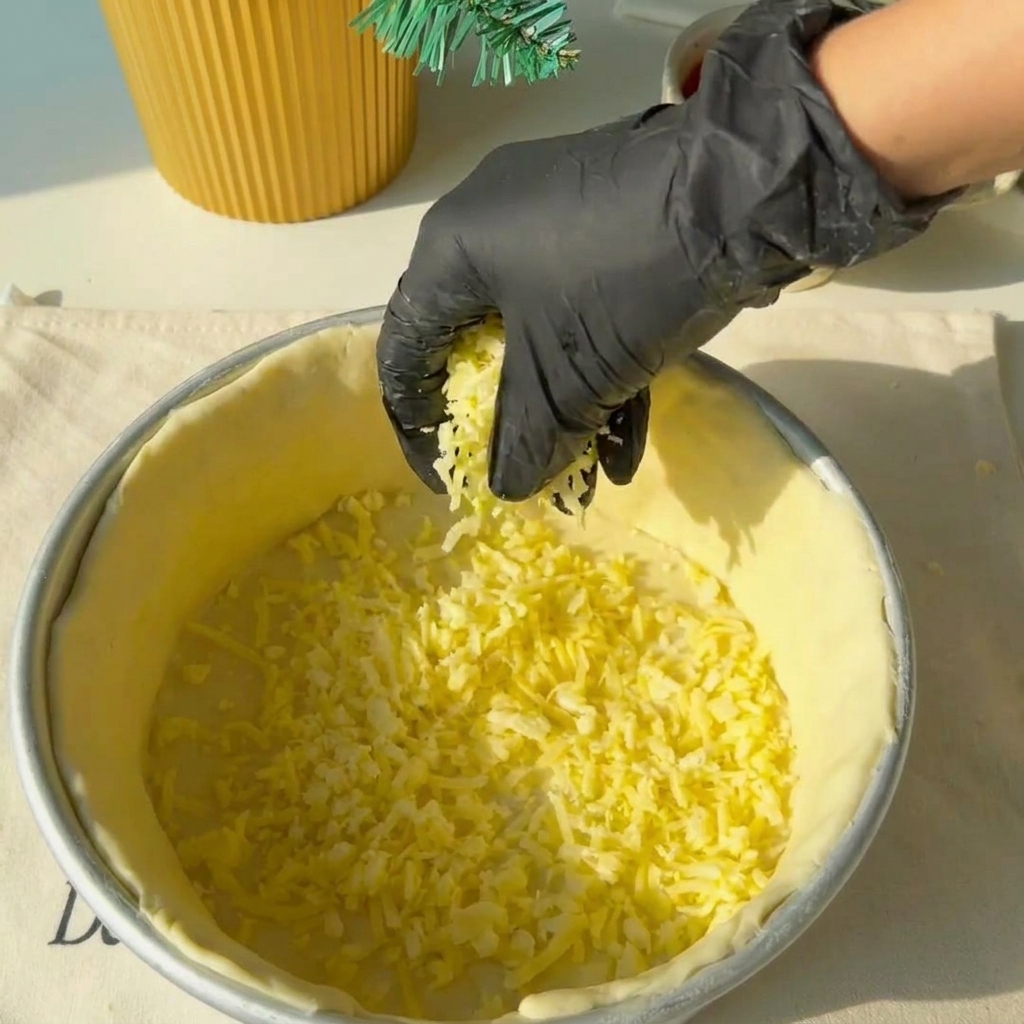
Spread a generous, even layer of shredded cheese across the bottom of the dough-lined mold. This serves as the foundational layer for your savory fillings.
Tip: Using a blend of mozzarella and another melting cheese will provide the best stretch and flavor. - 10Layer the salami
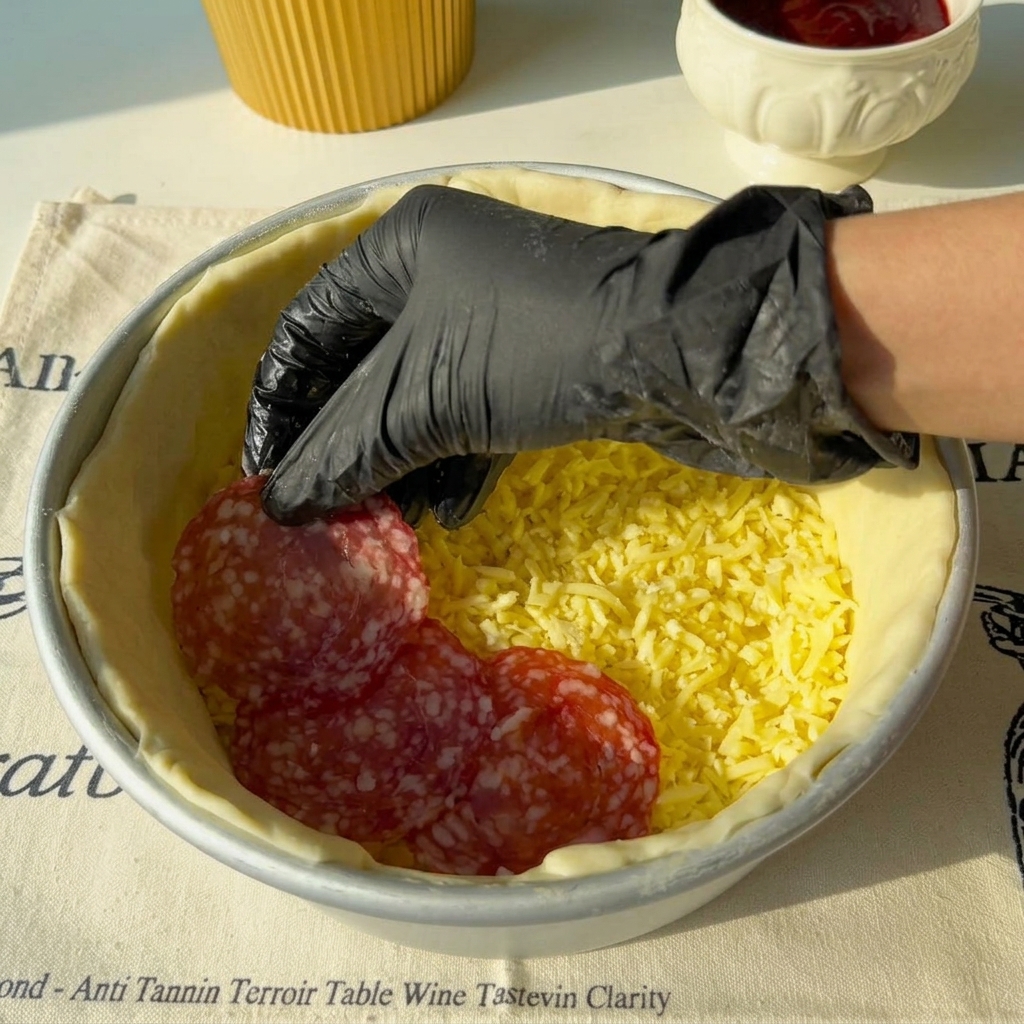
Arrange round slices of salami in an overlapping pattern over the shredded cheese layer. Covering the base completely ensures every bite has a savory meat flavor.
Tip: If the slices are large, you can fold them slightly to ensure they fit within the circular mold. - 11Add the ham layer
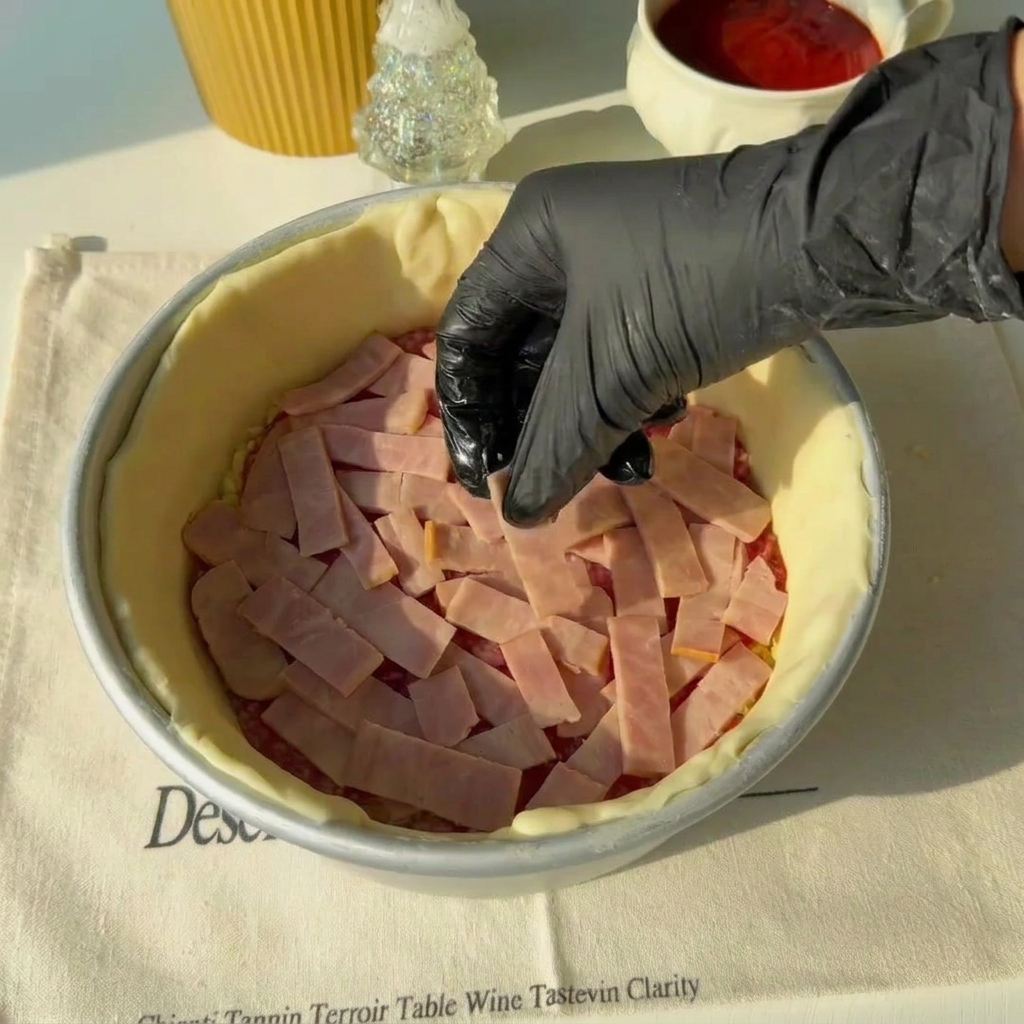
Distribute strips of ham or bacon evenly across the layer of salami. Ensure they are spread out so the filling is consistent throughout the pie.
Tip: Cut the ham into uniform strips to make slicing the final baked dish easier. - 12Add the peppers
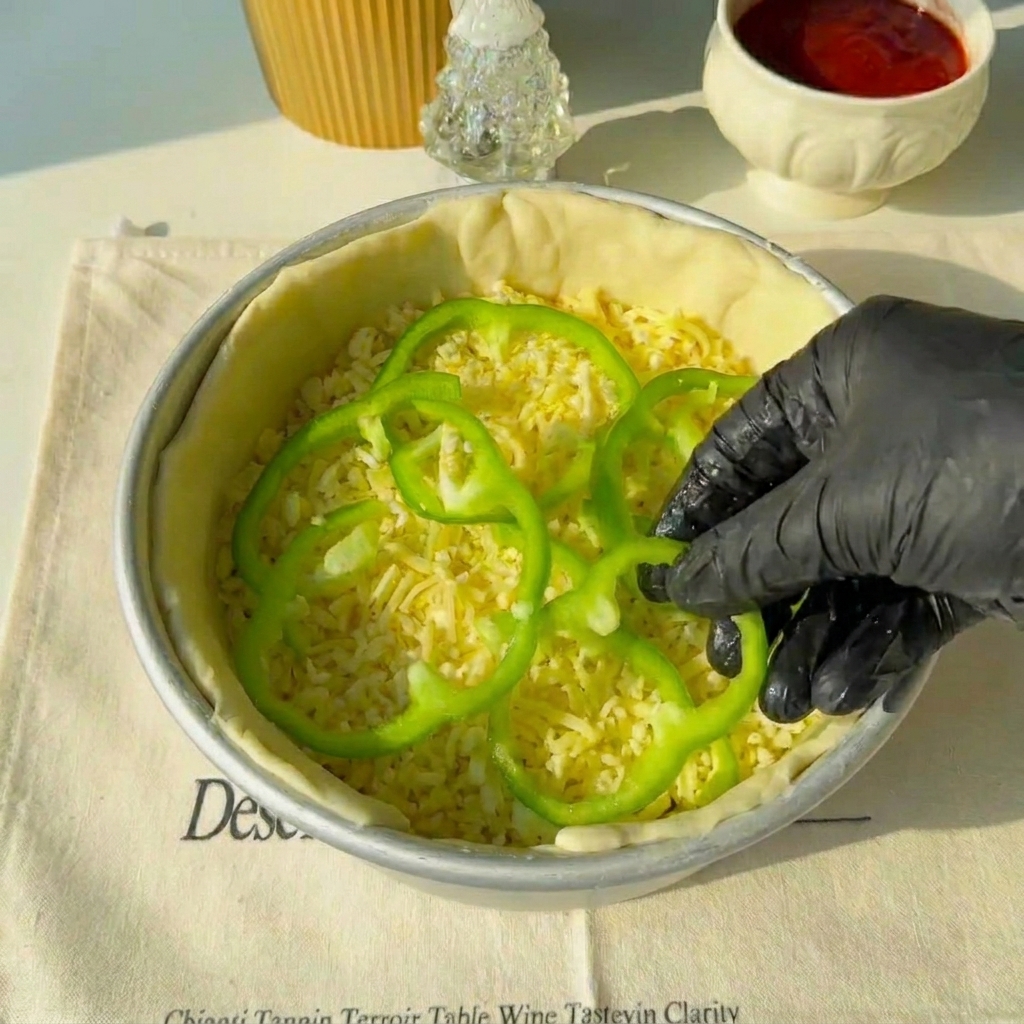
Top the meat layers with rings of fresh green bell pepper. Arrange them to ensure they cover the surface evenly for a balanced flavor in every bite.
Tip: Remove all seeds from the bell pepper rings before placing them to keep the filling texture clean. - 13Add mushrooms
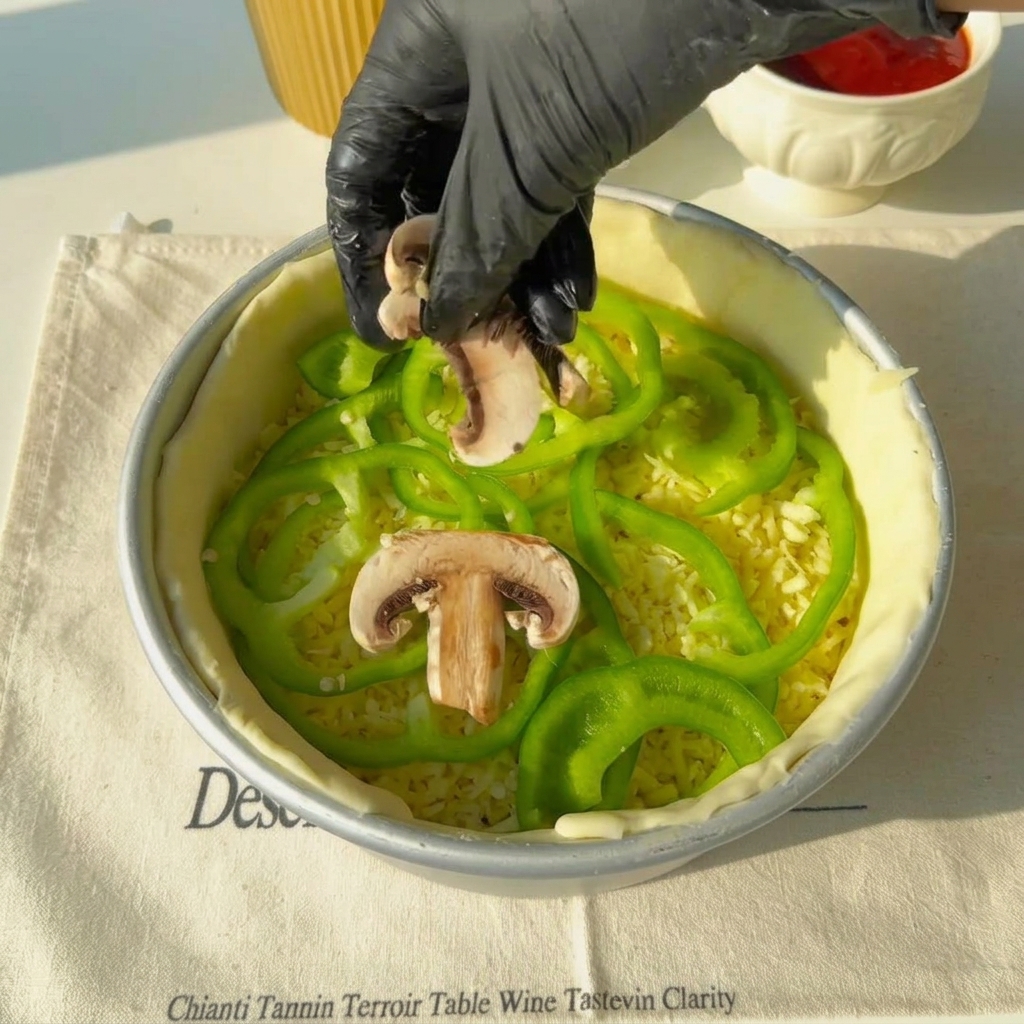
Continue building the filling by layering fresh, thinly sliced white mushrooms evenly across the green pepper rings.
Tip: Ensure the mushrooms are sliced uniformly so they cook at the same rate. - 14Add final layer of cheese
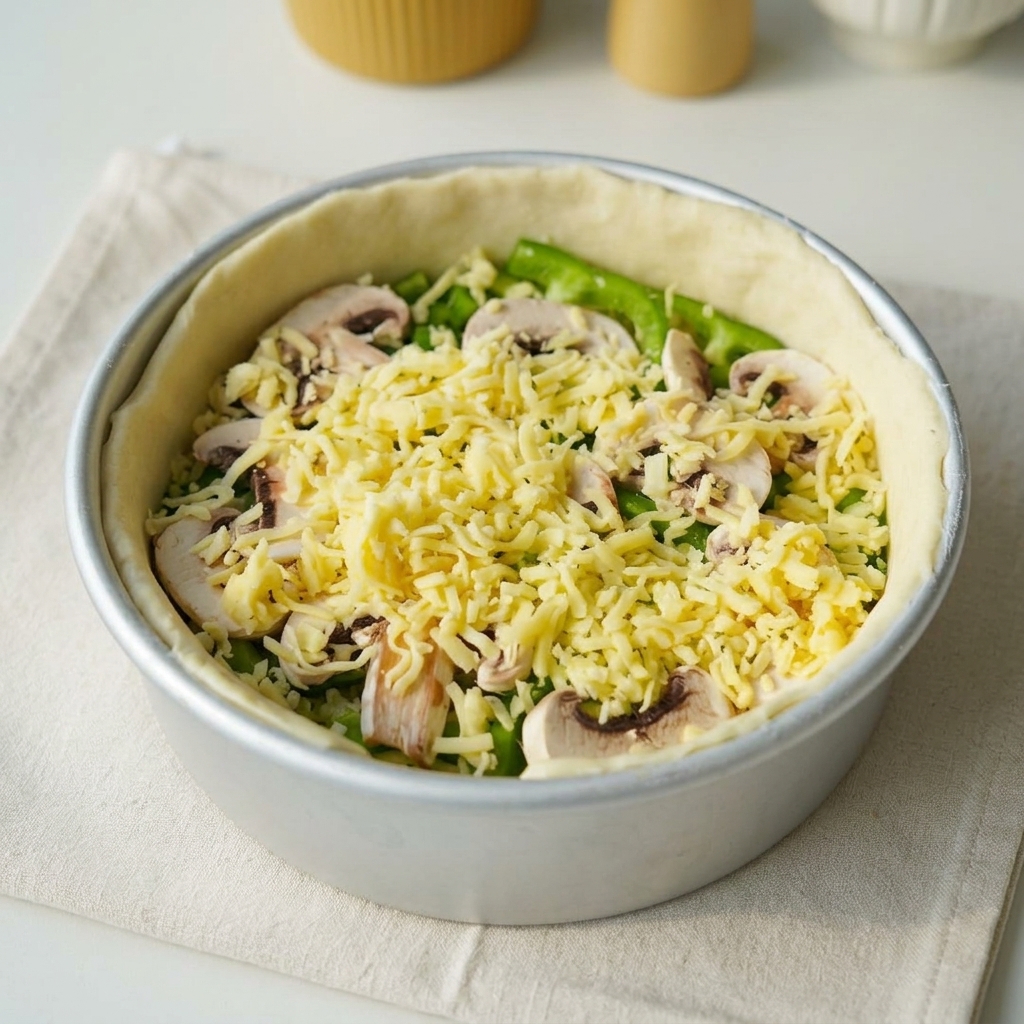
Spread a generous, thick layer of shredded cheese over the vegetable and meat fillings, ensuring everything is completely covered.
Tip: Using a blend of cheeses like mozzarella and cheddar can provide both a great cheese pull and depth of flavor. - 15Seal the pie
Place the second prepared dough sheet over the filling and pinch the edges firmly together with the bottom crust to create a tight seal.
Tip: Ensure the seal is secure to prevent any filling from leaking out during the baking process. - 16Spread tomato sauce
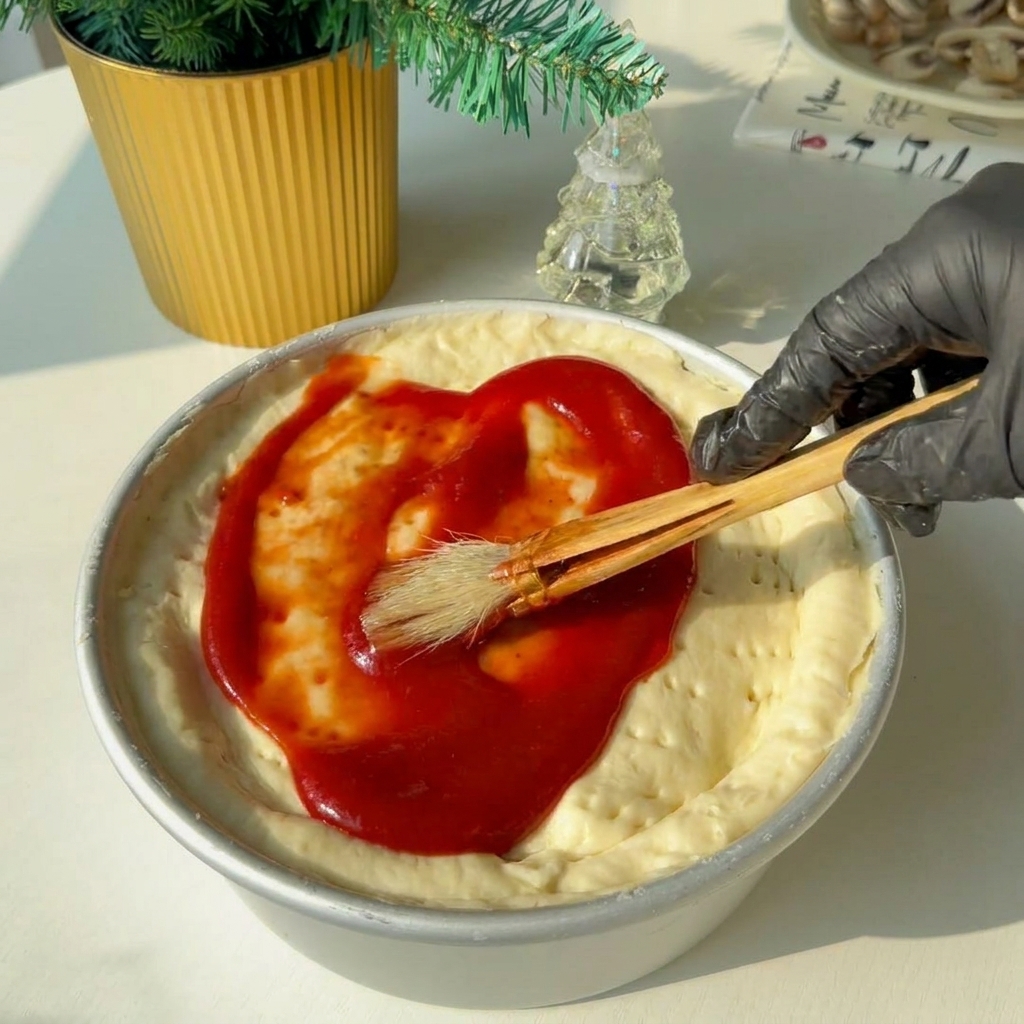
Using a pastry brush, spread a thick, even layer of red tomato sauce across the surface of the top dough crust.
Tip: Spread the sauce gently to avoid tearing the dough. - 17Season the top
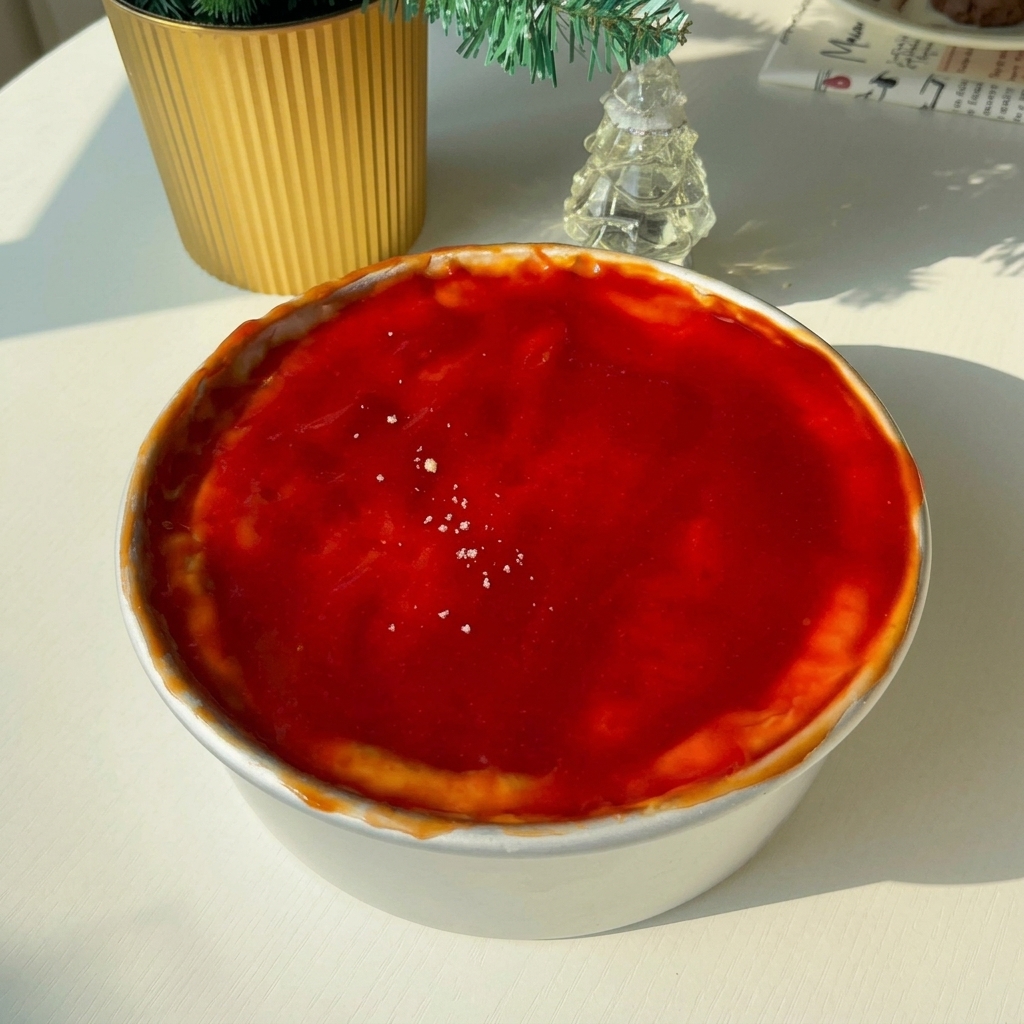
Lightly sprinkle cheese powder and a dash of black pepper over the tomato sauce for added flavor.
Tip: A little seasoning goes a long way to enhance the savory profile of the crust. - 18Bake the pizza
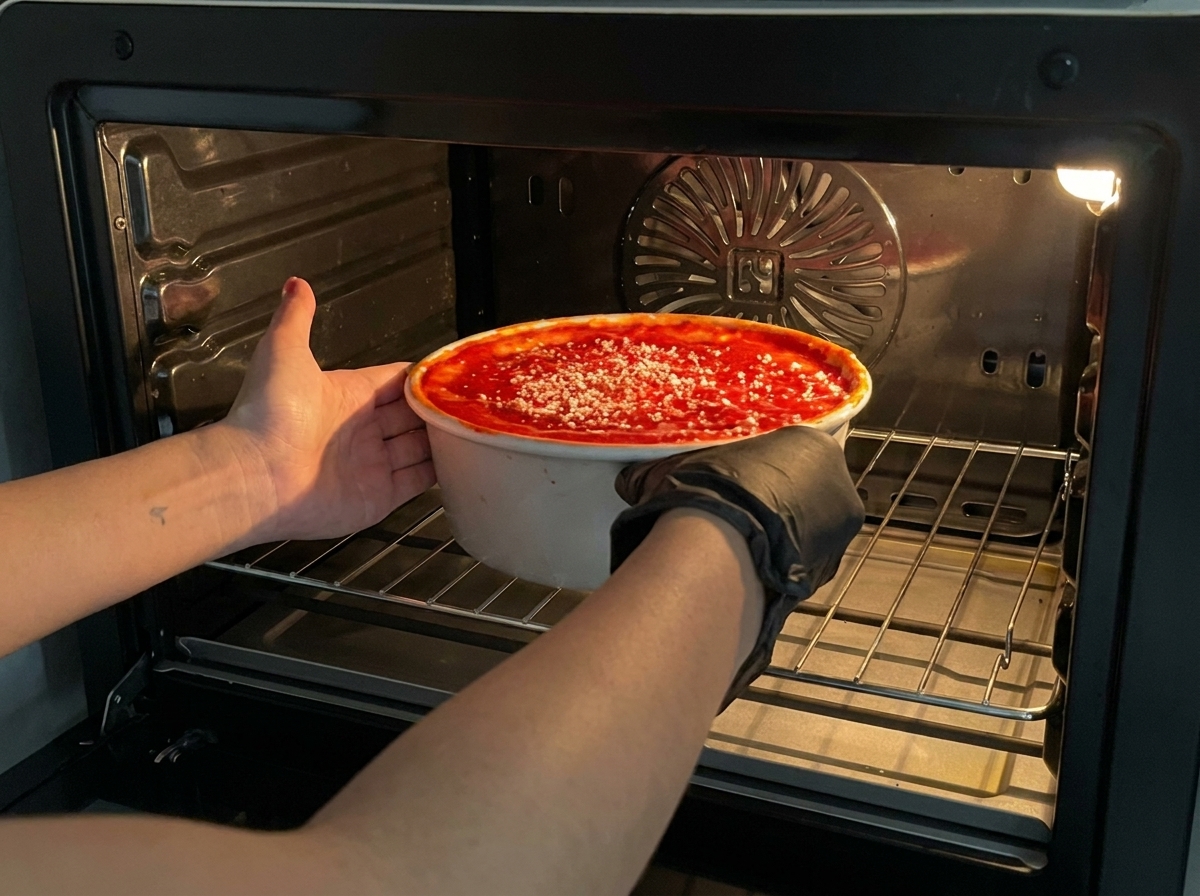
Carefully place the assembled deep-dish pizza pan into a preheated oven and bake at 205 degrees Celsius for 35 minutes.
Tip: Use oven mitts to ensure safety when placing the pan into the hot oven.