Crispy Cantonese Roast Pork Belly (Siu Mei)
Master the secret to ultra-crispy crackling pork belly with this foolproof method featuring a specialized baking technique, aromatic five-spice rub, and a vinegar-baking soda drying glaze.
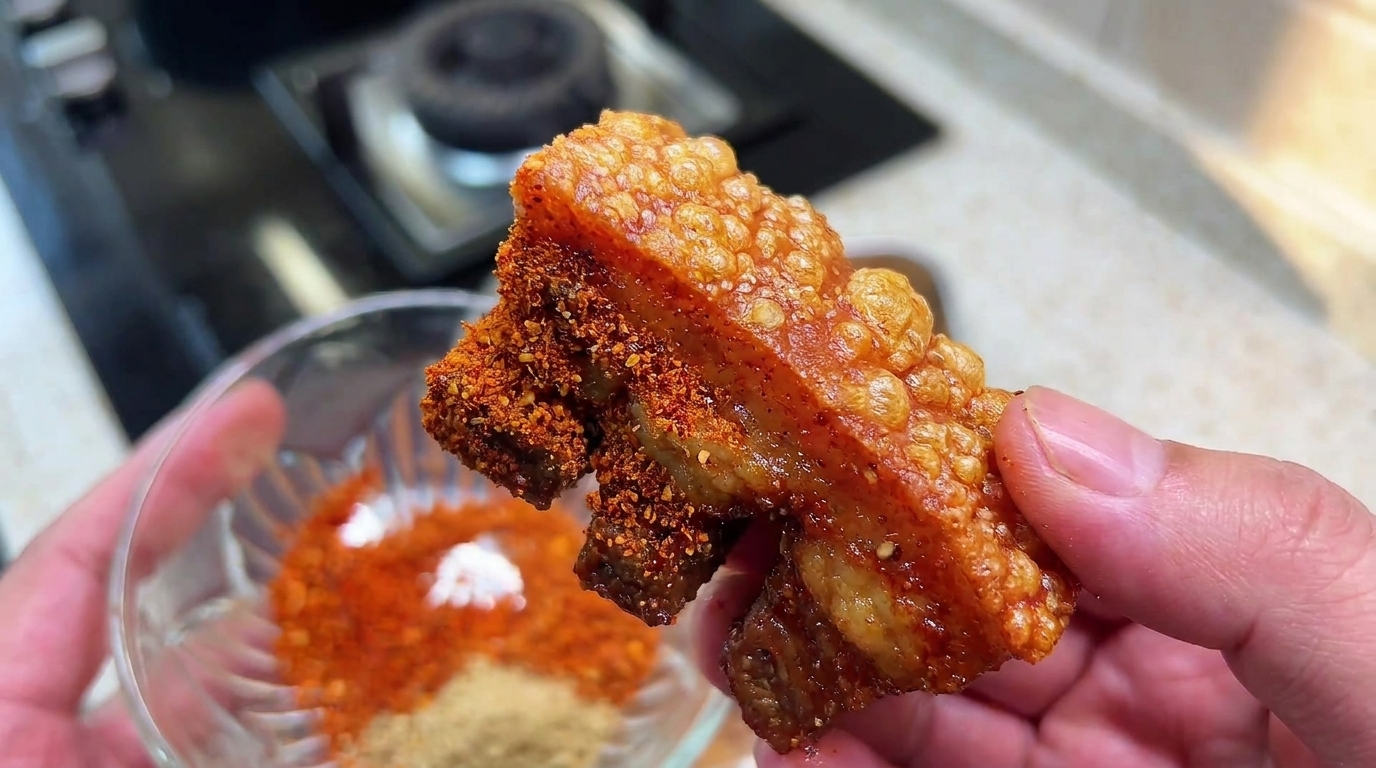
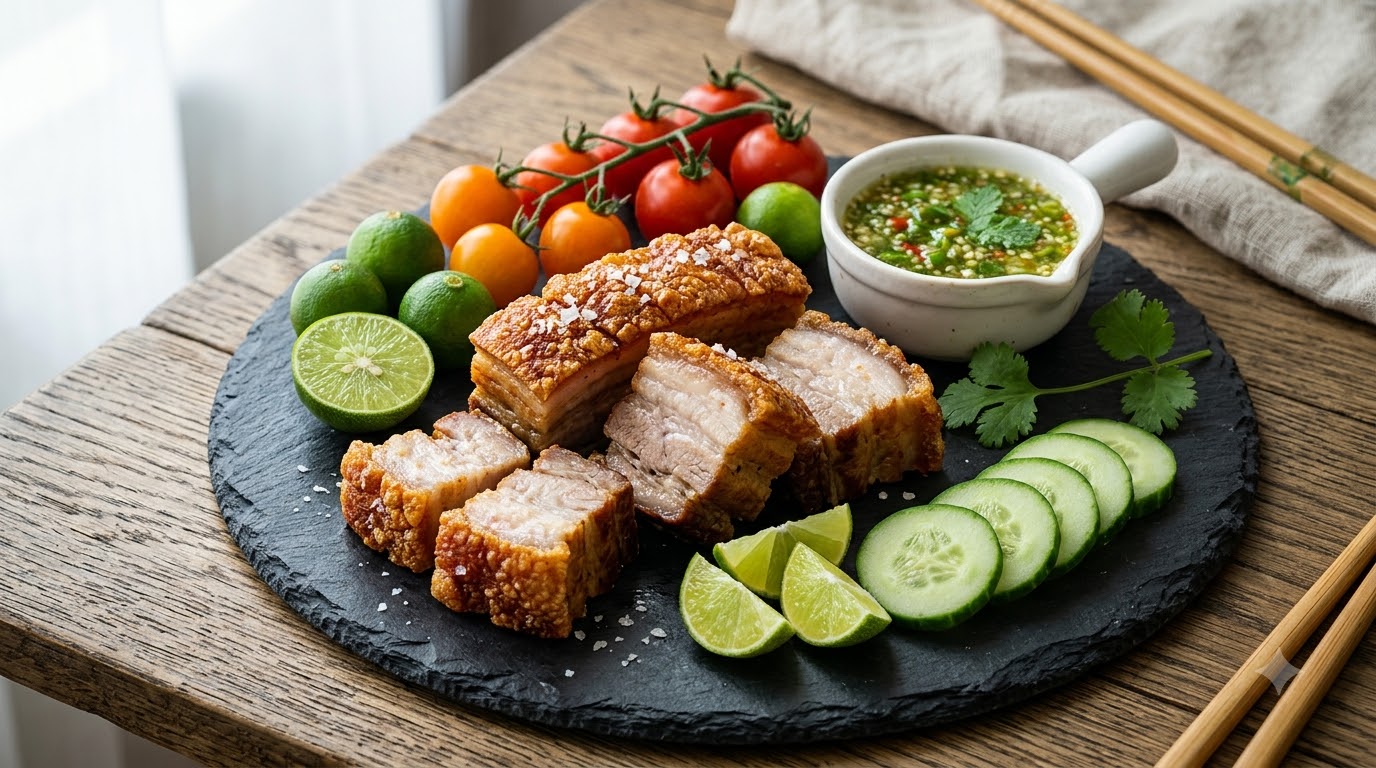
Crispy pork belly, known as Siu Yuk, is a crown jewel of Cantonese barbecue. Achieving that signature glass-like, shattering crackling skin requires drawing out all surface moisture and precise high-heat roasting. This home-kitchen adaptation uses a targeted drying glaze and a two-stage baking process to guarantee an incredible crunch every single time.
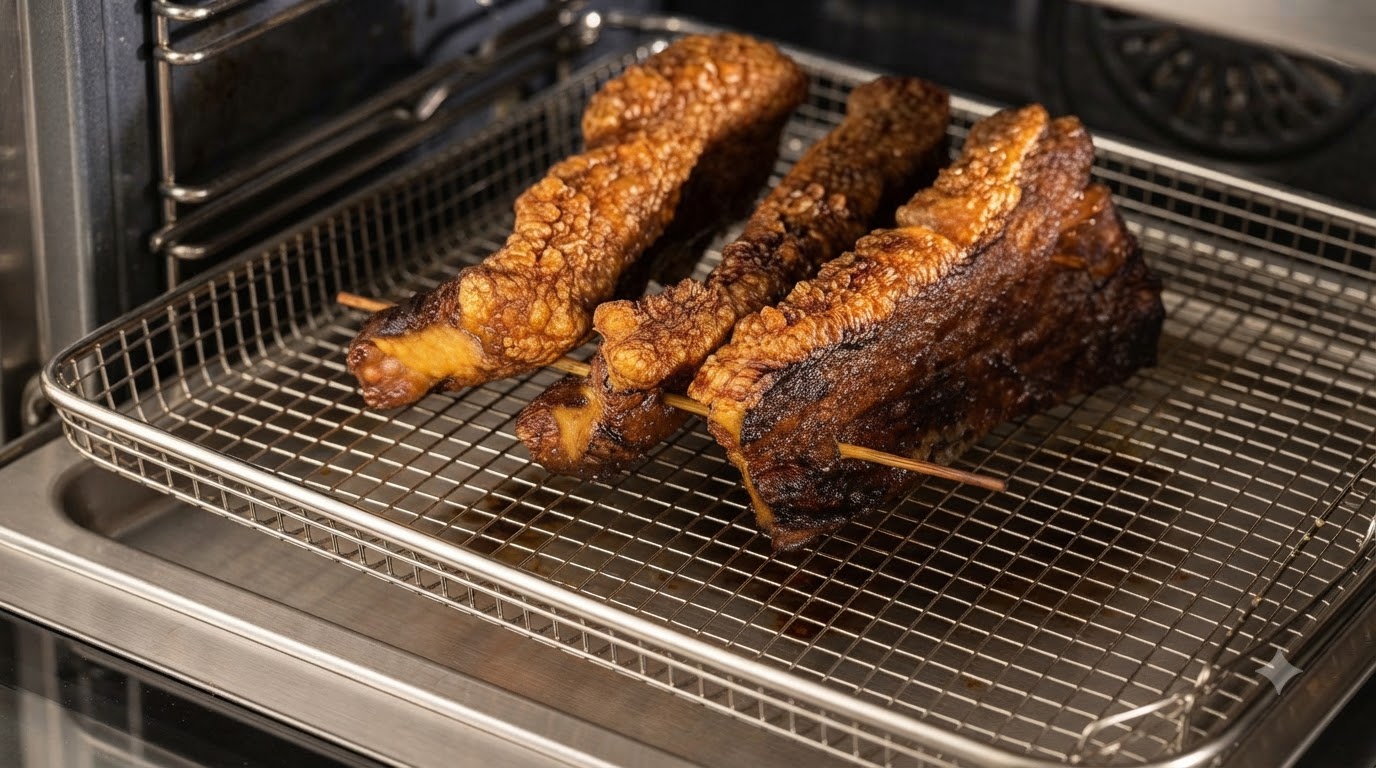
Ingredients
- 1 kg pork belly
- 20 min cooking wine
- 1 g per 100 g salt for dry rub
- to taste five-spice powder
- to taste Sichuan peppercorn powder
- 5 g salt for crispy skin water
- 1 pinch baking soda
- 80 g warm water
Instructions
- 1Soak pork belly strips in cooking wine
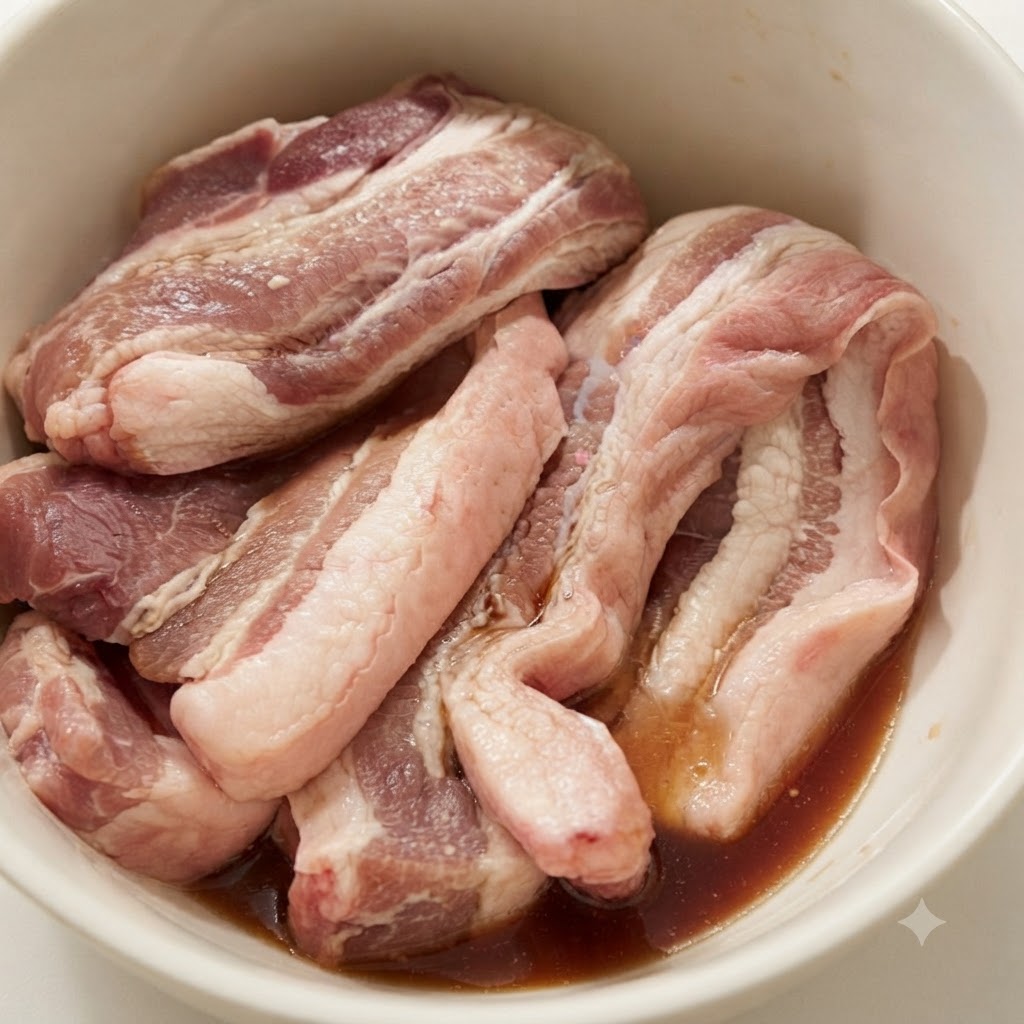
Cut the pork belly into strips two fingers wide and place them in a bowl to soak in cooking wine for 20 minutes to eliminate odors and infuse flavor.
Tip: Ensure the pork belly is cut uniformly so it soaks and cooks evenly. - 2Dry the pork belly surface
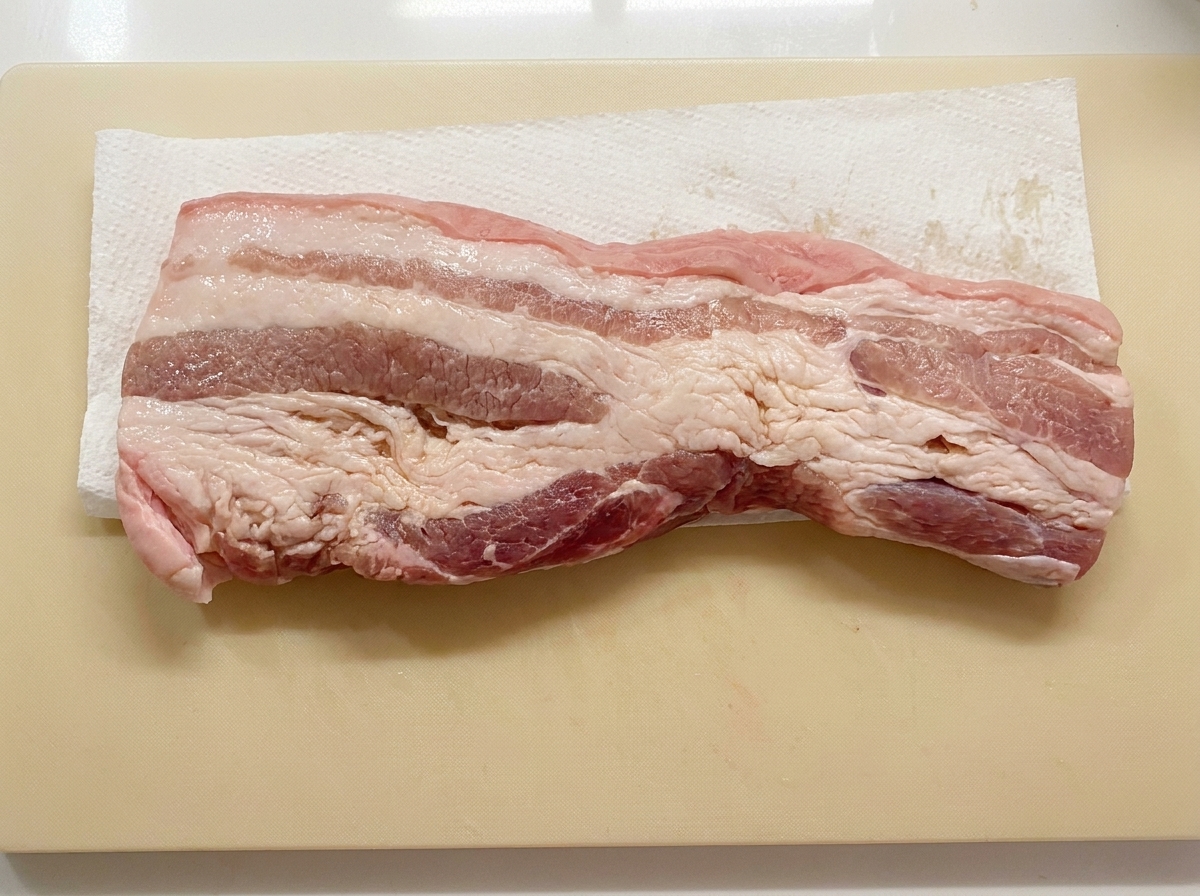
Remove the pork belly strips from the soaking liquid and thoroughly wipe off all surface moisture using paper towels on a cutting board.
Tip: Wiping off all moisture is crucial so that the seasonings and crispy skin water absorb and adhere properly. - 3Prepare the dry seasoning blend
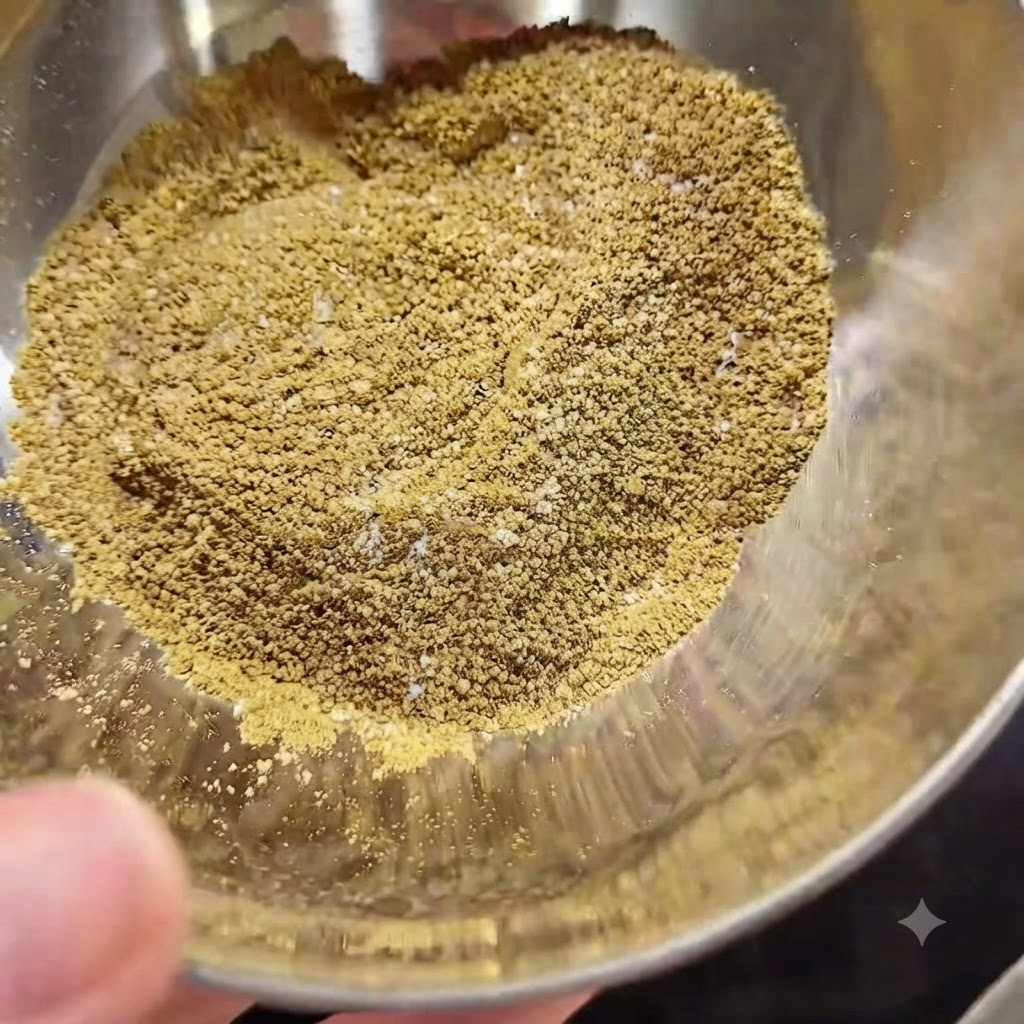
Measure and mix the dry seasonings, including salt, five-spice powder, and Sichuan peppercorn powder, into a metal bowl. Use 1 gram of salt per 100 grams of meat.
Tip: Do not add chili powder to this blend, as it will burn during the baking process. - 4Apply seasonings to the meat
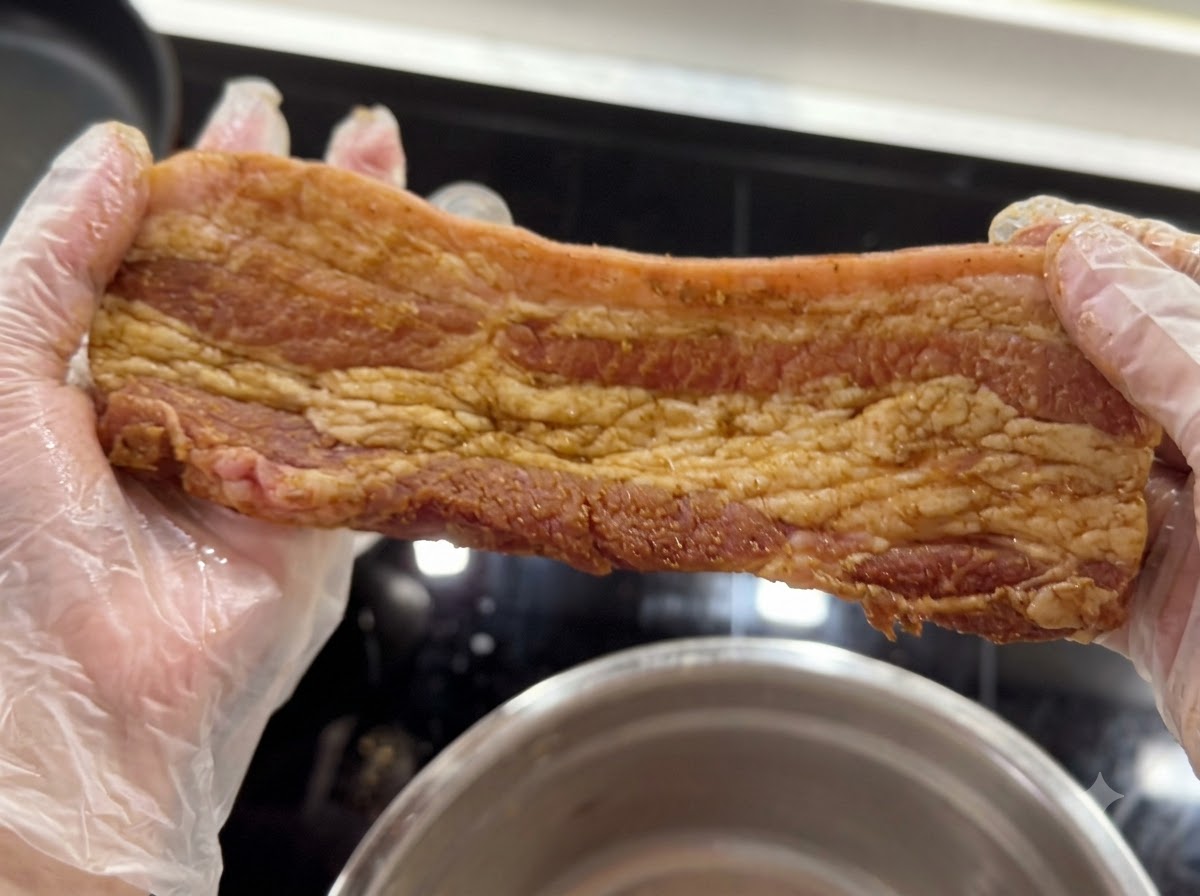
Mix all the prepared seasonings evenly together, then apply and rub them thoroughly onto the meat portions of the pork belly strips so the flavor is evenly distributed.
Tip: Be careful to apply the seasoning only to the meat side, keeping it off the skin. - 5Mix the crispy skin water
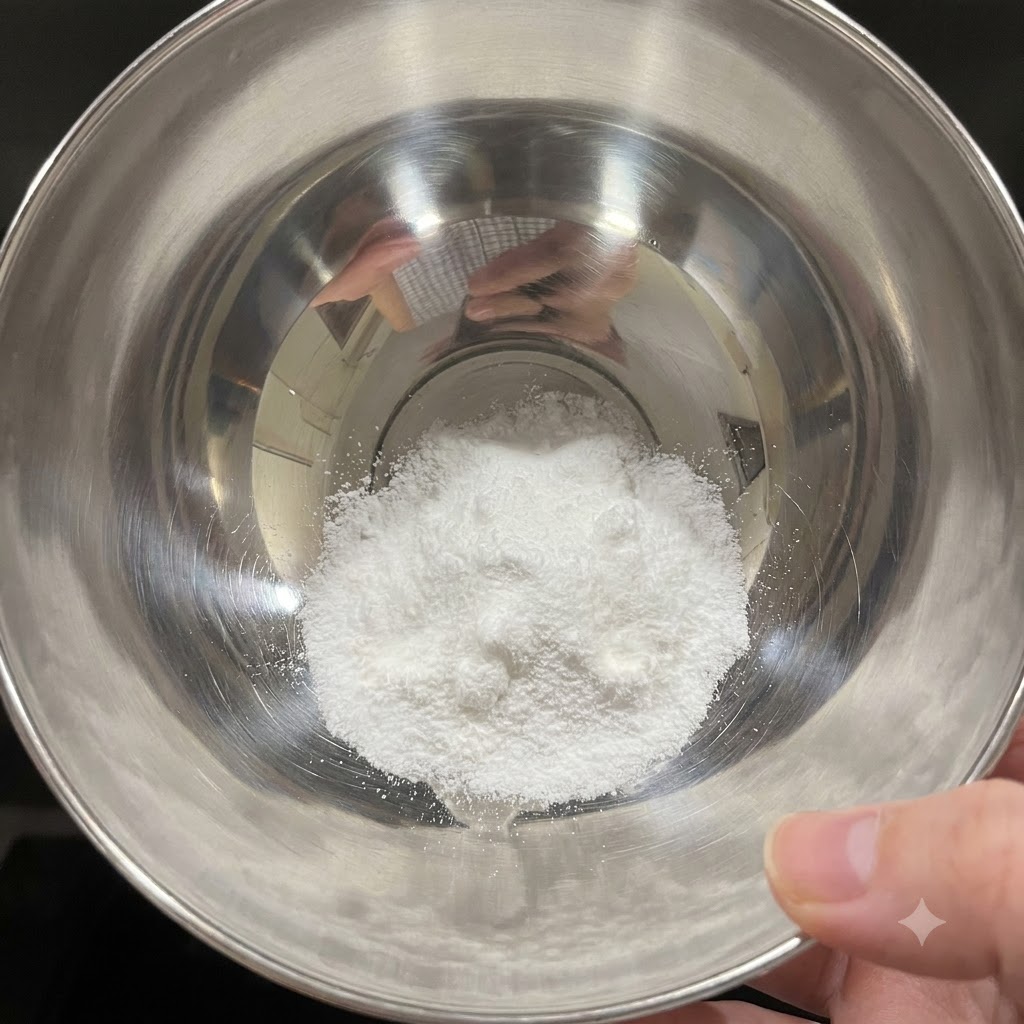
Prepare the crispy skin water in a small metal bowl by dissolving 5 grams of salt and a few grams of baking soda into 80 grams of warm water.
Tip: Stir the mixture completely until the salt and baking soda are fully dissolved in the warm water. - 6Brush the crispy skin water
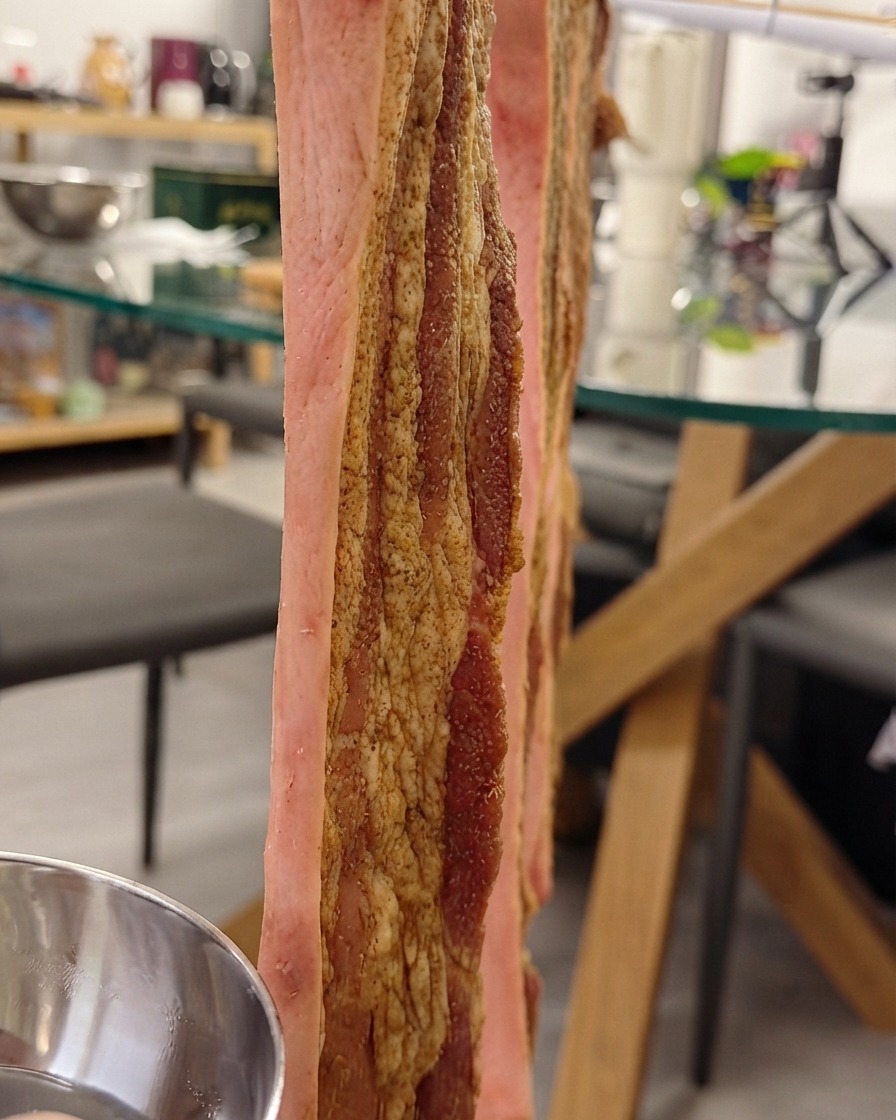
Scrape off any seasoning accidentally left on the pork skin, then brush the prepared crispy skin water onto the skin of the seasoned pork belly hanging on a rack. Repeat brushing once every ten minutes for a total of three times.
Tip: Make sure no seasoning touches the skin, and space out the three applications by ten minutes each for best drying results. - 7Secure and Arrange on Wire Rack
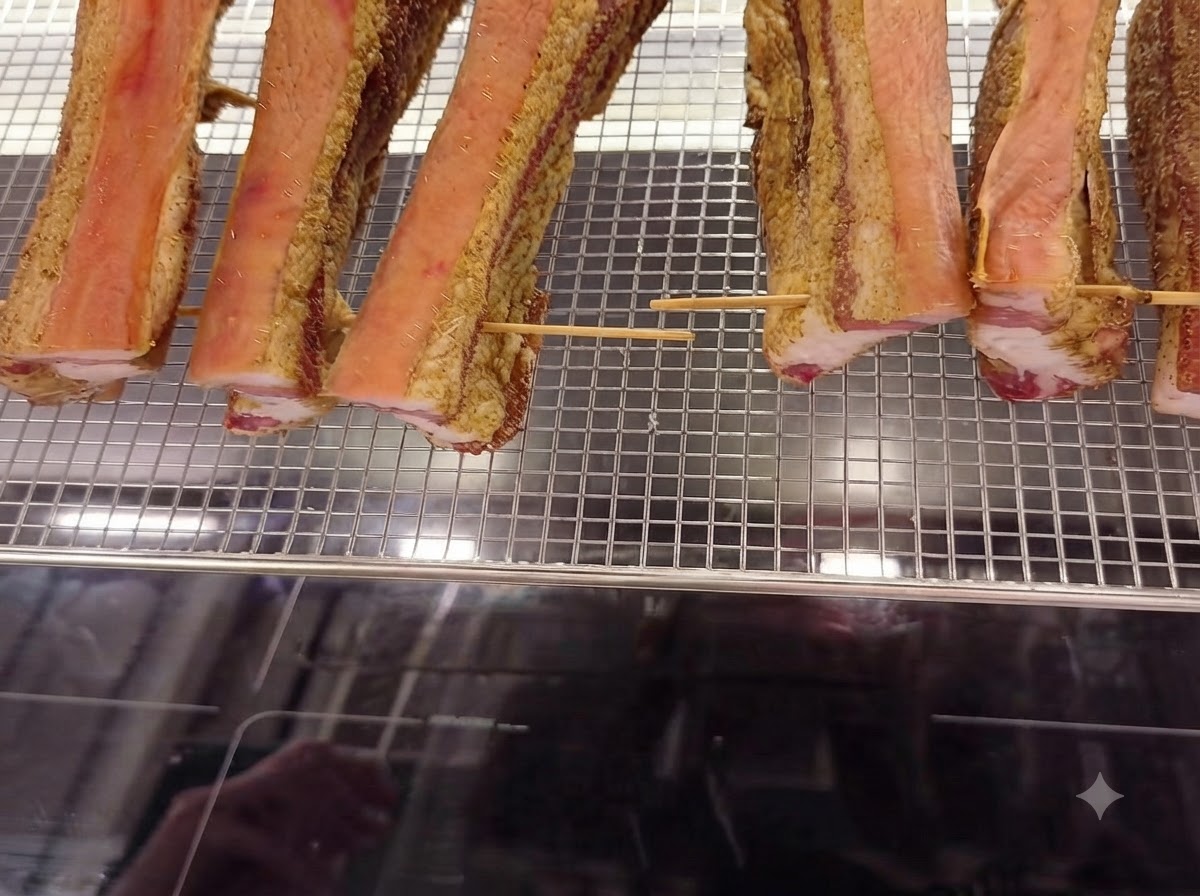
Take the prepared pork belly strips and arrange them skin-side up on a wire cooking rack, securing them with wooden toothpicks to keep them stable and upright. Ensure sufficient spacing between each strip for optimal heat circulation.
Tip: Make sure the toothpicks hold the strips firmly so they dont tip over when placed in the oven. - 8Place rack into the oven
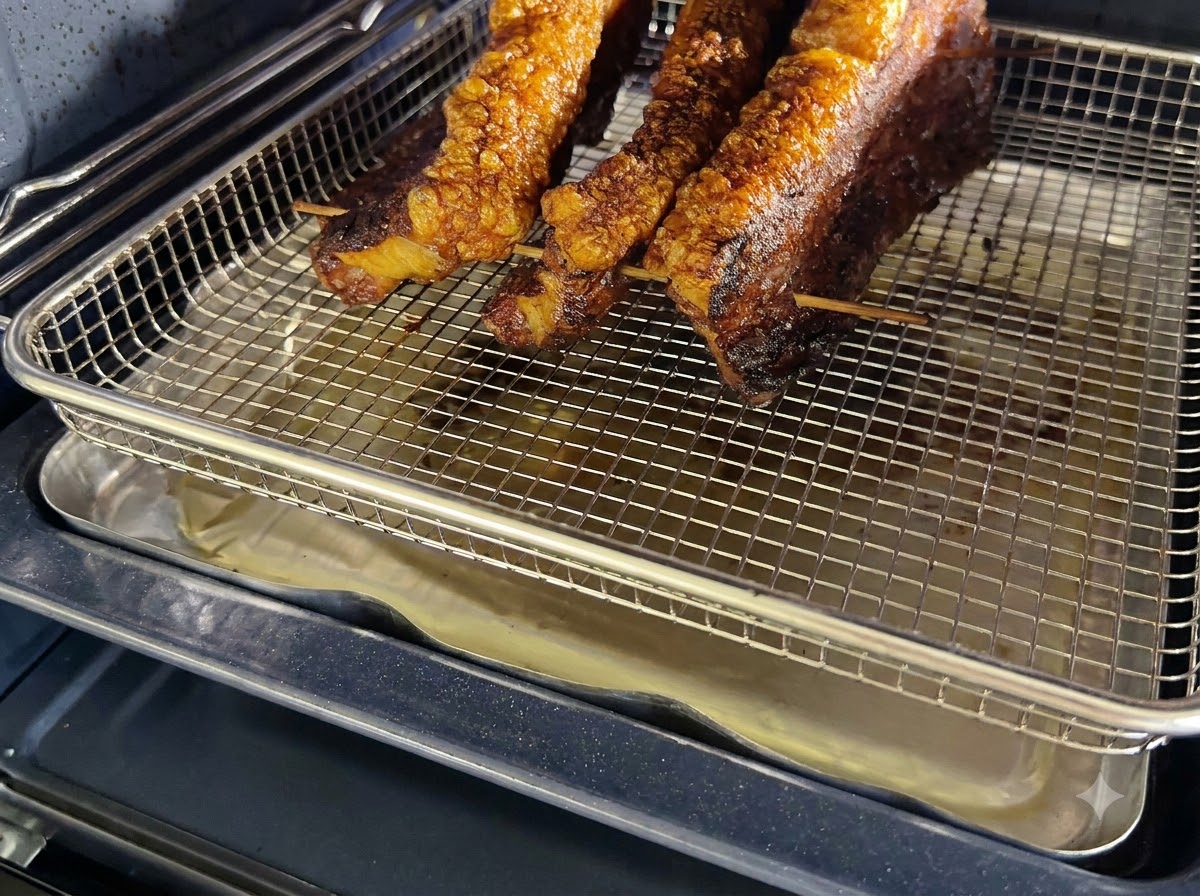
Carefully transfer the wire rack loaded with the pork belly strips directly into the preheated oven. Position a baking pan on the lower shelf underneath the rack to catch any melting fat and dripping oil during cooking.
Tip: Lining the lower baking pan with foil will make cleanup much easier afterward.