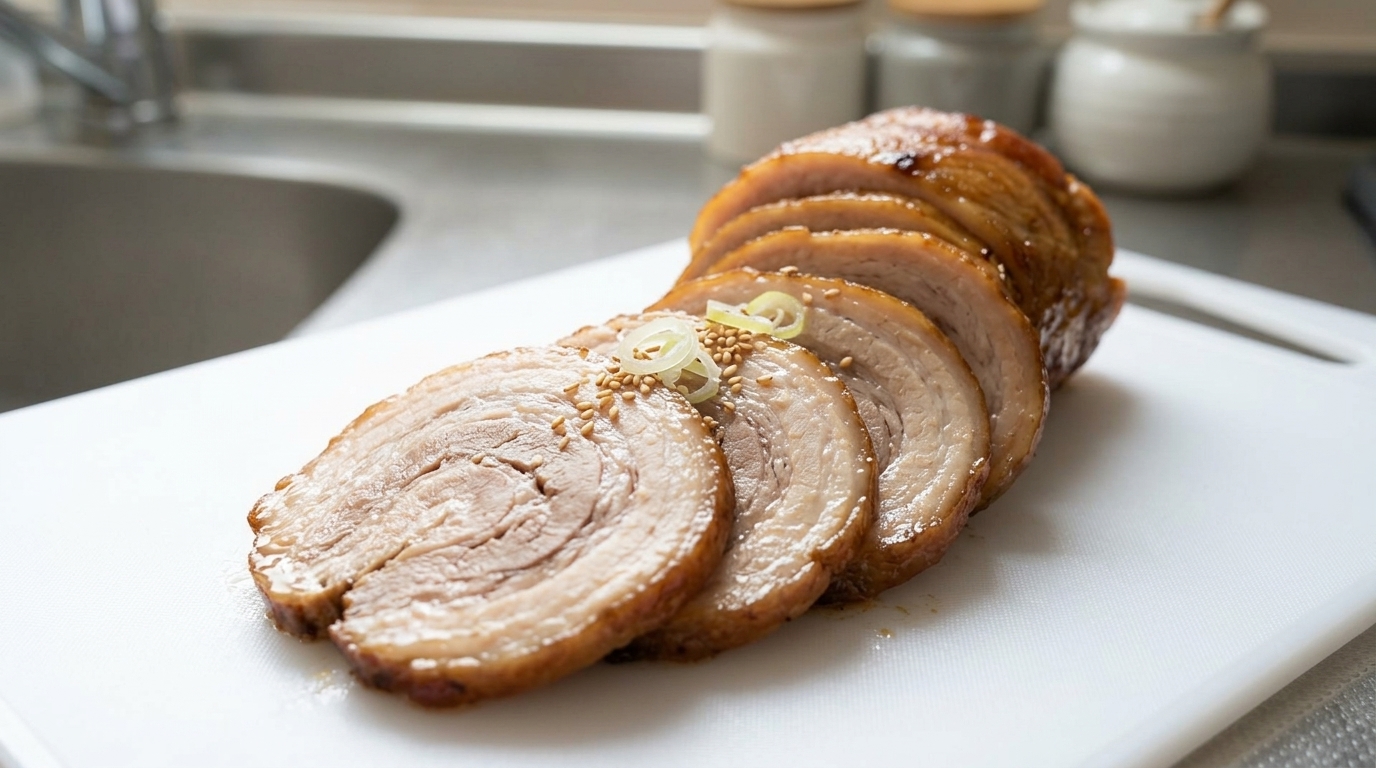
Authentic Japanese Chashu (Braised Pork Belly)
Master the art of Japanese chashu with this melt-in-your-mouth braised pork belly. Slowly simmered in a savory-sweet soy glaze, it's the ultimate ramen topping.
Chashu is the crown jewel of any authentic ramen bowl, transforming a humble cut of pork into something extraordinary. This traditional Japanese method uses a careful, two-stage braise—first to tenderize the meat and neutralize odors with aromatics, and then to deeply infuse it with a rich soy, sake, and mirin glaze. Rolling and tying the pork belly ensures a beautiful, spiral-cut presentation that holds together perfectly when sliced.
Ingredients
- 1 kg pork belly block (skinless)
- 2-3 scallions (green parts only)
- 4 cloves garlic
- 1 knob fresh ginger
- 100 ml Japanese sake
- 100 ml mirin
- 250 ml Japanese soy sauce
- 90 g raw sugar
- 30 g granulated sugar
- 500 ml water
Instructions
- 1Score the pork belly
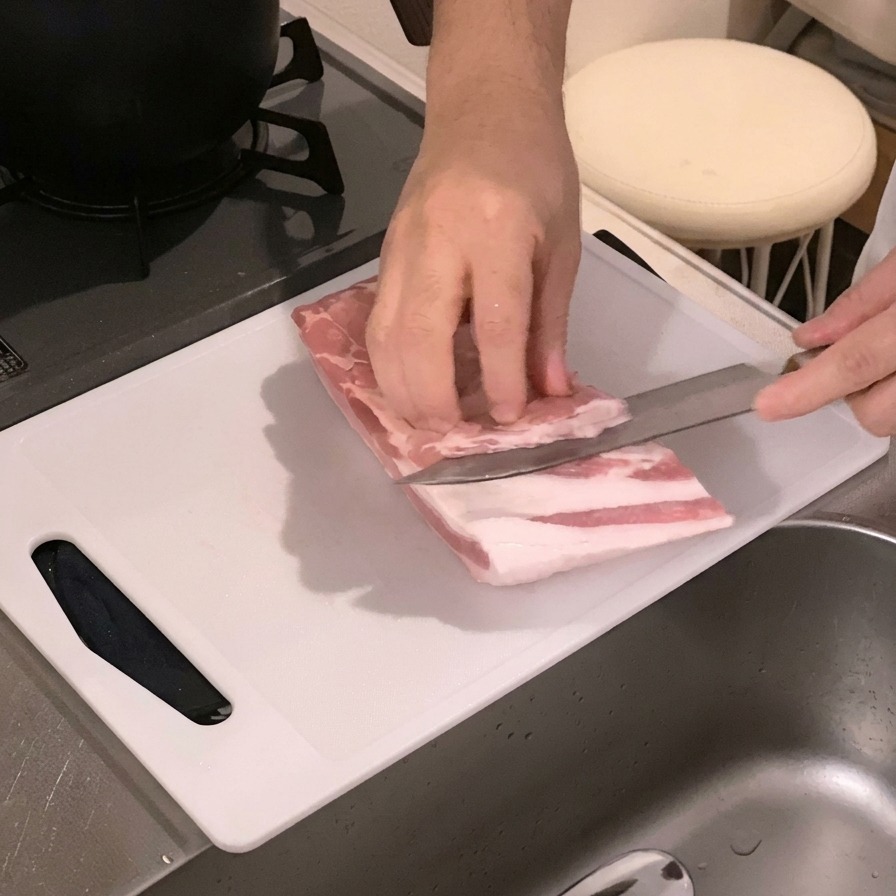
Lay the slab of raw pork belly on a clean cutting board and use a sharp knife to score the flesh side. Making shallow cuts helps flatten the meat, making it much easier to roll up tightly for tying.
Tip: Only score the meat side, taking care not to cut all the way through to the skin. - 2Parboil the meat
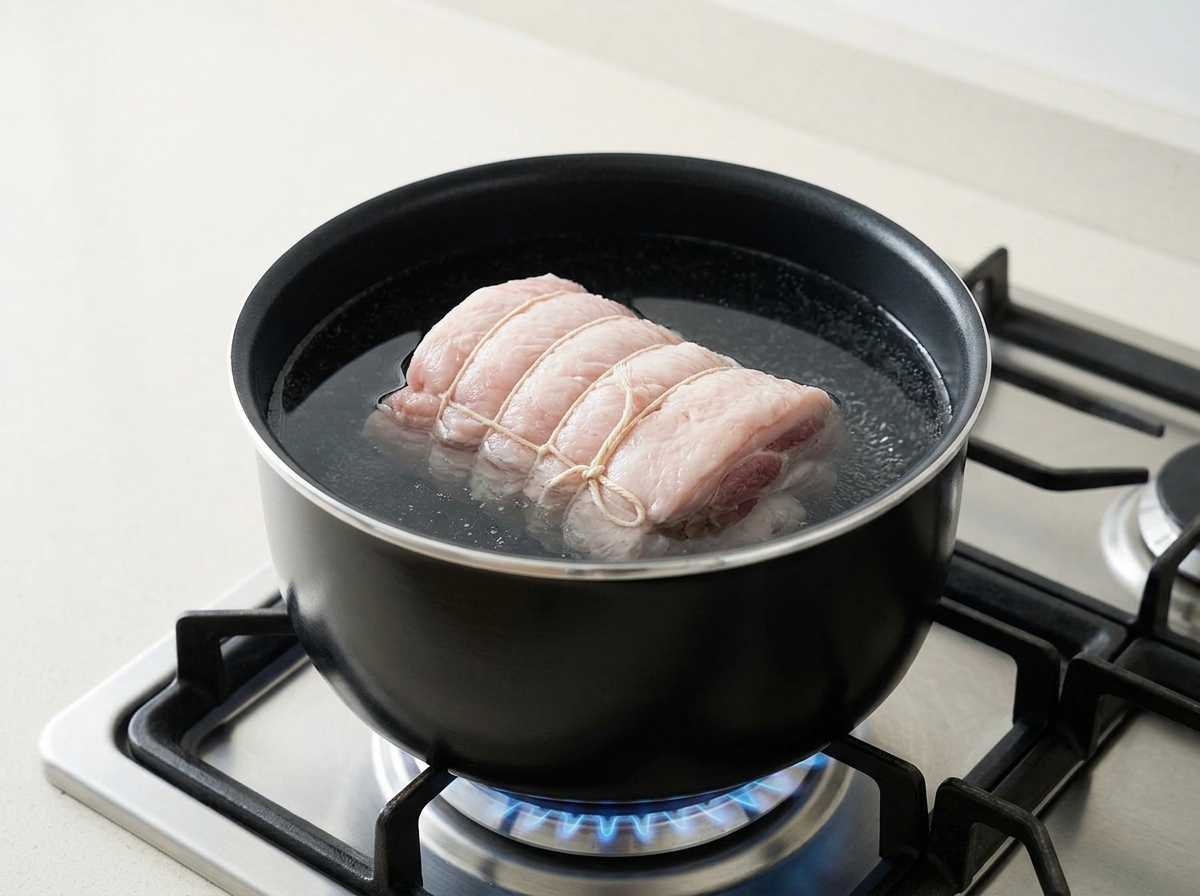
Place the securely rolled and tied pork belly into a pot of water over the stove. Bring it to a boil to help set its shape and draw out any initial impurities from the meat.
Tip: Tying the pork belly securely with butchers twine ensures it holds a beautiful round shape during the long simmering process. - 3Prepare the scallions
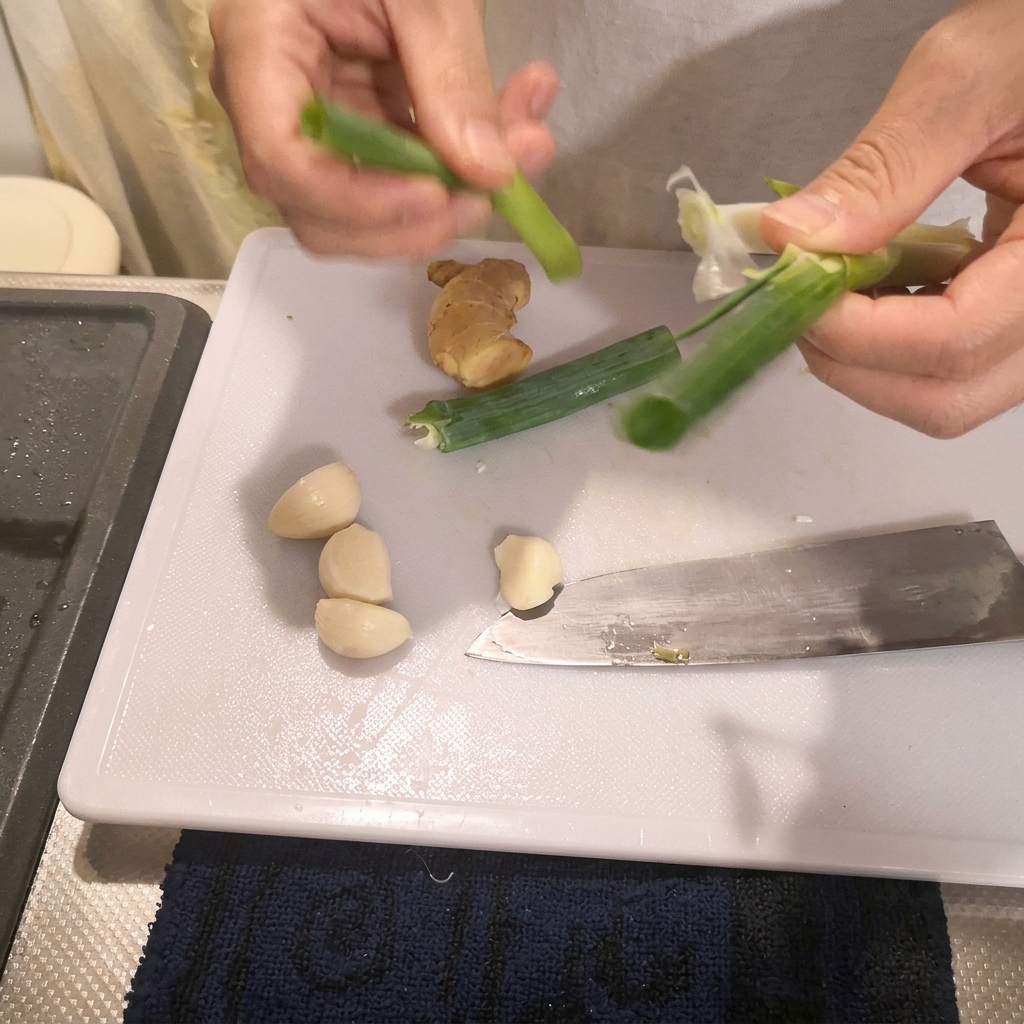
Separate the green tops of the scallions from the white parts. These green sections will be used to flavor the boiling liquid and help remove any strong odors from the pork.
Tip: Save the white stalks of the scallions so you can thinly slice them for garnishing your final bowl of ramen. - 4Crush the garlic
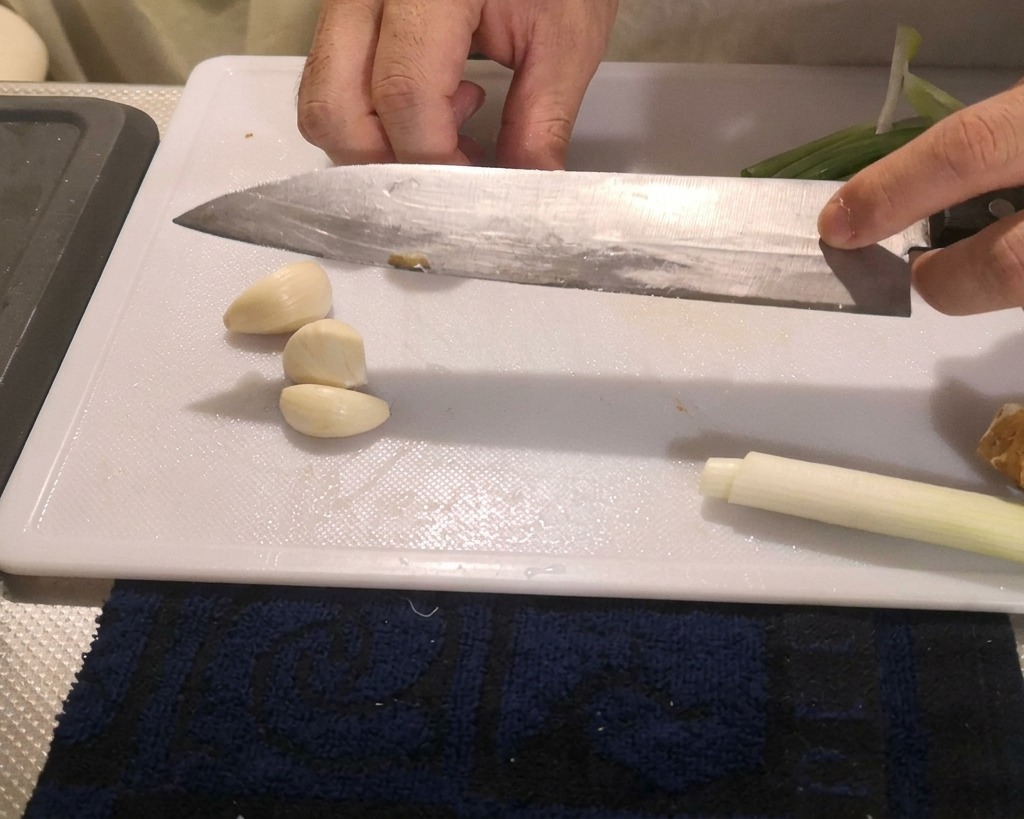
Peel the garlic cloves and place them on your cutting board. Use the flat side of your chefs knife to firmly press down and crush the cloves. Crushing the garlic releases its essential oils more effectively than simply slicing it.
Tip: Press down with the heel of your hand on the flat blade to easily and safely crush the cloves. - 5Slice the ginger
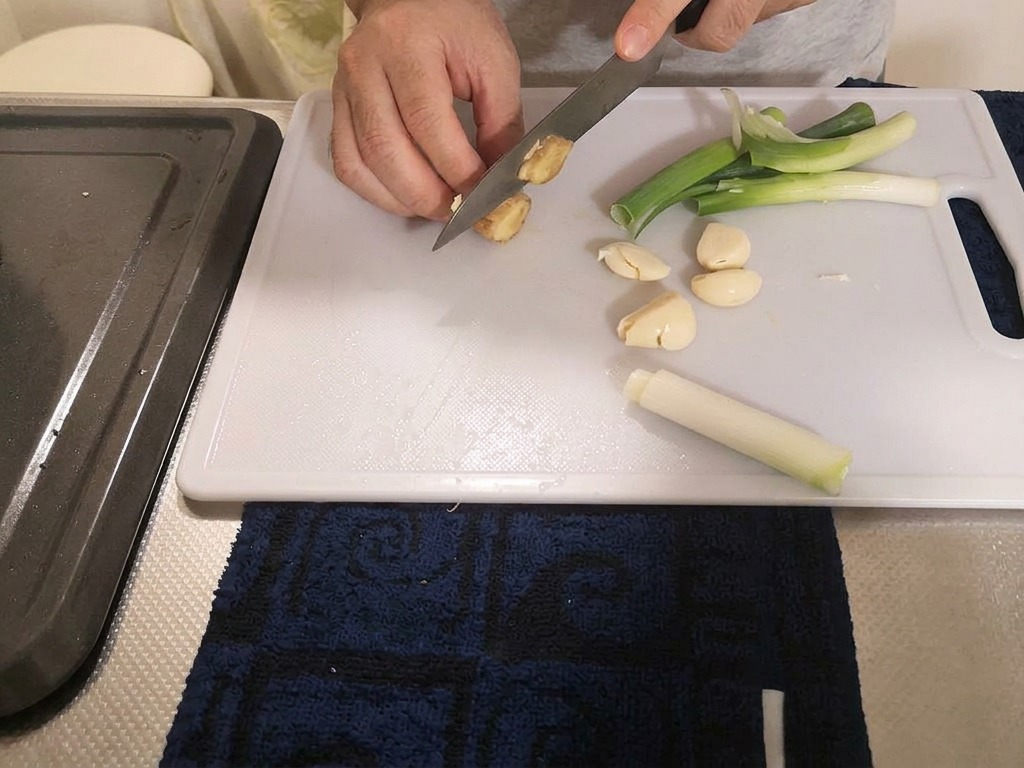
Take a piece of fresh ginger and slice it into thick pieces. You dont need to peel it for this step, as the ginger will be used to infuse the simmering broth with a bright, aromatic flavor.
Tip: Leaving the skin on the ginger is perfectly fine for making broth; just ensure it is thoroughly washed. - 6Wash the pork belly
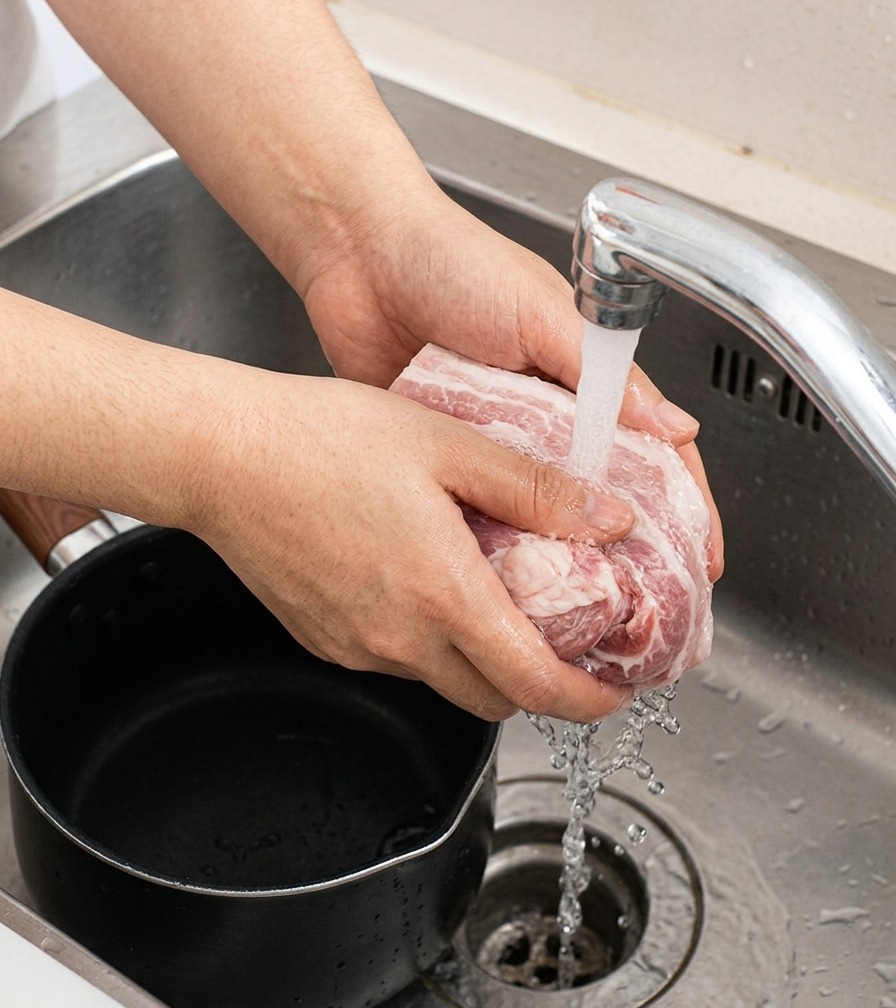
Once the pork belly has boiled, remove it from the pot and wash it thoroughly under cold running tap water. Rinse the surface to remove any scum or coagulated proteins. Be sure to wash the pot out cleanly as well before the next step.
Tip: Rinsing the meat after the initial boil ensures your final simmering liquid remains clean and free of murky off-flavors. - 7Simmer Pork with Aromatics
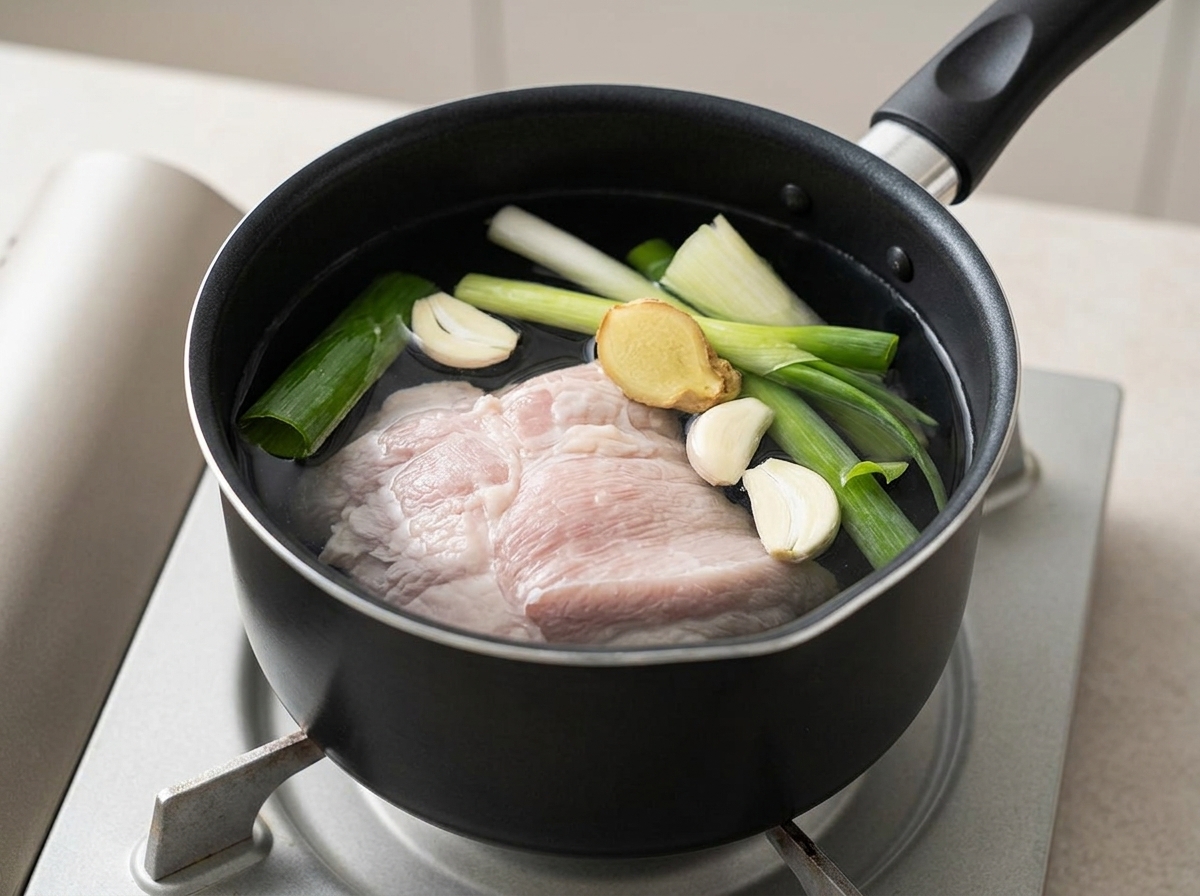
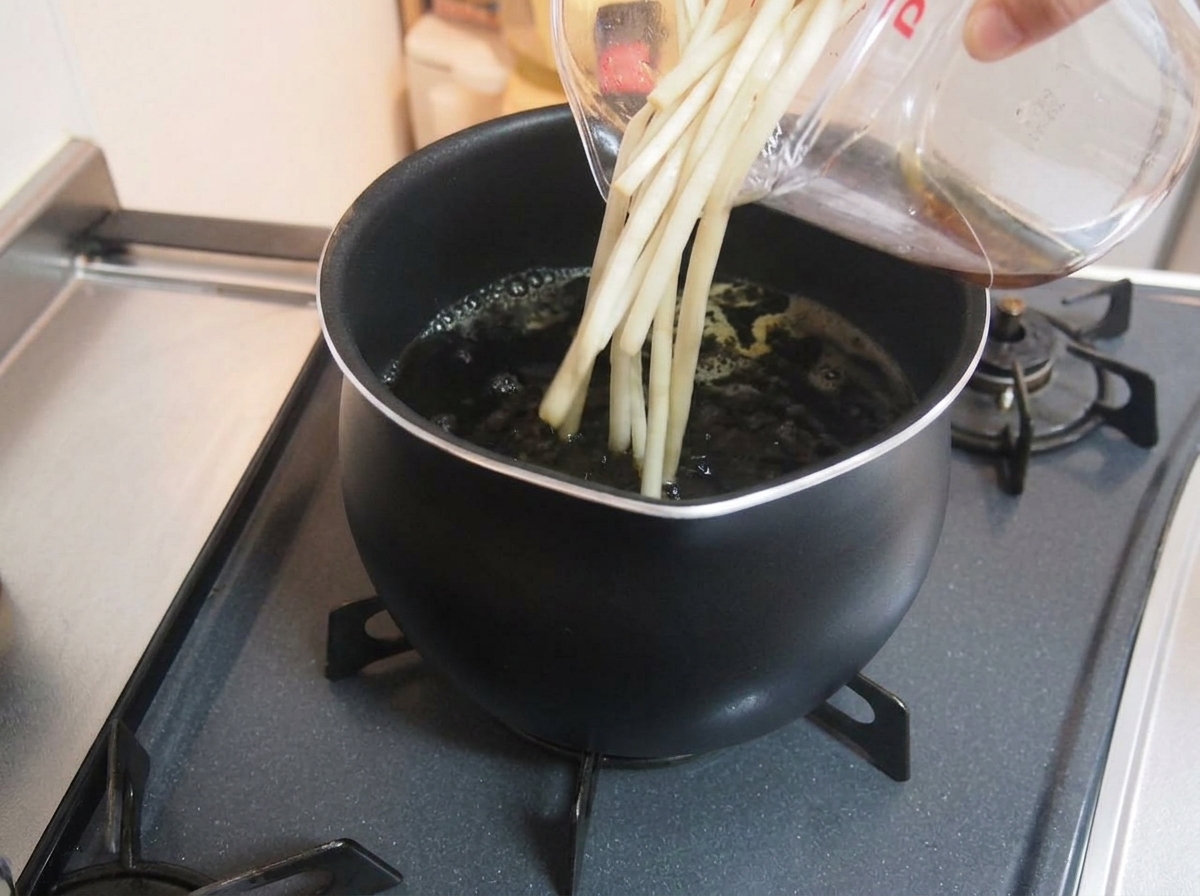
Place the cleaned pork belly into a pot. Add the prepared garlic cloves, sliced ginger, and green scallion tops. Fill the pot with enough water to comfortably submerge all the ingredients, then place it over the stove to begin heating.
Tip: Adding the aromatics at this early stage helps deeply infuse the meat with flavor while neutralizing any unwanted pork gaminess. - 8Use a Paper Towel Drop-Lid
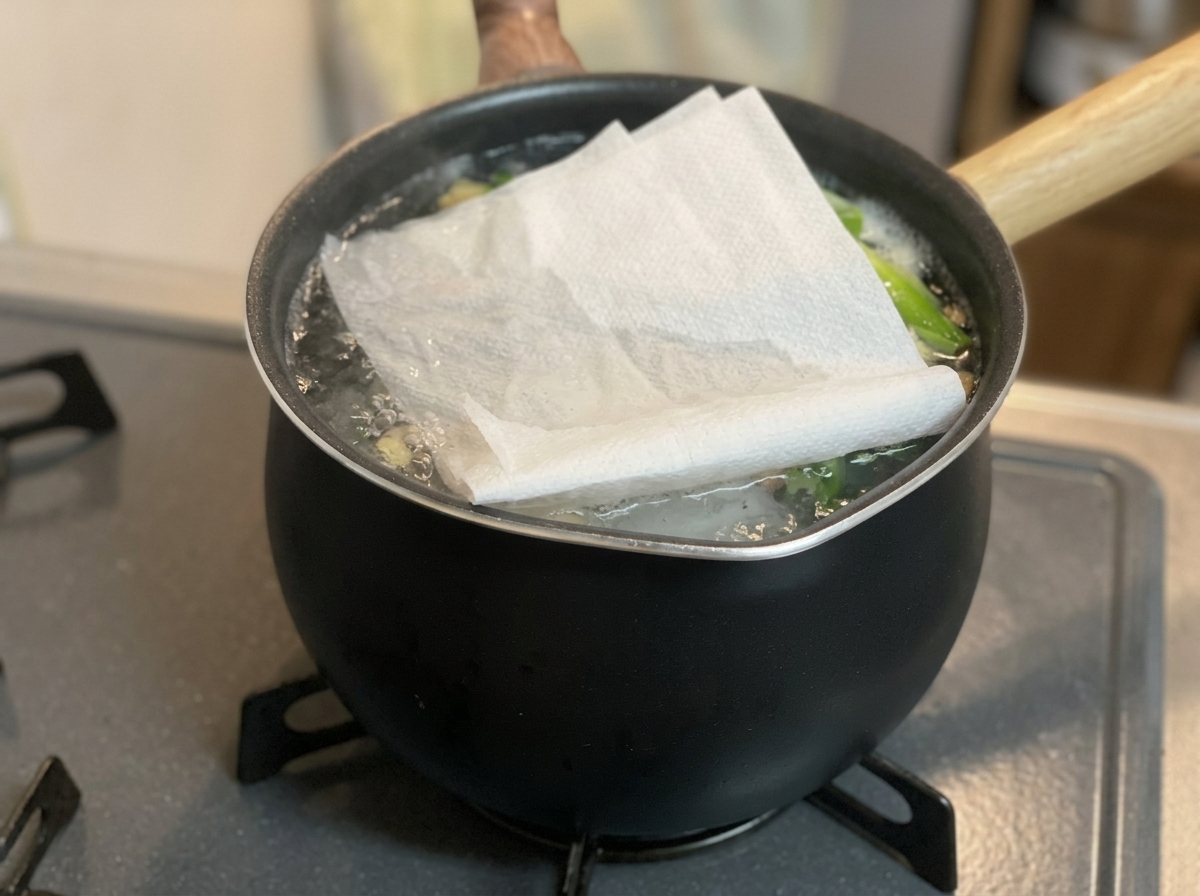
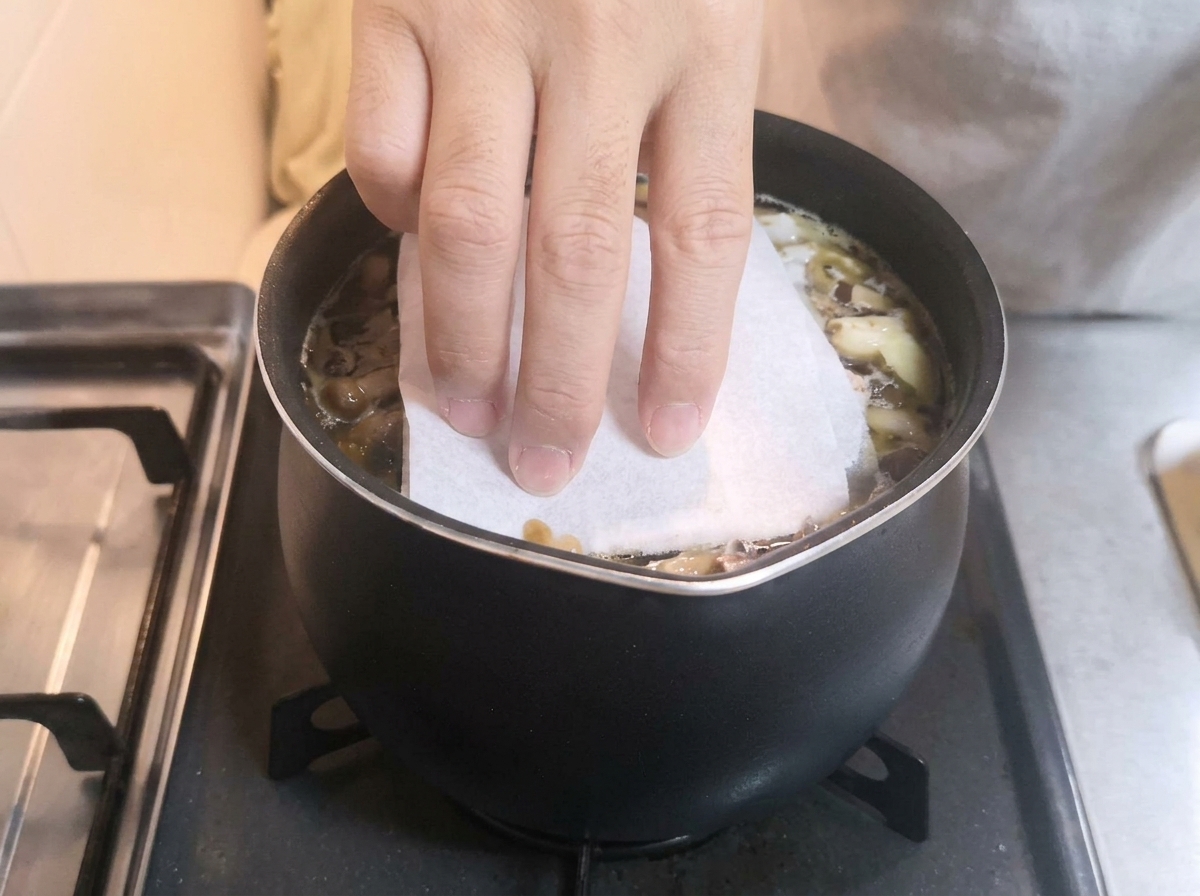
Once the water reaches a boil, turn the heat down to low. Take a sturdy paper towel, fold it, and place it directly over the liquid and ingredients in the pot to act as an otoshibuta (drop-lid). Simmer gently for 90 minutes.
Tip: A paper towel drop-lid ensures the meat stays entirely submerged and absorbs the flavors evenly, while also helping to trap and skim off excess fat and scum. - 9Reserve the Broth
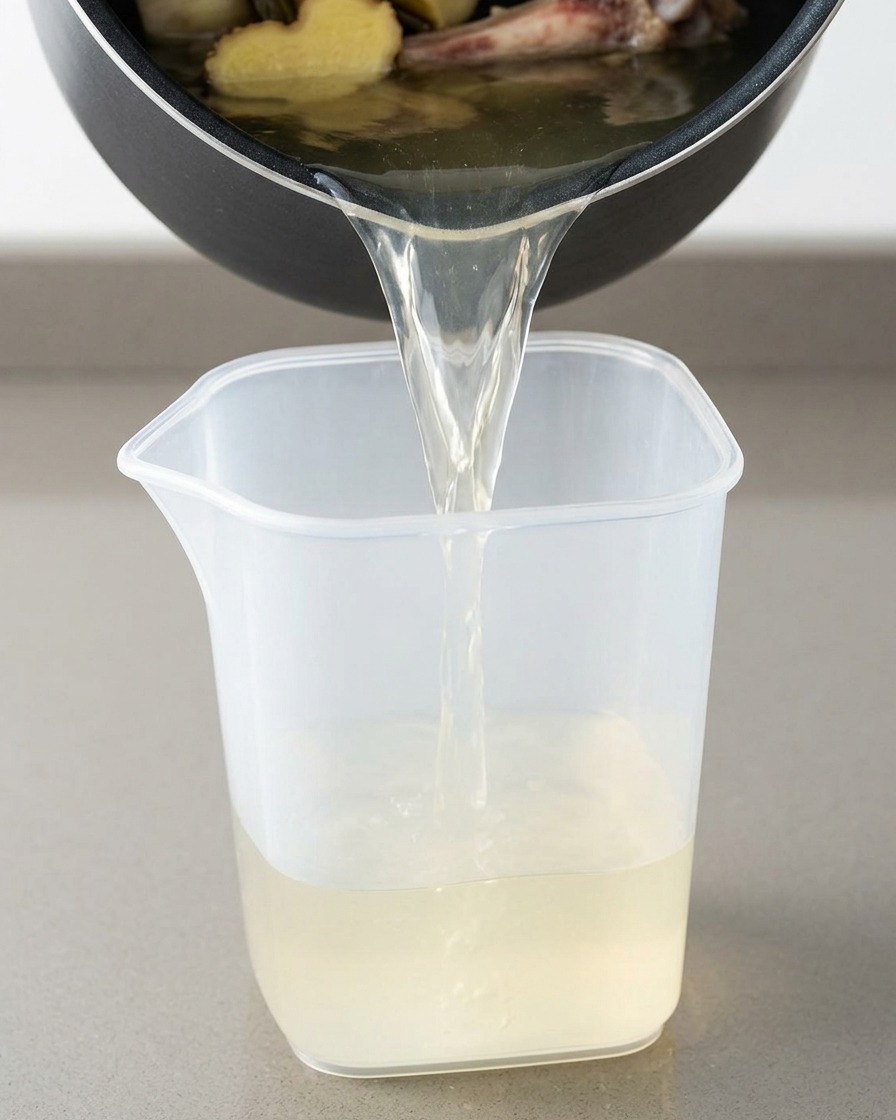
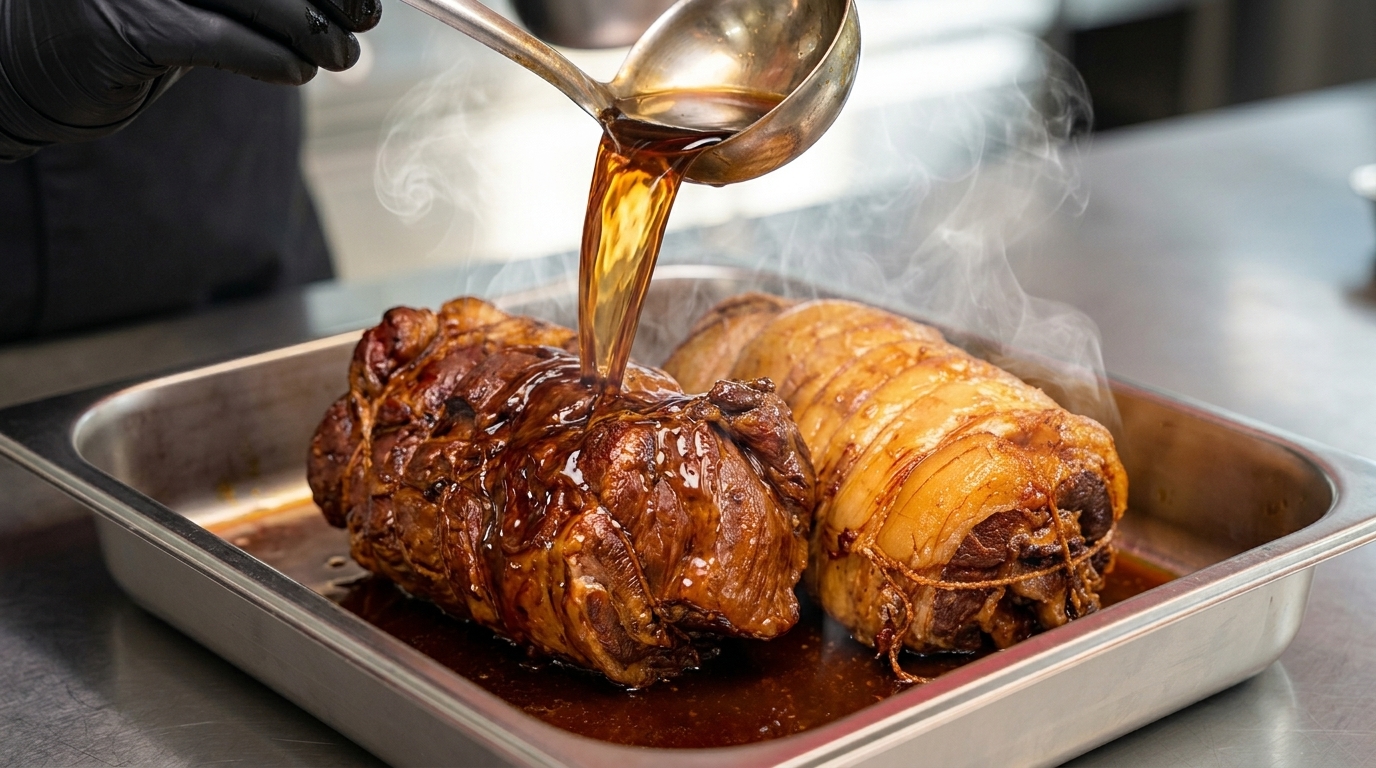
After 90 minutes of gentle simmering, carefully remove the pork belly from the pot. Strain the cooking liquid and reserve exactly 500ml of it. This flavorful, infused pork broth will form the savory base of your rich braising liquid.
Tip: Do not discard any leftover broth! It makes an incredibly flavorful base for ramen soups, noodle dishes, or other hearty stews. - 10Boil Sake and Mirin
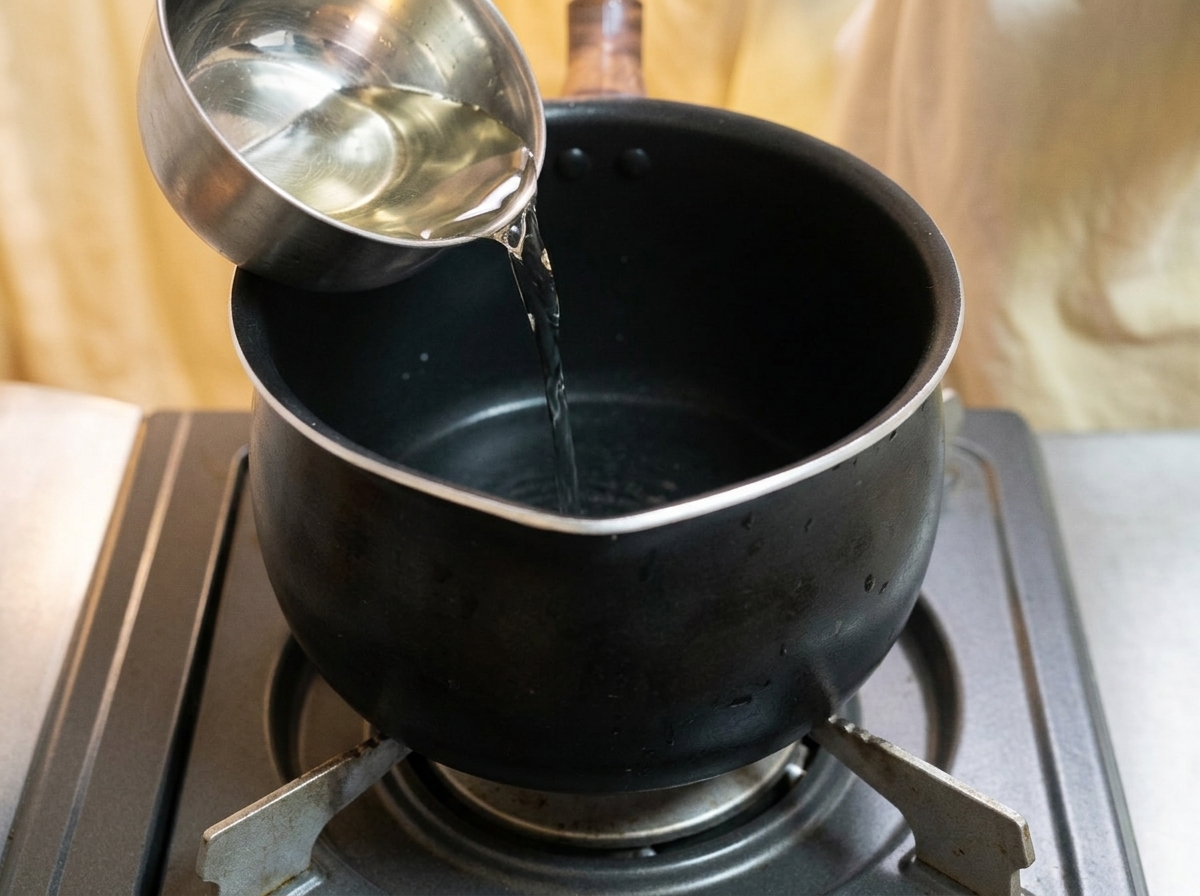
In a clean, empty pot, pour in 100cc of Japanese sake and 100cc of mirin. Place the pot over high heat and bring the liquid to a rapid boil. This crucial step evaporates the harsh alcohol, leaving behind only the rich, sweet, and savory essence of the liquids.
Tip: Boiling off the alcohol (a technique known as nikiri) prevents the final braising sauce from having a bitter or unpleasantly sharp alcoholic bite. - 11Add Soy Sauce
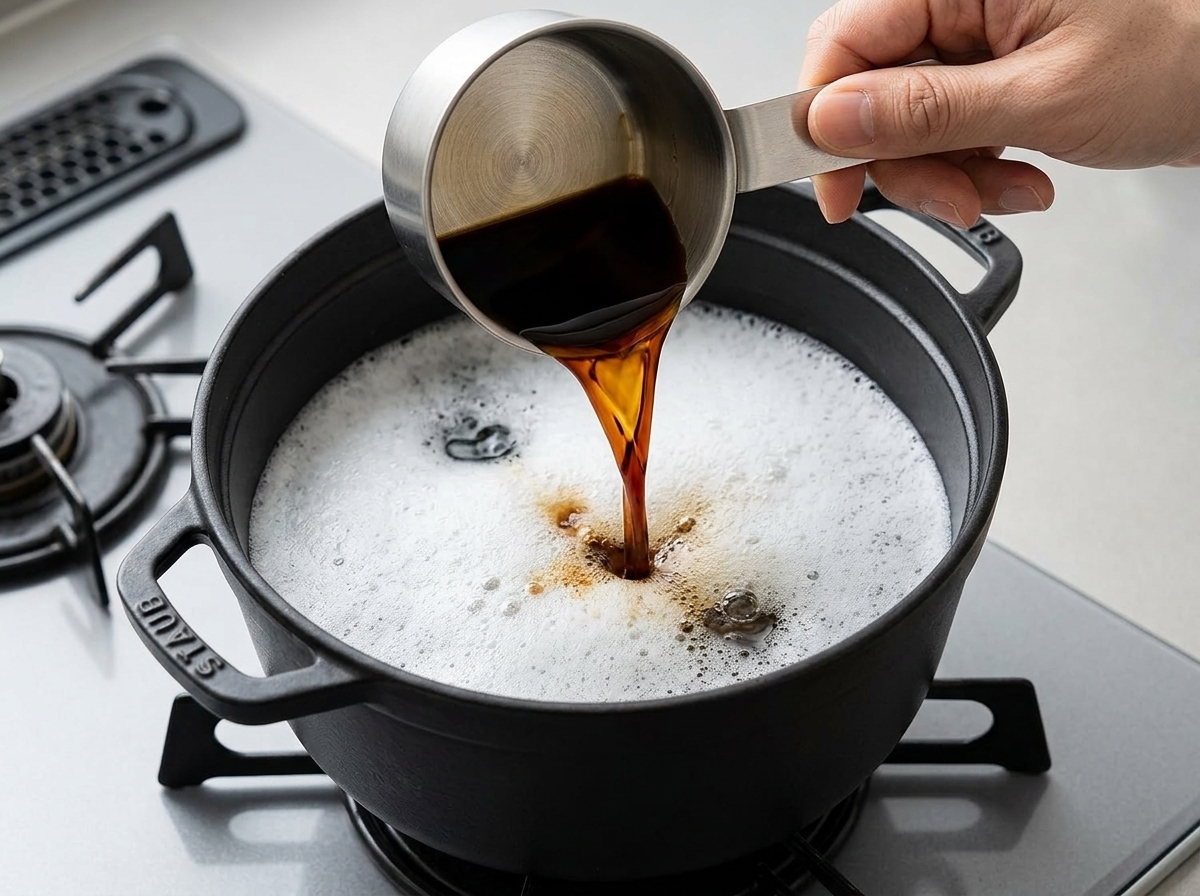
Once the alcohol has completely evaporated from the sake and mirin, turn the heat down to low. Carefully pour in 250cc of soy sauce into the simmering mixture. This soy sauce will provide the dark color and salty, umami backbone for the chashu.
Tip: Use a standard, high-quality Japanese soy sauce for the most authentic flavor balance; avoid dark or mushroom soy sauce as they can easily overpower the delicate broth. - 12Sweeten the braising liquid

Add the raw sugar and regular sugar into the pot with the dark soy sauce mixture. The combination of different sugars adds a complex caramel note and helps create a beautiful, glossy glaze on the chashu later.
Tip: If you dont have raw sugar, you can use brown sugar as a substitute to maintain that deep, rich molasses flavor. - 13Incorporate the reserved broth
Pour the 500ml of reserved pork broth back into the seasoned braising liquid, along with an additional 500cc of water. Reusing this broth ensures that none of the porks natural flavors are wasted, enriching the final sauce.
Tip: Make sure to measure the broth and water accurately so the braising liquid reduces to the right consistency during the 90-minute simmer. - 14Simmer the Pork Belly
Place a paper towel directly over the ingredients in the pot to act as an otoshibuta (drop-lid). This ensures the pork belly remains submerged and absorbs the flavors evenly while simmering. Bring the liquid to a boil, then reduce the heat to low and simmer gently for 90 minutes.
Tip: Using a paper towel as a drop-lid helps circulate the simmering liquid over the top of the meat and catches any excess fat or impurities that rise to the surface. - 15Pat the Pork Dry
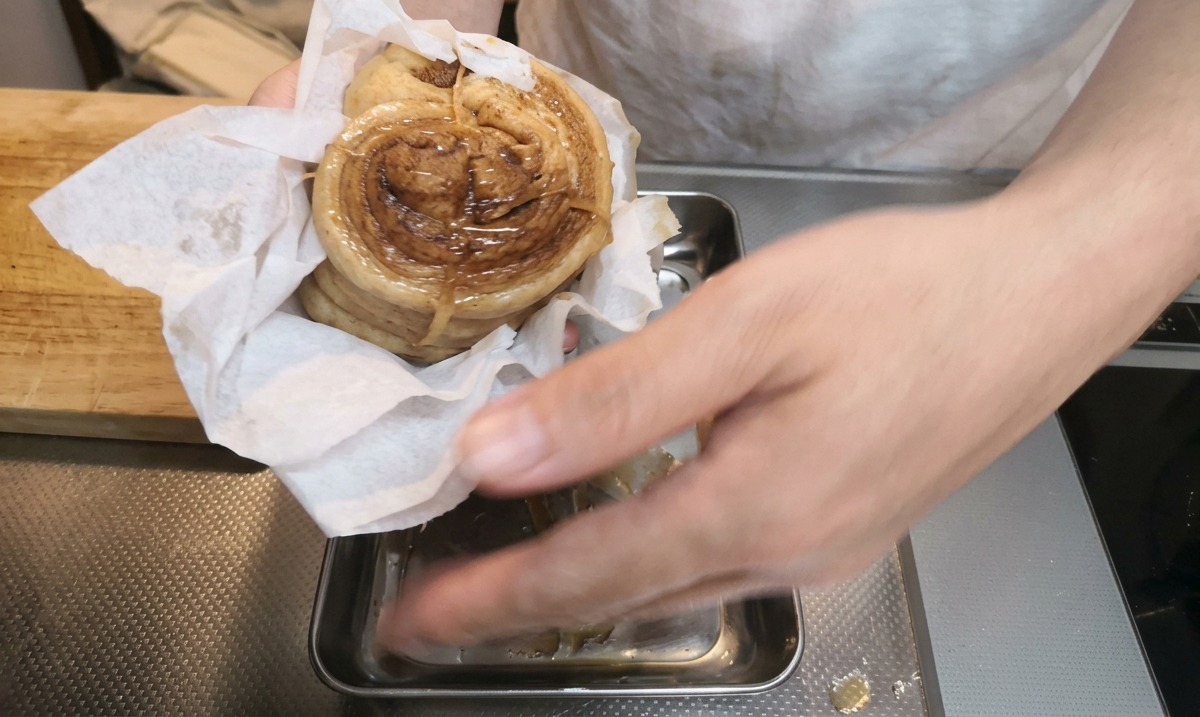
Carefully remove the braised pork belly from the simmering liquid and transfer it to a metal tray. Use fresh paper towels to gently pat the entire surface of the meat roll dry. Removing the excess surface moisture is crucial for achieving a proper sear in the final step.
Tip: Be very gentle when handling the braised pork, as it will be extremely tender and can easily fall apart. - 16Sear the pork belly
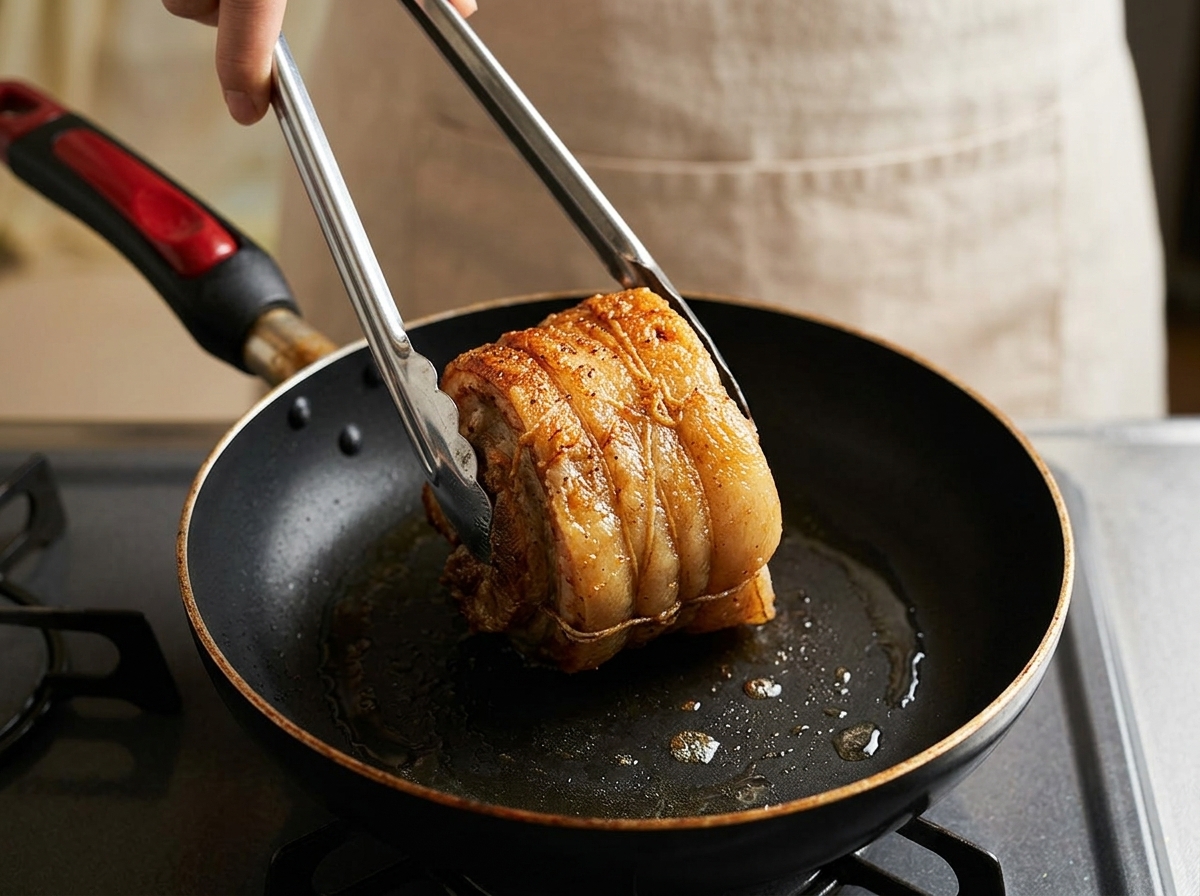
Place the braised and dried pork belly roll into a dry frying pan over medium heat. Do not add oil, as the pork belly will release its own fat. Use tongs to continuously rotate the meat until the entire exterior develops a rich, golden-brown crust.
Tip: Patting the pork completely dry before this step is crucial—excess moisture will cause the hot fat to splatter and prevent a proper sear.