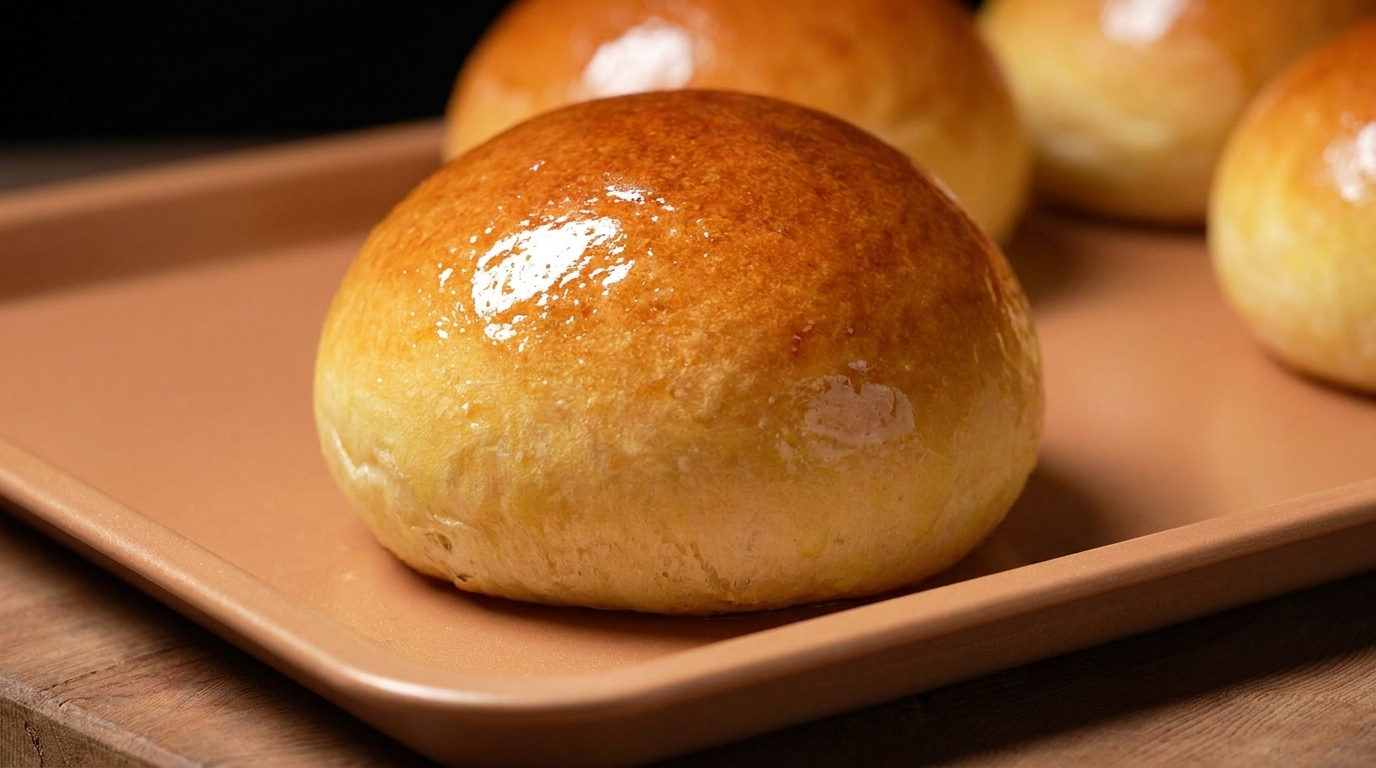
Ultimate Homemade Brioche Burger Buns
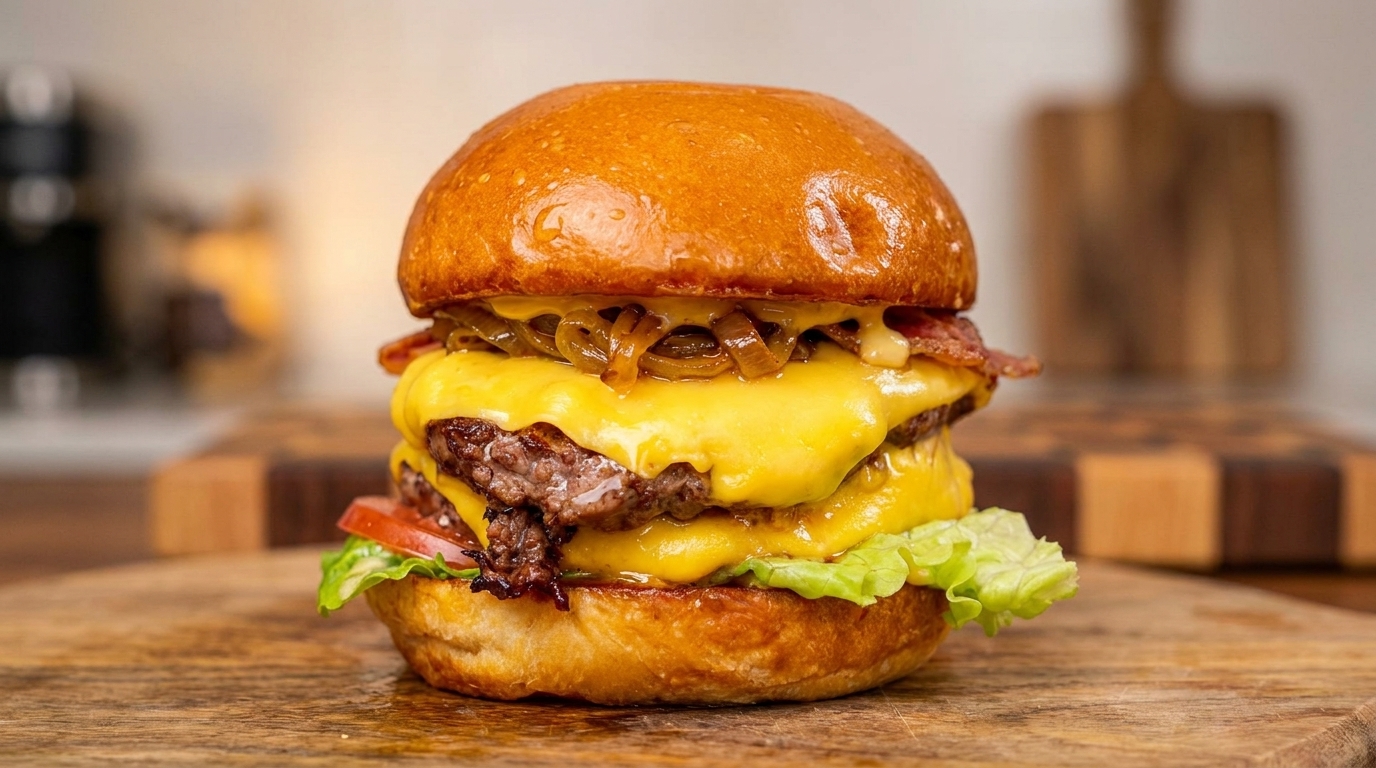
Achieve bakery-quality brioche burger buns at home with this foolproof recipe. These incredibly soft, golden, and butter-glazed buns are the perfect vessel for any juicy burger.
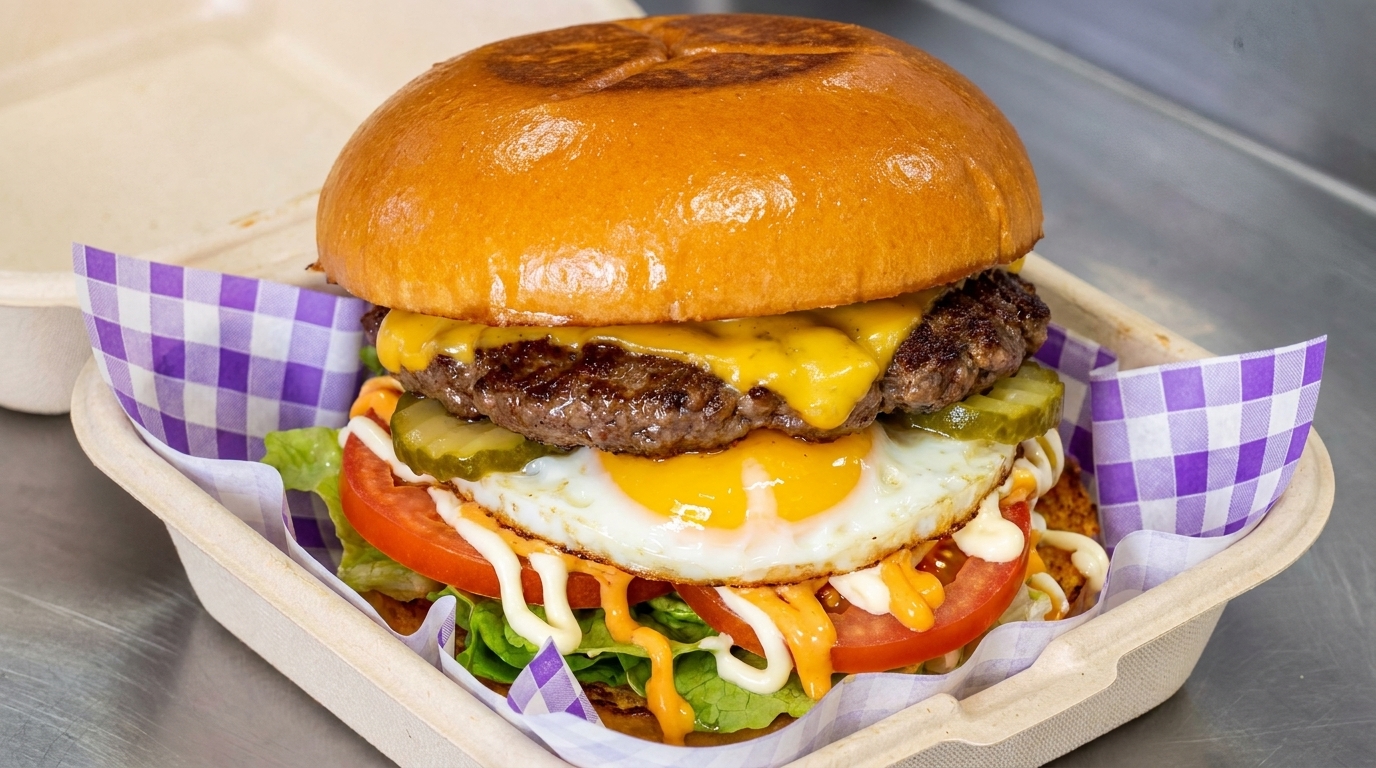
While many home bakers are intimidated by the rich, butter-heavy dough of traditional brioche, this recipe is designed for a high success rate and manageable kneading times. These buns boast amazing spring-back elasticity and a sturdy structure that holds up to the heaviest burger toppings without turning soggy.
Ingredients
- 260 g high-protein bread flour
- 30 g sugar
- 5 g osmotolerant yeast
- 122 g whole egg wash (for the dough)
- 50 g ice-cold milk
- 4.5 g salt
- 60 g unsalted butter (softened to room temperature)
- to taste extra whole egg wash (for glazing)
- to taste solid butter (for brushing after baking)
Instructions
- 1Sift the bread flour

Begin by placing the stainless steel bowl of your stand mixer on your workspace. Pour in the high-protein bread flour, sifting it through a fine mesh strainer to prevent any clumps and aerate the flour.
Tip: Always use ice-cold milk to prevent the dough from overheating during the long mixing process, which could prematurely activate the yeast. - 2Add yeast and wet ingredients
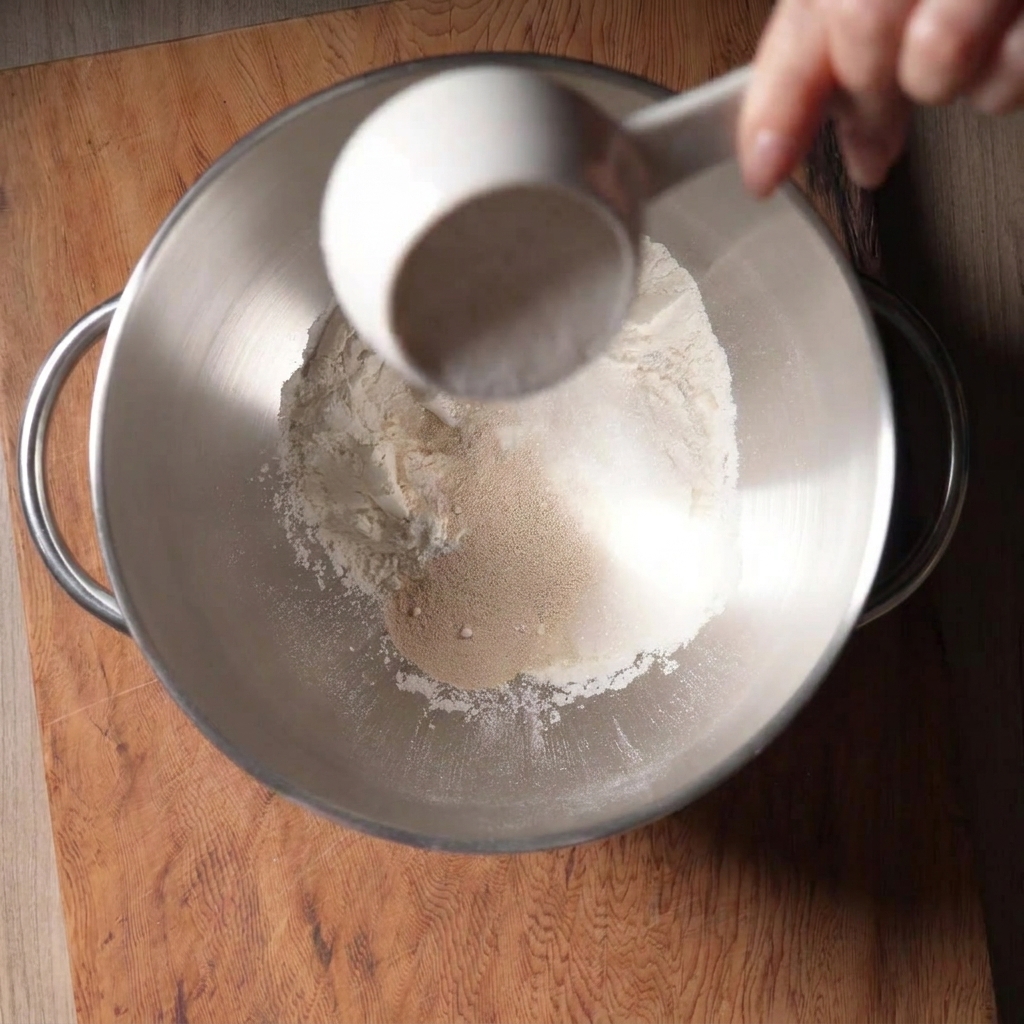
To the sifted flour, add the sugar and osmotolerant yeast. Then, pour in the whisked whole egg wash and the ice-cold milk, readying the bowl for the initial mixing phase.
Tip: Ensure your yeast is osmotolerant, as the high sugar content in brioche dough can inhibit regular yeast. - 3Mix the basic dough
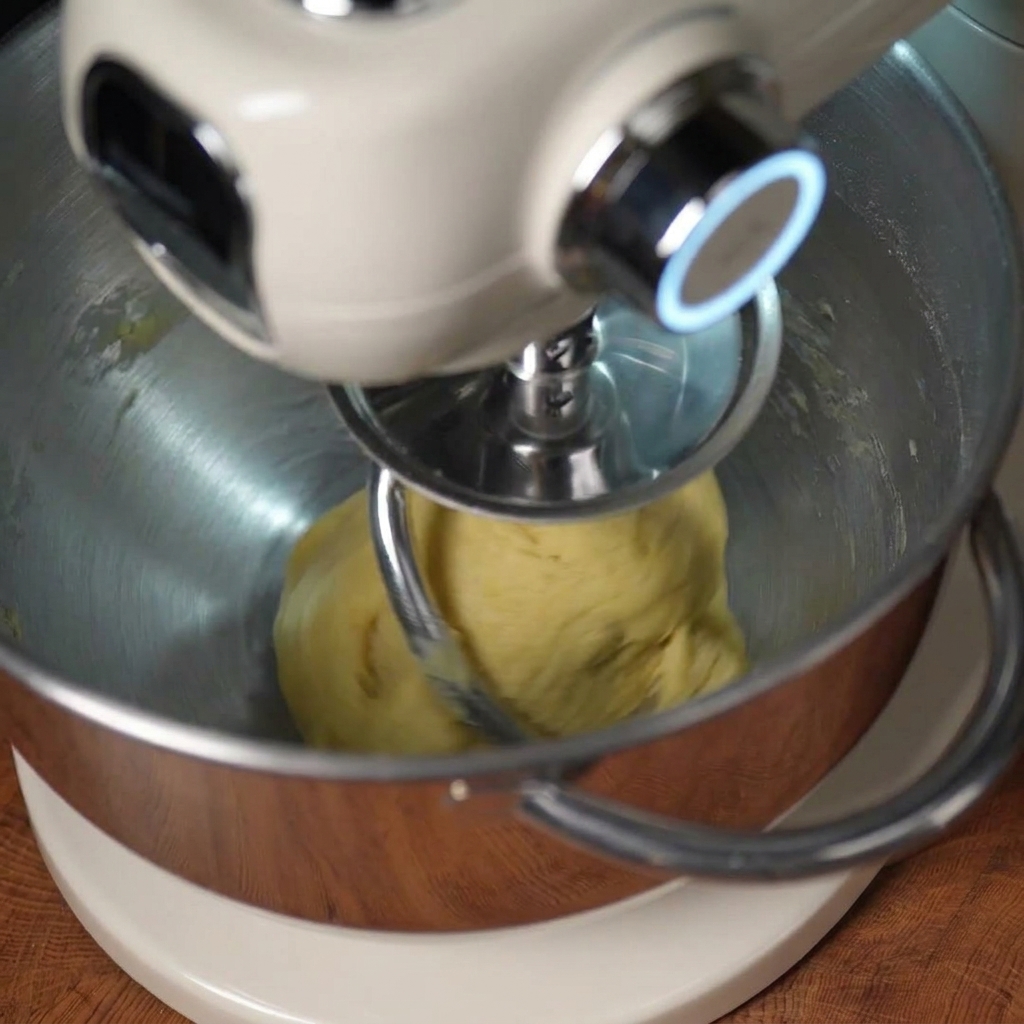
Attach the dough hook to your stand mixer and mix on speed three for about three minutes to combine the wet and dry ingredients. Once they form a rough dough, increase the speed to six and knead for another three minutes.
Tip: Starting on a lower speed prevents the flour from flying out of the bowl and ensures even hydration. - 4Check early gluten development
Pause the mixer and gently stretch a small piece of the dough. At this stage, the dough should stretch slightly but tear easily, indicating that the gluten network has just started to form.
Tip: Do not overmix at this stage; the dough still needs to absorb the butter in the next step. - 5Incorporate butter and salt
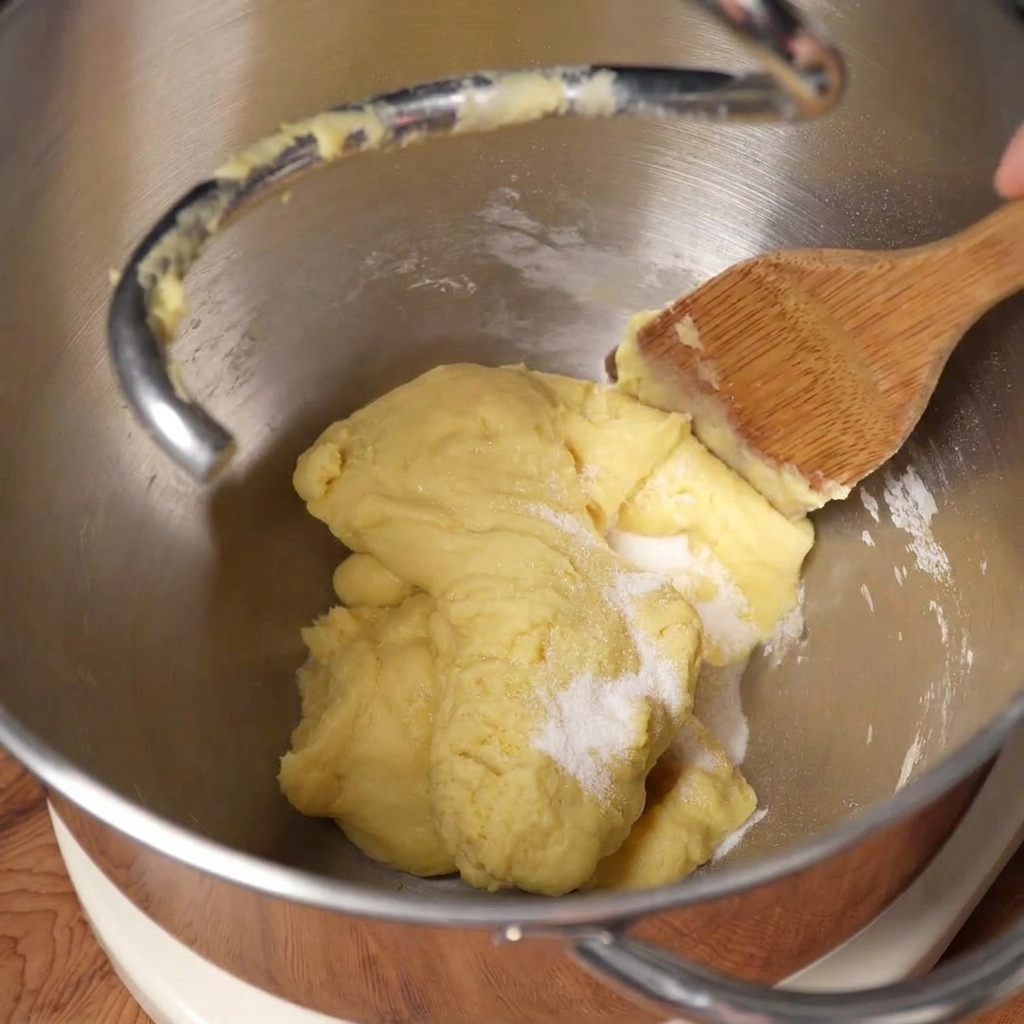
Add the salt and room-temperature softened butter to the dough. Mix on speed three so the dough can slowly absorb the butter. If butter sticks to the sides of the bowl, scrape it down with a spatula.
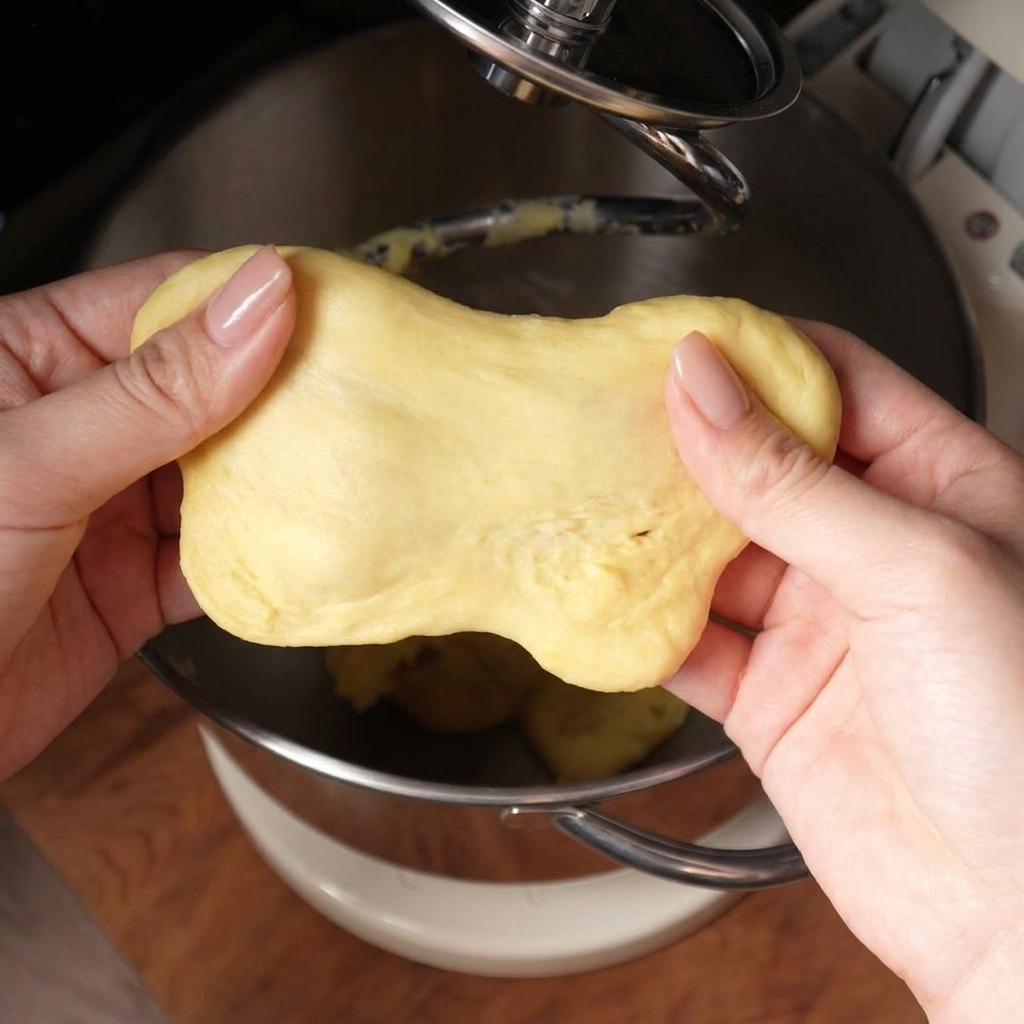
Tip: Ensure the butter is thoroughly softened to room temperature so it incorporates smoothly without forming lumps. - 6Test for the windowpane stage
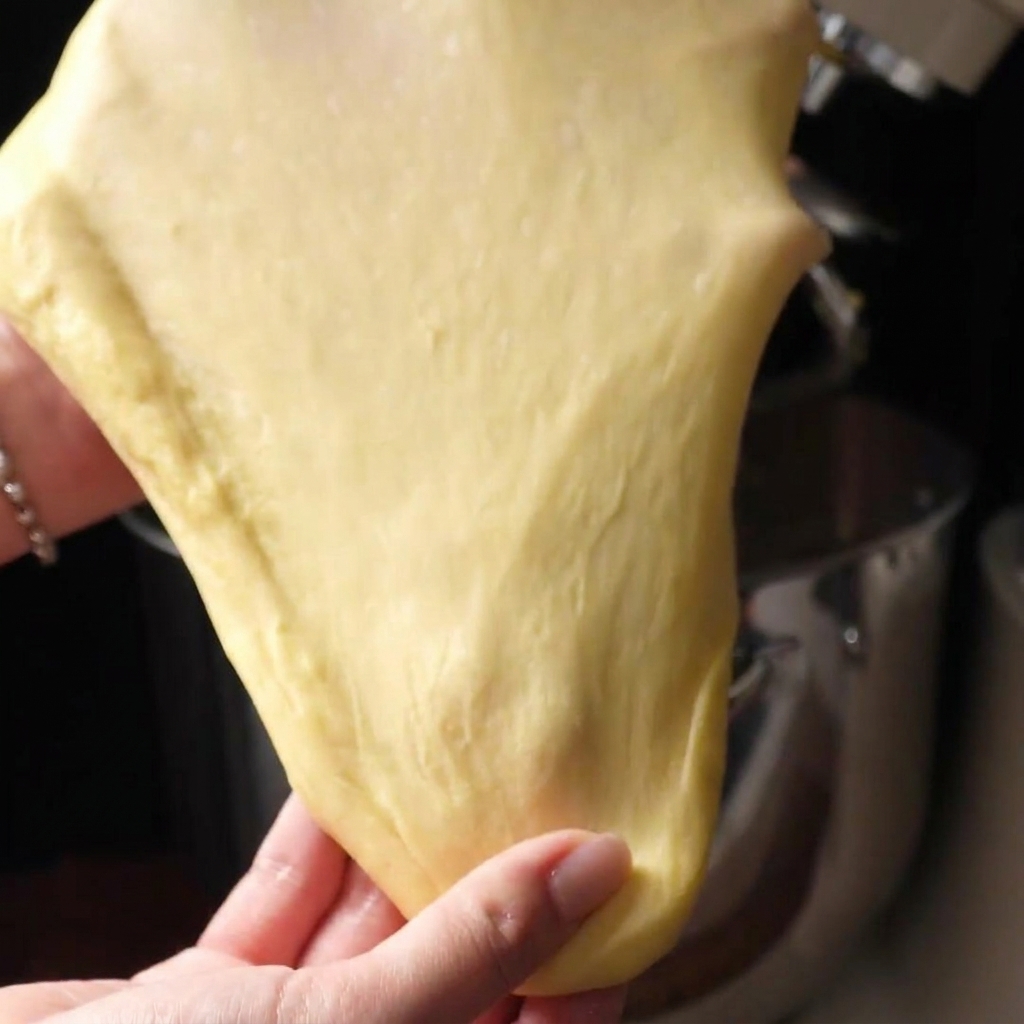
Once the butter is absorbed, increase the mixer speed to six and knead for about five minutes. The dough is ready when it becomes highly elastic and can be gently stretched into a thin, even, and translucent film without tearing.
Tip: If the dough still tears easily, continue kneading for another minute or two and test it again. - 7Prepare for the first proofing
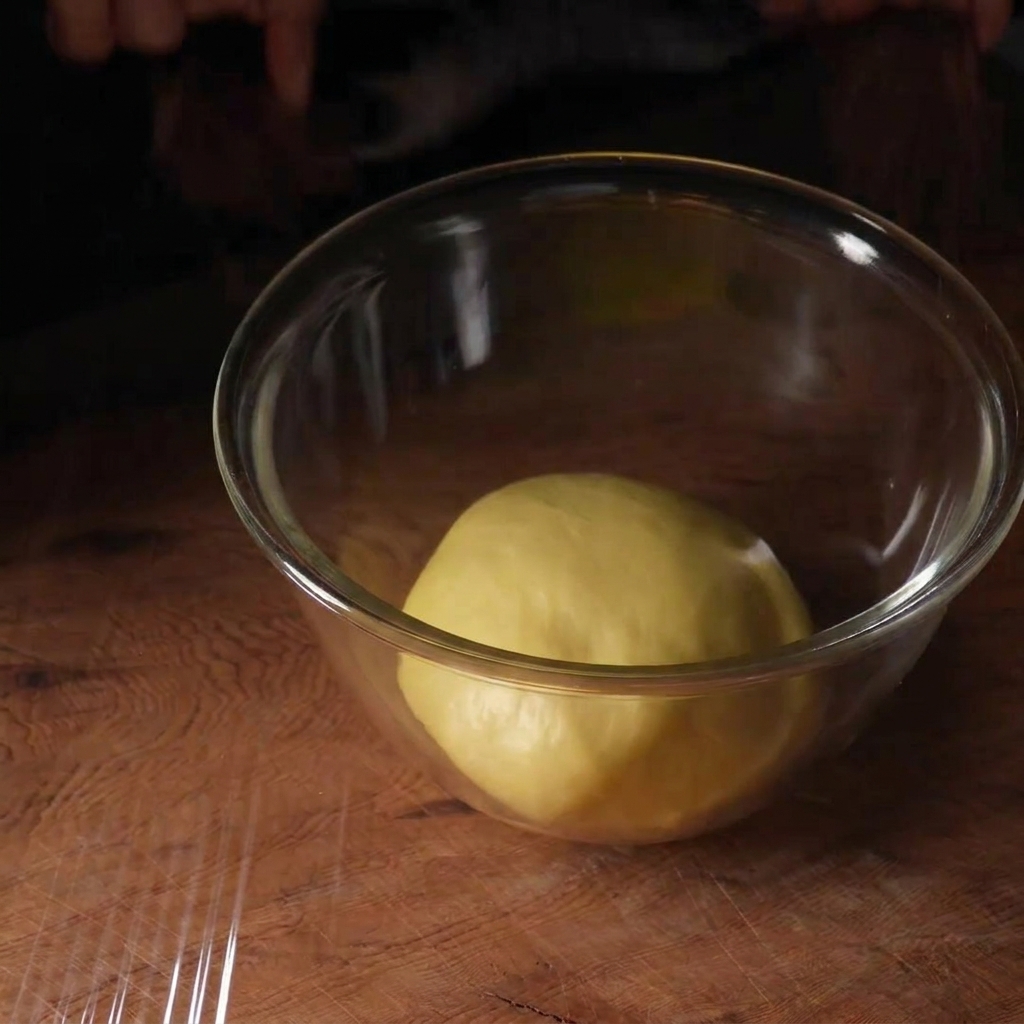
Once the butter is fully absorbed and the dough can be stretched into a thin windowpane film, transfer the smooth dough into a large glass bowl. Cover the bowl securely with a layer of plastic wrap to keep the dough from drying out and forming a hard skin on the surface.
Tip: If your mixer doesnt have a proofing function, draw a circle on the glass bowl with a marker to trace the initial size of the dough so you can easily tell when it has doubled. - 8Degas the proofed dough
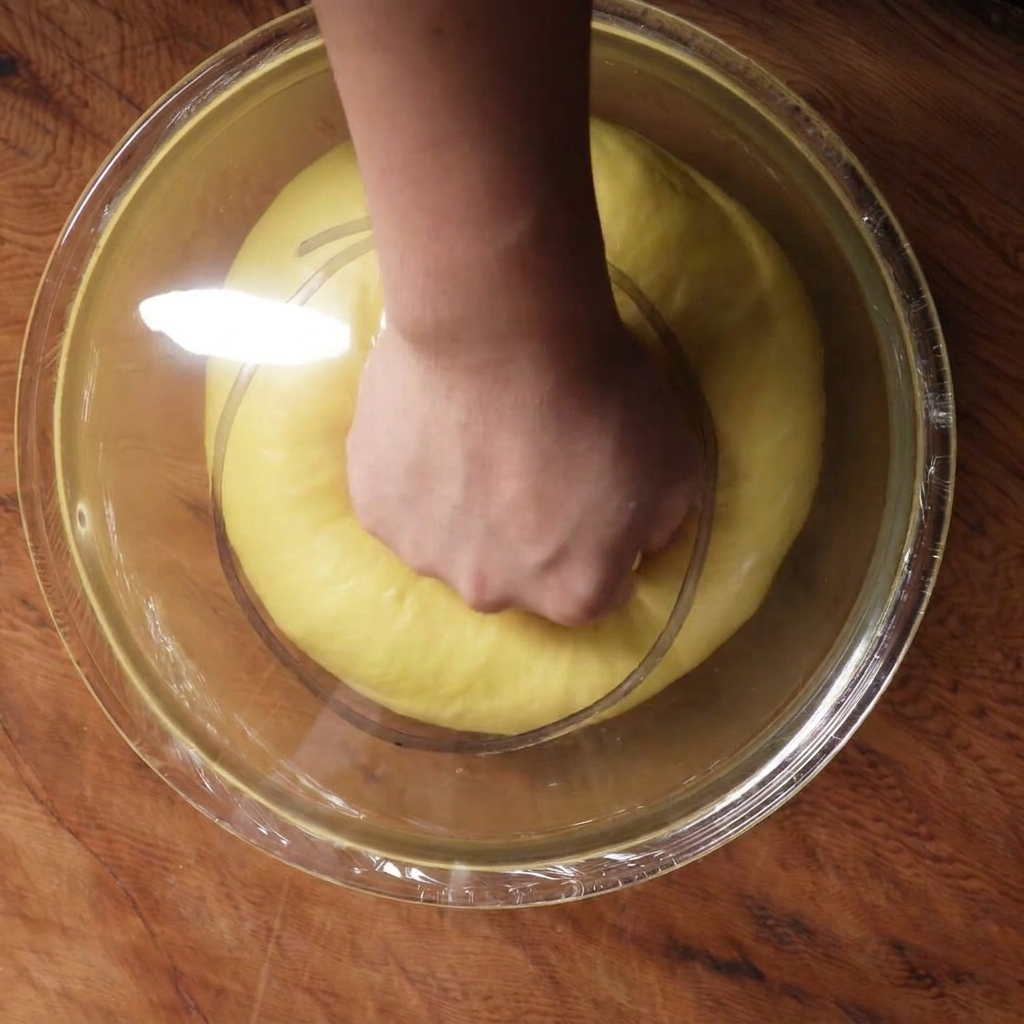
After the first proofing, check that the dough has doubled in size. Gently press or poke the dough with your fist to release the built-up air and gases. This ensures a consistent crumb structure for your burger buns.
Tip: If the indentation stays and doesnt bounce back immediately, your dough is perfectly proofed and ready for shaping. - 9Divide the dough

Transfer the deflated dough to a clean work surface. Use a bench scraper or a sharp knife to divide the dough into equal portions. Cutting them into triangular, pizza-like wedges makes them easier to shape later.
Tip: Use a kitchen scale if you want perfectly uniform buns; for a standard recipe, six equal pieces works best. - 10Shape into tight, round balls
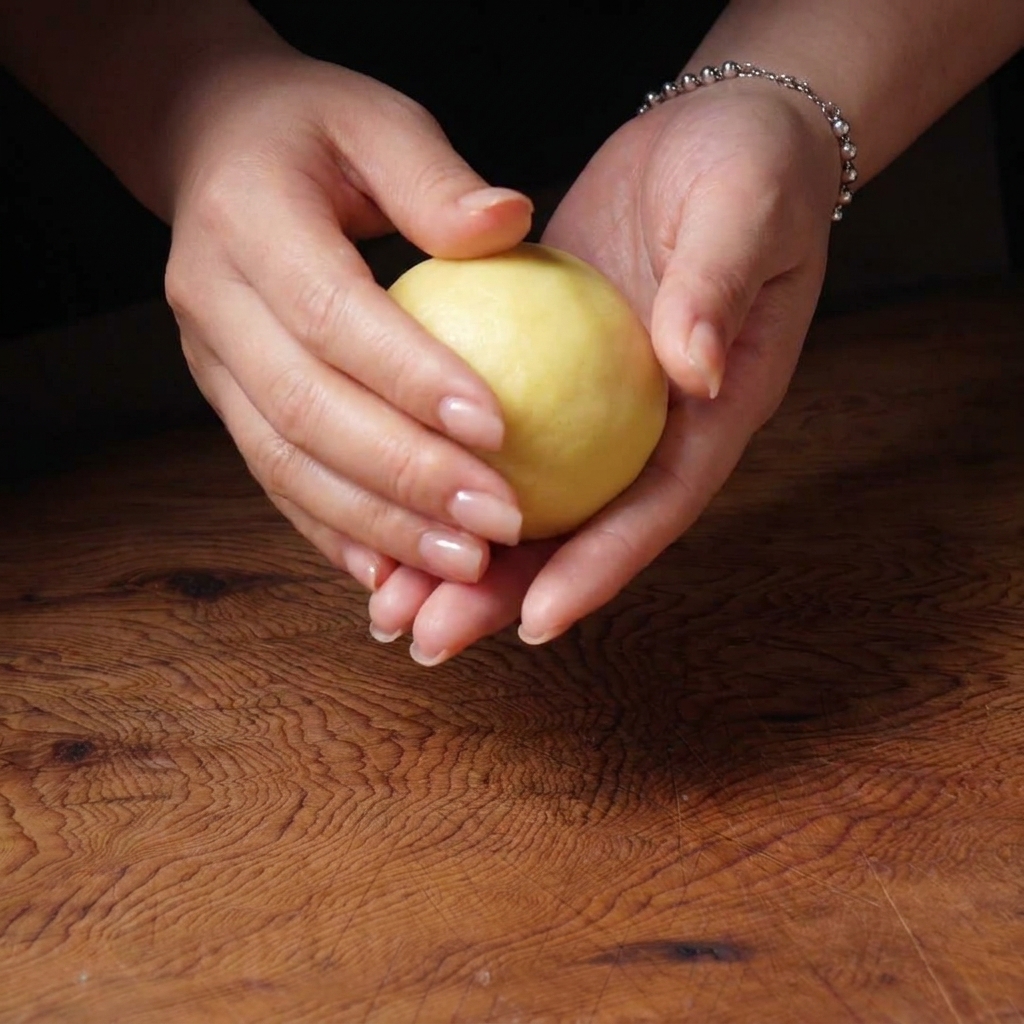
Take each divided portion of dough and fold the corners inward to form a rough shape. Cradle the dough in one hand and use the palm of your other hand to gently rotate and shape it. Continue rolling it inwards until the dough becomes a perfectly smooth, tight, and round ball.
Tip: Make sure to pinch the bottom seam tightly to seal the dough. If the bottom isnt sealed, the buns may expand irregularly during the second proofing. - 11Transfer to a baking tray

Once all your dough portions are shaped into perfectly smooth, tight balls with sealed bottoms, carefully transfer them onto a flat baking tray, leaving ample room between each for expansion.
Tip: Make sure the bottom seam is completely sealed, or the bun may burst or expand irregularly during the final bake. - 12Final proofing
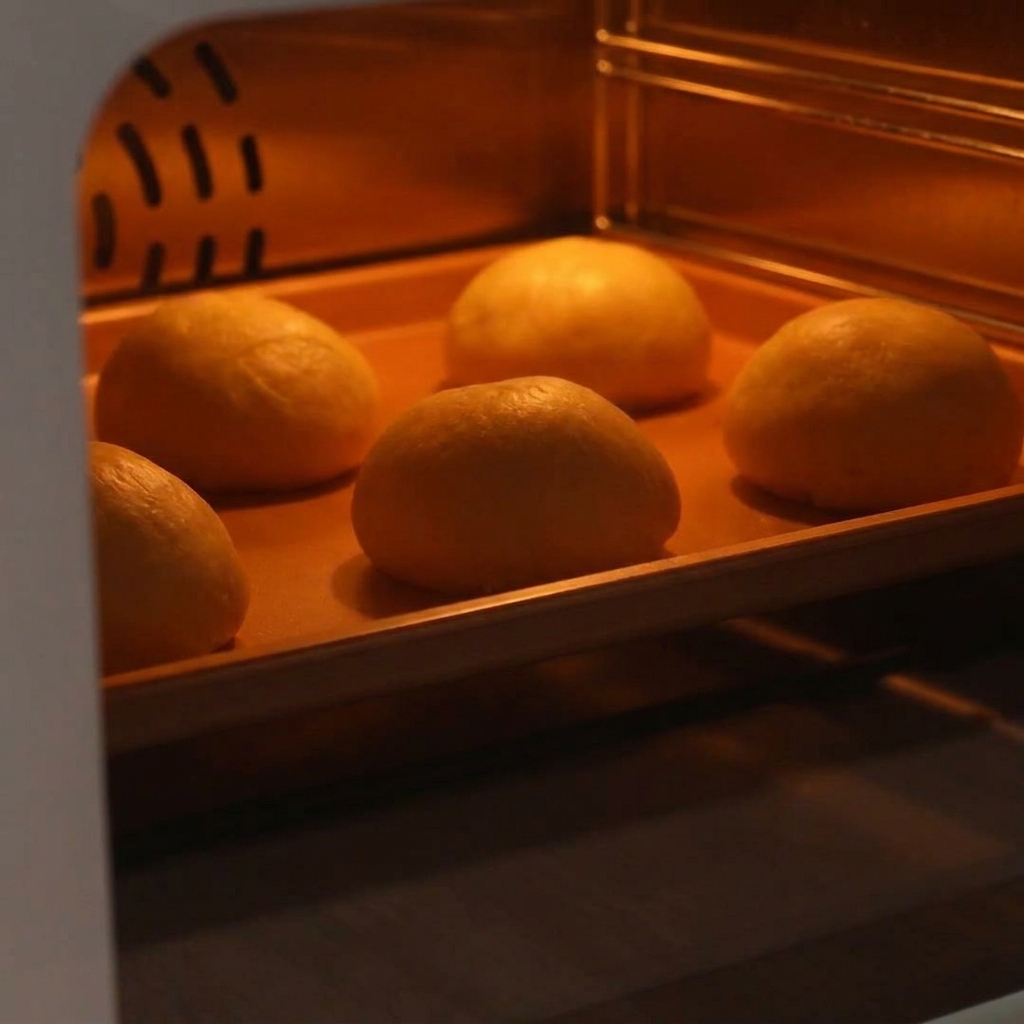
Arrange the shaped dough balls on a baking tray, leaving enough space between them for expansion. Place them in a warm environment (around 38°C) for 40 to 50 minutes until they have grown to about 1.5 times their original size.
Tip: If your kitchen is cold, placing a bowl of hot water in the bottom of your (turned off) oven creates a great proofing chamber. - 13Apply the egg wash
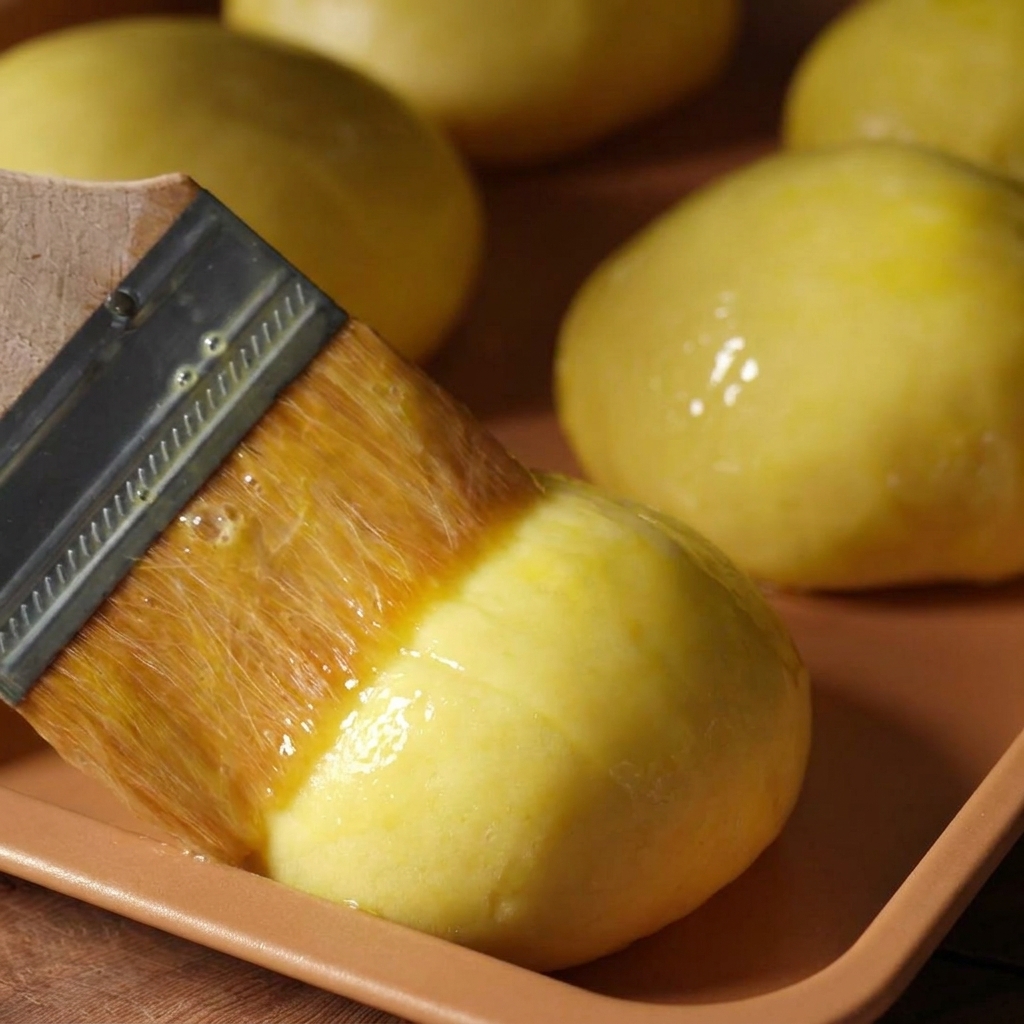
Once the second proofing is complete, gently brush the top of each bun with a thin, even layer of whole egg wash. This provides the classic glossy, golden-brown finish characteristic of high-quality brioche.
Tip: Be very gentle with the brush so you dont deflate the air bubbles you just spent time developing. - 14Bake until golden
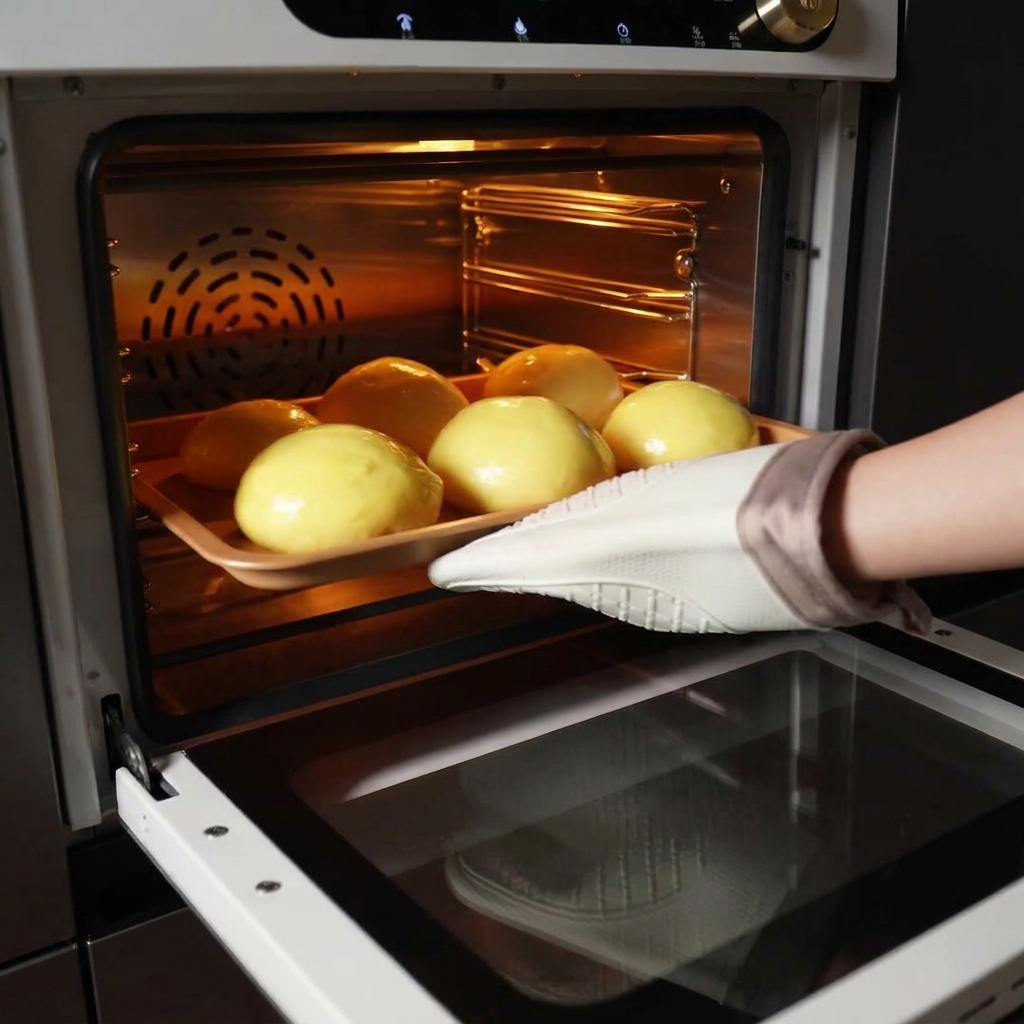
Slide the tray into a preheated oven set to 180°C with both top and bottom heat active. Bake for approximately 15 minutes. The buns should rise further and develop a deep, rich golden color on top.
Tip: If the tops are browning too quickly before the time is up, loosely tent a piece of aluminum foil over the tray. - 15Remove from the oven
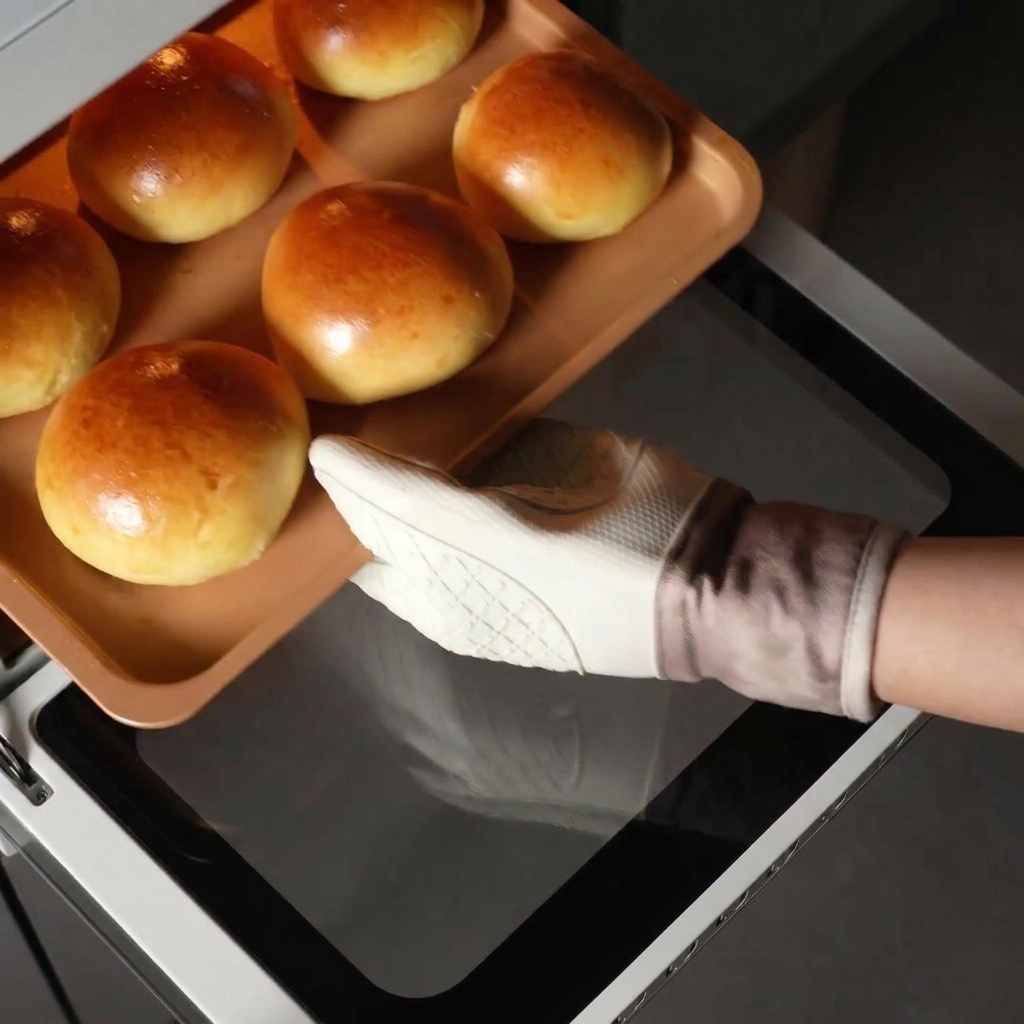
Carefully take the baking tray of freshly baked brioche buns out of the oven once the 15 minute baking time is complete. The buns should have developed a deep, golden brown crust and emit a wonderful buttery aroma.
Tip: Every oven distributes heat differently. If you notice the buns browning too rapidly during the bake, loosely tent them with aluminum foil to prevent burning. - 16Glaze with butter
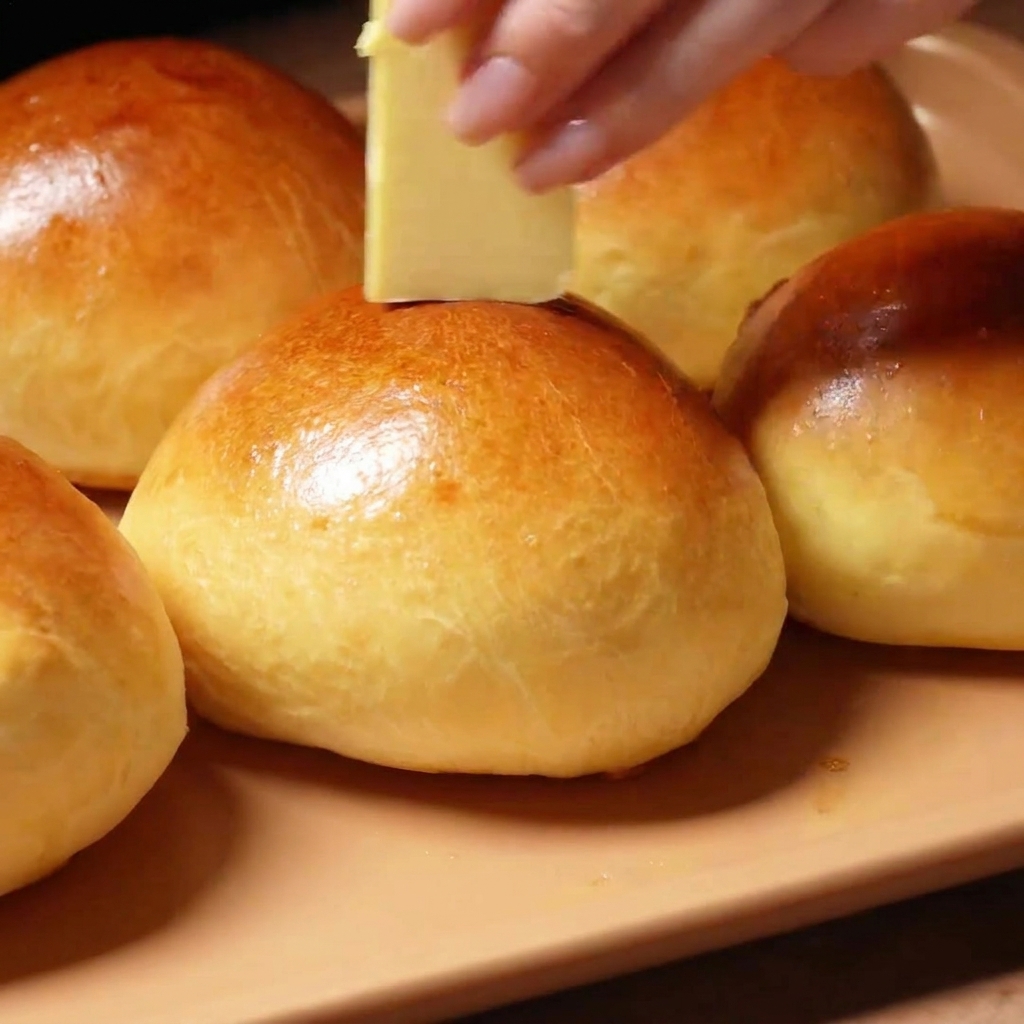
While the brioche buns are still piping hot directly from the oven, immediately rub a stick of solid butter over their tops. The residual heat will melt the butter on contact, instantly giving the buns an irresistible shine and a softer crust.
Tip: Applying the butter while the buns are steaming hot is the secret to achieving that signature bakery style highlighted finish.