Elegant Parmesan Cheese Crisp Rolls (Lacy Tuiles)
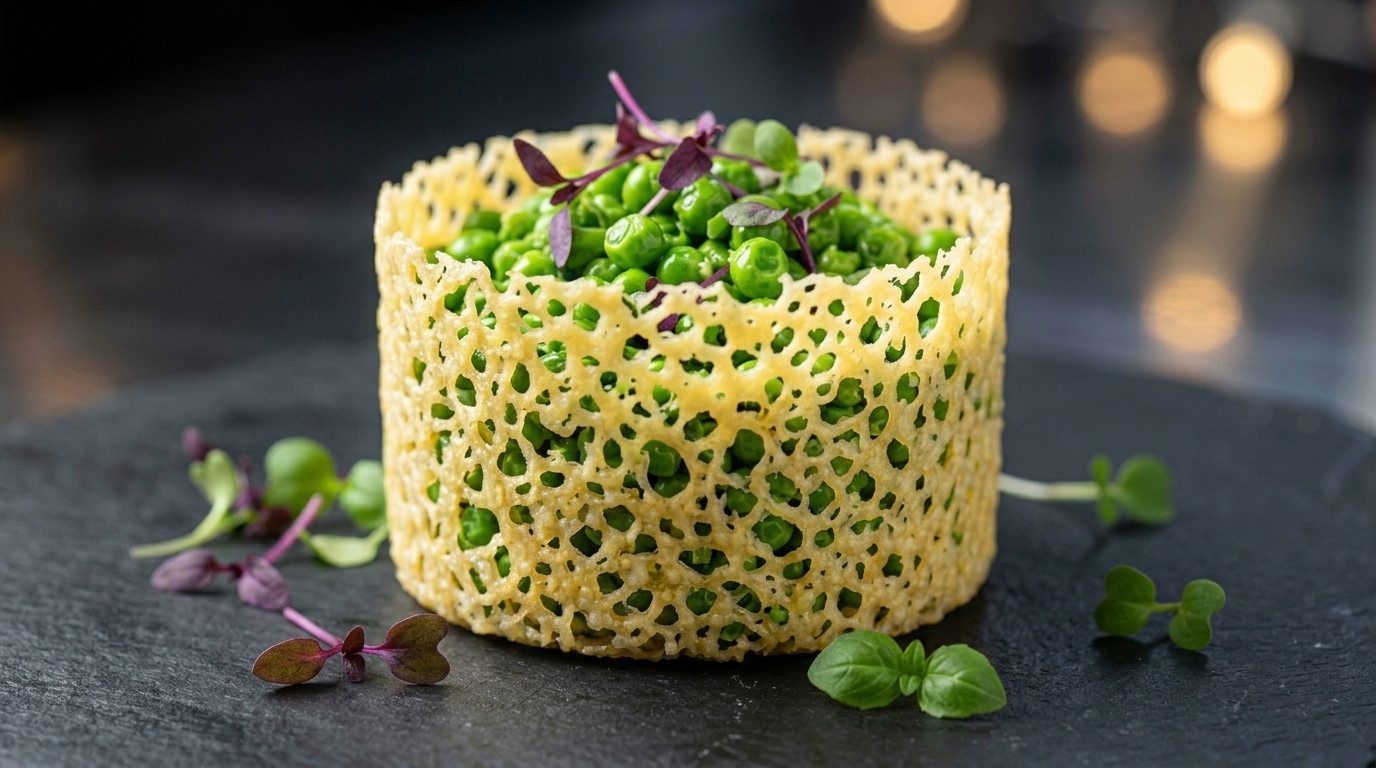
Master the secret to professional, lacy Parmesan cheese crisps in minutes. These delicate, net-textured tuiles make the perfect edible vessel for sweet peas or scallops.
Net-textured cheese crisps are a staple of fine dining, often used to elevate cold appetizers and add a savory, architectural crunch. While they look intimidatingly delicate, the technique relies on nothing more than quality Parmesan, a silicone mat, and a few seconds of quick shaping.
Ingredients
- 1 block Parmesan cheese
- to taste green peas, sweetcorn, or diced scallops (for filling)
- optional microgreens for garnish
Instructions
- 1Grate the Parmesan
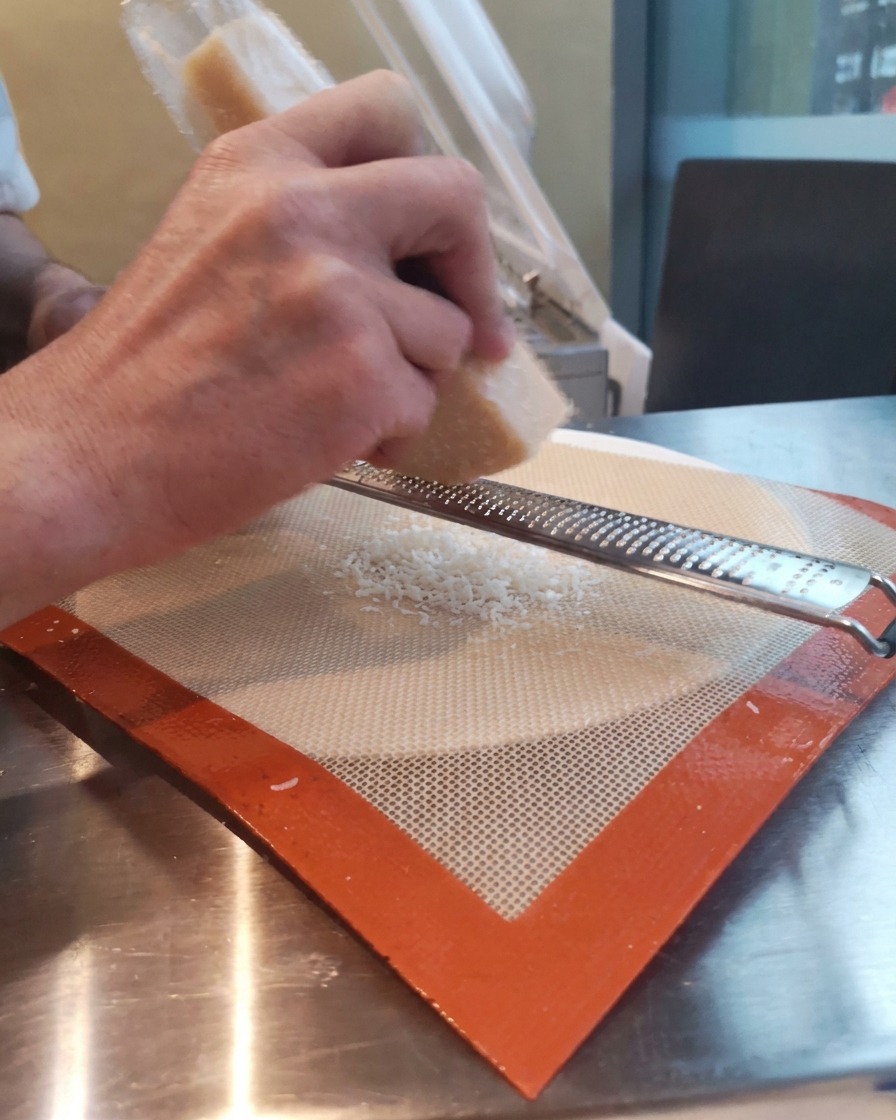
Begin by holding a fine zester or microplane over a high-temperature silicone baking mat. Gently grate a block of Parmesan cheese, allowing the shreds to fall naturally onto the mat. Do not press the cheese down; it should form a light, airy layer about 0.3 centimeters thick. Use an offset spatula if needed to neaten the edges into a uniform rectangle.
Tip: Letting the cheese fall naturally without packing it down ensures the crisp develops a delicate, lacy, net-like texture when melted. - 2Shape the cheese layer
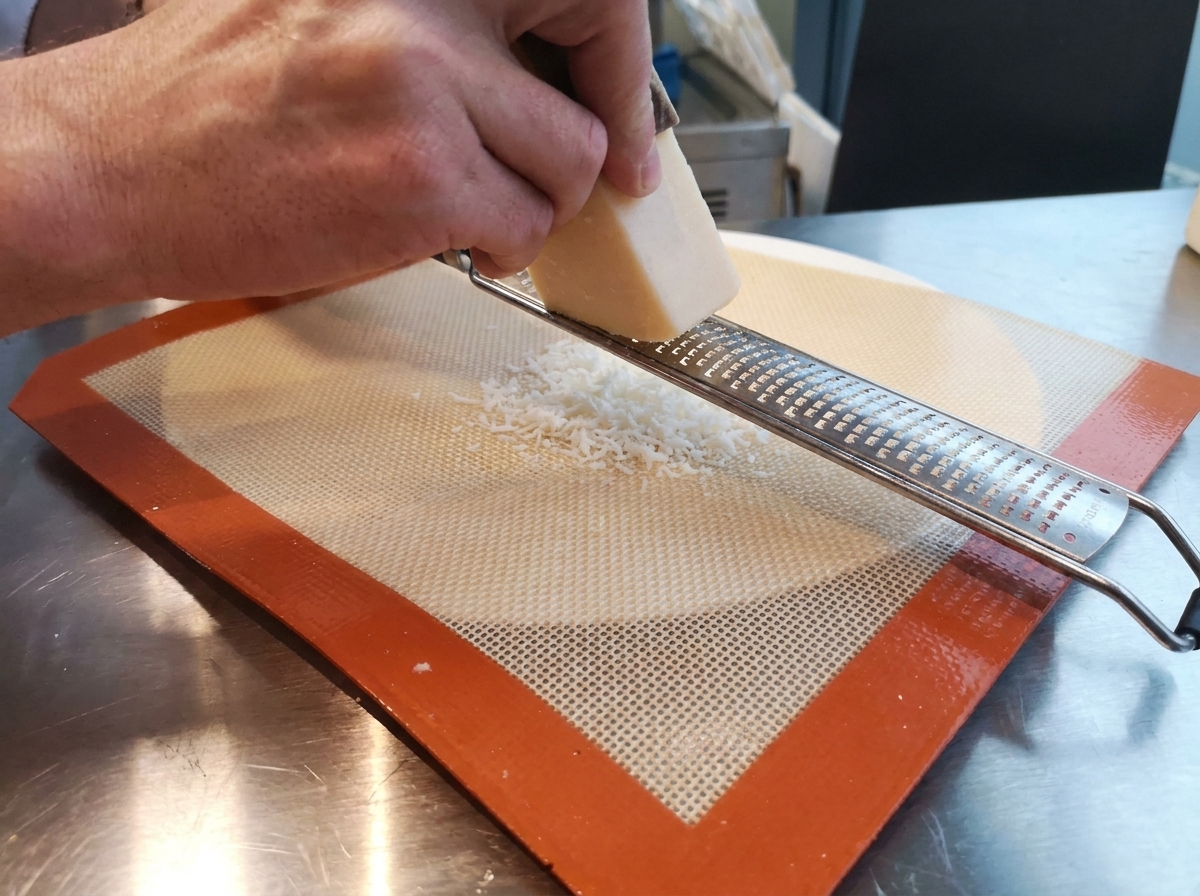
Using a small offset spatula, gently push the edges of the loosely grated cheese pile to form a neat, even rectangle. Maintain the 0.3-centimeter thickness throughout the center.
Tip: Do not press down on the top of the cheese pile while shaping the edges to ensure the lacy texture develops properly. - 3Microwave the cheese
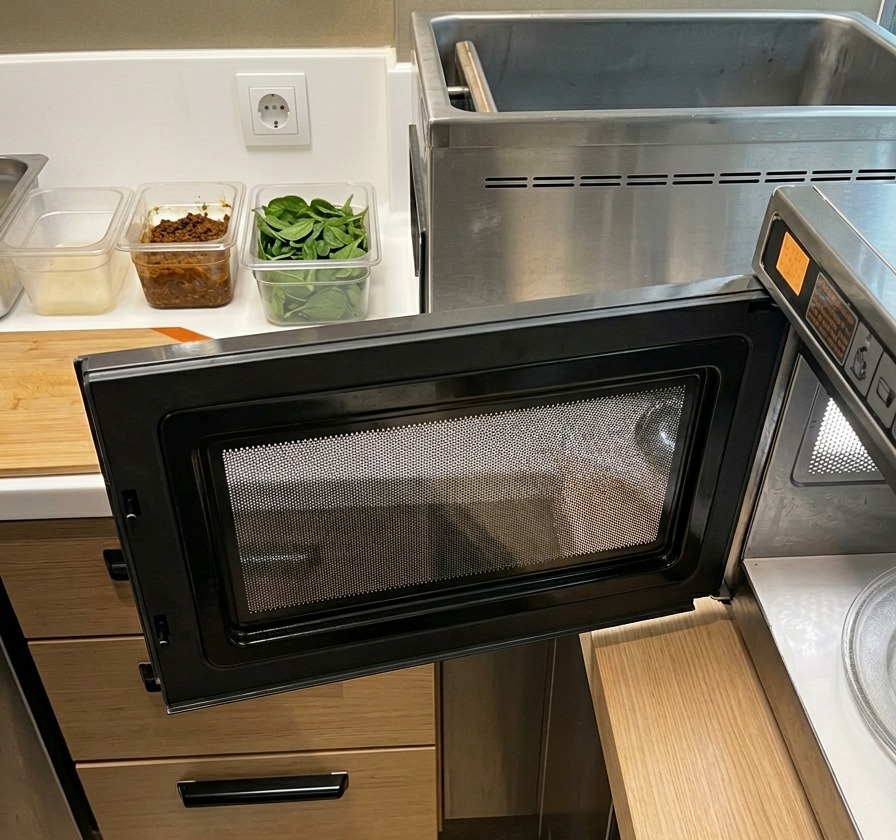
Carefully place the silicone mat with the shaped cheese rectangle into a commercial microwave. Heat on high for approximately 60 seconds until the cheese melts and forms a cohesive, bubbling net texture. If using a standard home microwave, you will need to increase the cooking time.
Tip: Monitor the cooking process closely, as microwave wattages vary and the cheese can burn rapidly once melted. - 4Shape the crisp
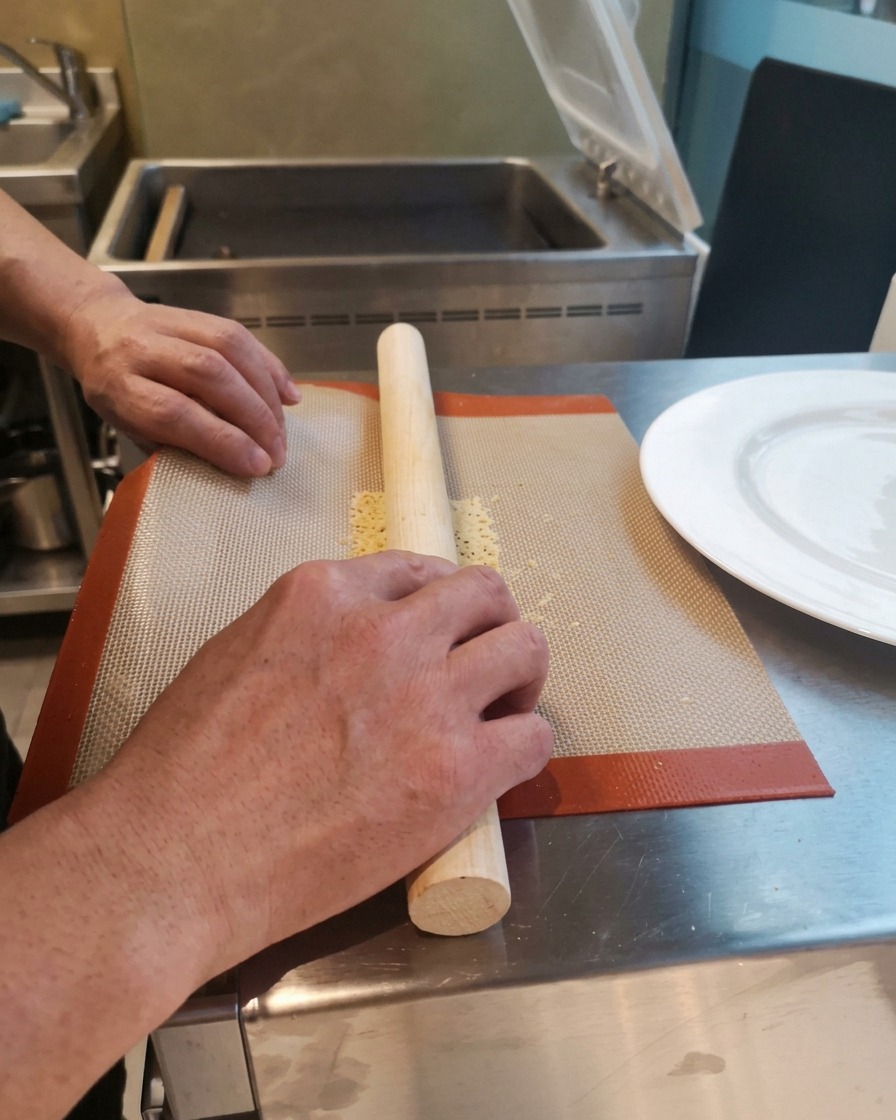
Immediately after removing the melted cheese from the microwave, while it is still hot and pliable, carefully place a wooden rolling pin over the center of the tuile. Gently wrap the soft crisp around the rolling pin to give it a curved shape. You must work quickly, as the crisp will cool, harden, and become crunchy within about five seconds of rolling.
Tip: Speed is crucial here. Have your rolling pin ready right next to the microwave so you can shape the crisp the second it comes out before it hardens. - 5Set the final shape
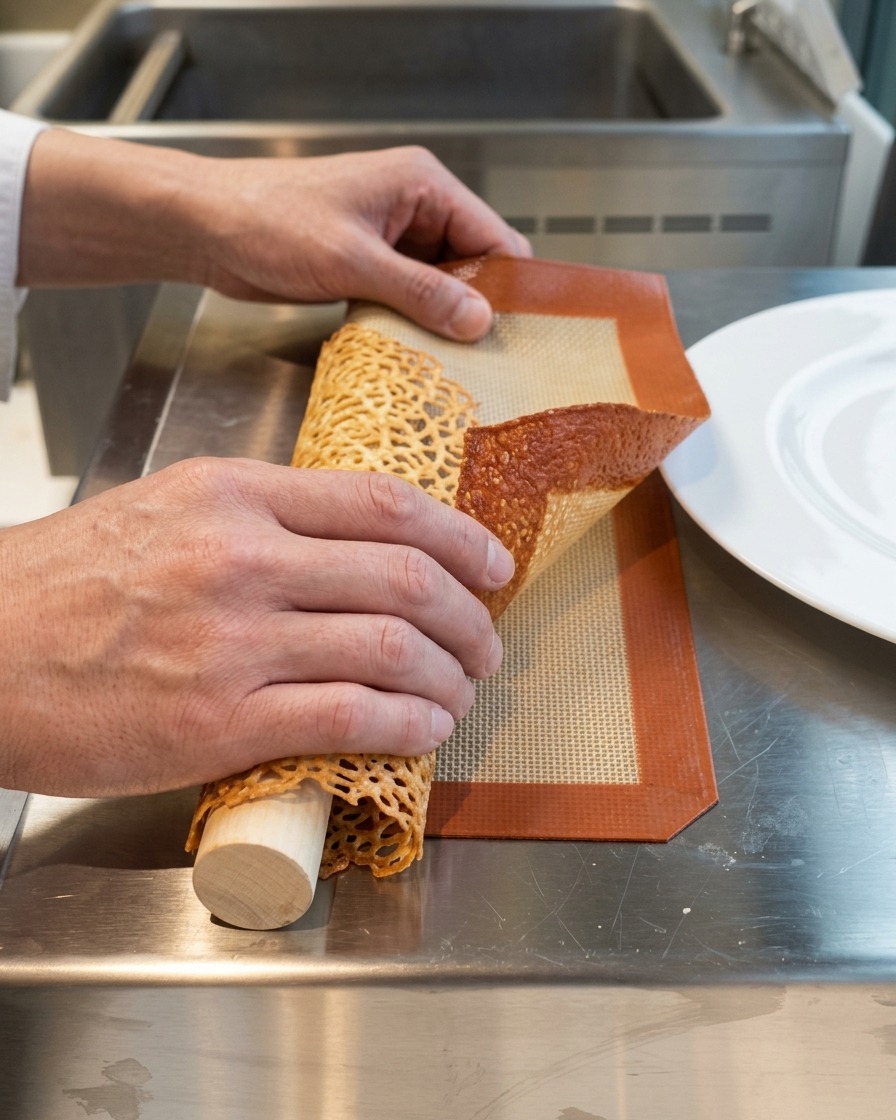
With the hot crisp draped over the rolling pin, quickly use your hands to gently press and contour the cheese flush against the wood. Hold it in place for a few seconds so it sets into a permanent cylindrical shape.
Tip: Use caution, as the melted cheese and mat will be hot. The crisp sets fully in about 5 seconds.