Crispy Japanese Chicken Katsu Sandwich
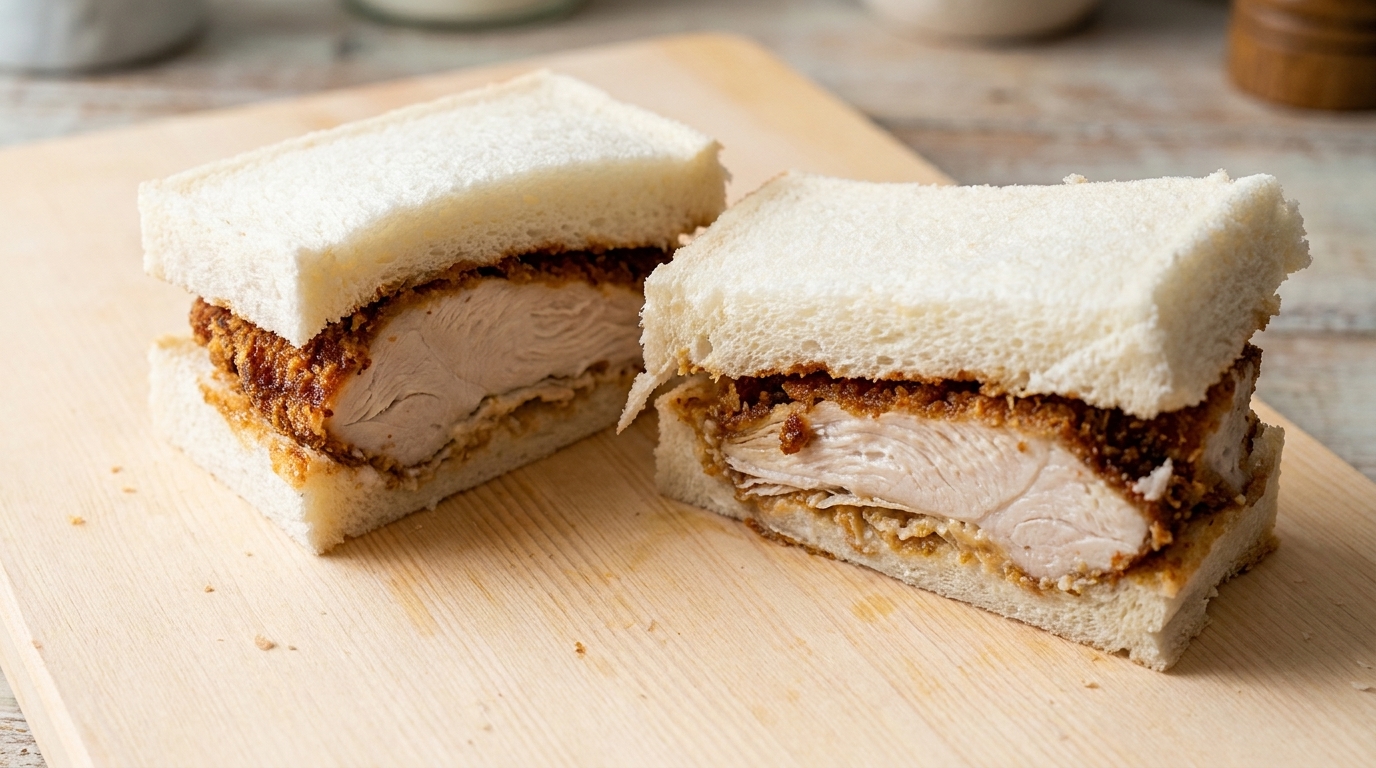
Elevate your lunch with this crispy chicken katsu sandwich, featuring a juicy breaded fillet on soft white bread with a tangy, spicy wasabi-mayo kick.
The chicken katsu sandwich, or katsu sando, is a beloved Japanese staple that perfectly balances textures. It pairs the deep-fried, panko-crusted exterior of a tender chicken breast with the pillowy softness of crustless white bread. The addition of a wasabi-infused mayonnaise adds a sophisticated, sharp brightness that cuts through the richness of the fried cutlet.
Ingredients
- 1 whole chicken breast
- 1 pinch salt
- 1 large egg
- 1 tbsp milk
- 1 tbsp mayonnaise
- 1/2 cup flour
- 1 cup panko breadcrumbs
- 1/2 cup cooking oil
- 1 tbsp mayonnaise
- 1/2 tsp wasabi
- 2 slices white bread
Instructions
- 1Season the Chicken
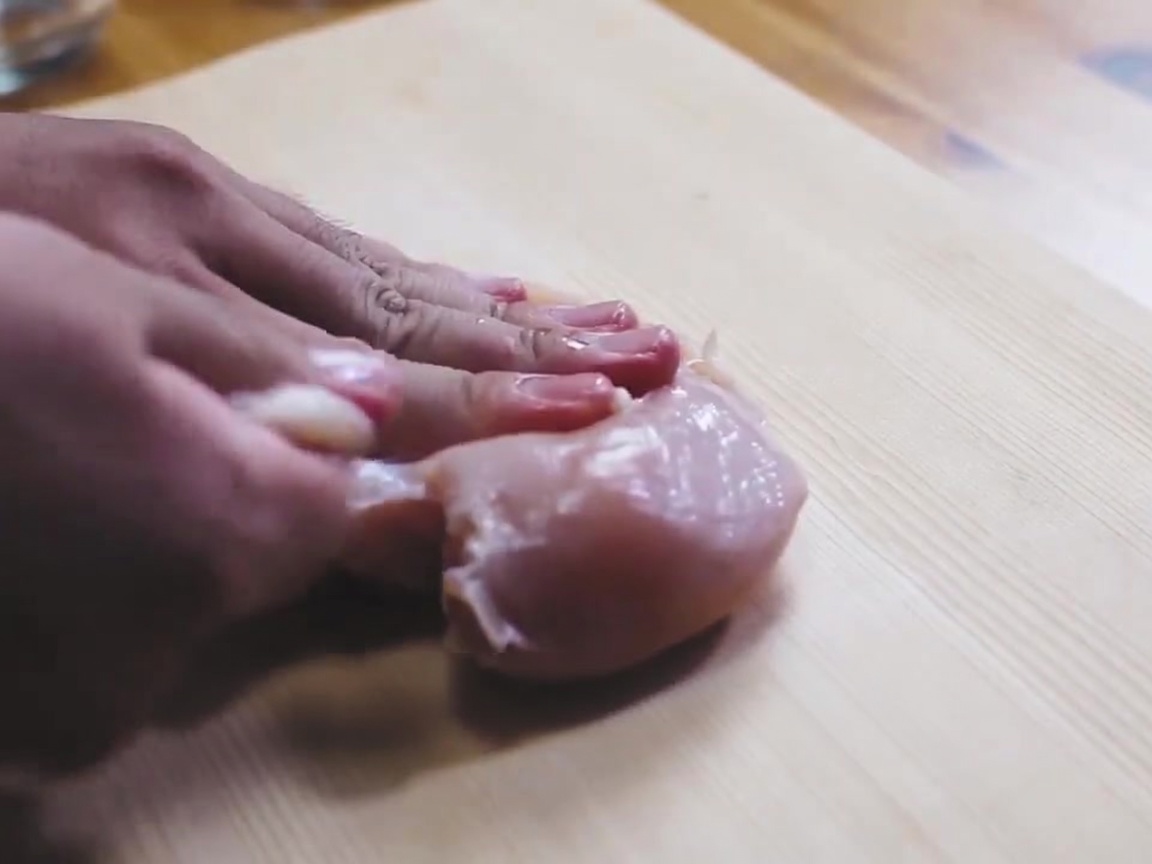
Place the raw chicken breast on a cutting board and sprinkle it evenly with salt on both sides to season.
Tip: Pat the chicken dry with a paper towel before seasoning to help the flour adhere better later. - 2Prepare the Egg Mixture
In a glass bowl, combine one egg, a tablespoon of milk, and a tablespoon of mayonnaise. Whisk the ingredients together until thoroughly incorporated.
Tip: Adding mayonnaise to the egg wash helps create a richer, more flavorful coating for the chicken. - 3Dredge in Flour
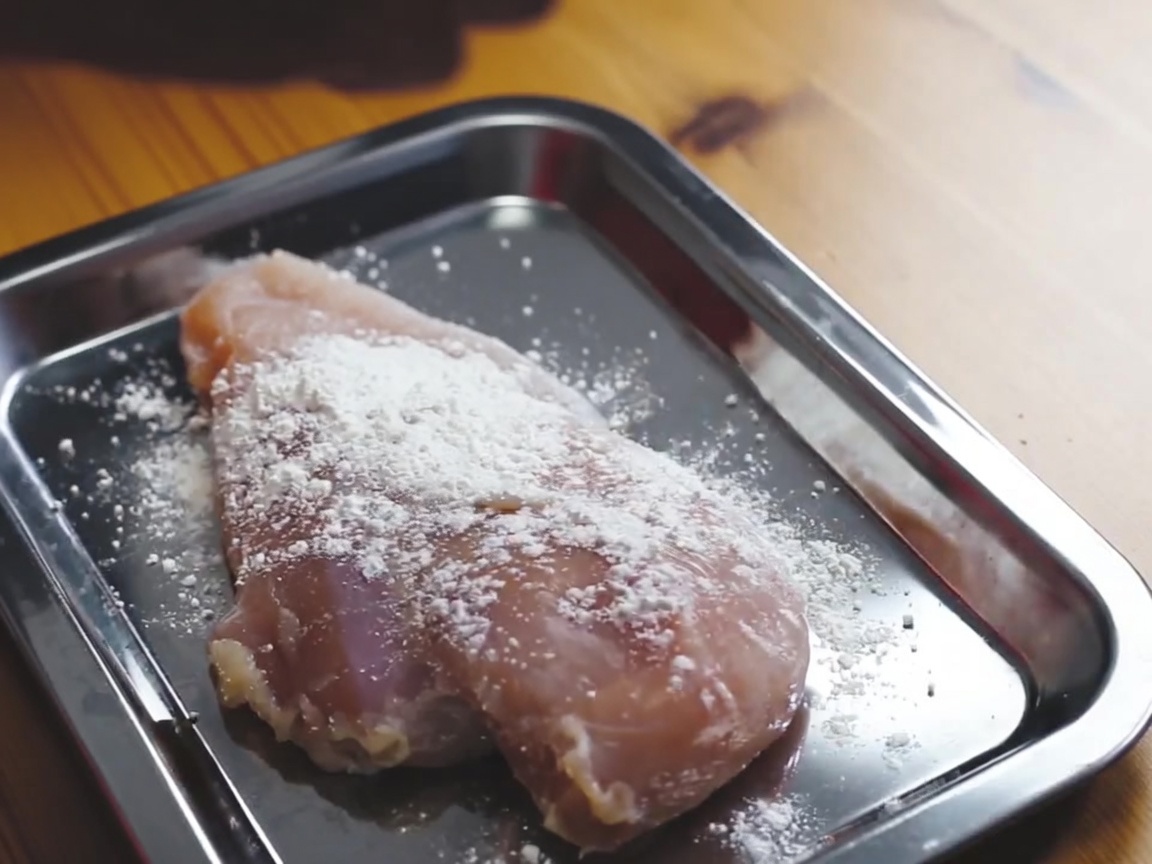
Place the seasoned chicken breast into a tray of flour, coating it completely. Shake off any excess flour to ensure an even, thin layer.
Tip: Ensuring the chicken is dry before flouring prevents a gummy crust. - 4Dip in Egg Wash
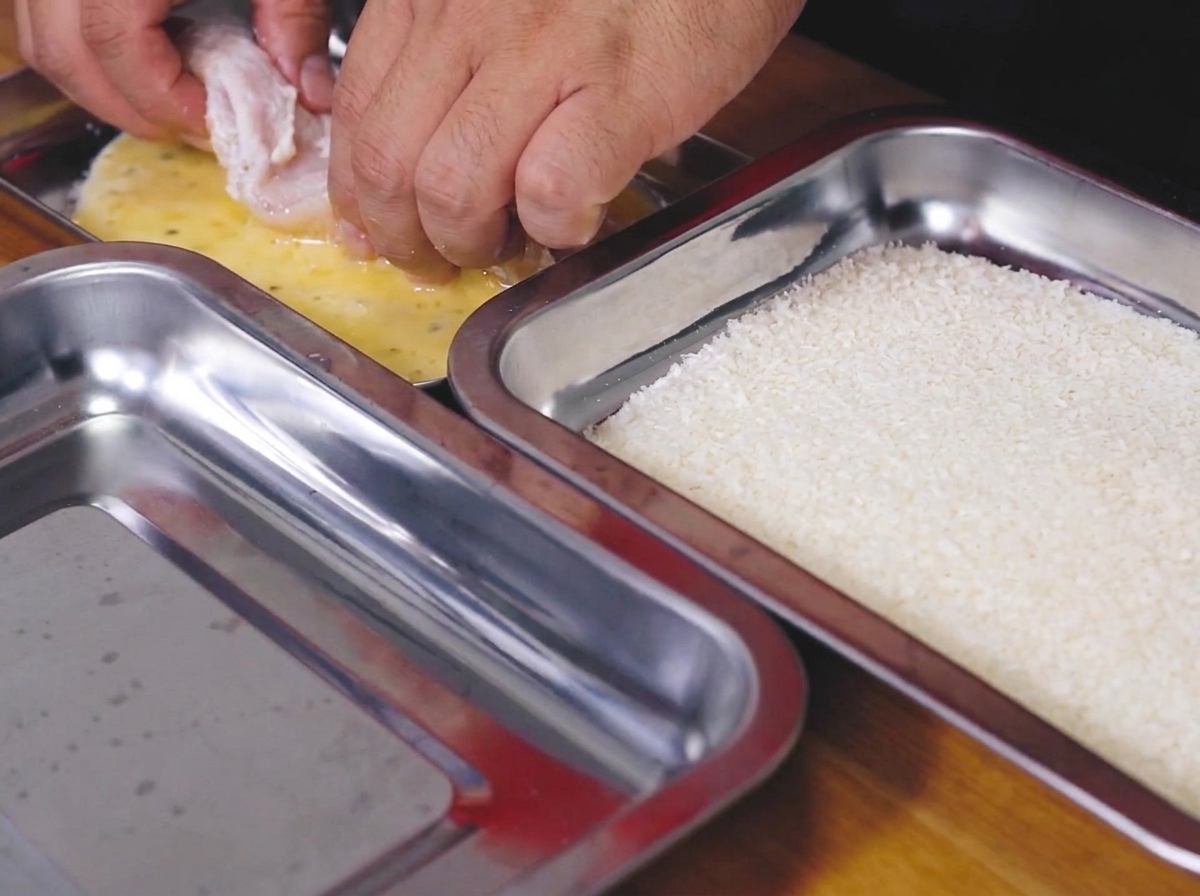
Submerge the floured chicken breast into the prepared egg, milk, and mayonnaise mixture, ensuring all surfaces are well-moistened.
Tip: Use a fork or tongs to dip the chicken to keep your hands clean. - 5Coat in Panko
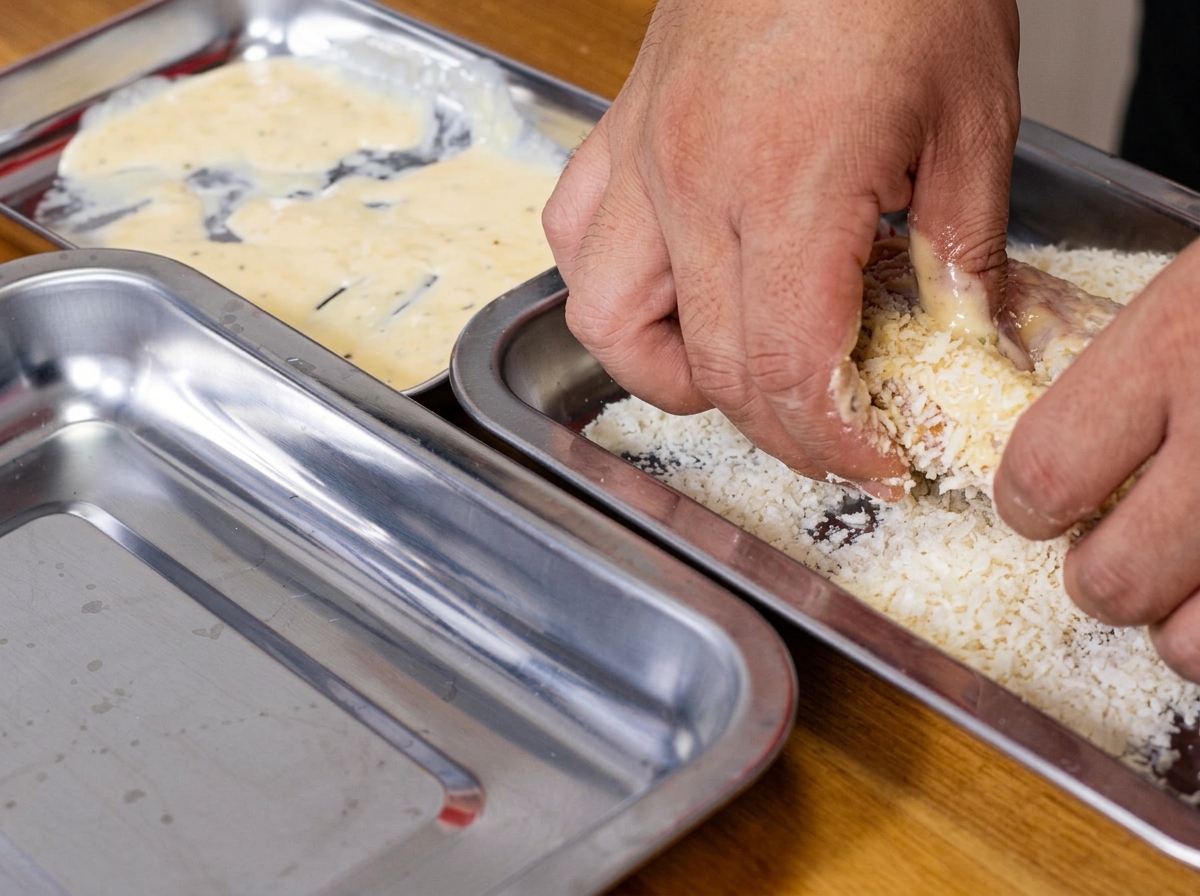
Transfer the egg-coated chicken into a tray of panko breadcrumbs. Press down firmly to ensure the crumbs adhere well to the entire surface.
Tip: Pressing firmly is key to getting a thick, crunchy breadcrumb crust. - 6Fry the Chicken
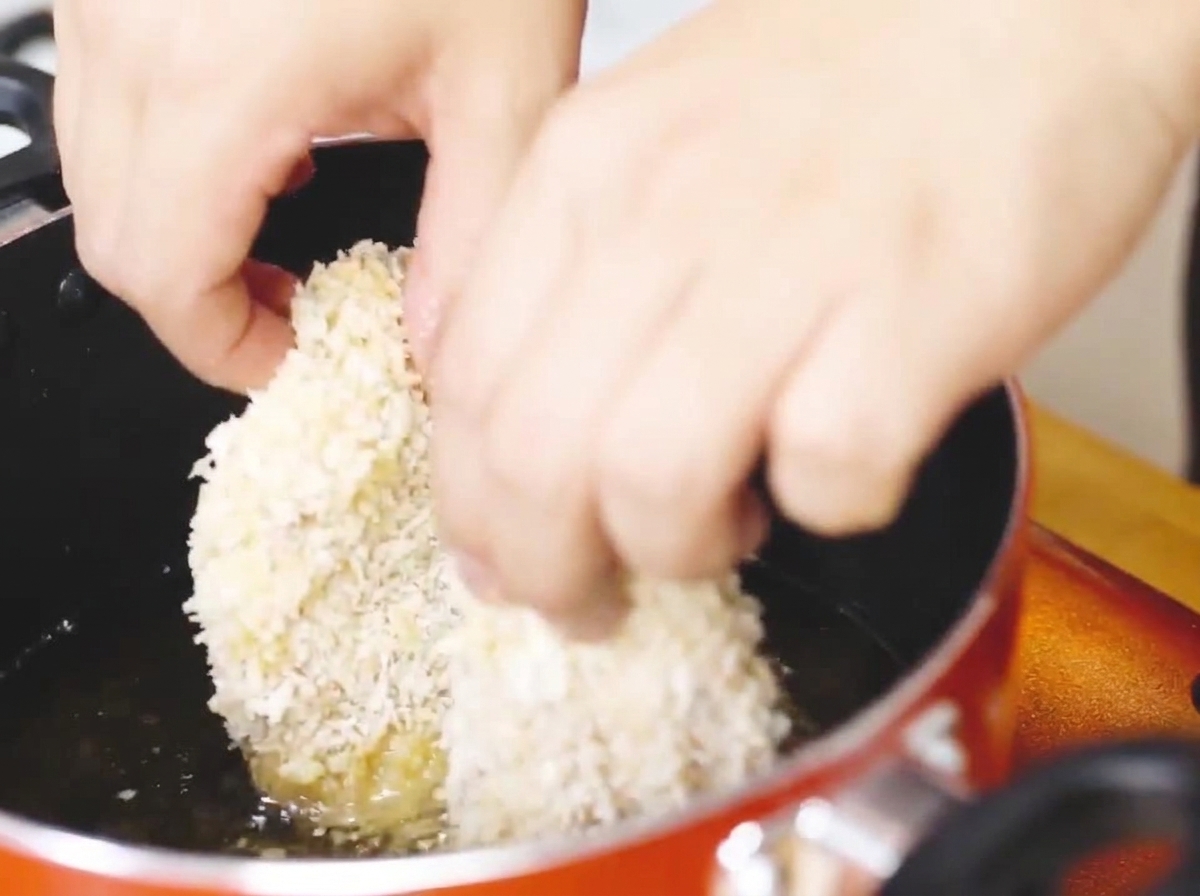
Heat oil in a pan and fry the breaded chicken cutlet until both sides are golden brown and crispy.
Tip: Maintain a medium heat to ensure the chicken cooks through without burning the panko. - 7Prepare the wasabi-mayonnaise
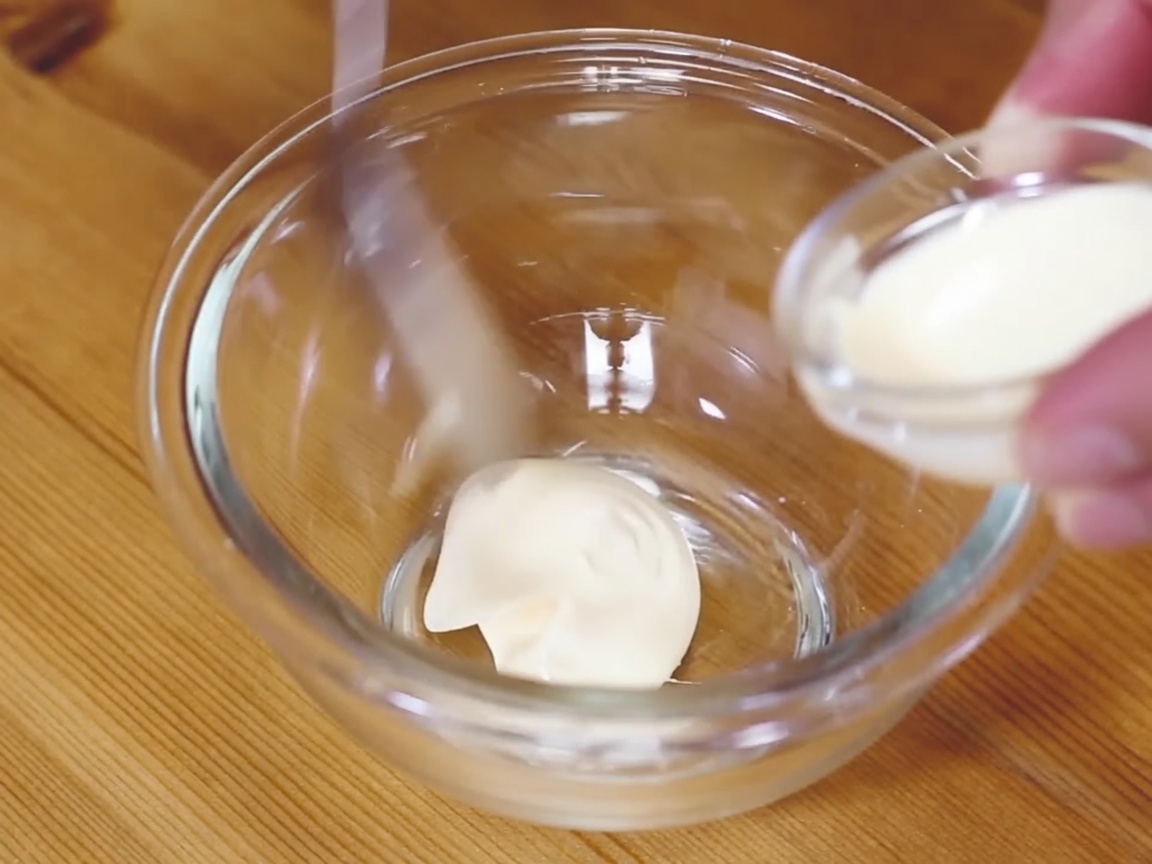
In a small glass bowl, combine a tablespoon of mayonnaise with a small amount of wasabi. Mix until well incorporated to create a flavorful, slightly spicy spread for the sandwich.
Tip: Adjust the amount of wasabi based on your preferred level of heat. - 8Apply sauce to the bread
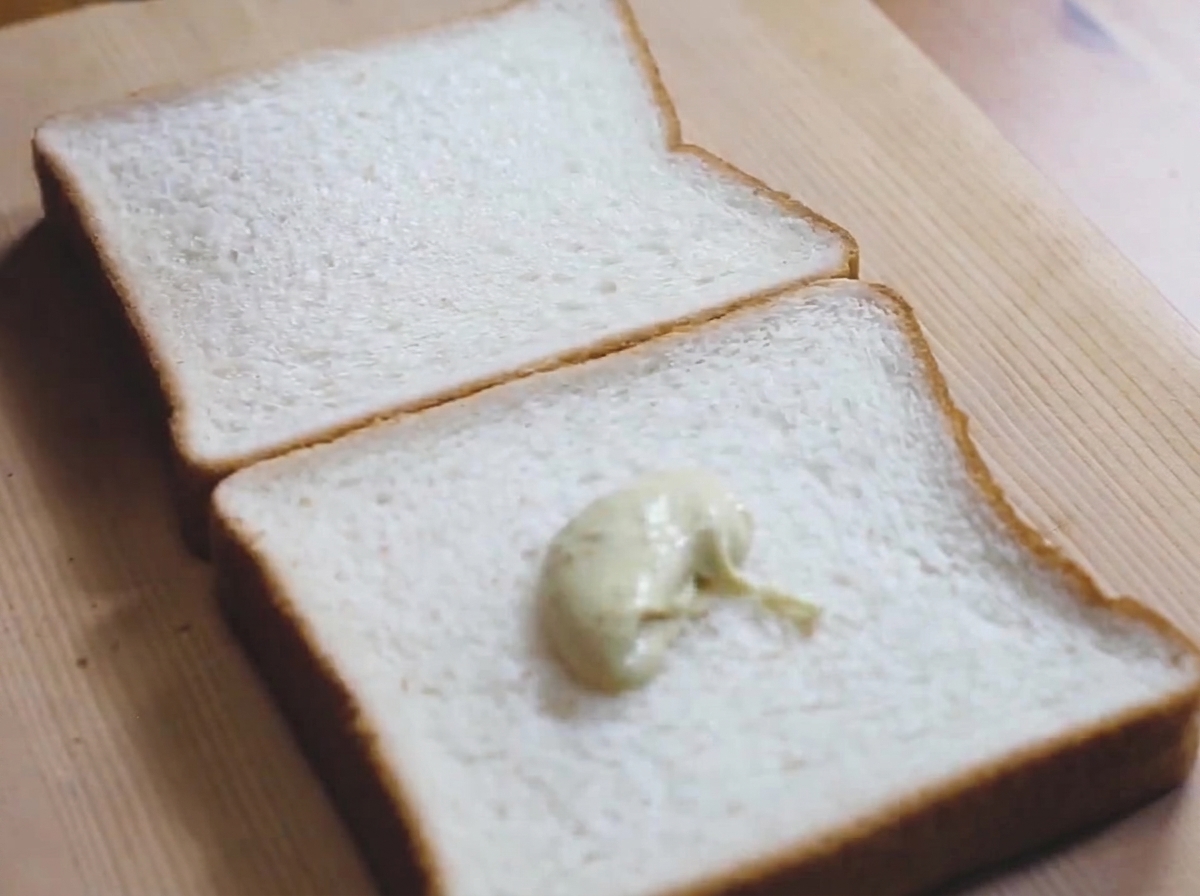
Take two slices of white bread and spread the prepared wasabi-mayonnaise sauce evenly onto the surface of the bread slices.
Tip: Ensure you spread the sauce all the way to the edges for flavor in every bite. - 9Assemble the sandwich
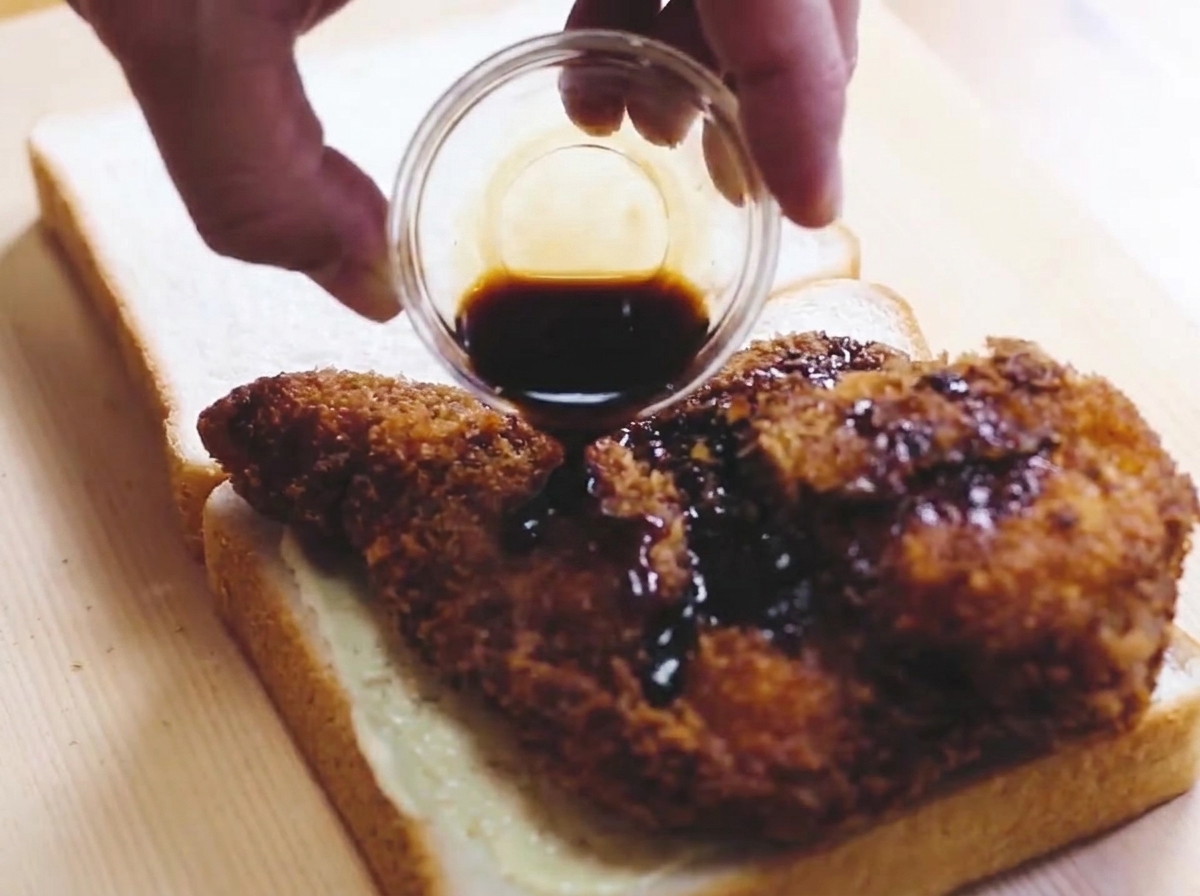
Place the golden-brown fried chicken cutlet onto one of the prepared bread slices. Drizzle a little extra wasabi-mayonnaise sauce over the chicken, then cover with the second slice of bread.
Tip: Press down gently on the sandwich to help the sauce adhere the chicken to the bread. - 10Trim and serve
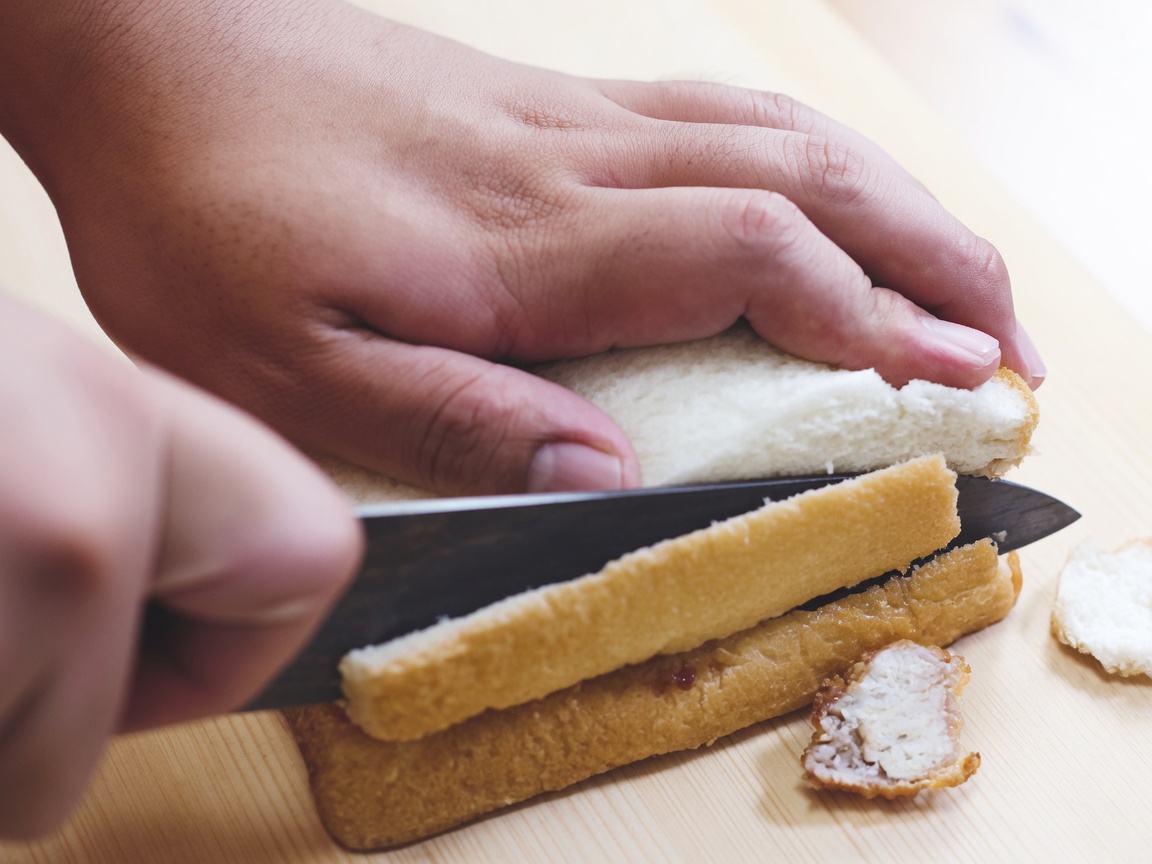
Once assembled, use a sharp knife to carefully cut off the crusts from all sides of the sandwich. Slice the sandwich in half to serve.
Tip: Use a serrated bread knife for a cleaner cut without crushing the soft bread.