Homemade Spicy Fried Chicken Burger
Popcorn Chicken
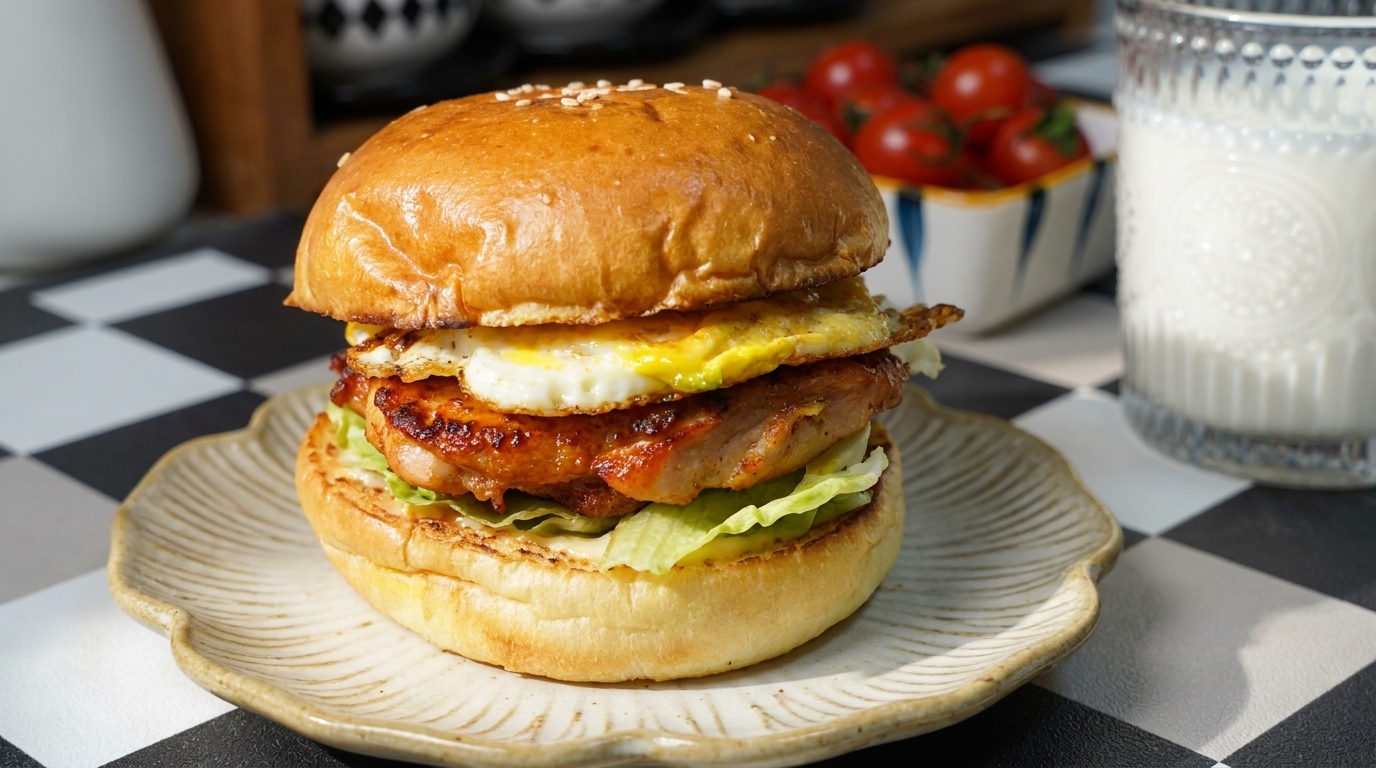
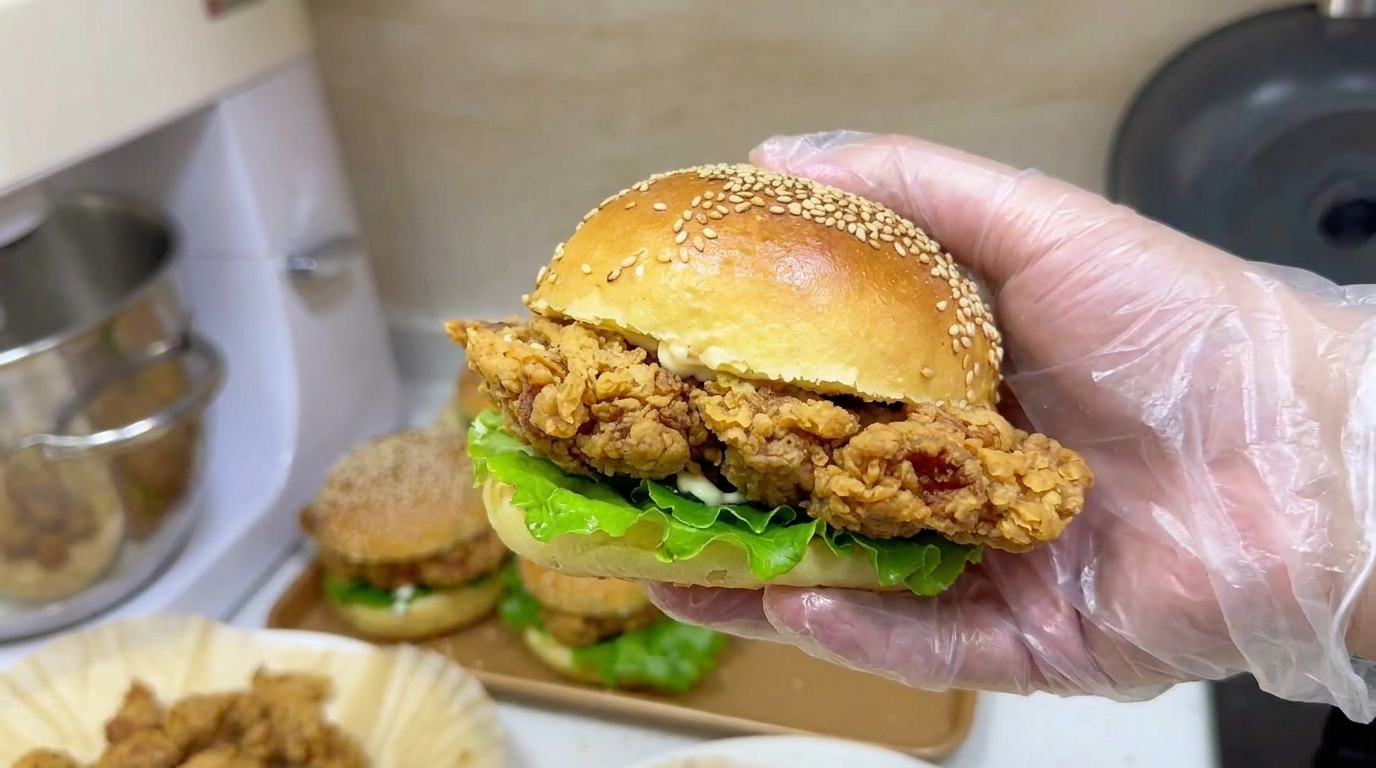
Recreate this classic fast-food favorite at home. Featuring crispy, flaky fried chicken thigh and toasted sesame buns, this recipe delivers restaurant-quality crunch.
There is something incredibly satisfying about mastering a fast-food staple in your own kitchen. By using juicy chicken thighs and a double-coating technique, you can achieve that signature flaky crust and tender interior that usually requires a trip to the restaurant. This recipe allows you to prepare both crunchy chicken burgers and addictive popcorn chicken in one go, making it a perfect weekend project for families.
Ingredients
- 3 large chicken thighs
- 2 cups low-gluten flour
- 1 tsp baking powder
- 1 cup white sesame seeds
- 80g portions burger dough
- to taste ginger and scallions
- to taste seasonings
- to taste mayonnaise
- to taste lettuce leaves
Instructions
- 1Debone the chicken thighs
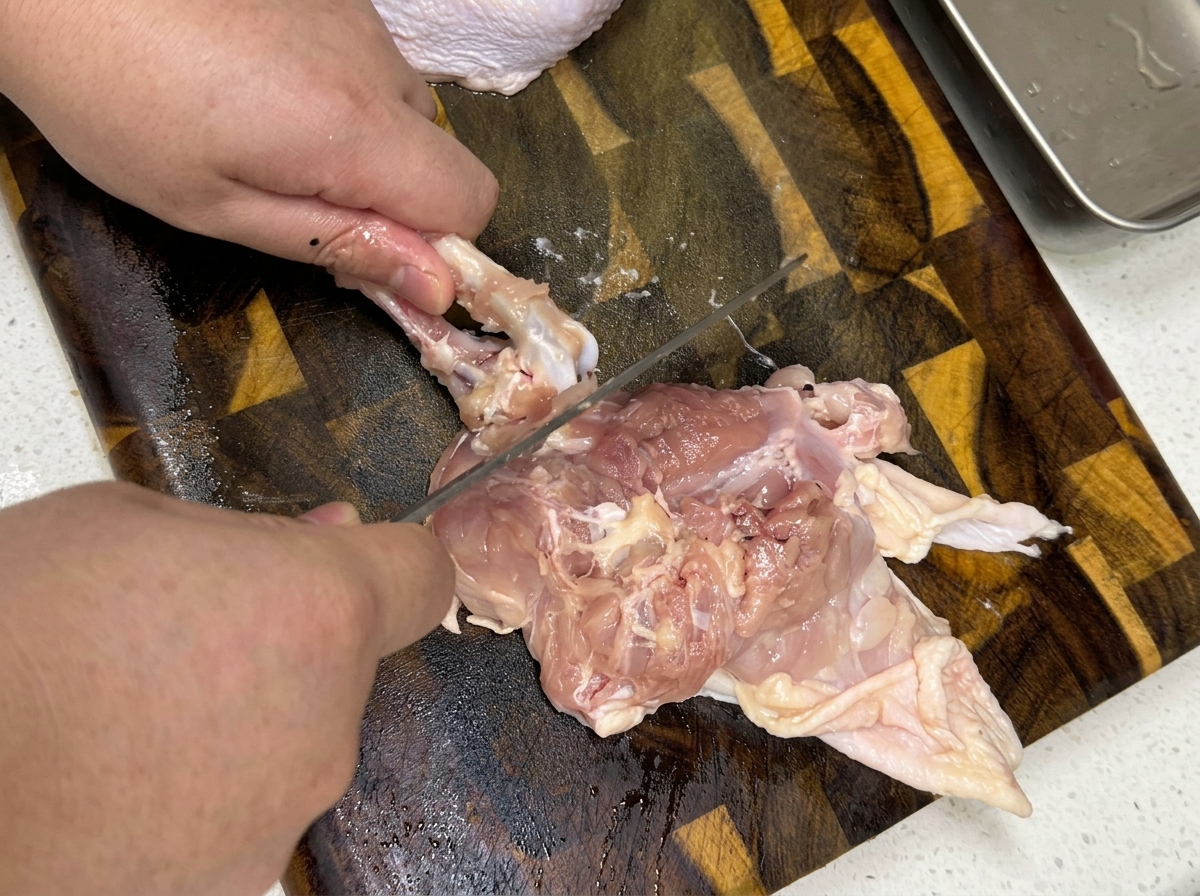
Place the chicken thighs on a cutting board. Use a sharp knife to carefully remove the bones and skin, keeping the meat intact for further preparation.
Tip: Work carefully around the joint to ensure you remove as much meat as possible from the bone. - 2Dice the chicken
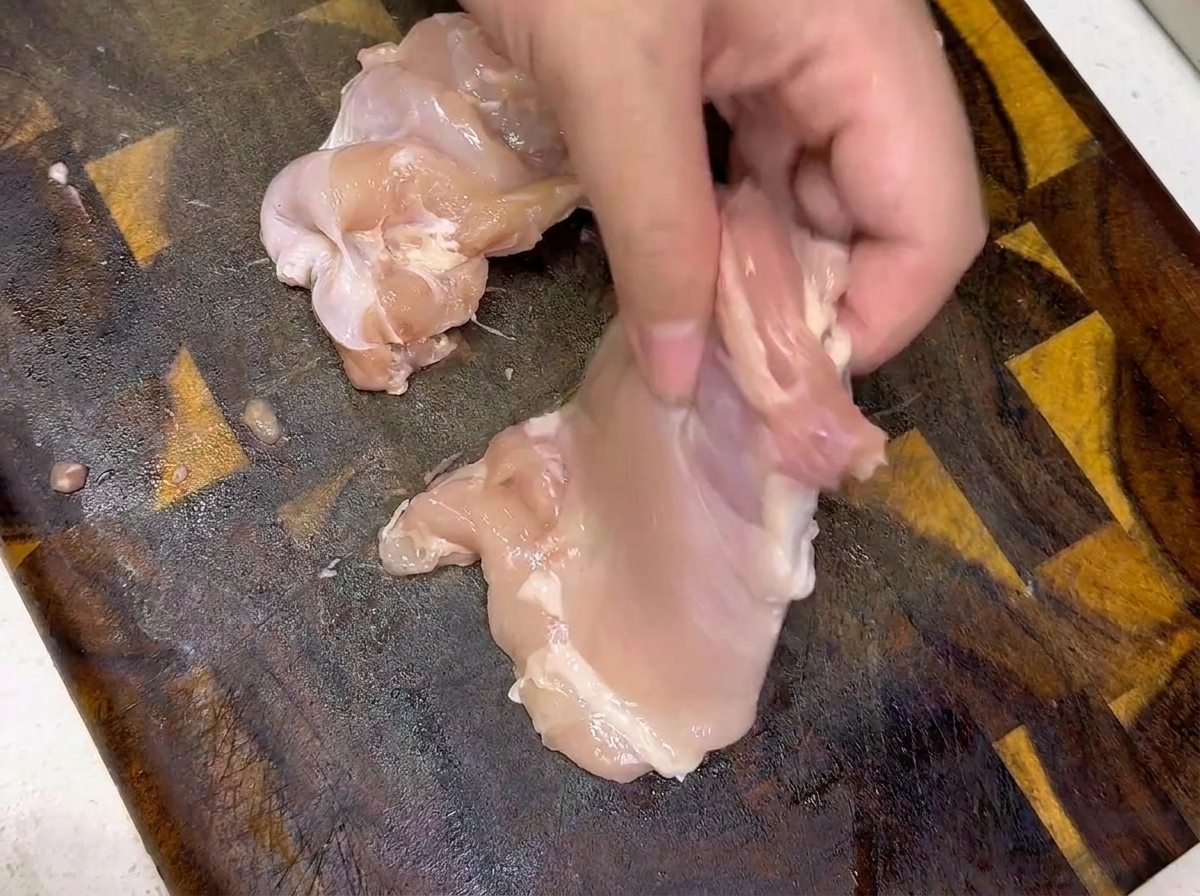
Take the deboned chicken thigh meat and cut it into uniform, bite-sized pieces for the popcorn chicken.
Tip: Uniform sizing ensures that all pieces cook evenly in the hot oil later. - 3Season the chicken
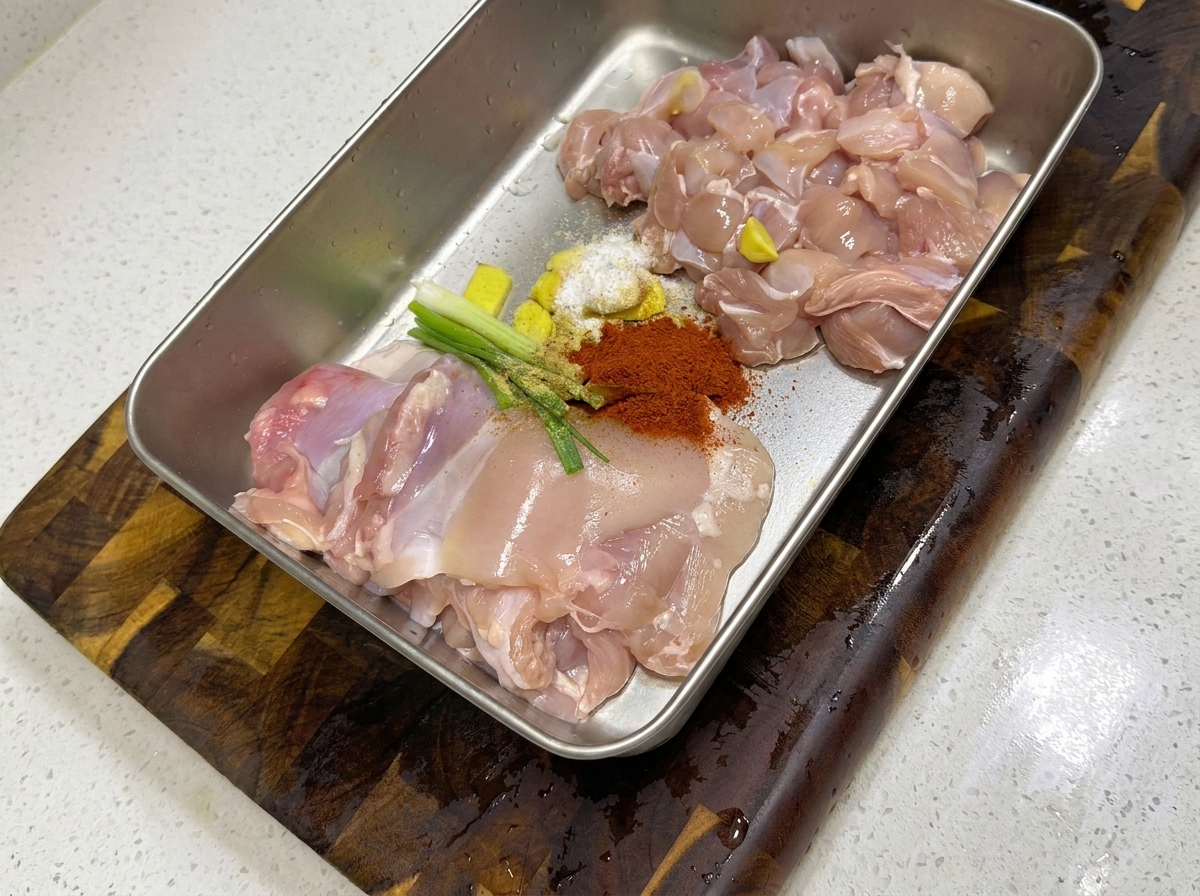
Place the diced chicken pieces into a metal tray along with sliced ginger and scallions. Add the required seasonings and a small amount of water to the tray.
Tip: Adding a little water helps the chicken stay moist and tender during the marination and frying process. - 4Marinate the chicken
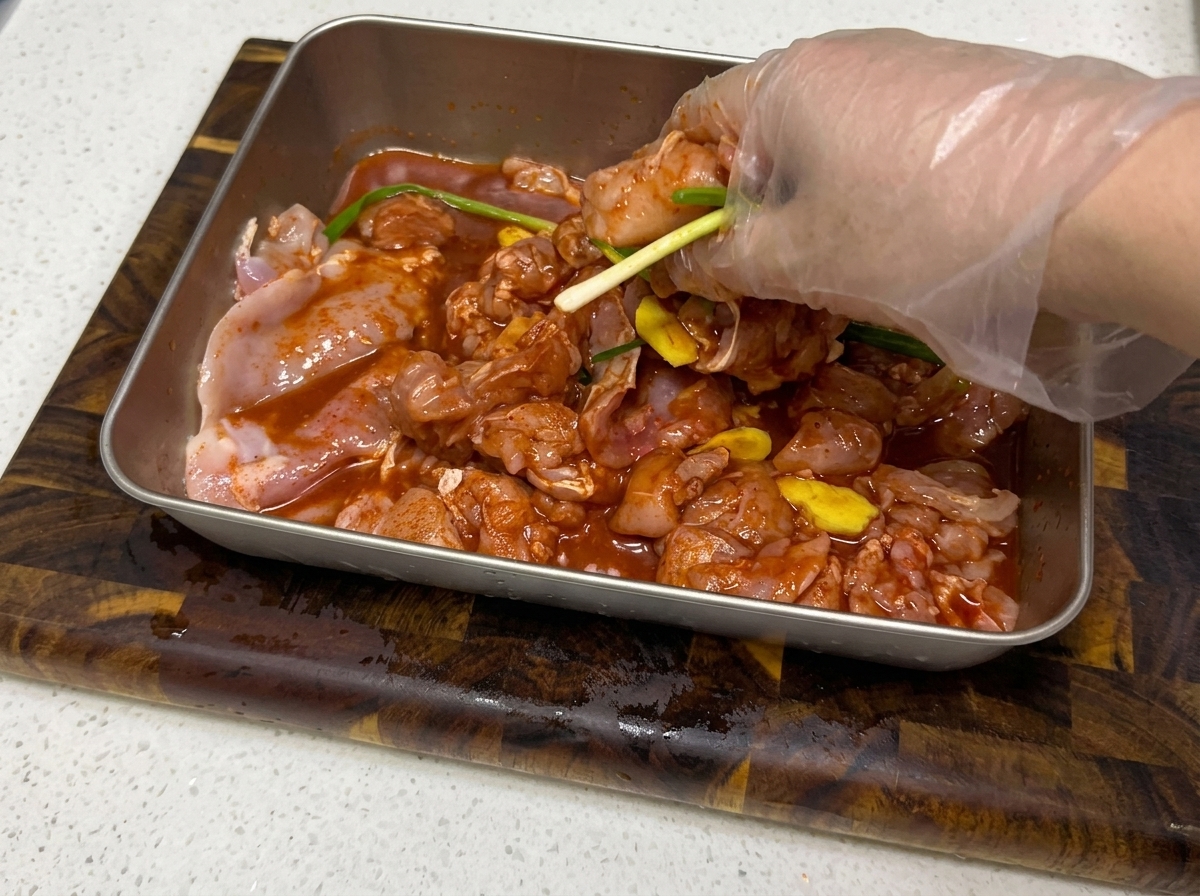
Using a gloved hand, thoroughly massage the seasonings, aromatics, and water into the chicken pieces. Ensure every piece is well-coated before leaving it to marinate.
Tip: Massage the meat for a few minutes to help the marinade absorb fully into the chicken. - 5Prepare the dough
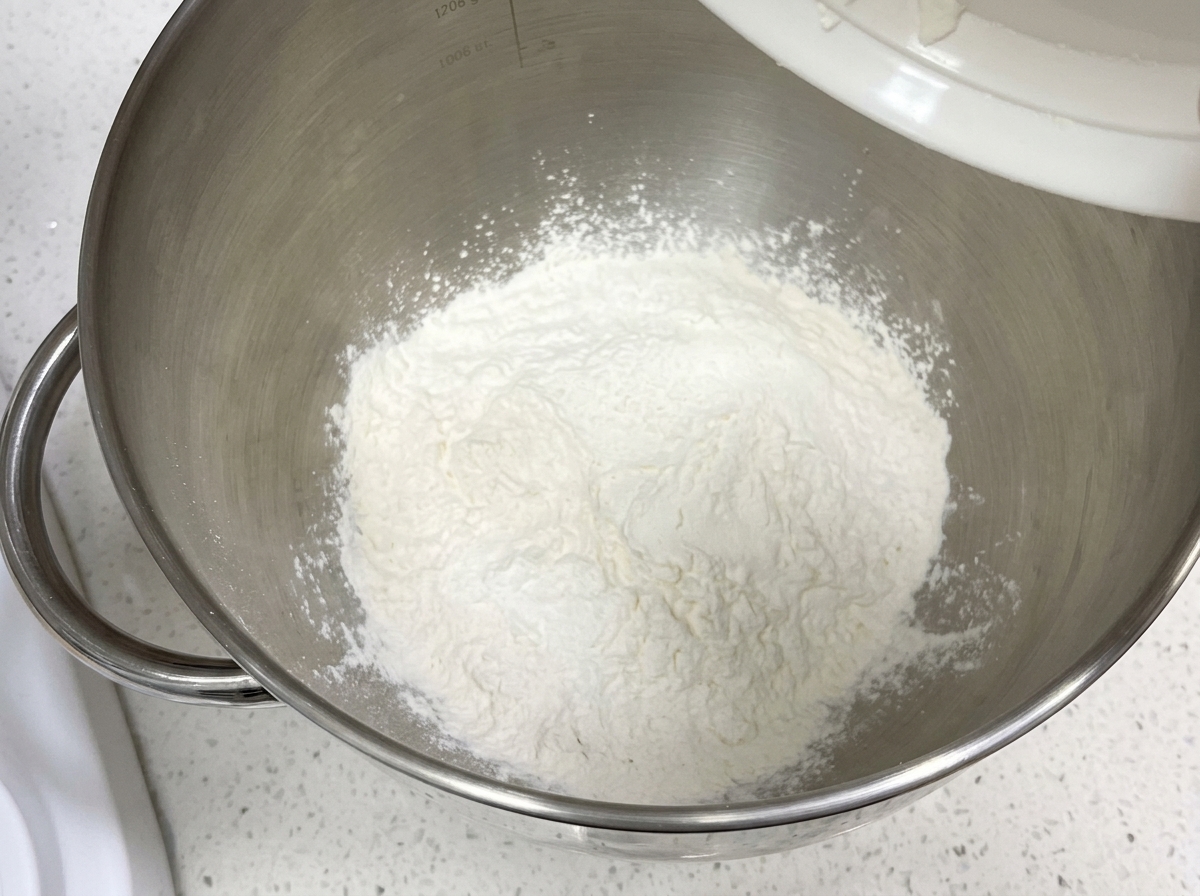
Add the flour and other dry ingredients into the bowl of a stand mixer. You will combine these before adding the liquid components to start the dough.
Tip: Ensure your dry ingredients are measured accurately for the best dough consistency. - 6Check the dough
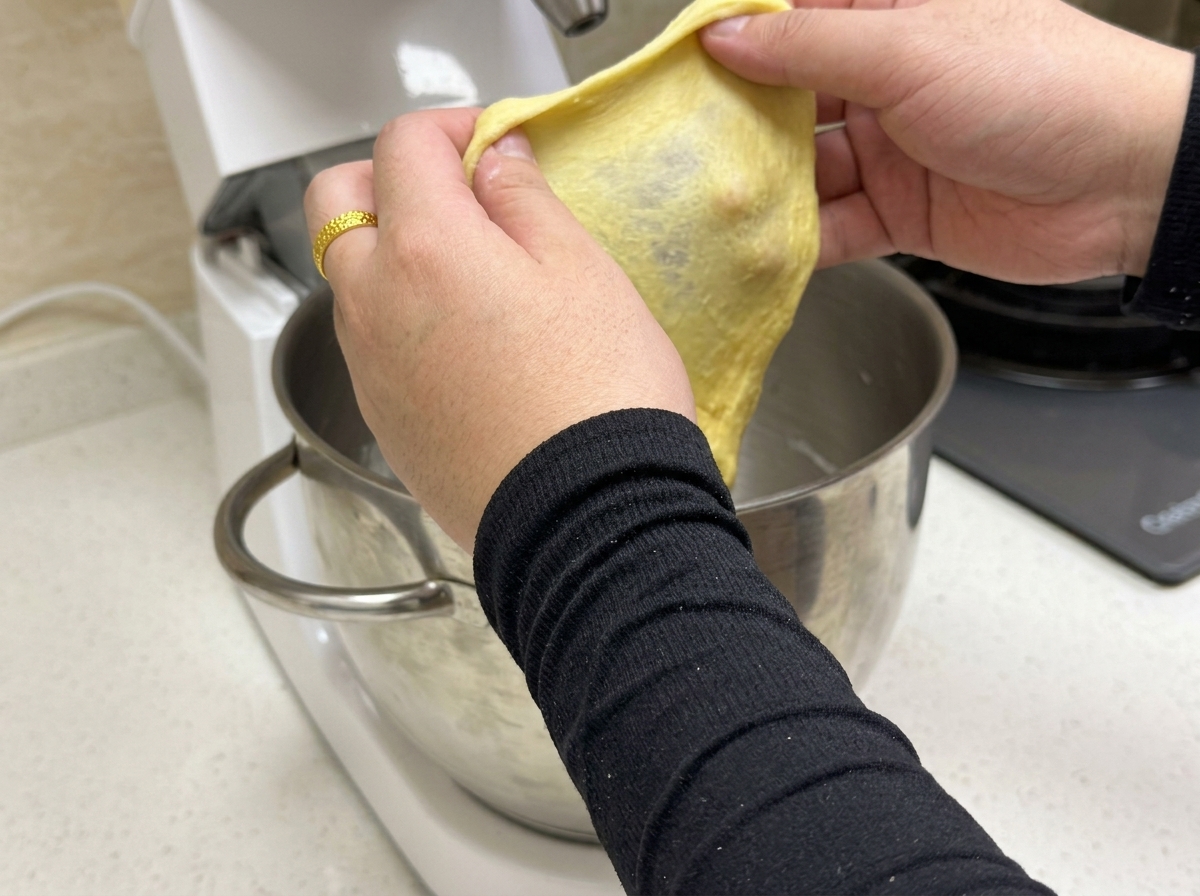
After kneading, test the dough by gently stretching a small piece. It should form a smooth, translucent film, indicating that the gluten has developed sufficiently.
Tip: If the dough tears easily, it needs to be kneaded for a few more minutes. - 7Portion the burger dough
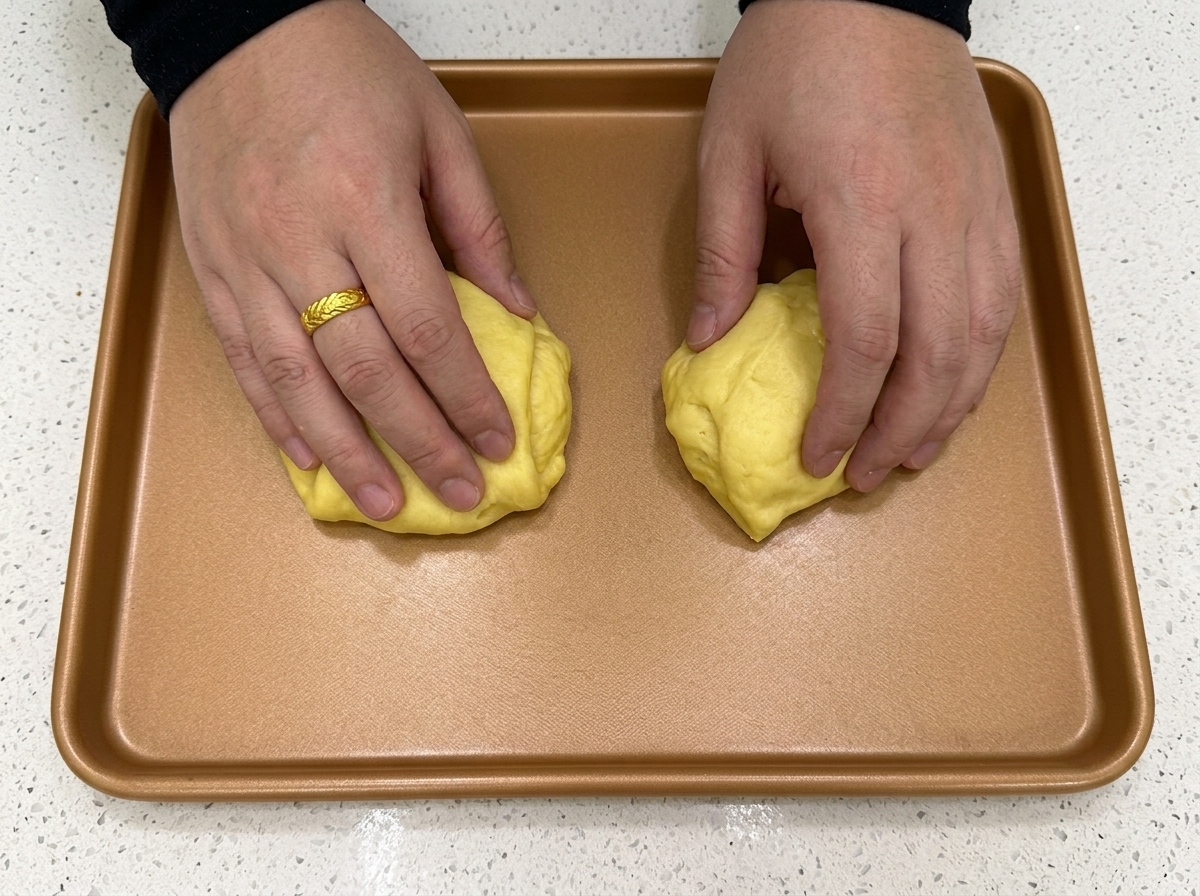
Divide the prepared, well-kneaded dough into uniform 80-gram portions. Use a dough scraper to cut the log accurately so that each bun will bake evenly.
Tip: Keep the dough covered with a damp cloth while portioning to prevent it from drying out. - 8Shape the dough balls
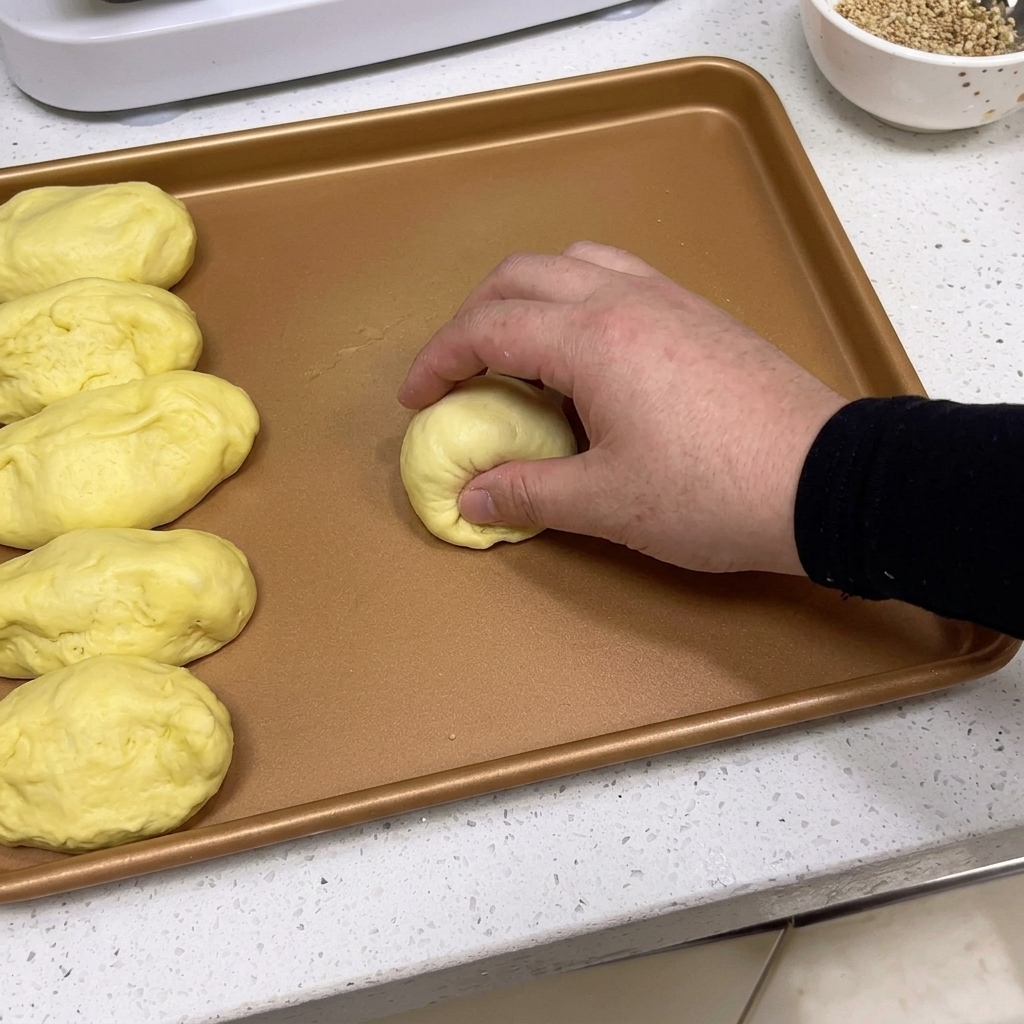
Take each 80-gram portion of dough and roll it by hand into a smooth, tight ball. Ensure the seal or seam of the dough is facing downward to create a uniform surface for proofing and baking.
Tip: Apply gentle pressure to create tension on the surface of the dough ball for a better rise. - 9Moisten the dough surface
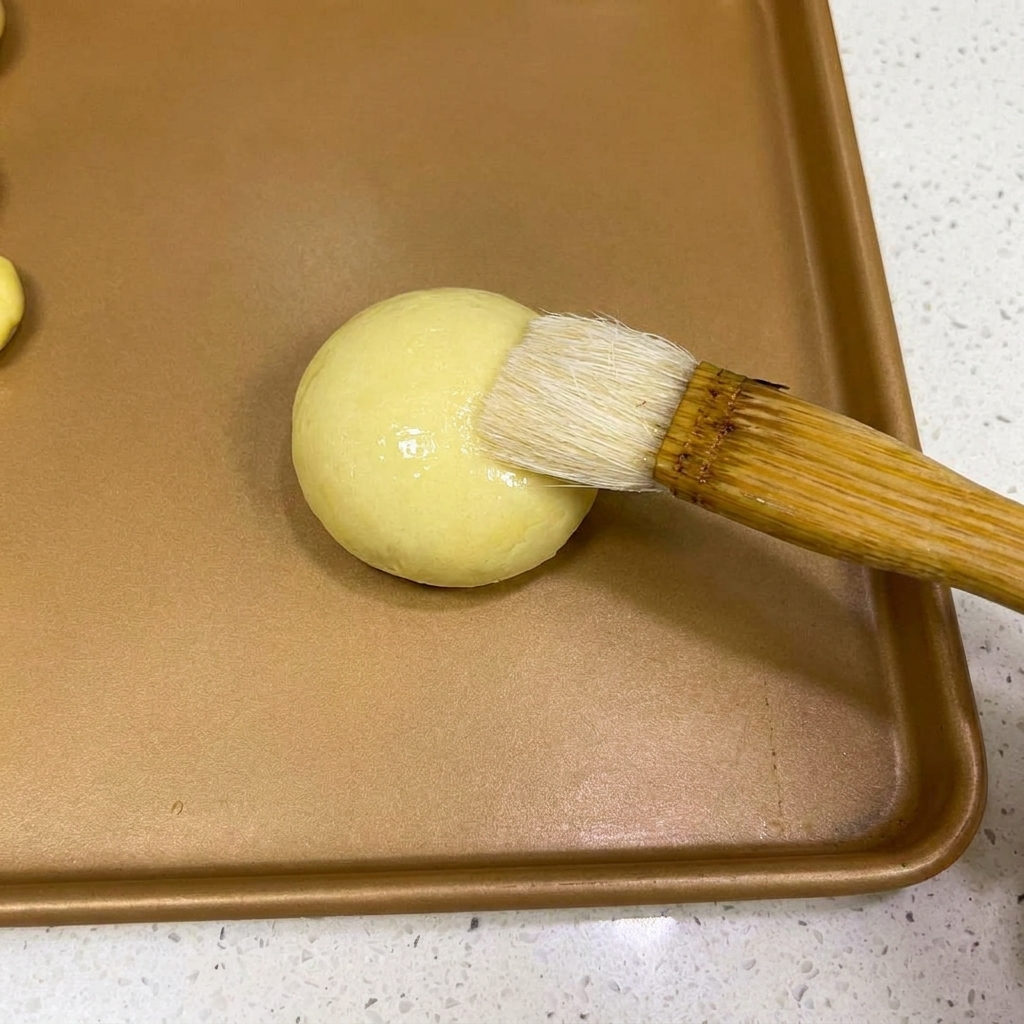
Using a pastry brush, apply a very thin, even layer of water across the top of each shaped dough ball. This moisture is essential to help the sesame seeds adhere to the bun later.
Tip: Use just enough water to dampen the surface; avoid pooling to keep the dough from getting too sticky. - 10Coat with sesame seeds
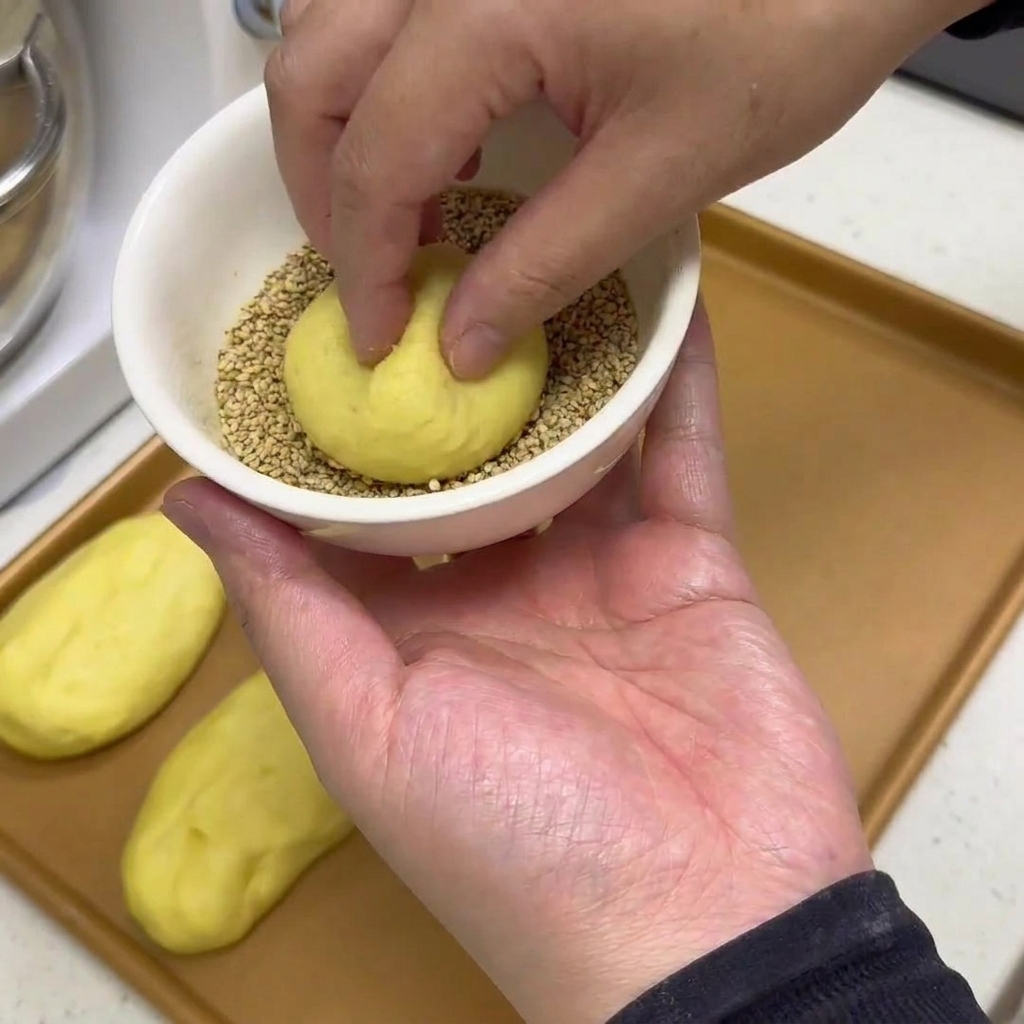
Gently lift the moistened dough ball and dip the top half into a bowl filled with white sesame seeds. Press lightly to ensure the seeds stick firmly to the surface for a classic burger bun appearance.
Tip: Ensure the bowl of seeds is wide enough to fit the dough ball comfortably for an even coat. - 11Bake the burger buns
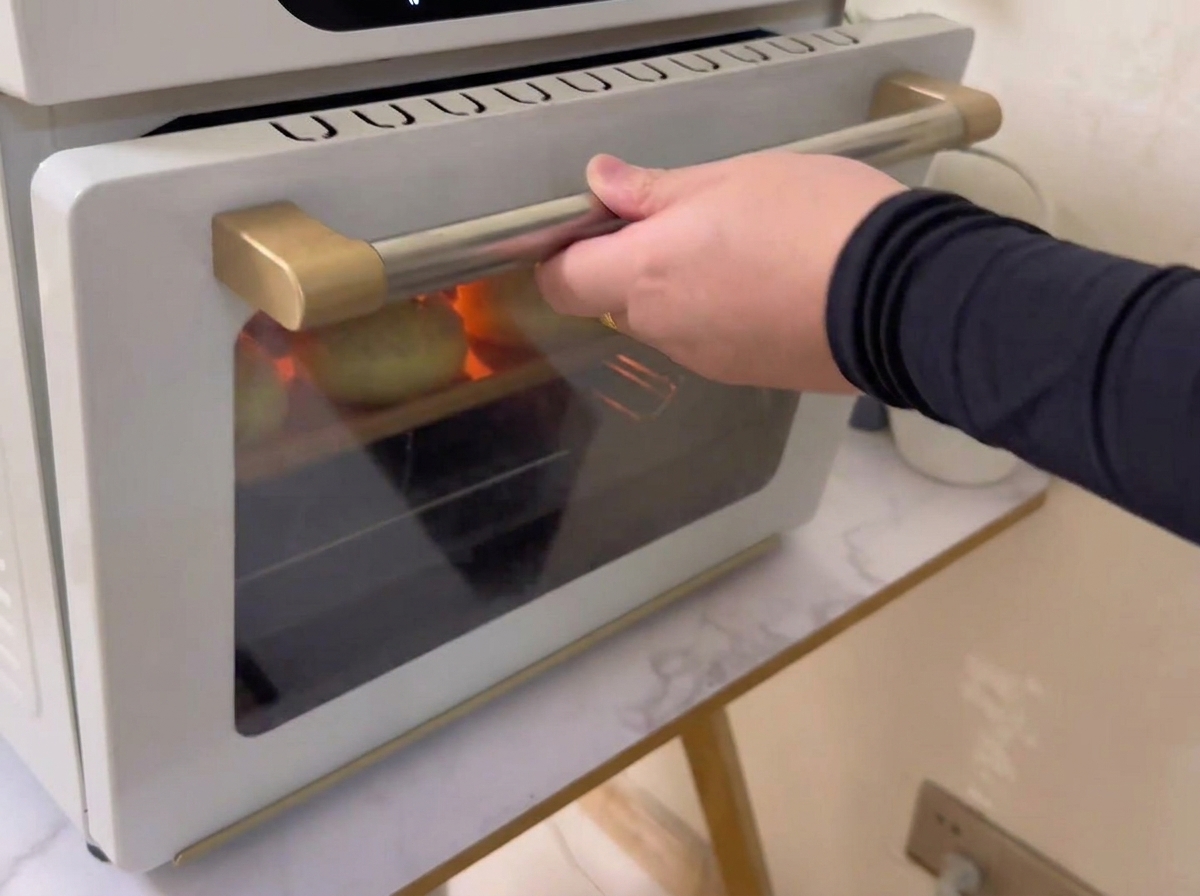
Once the buns have proofed, place the baking tray into an oven preheated to 175 degrees (top and bottom heat). Bake for approximately 18 minutes until they are golden brown and fragrant.
Tip: Keep a bowl of water in the oven during proofing to maintain the humidity required for a soft, airy texture. - 12Coat the chicken
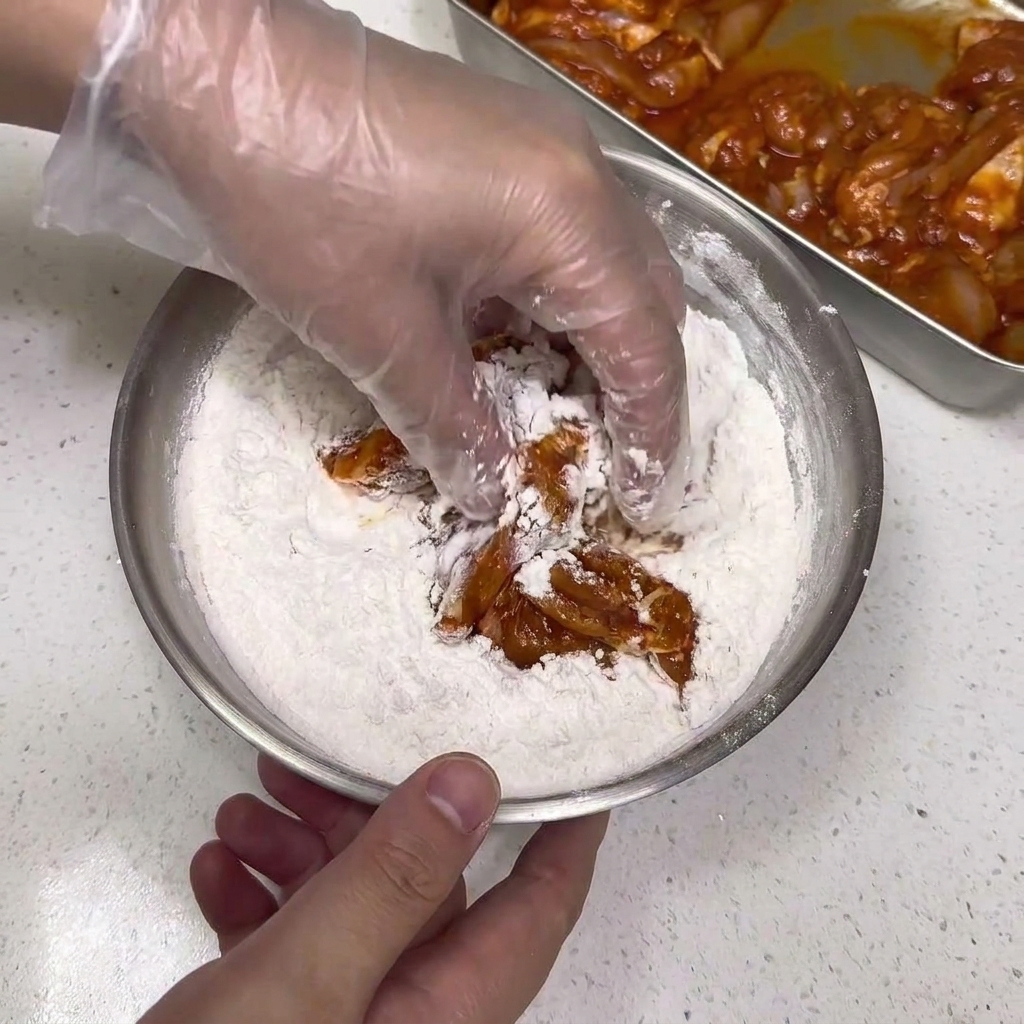
Take the marinated chicken pieces and toss them in a bowl of low-gluten flour mixed with 1% baking powder. Ensure each piece is thoroughly coated in the flour mixture to prepare for the frying process.
Tip: Shake off any excess flour before submerging the chicken in water for the second coating step to ensure a light, flaky crust. - 13Submerge in water
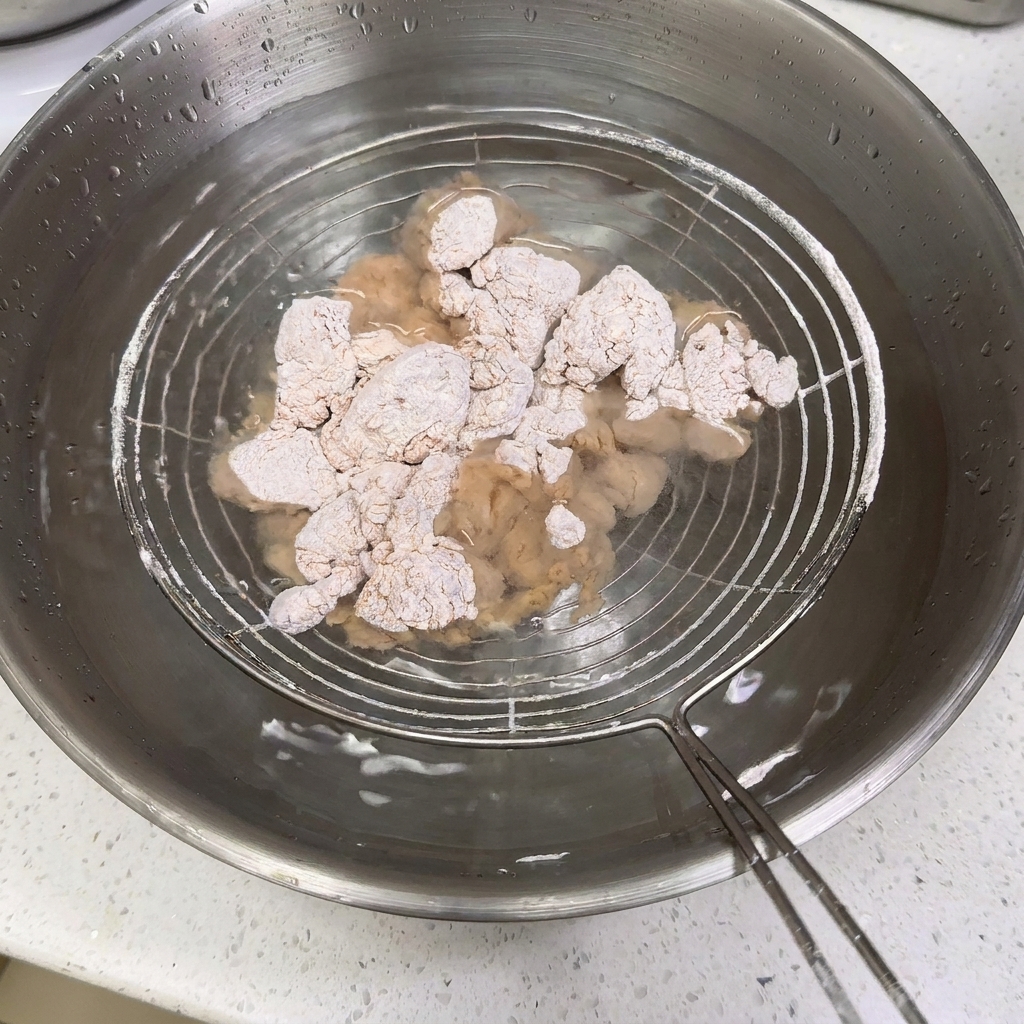
Place the flour-coated chicken pieces onto a wire skimmer and fully submerge them into a bowl of water for 10 seconds. This technique is the key to creating the signature flaky crust of KFC-style fried chicken.
Tip: Do not leave the chicken in the water for too long; 10 seconds is just enough to moisten the flour layer so the second coat adheres properly. - 14Apply second coating
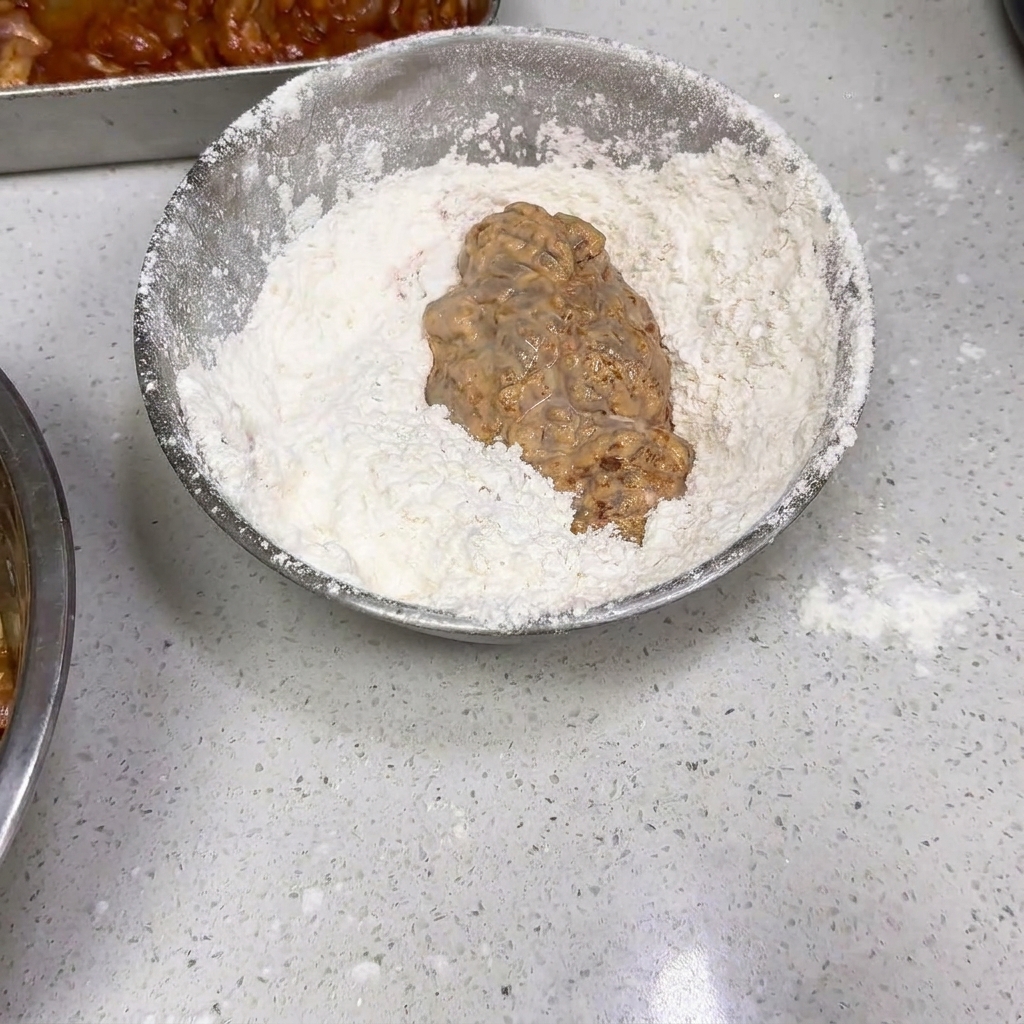
Lift the chicken from the water, shake off the excess moisture, and immediately transfer it back into the dry flour mixture. Gently toss and mix the pieces so the flakes maintain a natural fluffiness, then shake off any excess flour.
Tip: Use a gentle tossing motion rather than pressing hard, which helps form the characteristic craggy, flaky texture before frying. - 15Fry the chicken
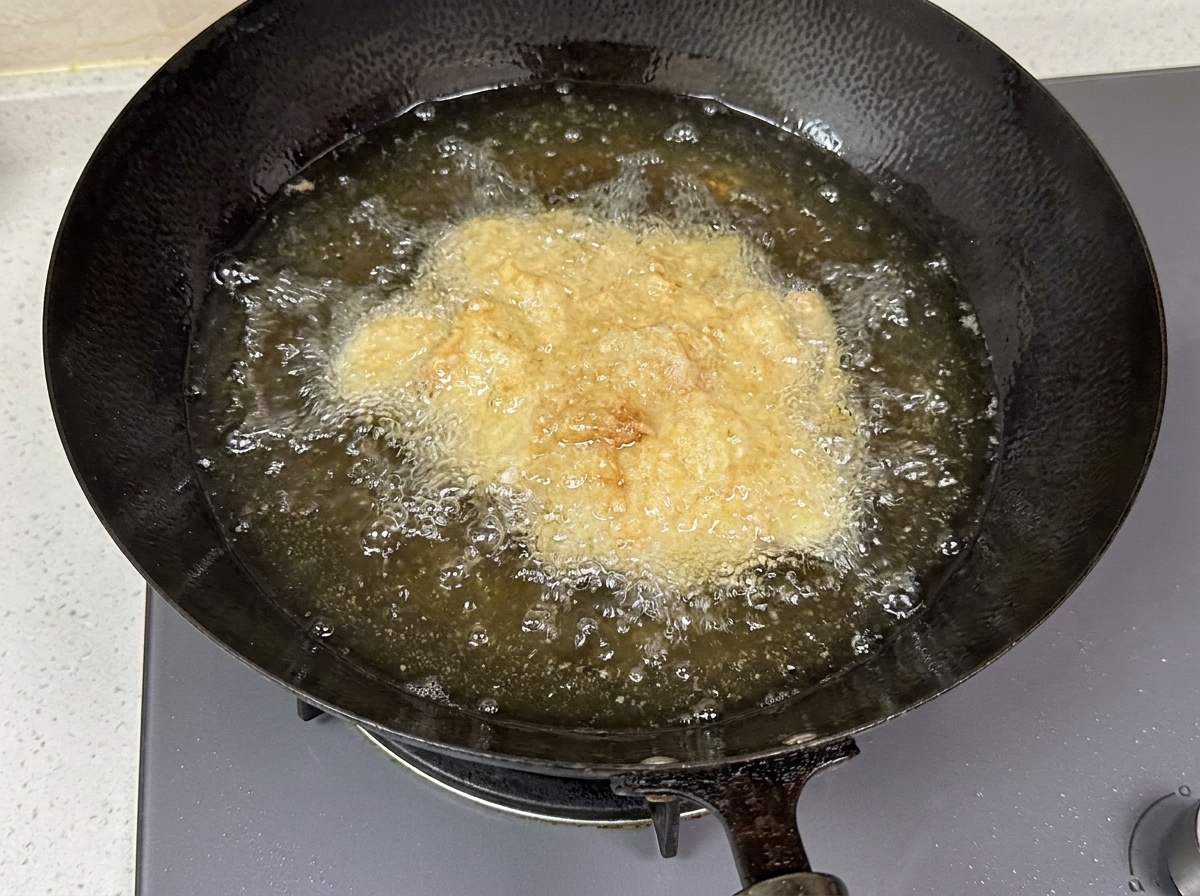
Heat the cooking oil in a wok until it is about 50 to 60 percent hot, then carefully drop the breaded chicken pieces in. Once the coating slightly sets, gently stir to ensure even heating and fry slowly over medium-low heat for 5 to 6 minutes.
Tip: Wait until the crust is slightly firm before stirring to prevent the flaky breading from falling off into the oil. - 16Remove and double fry
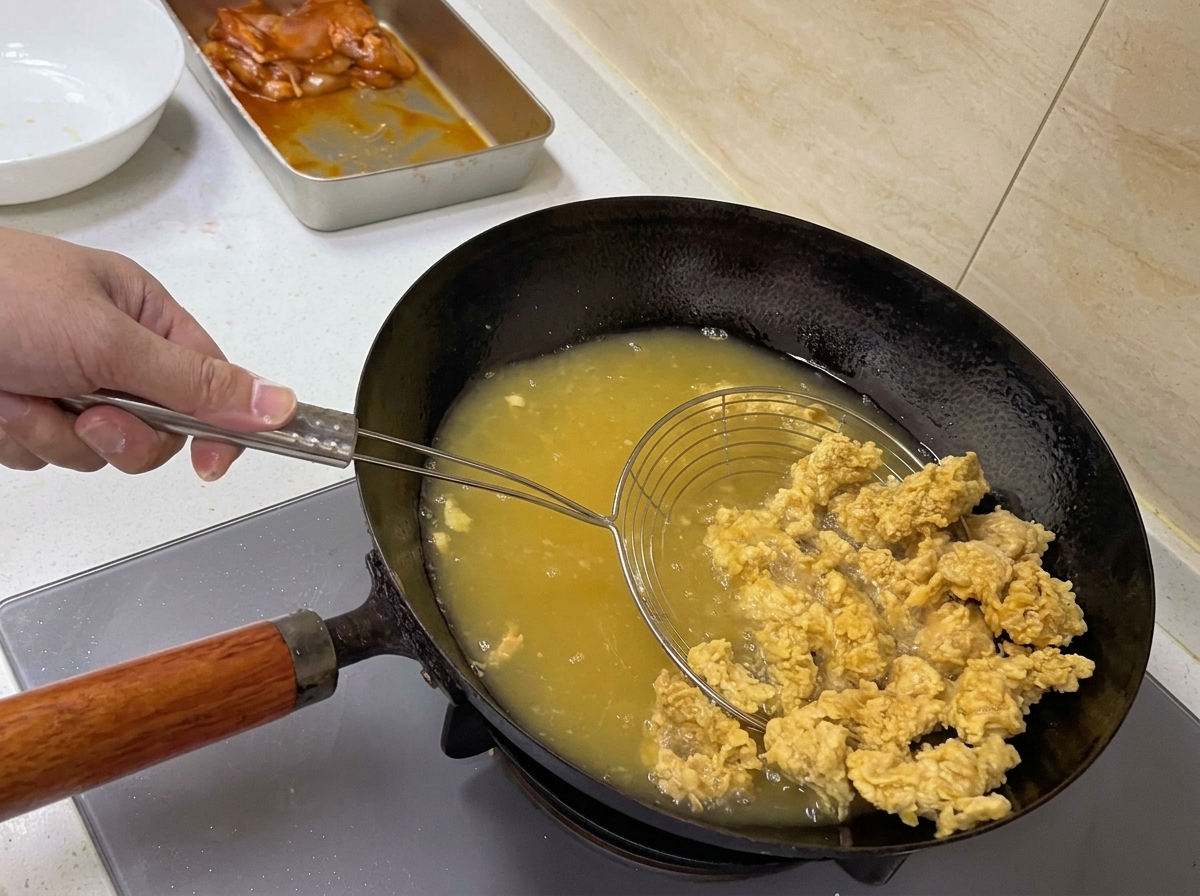
Once the chicken turns slightly golden brown, use a large wire skimmer to carefully remove the pieces from the wok. To achieve a crispier exterior, slightly raise the oil temperature and return the chicken to the oil for another half minute to make it deeply golden.
Tip: The brief second fry at a higher temperature forces out excess oil and creates a much crunchier, less greasy finish.