Korean Spicy Cream Fried Chicken Burger
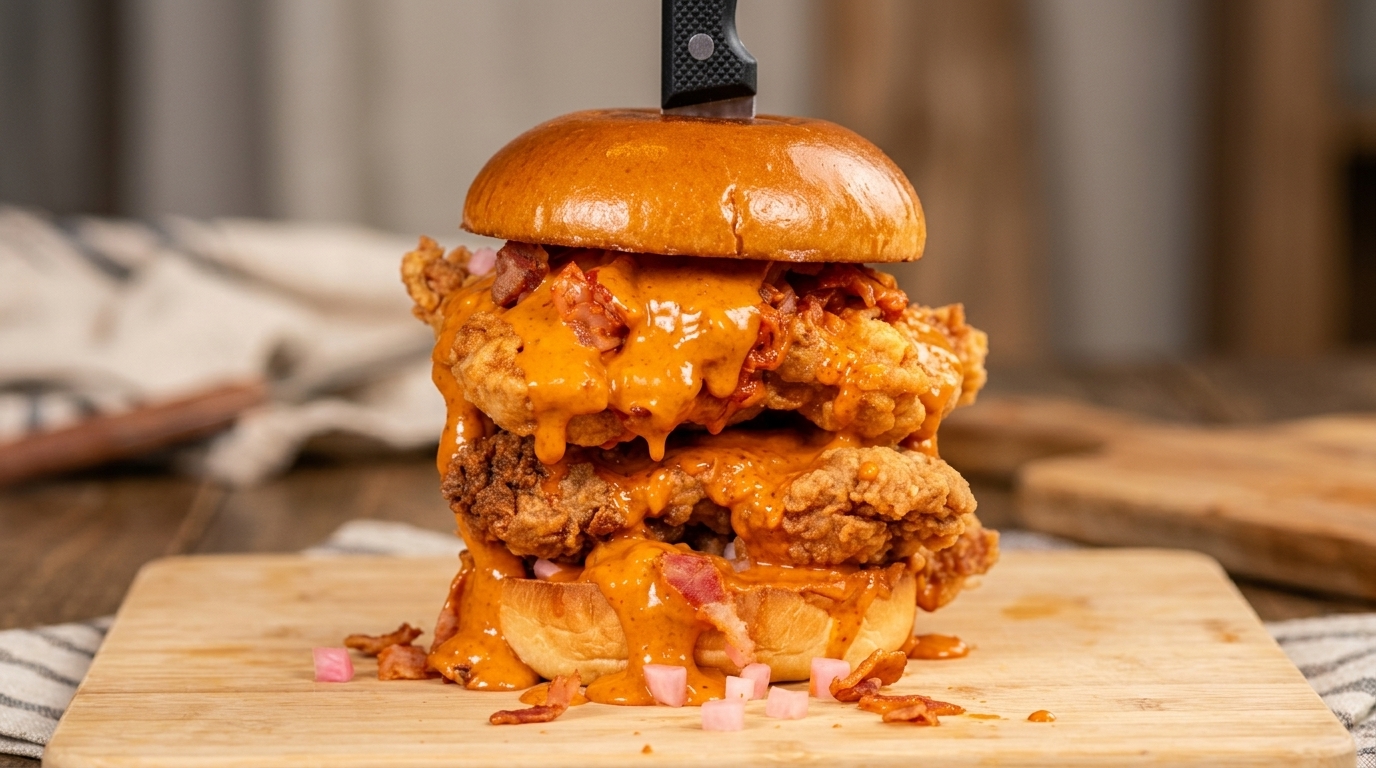
Experience the ultimate winter comfort food: a towering fried chicken burger dripping with rich Korean spicy cream sauce, crispy bacon, and sweet-and-sour kimchi.
This Korean spicy cream fried chicken burger is a brilliant exercise in flavor balance and winter indulgence. Using yogurt as a gentle marinade ensures the chicken thighs remain perfectly tender and juicy without breaking down completely overnight. The real star is the velvety sauce—a blend of thick Korean chili paste cut with heavy cream, sweetened with ketchup, and enriched by smoky bacon fat. Layered with refreshing pickled radish and kimchi, it cuts through the richness for an unforgettable bite.
Ingredients
- 4 pieces boneless skin-on chicken thighs
- 12 cup plain yogurt
- 1 tbsp red chili powder
- 1 tbsp dark soy sauce
- 2 tbsp Korean chili paste (gochujang)
- 2 tbsp ketchup
- 1 tbsp Sriracha sauce
- 14 cup heavy cream
- 1 tbsp honey
- 1 tbsp minced garlic
- 1 tbsp bacon grease or cooking oil
- 1 cup all-purpose flour
- 1 cup cornstarch
- 1 tsp baking soda
- 2 whole brioche buns
- 14 cup pickled radish cubes
- to taste chopped kimchi
- to taste crispy bacon bits
Instructions
- 1Prepare the chicken marinade
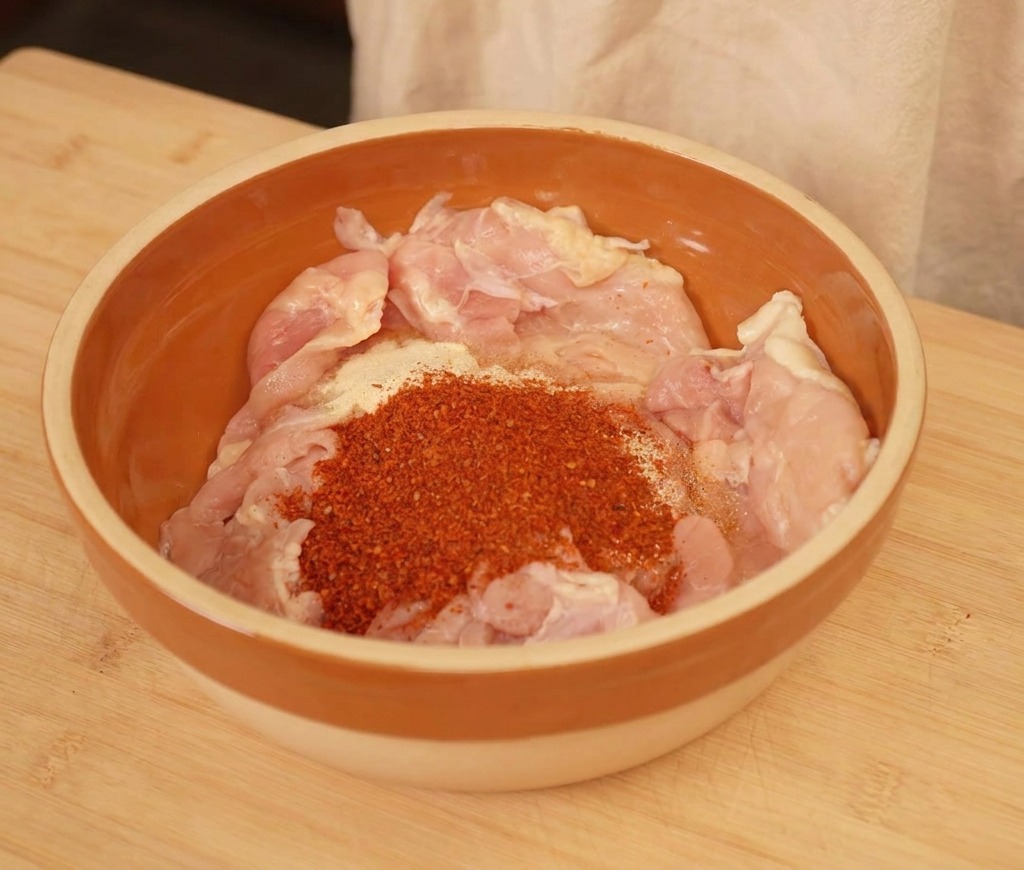
Place the raw chicken thighs into a mixing bowl and add your dry spices, including red chili powder. These initial seasonings will form the foundational flavor profile for the fried chicken before the wet ingredients are introduced.
Tip: Boneless, skin-on chicken thighs are highly recommended for the best combination of juiciness and a crispy exterior after frying. - 2Add yogurt to tenderize
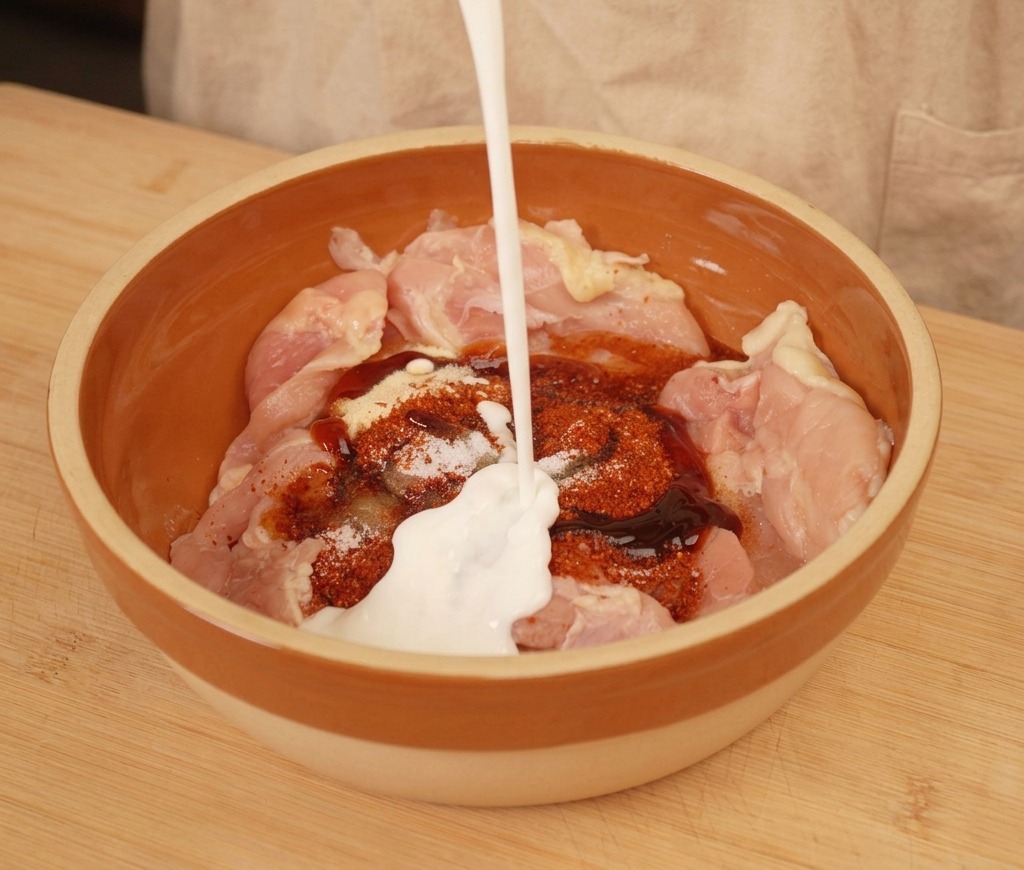
Pour plain yogurt over the seasoned chicken along with any remaining wet marinade ingredients like dark sauce. The natural lactic acid in the yogurt will gently break down the protein fibers, resulting in incredibly tender and juicy chicken.
Tip: Yogurt provides a milder acidity compared to lemon or buttermilk, preventing the chicken from becoming mushy even when marinated overnight. - 3Massage the marinade
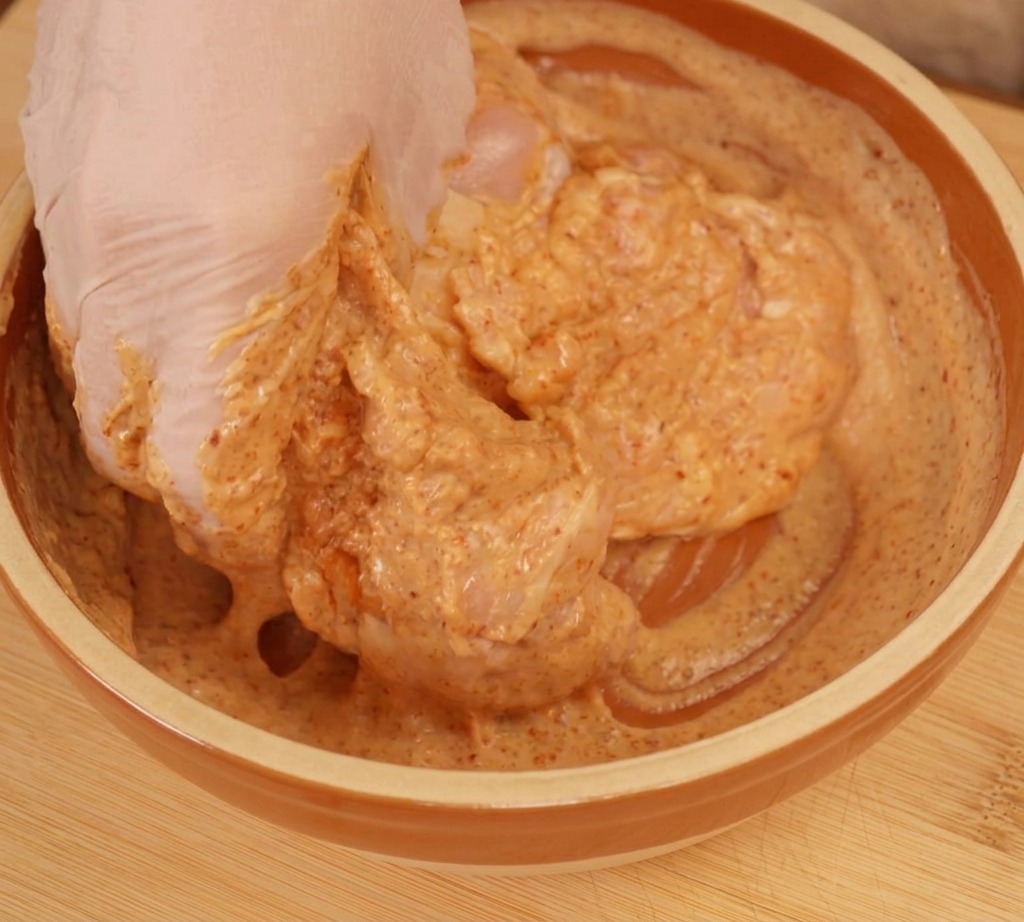
Use a gloved hand to thoroughly massage the yogurt and spices into the chicken pieces. Ensure every piece is evenly and completely coated. For the best flavor and texture, cover the bowl and let the chicken marinate in the refrigerator overnight.
Tip: Massaging the meat physically helps the marinade penetrate deeper into the muscle fibers, yielding better results than simply stirring with a spoon. - 4Mix the spicy sauce base
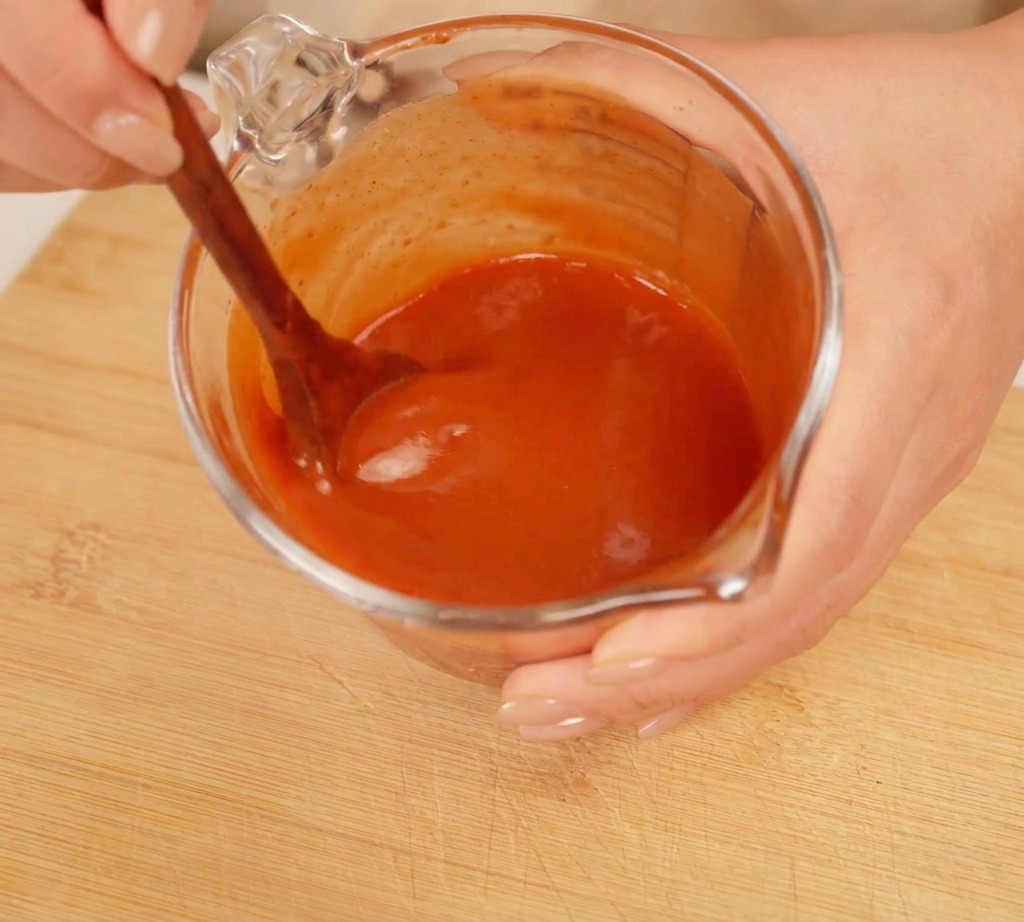
In a separate container, prepare the Korean spicy cream sauce base by combining Korean chili paste, ketchup, and Sriracha to taste. Since the chili paste is quite thick, dilute it with a little water in advance so it blends smoothly into the final sauce.
Tip: Adding ketchup is essential; its natural sweetness and acidity will perfectly balance the heavy, sometimes cloying nature of the Korean chili paste. - 5Sauté the aromatics
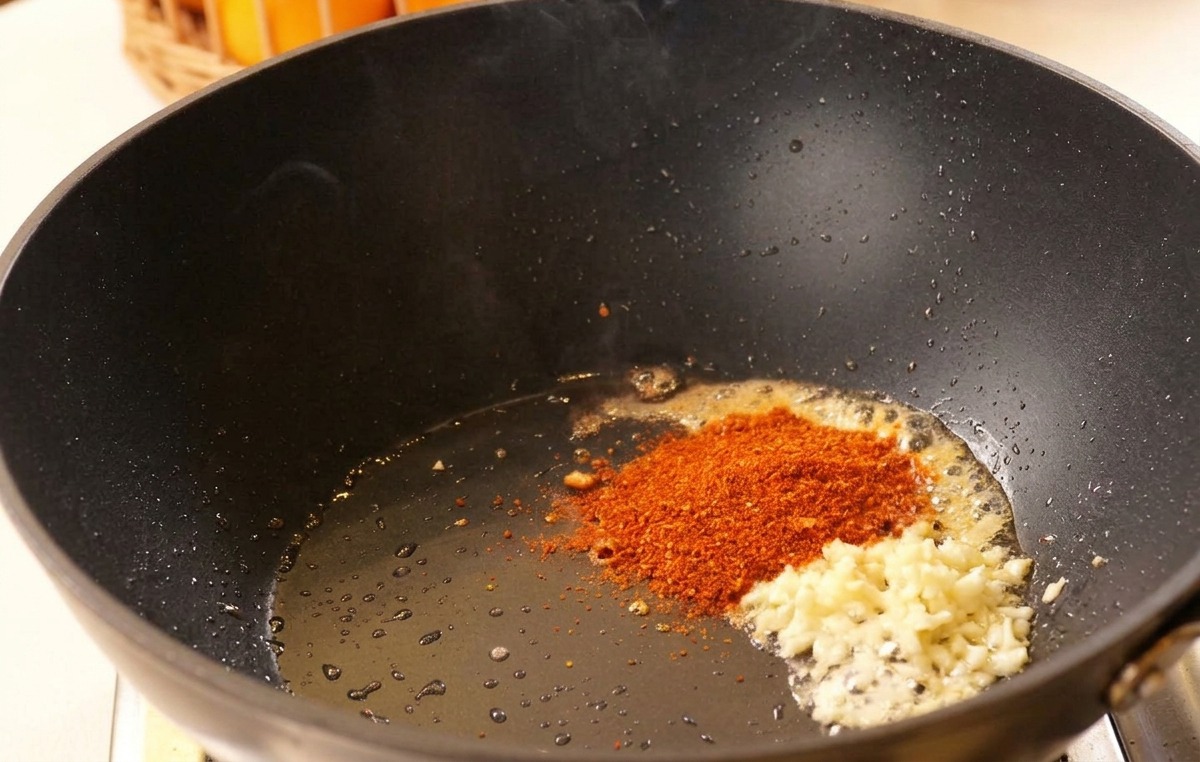
Heat a little oil in a wok or pan over low heat—using leftover bacon grease here adds incredible savory depth to the burger sauce. Add the minced garlic and dry chili powder to the pan, allowing them to gently sizzle and release their aromatic oils.
Tip: Always keep the heat low when sautéing dry chili powder, as it can burn very quickly and turn the entire sauce bitter. - 6Add the sauce base
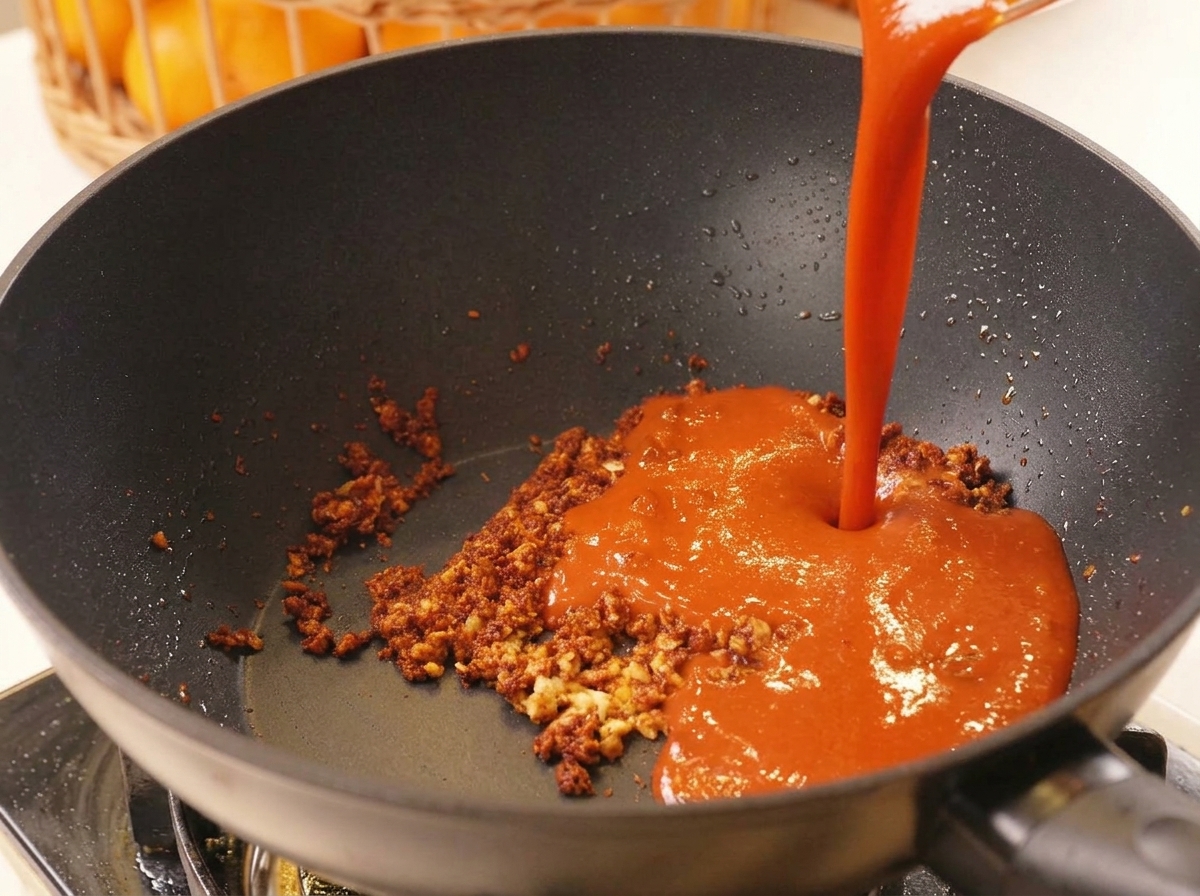
After sautéing the minced garlic and dry chili powder over low heat, pour in the diluted Korean chili paste mixture. Stir well to combine the spices with the liquid, allowing the sauce to gently simmer and develop its flavors.
Tip: If you have leftover oil from frying bacon, use it to sauté the garlic for an extra layer of smoky flavor. - 7Stir in the heavy cream
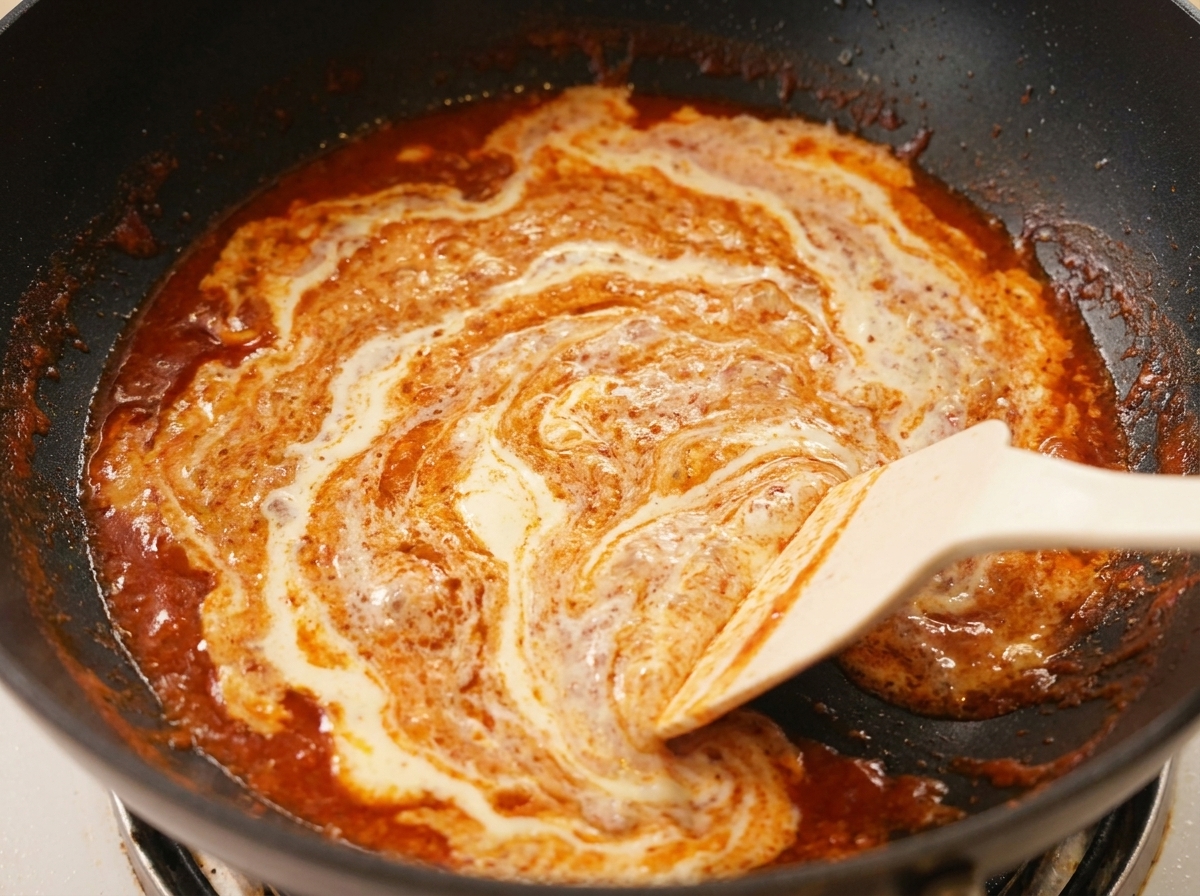
Pour heavy cream into the bubbling red chili sauce and stir slowly over low heat until fully incorporated. The vibrant red color will soften into a smooth, rich, pinkish-orange spicy cream sauce.
Tip: Wait until the end to adjust the sweetness with honey, ideally after the sauce has slightly cooled down. - 8Prepare the dry batter
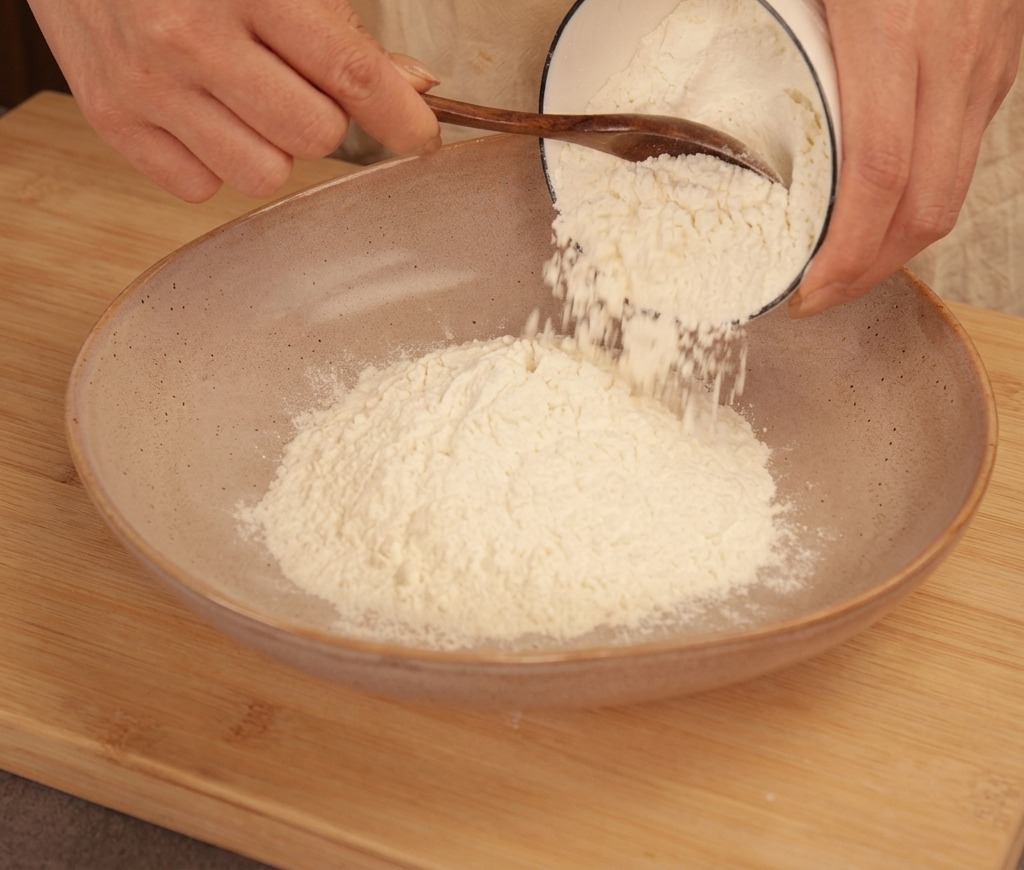
In a large, shallow bowl, combine equal parts of all-purpose flour and cornstarch. Add a small spoonful of baking soda to the mix, which will help the batter puff up and become extra crispy when fried.
Tip: You dont need a food scale for this; simply use the same cup or bowl to measure out a 1:1 ratio of the two flours. - 9Apply the first flour coat
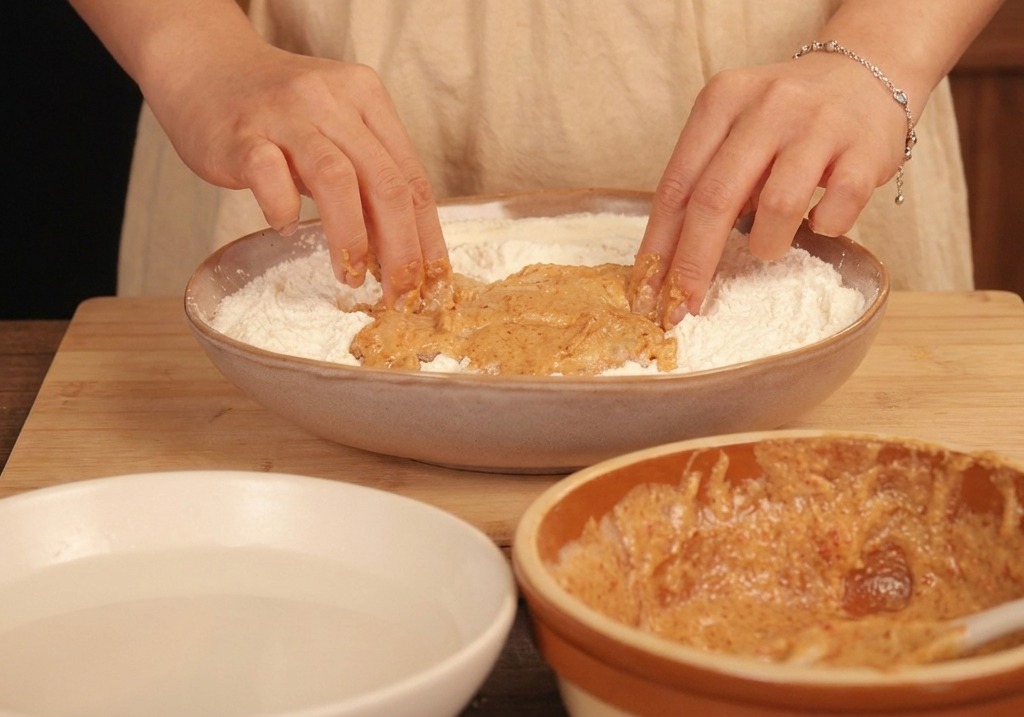
Take a piece of the yogurt-marinated chicken thigh and drop it into the dry flour mixture. Use your hands to press the flour firmly onto all sides of the meat, ensuring a complete and even first layer of breading.
Tip: Pressing the flour into the meat ensures the wet marinade is completely sealed, preparing it for the water dip. - 10Dip the chicken in water
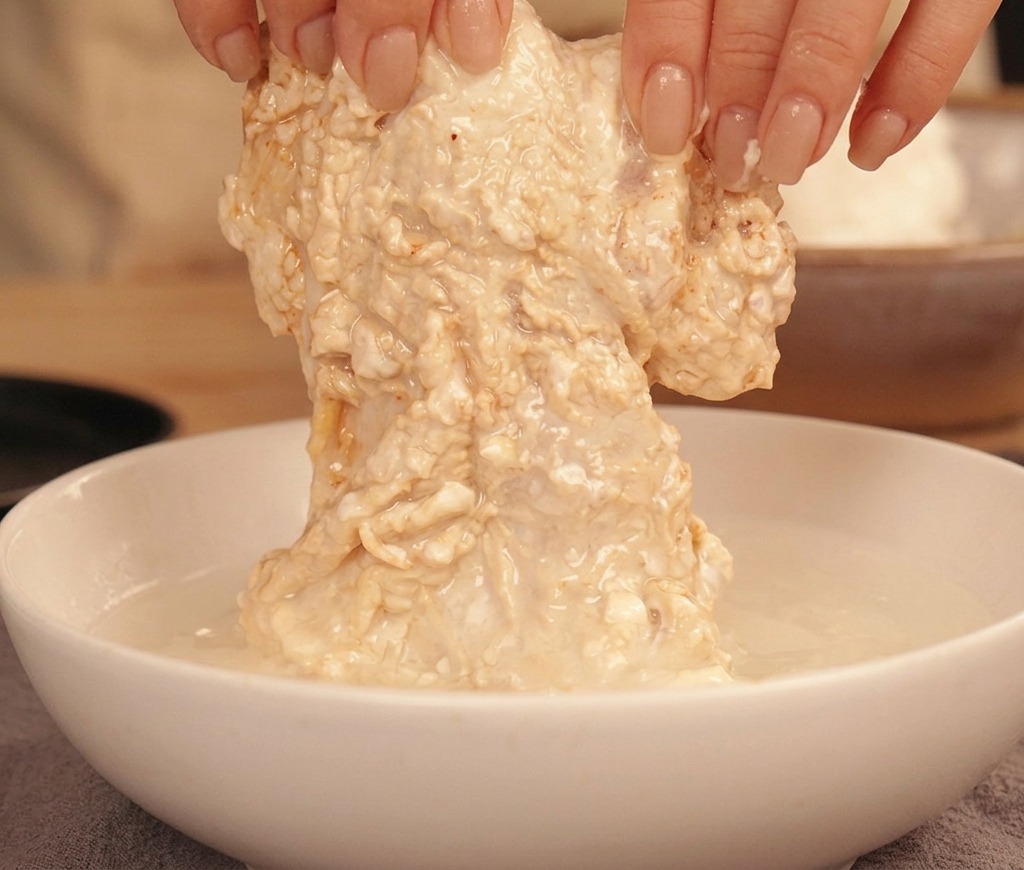
Carefully submerge the floured chicken completely into a separate bowl of cold water for just a second. Lift it out immediately and let the excess water drip off.
Tip: This quick water dip hydrates the first layer of flour, turning it into a sticky glue that holds the final thick crust together. - 11Apply the final thick coating
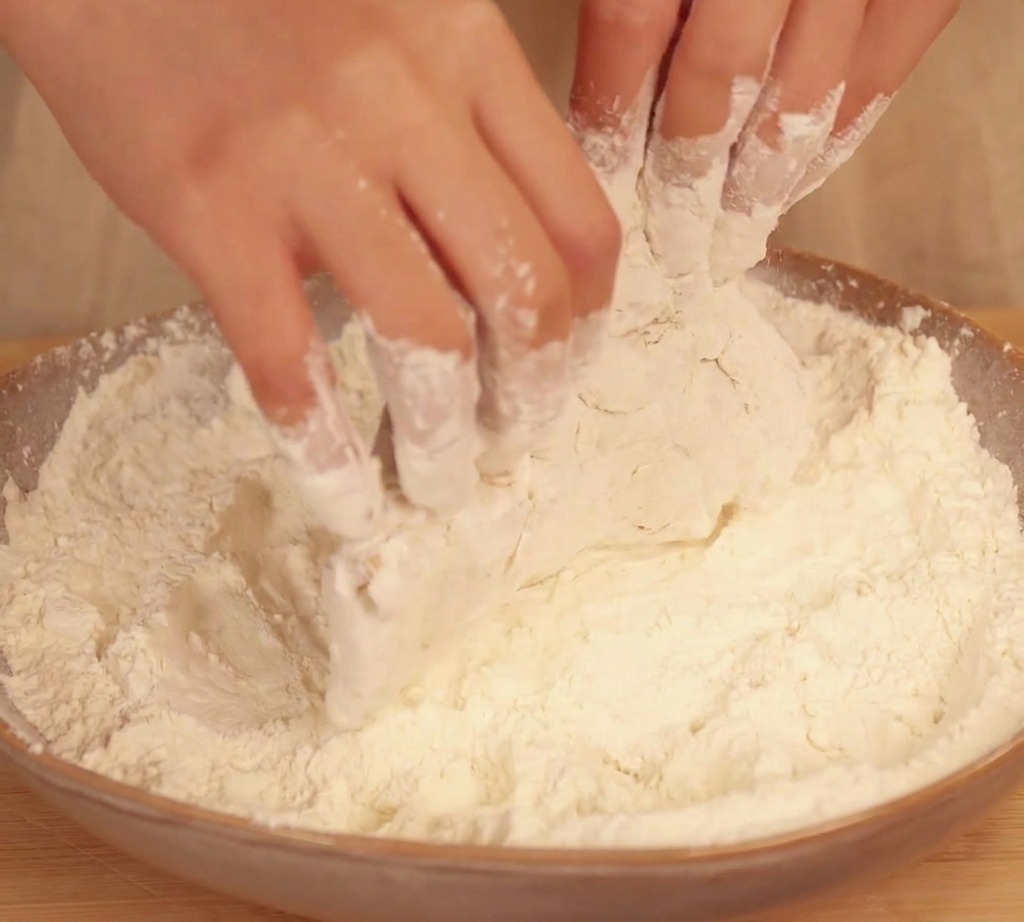
Transfer the wet chicken back into the dry flour mixture. Toss and aggressively press the flour into the chicken again. Squeeze the meat gently to form thick, craggy flakes, then shake off any loose, excess flour before frying.
Tip: The craggy flakes created during this step will become the signature ultra-crispy shell when it hits the hot oil. - 12Start frying the chicken

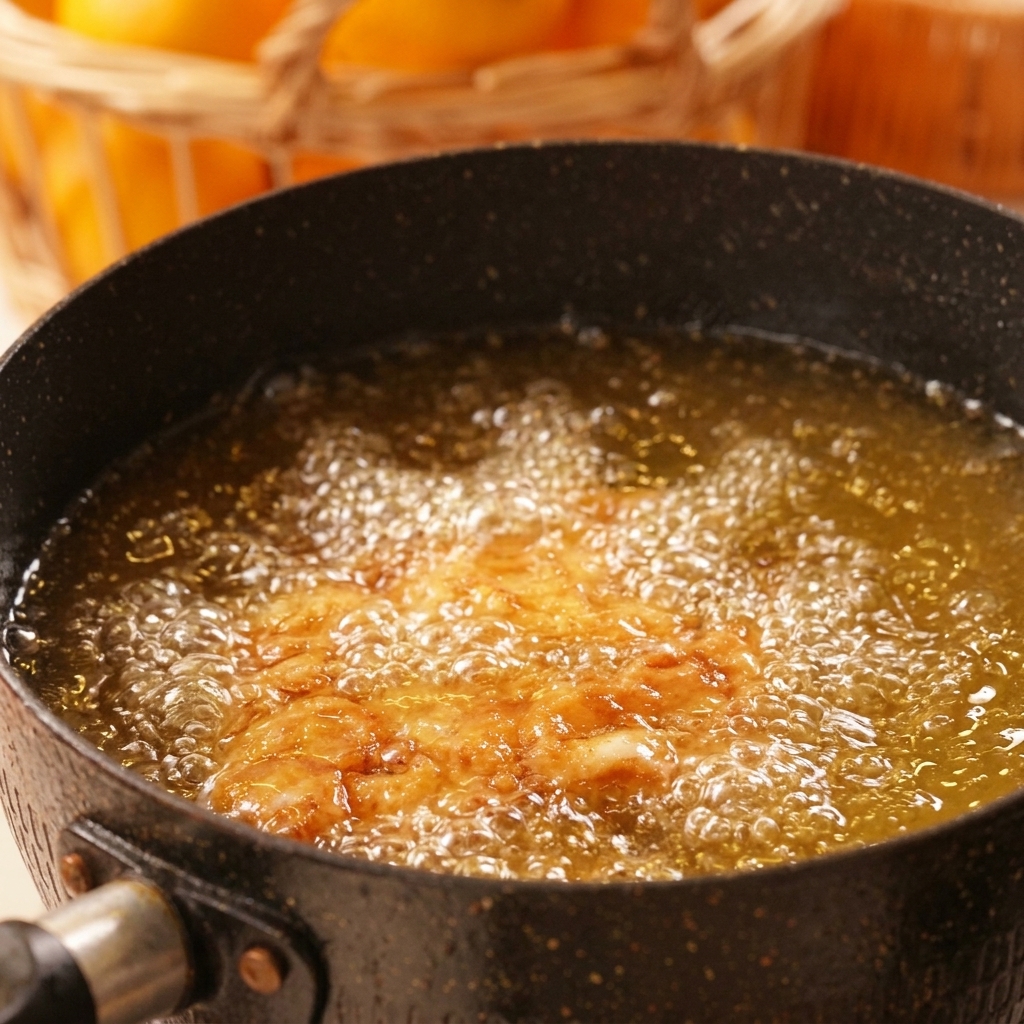
Carefully lower the breaded chicken thighs into the hot oil. Fry over medium heat for about 3 minutes to gently cook the meat through from the inside. Do not overcrowd the pot, which will cause the oil temperature to drop rapidly and result in greasy chicken.
Tip: To prevent oil from overflowing, never fill your pot more than two-thirds full with oil before adding the chicken. - 13Crisp up and remove
Increase the temperature to high heat for the final 20 to 30 seconds to aggressively crisp up the crust and lock in the juices. Once the exterior reaches a deep golden-brown, use chopsticks or tongs to carefully lift the fully cooked fried chicken out of the bubbling oil.
Tip: This two-stage frying method—medium heat for cooking the inside, high heat for finishing the outside—ensures perfectly cooked meat without burning the breading. - 14Rest the fried chicken
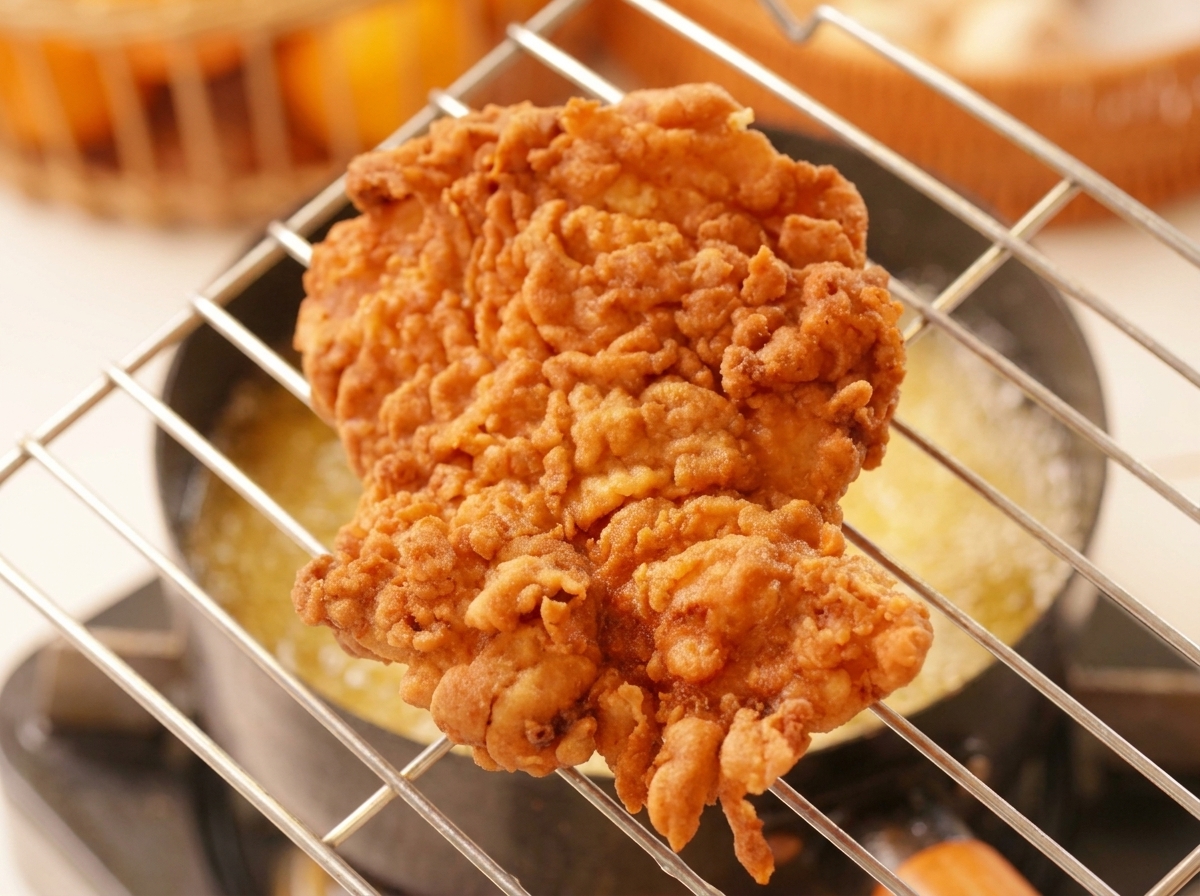
Once the chicken is fried to a golden brown and crispy perfection, transfer it to a wire cooling rack. This crucial step allows the meat to rest, redistributing the juices internally so it remains incredibly tender and moist, much like resting a good steak.
Tip: Resting the chicken on a wire rack allows excess oil to drip off and prevents the bottom from getting soggy, ensuring the crust stays completely crispy. - 15Spread the spicy cream sauce

Take the bottom half of a toasted burger bun and generously spread the prepared Korean spicy cream sauce over it. This rich and flavorful sauce forms the base of the burger, providing a creamy and spicy kick that perfectly complements the fried chicken.
Tip: A thick, even layer of sauce on the bottom bun acts as a barrier, preventing the bread from getting soggy from the juicy chicken and toppings. - 16Assemble the burger layers

Begin assembling your burger by placing a large, crispy fried chicken patty directly over the diced pink radishes on the sauce-slathered bottom bun. From here, you can stack a second chicken patty, sprinkle generously with crispy bacon bits and chopped kimchi, and add a final drizzle of the spicy cream sauce before closing it with the toasted top bun.
Tip: Let the fried chicken rest for a minute before assembling; this allows the juices to redistribute so the meat stays tender and doesnt make the bun soggy.