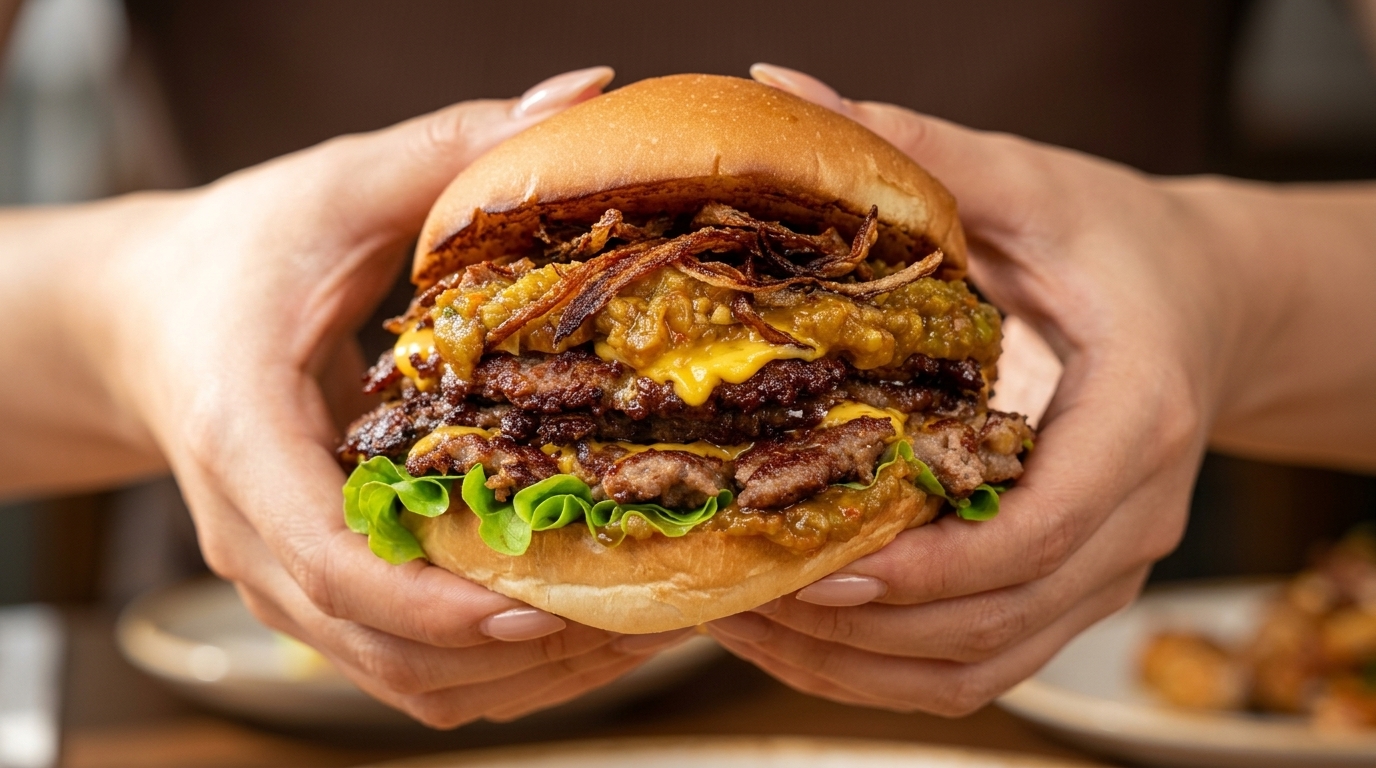
Ultimate Double Beef Bacon Cheeseburger from Scratch
Master the ultimate double beef cheeseburger at home. Featuring homemade brioche buns, fresh ground steak patties, melted cheese, and crispy bacon, this towering burger delivers unmatched steakhouse quality.
There is something undeniably satisfying about building a burger entirely from scratch. By baking your own pillowy brioche buns and grinding fresh marbled steak for the patties, you elevate a fast-food classic into a gourmet culinary experience. The combination of deeply seared beef, sharp melted cheese, crispy bacon, and sweet caramelized onions creates a perfect balance of savory textures and indulgent flavors that simply cannot be replicated with store-bought ingredients.

Ingredients
- 350 g bread flour
- 25 g sugar
- 5 g salt
- 15 g milk powder
- 2 egg yolks
- 180 ml milk
- 5 g dry yeast
- 1 tbsp honey
- 40 g softened butter
- 1 egg (for egg wash)
- 800 g marbled steak (chuck or ribeye)
- 8 slices melting cheese
- 8 slices bacon
- 1 large red onion
- 4 tbsp burger sauce
- to taste salt and black pepper
Instructions
- 1Combine the ingredients
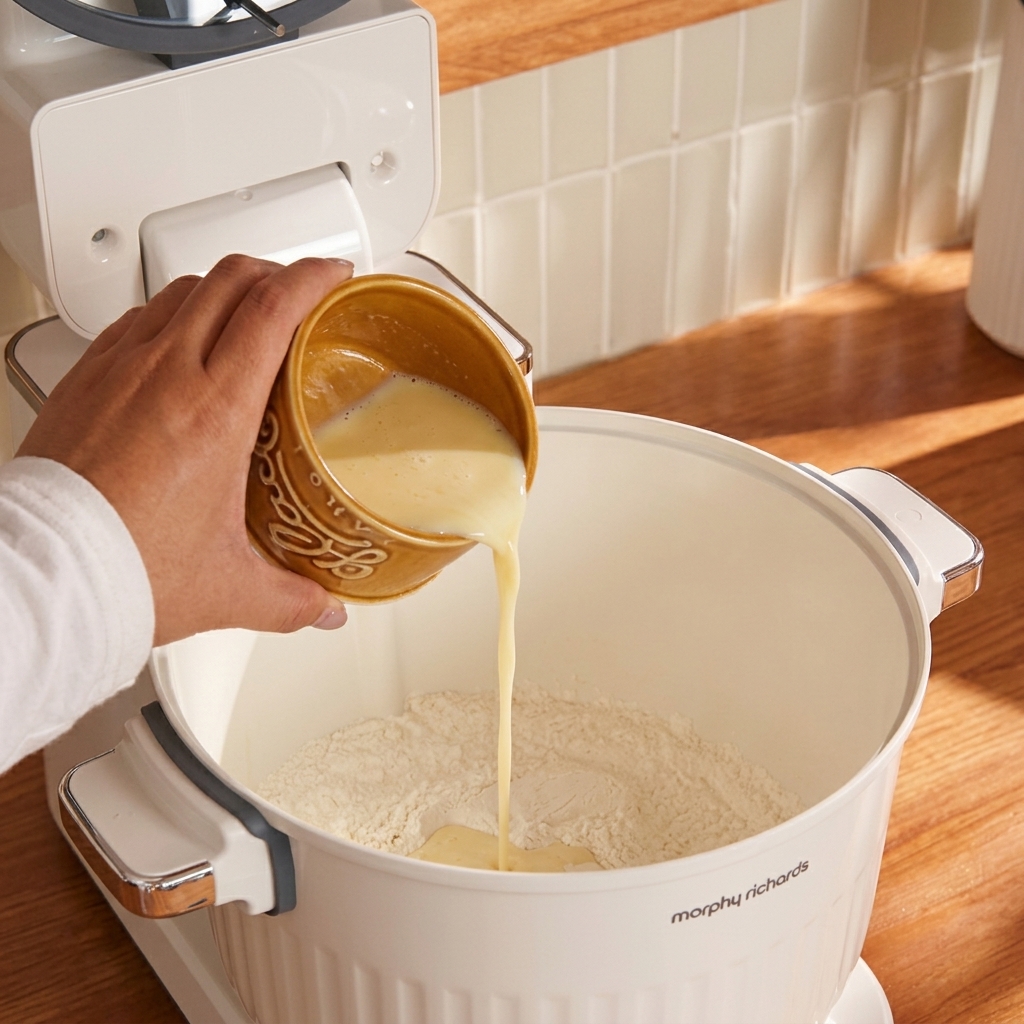
Add the dry ingredients including bread flour, sugar, salt, milk powder, and dry yeast to the stand mixer bowl. Pour in the milk, egg yolks, and honey, then start kneading on low speed.
Tip: Keep the salt and yeast on opposite sides of the bowl before mixing so the salt does not inhibit the yeast. - 2Knead to a rough film
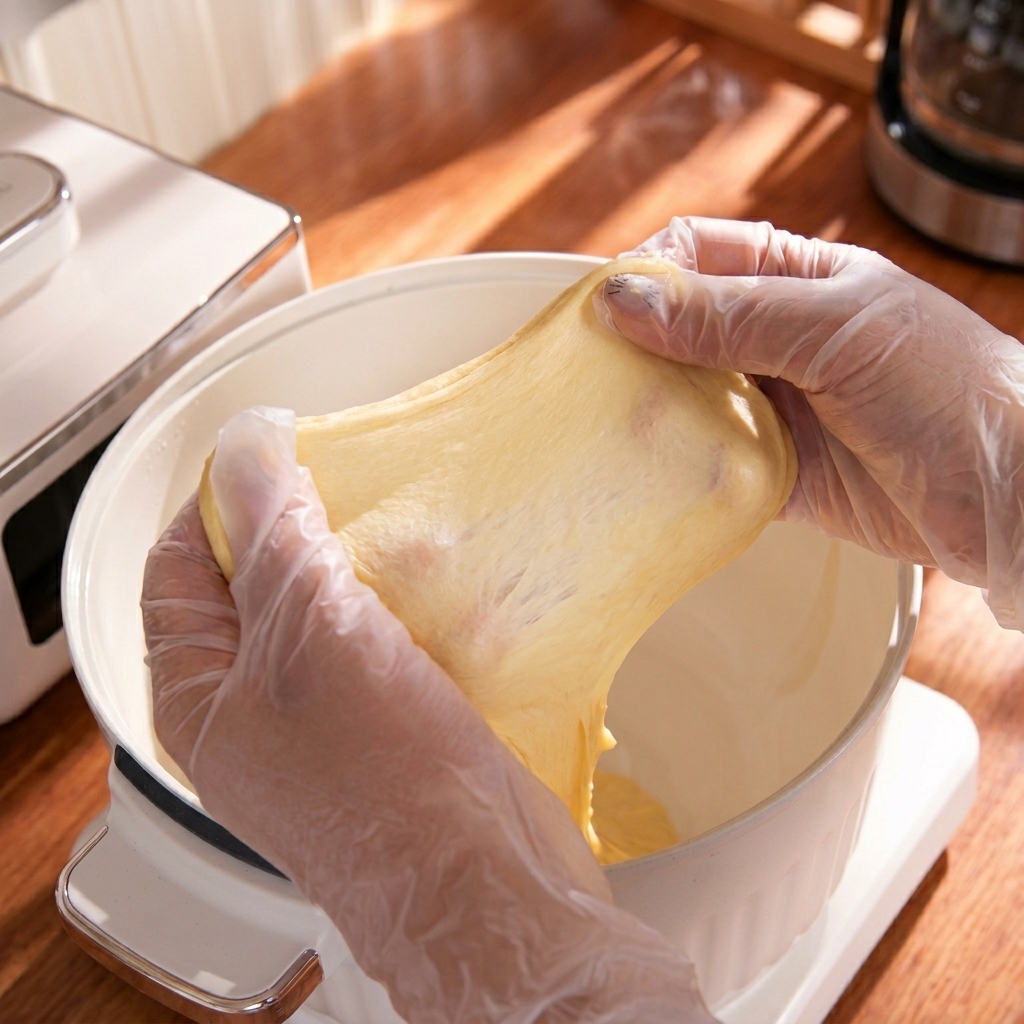
Continue kneading the mixture in the stand mixer until it forms a cohesive dough. Stop the mixer and gently stretch a small piece of the dough between your fingers; it should form a rough film that tears fairly easily.
Tip: This initial kneading develops the foundational gluten structure before the fat is introduced. - 3Add butter to the dough
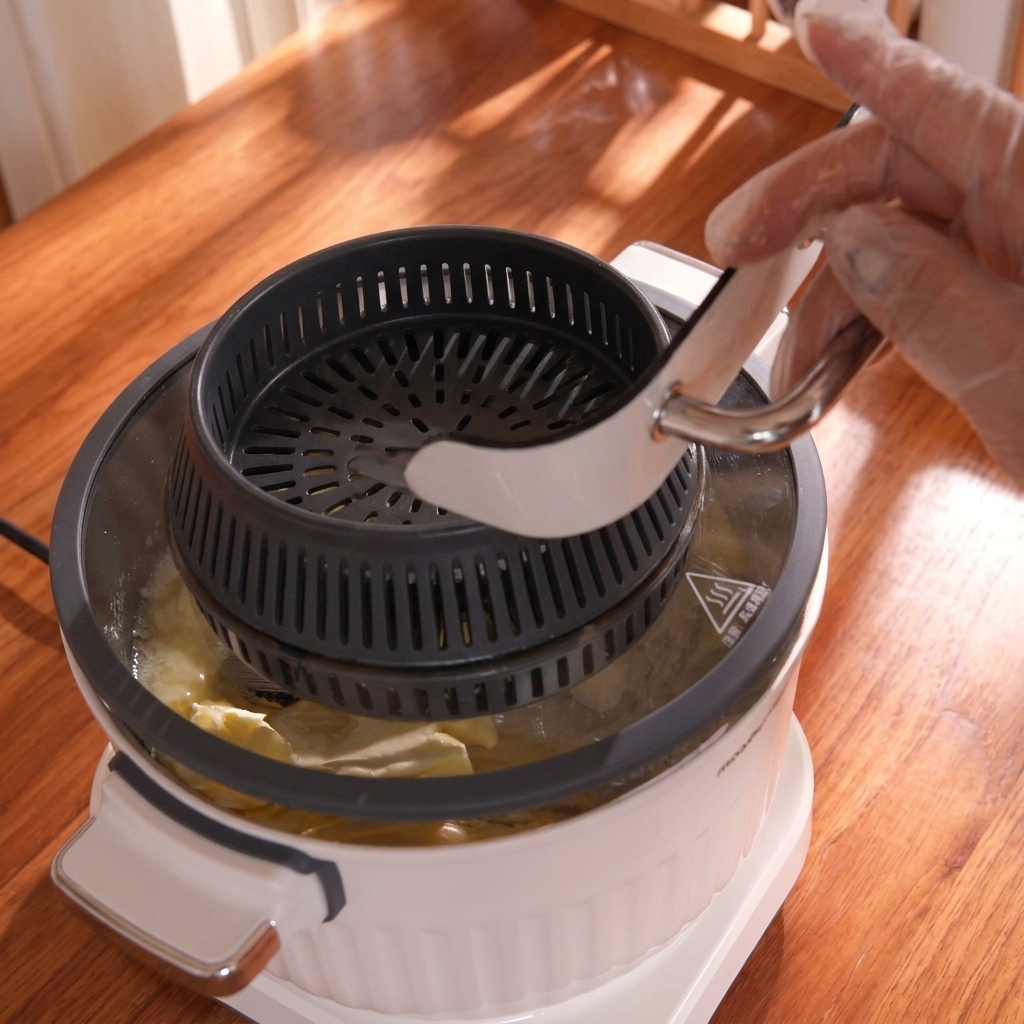
Once the dough ingredients have formed a rough film, gradually add the softened butter into the mixer. Start mixing on a low speed until the butter is completely incorporated into the dough, then switch to high speed to develop the gluten until it reaches the windowpane stage.
Tip: Make sure the butter is properly softened at room temperature before adding; this allows it to blend smoothly without creating lumps in the dough. - 4Achieve the windowpane stage
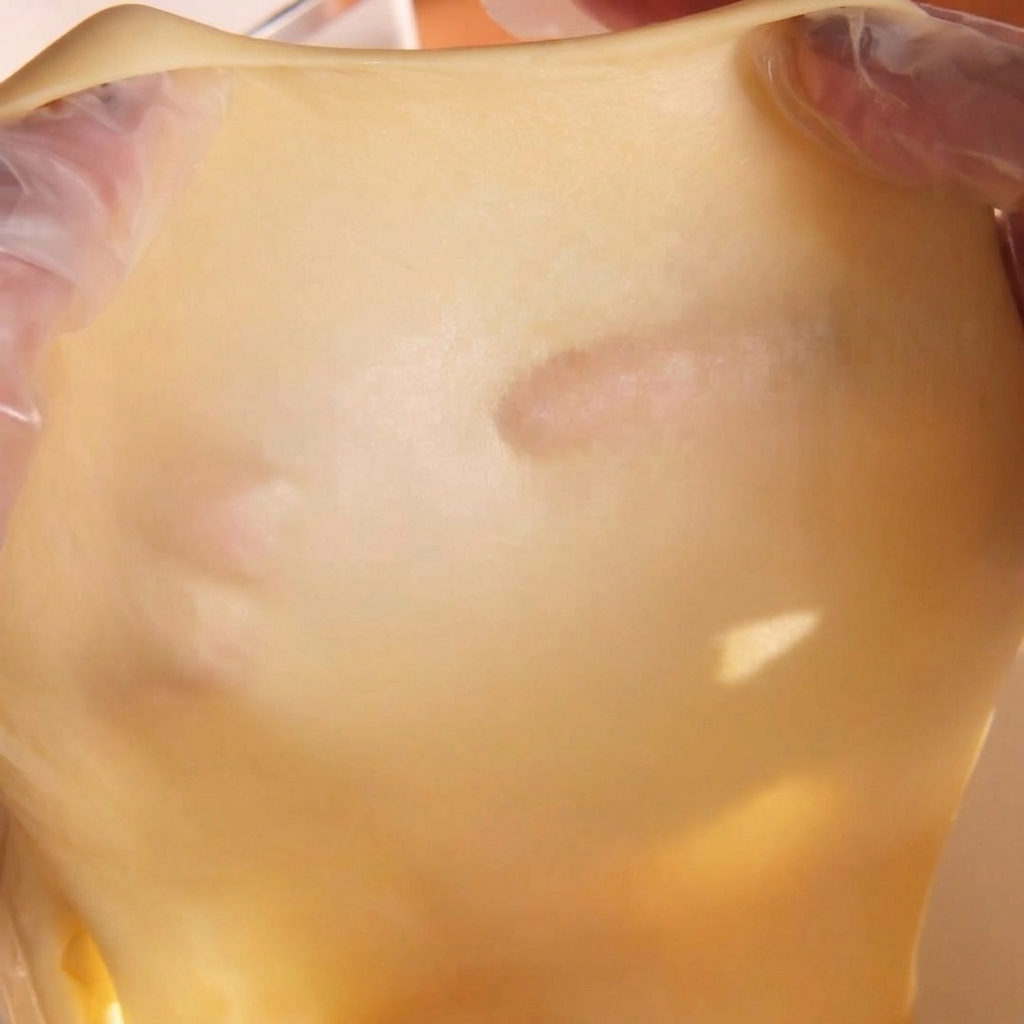
After gradually incorporating the softened butter on low speed, increase to high speed and knead until the dough is very smooth. Stretch a small portion again—it should now form a thin, translucent membrane without tearing, known as the windowpane stage.
Tip: Proper gluten development at this stage ensures the brioche buns will be incredibly soft and airy. - 5Portion the dough
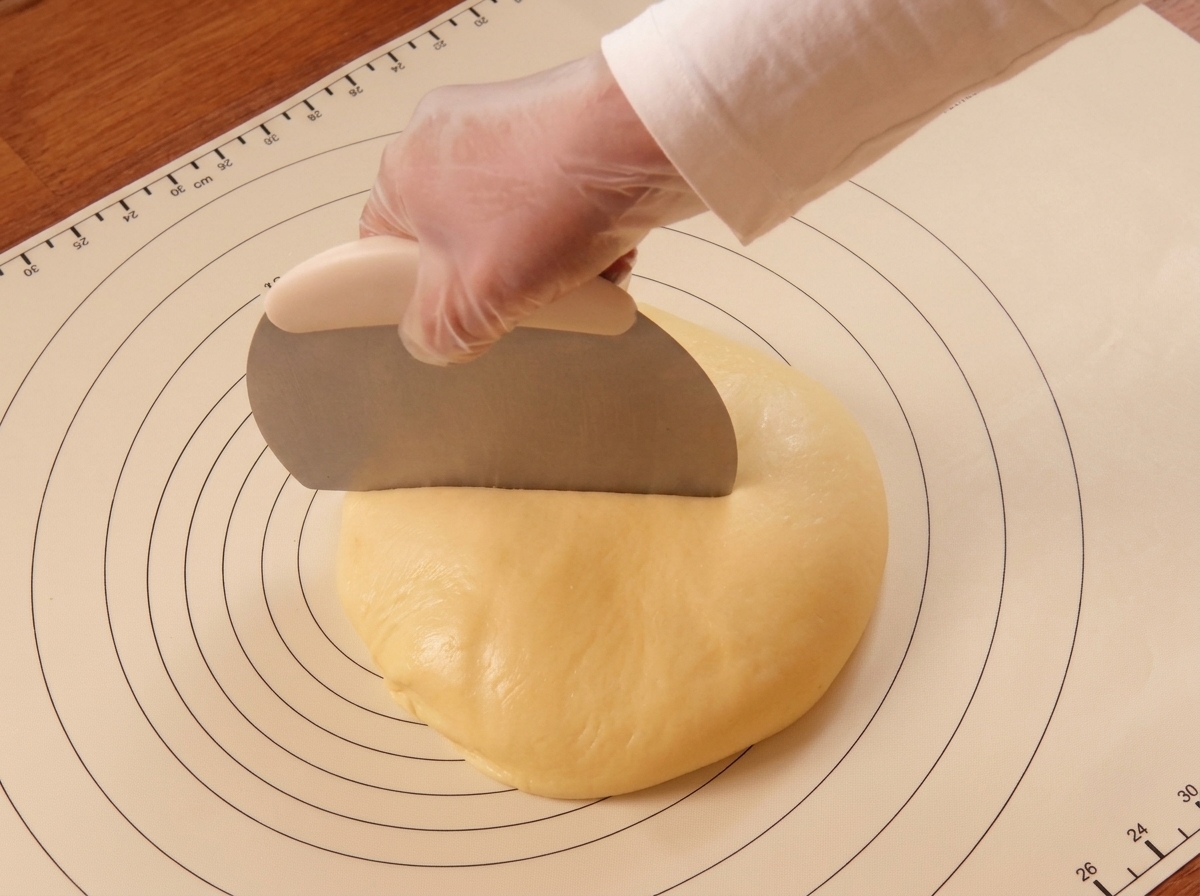
Once the dough has completed its first proofing at 30°C for an hour, gently deflate it to release the excess gas. Use a metal bench scraper to cut the dough into equal portions of 80 grams each.
Tip: Using a kitchen scale to measure each portion ensures the buns will be identical in size and bake at the same rate. - 6Shape the buns
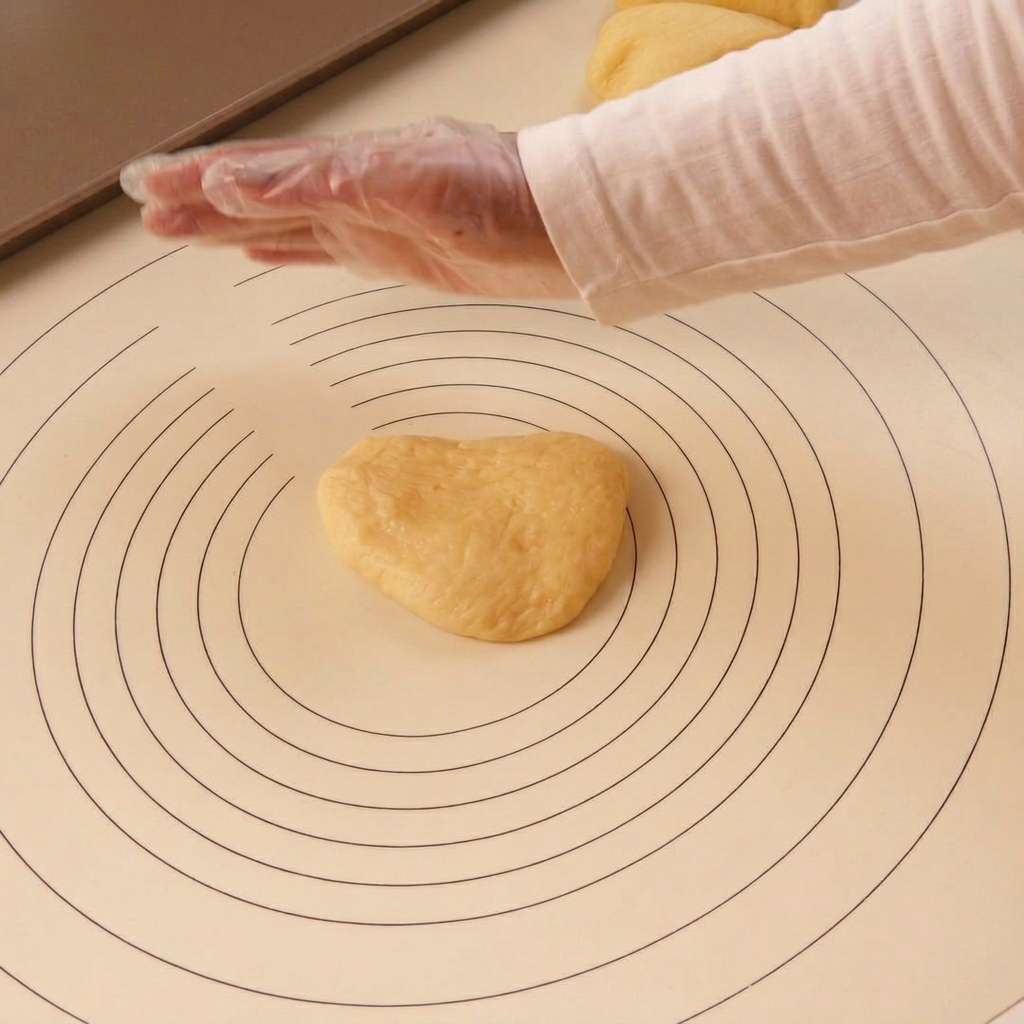
Take each 80-gram portion of dough and roll it firmly under a cupped hand on the baking mat. Form each piece into a tight, smooth, round ball, making sure the bottom is sealed well.
Tip: Creating surface tension on the dough balls helps them rise upward rather than spreading out flat during the second proofing. - 7Apply egg wash
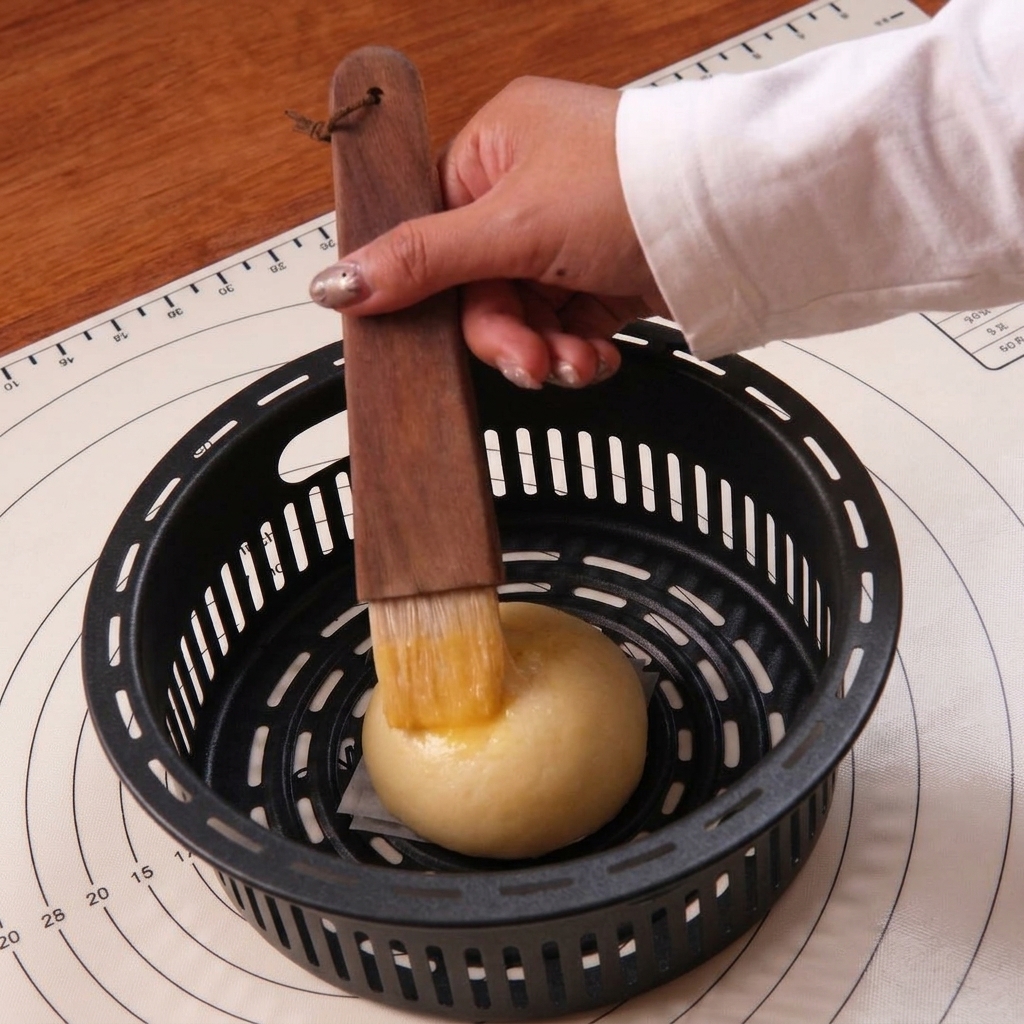
After the divided dough portions have undergone their second proofing at 35 degrees Celsius and puffed up, carefully brush the top of each bun with a liquid egg wash. This thin coating will give the baked brioche buns a beautiful, shiny, golden-brown crust.
Tip: Be extremely gentle when brushing the egg wash on so you do not deflate the delicate, proofed dough. - 8Bake the buns
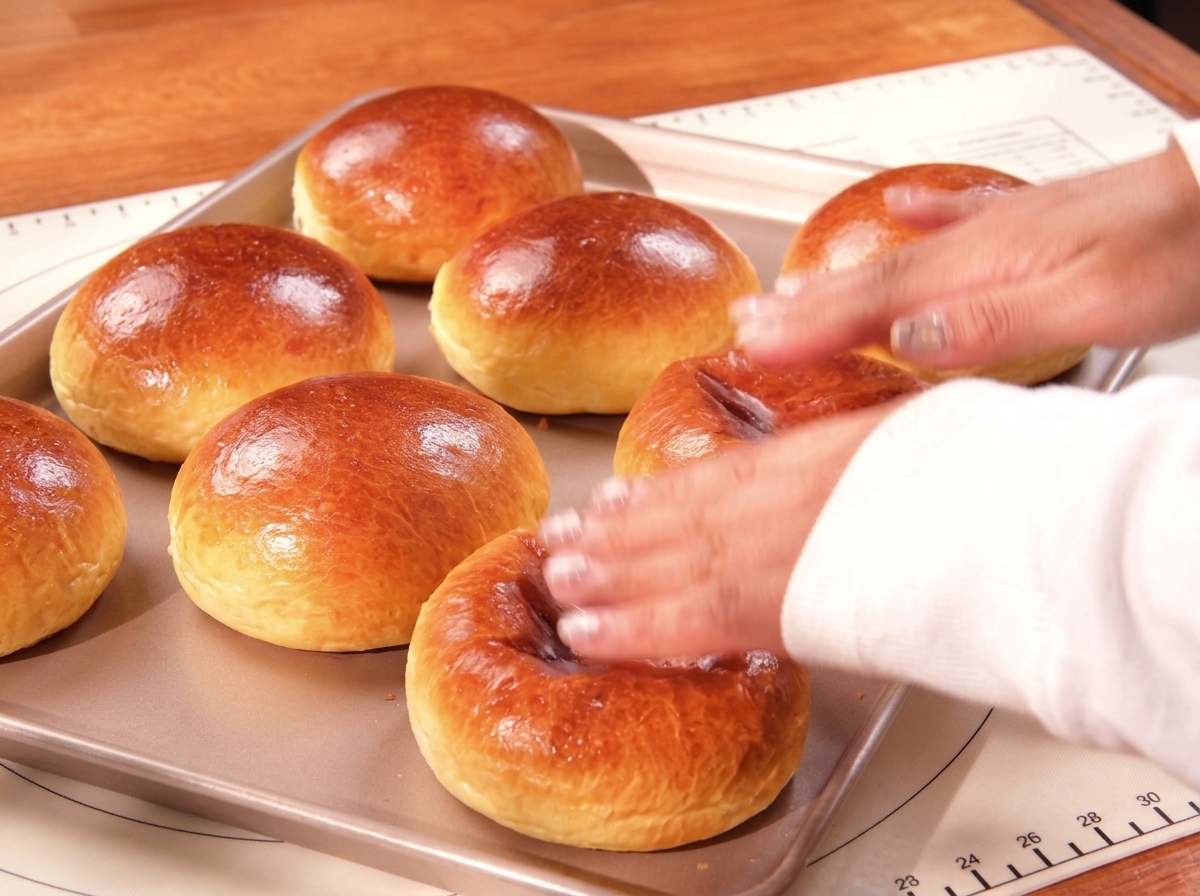
Place the tray of egg-washed buns into a preheated oven at 200 degrees Celsius and bake for approximately 12 minutes. Once they are deeply golden brown and have risen beautifully, remove them from the oven and let them cool.
Tip: If the buns start browning too quickly during baking, you can loosely tent them with aluminum foil to prevent burning. - 9Cube the steak
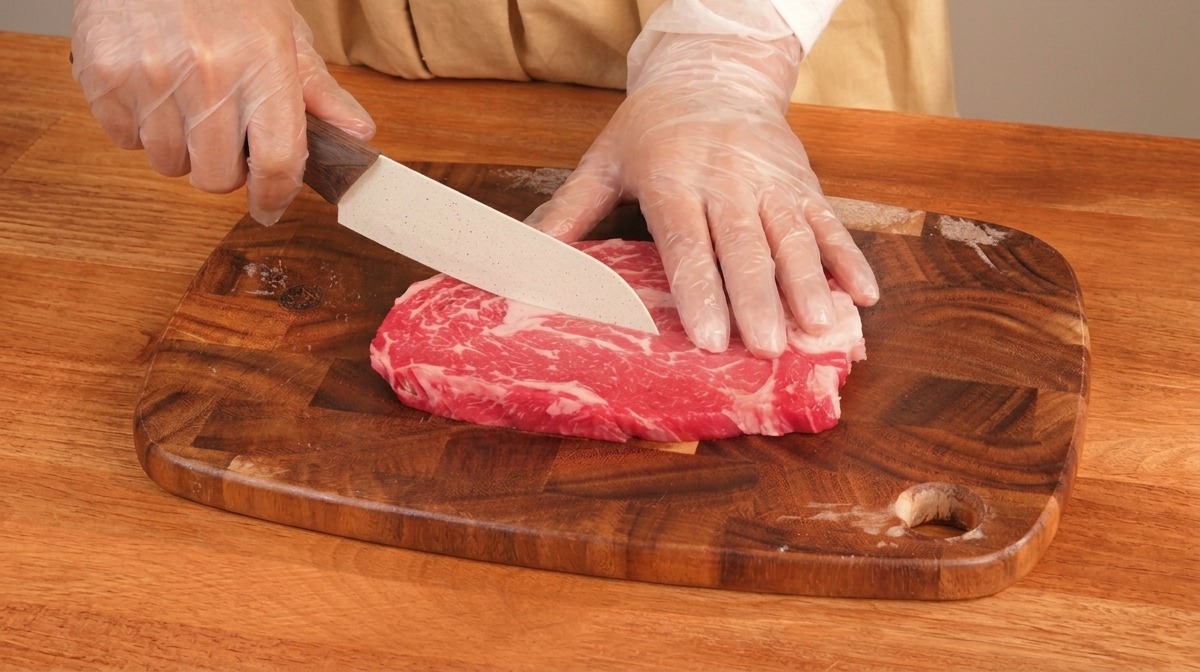
To prepare the burger patties, start by placing a thick, marbled steak onto a clean cutting board. Use a sharp knife to slice the raw meat into smaller, uniform chunks. Cutting the meat first ensures it will grind evenly in the food processor.
Tip: Keep the steak well-chilled before cubing and grinding. Cold meat processes better and prevents the fat from smearing or melting. - 10Grind the beef
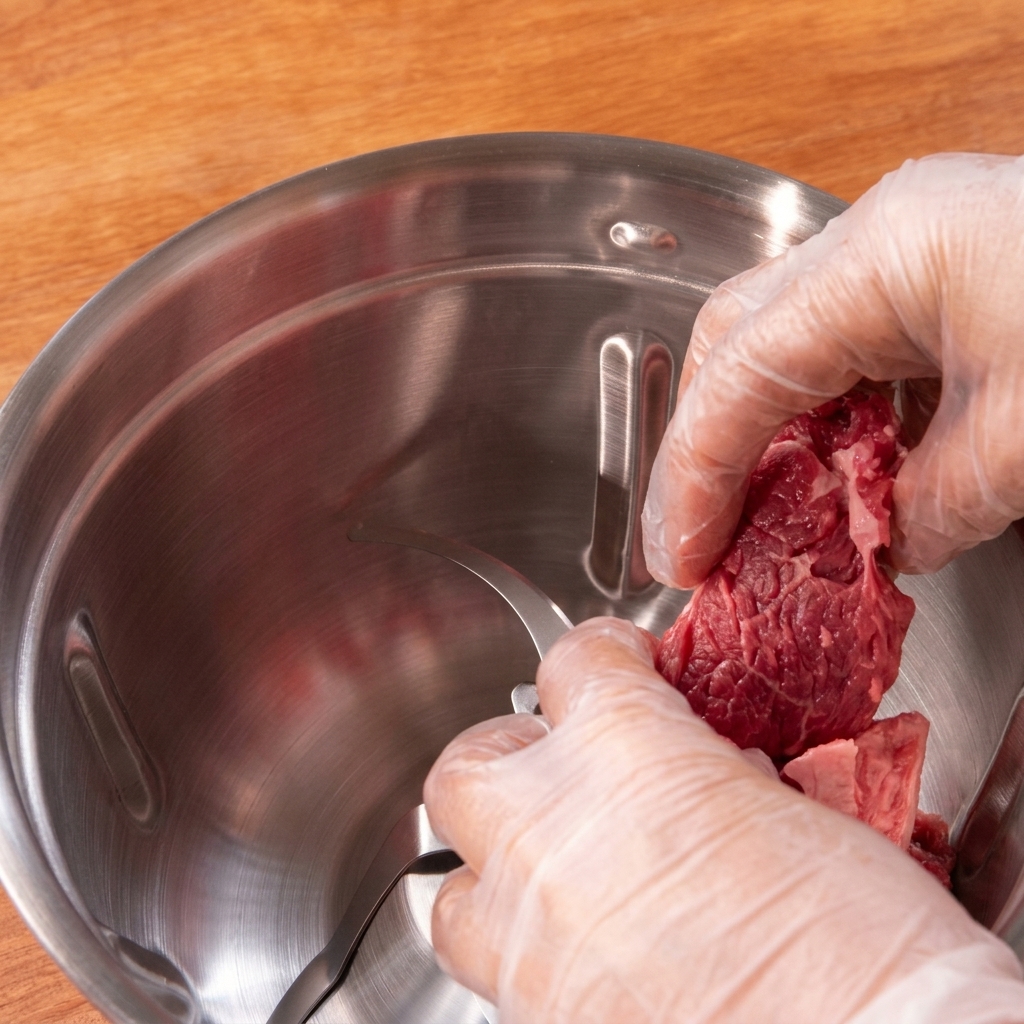
Transfer the freshly cut cubes of beef into the metal bowl of a food processor or meat grinder. Pulse the machine to grind the meat until it reaches a medium-coarse texture, which is ideal for a juicy burger.
Tip: Be careful not to over-process the meat into a fine paste. A medium-coarse grind provides the best bite and structure for the patties. - 11Bind the meat
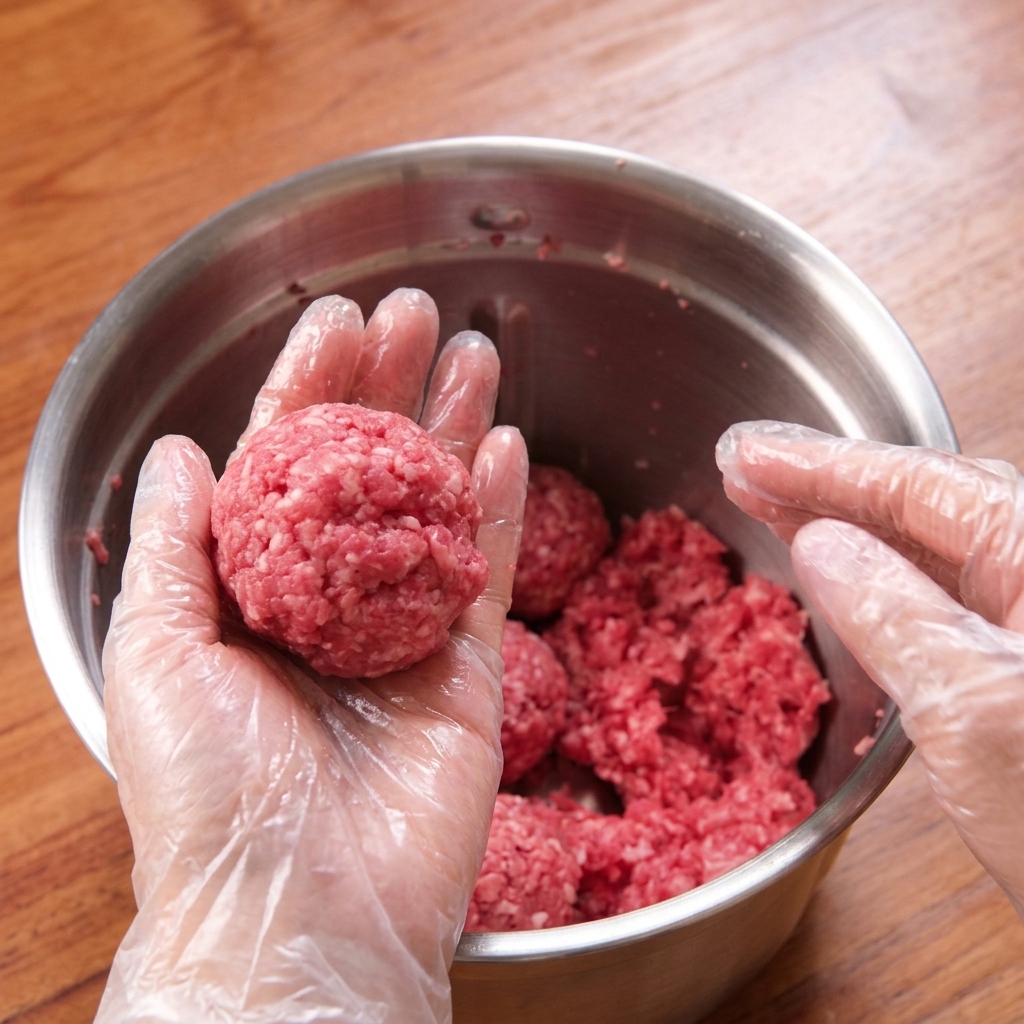
Take a portion of the freshly ground beef and loosely shape it into a ball. Firmly slap the meat back and forth between your hands several times. This action binds the proteins together, creating a cohesive mixture that wont crumble or fall apart in the pan.
Tip: Keep your hands slightly damp with cold water to prevent the meat mixture from sticking to your gloves or skin while shaping. - 12Press into patties
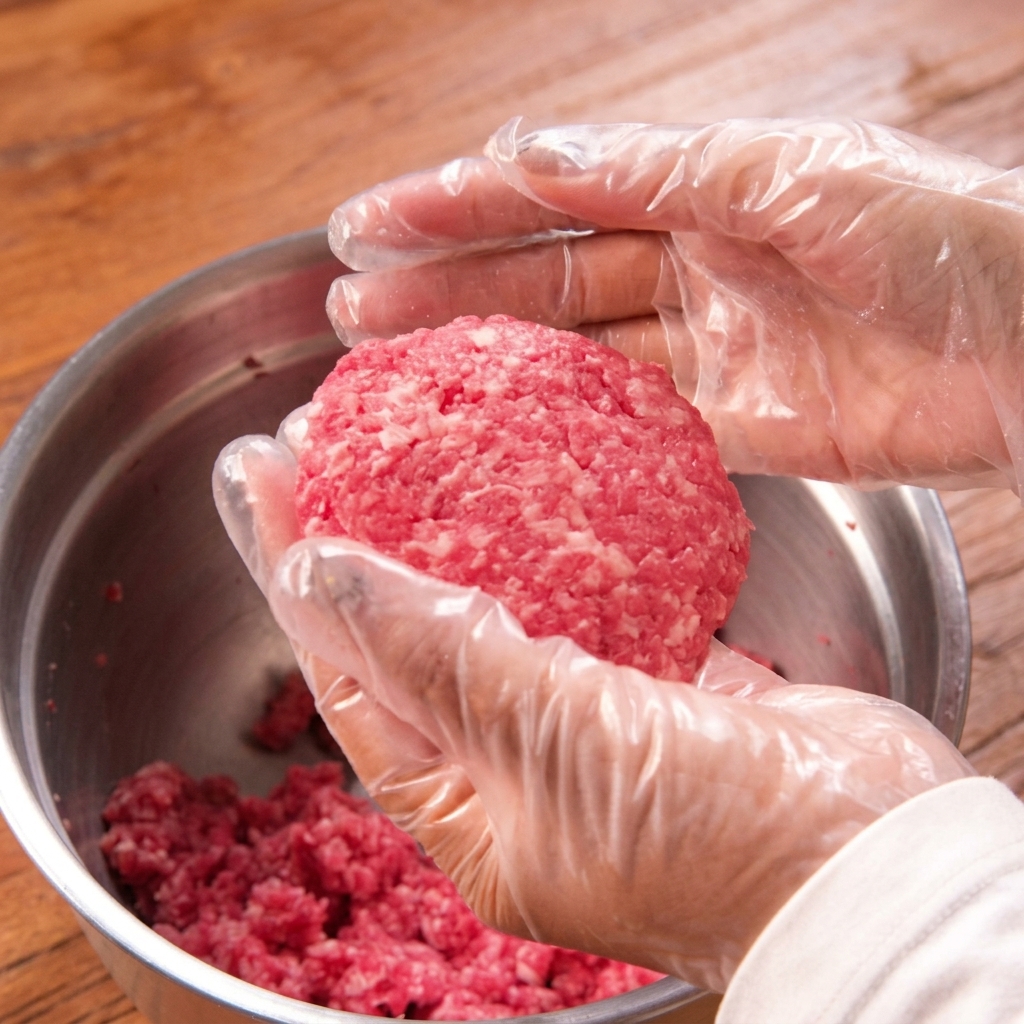
Once the meat ball is cohesive, press it down on your work surface to form a flat patty. Create a slight dimple or indentation in the center so the edges remain slightly thicker; this helps the burger cook evenly and prevents it from puffing up into a dome shape.
Tip: Keep the meat as cold as possible while handling to prevent the fat from melting before it hits the hot pan. - 13Sear the patties
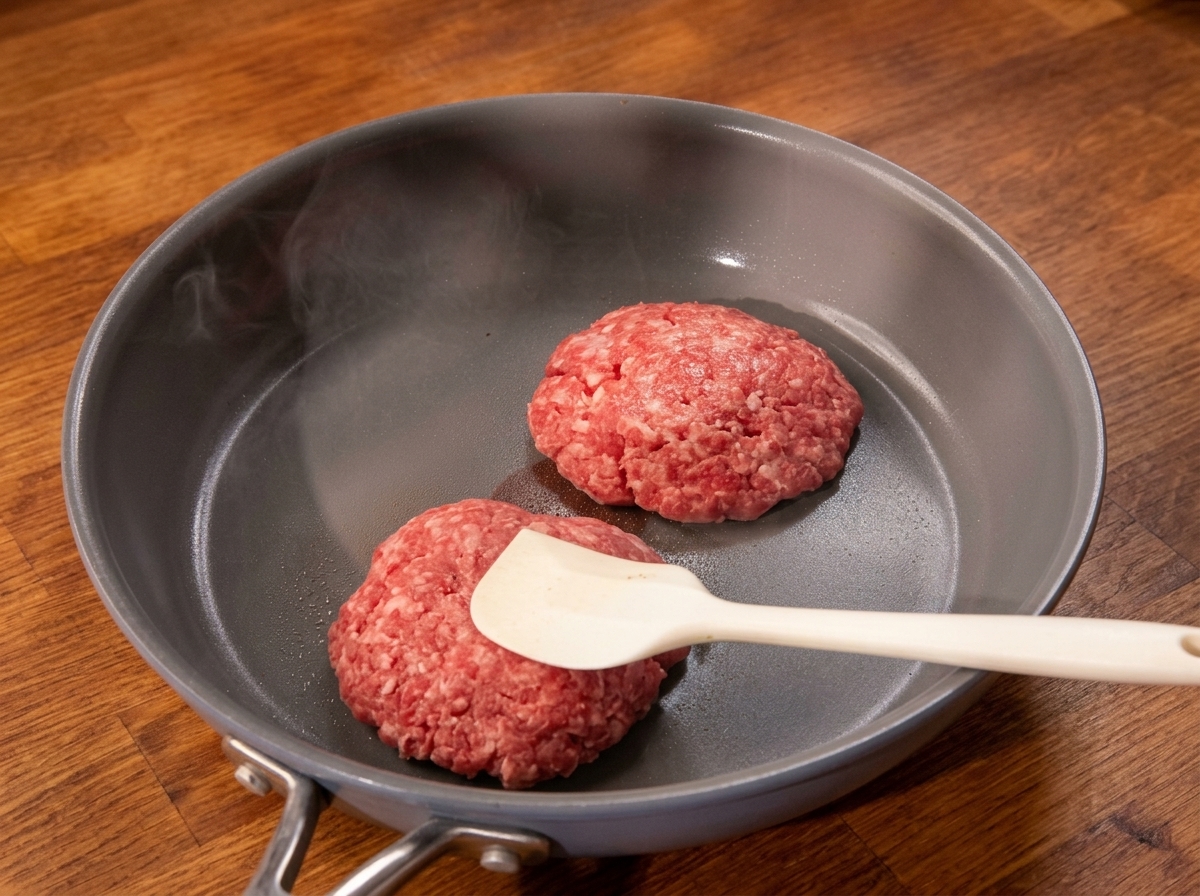
Heat a skillet or frying pan over medium-high heat. Place the beef patties into the hot pan and use a spatula to press down slightly, ensuring excellent surface contact for a rich, flavorful crust. Season generously with salt and black pepper while they cook.
Tip: Do not continuously press down on the patties after the initial sear, as this will squeeze out the flavorful juices and dry out the meat. - 14Melt the cheese
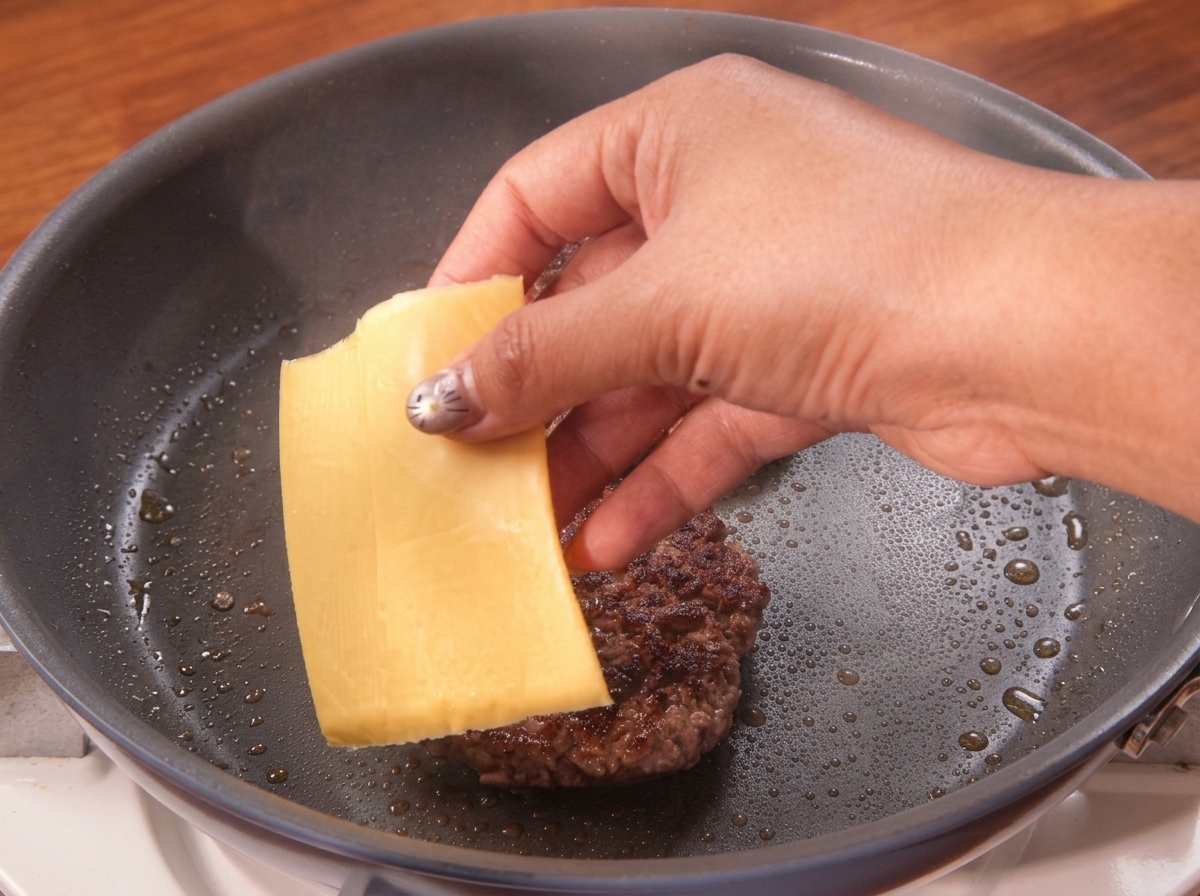
Once the patties are flipped and deeply browned on the first side, immediately place a square slice of melting cheese onto each patty. Allow the residual heat from the burger and the pan to softly drape the cheese over the edges of the meat.
Tip: To melt the cheese faster and more evenly, place a lid over the pan for a few seconds to trap the steam. - 15Fry the bacon
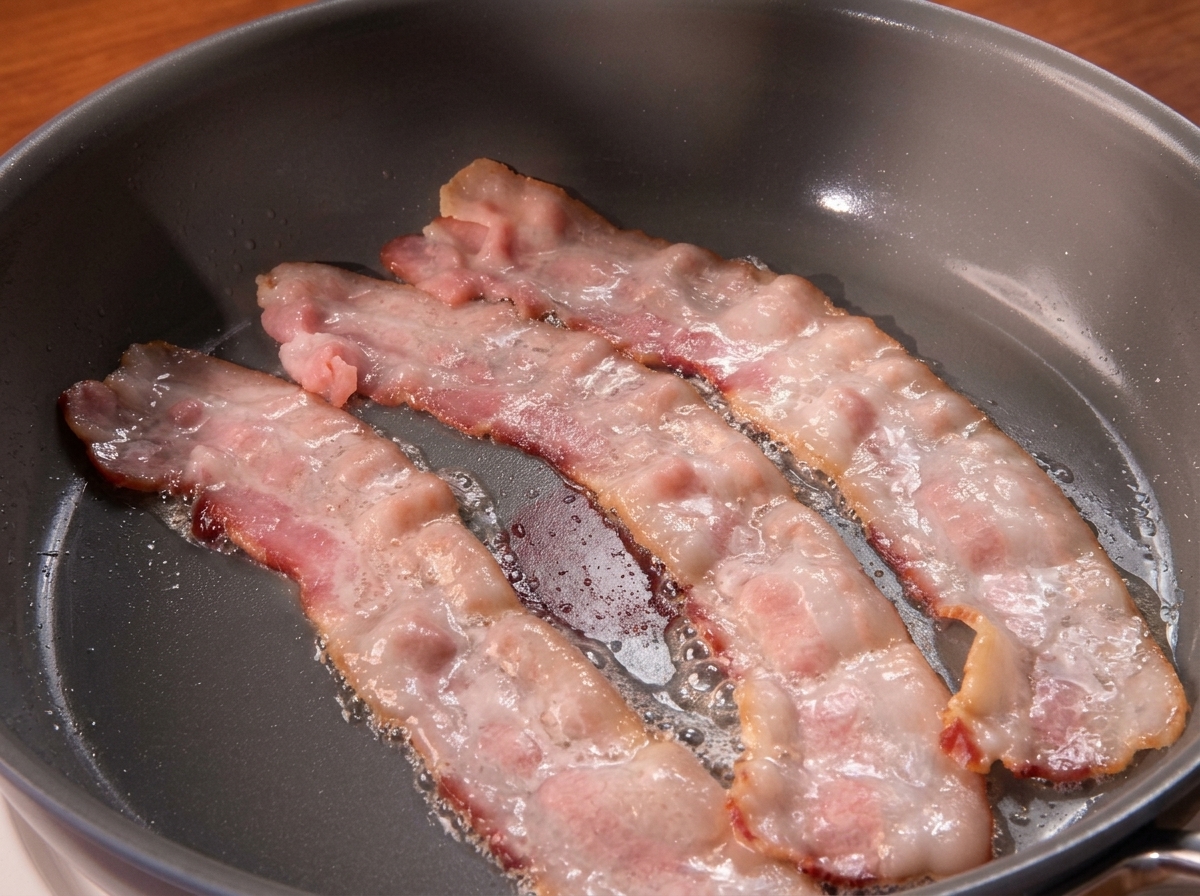
In a separate pan, or the same skillet after quickly wiping it out, fry the bacon strips over medium heat. Allow the fat to render slowly and cook the strips until they reach an irresistible crispy, browned finish.
Tip: Starting your bacon in a cold pan instead of a hot one allows the fat to render more efficiently, giving you much crispier bacon. - 16Caramelize the onions
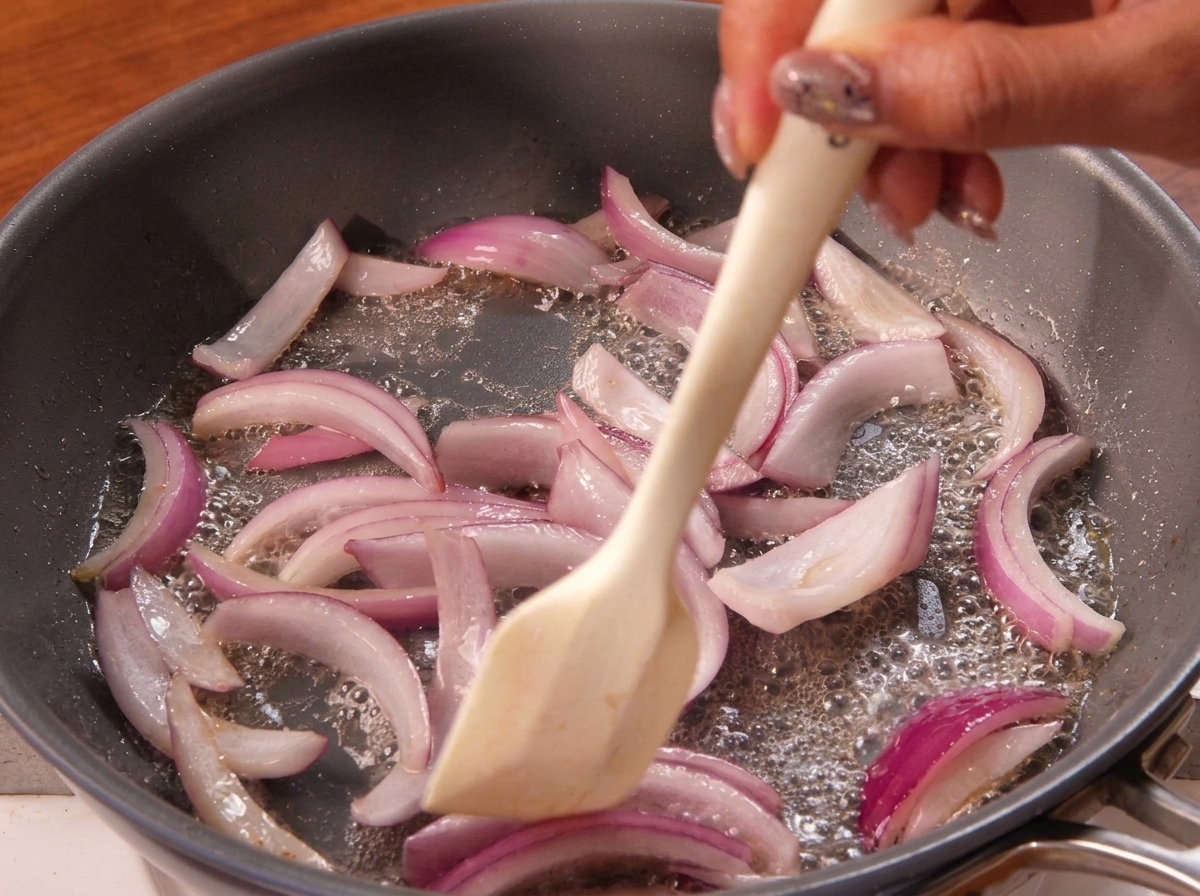
Toss the sliced red onions into a pan, utilizing some leftover bacon fat or a bit of oil if needed. Sauté them over medium heat, stirring frequently with a spatula, until they soften, brown, and release their natural sweetness.
Tip: Seasoning the onions with a pinch of salt early in the cooking process draws out moisture, helping them soften and caramelize beautifully.