Ultimate Triple Smash Burger
Roasted Chili Relish
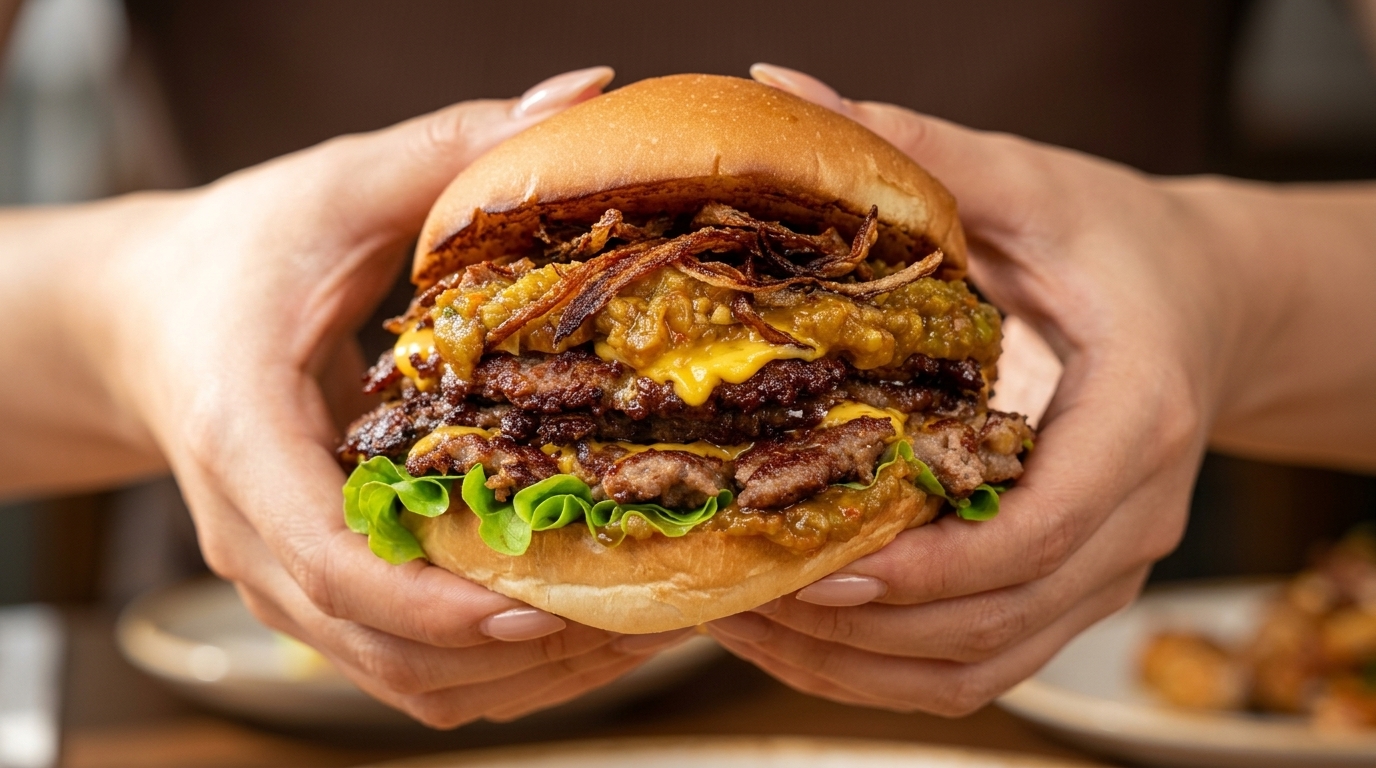
Experience the ultimate homemade smash burger with perfectly charred beef patties, melted cheese, crispy onions, and a smoky roasted chili sauce.
Making a premium smash burger at home brings a unique sense of satisfaction. The secret to this recipe lies in the contrast of textures and flavors: the deep, beefy char from a screaming hot iron pan meets the sweet crunch of slowly fried onion flakes. Paired with a vibrant, oil-roasted chili and tomato relish, this burger cuts through the richness and delivers overwhelming happiness in every bite.
Ingredients
- 500 g ground beef (high fat content)
- 3 slices yellow cheese
- 1 brioche bun
- 1 leaf green lettuce
- 1 red tomato
- 150 g mixed green and red chili peppers
- 1 large red onion
- 1 tbsp minced garlic
- 1 tbsp oyster sauce
- to taste salt and black pepper
- as needed cooking oil
Instructions
- 1Prepare the tomato
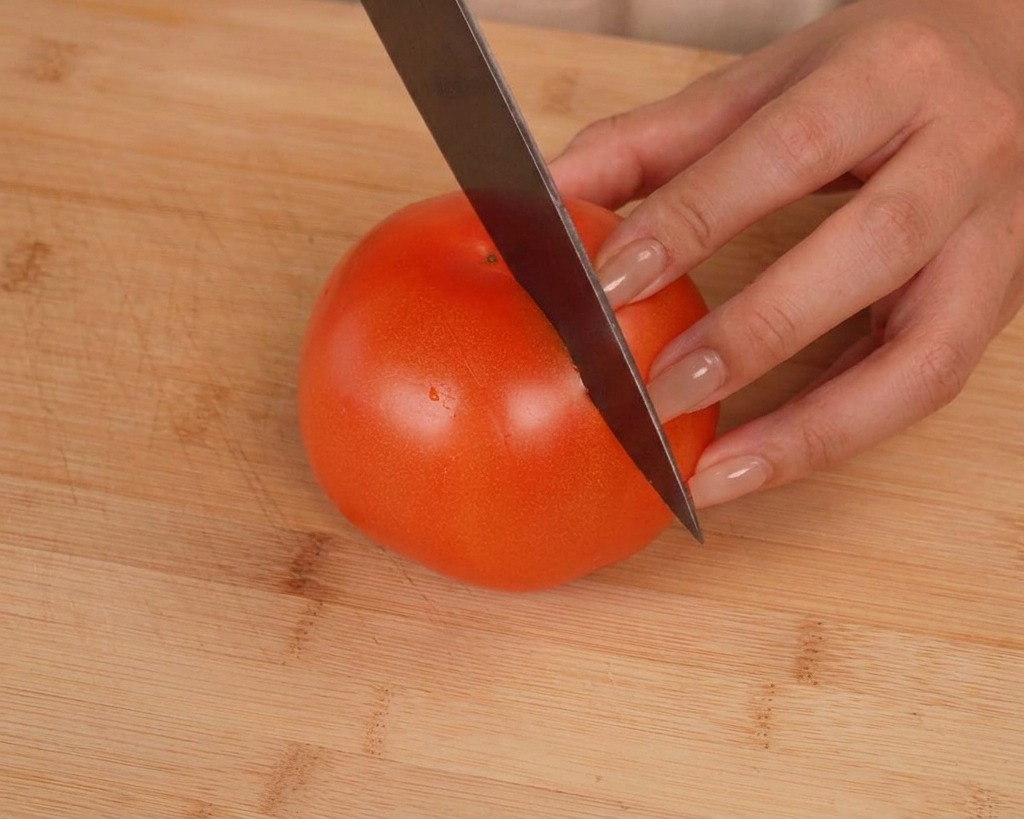
Take a fresh, clean tomato and carefully score a cross on the top using a sharp knife. This simple preparation helps the skin break evenly during the roasting process and allows the heat to penetrate the core more effectively.
Tip: Scoring the skin also makes it much easier to peel the tomato later if you prefer a smoother sauce texture. - 2Oil the chili peppers
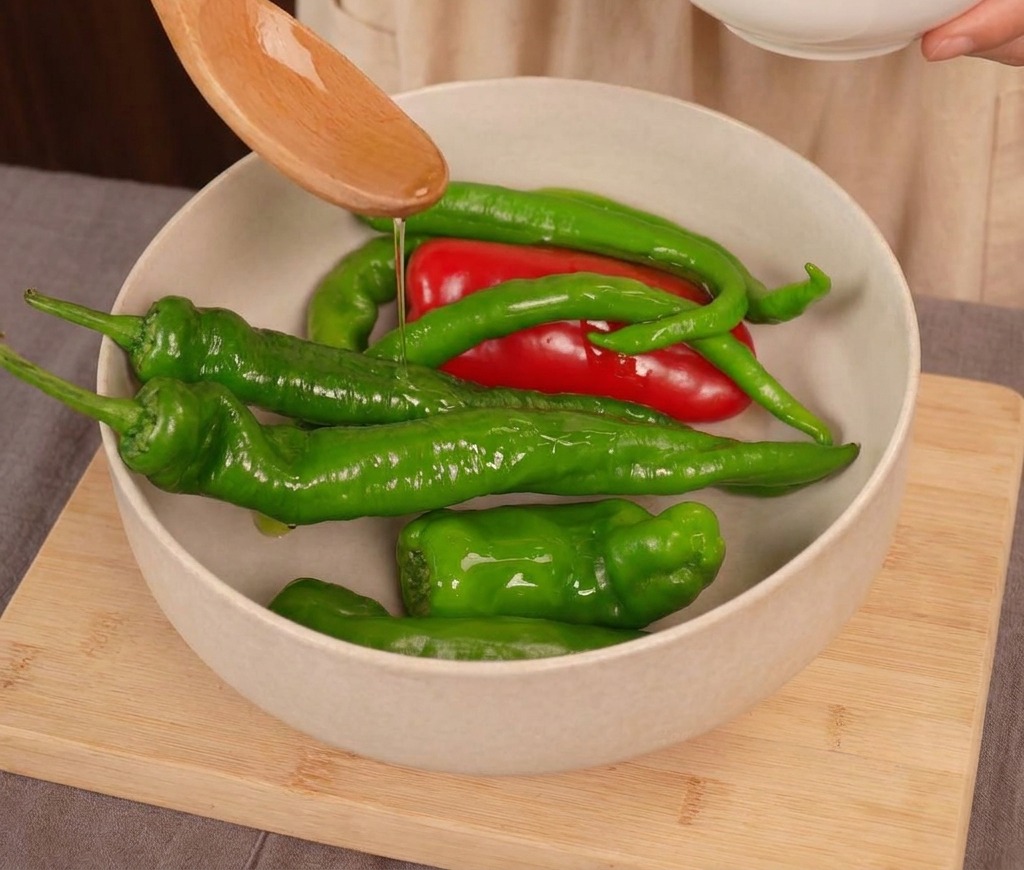
Place a variety of fresh green and red chili peppers into a bowl. Pour a small amount of cooking oil over them and toss well until each pepper is evenly coated. This light coating of oil is essential for achieving a perfect char in the air fryer.
Tip: Choose a variety of peppers to adjust the spice level and add complexity to the final sauce flavor. - 3Arrange in the air fryer
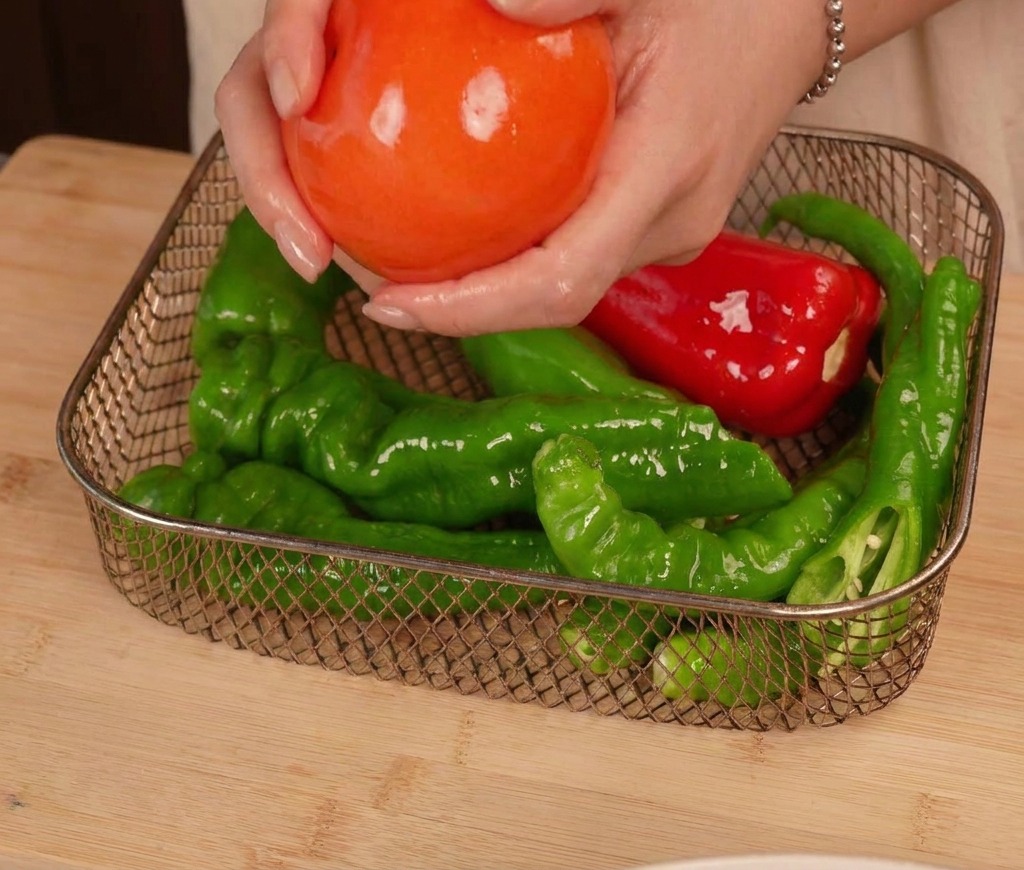
Carefully place both the oiled tomato and the coated chili peppers into the air fryer basket. Ensure they are spread out in a single layer to allow the hot air to circulate freely around each piece for even roasting.
Tip: If your air fryer basket is small, work in batches to avoid overcrowding, which can lead to steaming instead of roasting. - 4Remove the roasted vegetables
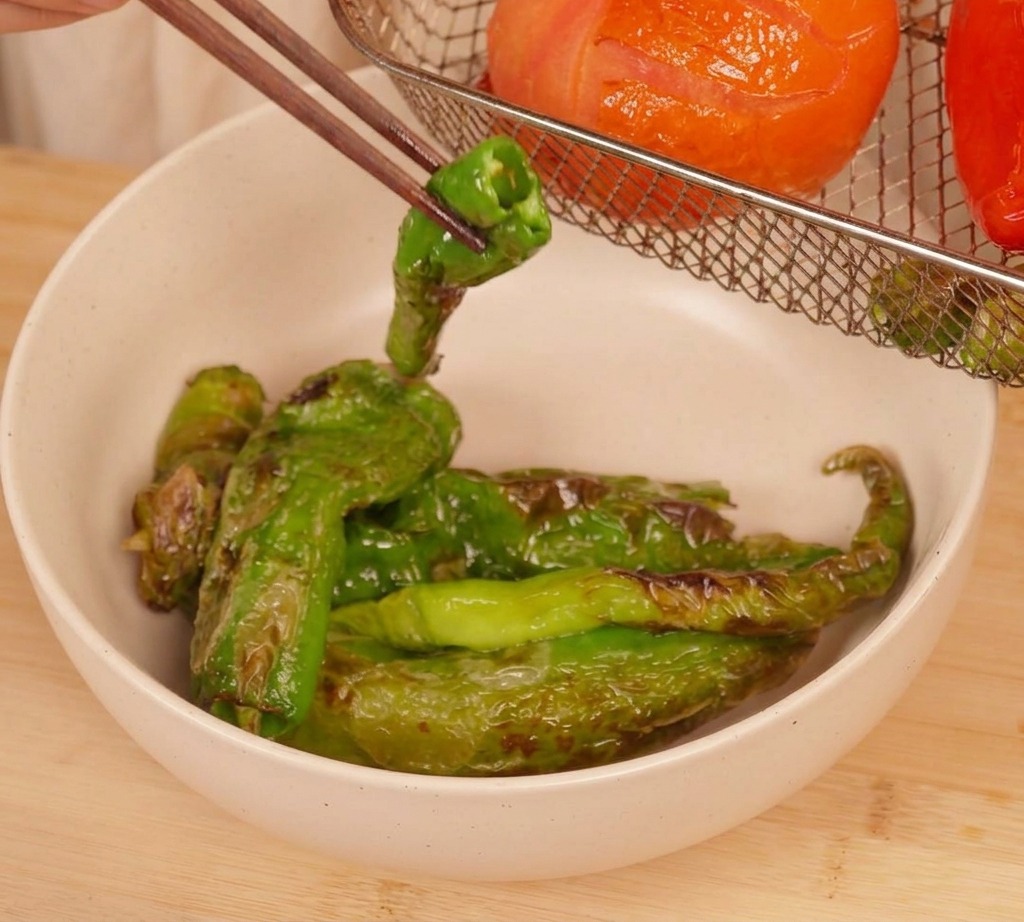
After roasting at 180°C for approximately 15 minutes, the vegetables should be soft and charred. Use chopsticks or tongs to carefully transfer the hot, blistered chili peppers and the softened tomato from the basket into a bowl.
Tip: Keep an eye on the peppers towards the end of the cooking time; smaller peppers may char faster than the tomato. - 5Season the sauce base

Add minced garlic, a pinch of salt, and a spoonful of oyster sauce to the bowl containing your roasted vegetables. These seasonings provide a savory, umami foundation that perfectly complements the smoky aroma of the charred ingredients.
Tip: You can also add a splash of soy sauce or a bit of sugar at this stage to further layer the flavors according to your preference. - 6Process into a sauce
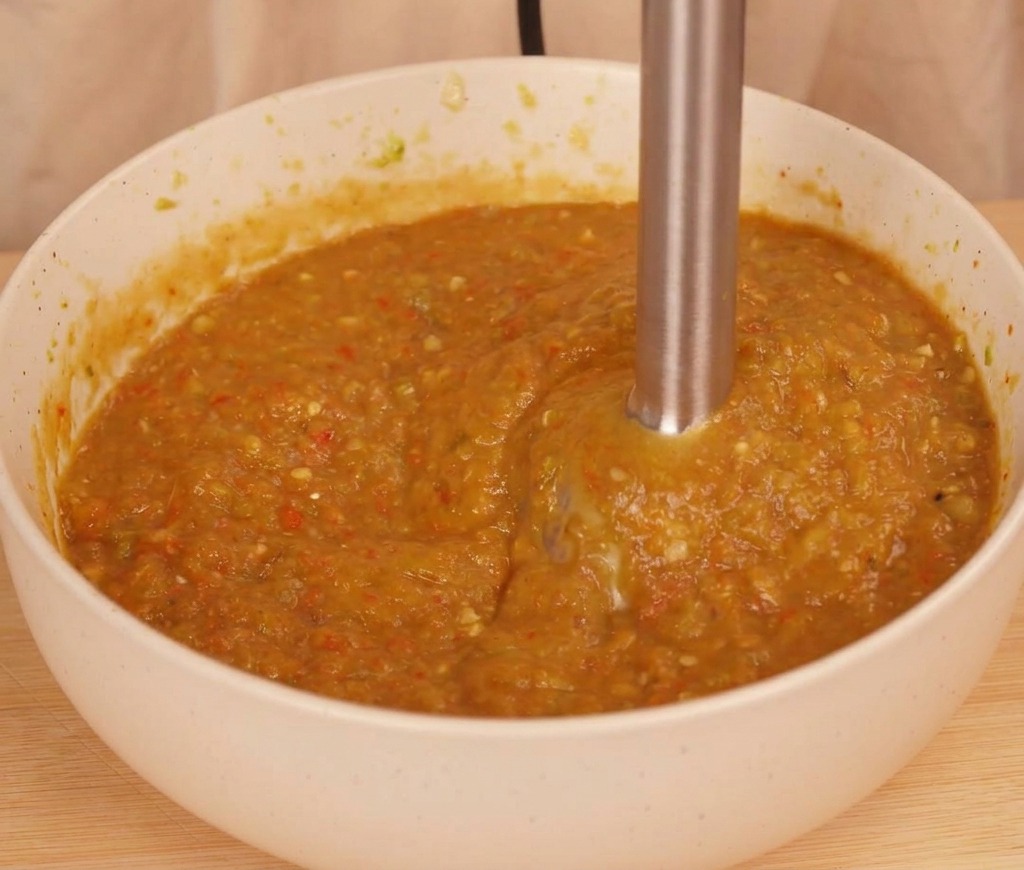
Use an immersion blender to process the roasted vegetables and seasonings. Pulse the blender to achieve a coarse, rustic texture that maintains some chunks of the roasted skin and pulp for a better mouthfeel.
Tip: If you prefer a more traditional texture, you can skip the blender and simply chop the roasted ingredients finely with a sharp knife. - 7Fry the onion flakes
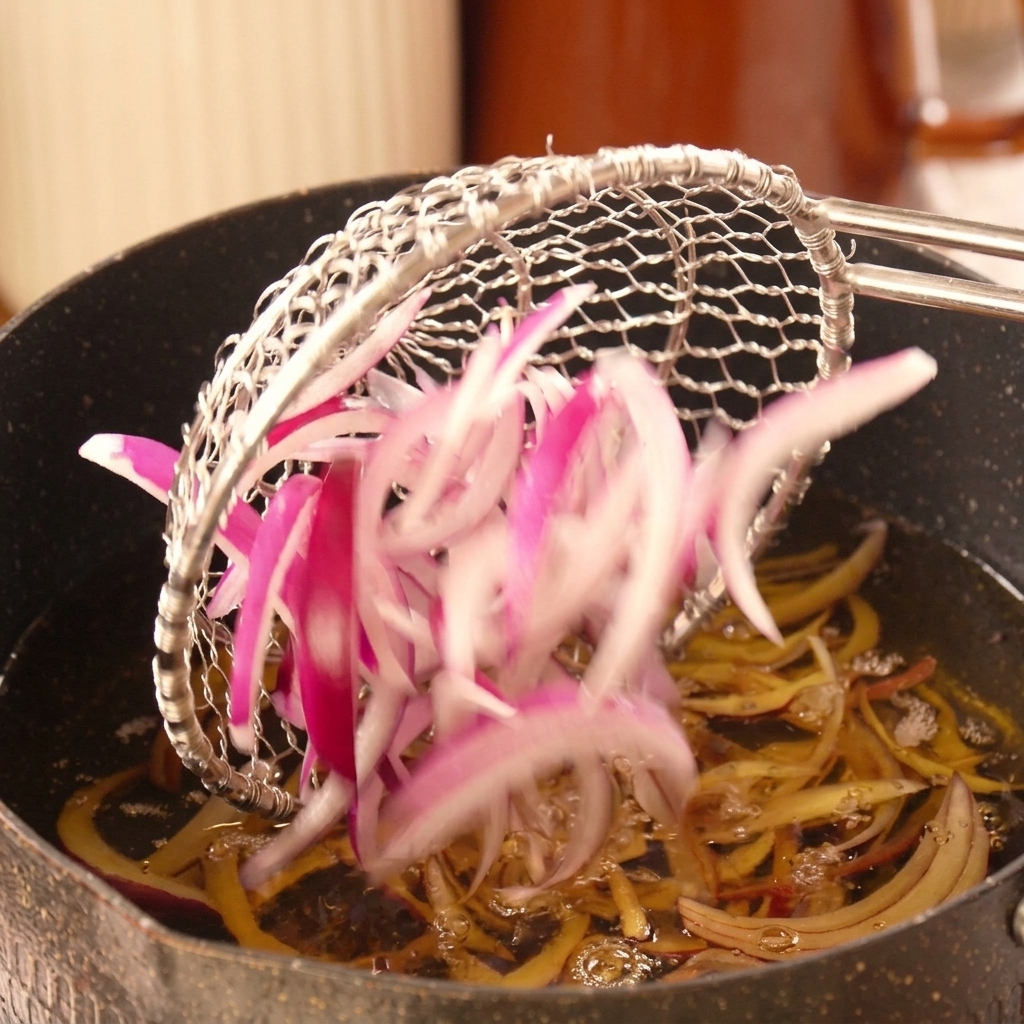
Carefully drop the sliced red onions into a pot of hot oil using a wire skimmer. Maintain a medium-low heat throughout the entire frying process to slowly draw out the moisture and turn the onions deeply golden and crunchy.
Tip: Patience is key here. Frying the onions slowly over medium-low heat prevents them from burning and turning bitter, ensuring a perfectly crispy texture. - 8Finish frying the onions
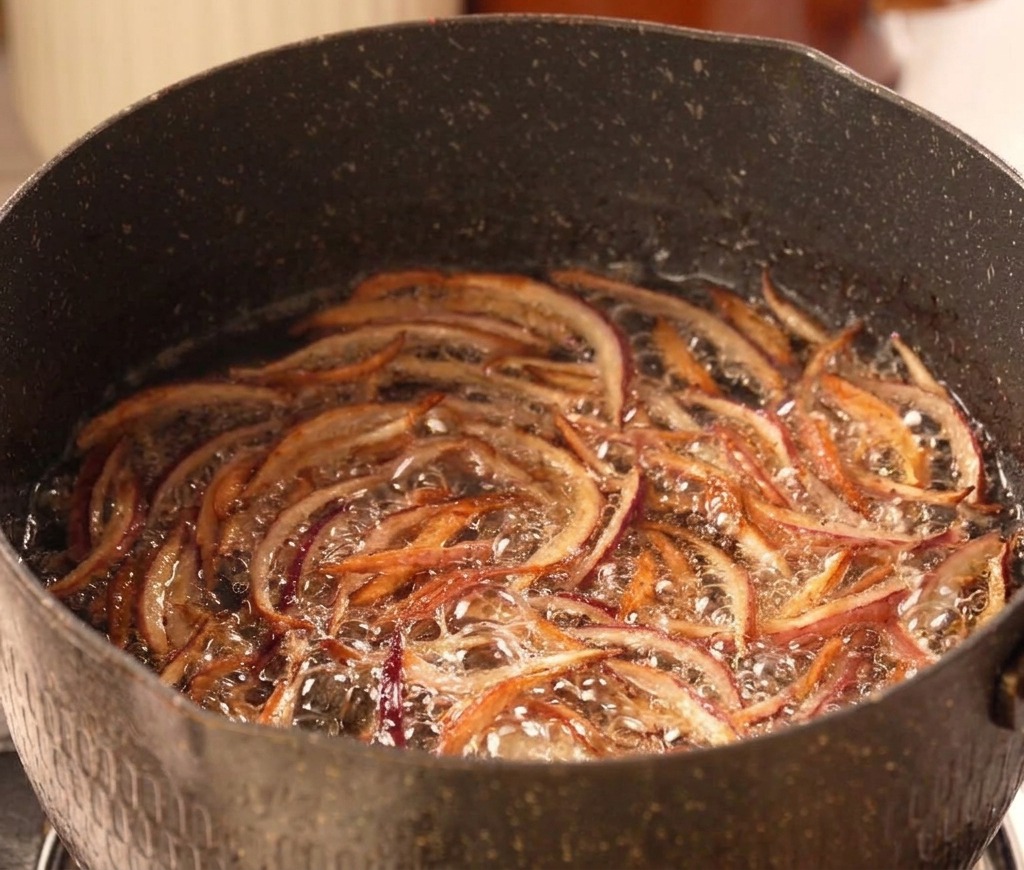
Continue frying the onions, stirring occasionally, until they reach a deep golden brown. As soon as they are fully crispy, carefully remove them from the oil and let them drain. The slow frying process concentrates their natural sweetness and guarantees a crunch that holds up inside the burger.
Tip: Maintain medium-low heat throughout to prevent the onions from burning and turning bitter. - 9Shape the beef patties
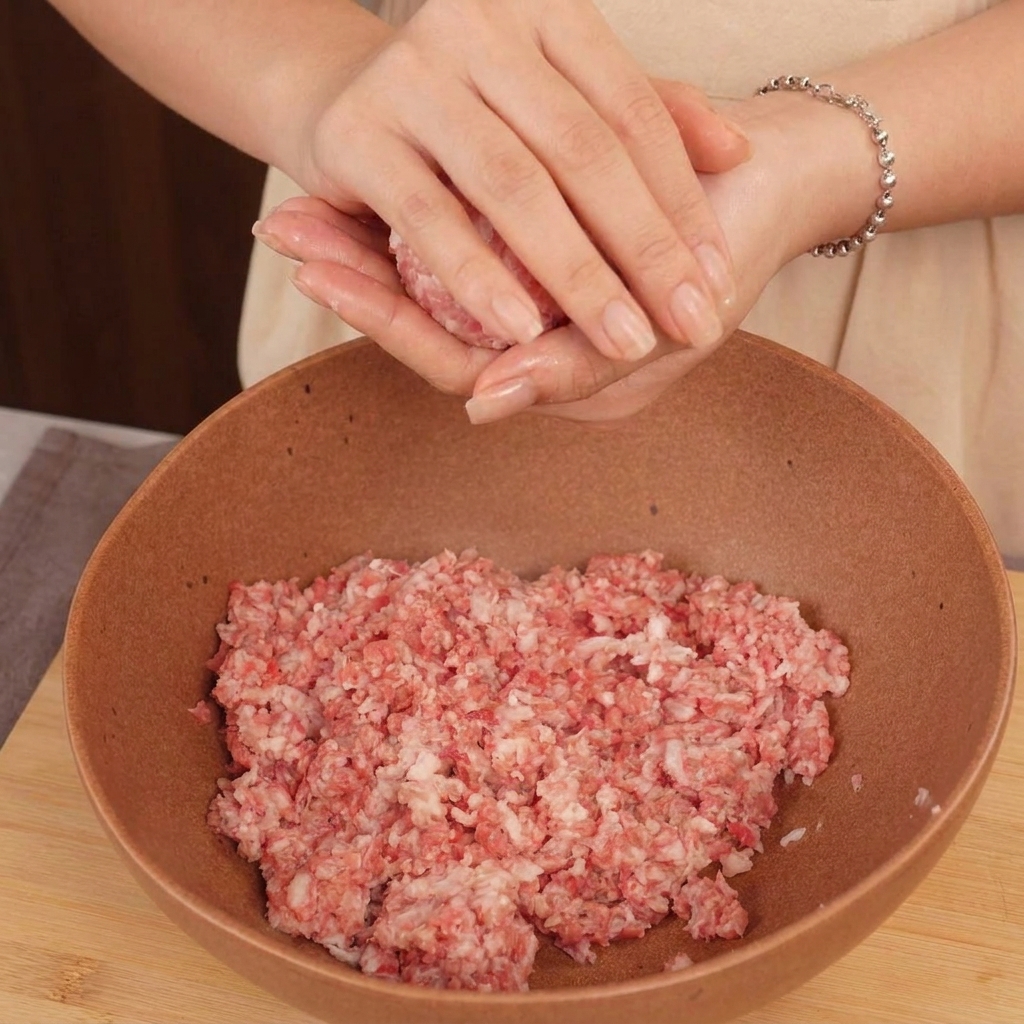
Take a portion of the ground beef and lightly form it into a ball. Gently toss the meatball back and forth between your hands a few times to shape it without overworking the mixture.
Tip: Keep the meat relatively loose rather than densely packed; the smashing technique will ensure it holds together in the pan. - 10Place meat in the pan
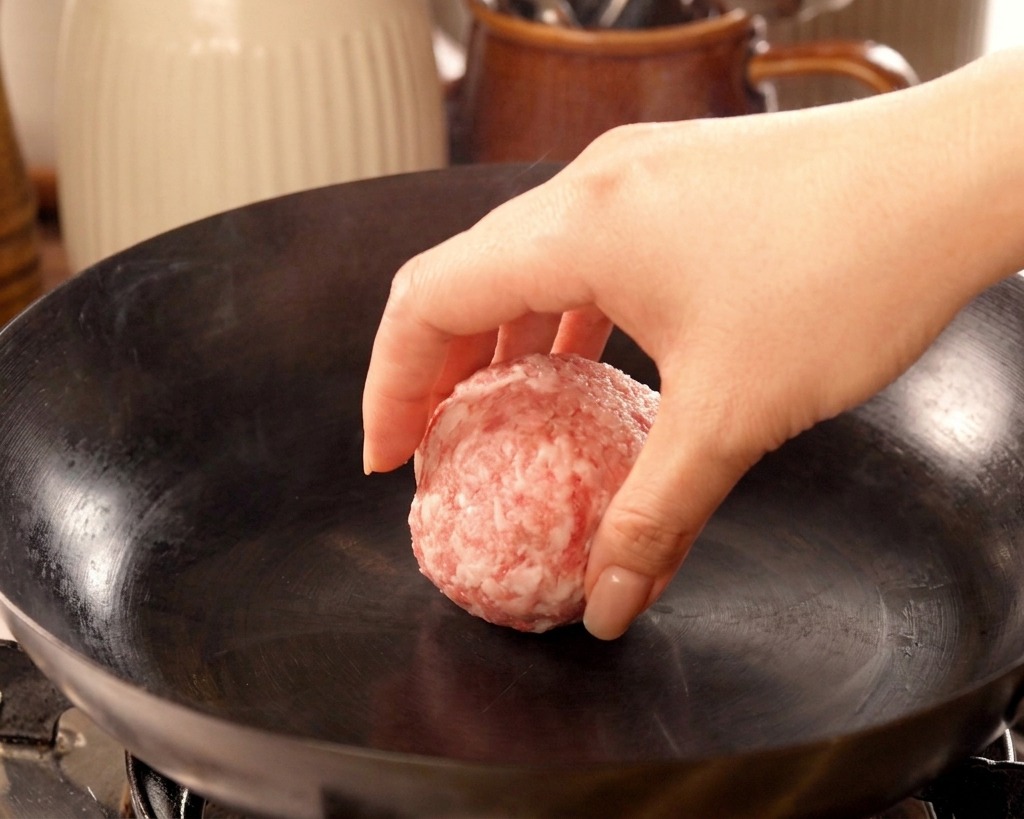
Ensure your iron pan or wok is thoroughly preheated until it begins to smoke slightly. Carefully place the shaped beef ball directly onto the hot, dry surface. The initial high heat is crucial for developing a deep sear.
Tip: Do not add cooking oil to the pan. The natural fat content in the ground beef is sufficient to prevent sticking. - 11Smash the burger
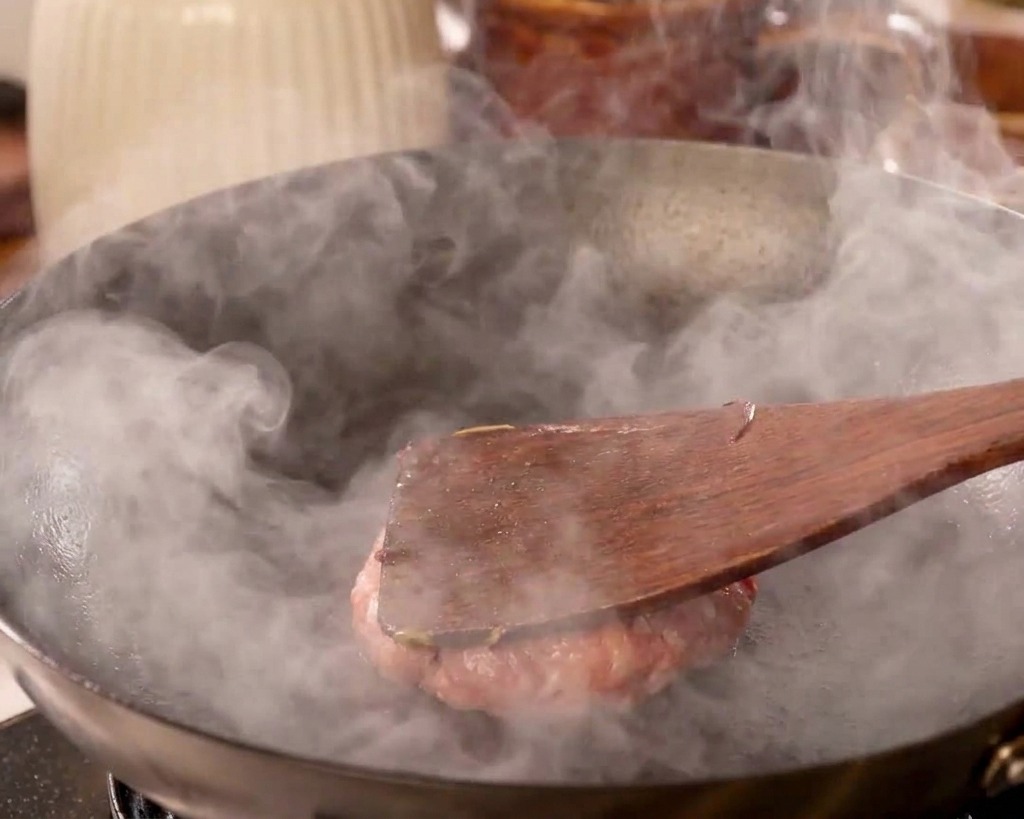
Immediately after placing the beef in the pan, firmly press it flat using a wooden spatula or a burger press. Apply even pressure so that as much of the meat surface area as possible makes direct contact with the hot iron.
Tip: Pressing the burger down firmly while the meat is still cold maximizes the crispy, caramelized crust formation. - 12Add the cheese
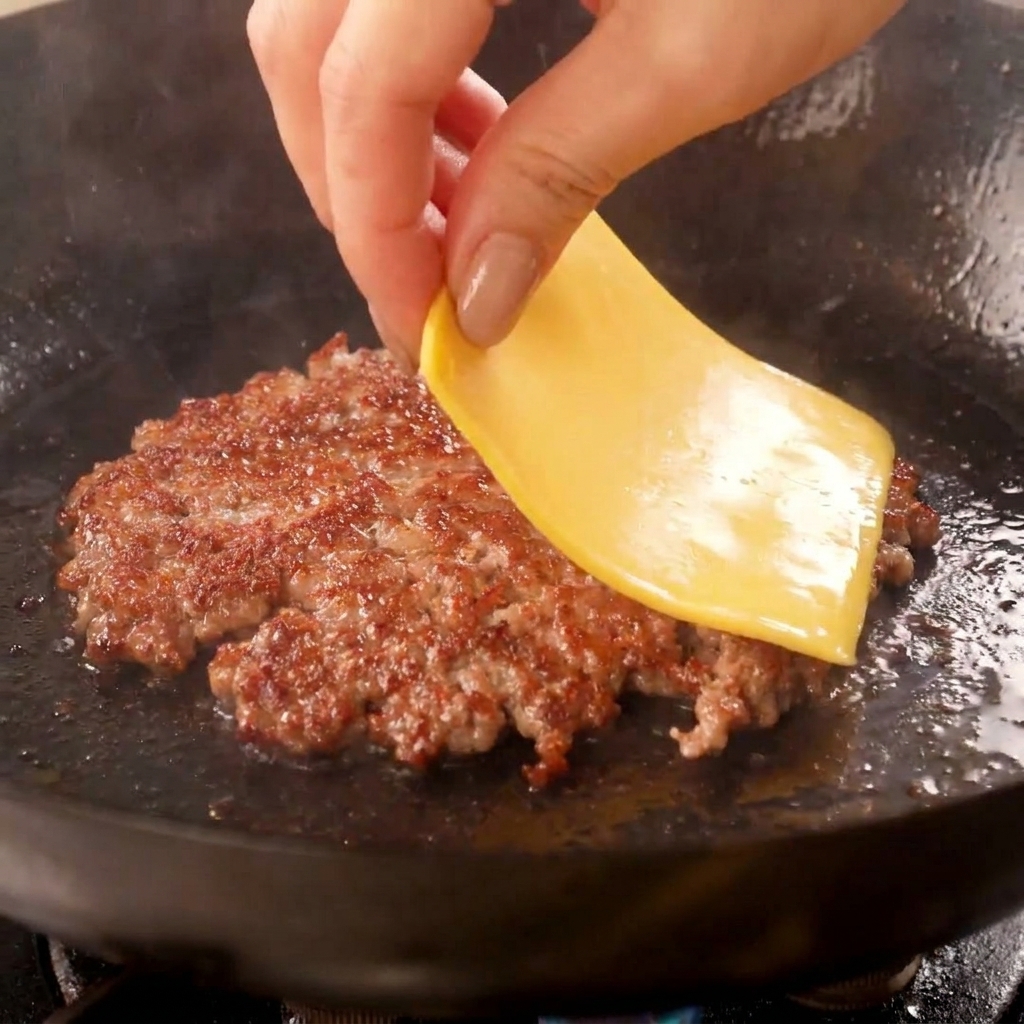
Allow the patty to sear until the bottom is deeply charred, then flip it over. Season the newly seared side with salt and black pepper, then immediately place a slice of yellow cheese on top so it begins to melt from the residual heat.
Tip: Beef with a high fat content will quickly lock in its juices despite the high cooking temperature, keeping the burger perfectly moist. - 13Remove the finished patty
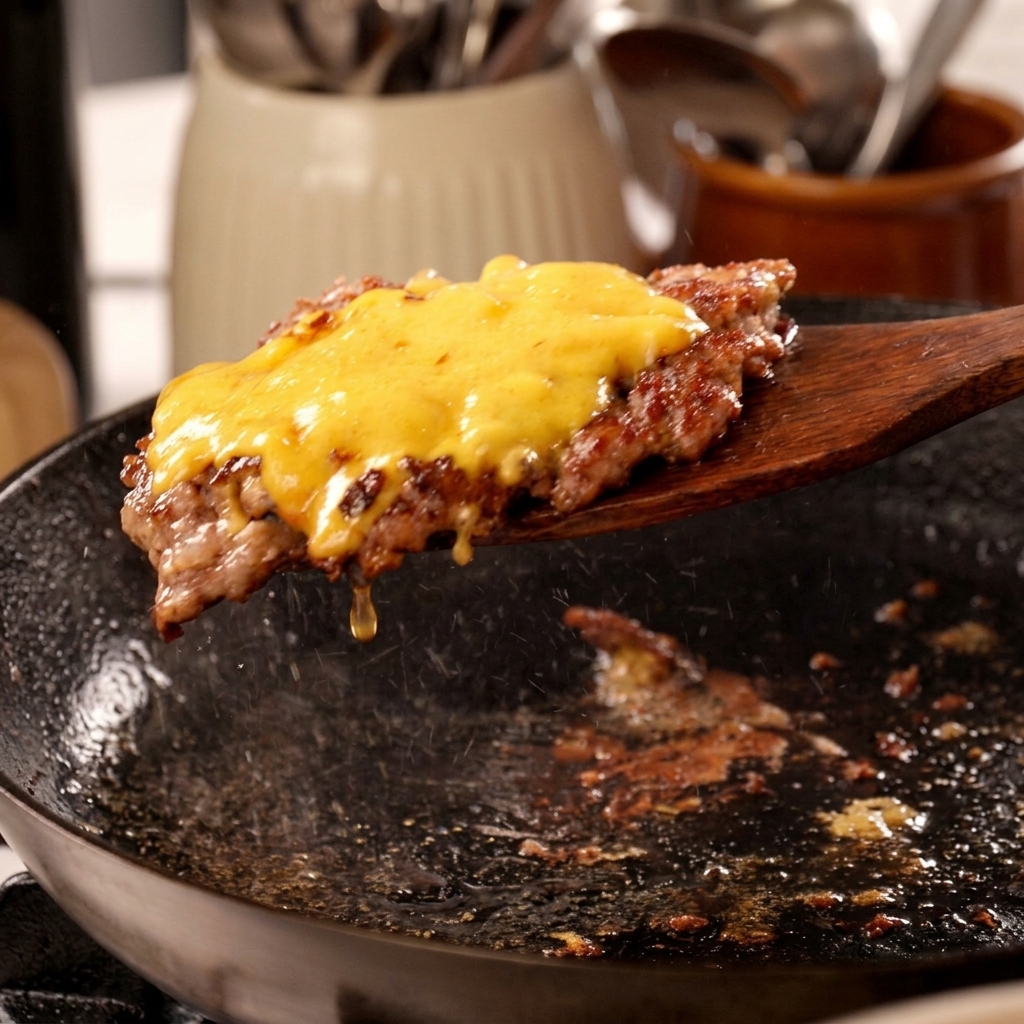
Once the cheese is perfectly melted and gooey, carefully slide your spatula under the deeply caramelized beef patty and lift it from the hot pan. Repeat the smashing, seasoning, and cheese-melting process for your remaining patties before assembling the final burger.
Tip: To help the cheese melt faster and keep the beef moist, you can add a tiny splash of water to the pan and cover it with a lid for a few seconds.