Japanese Tonkatsu Rice Bowl (Katsudon)
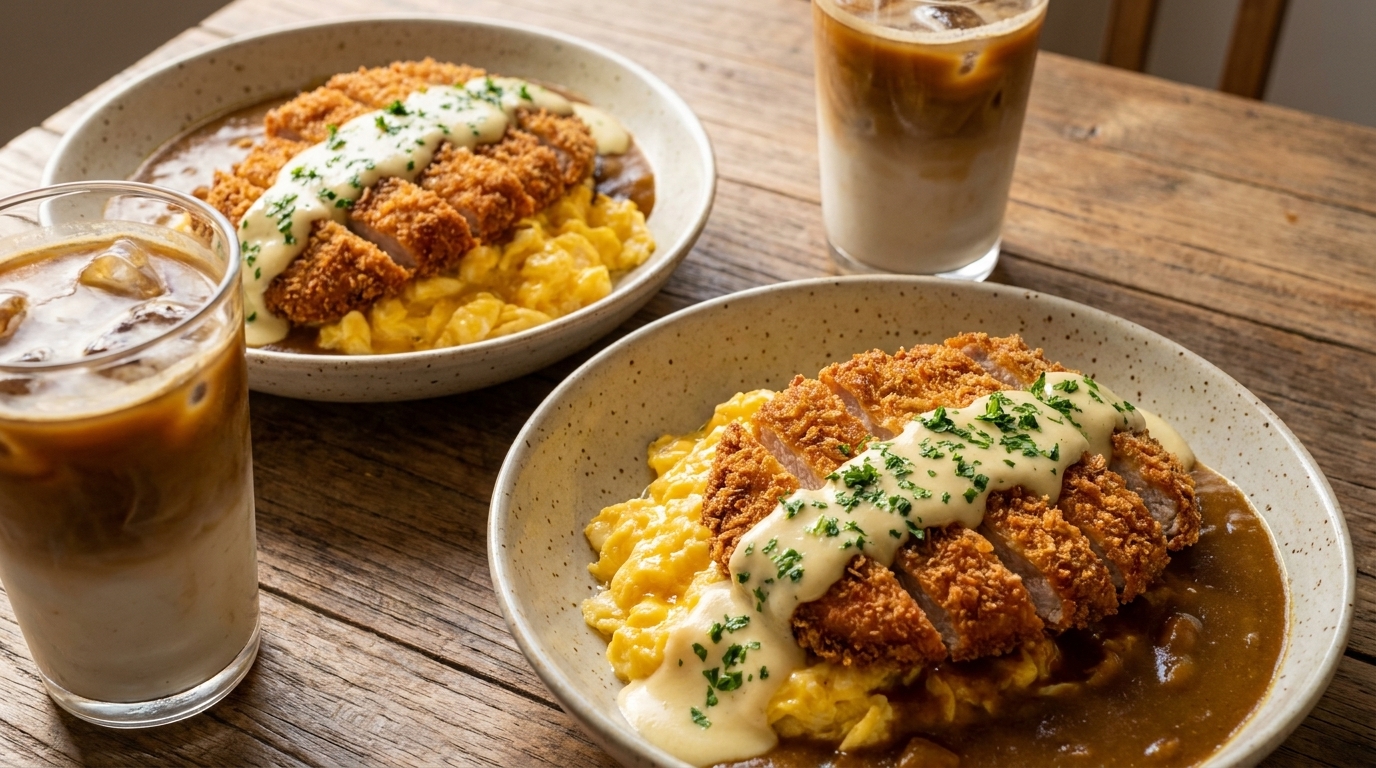
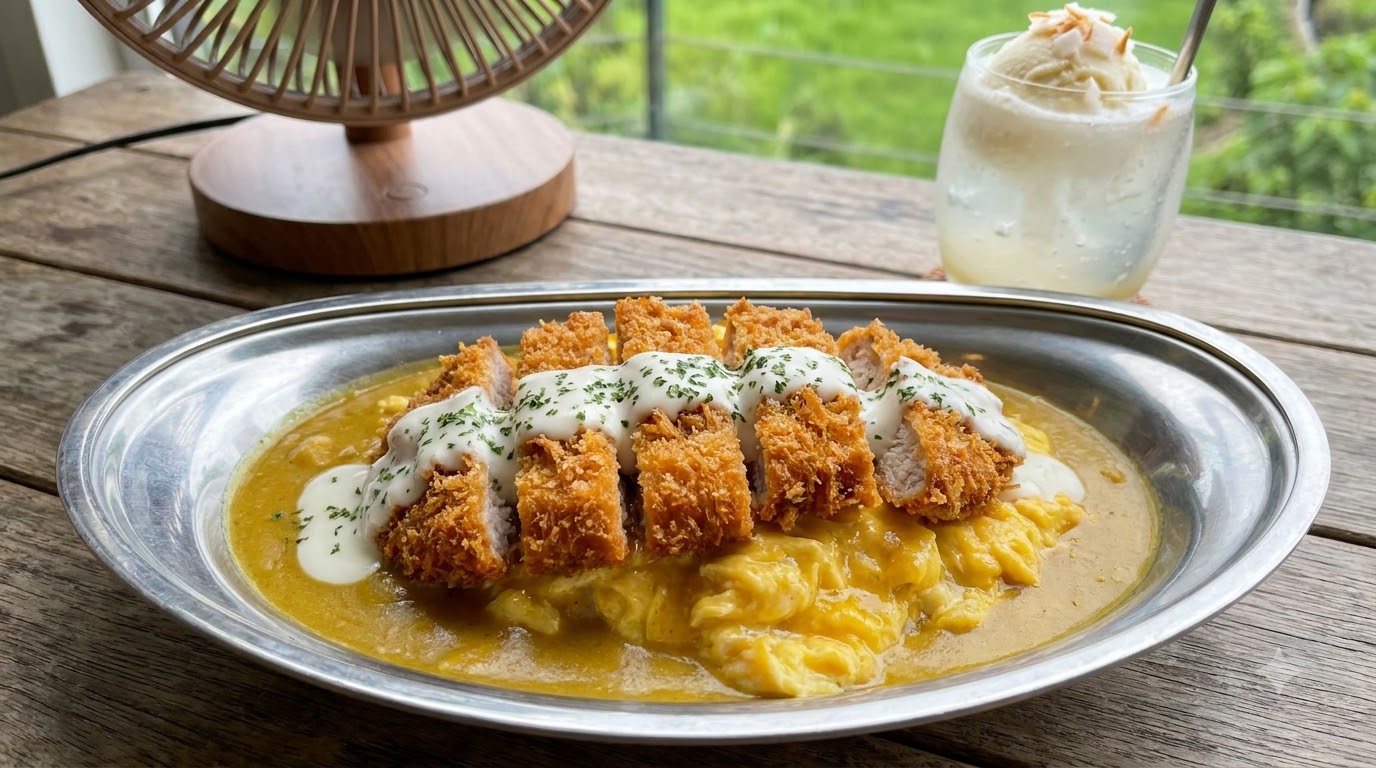
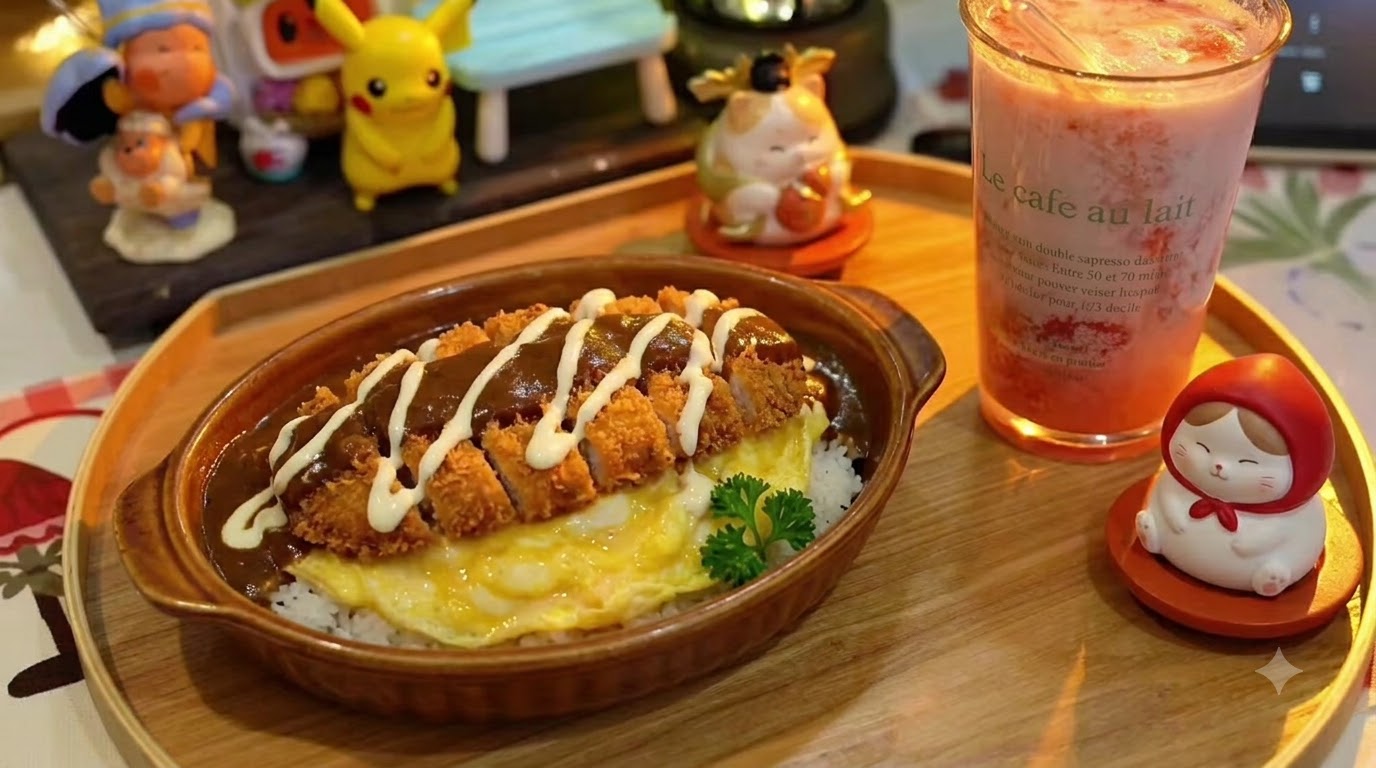
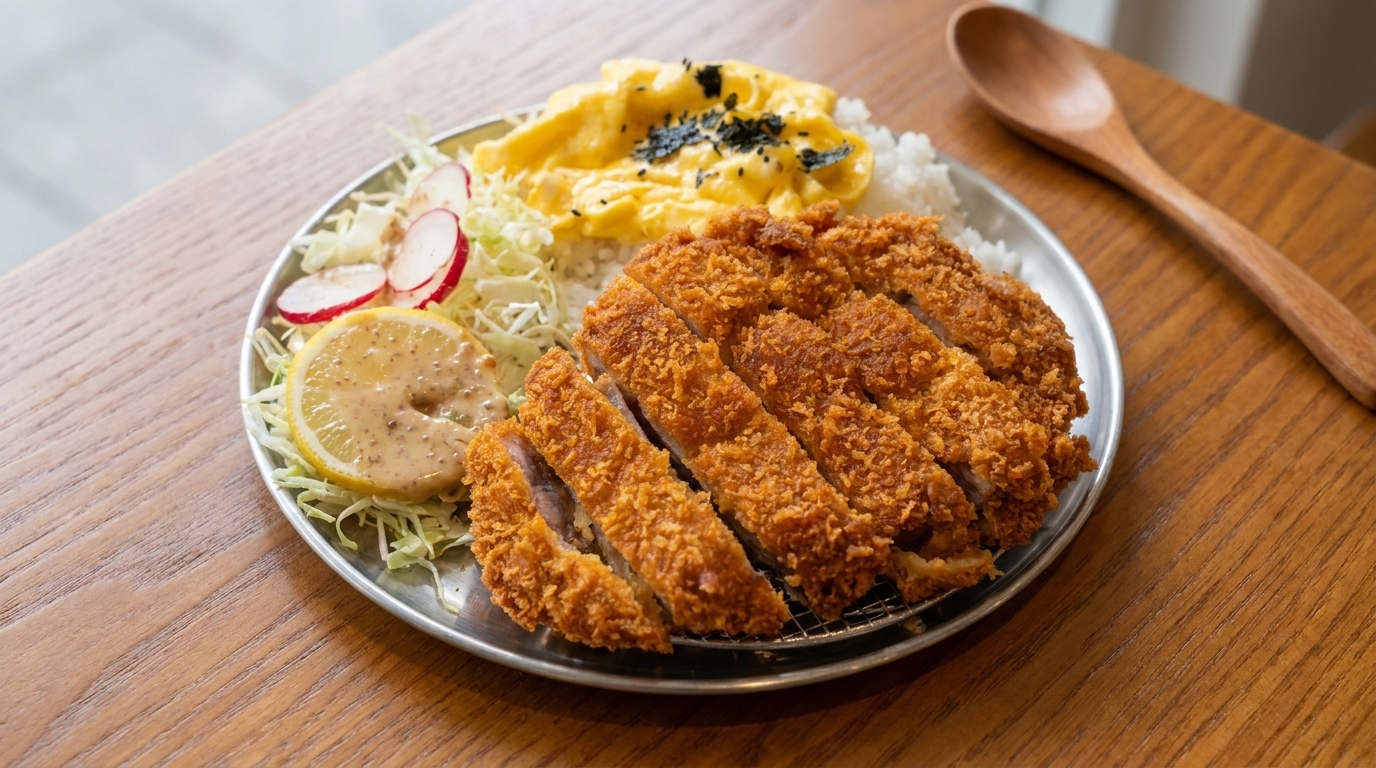
A satisfying Japanese comfort dish featuring a golden-brown, crispy pork cutlet and fluffy scrambled eggs served over steamed rice with a savory katsu sauce.
Katsudon is a beloved Japanese bowl dish that perfectly balances textures and flavors. Combining the crunch of a freshly fried panko-crusted pork cutlet with the soft, creamy comfort of gently scrambled eggs, this dish is a staple of home cooking that feels like a treat. The addition of a beer marinade helps tenderize the pork shoulder, ensuring every bite is succulent and flavorful.
Ingredients
- 400 g pork shoulder cutlet
- 100 g panko breadcrumbs
- 50 g flour
- 2 eggs
- 50 ml beer
- 1/2 red onion
- 100 g cabbage
- 2 tbsp milk
- 1 tsp salt
- 1/2 tsp black pepper
- optional radish slices
- optional seaweed
- optional sesame seeds
- optional katsu sauce
Instructions
- 1Tenderize the pork

Place the pork shoulder cutlet on a tray and use a meat tenderizer to firmly pierce the surface. This process breaks down the fibers, ensuring the meat remains tender and absorbs the marinade effectively.
Tip: Apply even pressure across the entire cutlet to ensure consistent texture. - 2Prepare the beer marinade

Finely chop the red onion and place it in a bowl. Pour beer over the onions and squeeze them thoroughly to extract the juices into the liquid. Use this mixture to marinate the pork for 30 minutes to infuse flavor.
Tip: Squeezing the onions helps release more aromatic compounds into the beer. - 3Prepare crisp cabbage

Shred the cabbage thinly using a mandoline slicer for consistent texture. Immediately submerge the shredded cabbage in a bowl of ice water to ensure it remains exceptionally crisp until serving.
Tip: Keep the cabbage in the ice water until the very last moment to maximize crunch. - 4Dredge in flour

Pat the marinated pork cutlet dry with a paper towel. Place the pork into a shallow tray of flour and coat it thoroughly, shaking off any excess. The flour provides a dry surface for the egg wash to adhere to.
Tip: Ensure the pork is fully dry before dredging to help the flour stick properly. - 5Apply egg wash

Take the flour-coated pork cutlet and dip it completely into a bowl of beaten egg. Ensure the entire surface is covered, as this acts as the glue for the final breadcrumb layer.
Tip: Let the excess egg drip off before moving to the breadcrumbs to avoid a clumpy coating. - 6Coat with panko

Place the egg-washed pork into a tray filled with panko breadcrumbs. Press down firmly on both sides to ensure the breadcrumbs adhere securely to the meat, creating a thick, crispy crust.
Tip: Use your hands to pack the breadcrumbs onto the pork, rather than just rolling it. - 7Check the oil temperature

Heat the cooking oil in a pan and use a thermometer to check the temperature. Ensure the oil reaches exactly 160 degrees Celsius before adding the pork, as the right temperature is crucial for achieving a crispy coating without burning the outside.
Tip: If you dont have a thermometer, drop a few panko breadcrumbs into the oil; if they sizzle and float to the top immediately, the oil is ready. - 8Fry the pork cutlet

Carefully place the breaded pork cutlet into the 160-degree oil. Fry it gently for 4 minutes on each side until golden brown and crispy. Avoid flipping the meat repeatedly to ensure the breading stays intact and cooks evenly. Once done, remove it and let it rest on a wire rack.
Tip: Letting the cutlet rest after frying allows the residual heat to finish cooking the inside while keeping the crust incredibly crispy. - 9Prepare the egg mixture

Crack an egg into a small bowl and add a splash of milk. Use a whisk to beat the mixture thoroughly until the yolks and whites are fully combined and the mixture is slightly frothy.
Tip: Adding a splash of milk helps make the scrambled eggs softer and fluffier. - 10Cook the scrambled eggs

Heat a little oil in a small frying pan over low heat. Pour in the egg mixture and cook gently, stirring slowly with chopsticks or a spatula. Keep the heat low to create a soft, fluffy scramble that is slightly runny, perfect for topping the rice bowl.
Tip: Remove the pan from the heat just before the eggs are fully set, as they will continue to cook slightly from the residual heat of the pan.