Classic Oyakodon (Japanese Chicken
Egg Rice Bowl)
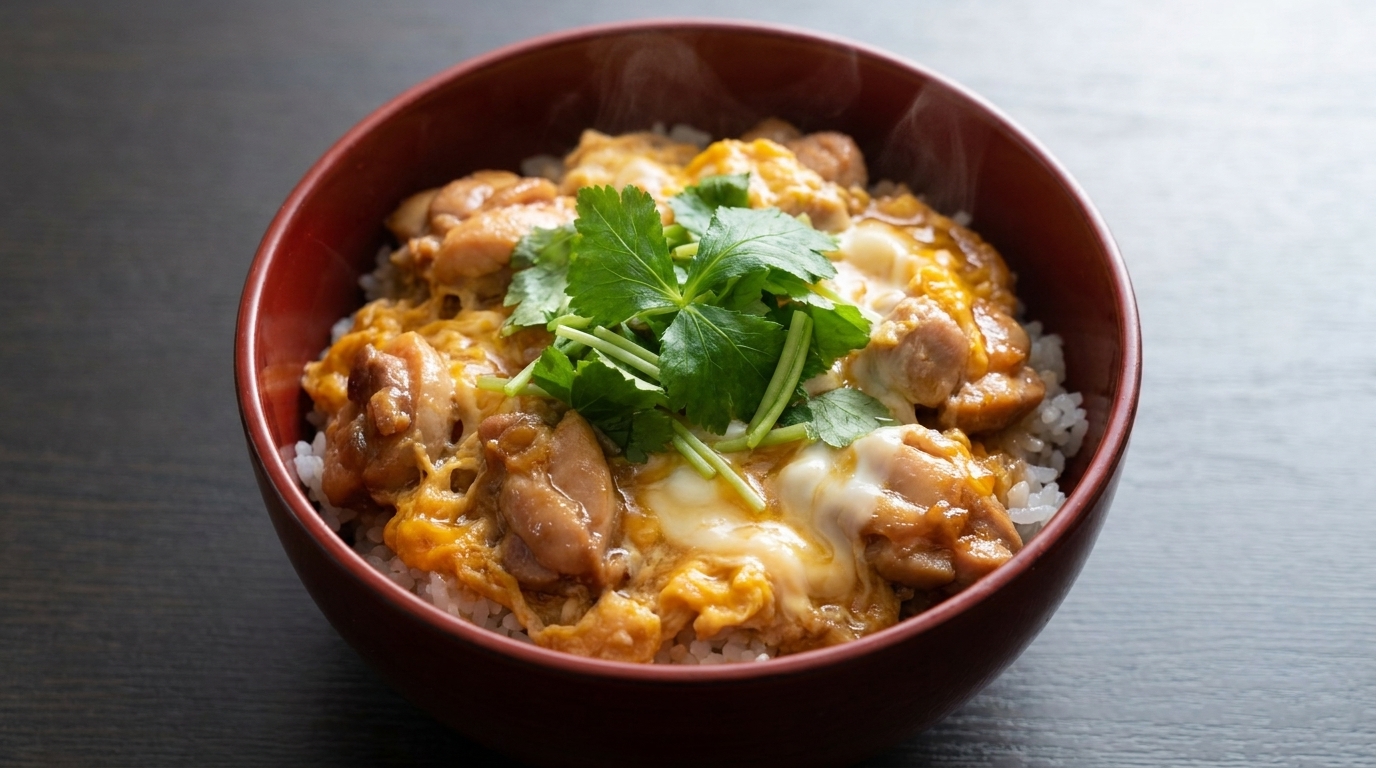
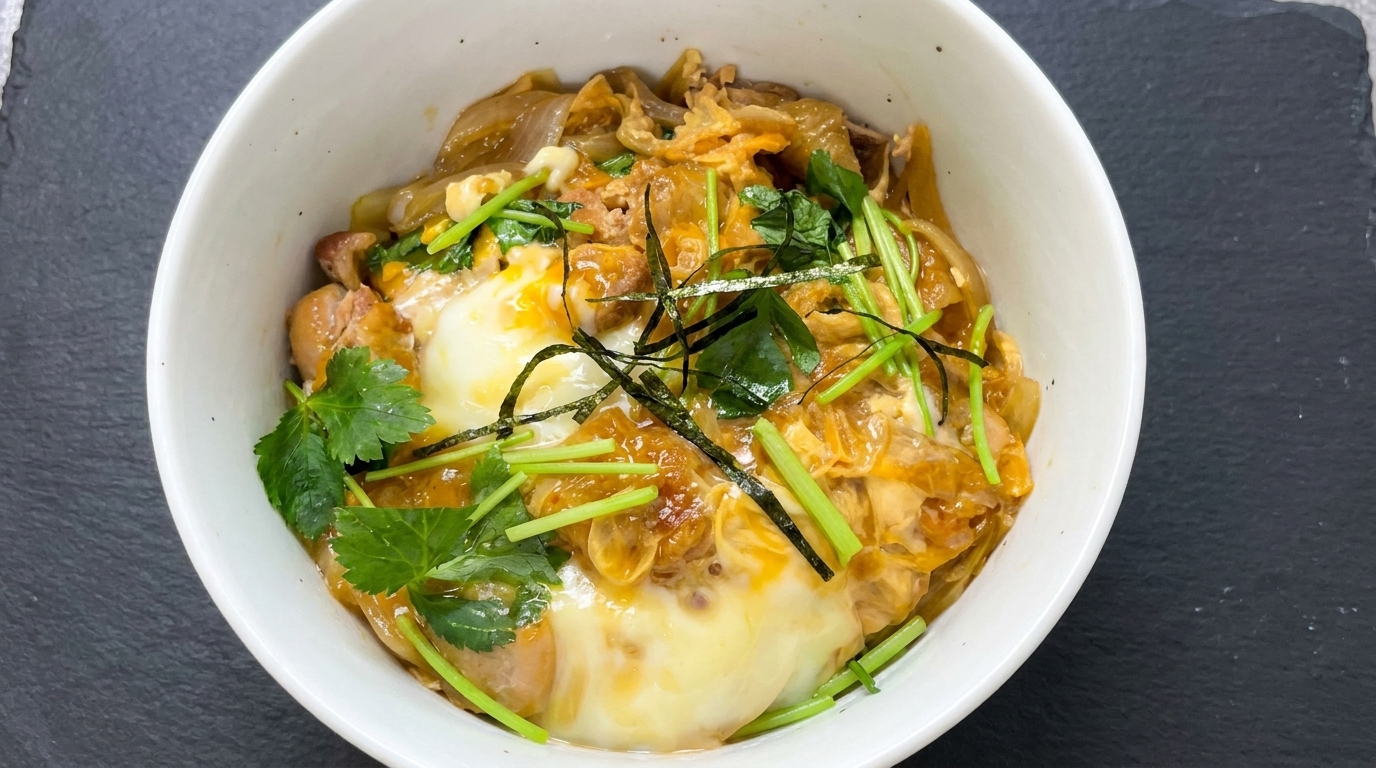
A comforting and savory bowl of Oyakodon featuring pan-seared crispy chicken, sweet onions, and a rich, creamy soft-set egg served over steamed white rice.
Oyakodon, which poetically translates to parent-and-child donburi, is a staple of Japanese comfort cooking that celebrates the harmonious pairing of chicken and egg. By employing a unique technique of pressing the chicken skin to render the fat before simmering in a sweet and savory dashi broth, this homemade version achieves restaurant-quality flavor and texture. The magic truly lies in the two-stage egg pouring method, ensuring a custard-like, silky finish that binds the entire dish together over a warm bed of rice.
Ingredients
- 1 boneless, skin-on chicken thigh
- 0.5 white onion
- 2 pasteurized eggs
- 80 ml water
- 1 tsp dashi granules
- 1 tsp white sugar
- to taste salt
- 2 tbsp soy-based sauce mixture (soy sauce, mirin, sake)
- 1 bowl steamed white rice
- to garnish mitsuba (Japanese parsley) or green onions
- to garnish shredded nori seaweed
Instructions
- 1Slice the onion
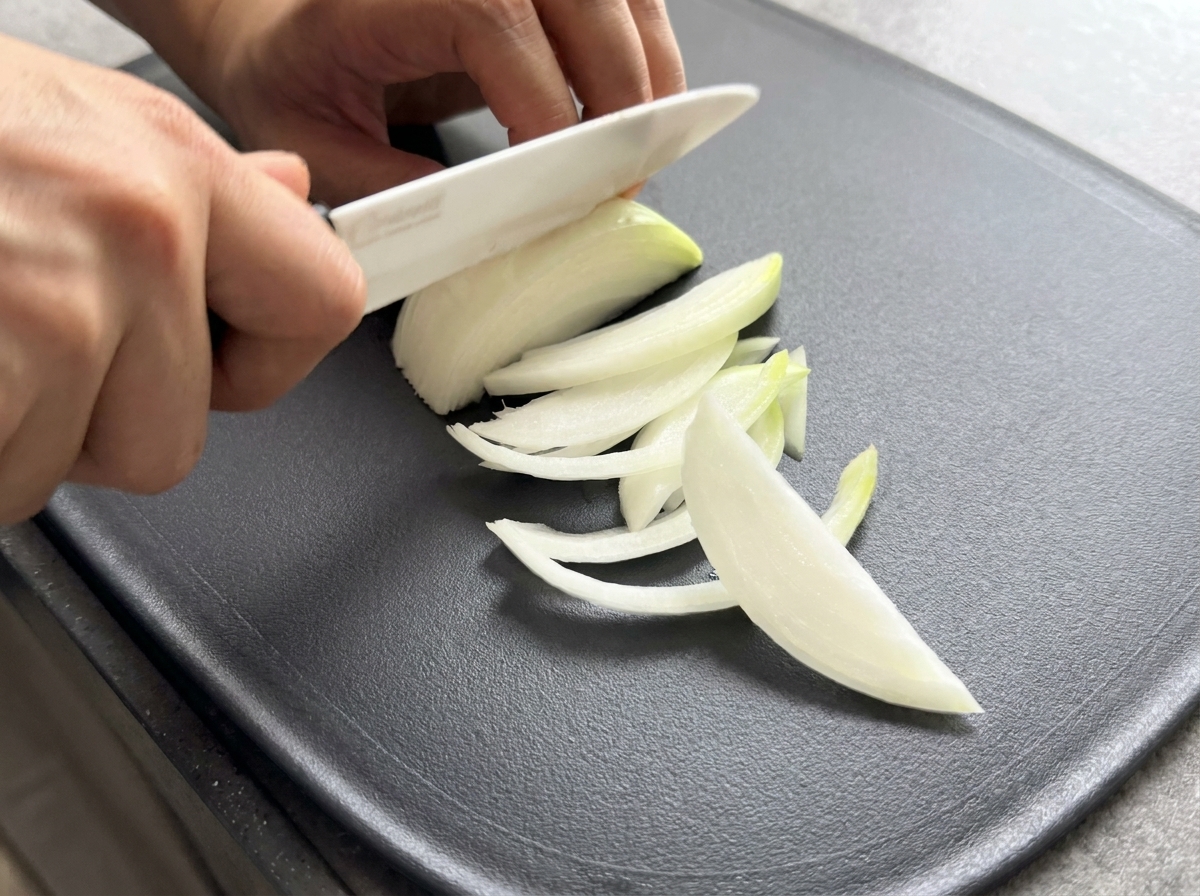
Take half a white onion and slice it into thin strips on a cutting board. These onion slices will form the base of your Oyakodon, providing sweetness and texture once cooked.
Tip: For consistent cooking, aim for evenly sized onion slices. - 2Prepare the chicken
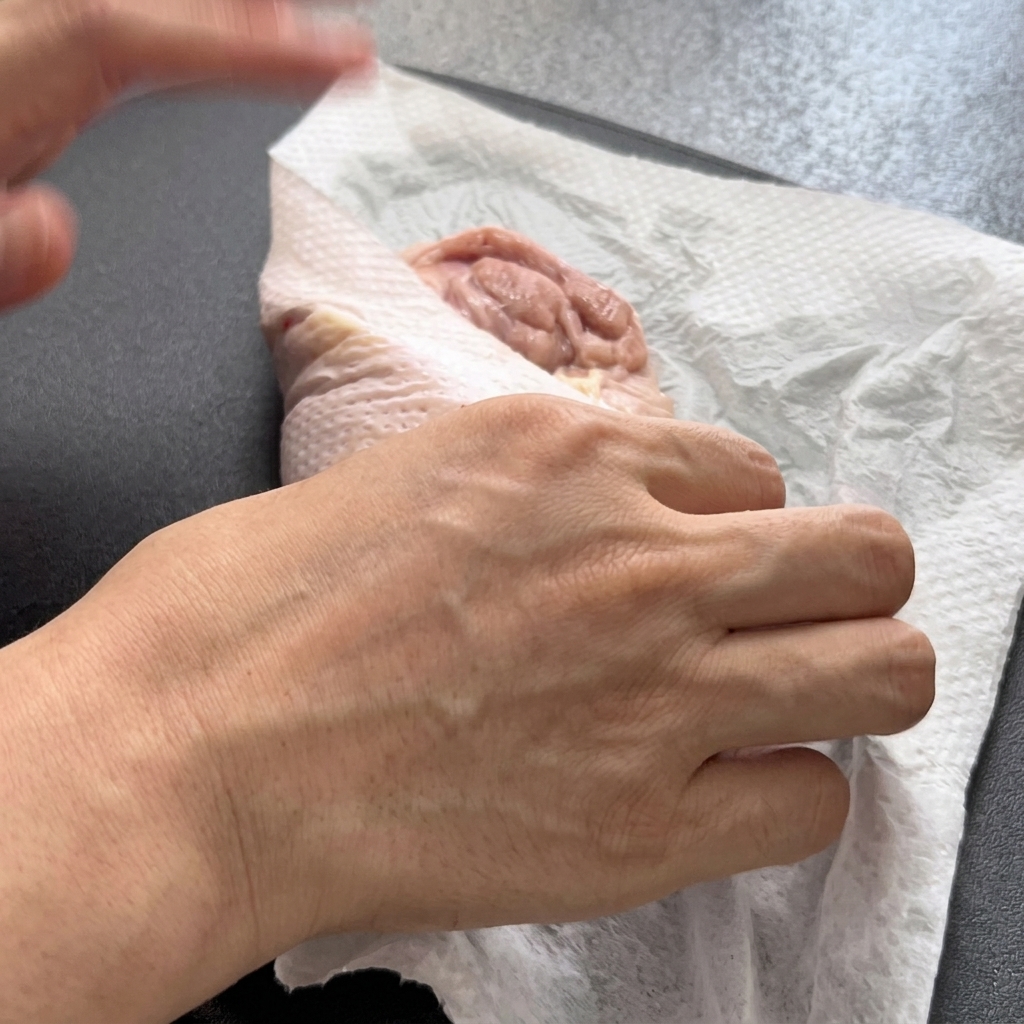
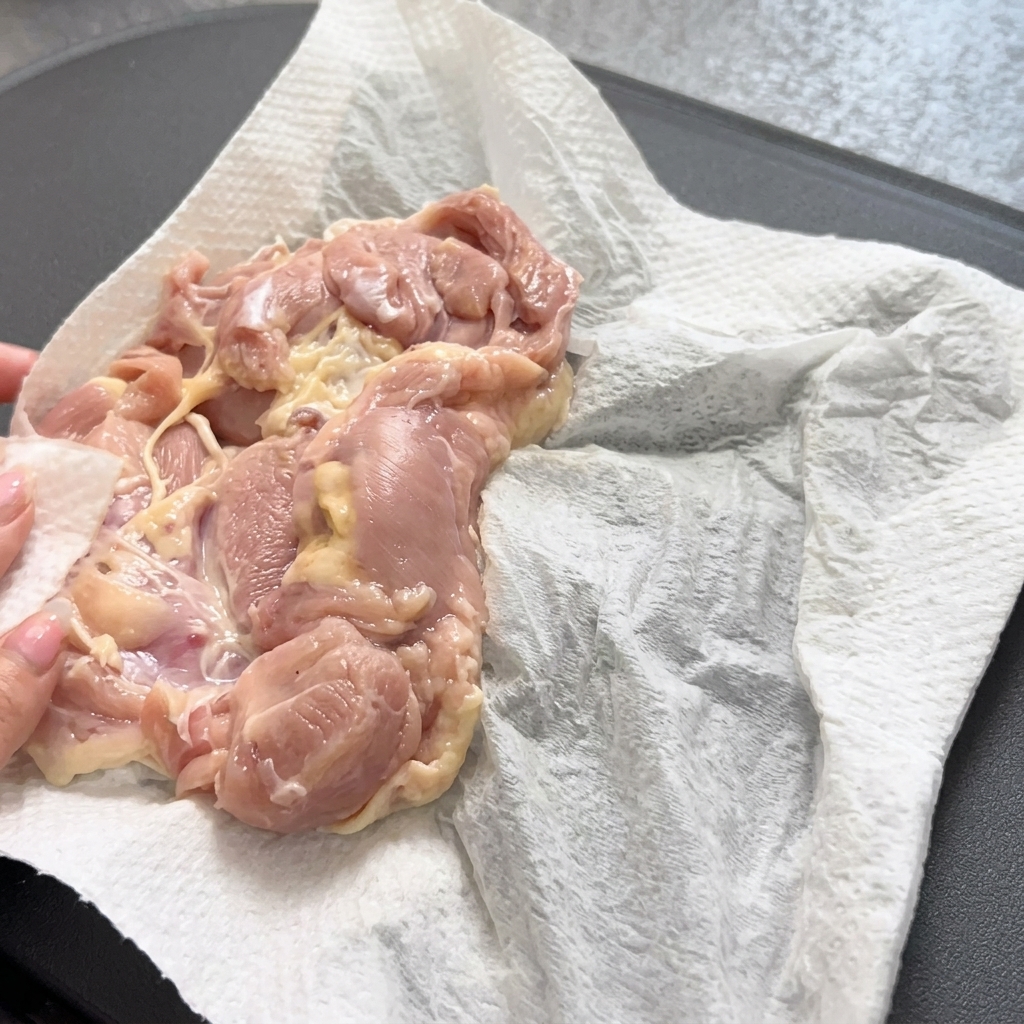
Pat the washed chicken thigh dry using kitchen paper. Removing excess moisture ensures the chicken will crisp up beautifully when it hits the pan.
Tip: Patting the meat dry is a crucial step for achieving a better sear and crispier skin. - 3Sear the chicken
Place the prepared chicken thigh into a hot frying pan using tongs. Searing the chicken first develops deep flavor and ensures a tender, crispy result.
Tip: Ensure your pan is hot enough before adding the chicken to get a nice golden sear. - 4Season the chicken
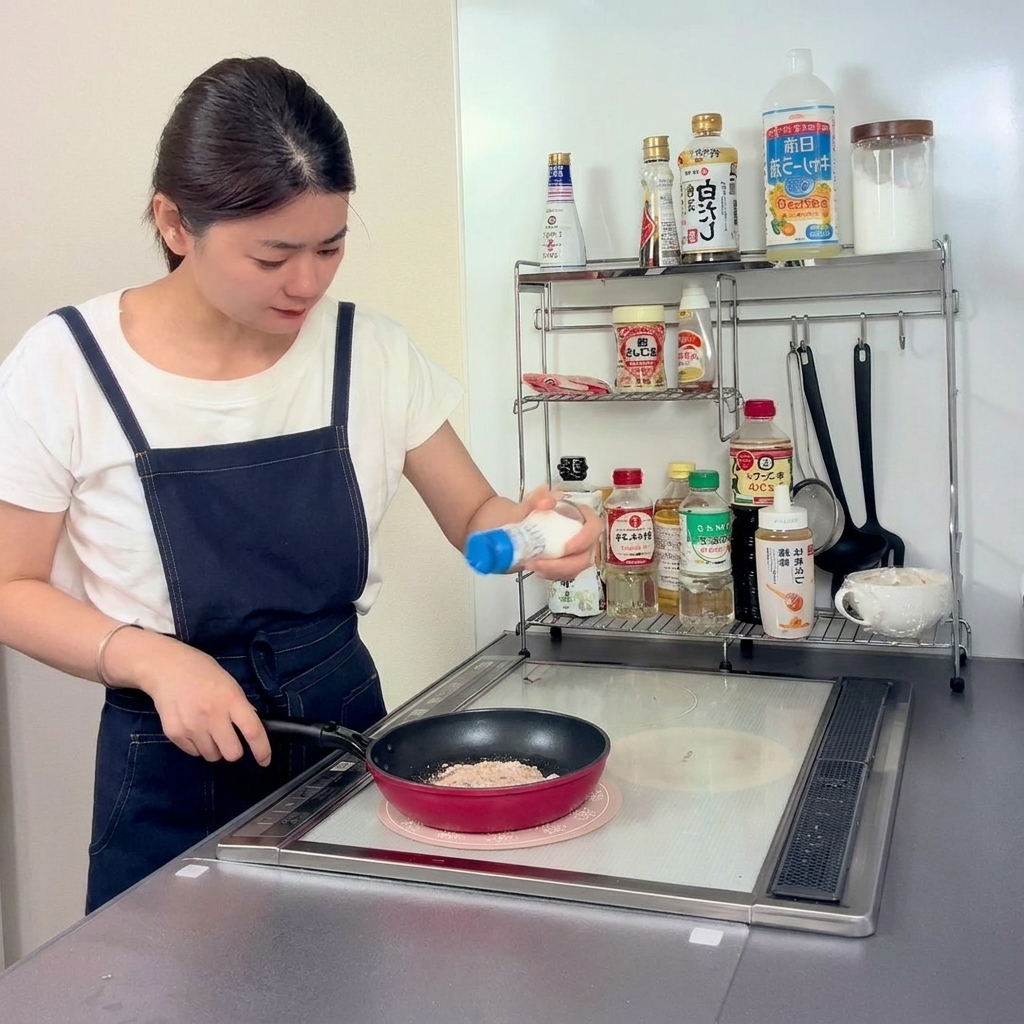
Sprinkle a little salt over the chicken thigh while it is in the pan. Seasoning at this stage helps enhance the natural flavors of the meat.
Tip: A light dusting of salt is all you need; avoid over-salting as the subsequent sauce will add more flavor. - 5Press the chicken
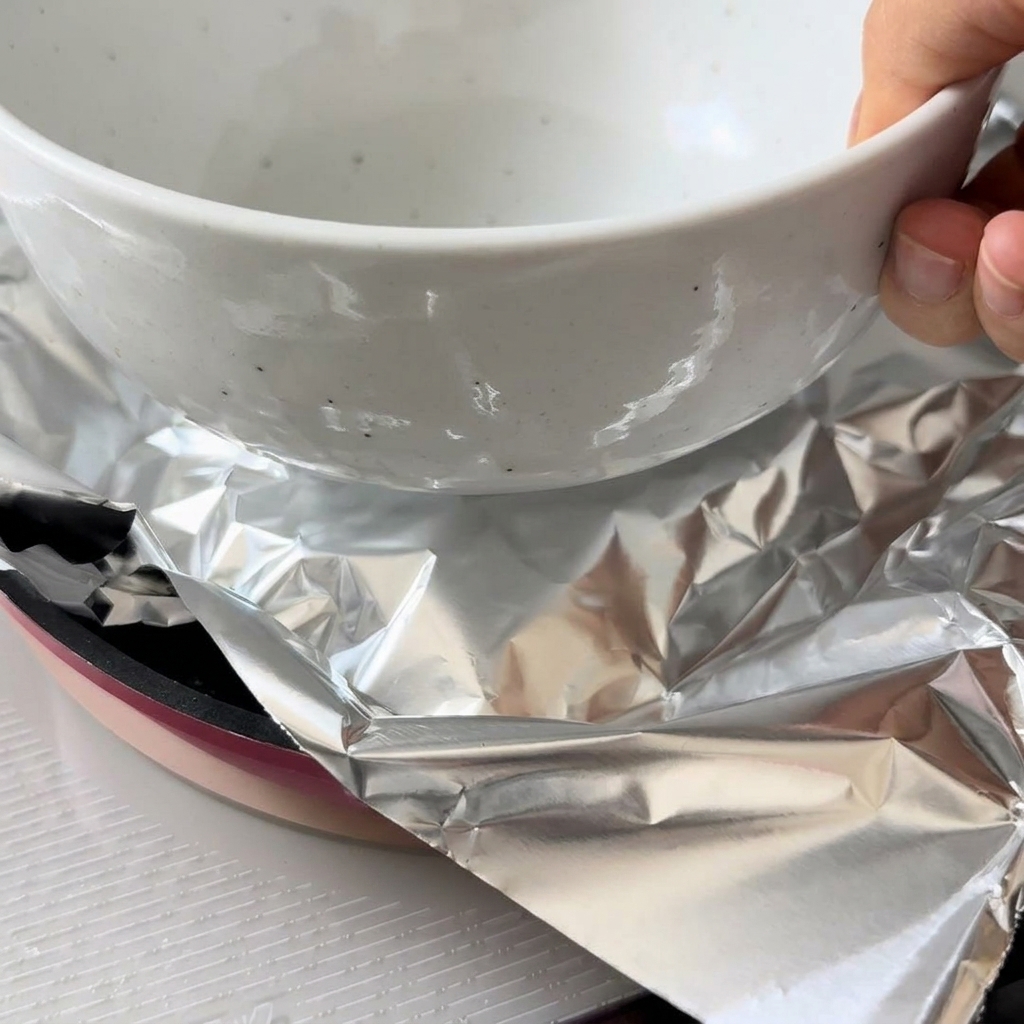
Cover the chicken with a sheet of aluminum foil and place a heavy bowl on top to press it down into the pan. This technique ensures direct, consistent contact with the heat for a crispier, more evenly cooked piece of chicken.
Tip: Using a weighted press is a great way to render out fat and get the skin extra crispy. - 6Flip the chicken
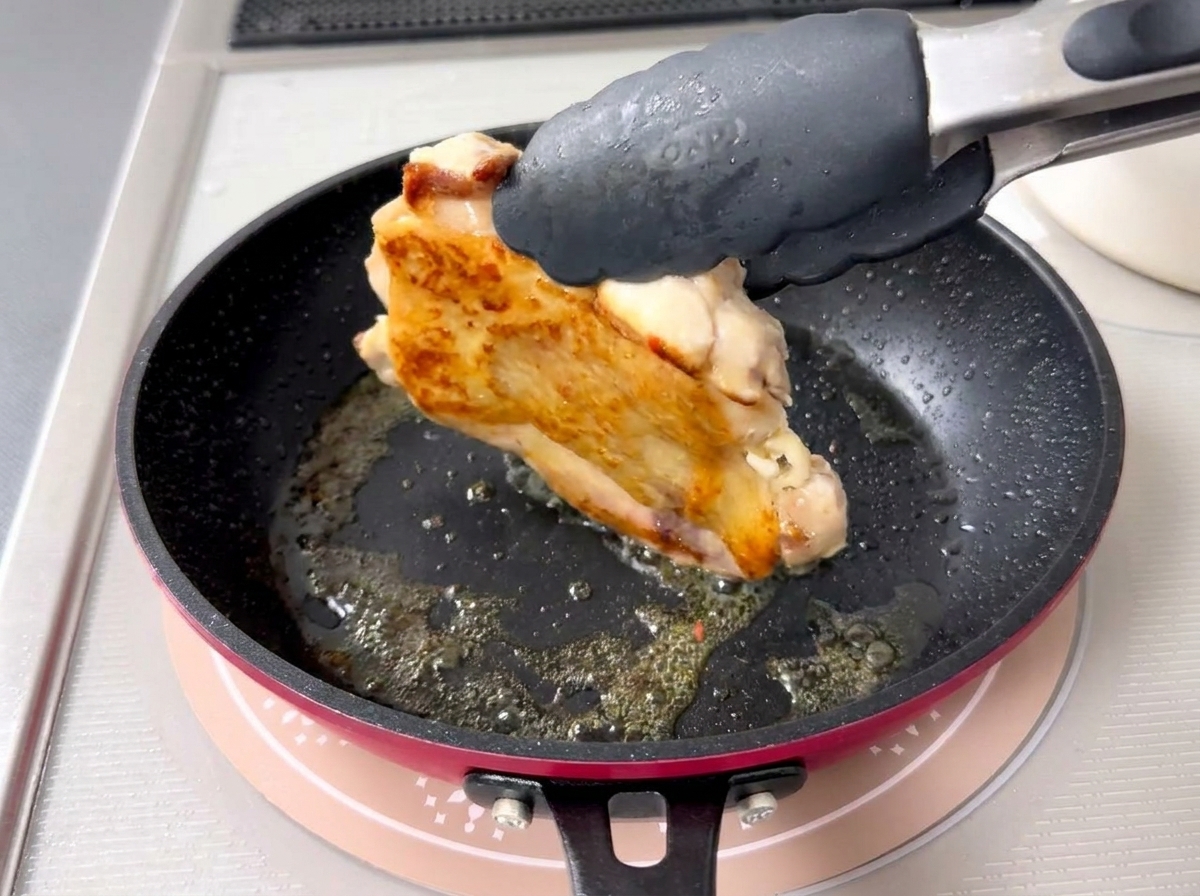
After frying for about six minutes, use tongs to carefully flip the chicken. You should see a beautifully browned and crispy skin on the side that was against the pan.
Tip: Take care when flipping to avoid splashing any hot oil. - 7Slice the chicken

Transfer the pan-fried chicken thigh to a cutting board and cut it into bite-sized pieces using a sharp knife or cleaver. The chicken should have a crispy exterior and a tender, juicy interior, with most of the excess fat rendered out during frying.
Tip: Cutting the chicken while the skin is crispy helps it retain its shape and texture in the dish. - 8Stir-fry the onions
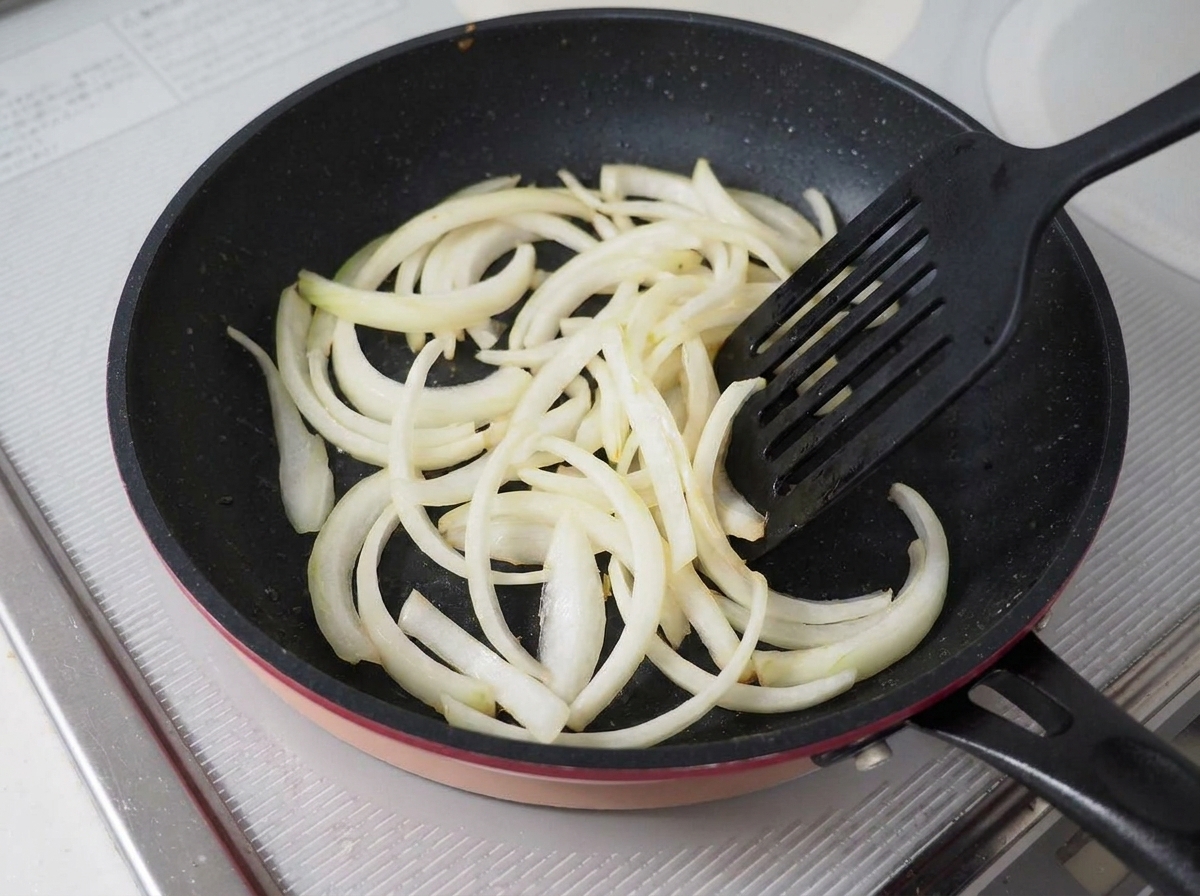
In the same pan used for the chicken, add the sliced onions and stir-fry them over medium heat. Continue cooking until the onions become translucent, soften, and slightly change color. The remaining chicken fat in the pan will flavor the onions.
Tip: Using the same pan allows the onions to absorb the savory flavors left behind by the rendered chicken fat. - 9Add the sauce
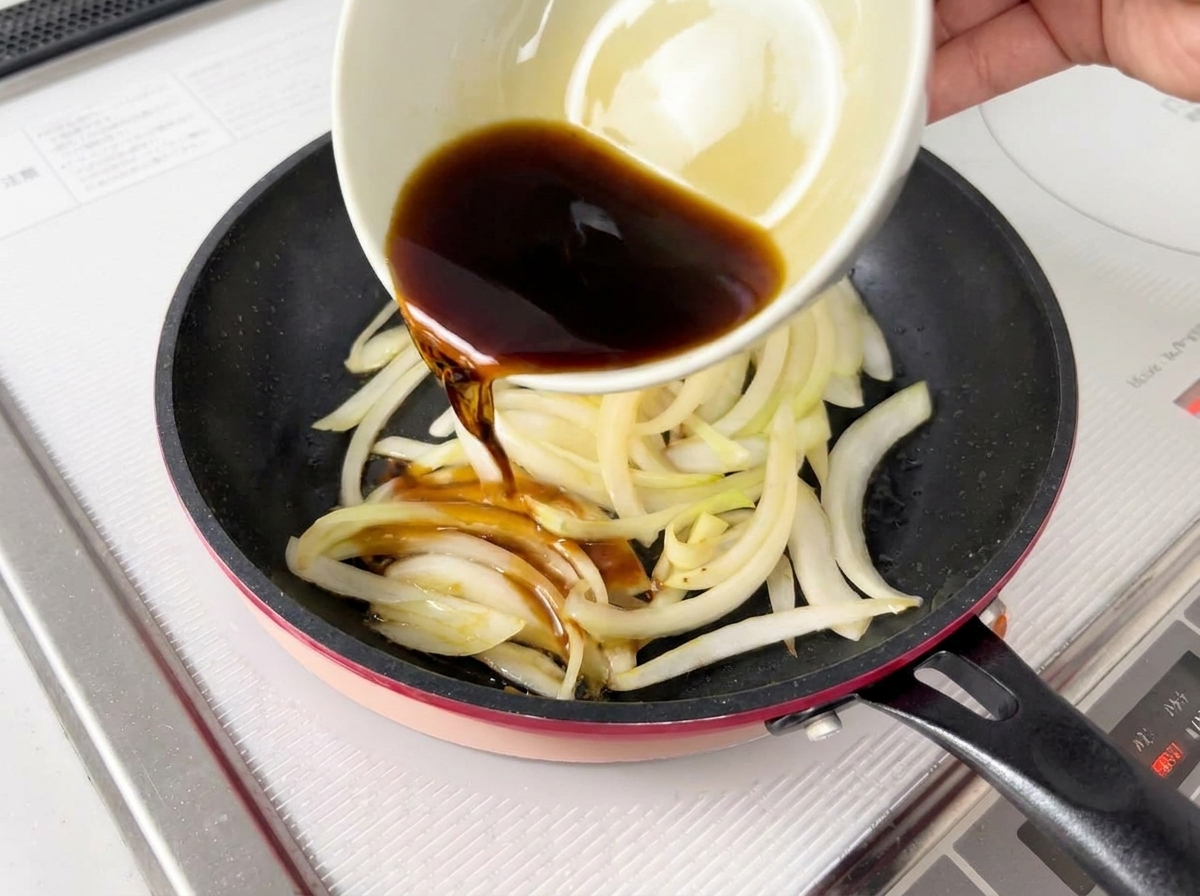
Once the onions have softened, pour your prepared soy-based sauce mixture directly into the pan. Stir gently to coat the onions evenly, allowing them to absorb the sweet and savory flavors of the sauce as it begins to simmer.
Tip: Having your sauce pre-mixed ensures you can add it quickly before the onions overcook. - 10Return the chicken

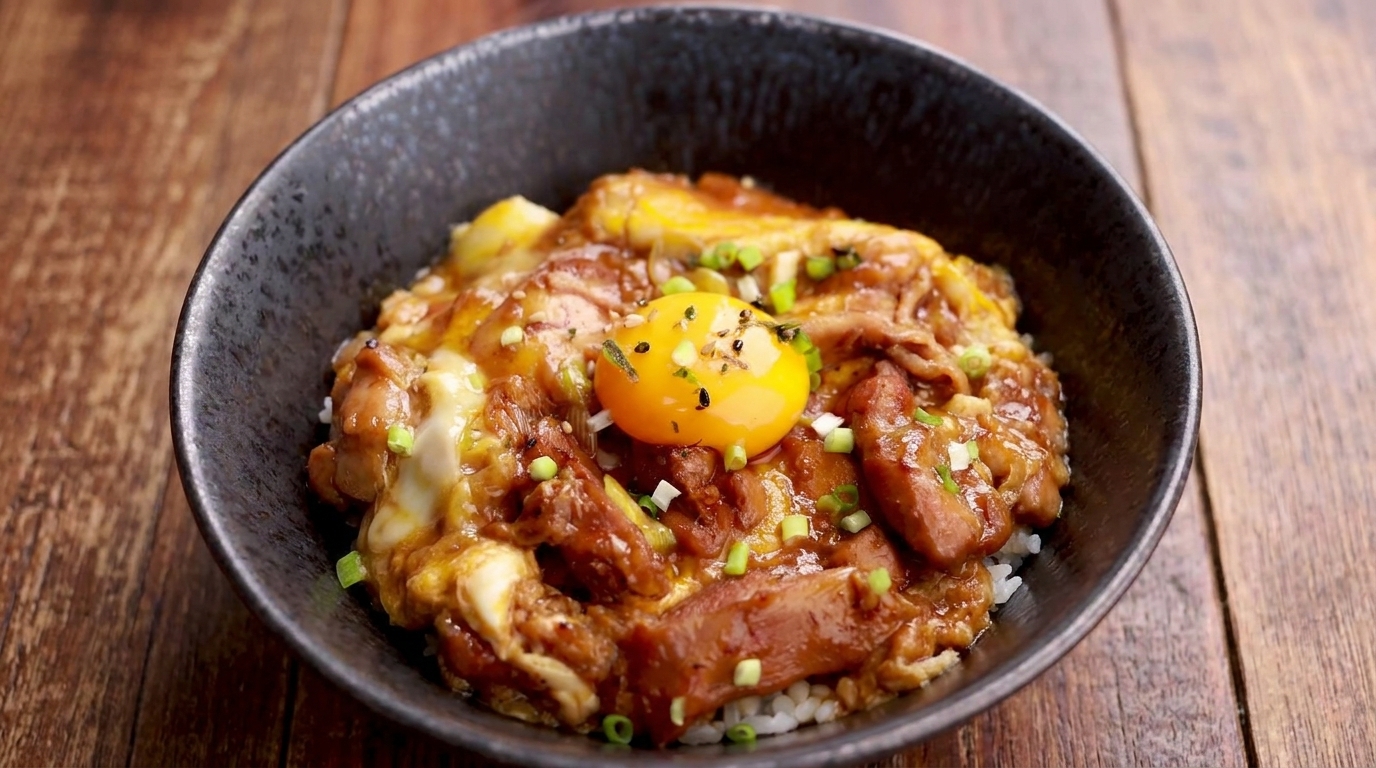
Carefully place the sliced pan-fried chicken pieces back into the pan with the simmering sauce and onions. Arrange the chicken in a single layer so that each piece can soak up the flavorful liquid while maintaining its crispy skin.
Tip: Do not submerge the chicken completely; letting the top skin sit above the liquid helps keep it somewhat crispy. - 11Add water

Pour about 80ml of water into the pan to thin out the sauce slightly and create enough liquid for the eggs to cook in later. Let the mixture come to a gentle simmer so the flavors meld together and the chicken cooks through completely.
Tip: Measure the water accurately; too much liquid will make the Oyakodon soupy, while too little will cause it to reduce too quickly. - 12Season the broth
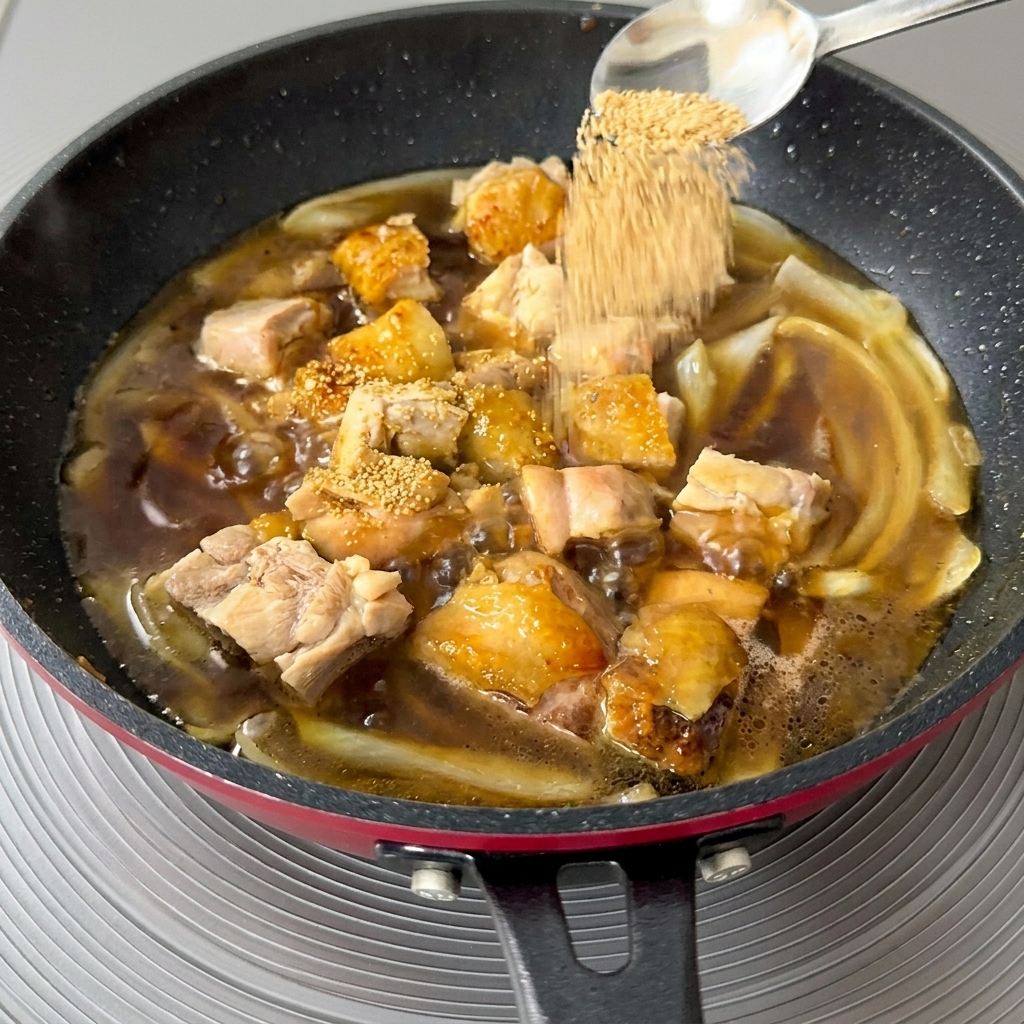
Add one small spoon of dashi granules and one small spoon of sugar to the pan containing the chicken and onions. These ingredients create the classic savory and slightly sweet base for the Oyakodon sauce.
Tip: If you dont have dashi granules, a concentrated dashi stock can be used as a substitute. - 13Sweeten the sauce
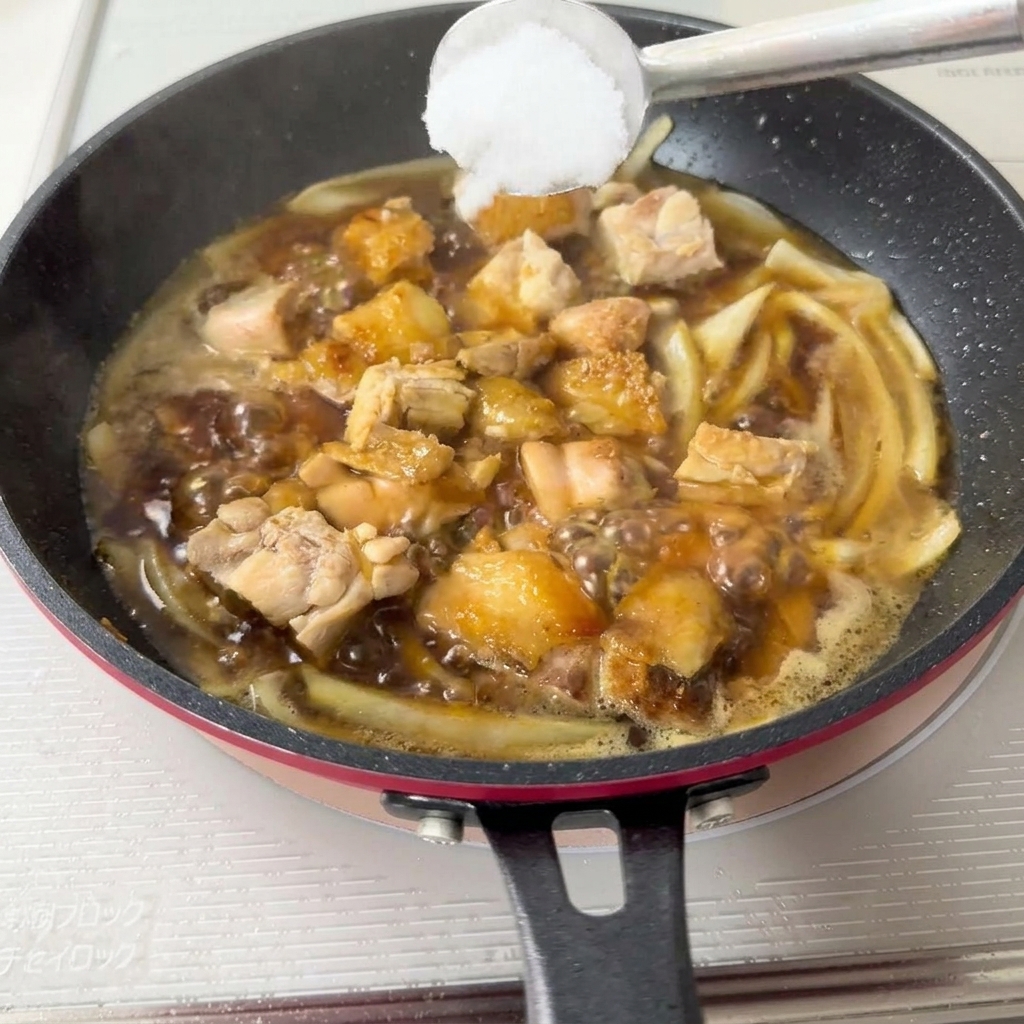
Add one small spoonful of white sugar to the simmering chicken and onion mixture. This helps balance the saltiness of the dashi and soy-based sauce.
Tip: Adjust the sugar according to your personal preference for sweetness in Japanese dishes. - 14Prepare the eggs
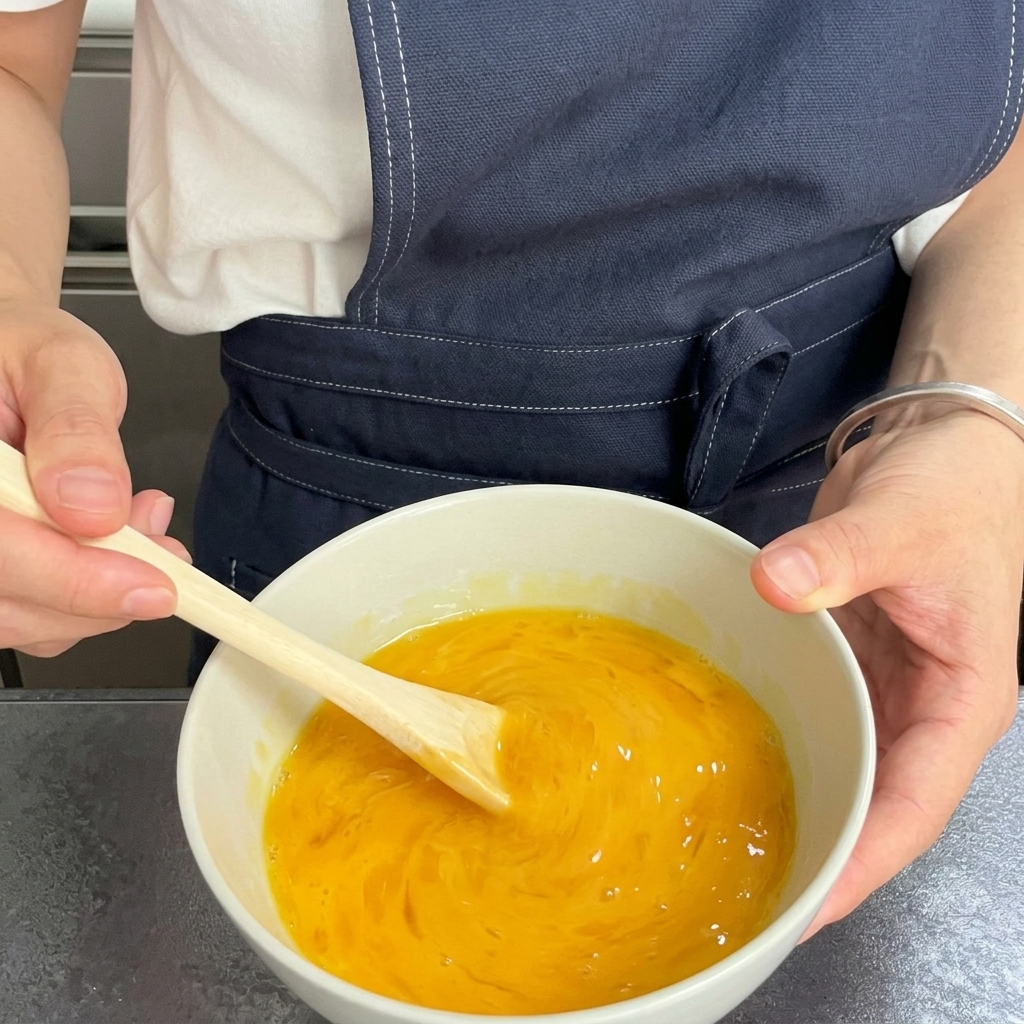
Crack two room-temperature pasteurized eggs into a bowl. Use chopsticks to lightly beat them, ensuring you do not over-mix, as you want to keep some streaks of egg white visible.
Tip: Keeping some egg white visible creates a nicer marbled texture when the eggs cook in the sauce. - 15Add the first portion of egg
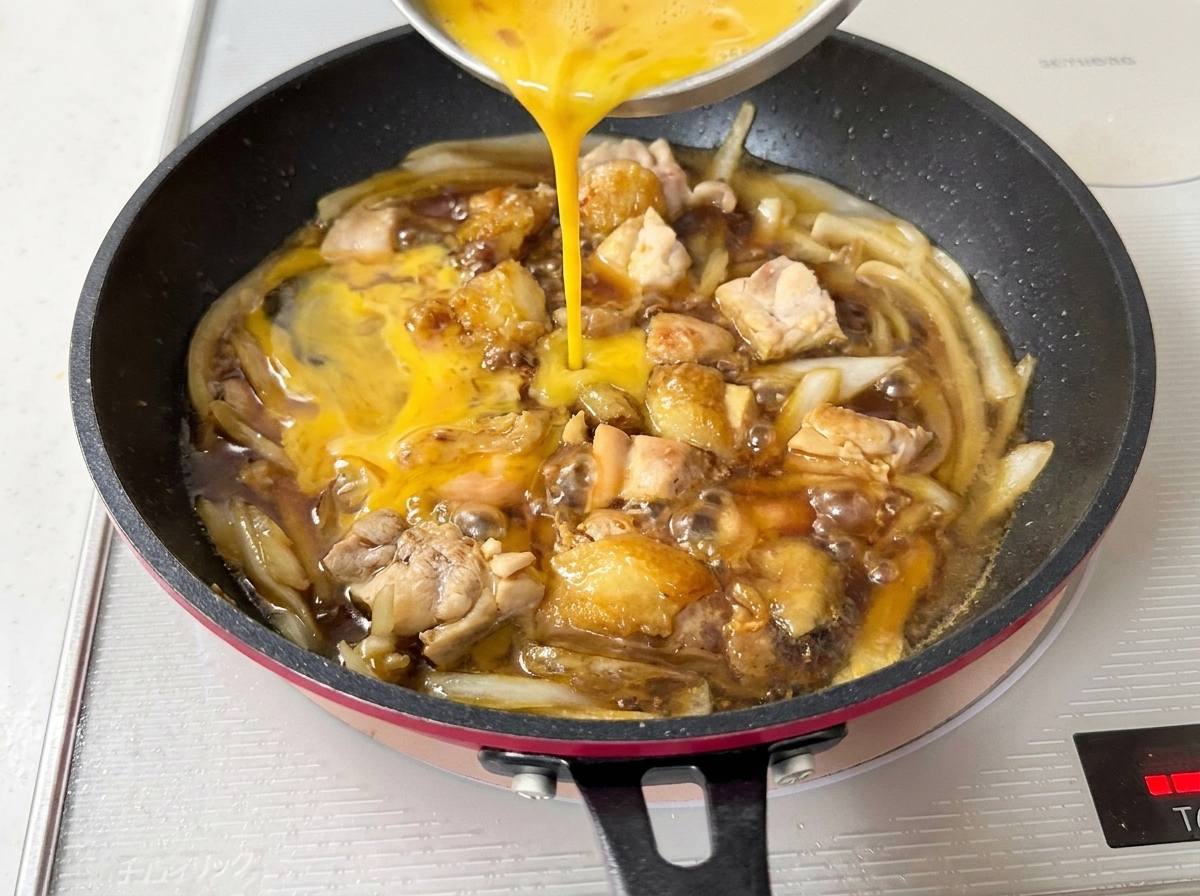
Pour about two-thirds of your beaten egg mixture over the chicken and onions. Avoid pouring it all in at once; save the rest for later to achieve the perfect final texture.
Tip: Pour in a circular motion to ensure even distribution over the chicken pieces. - 16Simmer the mixture
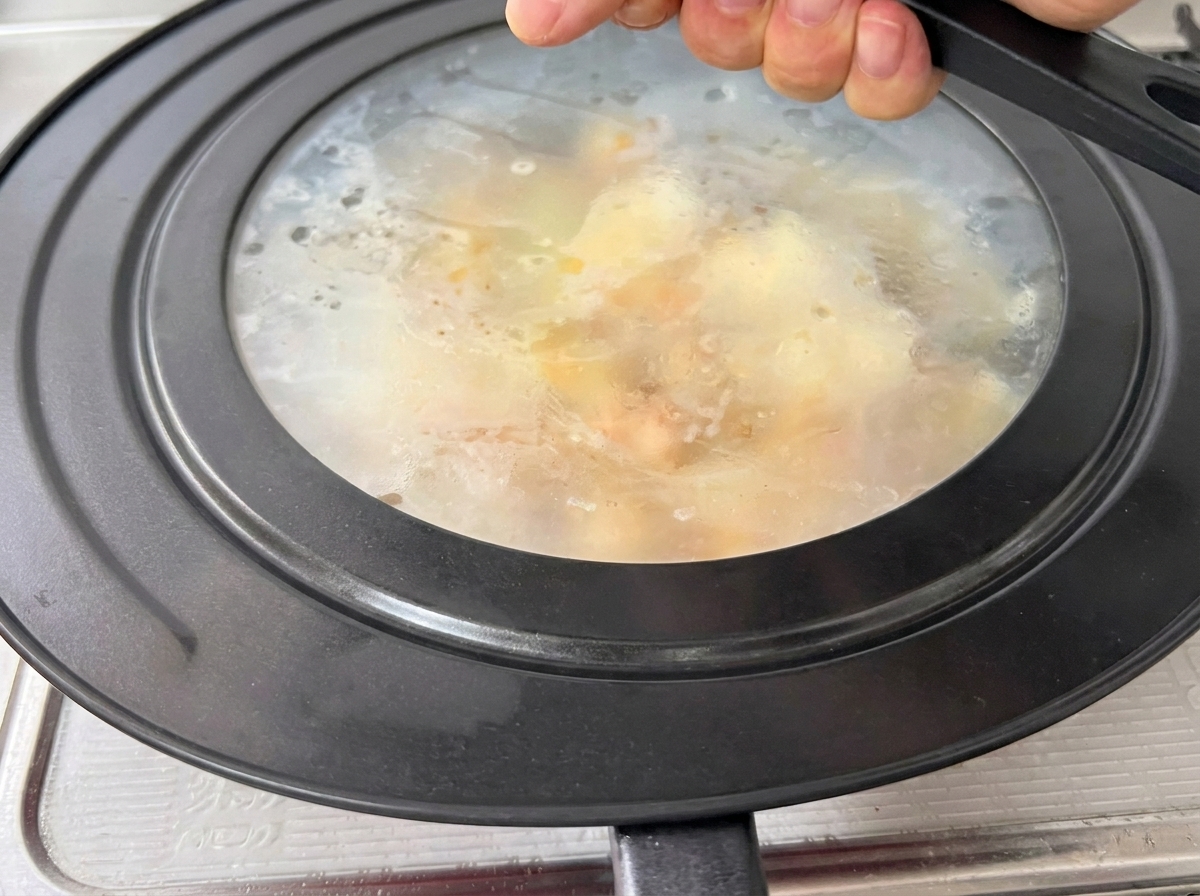
Place a lid over the frying pan and let the mixture simmer on low heat for one minute. This allows the first portion of eggs to set slightly while trapping heat to cook the chicken through.
Tip: Using a glass lid allows you to monitor the eggs without letting heat escape. - 17Add the final egg portion
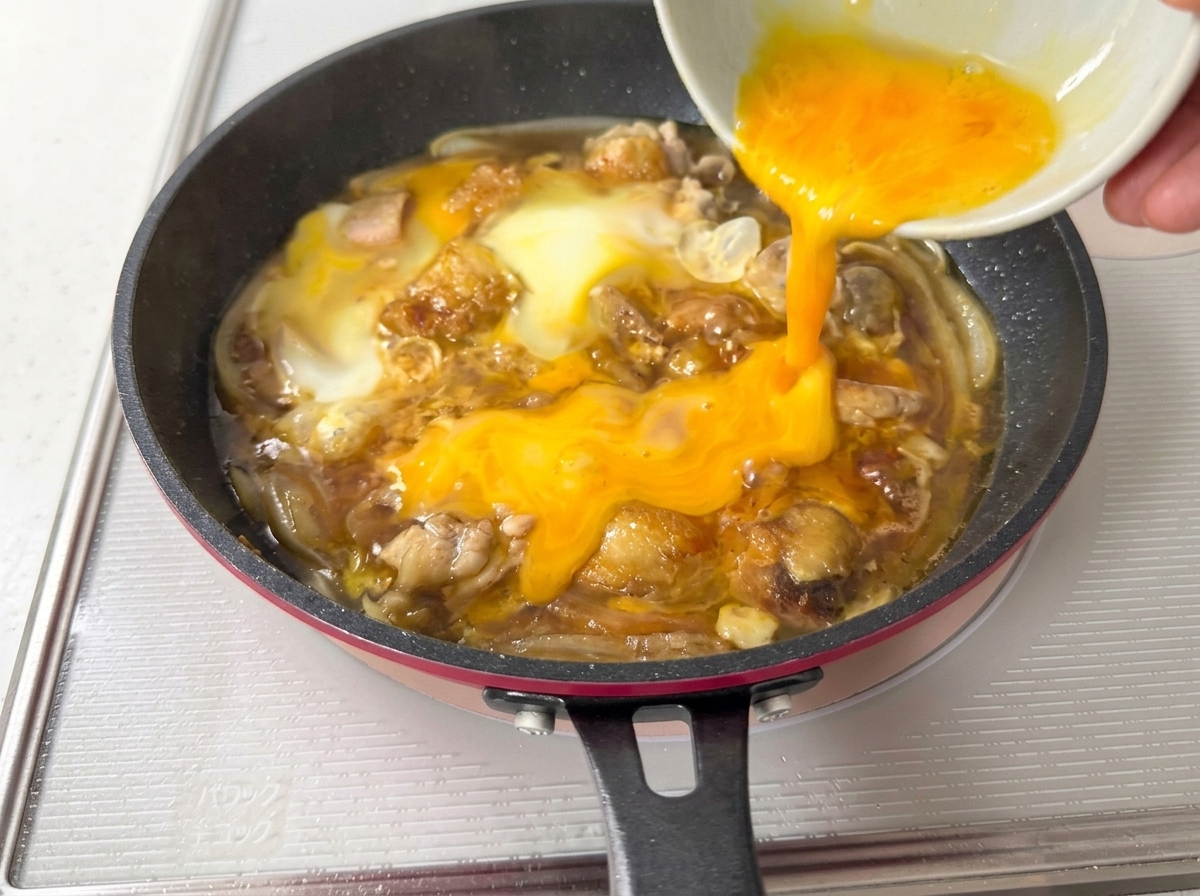
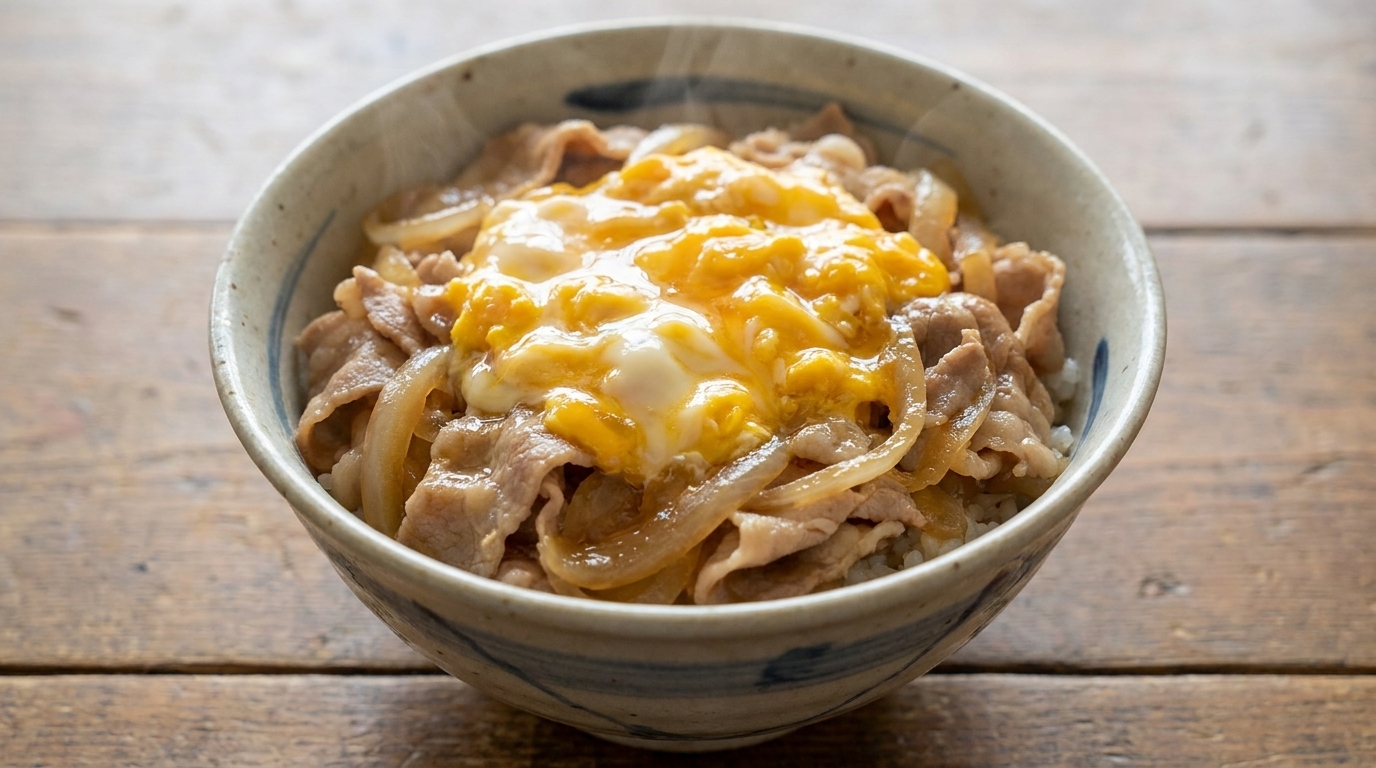
Once the initial egg has partially set, pour the remaining egg mixture into the pan. This step ensures a beautiful, soft, and creamy egg layer on top of your Oyakodon.
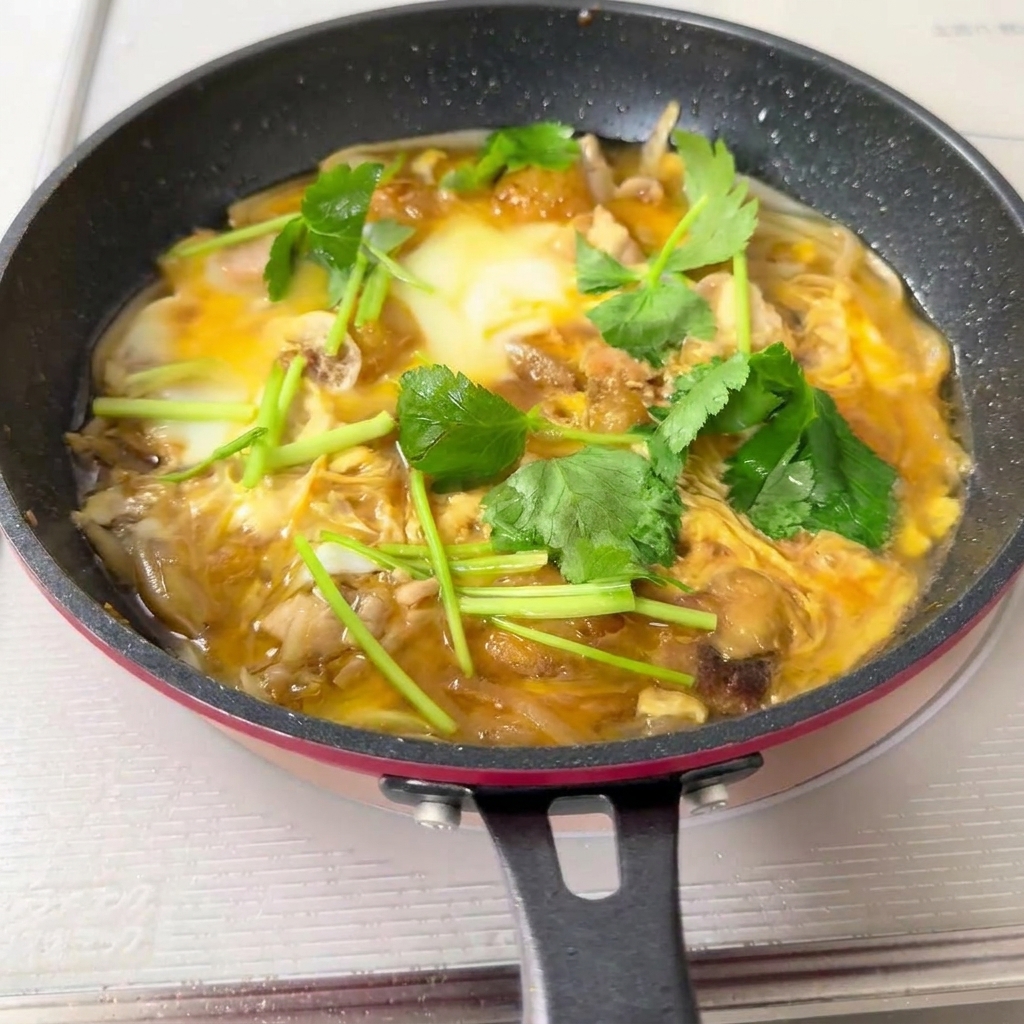
Tip: Garnish with mitsuba or green onions immediately after pouring the final egg for extra flavor. - 18Garnish with mitsuba
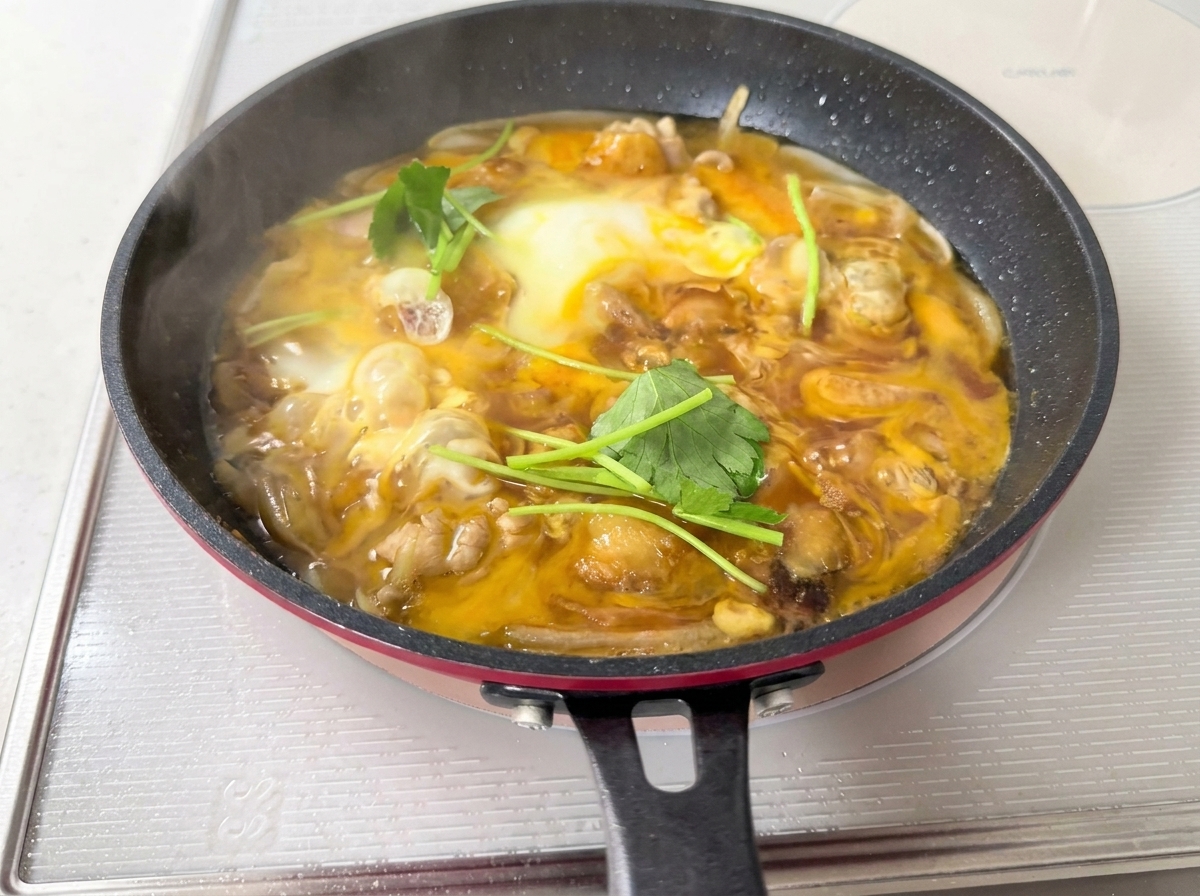
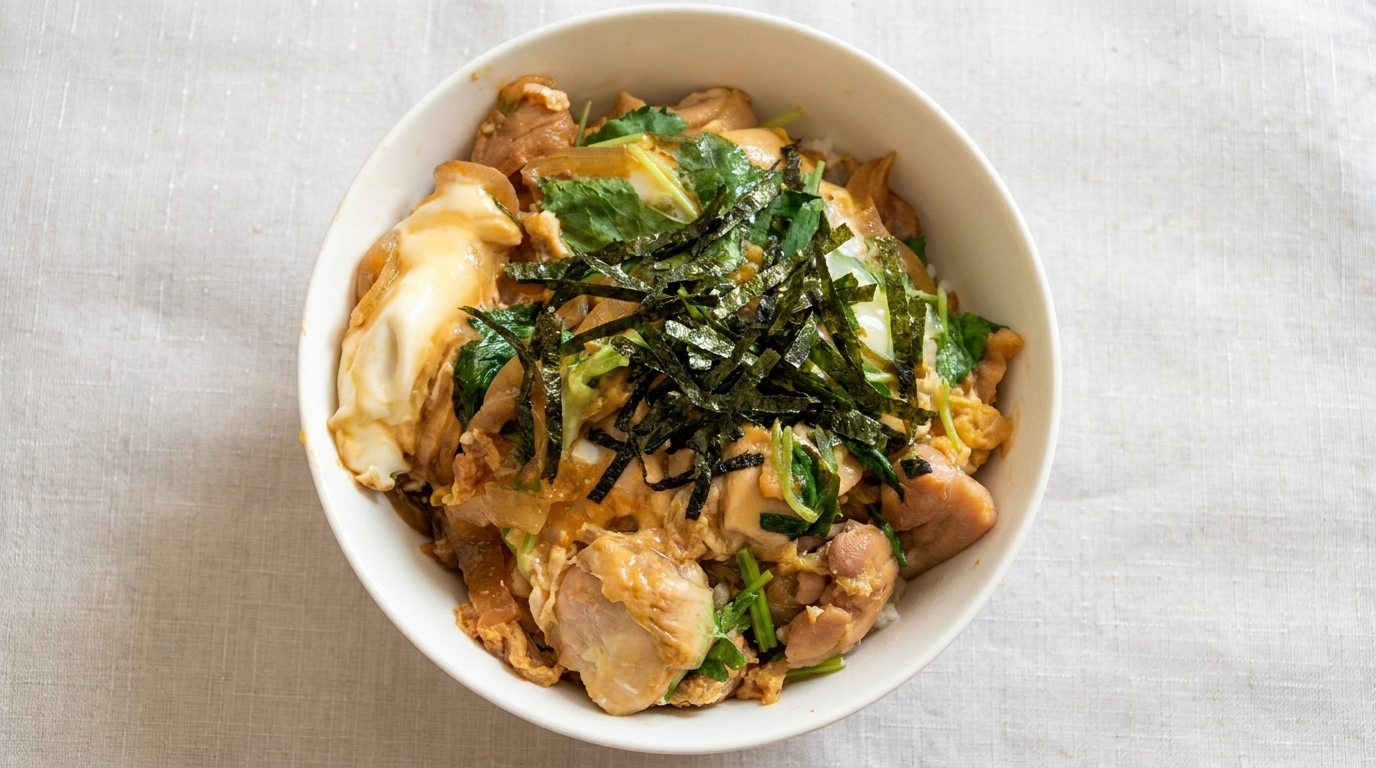
While the egg mixture is still soft-set and simmering in the pan, scatter fresh mitsuba (Japanese parsley) leaves over the top. Green onions can be used as a substitute if mitsuba is unavailable. Cover the lid and simmer for another minute to finish cooking.
Tip: Do not overcook the eggs; they should remain slightly runny to maintain a tender texture when served over rice. - 19Assemble the Oyakodon
Once the eggs have reached a soft, velvety consistency, gently slide the chicken, egg, and onion mixture from the frying pan directly over a bowl of freshly steamed white rice. The sauce will soak into the rice, enhancing the flavor of the entire dish.
Tip: Ensure your rice is hot before pouring the mixture to keep the dish at the perfect serving temperature.