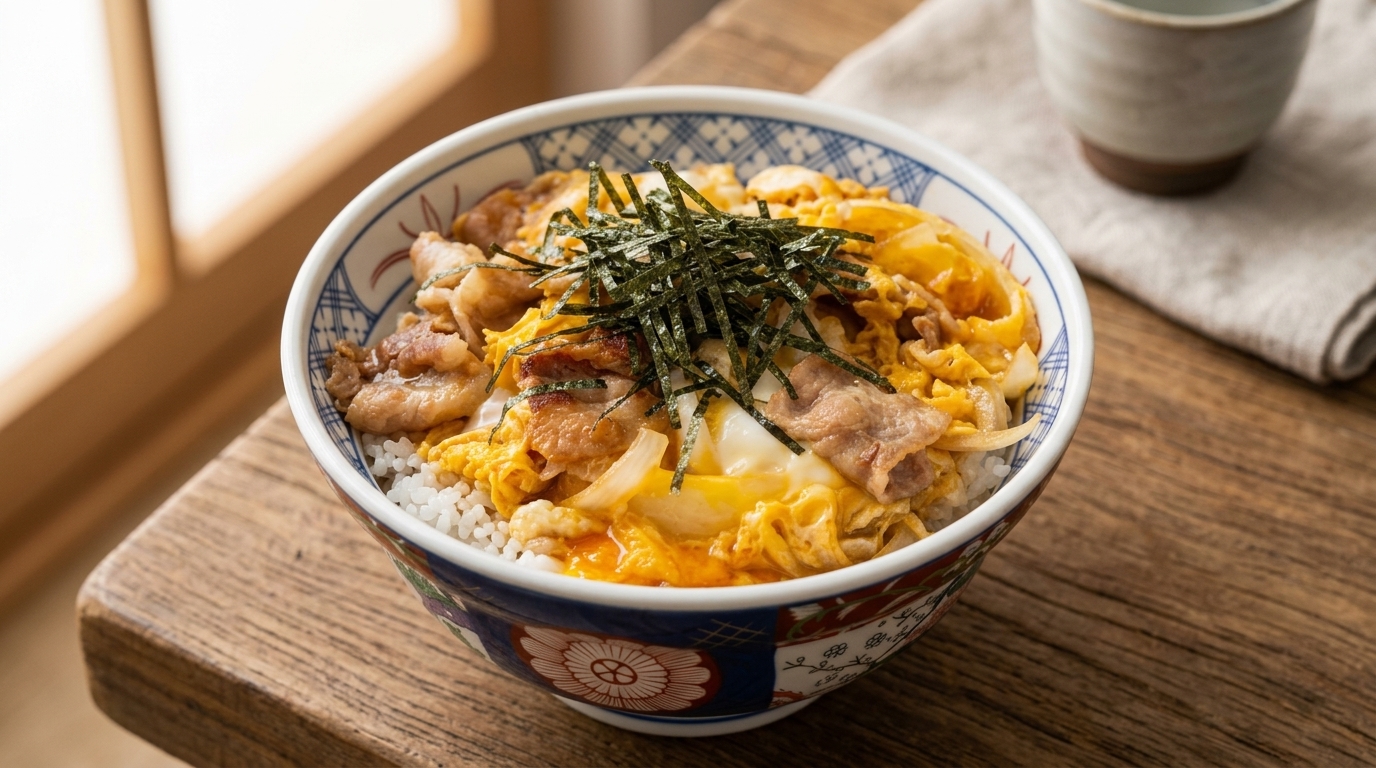
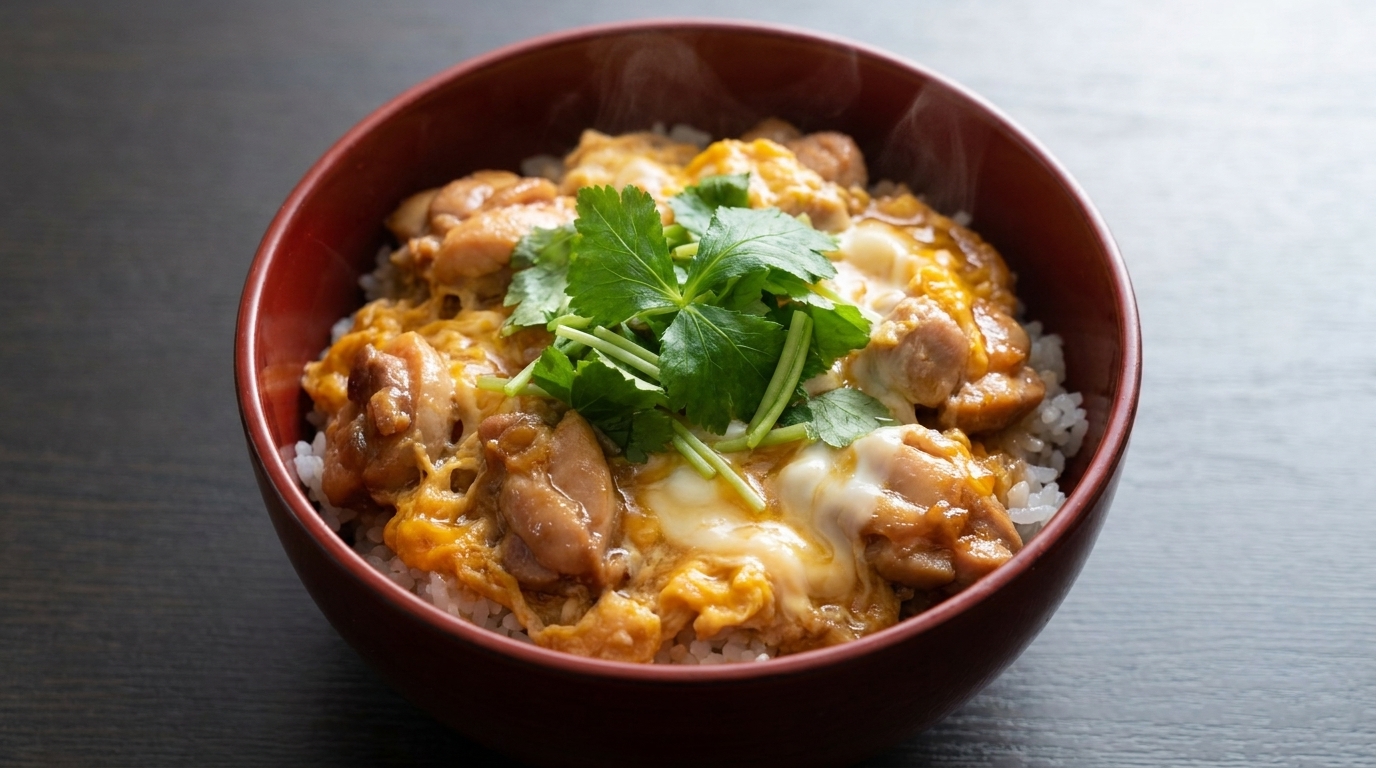
Classic Japanese Oyakodon (Chicken
Egg Bowl)
Master the art of Oyakodon, a comforting Japanese rice bowl featuring tender chicken and fluffy, soft-set eggs simmered in a savory, sweet dashi-based sauce.
Oyakodon, literally meaning parent-and-child bowl, is a quintessential Japanese comfort food that highlights the harmonious pairing of chicken and egg. This dish is prized for its simplicity and the velvety texture of the eggs, which are cooked to perfection in a flavorful dashi broth. It is a quick, nutritious, and satisfying meal that perfectly balances savory and sweet notes in every bite.
Ingredients
- 130g chicken thigh
- 2 eggs
- 1/4 onion
- 200g cooked rice
- 2 tbsp soy sauce
- 2 tbsp mirin
- 1 tbsp sugar
- 50g water
- 1 tsp Japanese dashi powder
- to taste Japanese parsley
Instructions
- 1Prepare the Chicken
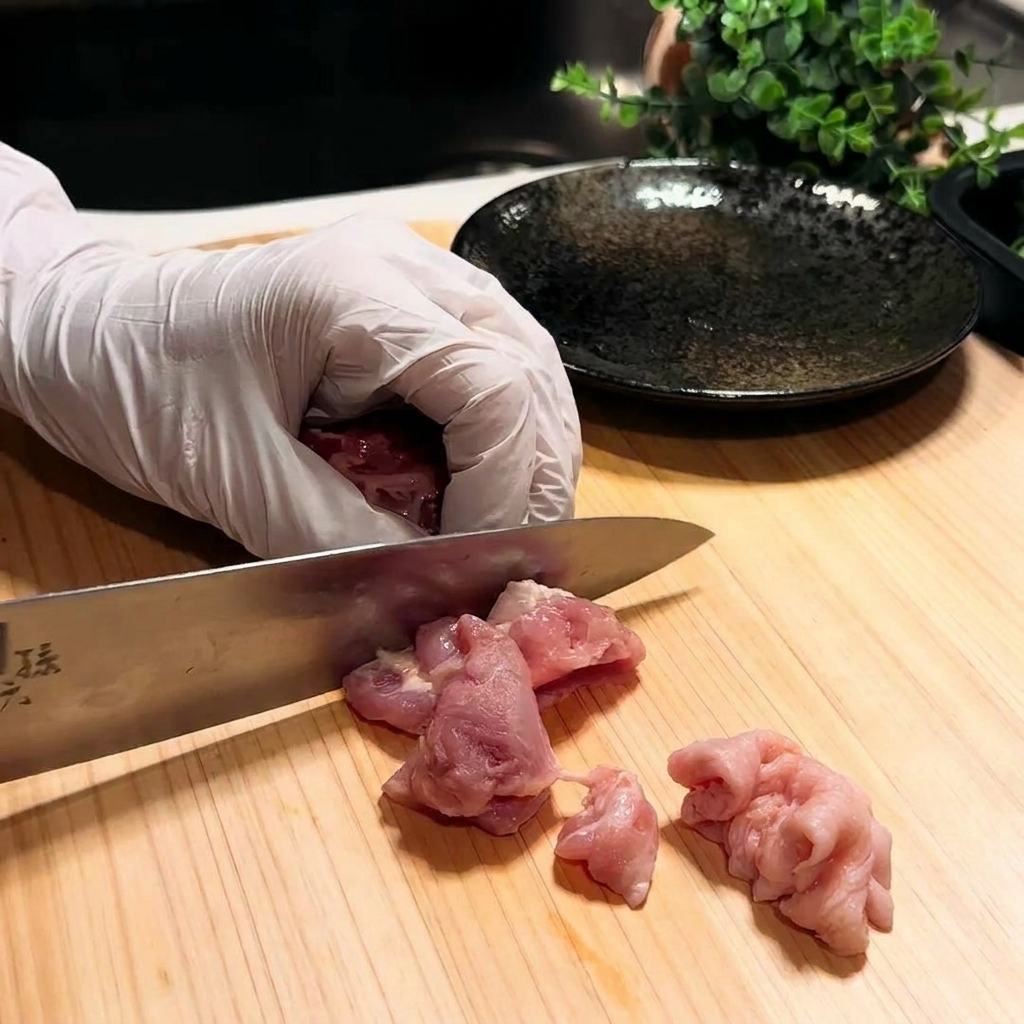
Place the raw chicken thigh on a cutting board and carefully slice it into small, uniform bite-sized pieces. This ensures the chicken cooks evenly and quickly when added to the sauce.
Tip: Using a sharp knife makes cutting the chicken effortless. - 2Beat the Eggs
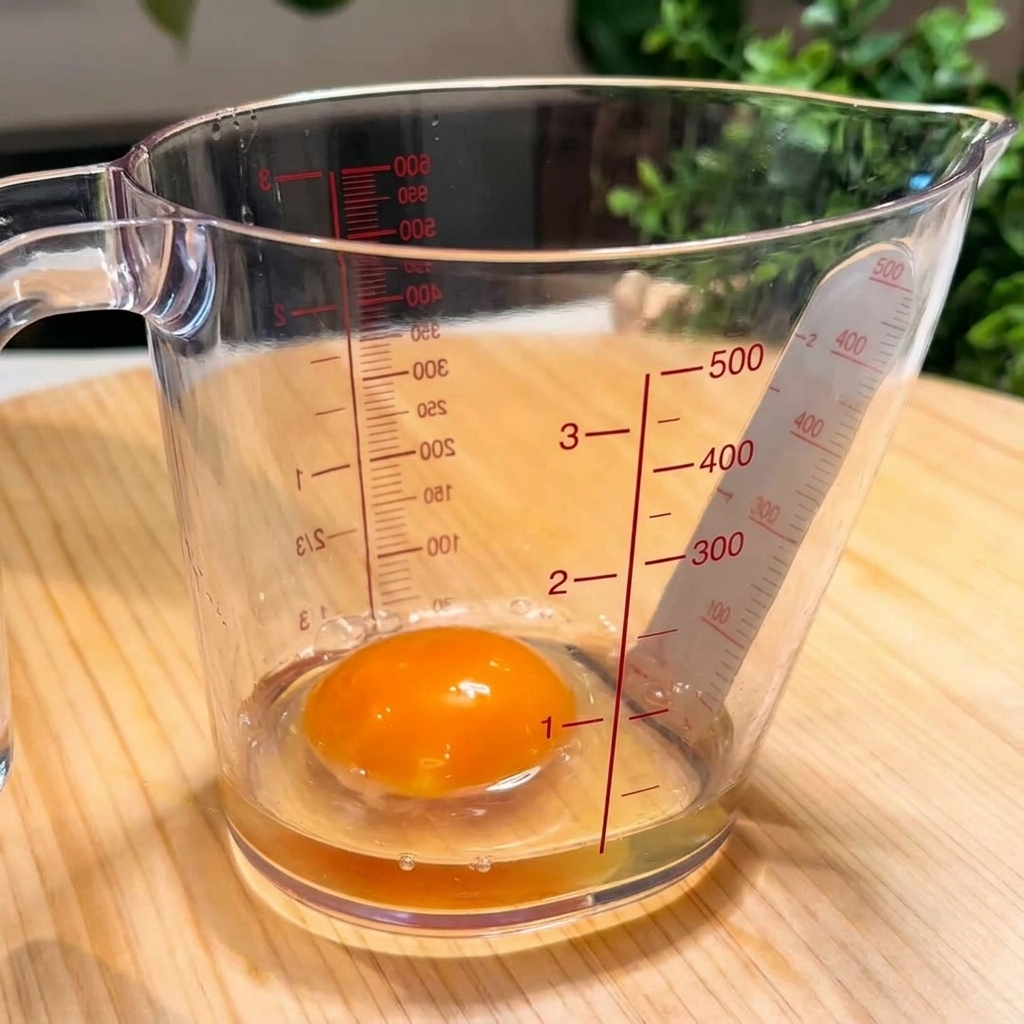
Crack two fresh eggs into a measuring cup and use a pair of chopsticks to beat them until the yolks and whites are well combined.
Tip: Beating the eggs in a measuring cup makes them easy to pour later. - 3Prepare the Sauce Base
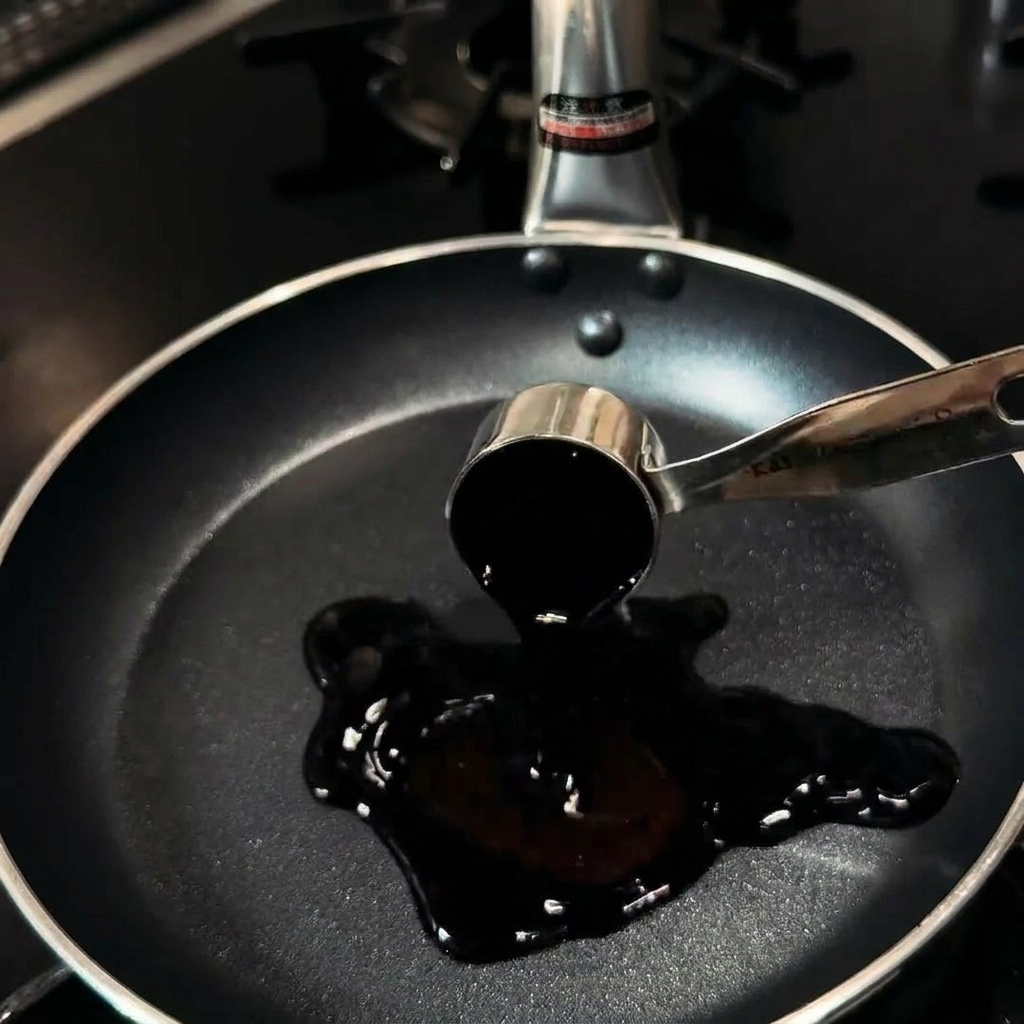
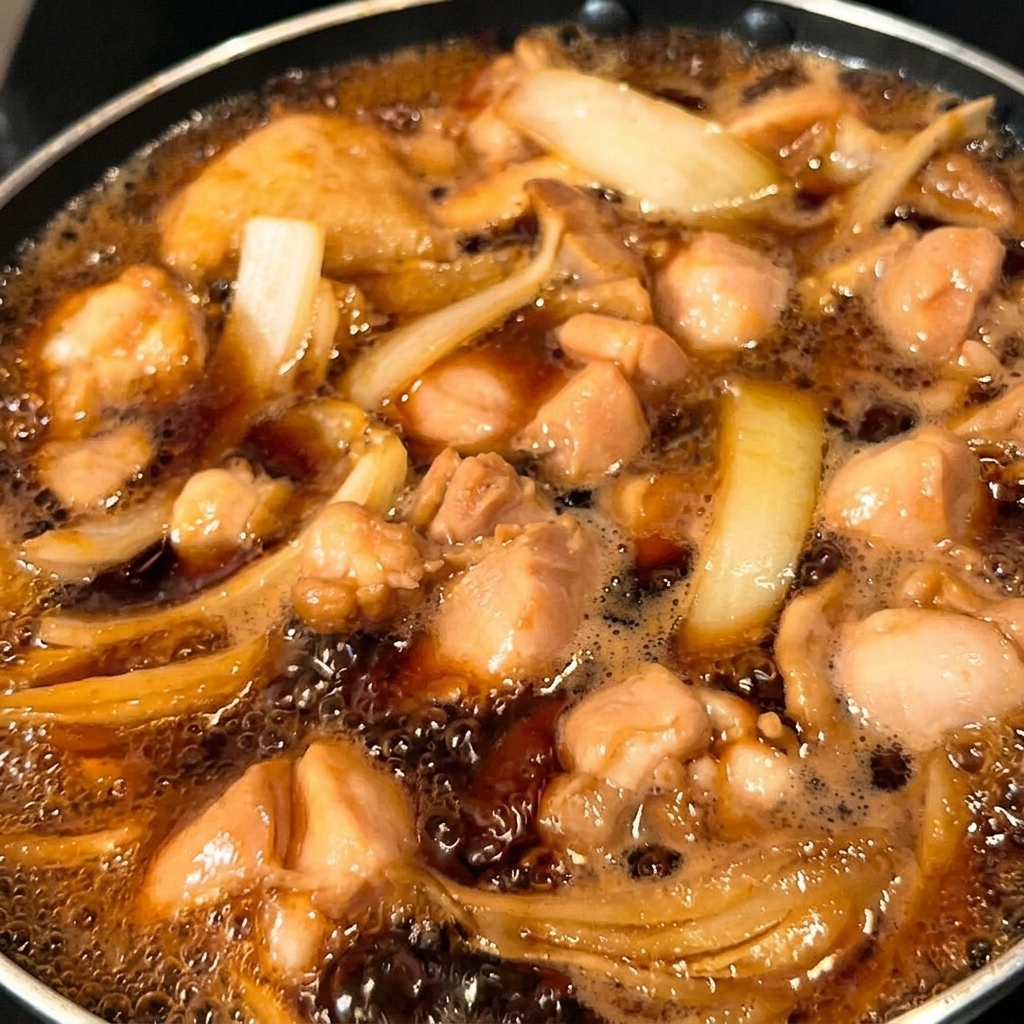
In a pan, combine 2 tablespoons of soy sauce, 2 tablespoons of mirin, 1 tablespoon of sugar, 50g of water, and 1 teaspoon of Japanese dashi powder. This mixture will serve as the savory, slightly sweet braising liquid for the dish.
Tip: Ensure the dashi powder is fully dissolved in the liquid. - 4Simmer Chicken and Onion
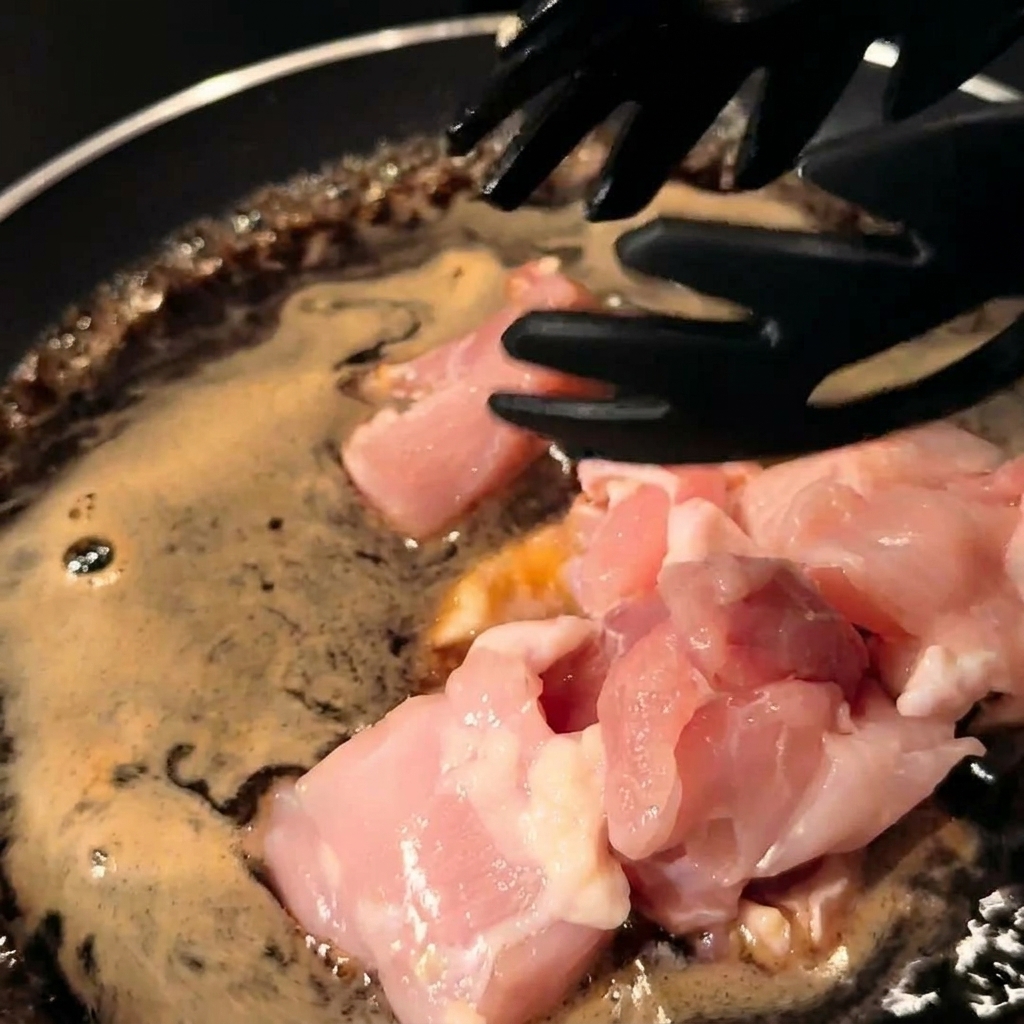
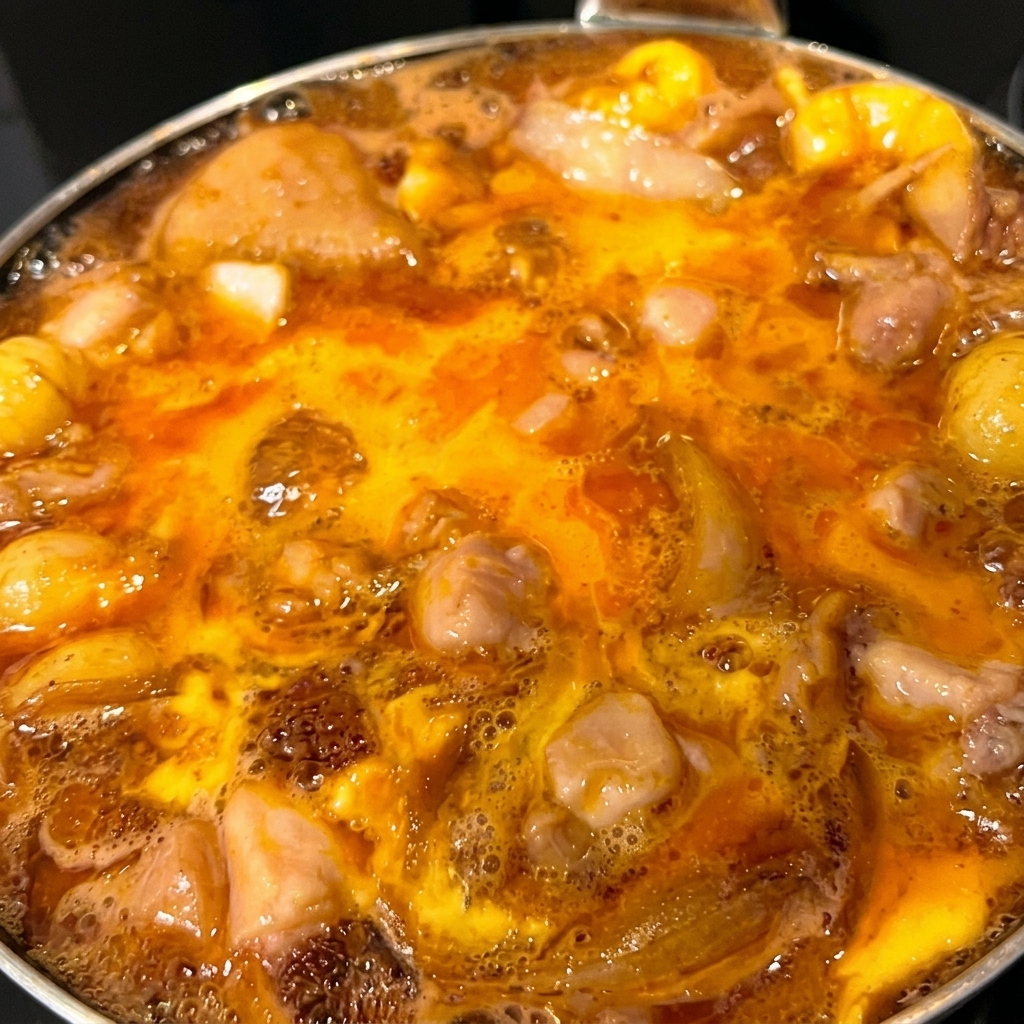
Add the prepared chicken thigh pieces and onion slices into the sauce. Stir everything together to ensure the ingredients are evenly coated, then cover and simmer on low heat for 5 minutes.
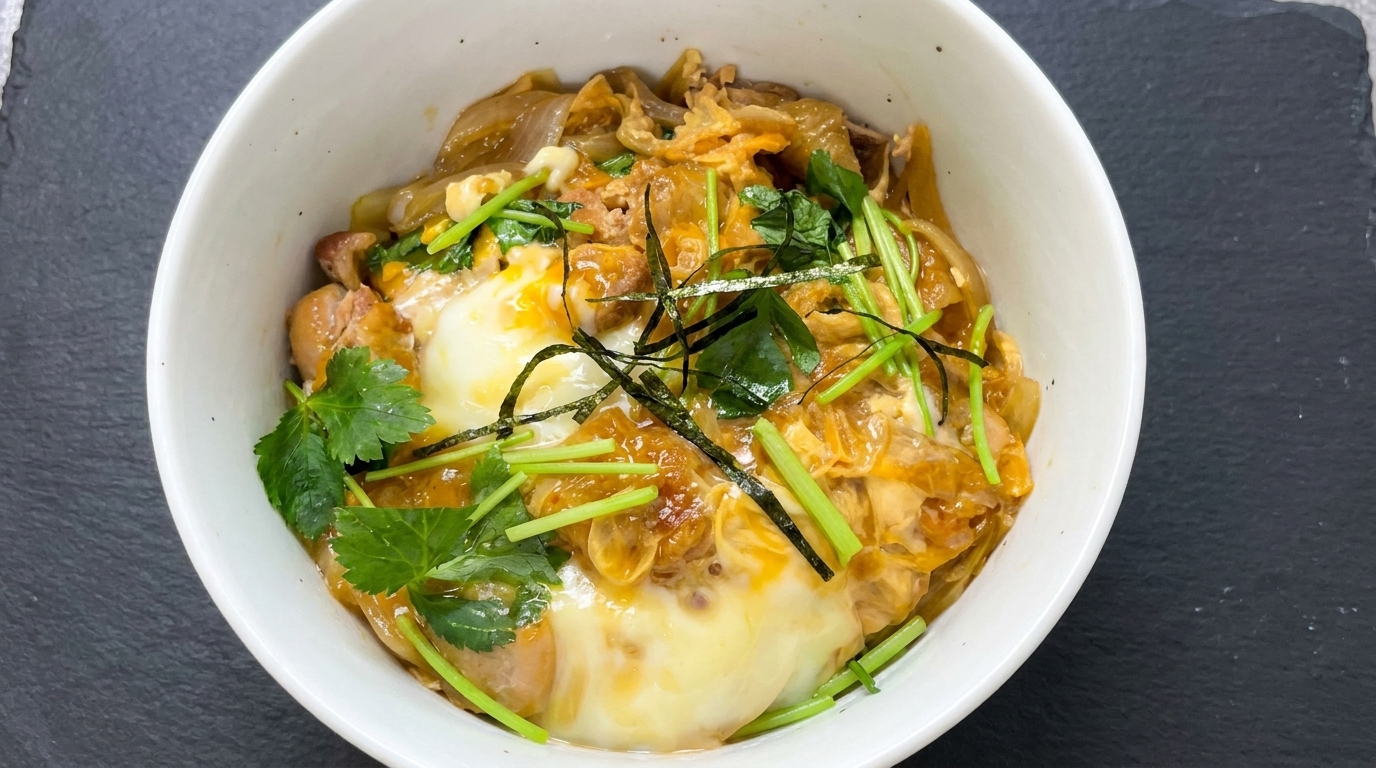
Tip: Simmering on low heat keeps the chicken tender. - 5First Egg Addition
Remove the lid from the pan. Pour half of the beaten egg mixture over the simmering chicken and onion. Cover the pan and continue to cook on low heat for 1 minute and 30 seconds.
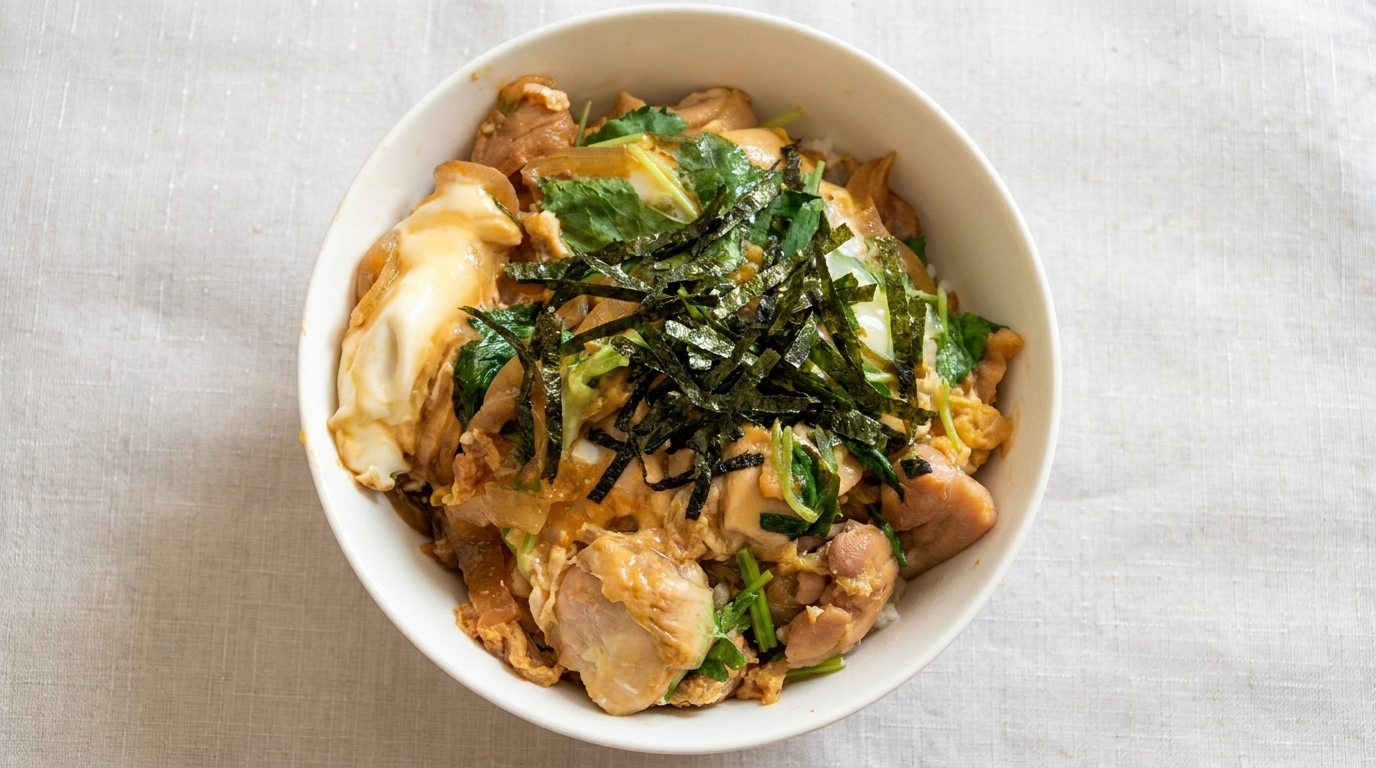
Tip: Pour the egg gently to ensure an even layer. - 6Finish with Egg and Garnish
Pour the remaining beaten egg into the pan and simmer for an additional 10 seconds. Remove from heat and garnish with fresh Japanese parsley before serving your nutritious rice bowl.
Tip: The quick finish keeps the egg soft and velvety.