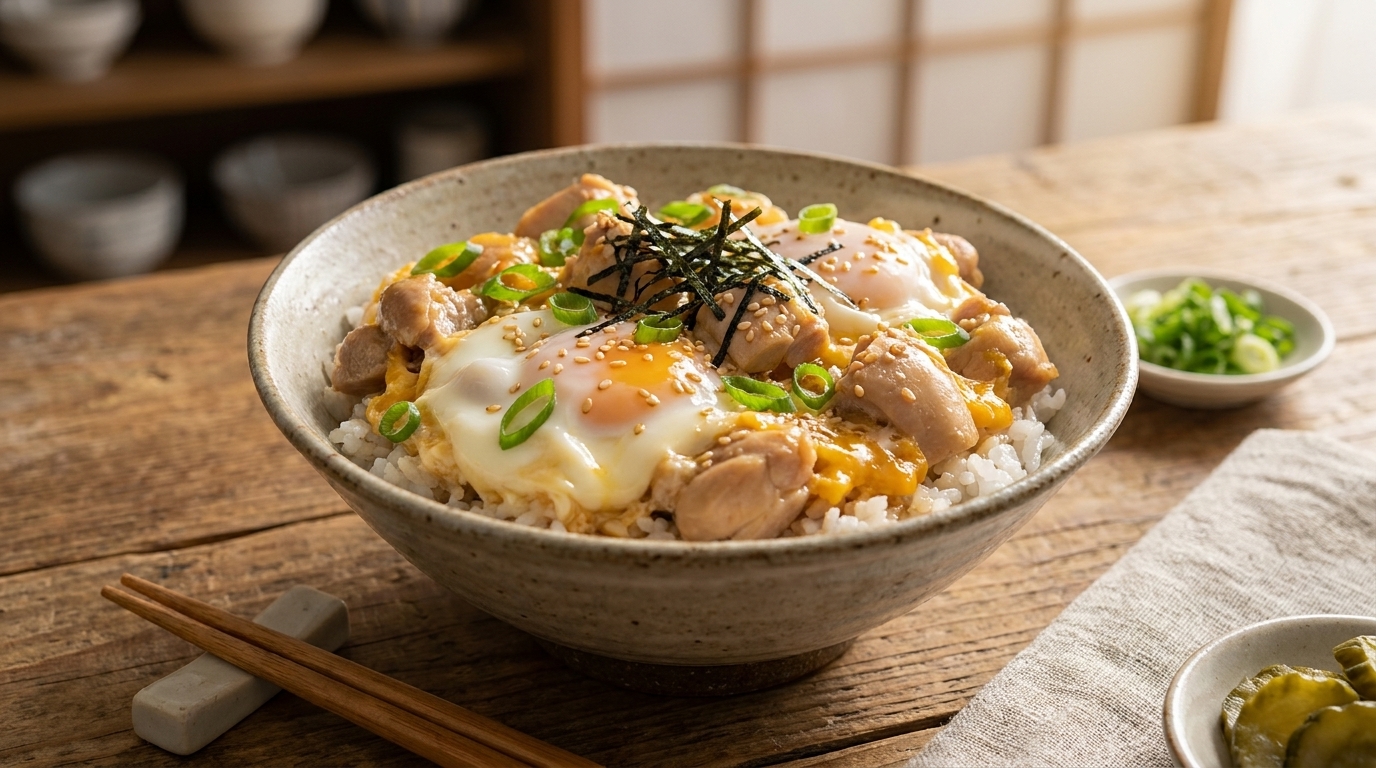
Savory Pan-Seared Oyakodon (Chicken
Egg Skillet)
A low-carb twist on the classic Japanese comfort dish. Crispy pan-seared chicken and tender onions simmer in a rich soy-mirin glaze, topped with soft-set eggs.
Oyakodon, or parent-and-child bowl, is a quintessential Japanese comfort food named for its primary ingredients: chicken and egg. This version skips the traditional rice base to highlight the contrast between the crispy, skin-on chicken and the velvety, custard-like eggs. It is a masterclass in balancing savory depth with simple, high-quality ingredients.
Ingredients
- 1 whole boneless chicken leg
- 1 medium white onion
- 2 tbsp mirin
- 2 tbsp dark soy sauce
- 1/2 cup water
- 2 large eggs
- 1 tbsp cooking oil
- 1 stalk green onions, chopped
Instructions
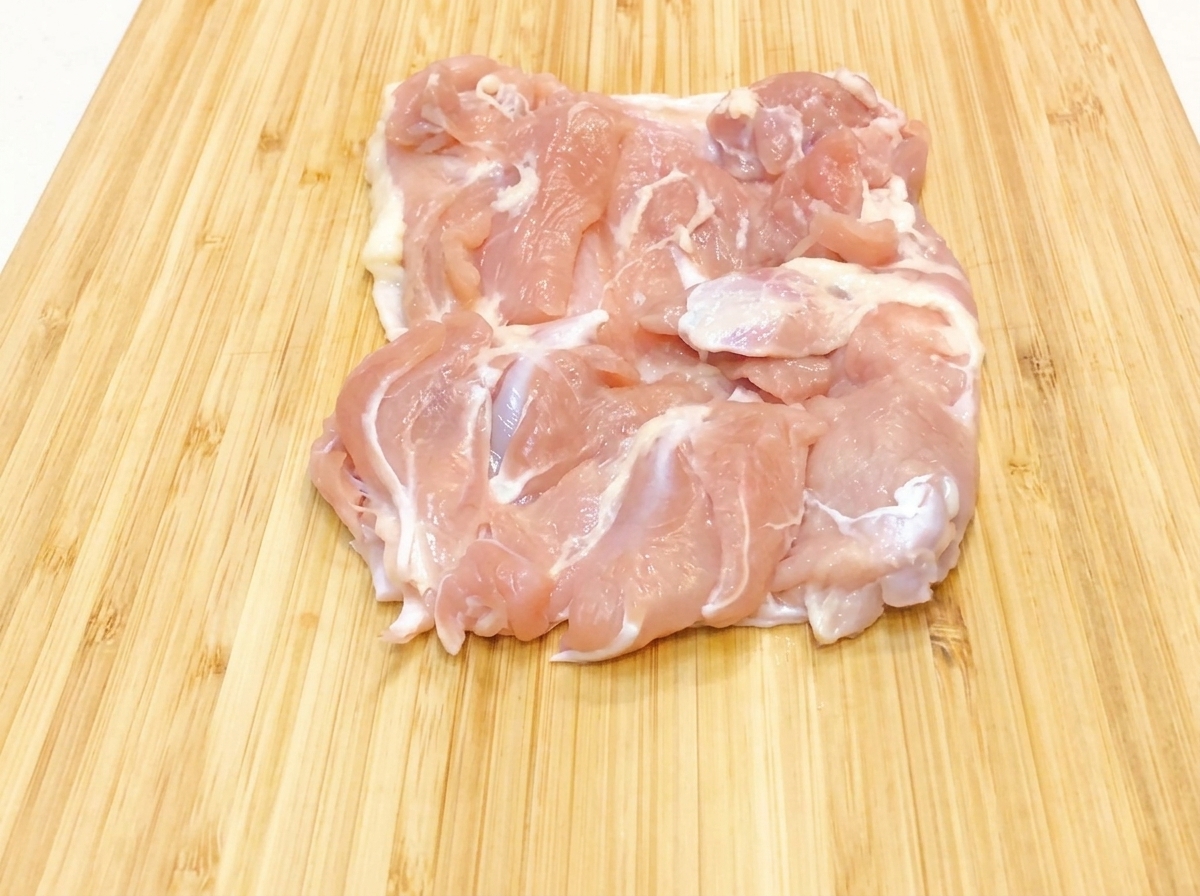
- 1Trim the chicken
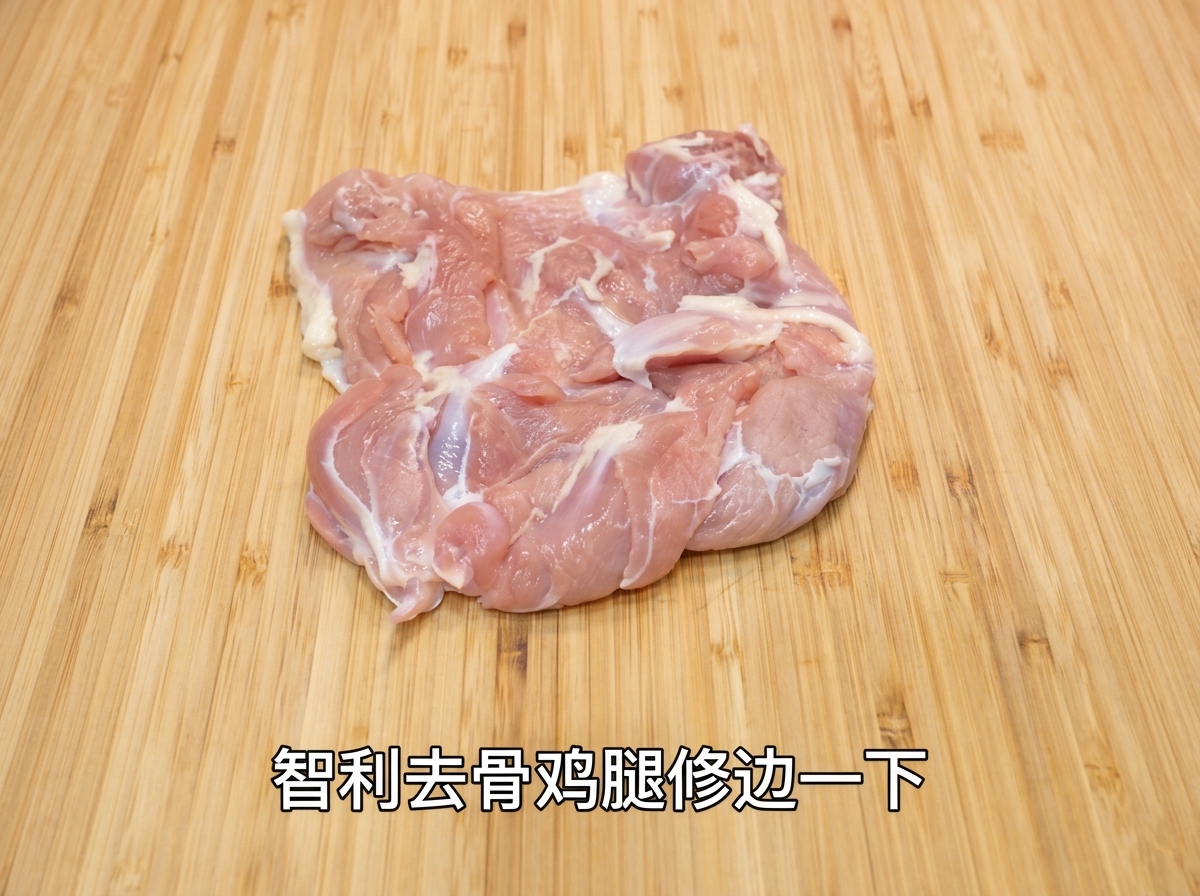
Place the boneless chicken leg on a clean cutting board and carefully trim away any excess fat or uneven edges with a sharp knife. This preparation ensures the chicken cooks evenly and has a cleaner presentation for your dish.
Tip: Keep the trimmings for a quick chicken stock, or discard them if you prefer a leaner result. - 2Heat the pan
Place a black skillet over medium heat and add a small splash of cooking oil. Allow the oil to heat up until it shimmers slightly, preparing the surface for frying the chicken skin.
Tip: Ensure the pan is evenly coated with oil to prevent sticking and achieve a uniform sear. - 3Sear the chicken
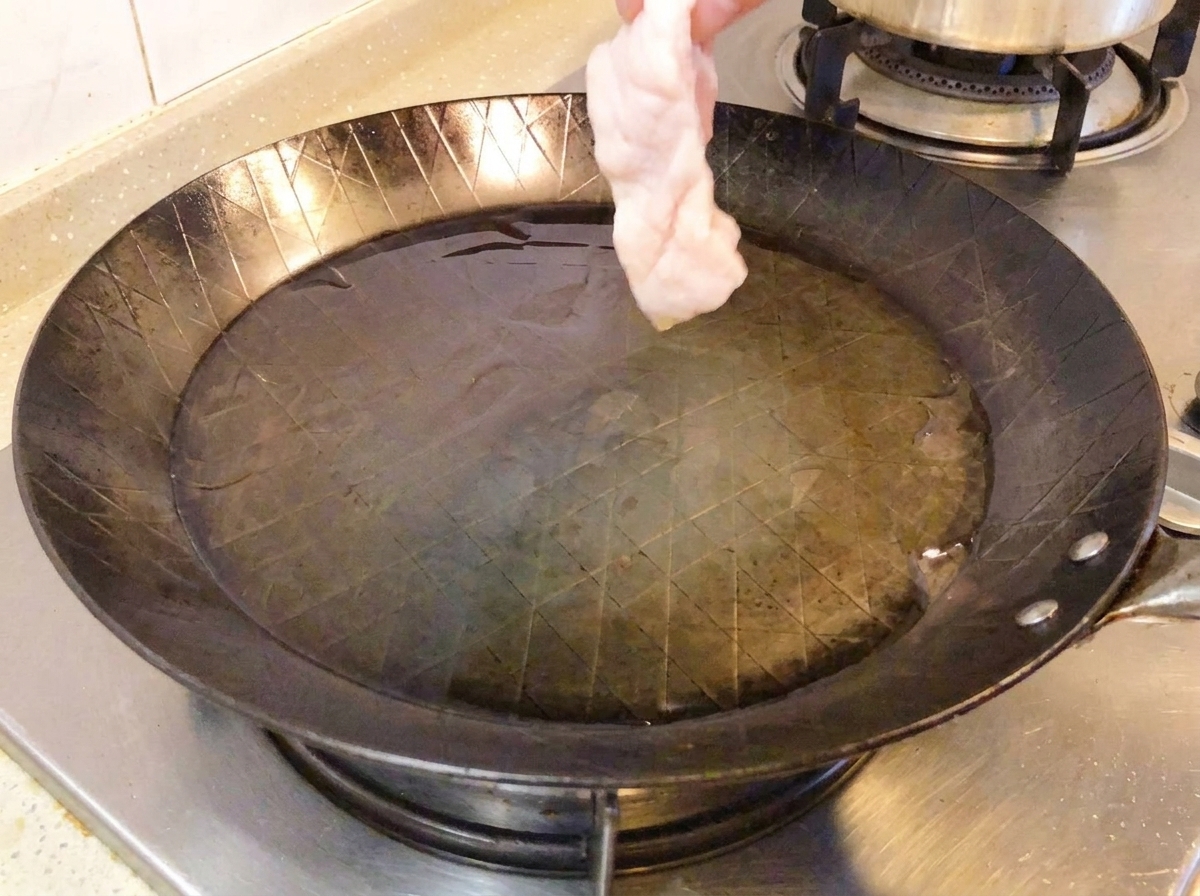
Carefully place the chicken leg into the hot pan, skin-side down. Let it fry undisturbed for about four minutes, or until the skin becomes crispy and golden brown.
Tip: Dont move the chicken too early; letting it sear without touching ensures the skin gets properly crispy. - 4Check the sear

Use tongs to gently lift the edge of the chicken and check the color of the skin. Once it has achieved a deep, crispy golden-brown, it is ready to be flipped.
Tip: If the skin isnt brown enough, continue frying for another minute before flipping. - 5Slice the chicken
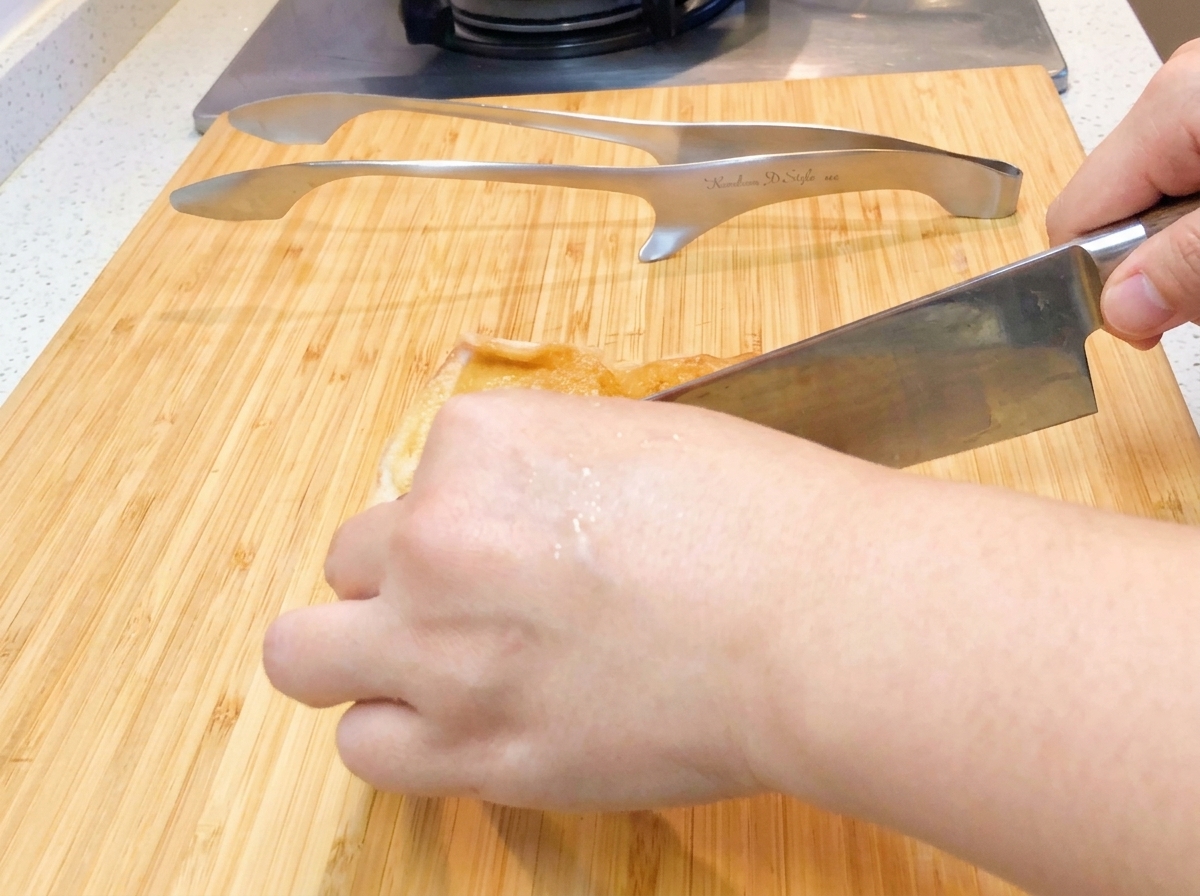
After flipping and briefly cooking the other side, remove the chicken from the pan and let it rest for a moment. Then, use a sharp knife to cut the chicken into uniform, bite-sized pieces.
Tip: Slicing against the grain makes the chicken more tender. - 6Prepare the sauce
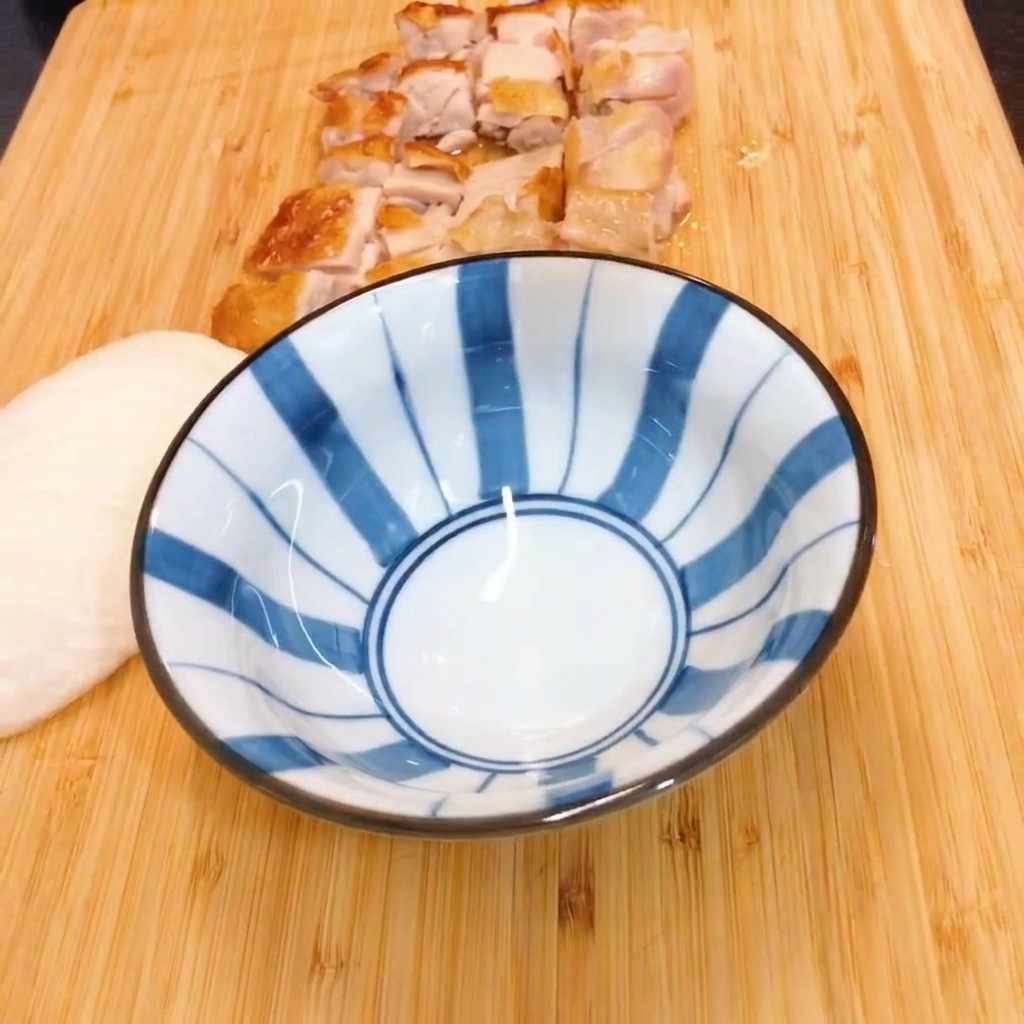
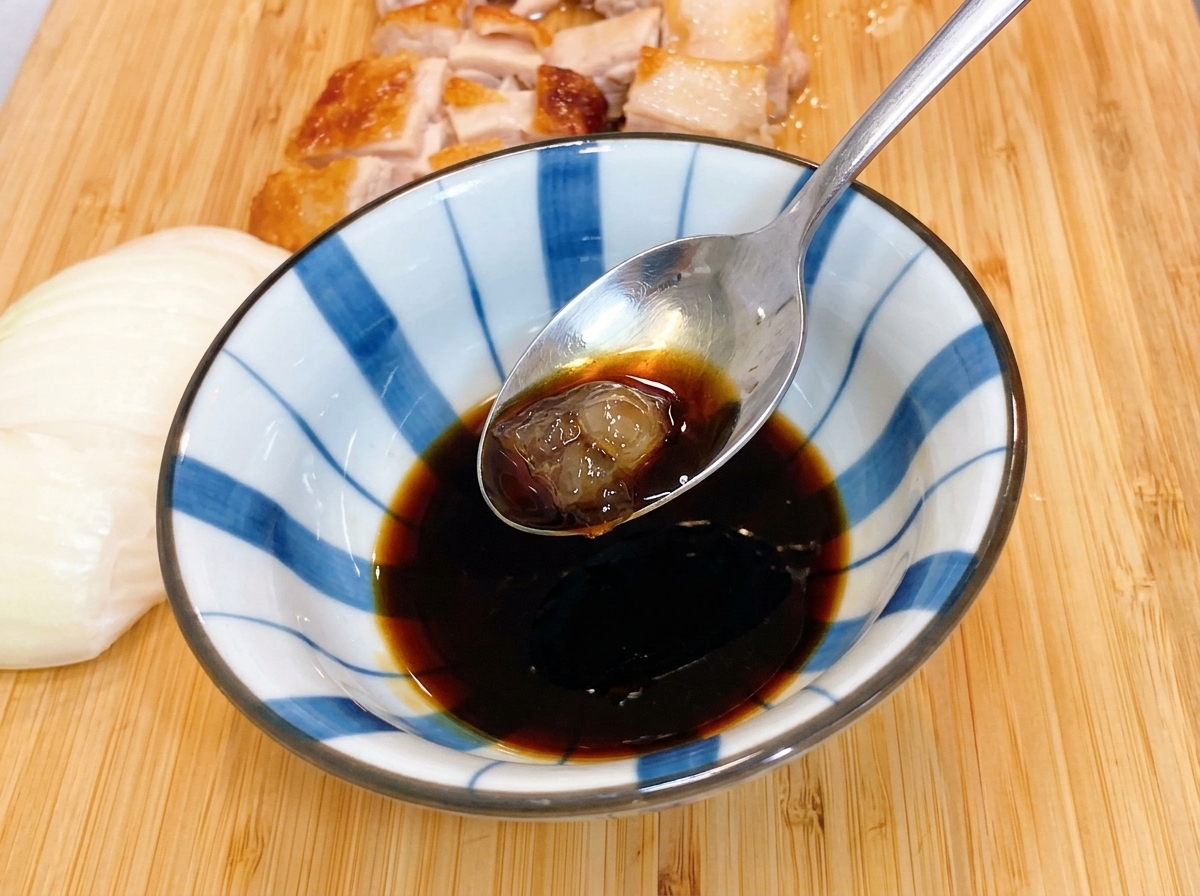
In a small bowl, combine two spoons of mirin and two spoons of dark soy sauce. Mix well with a spoon until the ingredients are fully incorporated, creating the base seasoning for your dish.
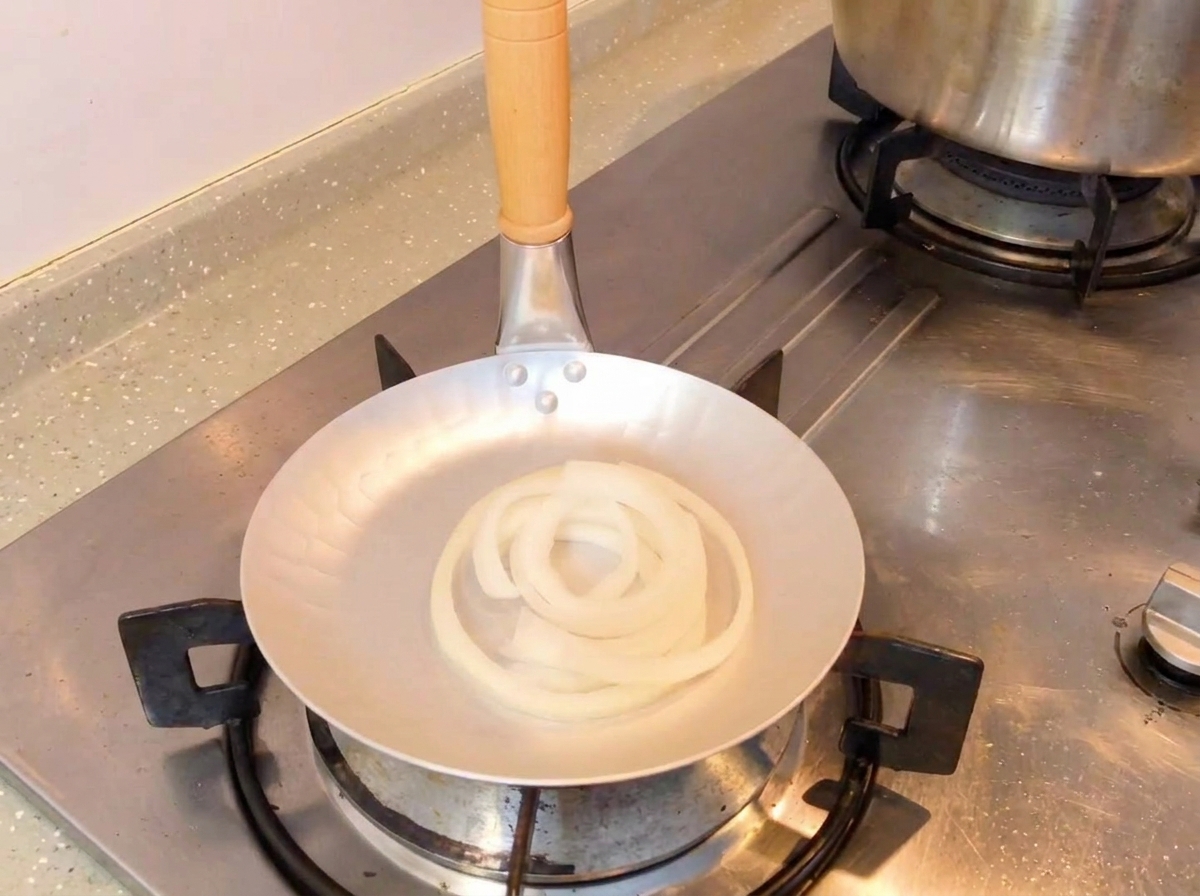
Tip: You can adjust the ratio of mirin to soy sauce based on your preference for sweetness. - 7Prepare the onion base
Place the sliced fresh white onion rings into the center of a clean, small metal skillet. These onions will serve as the aromatic base for the chicken and egg mixture, softening as they cook in the savory sauce.
Tip: Ensure the onions are spread evenly in the center of the pan to allow them to cook uniformly. - 8Add the seasoning sauce
Pour the prepared mixture of mirin and dark soy sauce directly over the onion rings in the skillet. Add a suitable amount of water to the pan to help the onions braise and create a flavorful broth for the chicken.
Tip: Using dark soy sauce provides the characteristic deep color and savory depth essential for this dish. - 9Add the chicken
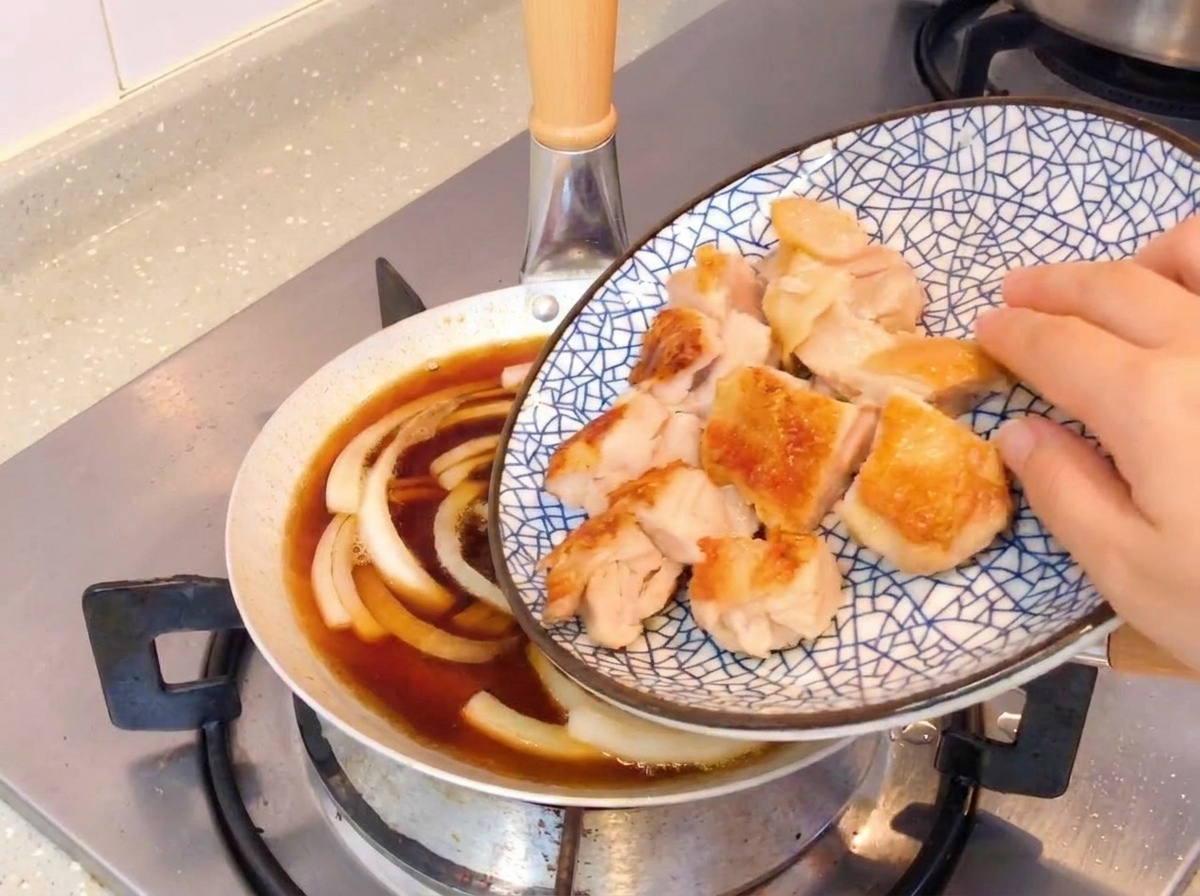
Carefully place the previously pan-fried and sliced chicken leg pieces on top of the simmering onions and sauce. The chicken has already been cooked to achieve a crispy, fragrant skin, and will now absorb the flavors of the savory braising liquid.
Tip: Arrange the chicken pieces so they are partially submerged in the sauce to ensure they stay moist and flavorful. - 10Prepare the eggs
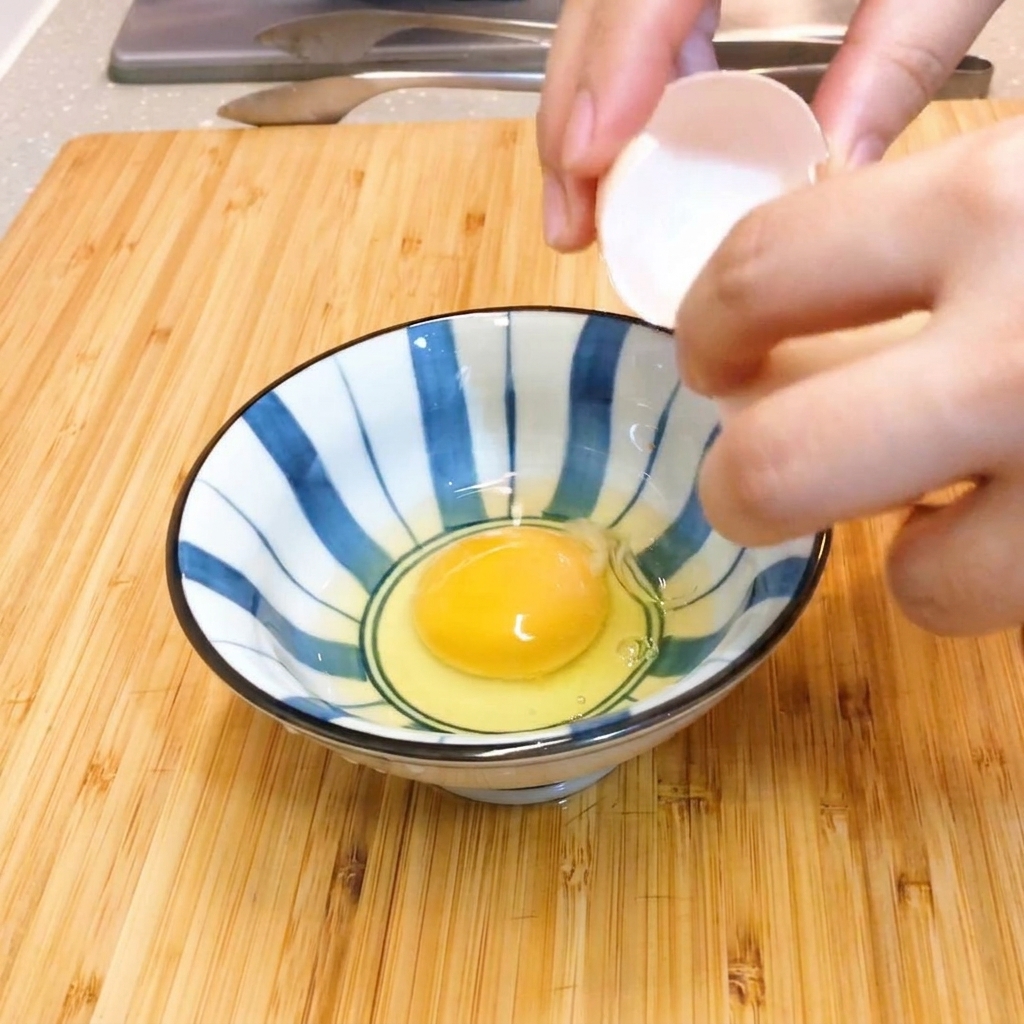
Crack two fresh eggs into a small bowl. Use chopsticks to lightly beat them, ensuring you do not mix the yolks and whites completely. Leaving visible streaks of yolk and white creates the desired marbled texture when cooked.
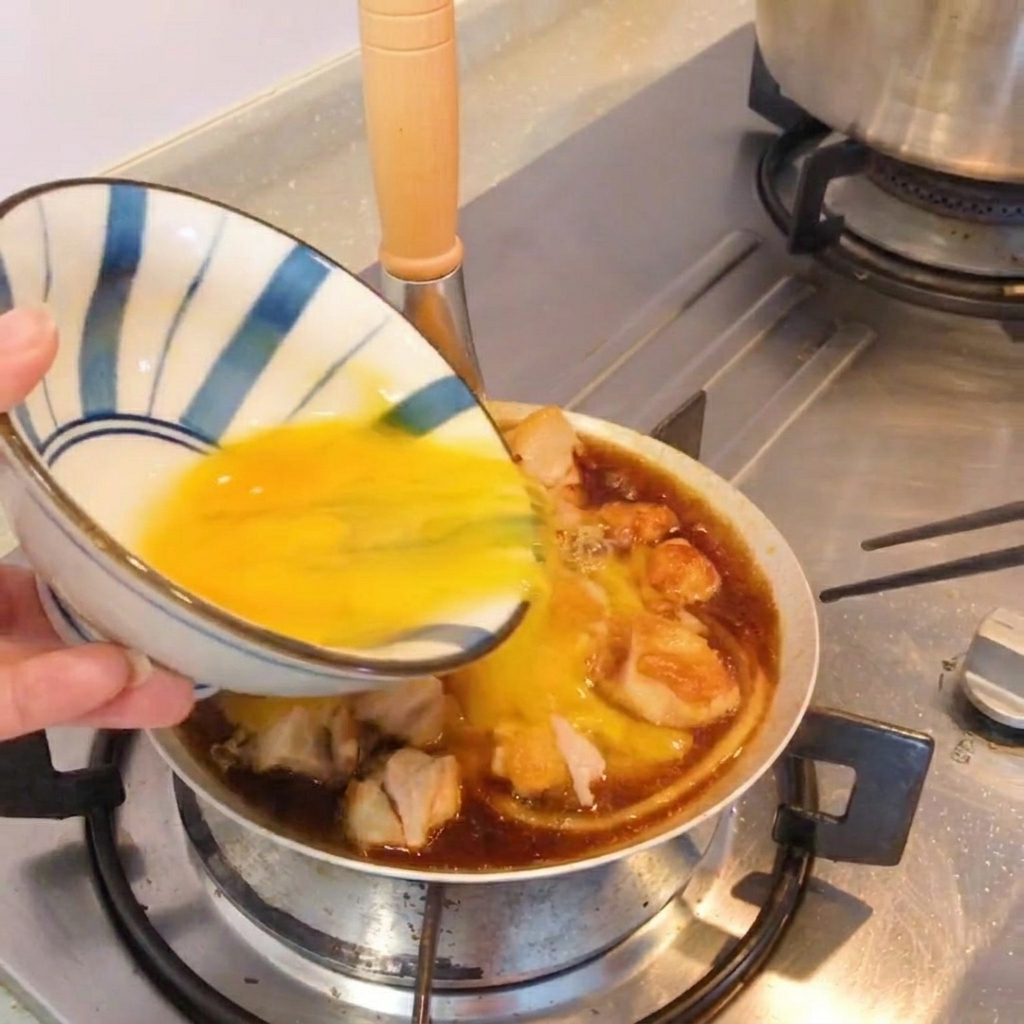
Tip: Do not overbeat the eggs; keeping them slightly separated creates a more visually appealing and traditional Oyakodon texture. - 11Add the eggs
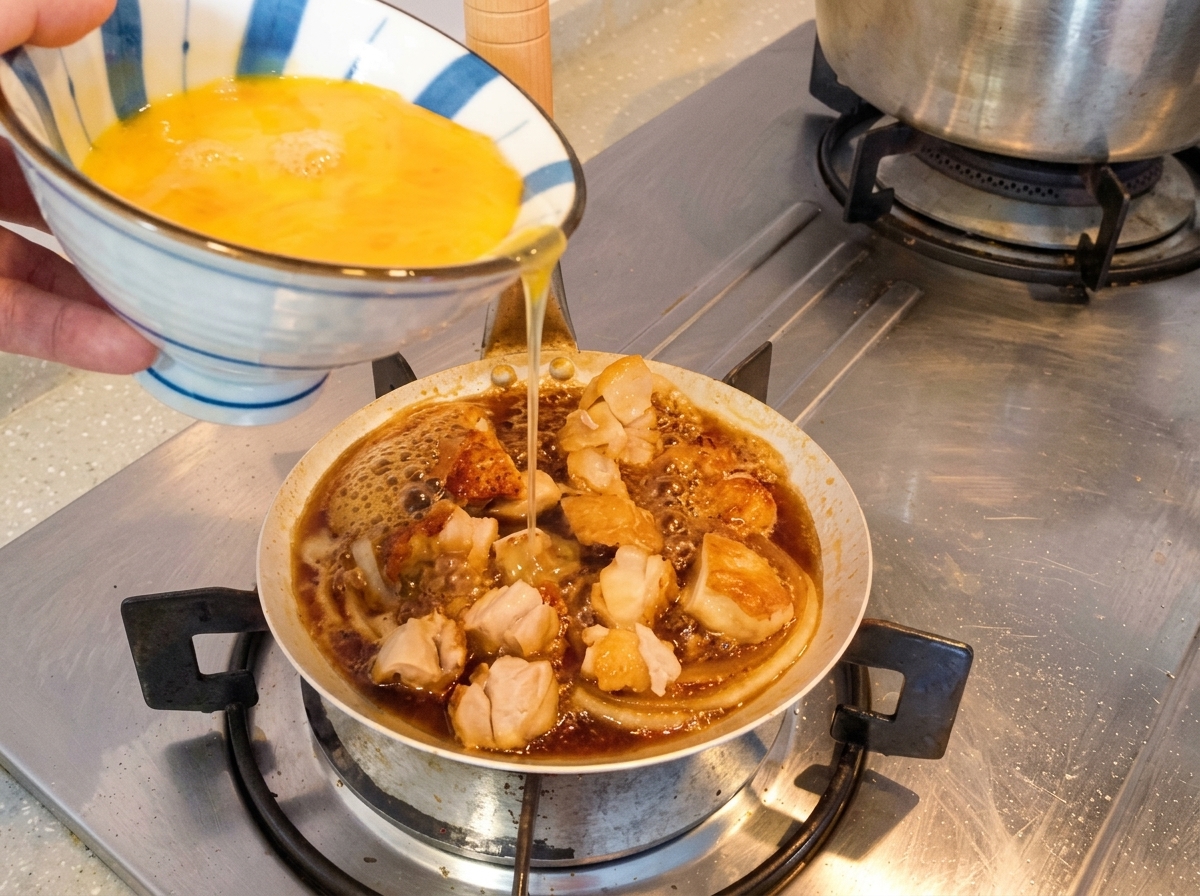
Pour the lightly beaten egg mixture evenly over the chicken and onions simmering in the pan. Adding the eggs in batches helps control the cooking process, ensuring the perfect half-cooked, silky consistency.
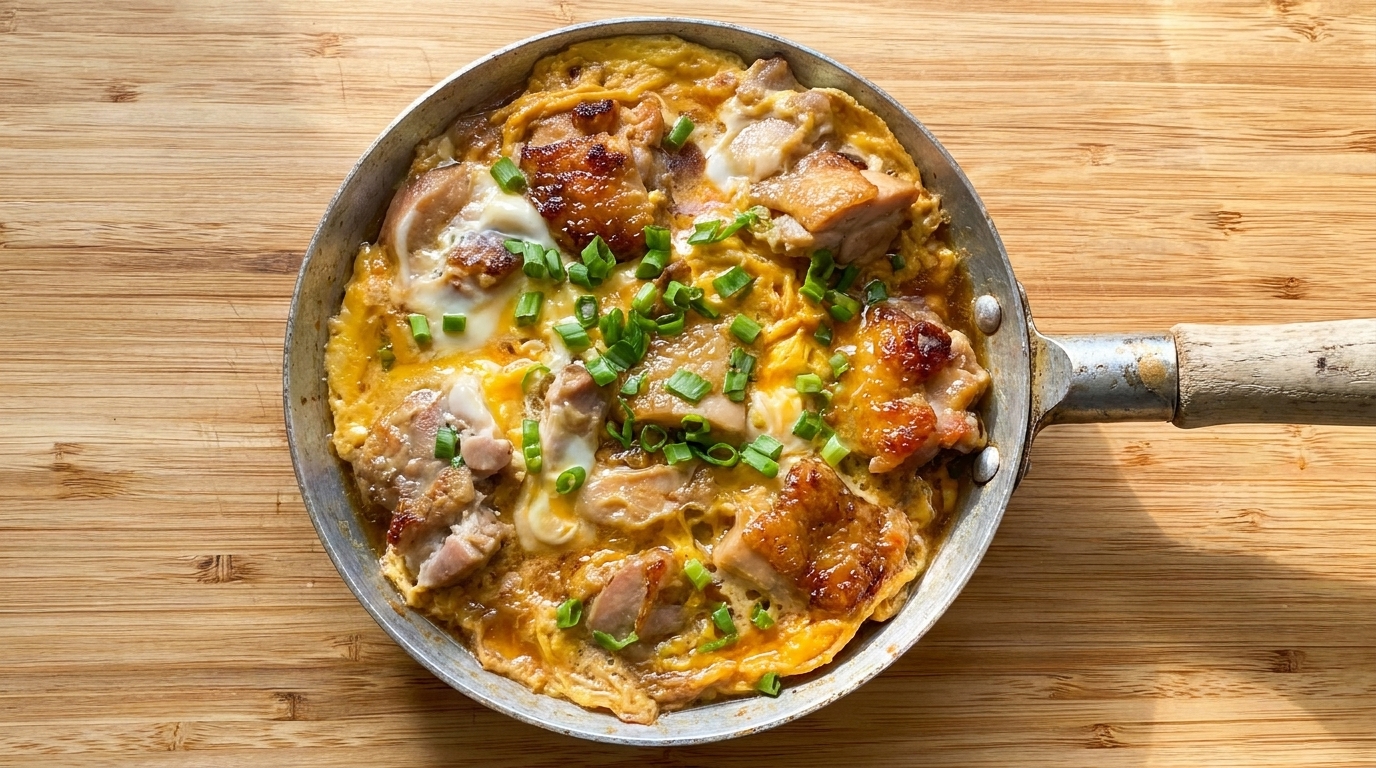
Tip: Keep the heat controlled so the eggs cook gently and remain tender rather than scrambling. - 12Garnish and serve
Once the eggs reach a half-cooked, soft-set state, turn off the heat immediately. Garnish the dish by sprinkling freshly chopped green onions over the top to add a pop of color and freshness.
Tip: The residual heat in the pan will finish cooking the eggs gently, so serving immediately is key to the best texture.