Easy No-Knead Cheese
Bacon Pizza
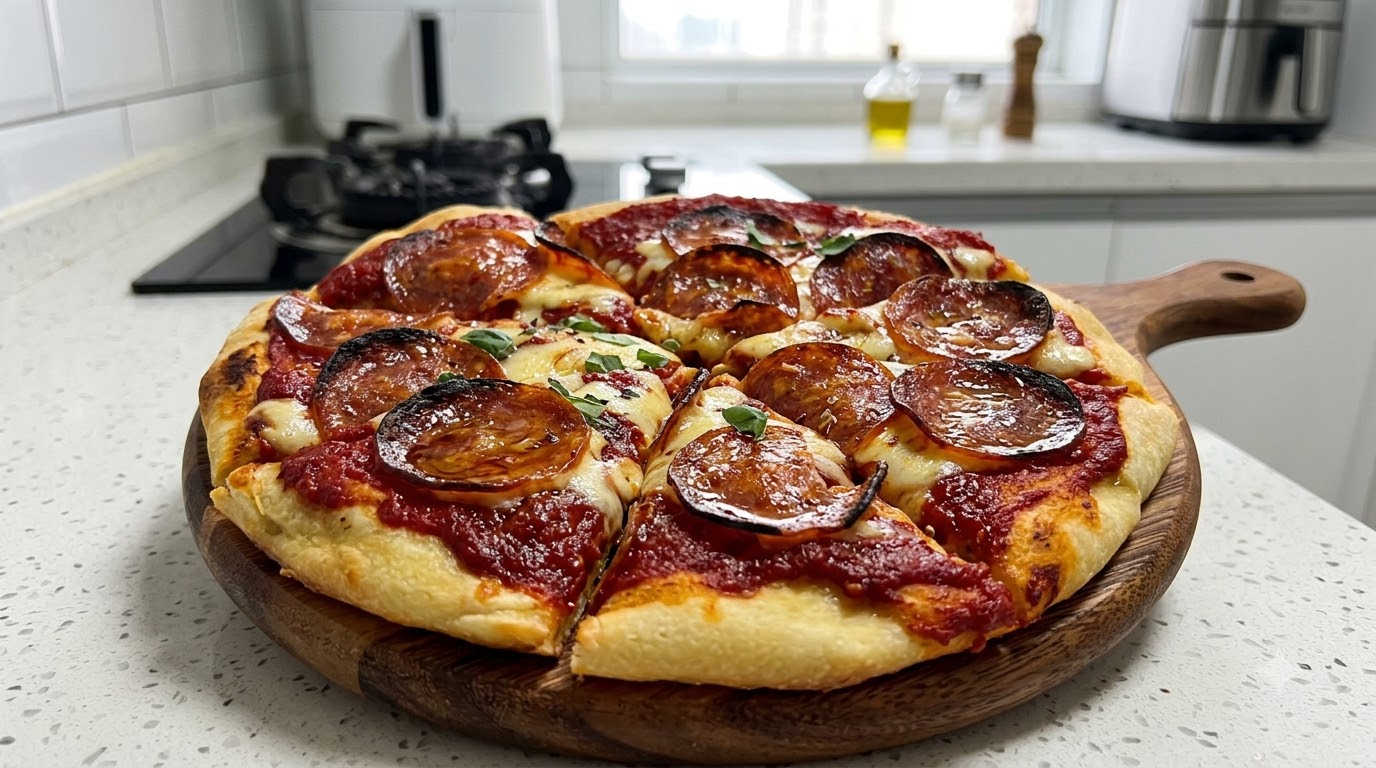
Make pizzeria-style thin crust pizza at home with zero kneading required. Loaded with melted cheese, savory bacon, and sweet corn.
Making delicious homemade pizza doesnt have to be complicated or messy. By using a high-hydration cold-fermentation technique similar to ciabatta, you can achieve a wonderfully airy and crisp crust without ever touching a kneading table. Topped generously with smoky bacon and plenty of cheese, this lazy pizza rivals your favorite local pizzeria.

Ingredients
- 200 g high-protein bread flour
- 150 g cold water
- 2 g low-sugar yeast
- 2 g salt
- 10 g corn oil
- to taste tomato sauce
- 150 g shredded mozzarella cheese
- 80 g bacon
- 50 g cooked corn kernels
- 1 tbsp cornmeal
Instructions
- 1Dissolve the yeast in water
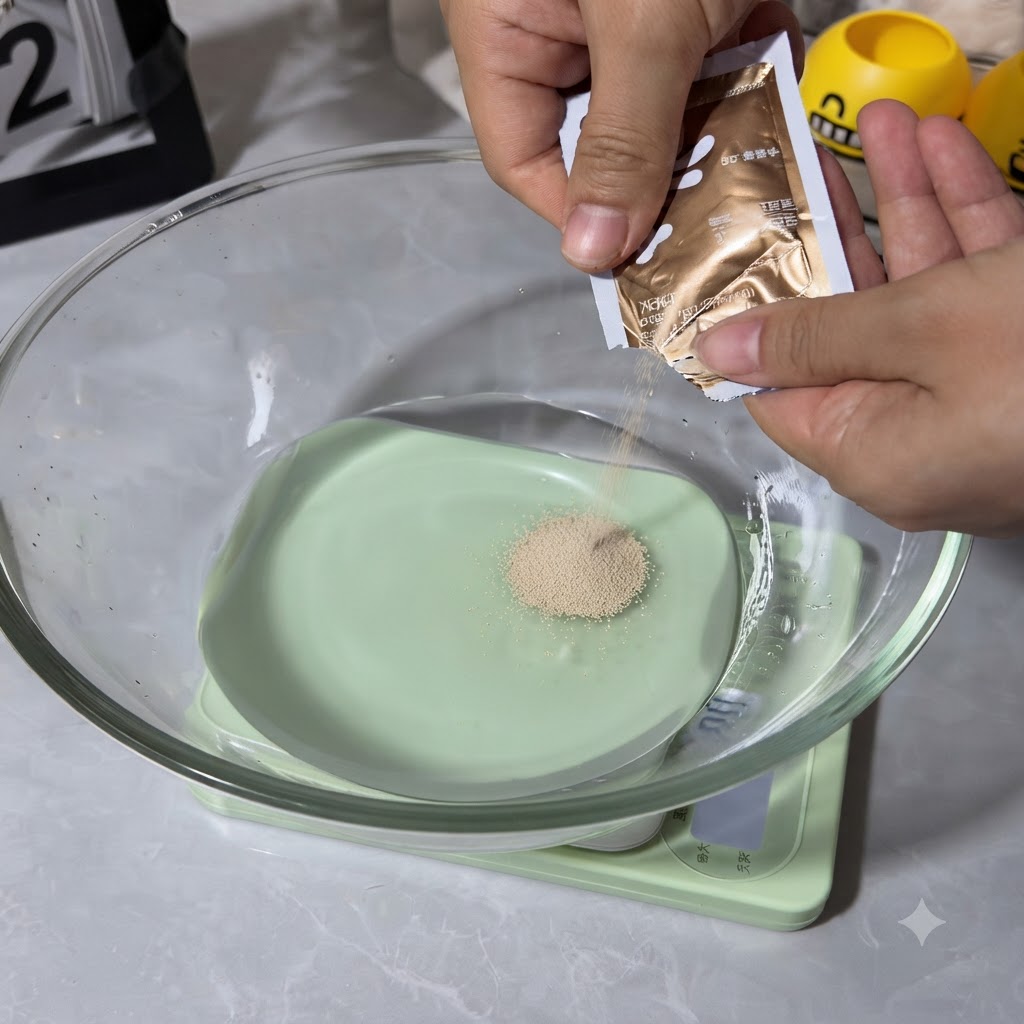
Pour 150 grams of cold water and 2 grams of low-sugar yeast into a large glass bowl. Shake the yeast gently to help it dissolve completely into the water.
Tip: Ensure the water is cold to control the fermentation speed during the initial cold fermentation process. - 2Add high-protein bread flour
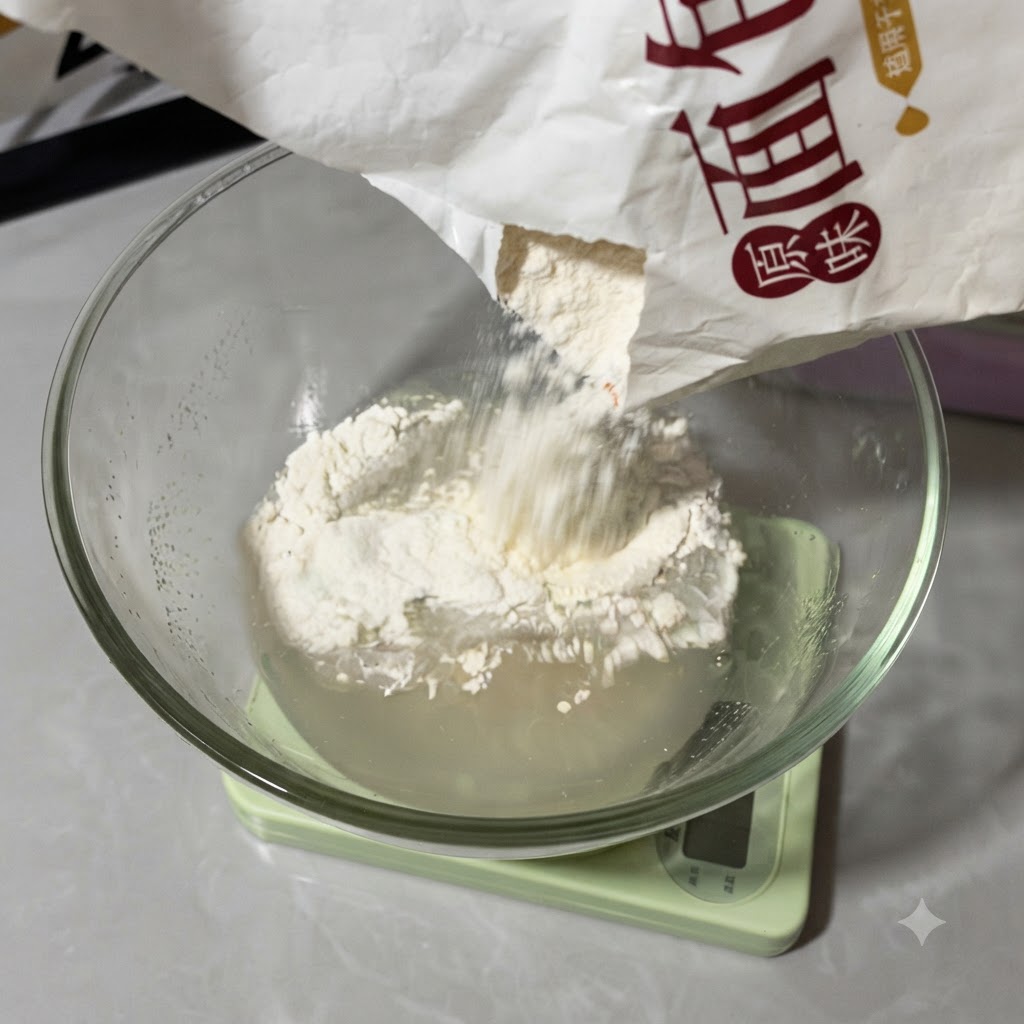
Add 200 grams of high-protein bread flour and 2 grams of salt directly into the yeast water mixture inside the glass bowl.
Tip: Using high-protein bread flour gives the pizza crust a better structure and chewiness. - 3Mix into a shaggy dough
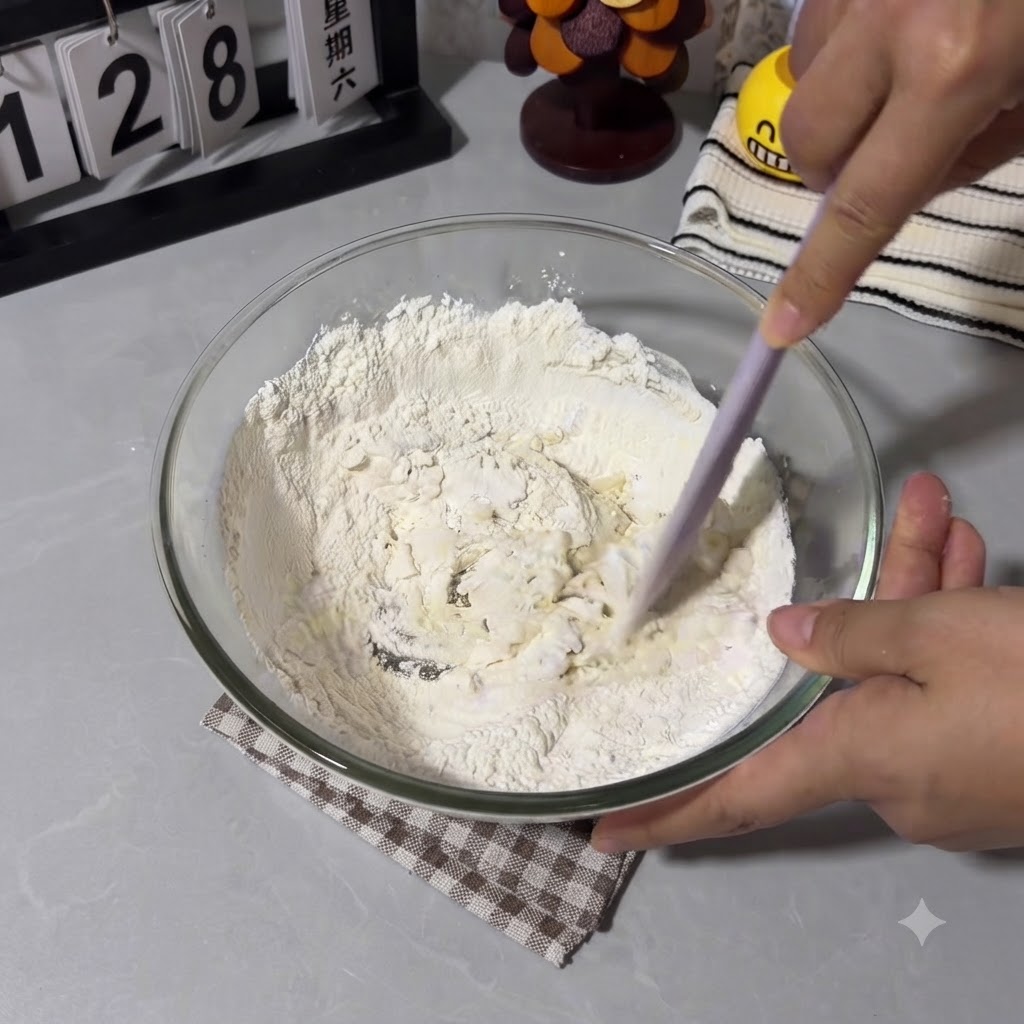
Use a spatula to stir the flour, salt, and water together until they combine into a rough, shaggy dough with no dry flour remaining.
Tip: There is no need to knead the dough at this stage; just mix until combined. - 4Incorporate corn oil
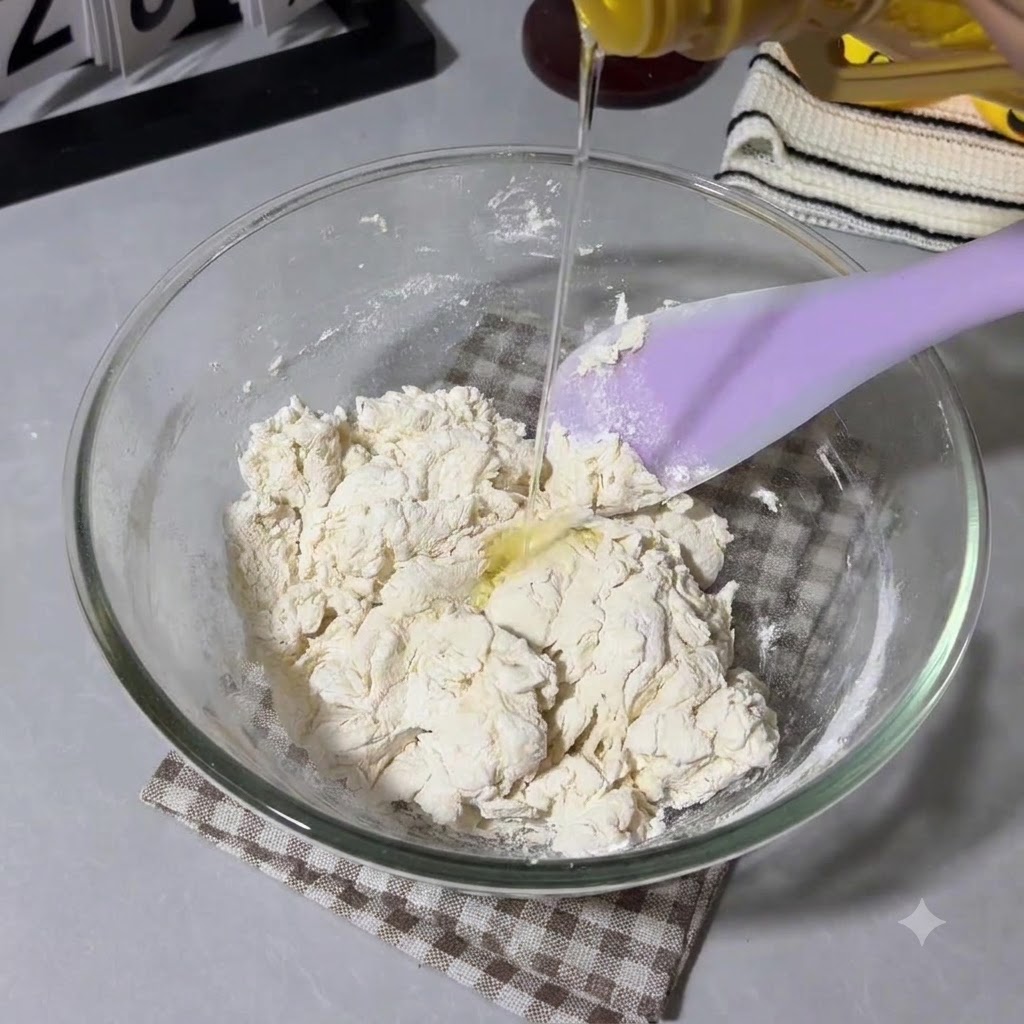
Pour 10 grams of corn oil over the mixed shaggy dough in the bowl, then use the spatula to work the oil into the dough until fully absorbed.
Tip: Corn oil adds moisture and helps make the dough smoother during folding. - 5First fold and rest
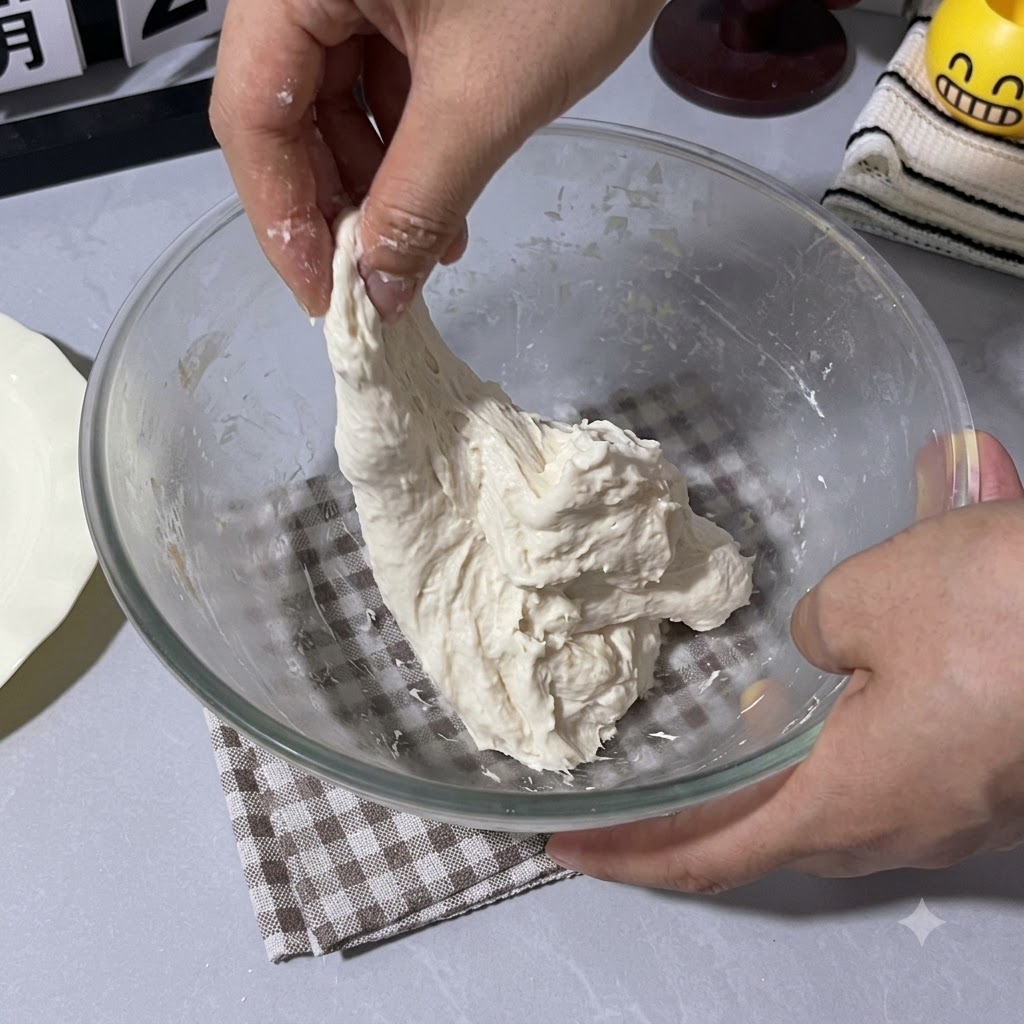
After a 20-minute cold fermentation in the refrigerator, take the bowl out and fold the sticky dough over itself a few times. Put it back in the refrigerator for another 20 minutes.
Tip: Folding helps develop the gluten structure without traditional heavy kneading. - 6Subsequent folding with wet hands
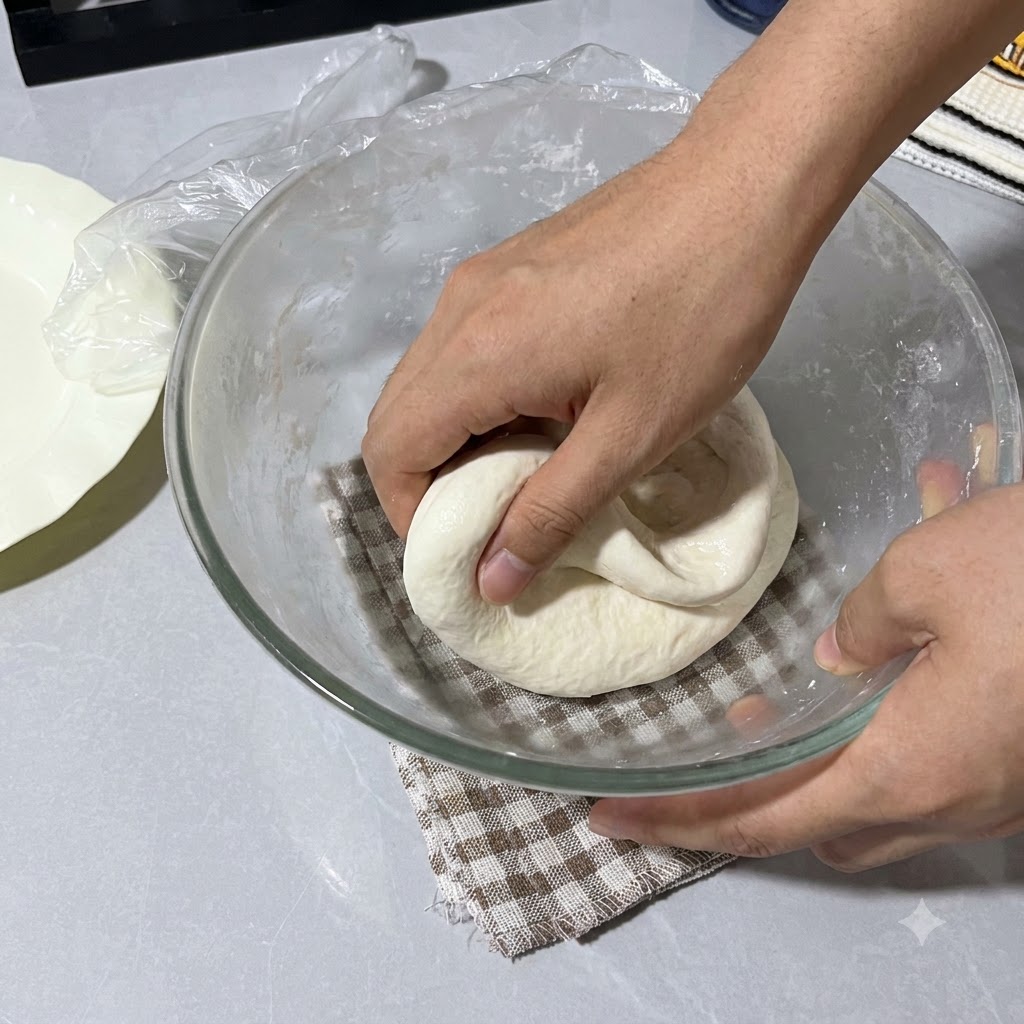
Spray some water on your hands to prevent sticking, then fold the dough again about two times until it resists further folding. Return it to the refrigerator for another 20 minutes.
Tip: Wet hands prevent the high-hydration dough from sticking to your fingers. - 7Fold and Slap the Dough
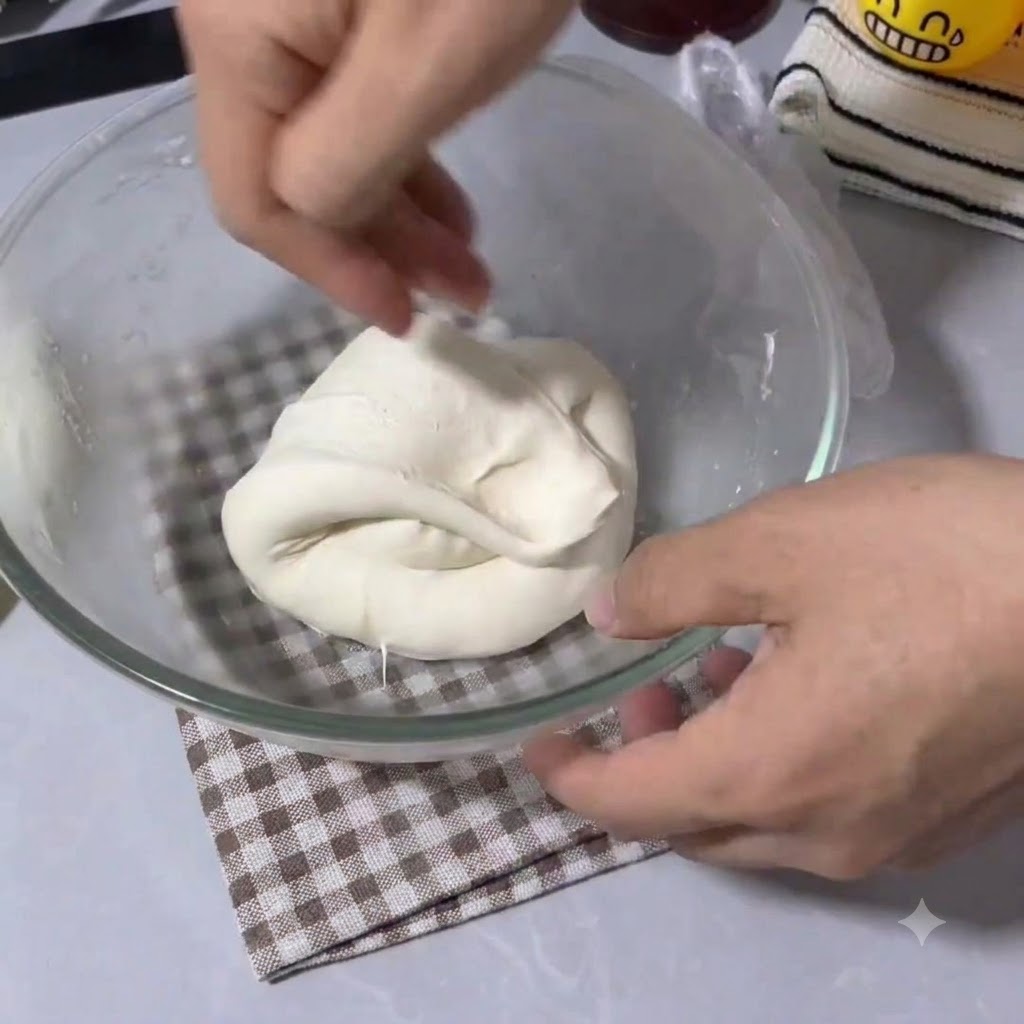
Take the fermented dough out of the refrigerator and fold it a few times. Gently slap the dough several times until it becomes smoother before placing it back into the refrigerator.
Tip: Wetting your hands slightly can help prevent the dough from sticking while you fold and slap it. - 8Shape the Pizza Crust
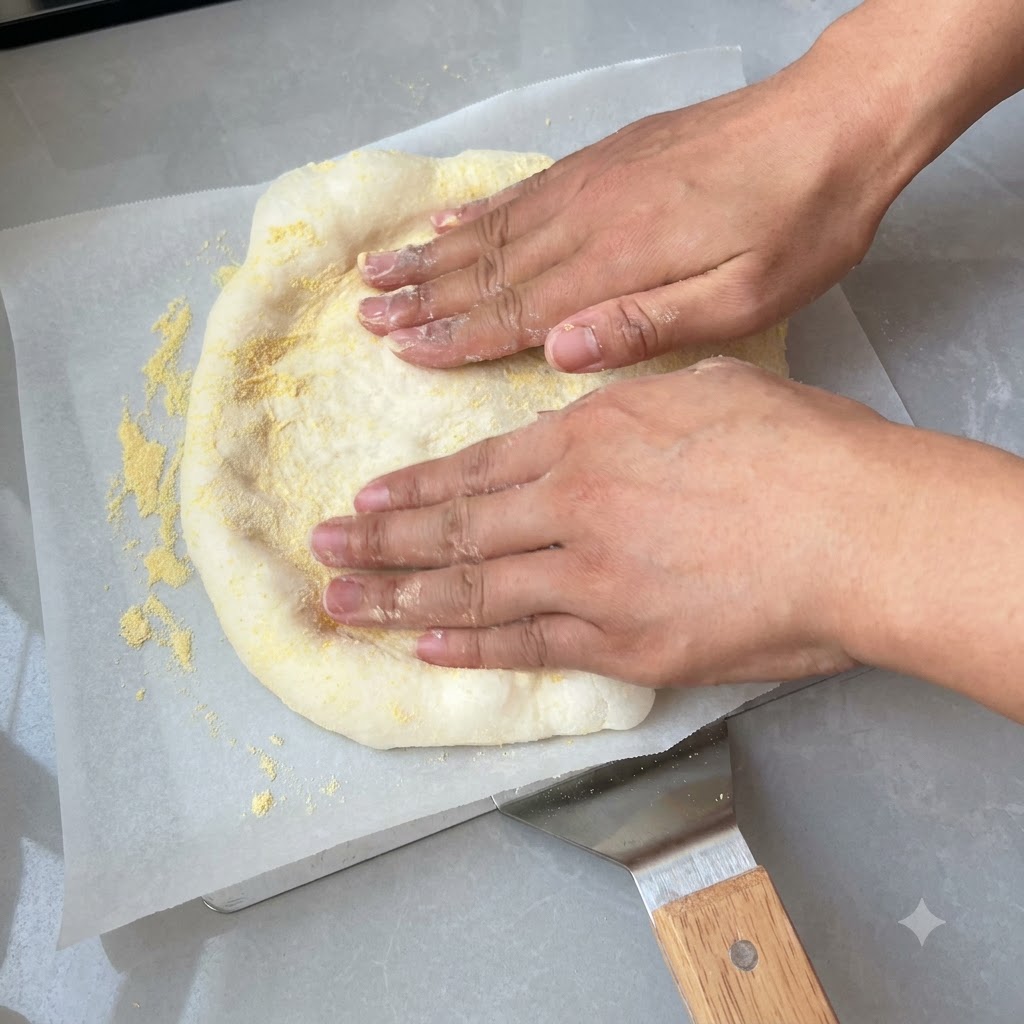
Place the fermented dough onto parchment paper dusted with cornmeal. Use your hands to gently press it flat, slowly stretching it outwards into a circular shape while being careful not to pop the air bubbles on the edges.
Tip: Cornmeal on the baking paper prevents the dough from sticking and gives the crust a nice texture. - 9Poke Air Vents
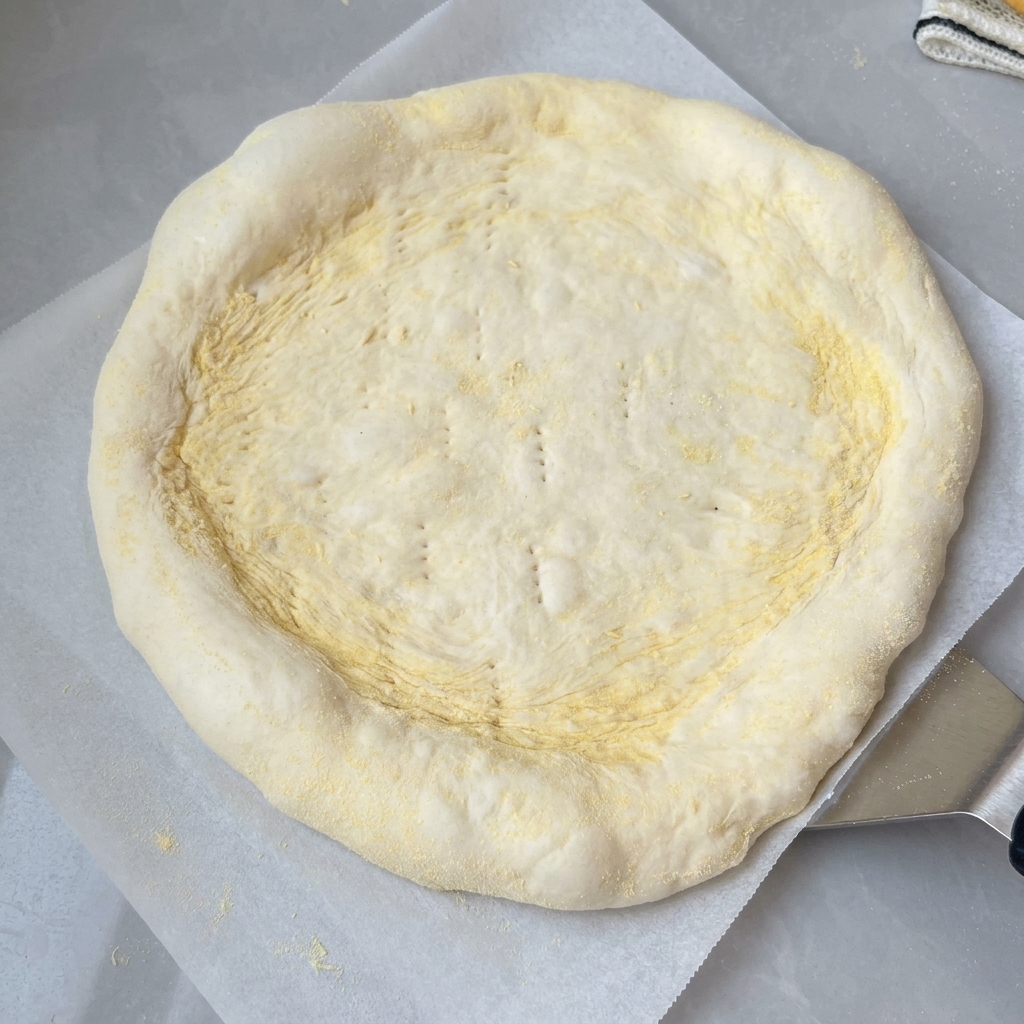
Take a metal fork and use it to poke small holes across the flattened pizza dough both horizontally and vertically. This releases trapped air and prevents the crust from bubbling unevenly during baking.
Tip: Docking the dough evenly ensures a flat and consistent base for your toppings. - 10Spread Tomato Sauce
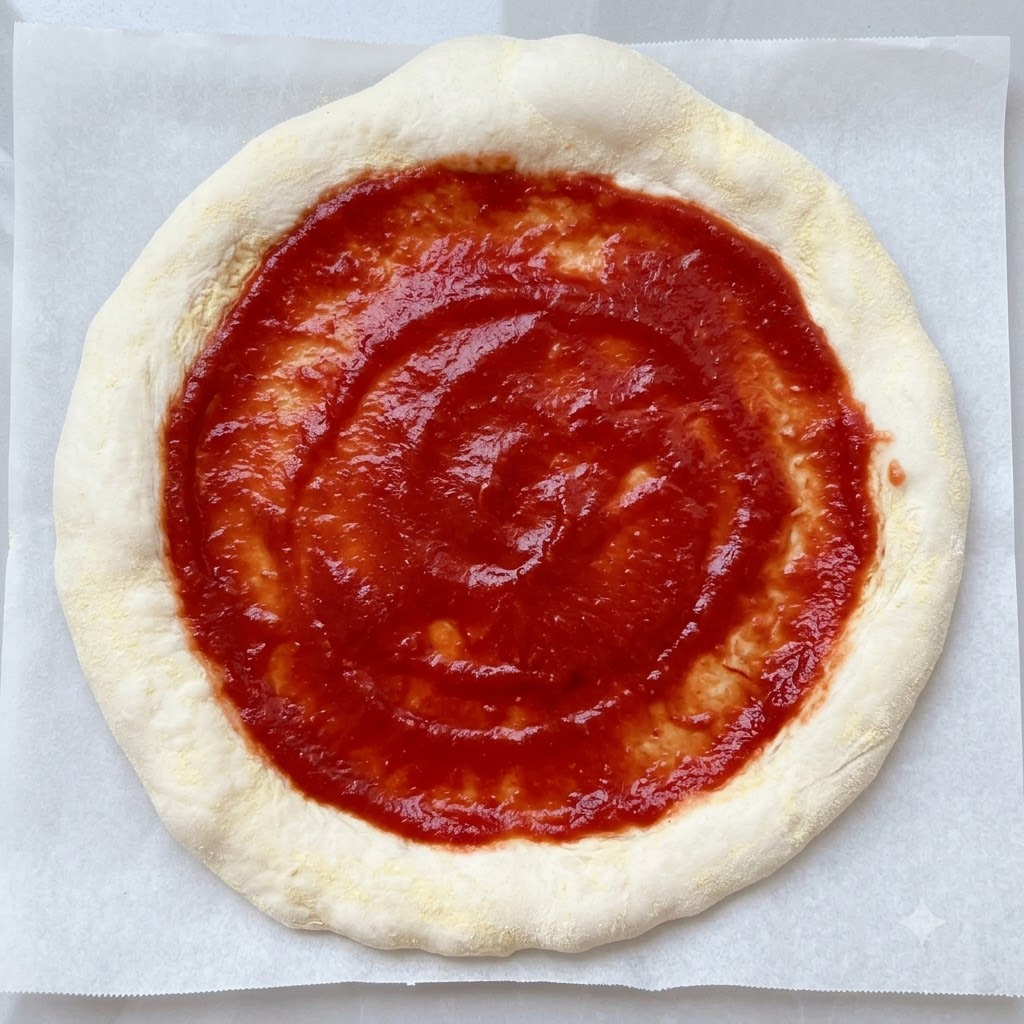
Spoon an even amount of red tomato sauce onto the center of the pizza dough and spread it outward in a circular motion using a spatula, leaving a clear border around the edges for the crust.
Tip: Leave a clean outer crust edge so it can puff up nicely and become airy in the oven. - 11Add Toppings
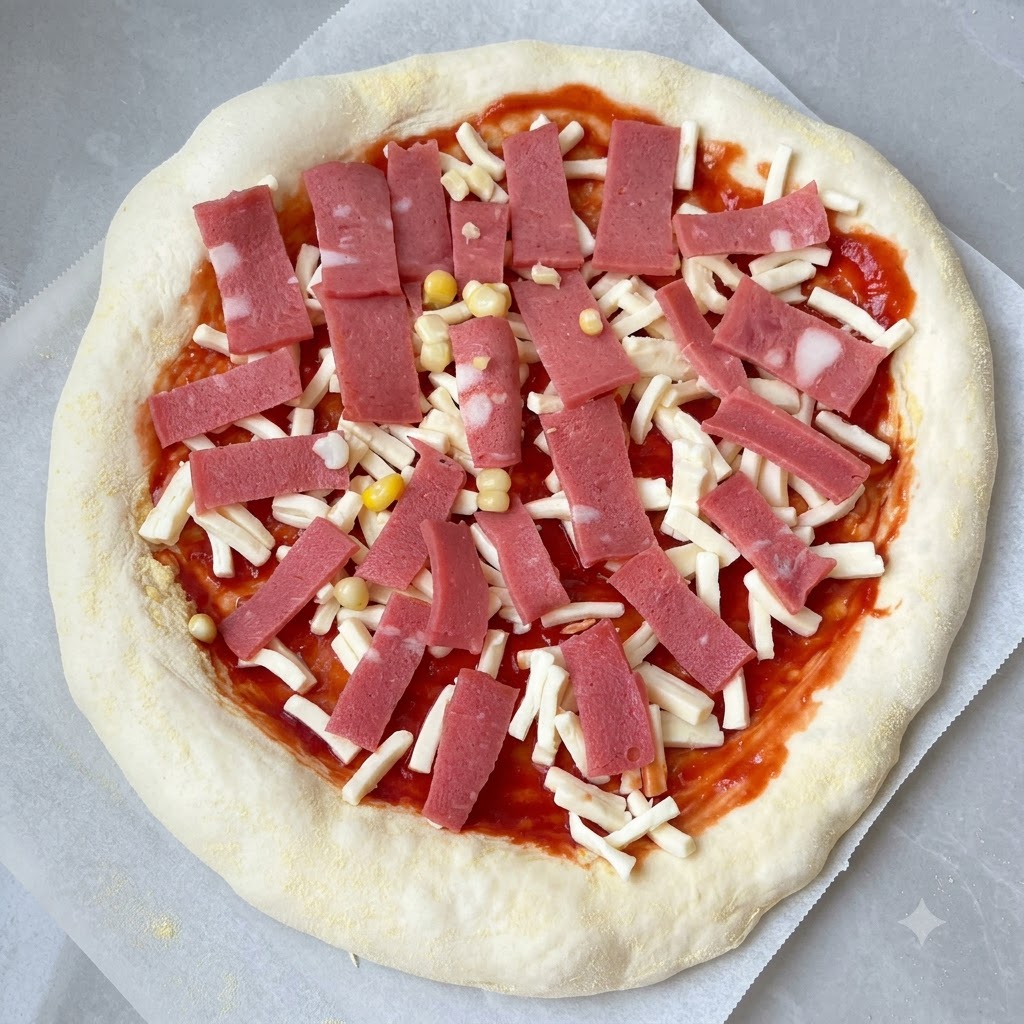
Add a generous layer of shredded cheese followed by evenly distributed cut-up bacon pieces and cooked yellow corn kernels. Layer additional cheese and bacon on top to make the pizza extra abundant.
Tip: Layering cheese between the toppings helps anchor everything together as it melts. - 12Bake the Pizza
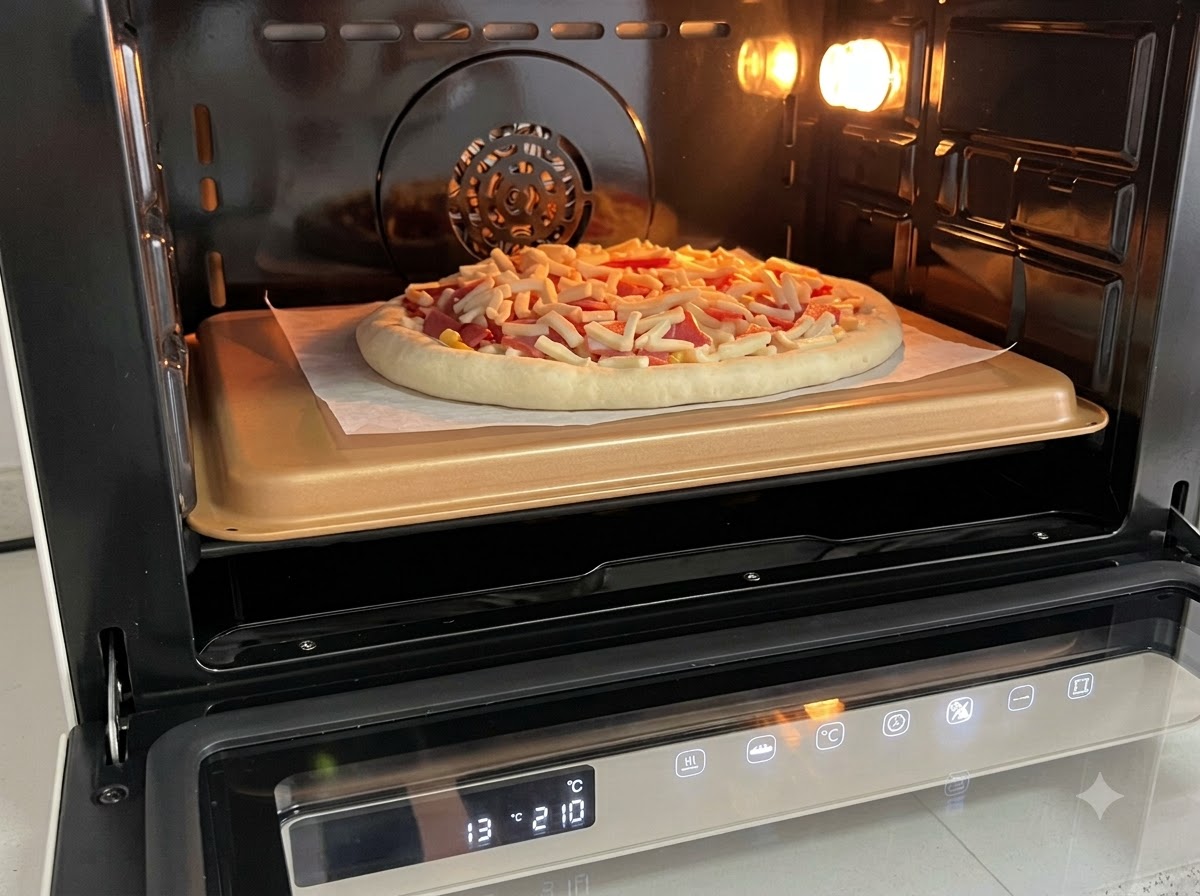
Place the assembled raw pizza on its tray into a preheated oven. Bake at 220 degrees Celsius for approximately 12 minutes until the cheese is melted and bubbling and the crust edges are golden.
Tip: Ensure your oven is fully preheated to 220°C for the best oven spring and airy crust edges.