Homemade Salami Pizza
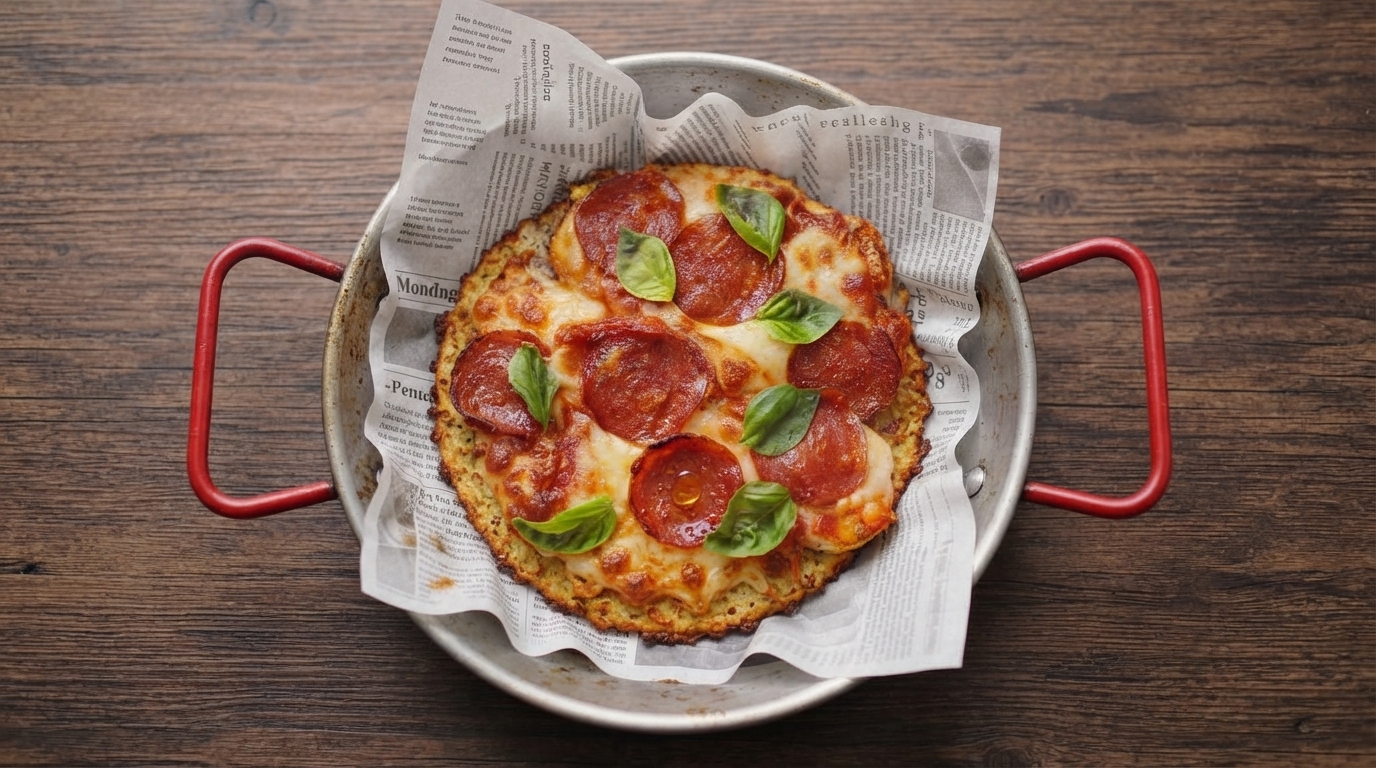
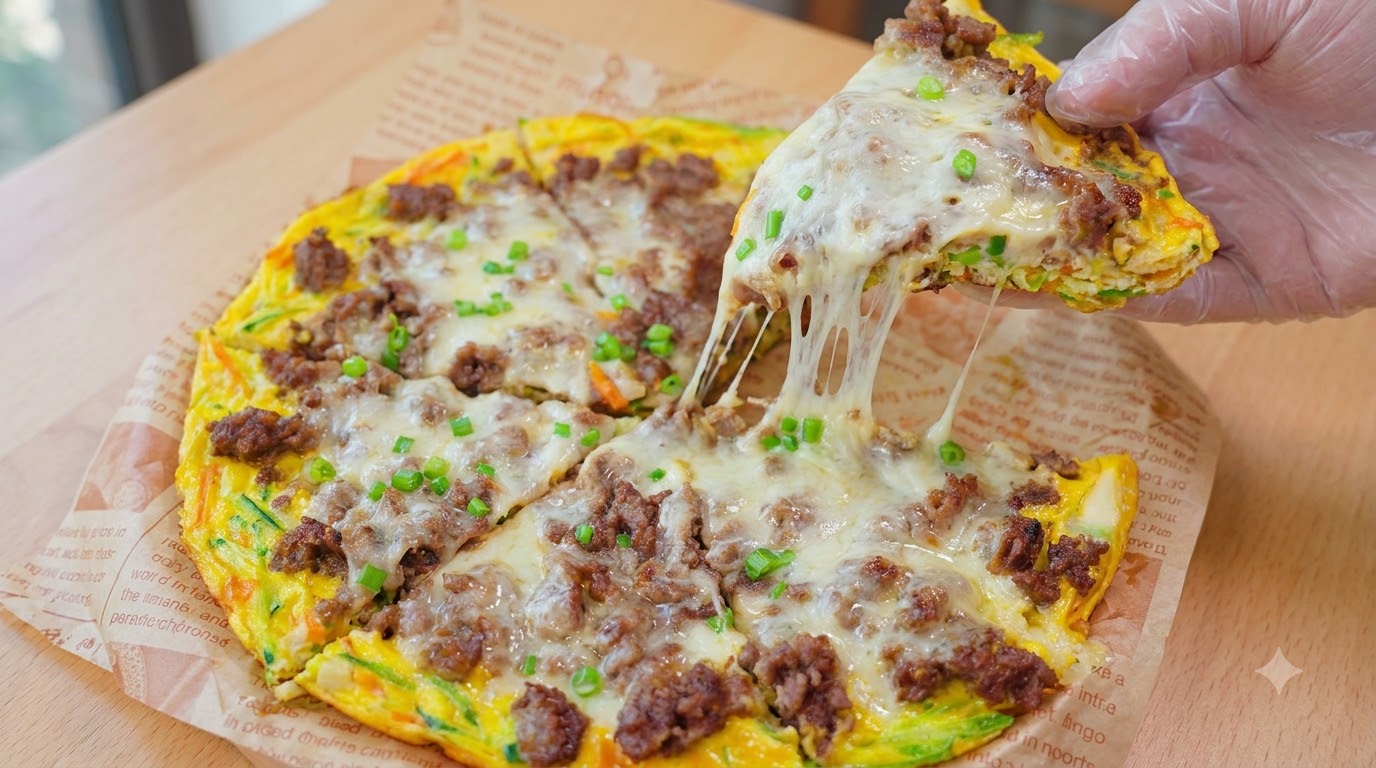
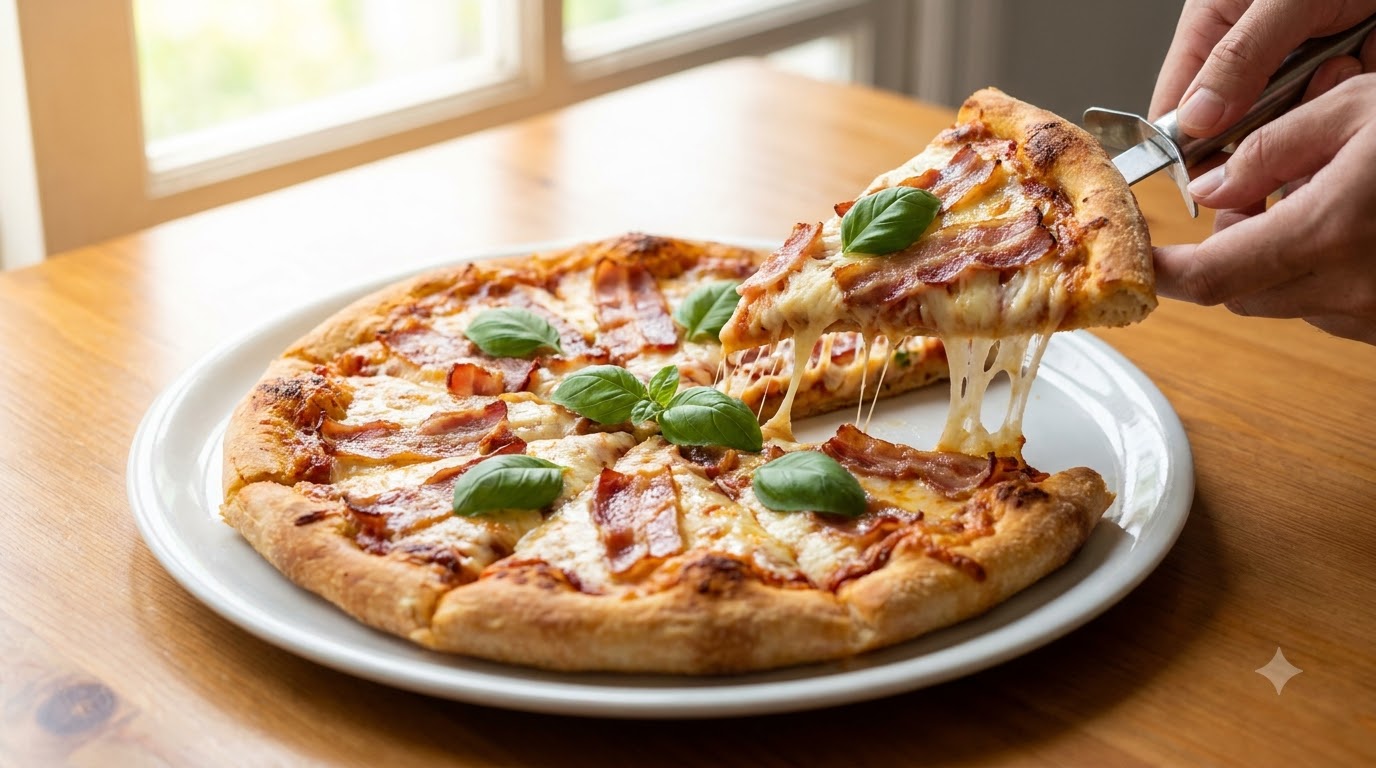
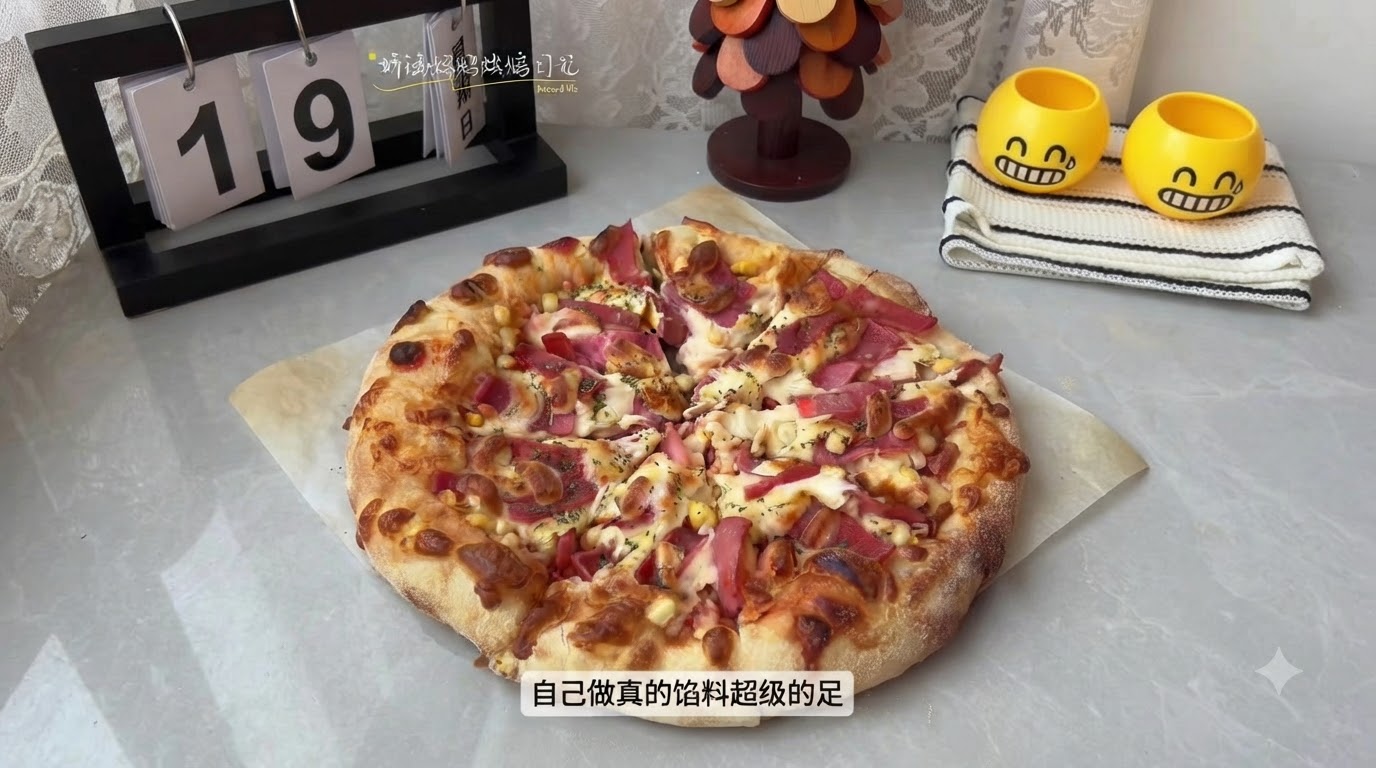
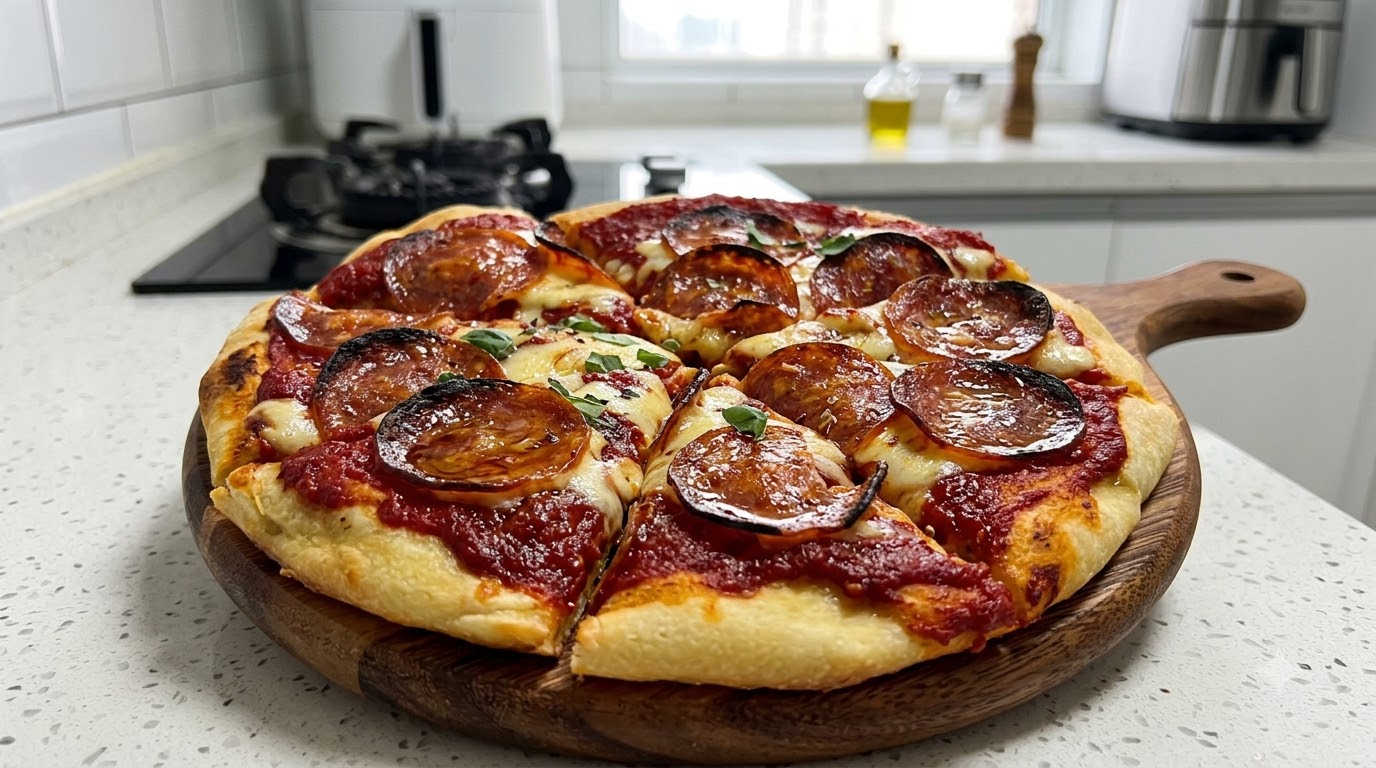
A delicious homemade salami pizza featuring a hand-kneaded crust, rich tomato sauce, melted mozzarella cheese, and savory sliced salami baked to golden perfection.
Wake up early with a passion for baking and treat yourself to a comforting homemade salami pizza. Made from scratch with a rich enriched dough, sweet tomato sauce, and savory meat, this recipe brings a bakery-quality slice right to your home kitchen.
Ingredients
- 250 g high-gluten flour
- 3 g yeast powder
- 10 g white sugar
- 1 pinch salt
- 1 egg
- 130 g milk
- 30 g butter
- to taste pizza sauce
- to taste shredded mozzarella cheese
- to taste salami slices
Instructions
- 1Measure the flour
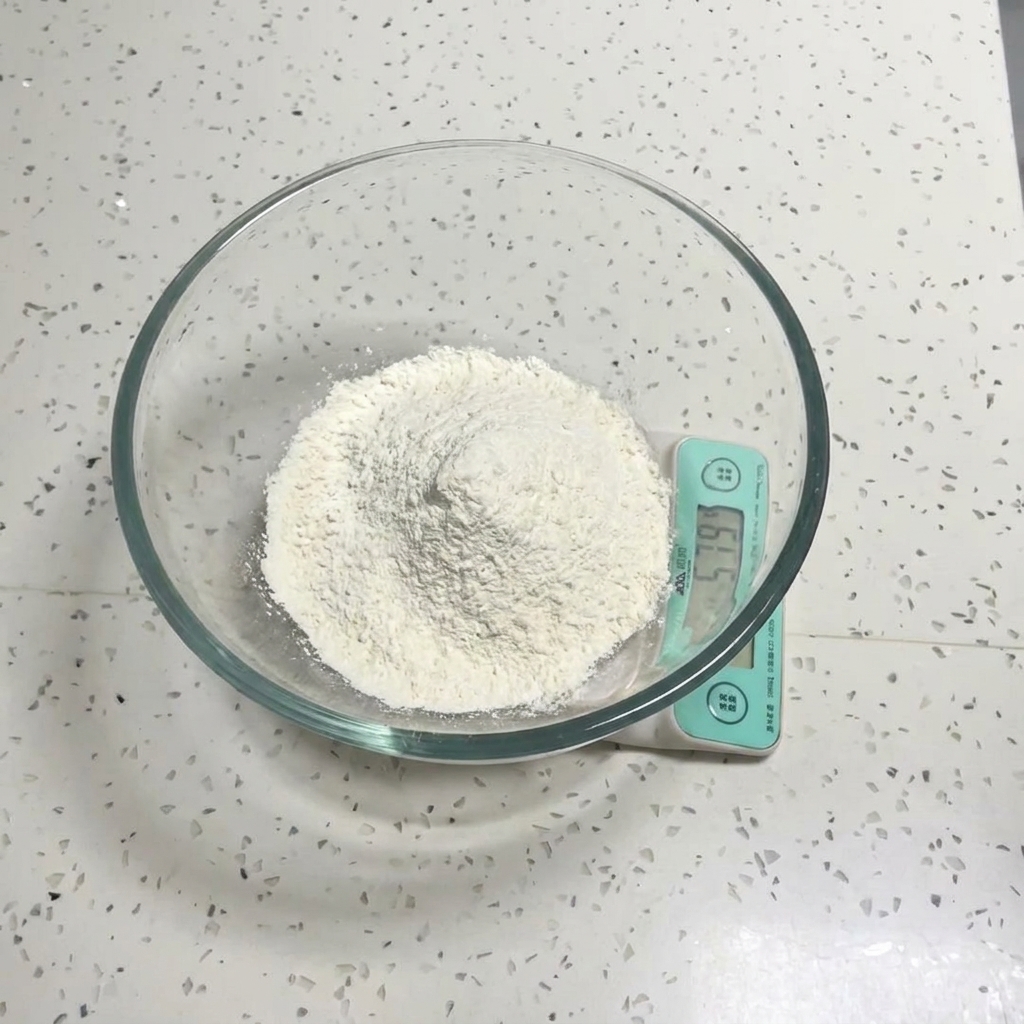
Begin by measuring 250 grams of high-gluten flour into a glass mixing bowl. Regular all-purpose flour works as a perfect substitute if needed.
Tip: Using a kitchen scale guarantees exact measurements for the best pizza dough texture. - 2Add the yeast
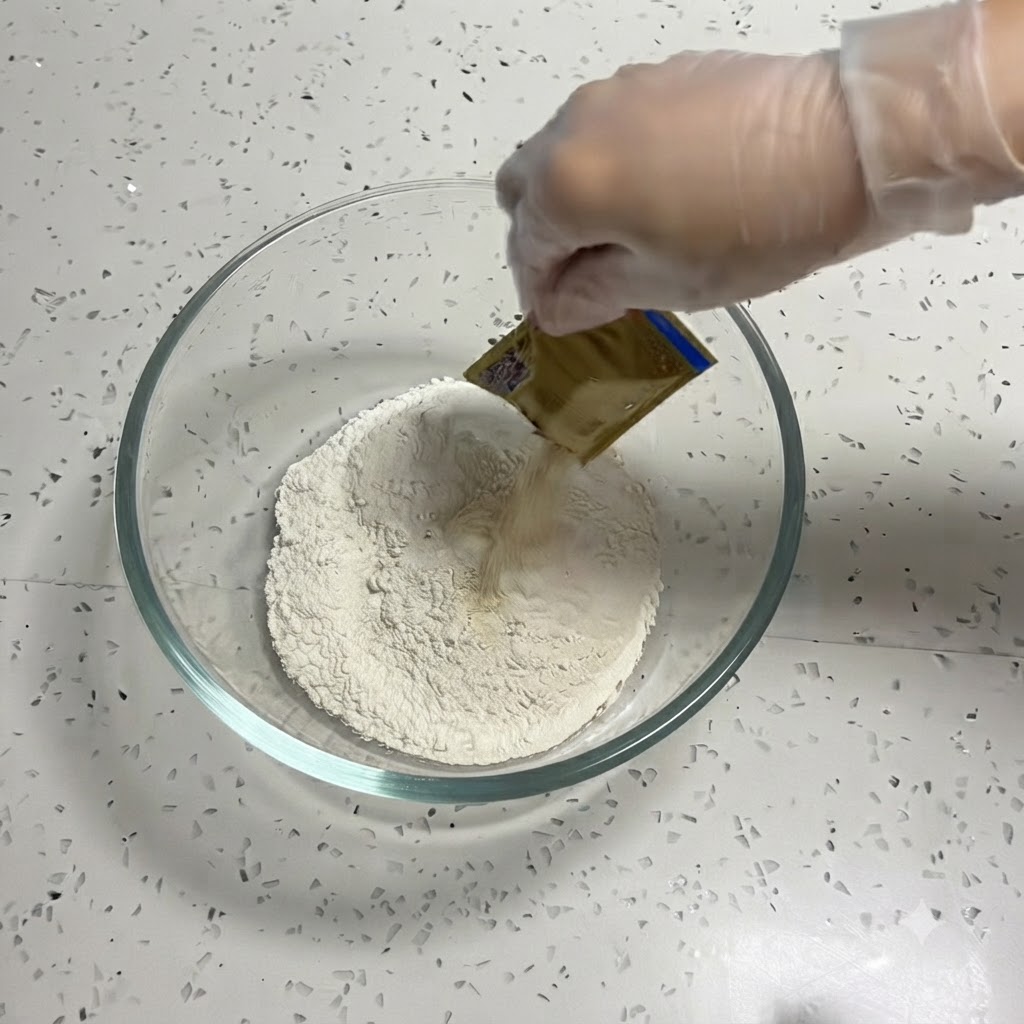
Open a small packet and pour 3 grams of yeast powder directly over the measured flour.
Tip: Ensure your yeast is fresh; expired yeast will prevent the dough from rising properly. - 3Mix the dry ingredients
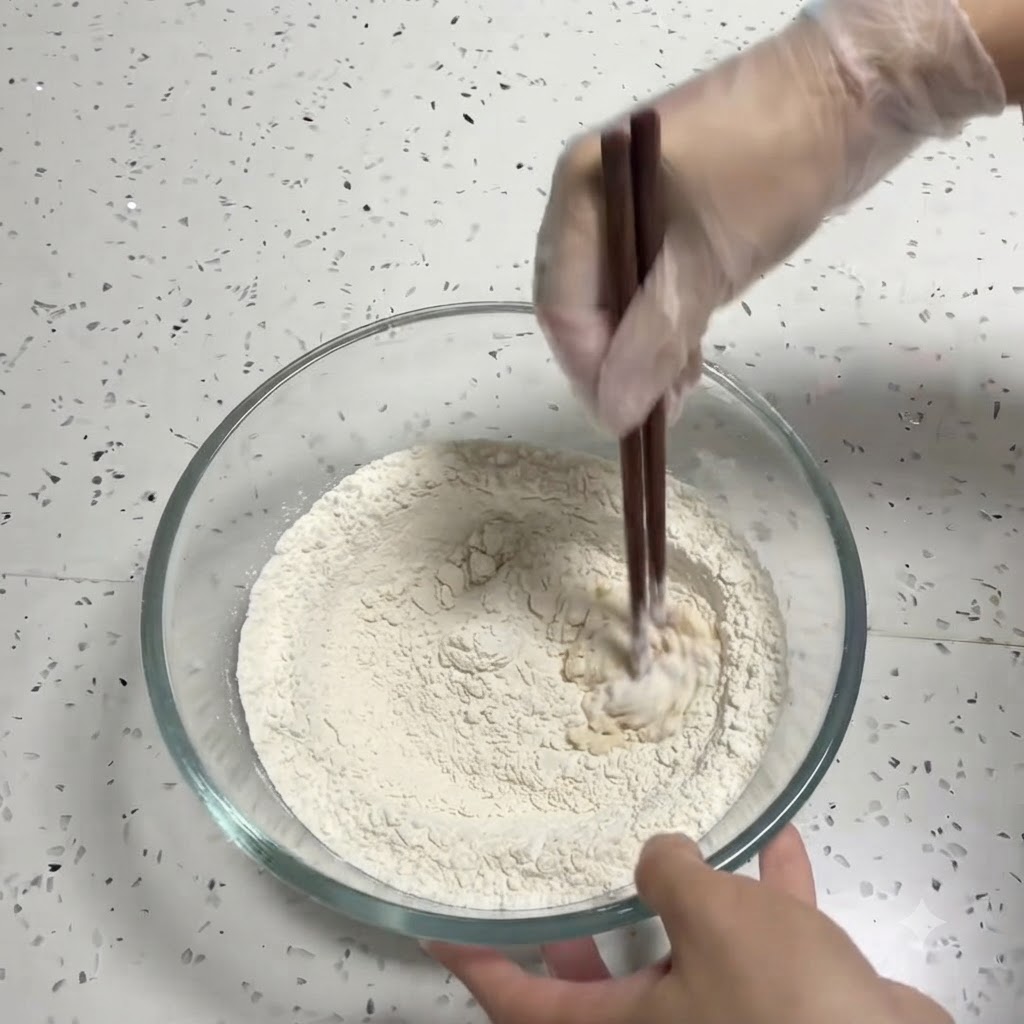
Add 10 grams of white sugar and a pinch of salt to the bowl. Use chopsticks to stir the dry ingredients until they are evenly distributed.
Tip: Mixing the dry ingredients first prevents the salt from directly contacting and deactivating the yeast. - 4Add the egg
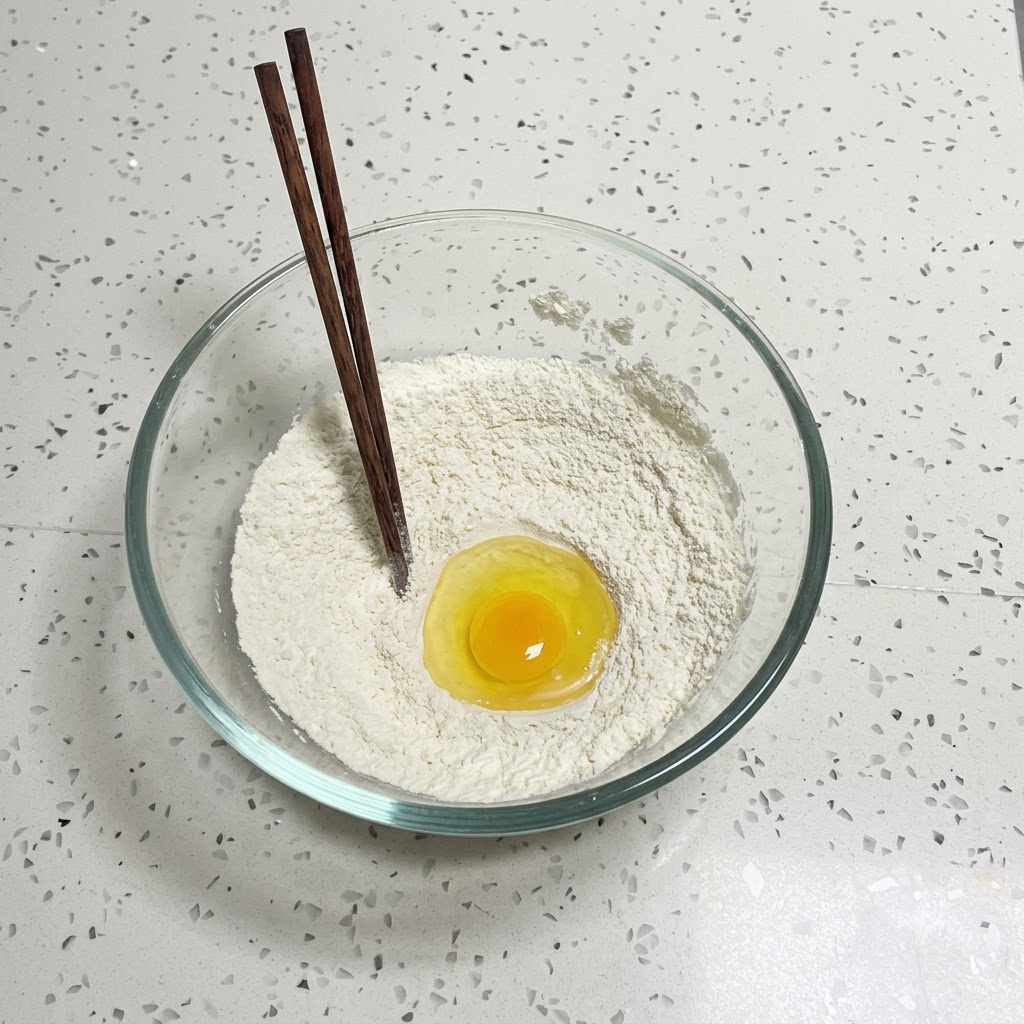
Make a small well in the center of the dry ingredients and add one whole cracked raw egg.
Tip: A room-temperature egg will incorporate more smoothly into the dough. - 5Add Milk to the Bowl
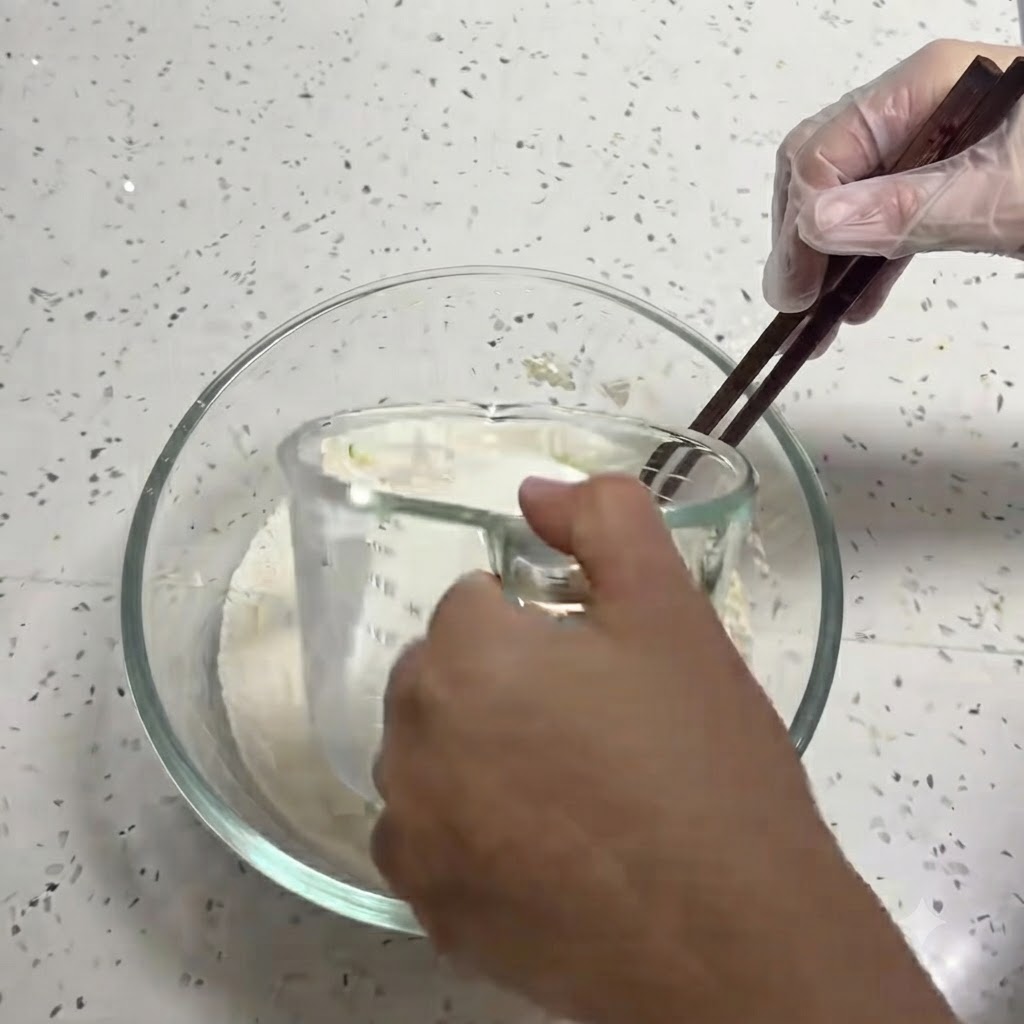
Pour 130 grams of milk into the mixing bowl containing the flour, yeast, sugar, salt, and egg.
Tip: Ensure the milk is at a lukewarm temperature if you want to help activate the yeast faster. - 6Incorporate the butter
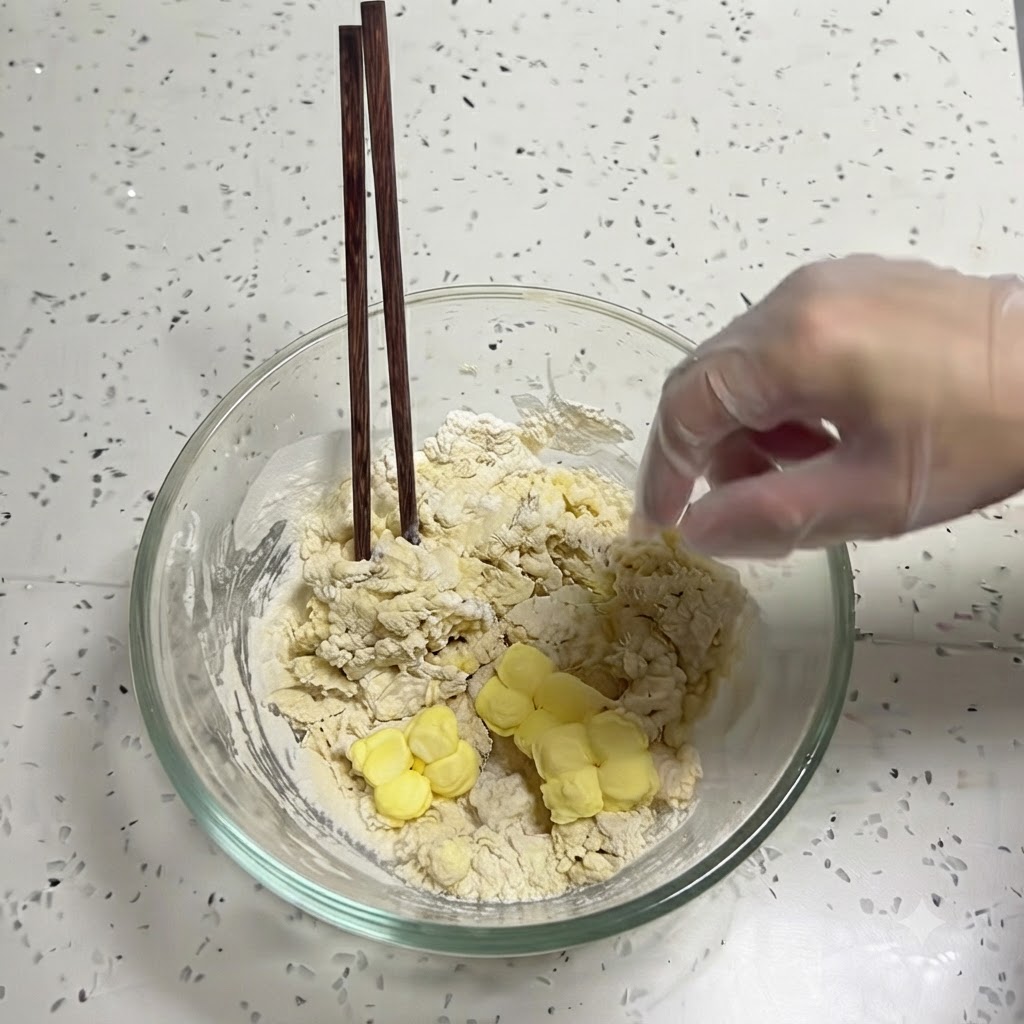
Once the liquid is mixed in and a shaggy dough begins to form, add 30 grams of small yellow pieces of butter to the mixture.
Tip: Make sure the butter is softened at room temperature so it kneads easily into the dough without leaving lumps. - 7Knead the Dough
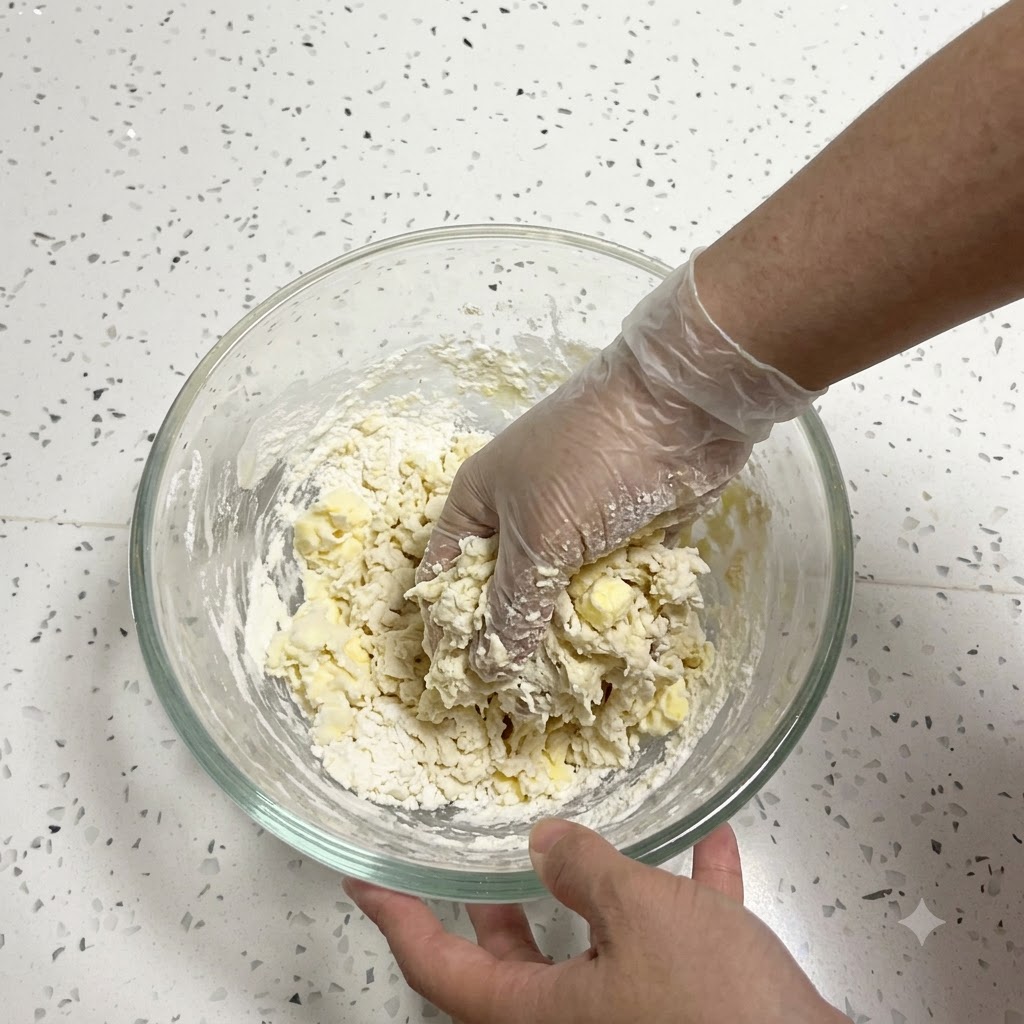
Knead the ingredients by hand inside the glass bowl until they combine, incorporating the butter as you work.
Tip: The dough will initially feel sticky, so keep kneading until it becomes smooth. - 8Proof the Dough
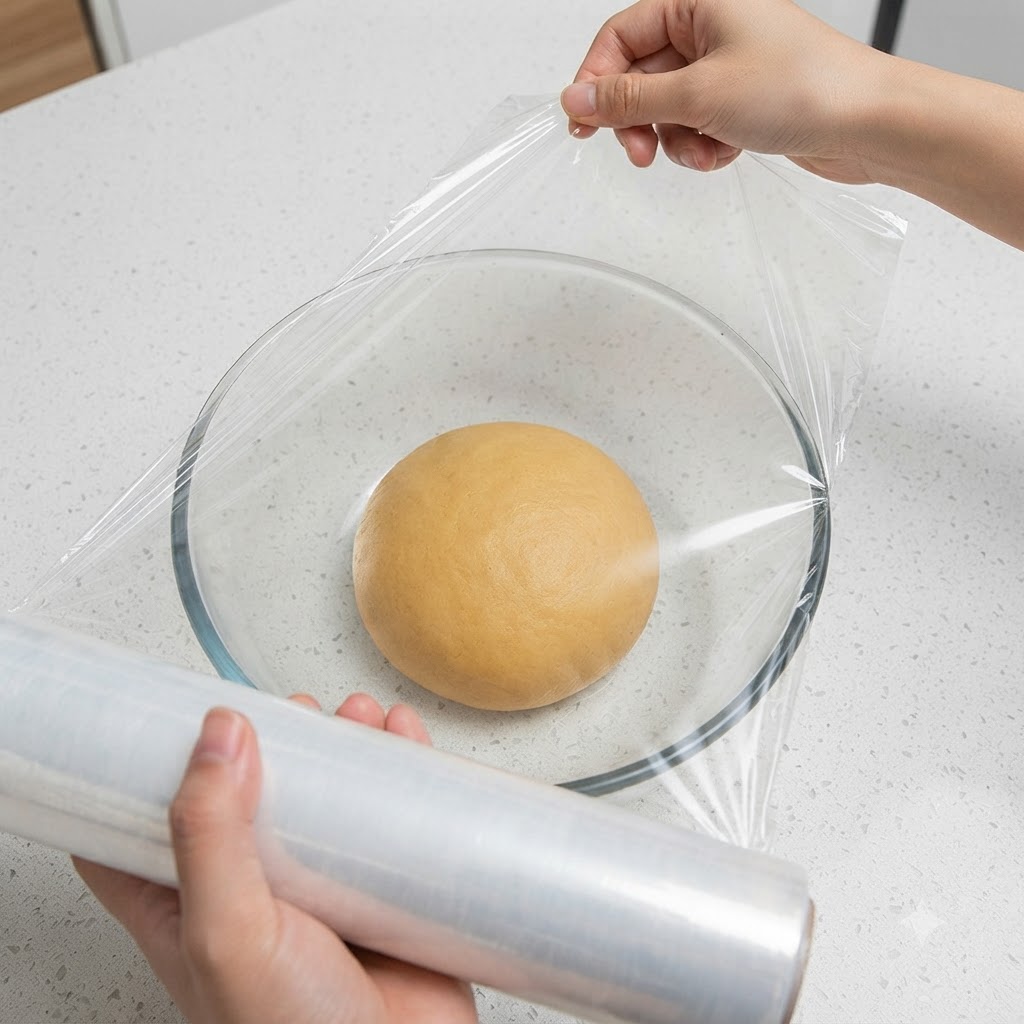
Cover the glass bowl tightly with plastic wrap and let the dough proof until it doubles in size.
Tip: In warm weather, proofing takes about half an hour. - 9Divide the Dough
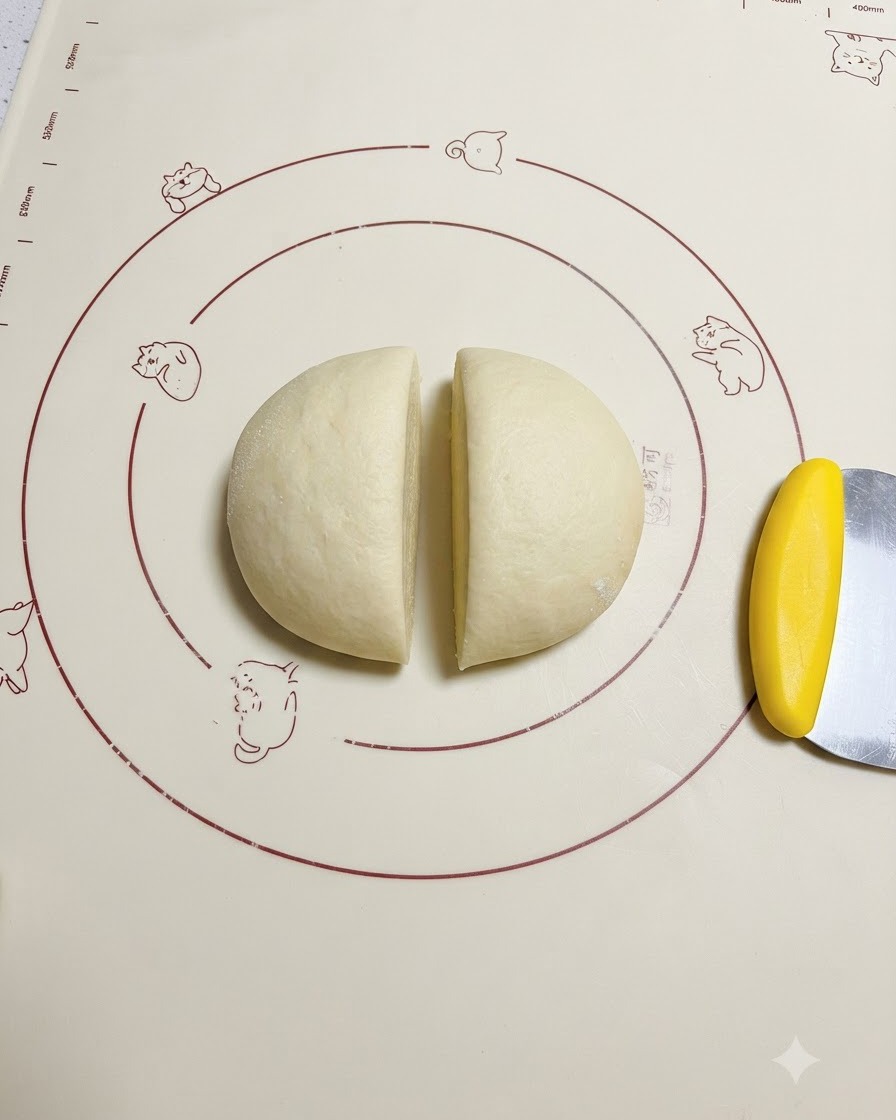
Turn the proofed dough out onto a floured silicone mat and cut it into two equal portions using a dough scraper.
Tip: Sprinkle enough flour on the mat to prevent the dough from sticking. - 10Shape and Roll the Dough
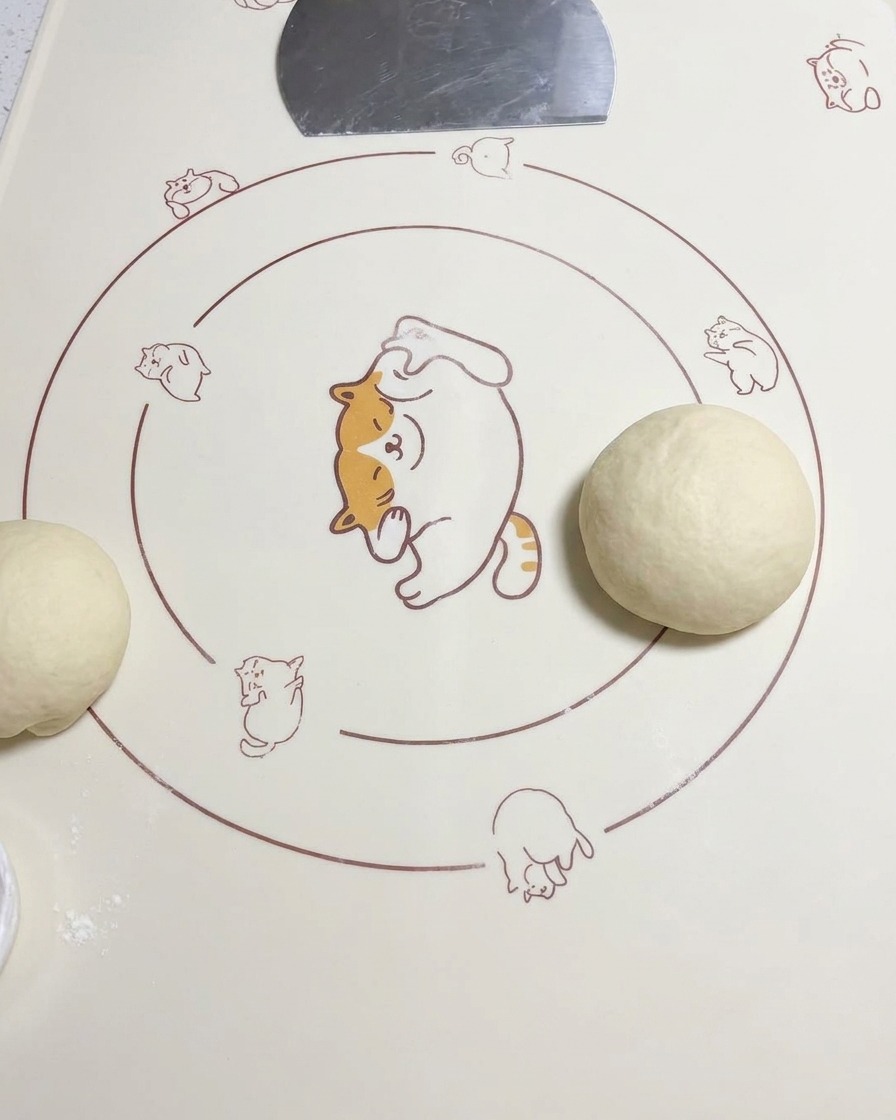
Knead each portion slightly, shape it into a round, and roll it out flat into a circle using a rolling pin.
Tip: Roll evenly from the center outward to maintain an even thickness. - 11Transfer to Baking Sheet
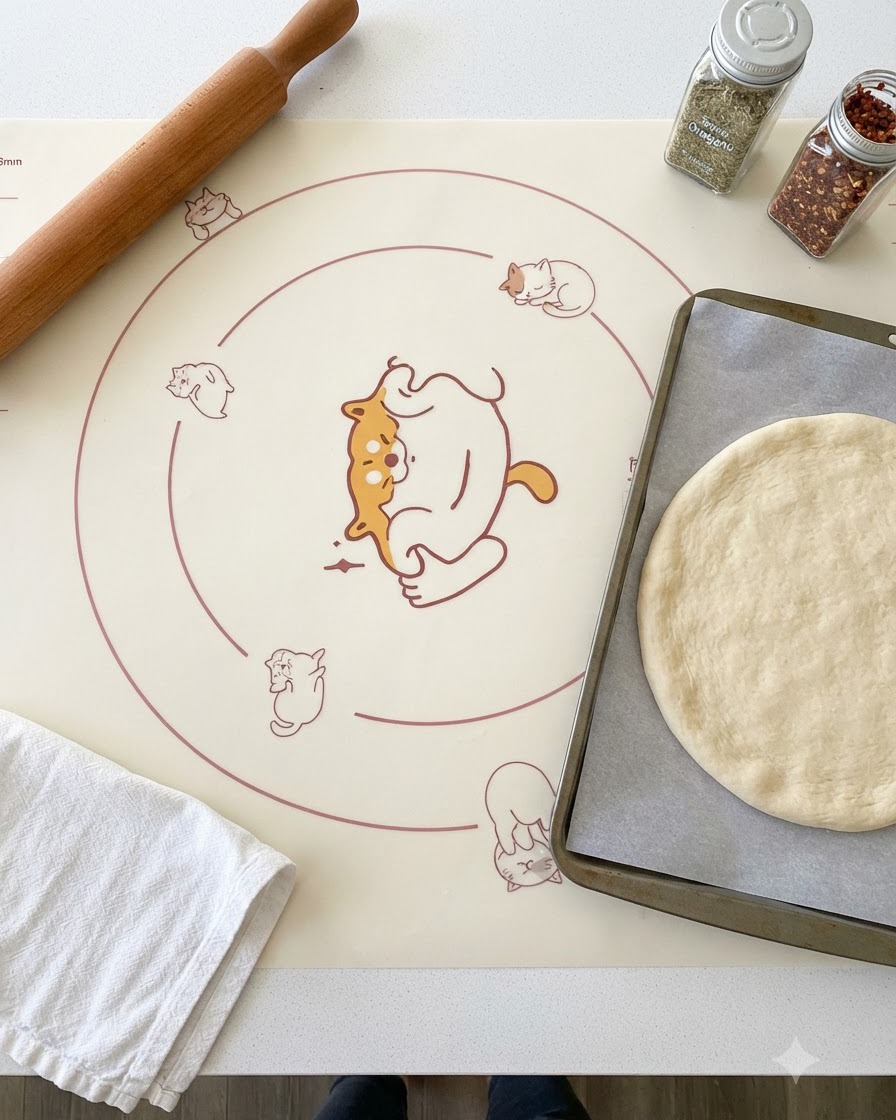
Move the rolled flat dough onto a baking sheet lined with parchment paper and tidy up its shape.
Tip: Poke several holes all over the surface with a fork before the second proofing. - 12Dock the dough
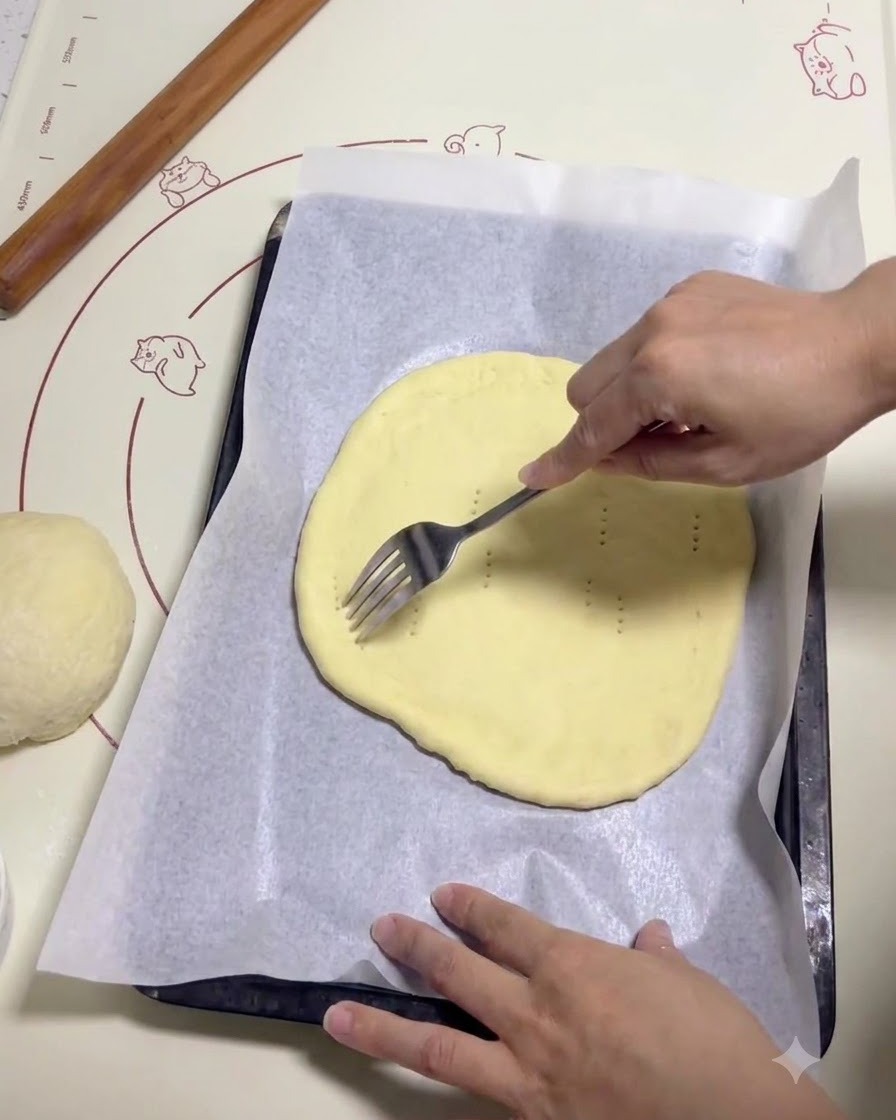
After shaping the dough and moving it to a baking sheet, use a metal fork to poke several small holes evenly across the entire surface. This docking process helps prevent the crust from puffing up unevenly during the initial bake.
Tip: Poking holes releases steam from the dough as it bakes, keeping the pizza base relatively flat. - 13Spread the pizza sauce
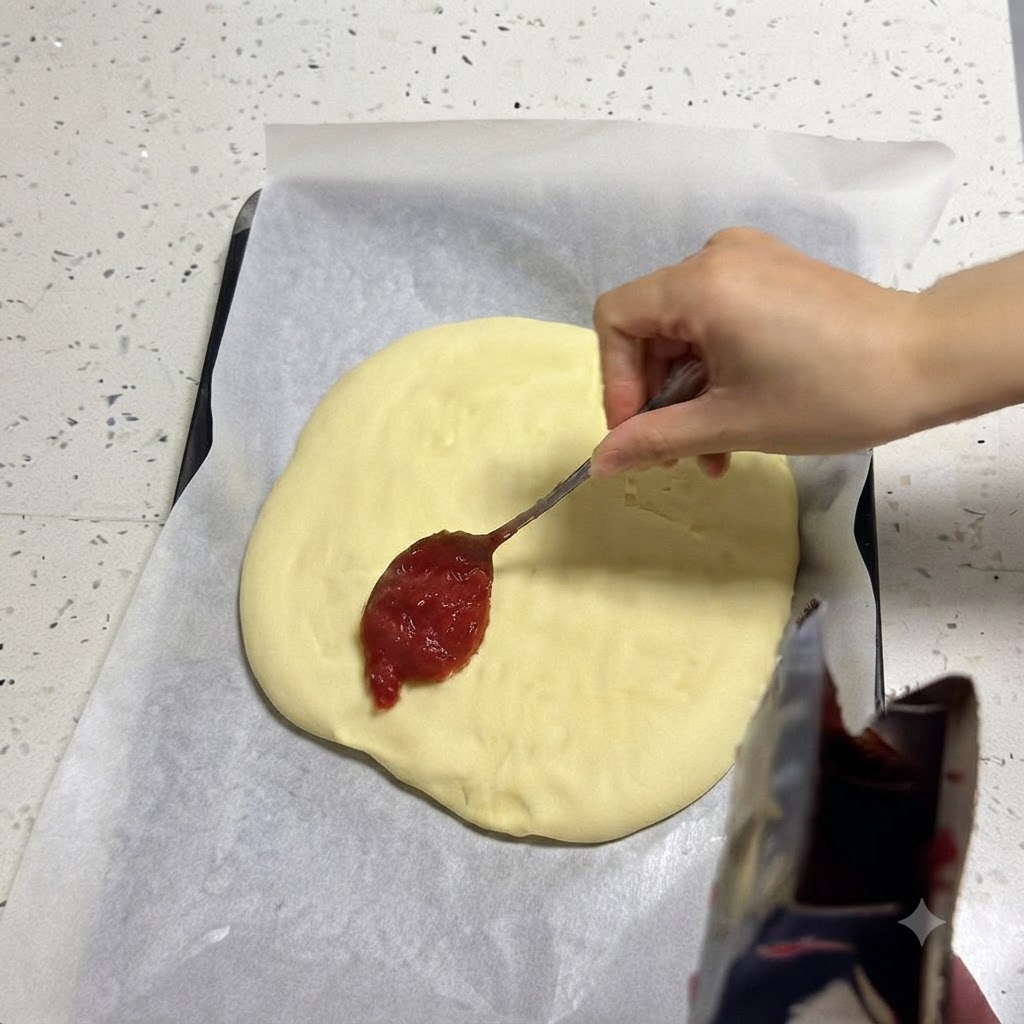
Once the crust has completed its initial 5-minute par-bake at 210 degrees Celsius, remove it from the oven. Use a spoon to spread a layer of red pizza sauce evenly over the surface, leaving a small crust border around the edges.
Tip: Dont overload the center with sauce, as too much moisture can make the middle of the pizza soggy. - 14Sprinkle the mozzarella
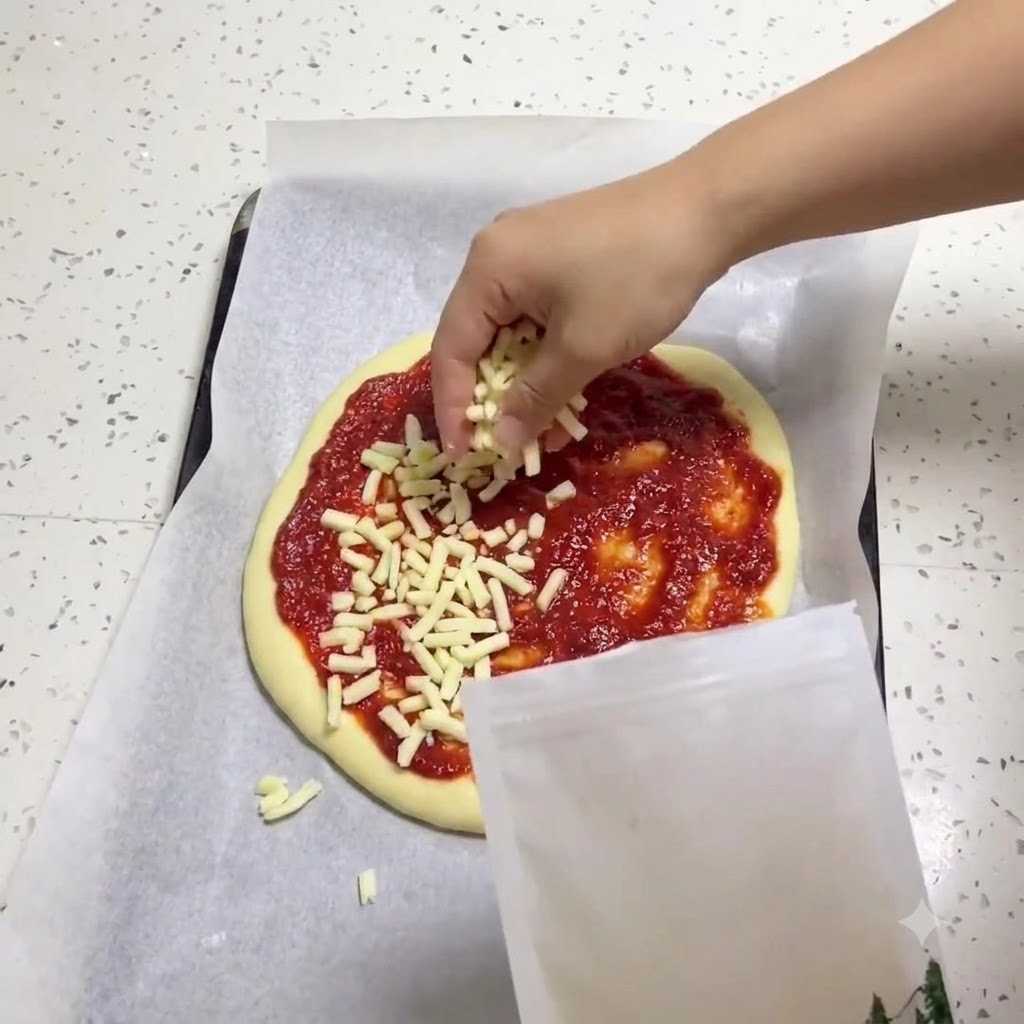
Directly over the freshly spread pizza sauce, sprinkle a generous and even layer of shredded mozzarella cheese. Make sure to distribute it well so that every slice will have a great cheese pull effect when baked.
Tip: Using a high-moisture mozzarella or a dedicated pizza blend will yield the best melting and stretching texture. - 15Add the salami
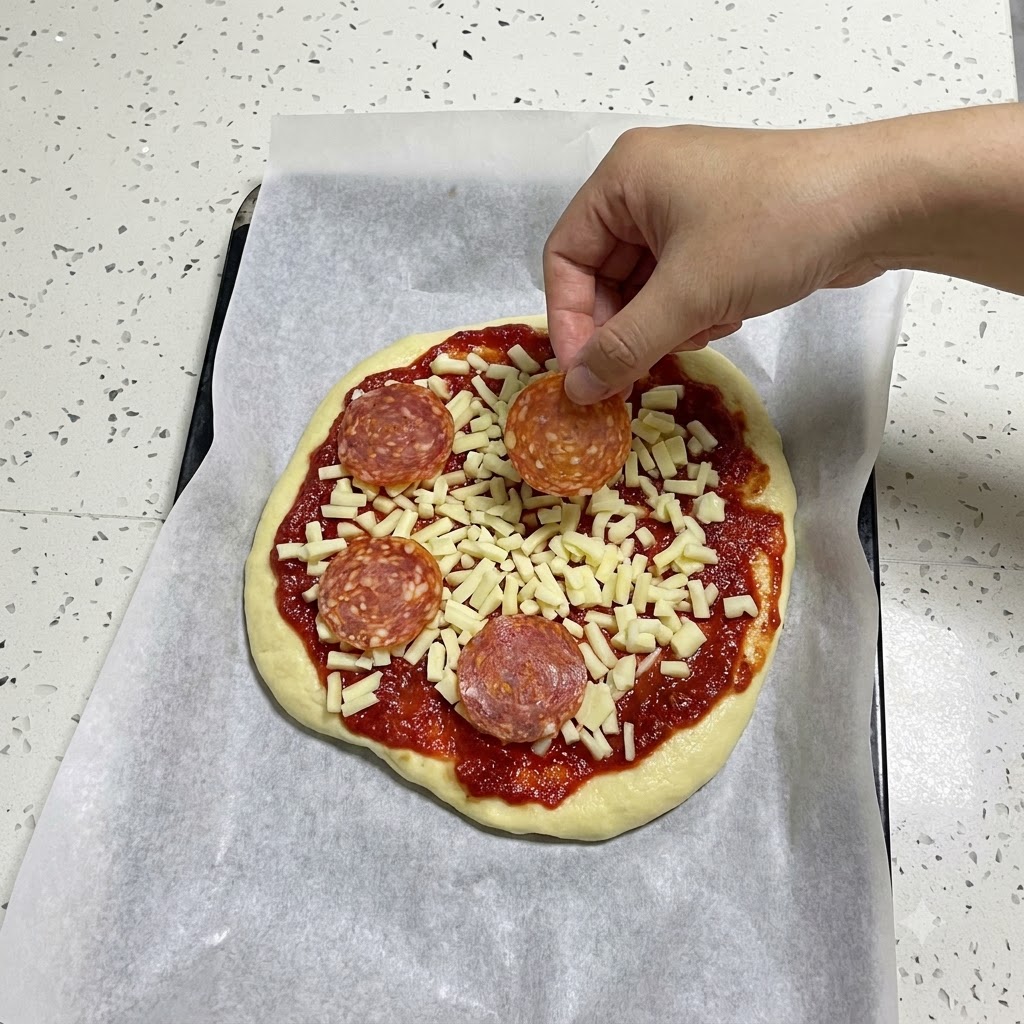
Arrange the round salami slices uniformly on top of the shredded mozzarella cheese. Once all the toppings are positioned, the pizza is fully assembled and ready to go back into the oven for its final 15-minute bake.
Tip: Feel free to slightly overlap the salami slices, as they will render and shrink a bit while baking in the oven.