No-Bake Layered Fig Cheesecake
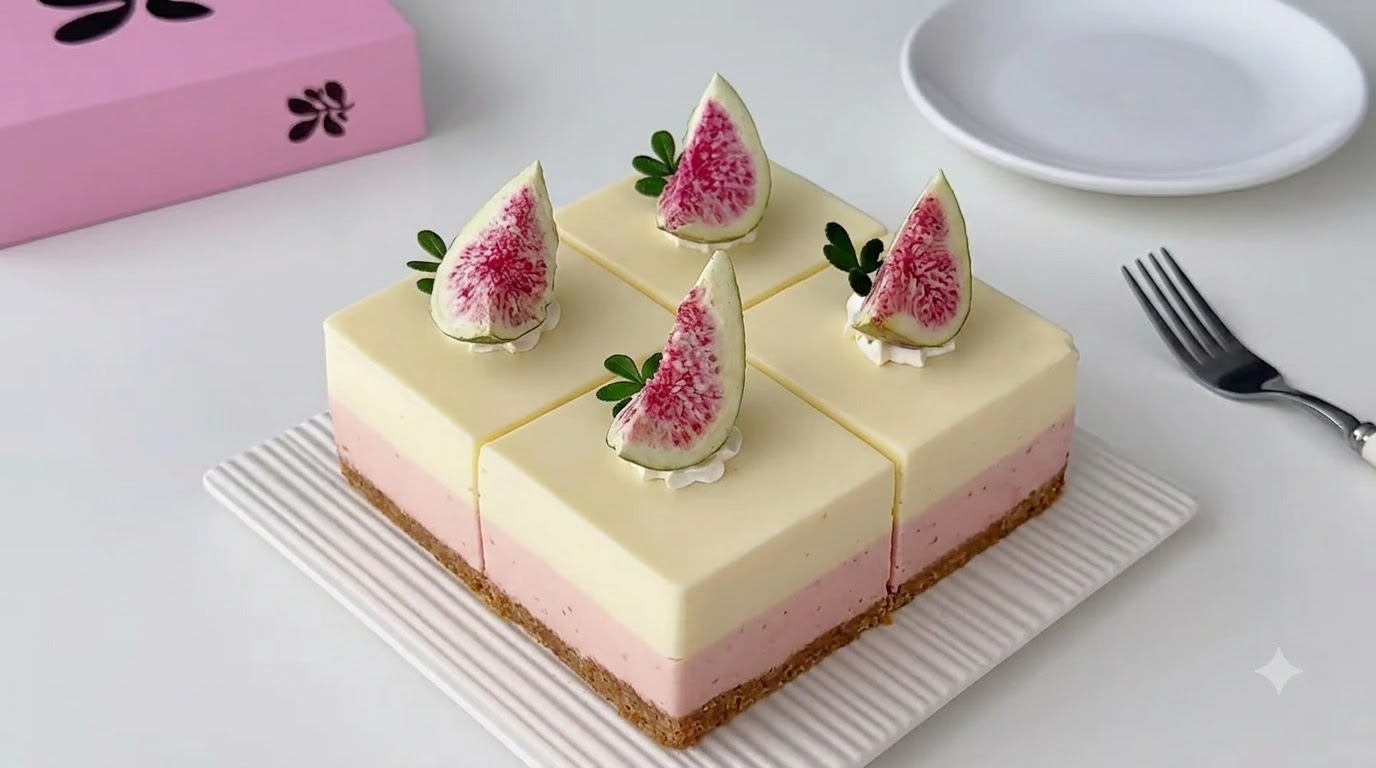
An elegant, dual-toned no-bake dessert featuring a buttery biscuit base, a sweet pink fig mousse layer, and a smooth white cheese topping[cite: 1].
No-bake cheesecakes are a fantastic way to create visually stunning desserts without turning on the oven. This recipe celebrates the delicate sweetness of figs, incorporating rich fig jam into half of the creamy batter to create a striking two-toned visualcite: 1. Topping it with fresh, seasonal fig slices elevates this simple dessert into a beautiful centerpiececite: 1.
Ingredients
- 50 g crushed biscuits
- 22 g butter (melted)
- 200 g cream cheese (softened)
- 35 g white sugar
- 50 g hot milk
- 8 g gelatin
- 130 g light cream
- to taste fig jam
- optional red velvet liquid or food coloring
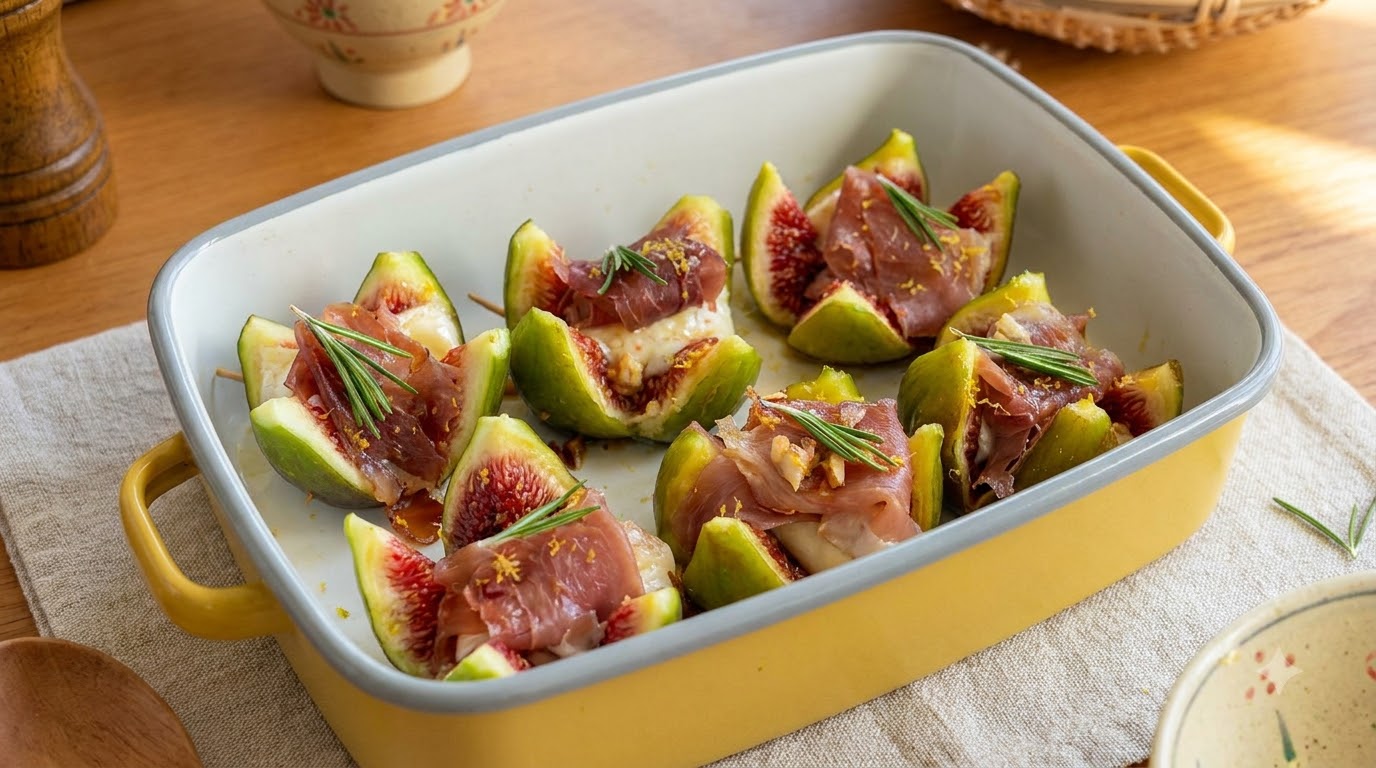
- 4 slices fresh figs for garnishcite: 1
Instructions
- 1Mix butter and crushed biscuits
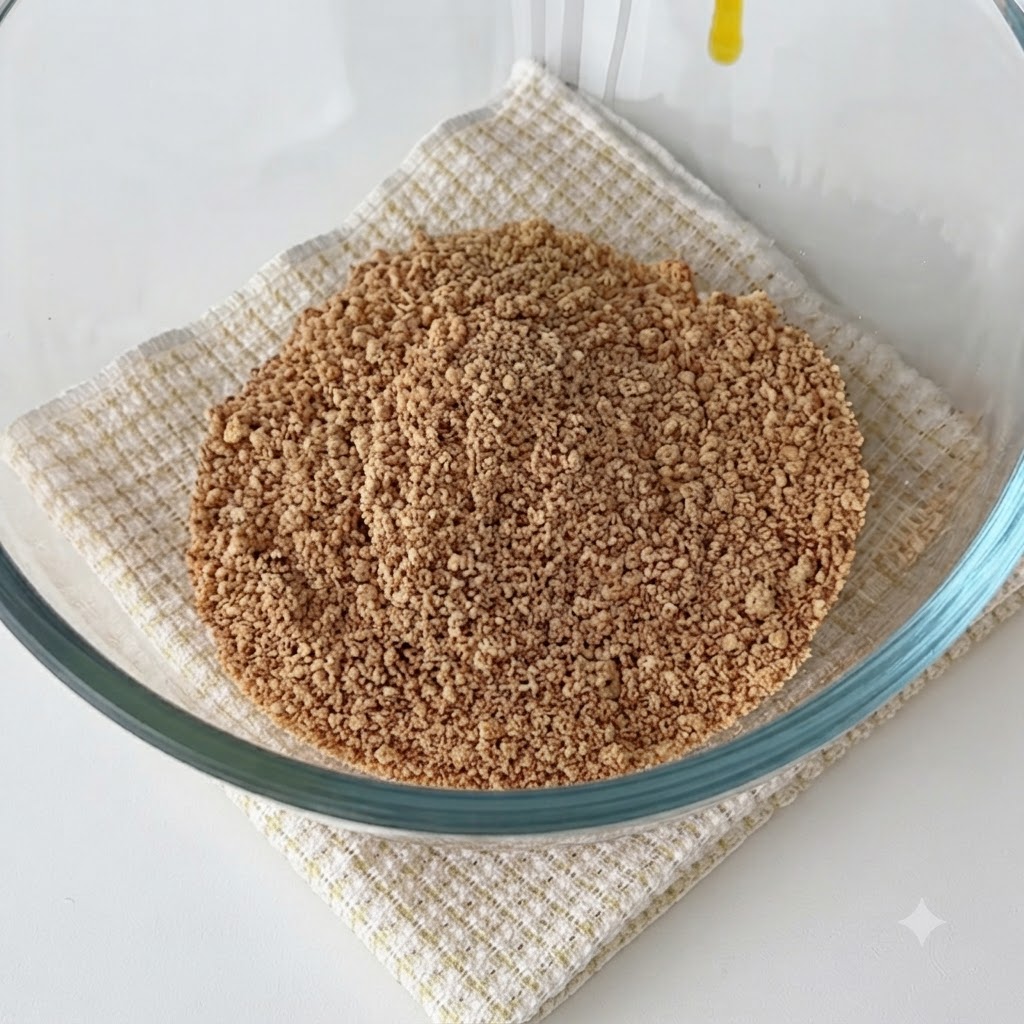
Pour the melted butter into a glass bowl containing crushed biscuits and mix them thoroughly together.
Tip: Ensure the butter is fully incorporated into the biscuits so the crust binds properly. - 2Press the biscuit base
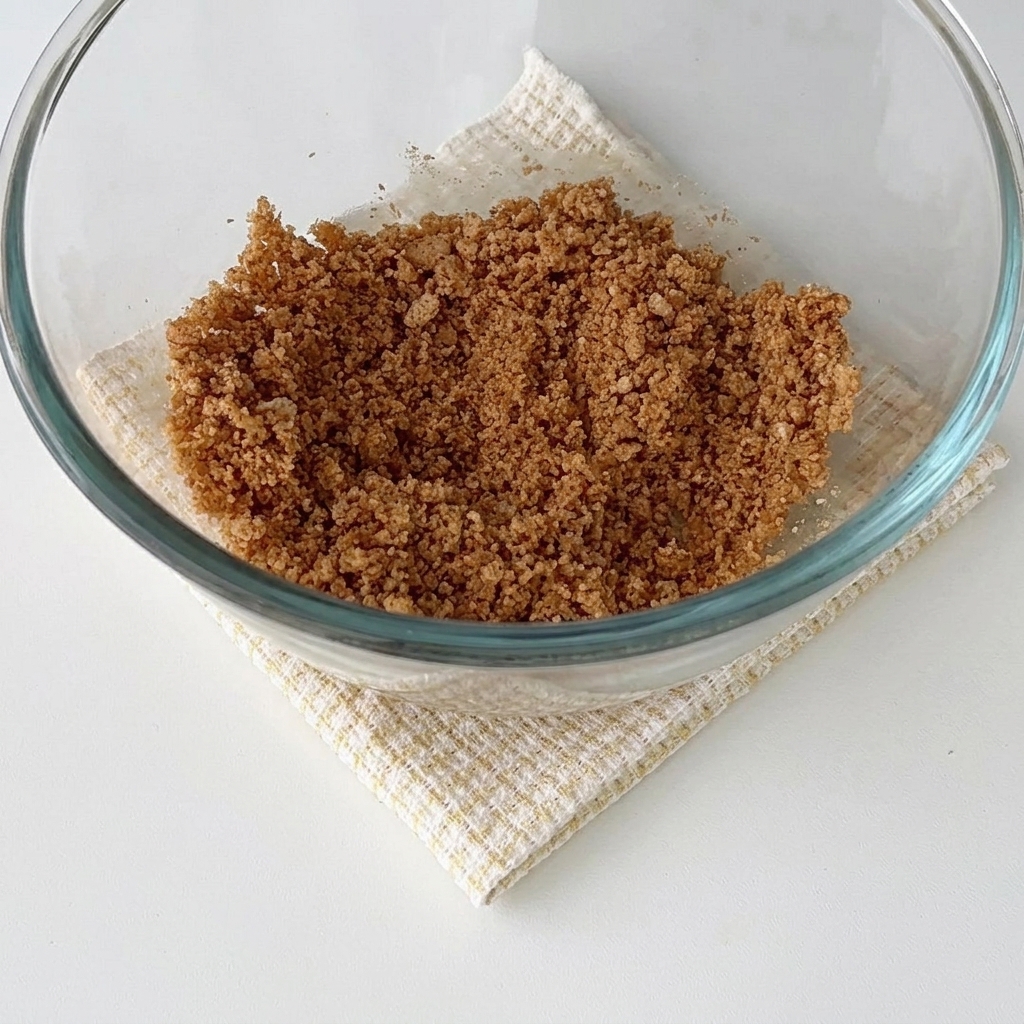
Transfer the biscuit mixture into the mousse mold, press it down firmly and evenly to create a flat crust, then place it in the refrigerator to chill.
Tip: Press down firmly with a flat-bottomed glass or tool to ensure the base doesnt crumble later. - 3Mix cream cheese and sugar
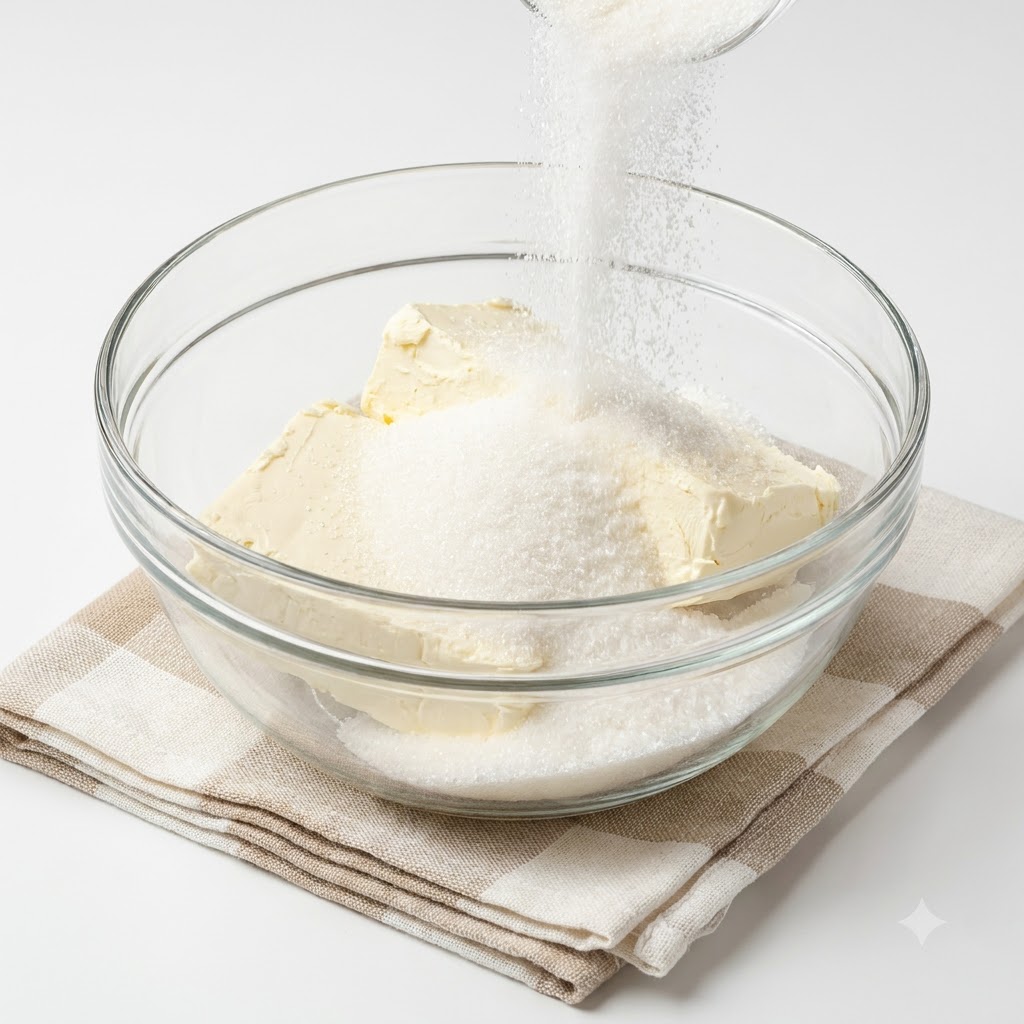
Add softened cream cheese and white sugar into a glass bowl and stir them together until the mixture is smooth and creamy.
Tip: Make sure the cream cheese is fully softened at room temperature to avoid lumps. - 4Dissolve gelatin in hot milk
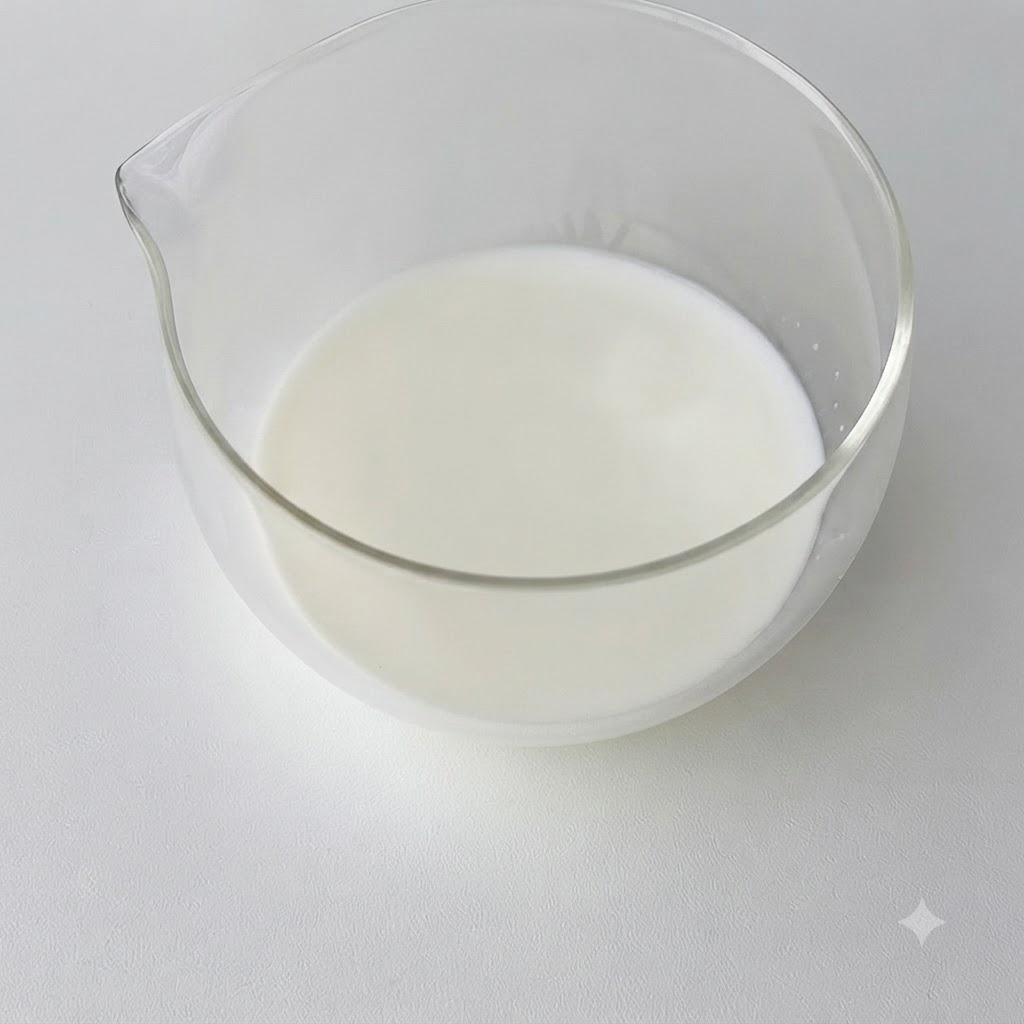
Add gelatin to hot milk and whisk continuously until it completely melts into the liquid.
Tip: The milk should be hot enough to dissolve the gelatin completely without boiling it. - 5Combine milk-gelatin with cream cheese
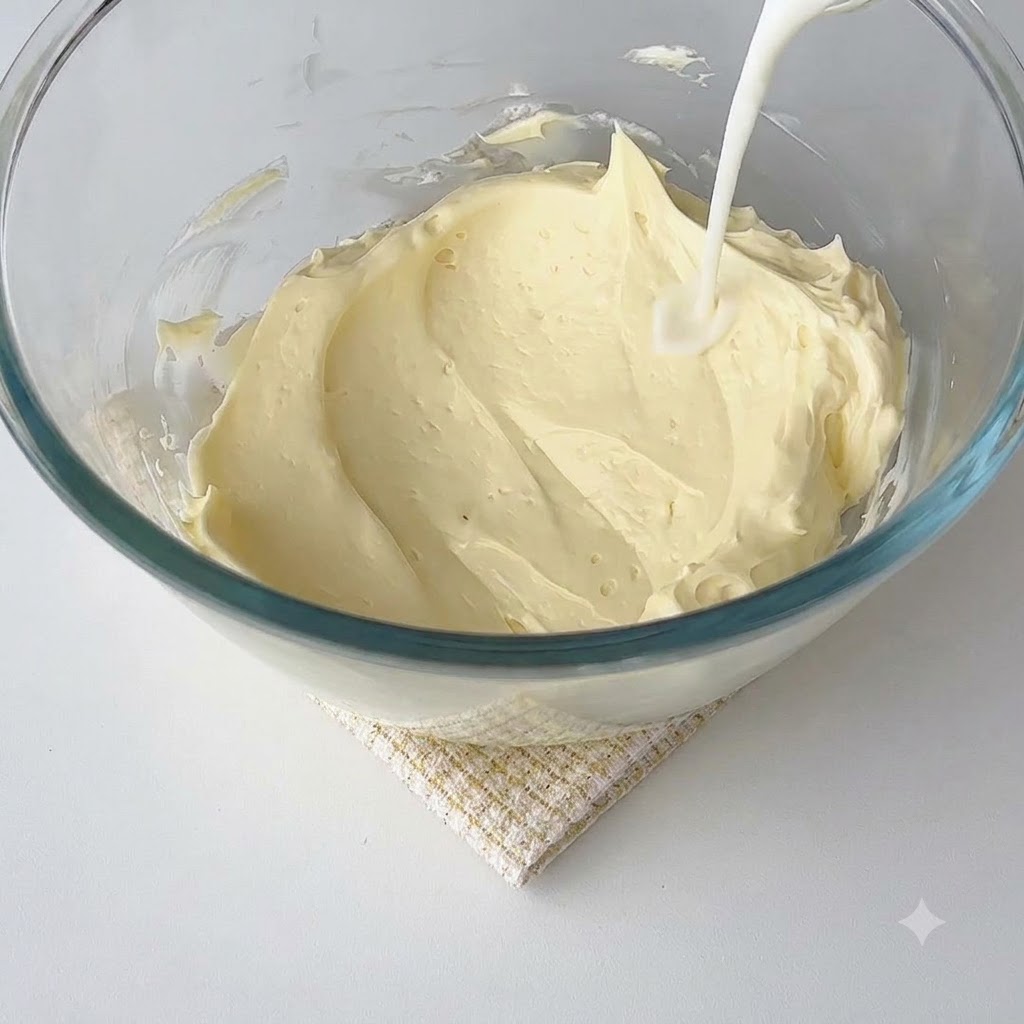
Pour the warm milk and gelatin mixture slowly into the prepared cream cheese base while whisking to combine.
Tip: Pour in a steady stream while stirring to prevent any clumping of the gelatin. - 6Add light cream
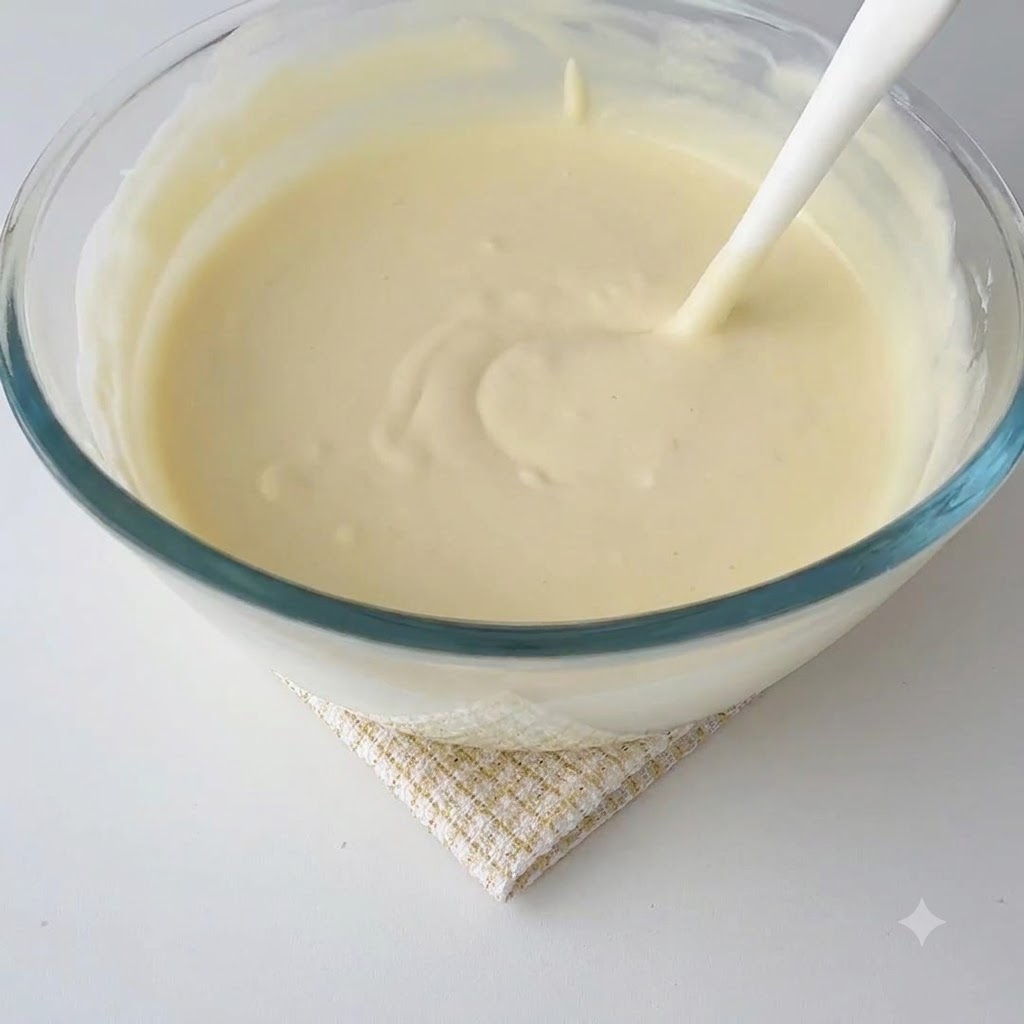
Pour light cream into the cheese and milk mixture, then whisk everything together thoroughly until smooth and well blended.
Tip: Mix gently to keep the batter light and airy. - 7Mix fig jam into the cheese batter
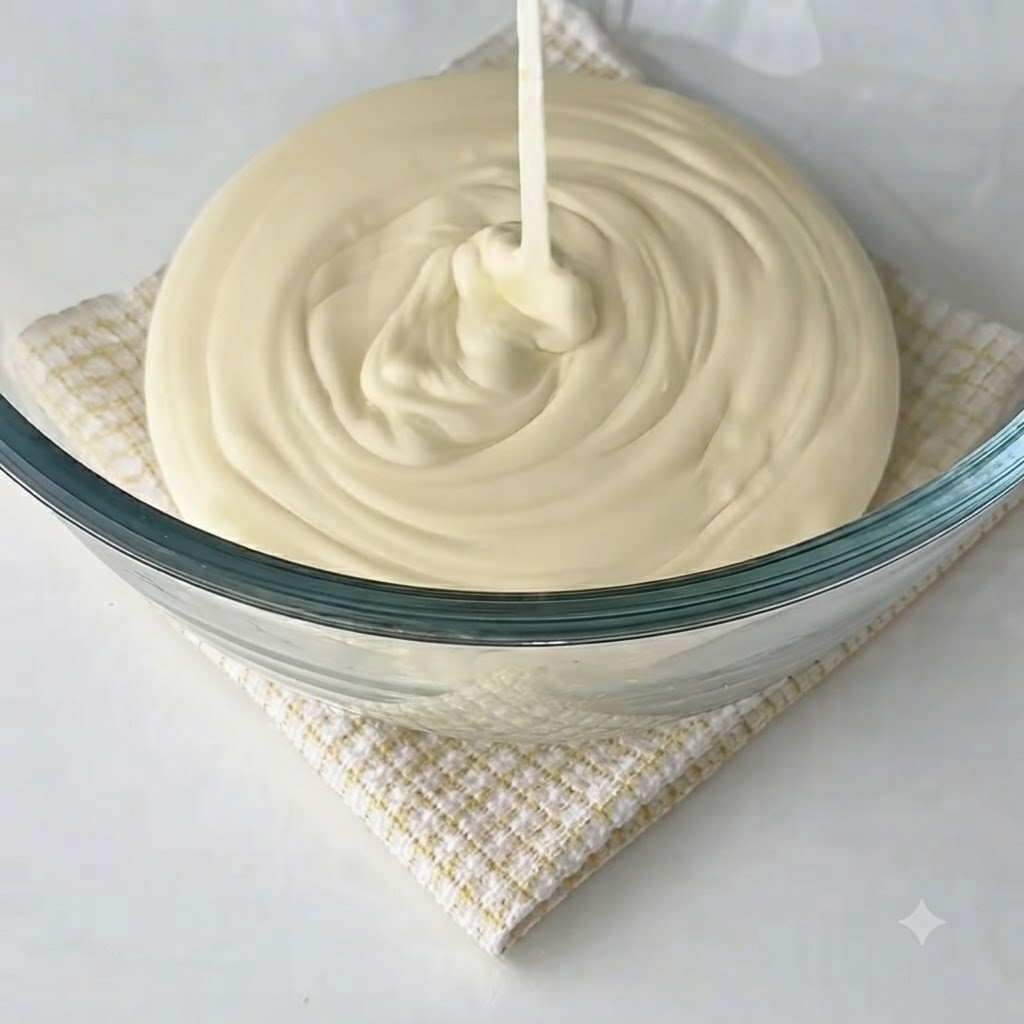
Take a portion of the prepared cheese batter and add fig jam to it. Whisk the mixture continuously until it is completely smooth and turns a uniform pink color.
Tip: If the natural color from the fig jam is too light, you can add a drop of red velvet liquid to achieve a richer pink shade. - 8Pour the pink cheese layer
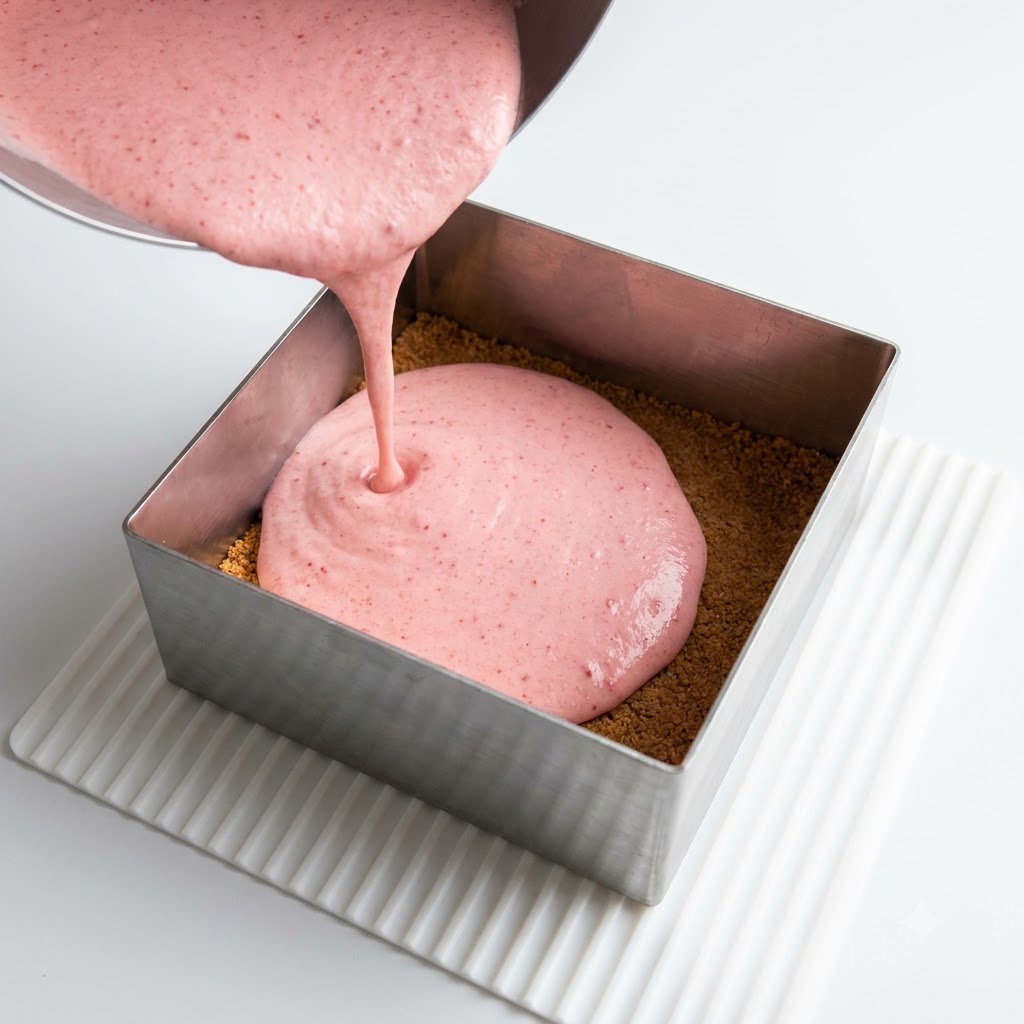
Carefully pour the pink cheese batter into the square mousse mold directly over the chilled biscuit base. Smooth the surface and place it in the refrigerator to chill for about half an hour until it sets slightly.
Tip: Pour slowly and steadily from one corner to ensure an even distribution over the biscuit crust without disturbing it. - 9Add the white cheese layer
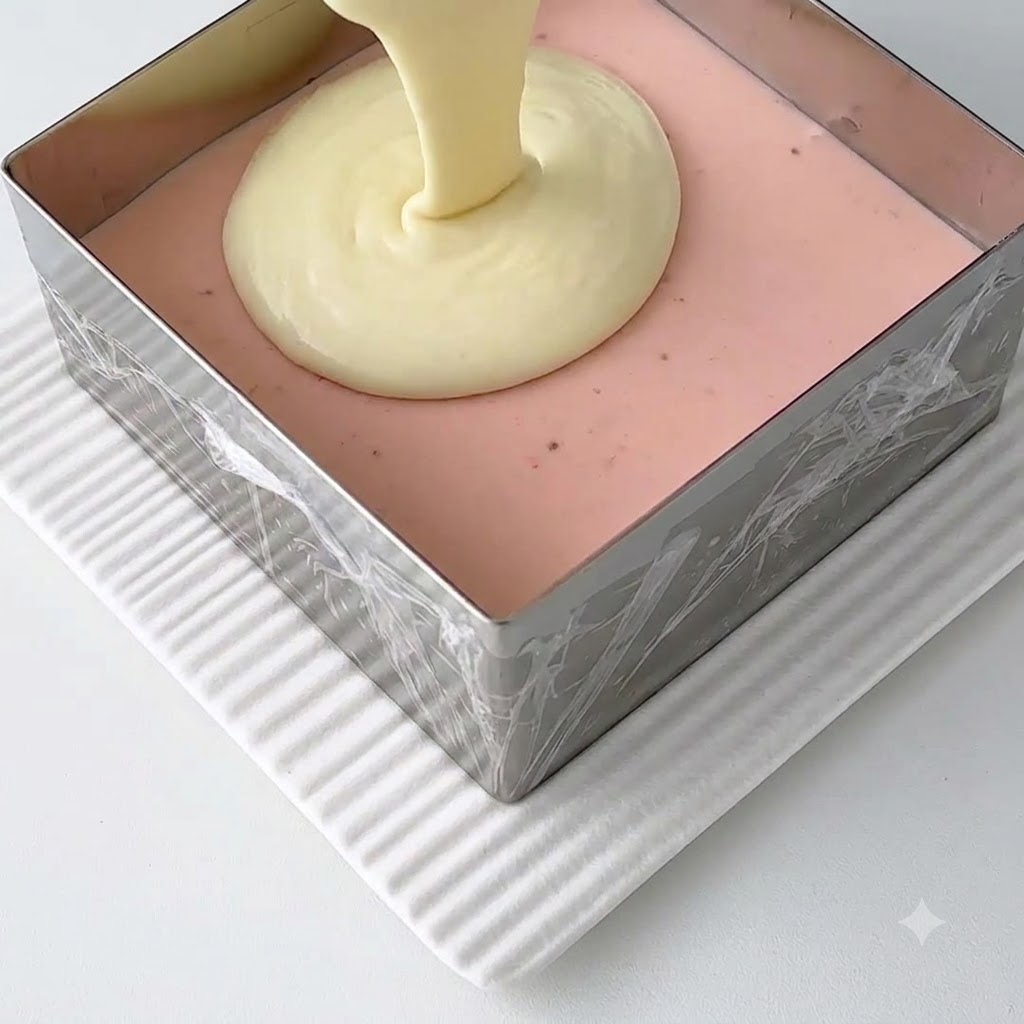
Take the mold out of the refrigerator after the pink layer has set. Pour the remaining white cheese batter evenly on top of the chilled pink layer to create a dual-tone effect.
Tip: Ensure the pink layer is sufficiently set before pouring the white layer to prevent the two colors from bleeding into each other. - 10Slice the chilled cheesecake
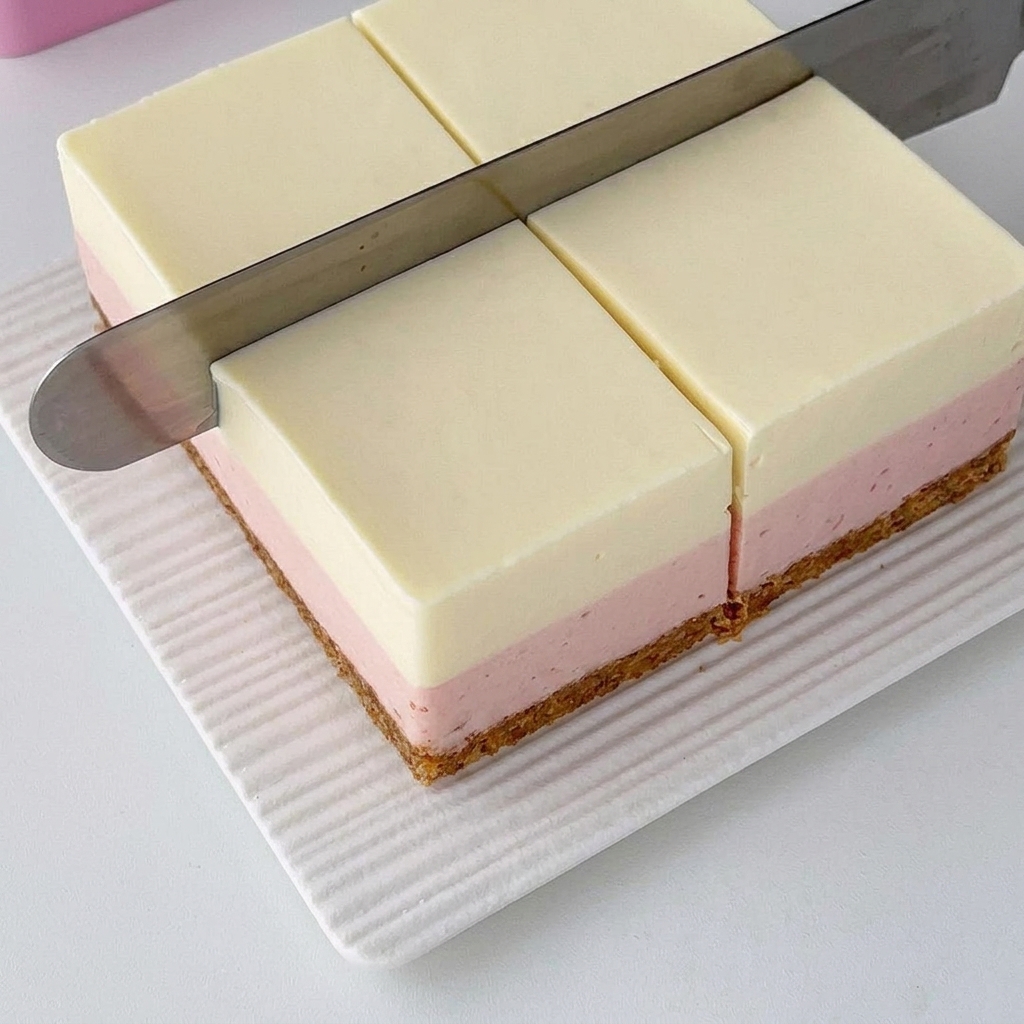
After refrigerating the cheesecake for 4 hours or more until fully set, remove it from the mold. Use a sharp knife to slice the cake evenly into neat squares.
Tip: Wipe the knife clean with a warm, damp towel between each cut to ensure clean, sharp edges on every square.