Artisan Pumpkin Flower
Anchovy Pizza
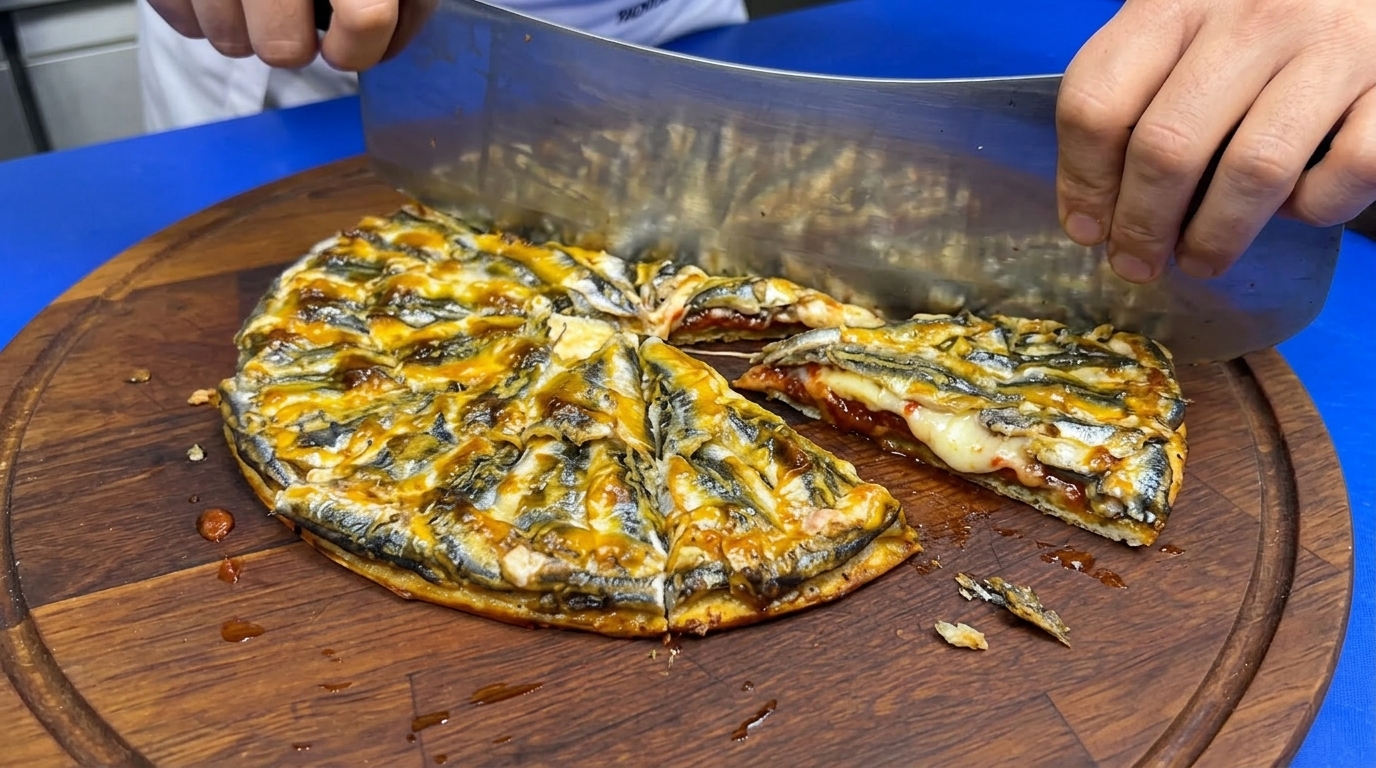
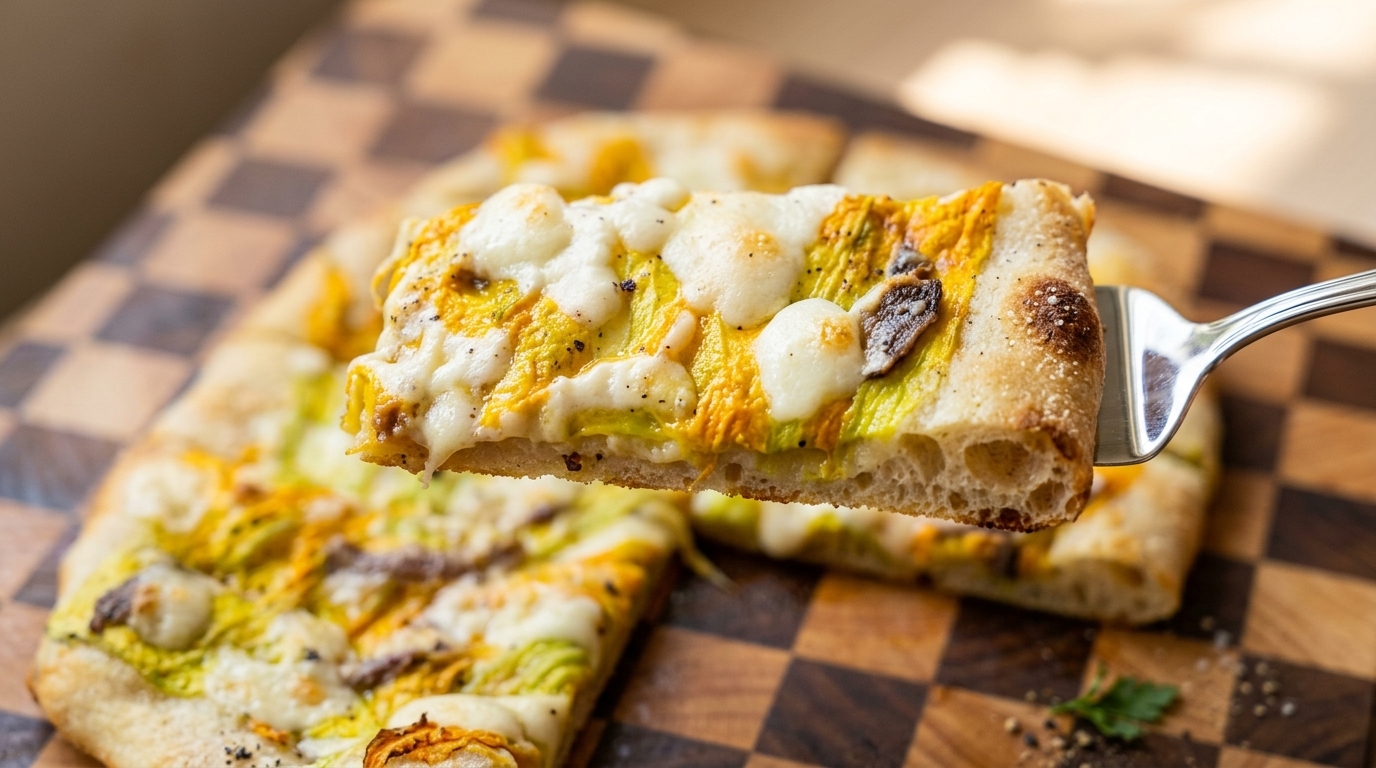
Experience the perfect balance of savory and delicate sweet notes with this artisan pizza. Built on a slow-fermented crust, it pairs squash blossoms with salty anchovies and melted mozzarella.
Squash blossoms are a beloved seasonal delicacy, often enjoyed deep-fried or stuffed across Italy. Here, they take center stage on a thick, airy rectangular pizza base crafted from a highly hydrated poolish dough. Paired with the intense, salty punch of anchovies and the creamy richness of fresh mozzarella, the delicate yellow petals melt perfectly into the bubbling cheese to create a beautifully balanced and elegant slice.
Ingredients
- 1 batch poolish pre-ferment
- to taste bread flour
- to taste salt
- to taste olive oil
- 1 bunch fresh pumpkin flowers
- 1 ball fresh mozzarella cheese
- 1 small tin anchovy fillets
- to taste black pepper
Instructions
- 1Mix the dough ingredients
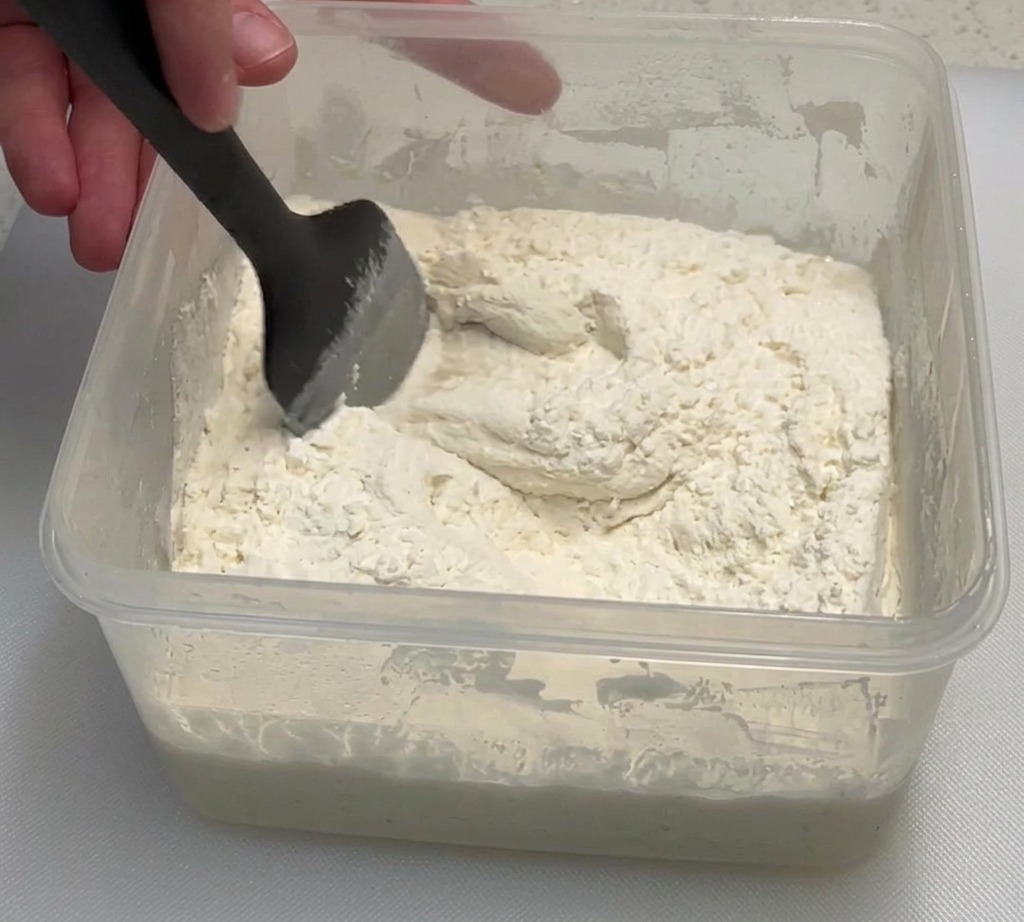
Add the flour and salt to your prepared poolish. Using a spatula, mix the ingredients together thoroughly until there is no dry flour remaining in the container. The mixture will look shaggy and wet at this stage.
Tip: A poolish is a pre-ferment that adds complex flavor and an airy texture to the final pizza crust. - 2Knead the wet dough
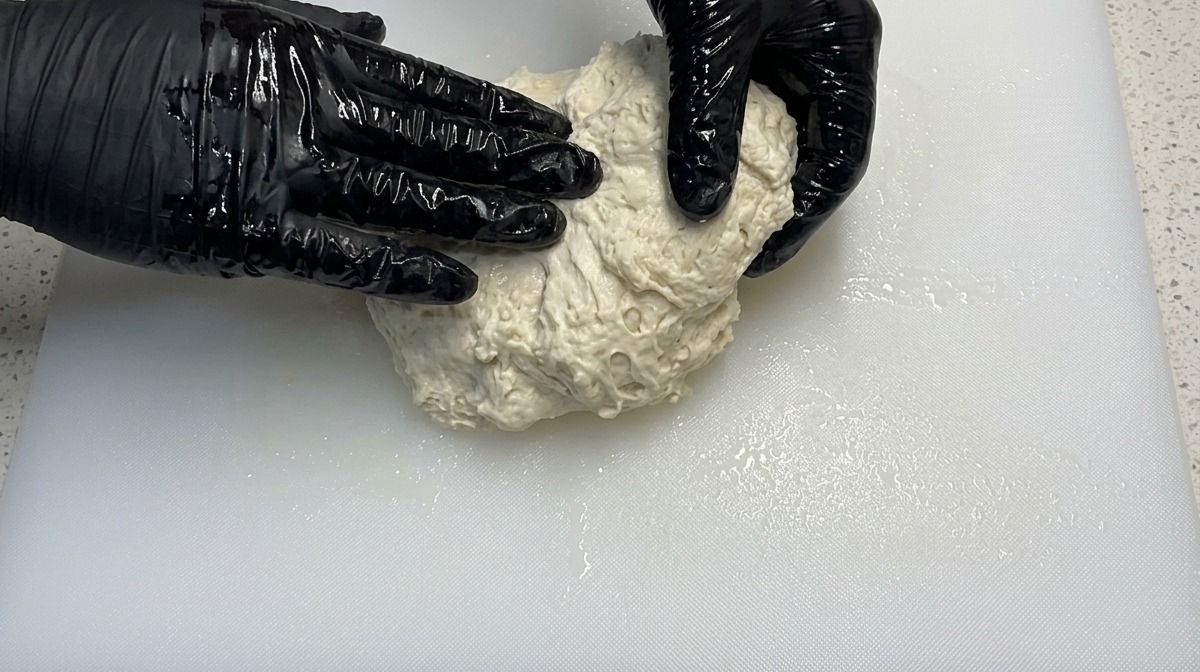
Spray some olive oil onto a clean board and turn the dough out. Since the dough is highly hydrated, rub olive oil on your hands to prevent sticking. Knead the dough by pulling and folding it until it starts to come together, then cover and let it rest for 20 minutes.
Tip: Pulling and stretching the dough rather than traditional pressing is an easier way to handle wet, sticky pizza dough. - 3Shape into a smooth ball
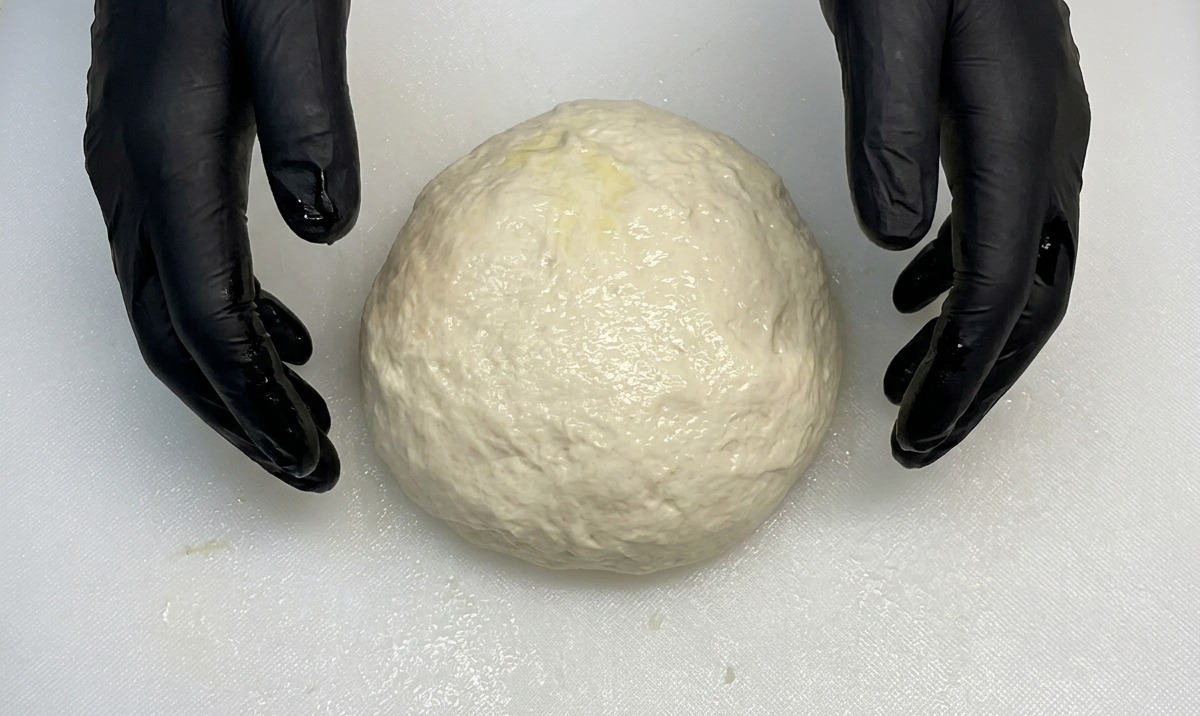
After the short rest, apply a little more oil to your hands and the board. Drag the dough across the surface and tuck the edges underneath to build surface tension. The dough will become smooth and elastic, resembling a large, soft steamed bun.
Tip: Dragging the dough creates tension on the outer layer, helping it hold a nice round shape as it ferments. - 4Stretch and fold

Transfer the smooth dough to a greased bowl, seal it, and let it rest for an hour. Once rested, perform a fold by lifting the dough gently from the middle to stretch it upwards, then placing it back down. Repeat this folding action three or four times.
Tip: This stretch and fold technique builds a strong gluten network, ensuring your pizza crust has a great chew and structure. - 5Divide the dough
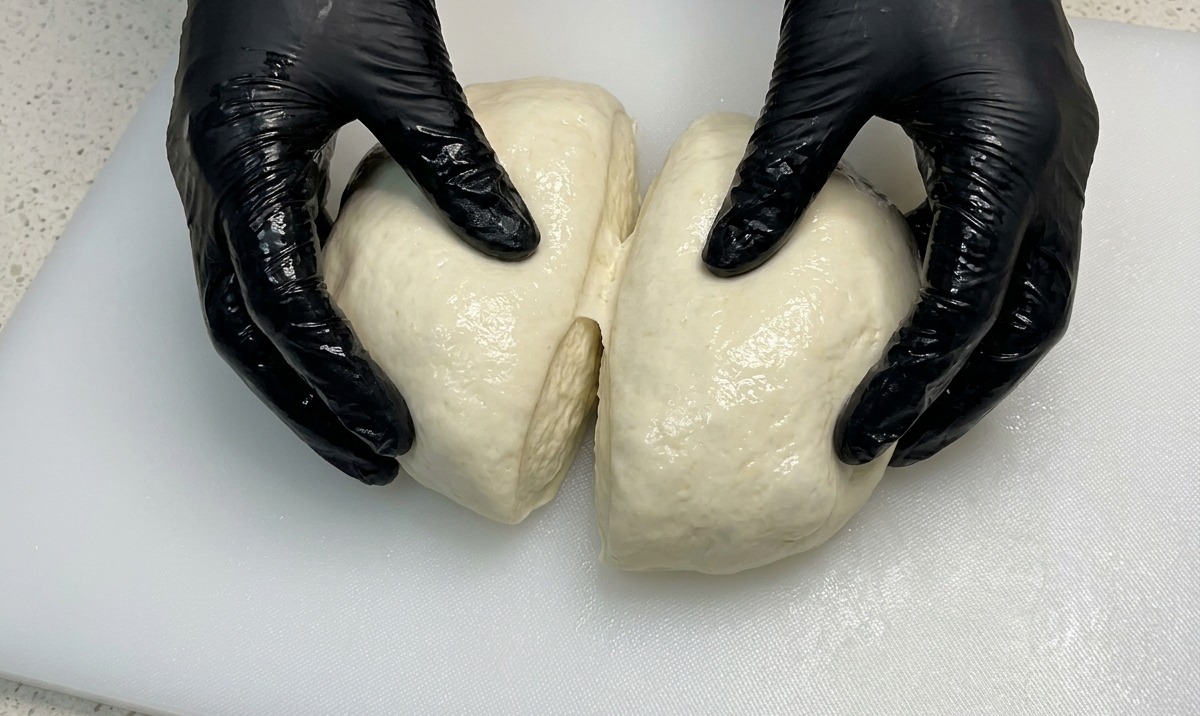
Seal the bowl again and let the dough ferment for another hour. Carefully move the proofed dough back onto your work surface, handling it gently to preserve the air bubbles. Divide the large dough ball evenly into two pieces.
Tip: Try not to deflate the dough when transferring and cutting it; those trapped gases create the airy crust. - 6Form final dough balls

Take one of the divided pieces and roll it tightly between your hands to form a smaller, round ball. You will notice the dough is now very elastic and covered in fermentation bubbles. Place the shaped balls on baking trays in a closed environment for a final 30-minute rest.
Tip: A tight outer skin on your final dough balls makes stretching them into pizza bases much easier. - 7Trim the pumpkin flowers
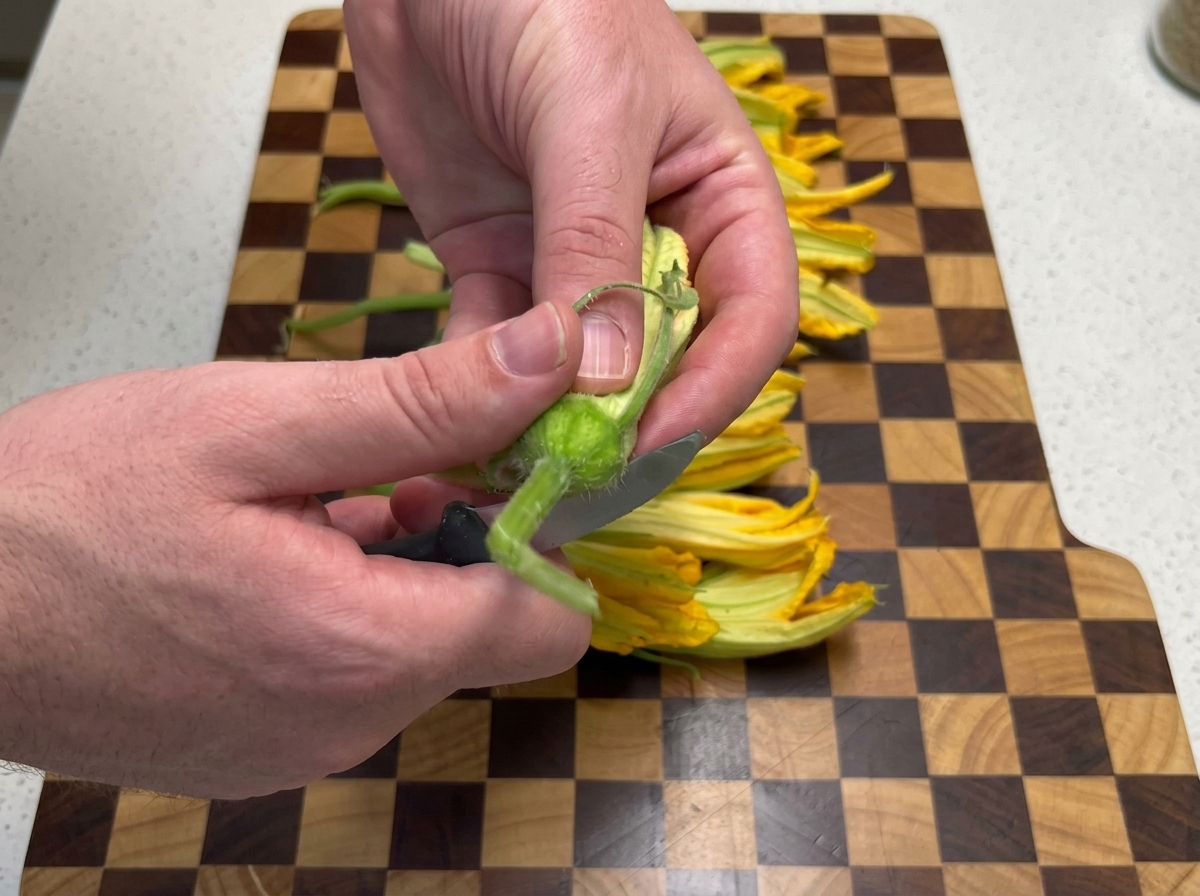
Using a small knife, carefully cut off the tough stems from the fresh pumpkin flowers. Removing the base and any hard green parts makes the flowers much more tender and pleasant to eat on the pizza.
Tip: Be extremely gentle when handling the flowers, as the delicate petals can bruise and tear easily. - 8Slice the flowers open
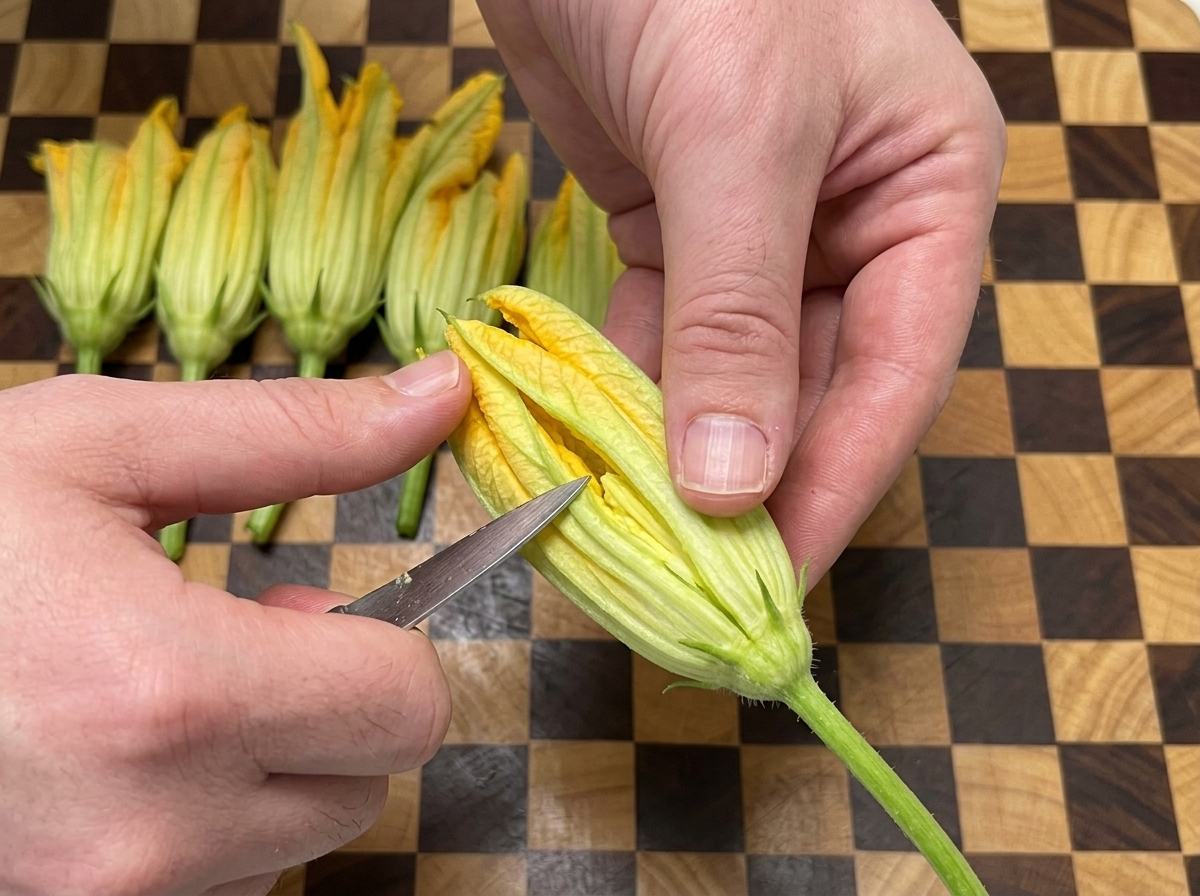
Hold each trimmed flower and make a gentle lengthwise slit down the side to open it up. This exposes the interior cavity, allowing you to easily pluck out the central stamens and access any trapped pollen.
Tip: It is highly recommended to remove the stamens, as they can sometimes add an unwanted bitter flavor to the finished dish. - 9Rinse the pumpkin flowers
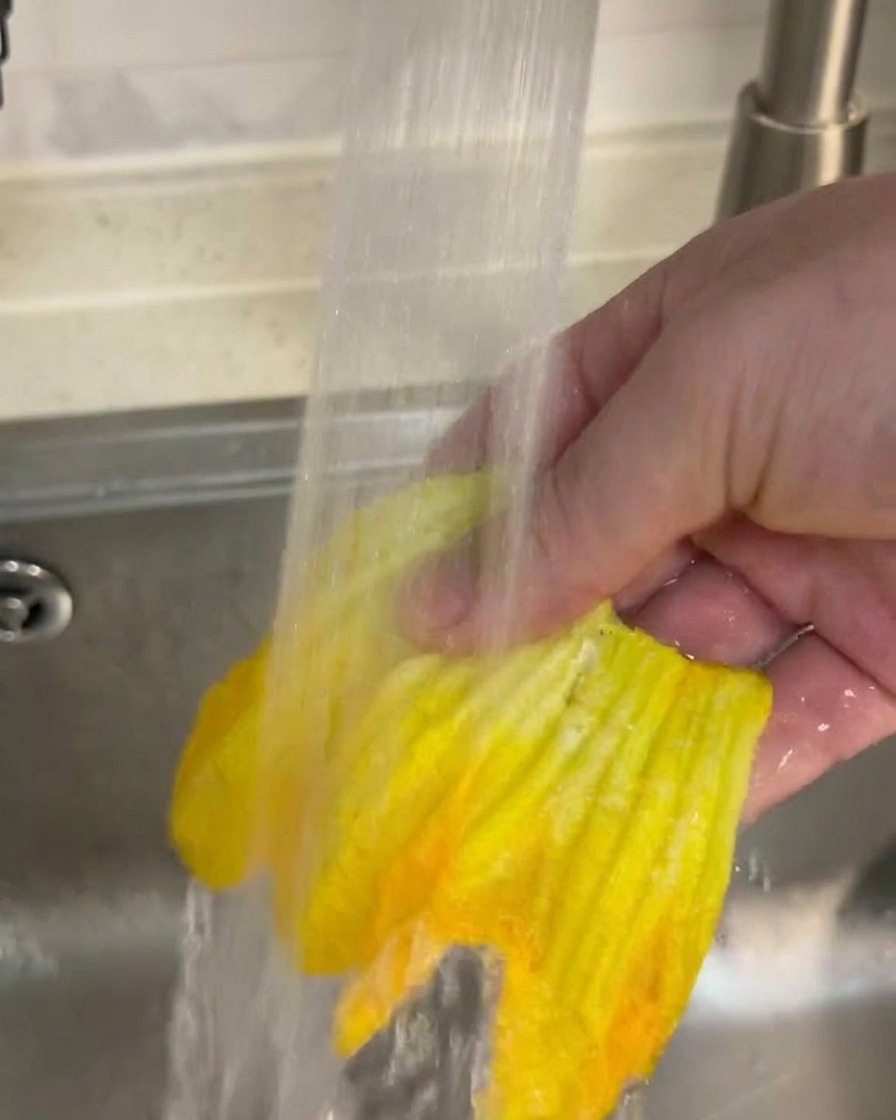
After removing the stems and stamens and slicing the blossoms open, carefully rinse each pumpkin flower under gentle running tap water. This ensures any remaining pollen or dirt is completely washed away before cooking.
Tip: Be extremely gentle while washing, as the petals are delicate and can tear easily under high water pressure. - 10Stretch the pizza dough
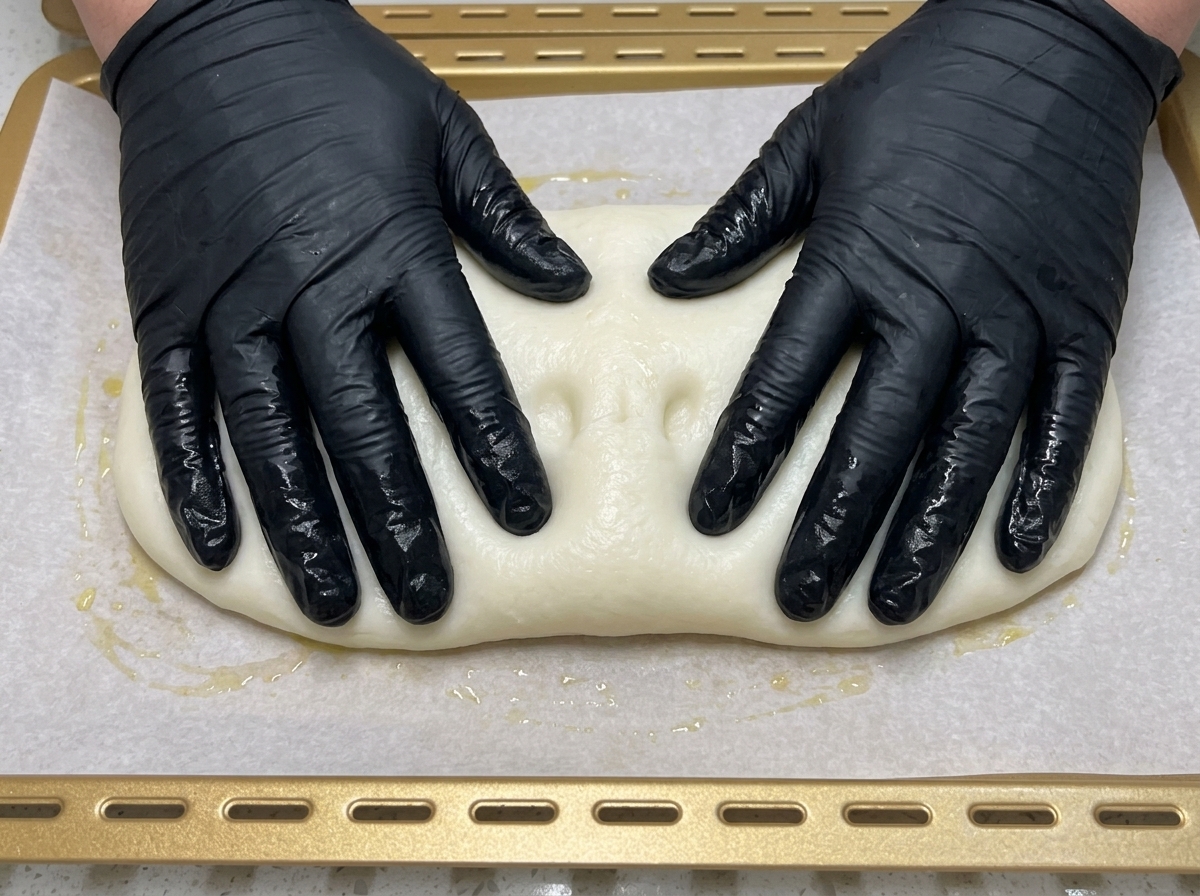
After the dough has fully proofed, transfer it to a parchment-lined baking tray. With oiled hands, gently push and stretch the dough outward from the center until it forms an even layer that fills the shape of the pan.
Tip: Oil your hands well to prevent sticking. If the dough stubbornly springs back, let it rest for 5 minutes to relax the gluten before stretching it again. - 11Dock the dough
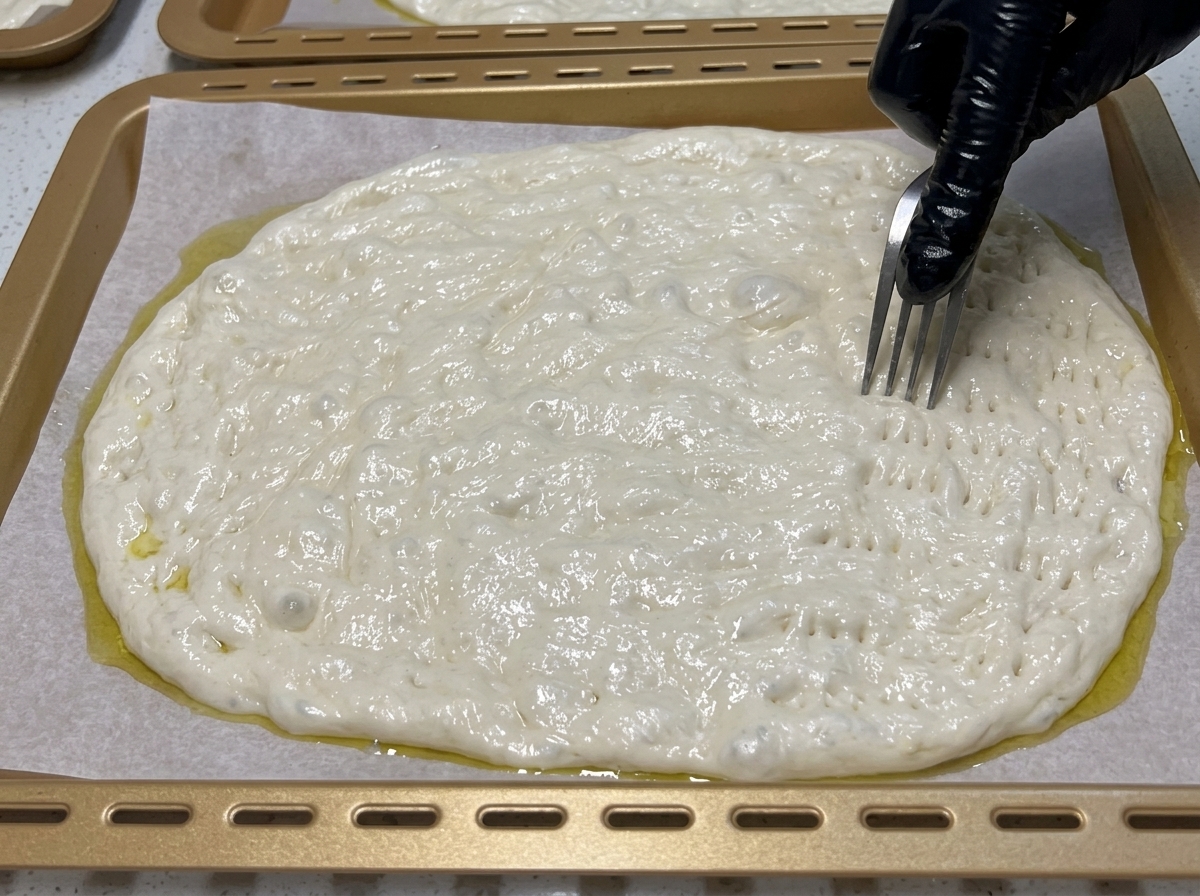
Use a fork to thoroughly poke small holes evenly across the entire surface of the stretched pizza base. This docking process allows steam to escape and prevents massive, uneven air bubbles from ballooning up while baking.
Tip: Make sure to pierce the dough thoroughly, but avoid pressing so hard that you tear the parchment paper underneath. - 12Par-bake the crust
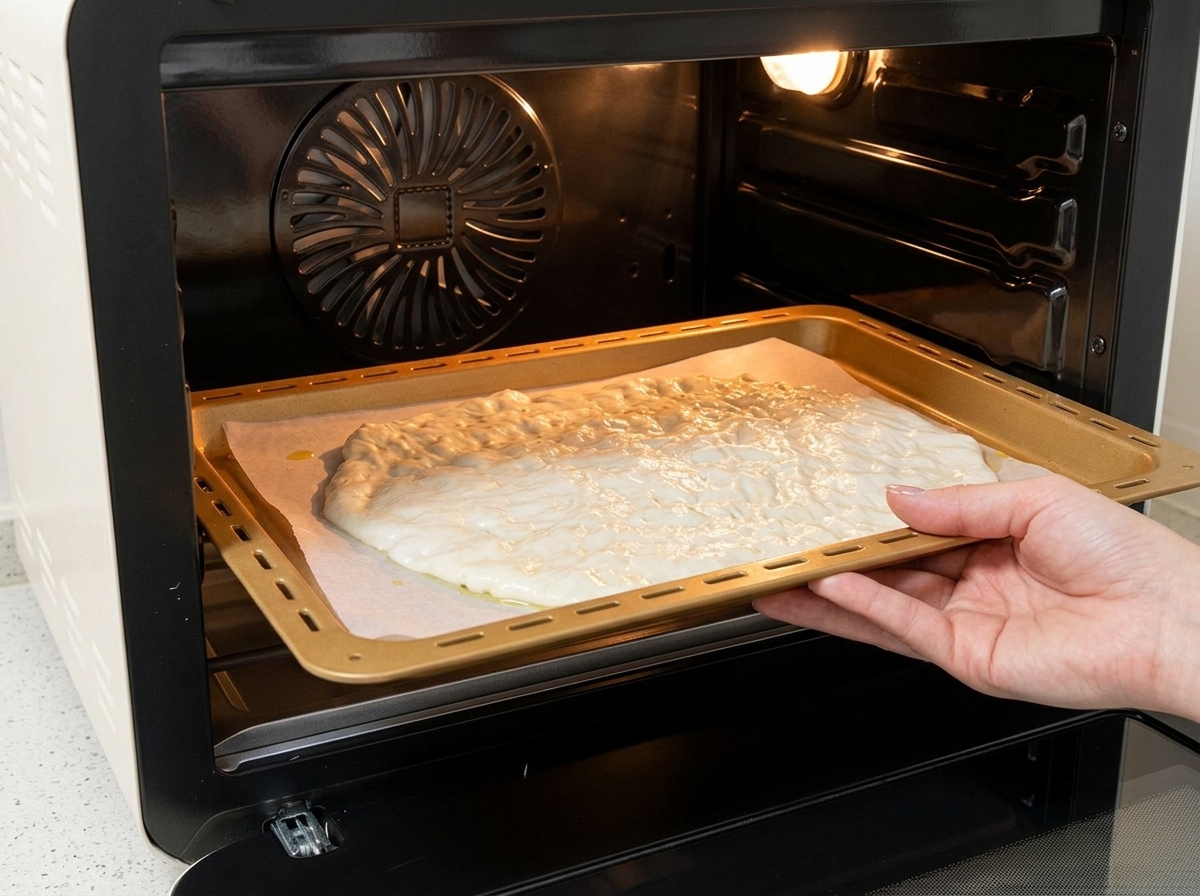
Slide the baking tray into an oven preheated to 230°C (445°F). Bake the plain crust for 8 minutes to set its structure. Giving the base this head start ensures it becomes firm and crispy rather than turning soggy from the toppings.
Tip: Par-baking is absolutely essential for a strong bottom crust, especially when loading it up with moist ingredients like fresh flowers and melted cheese. - 13Add the first cheese layer
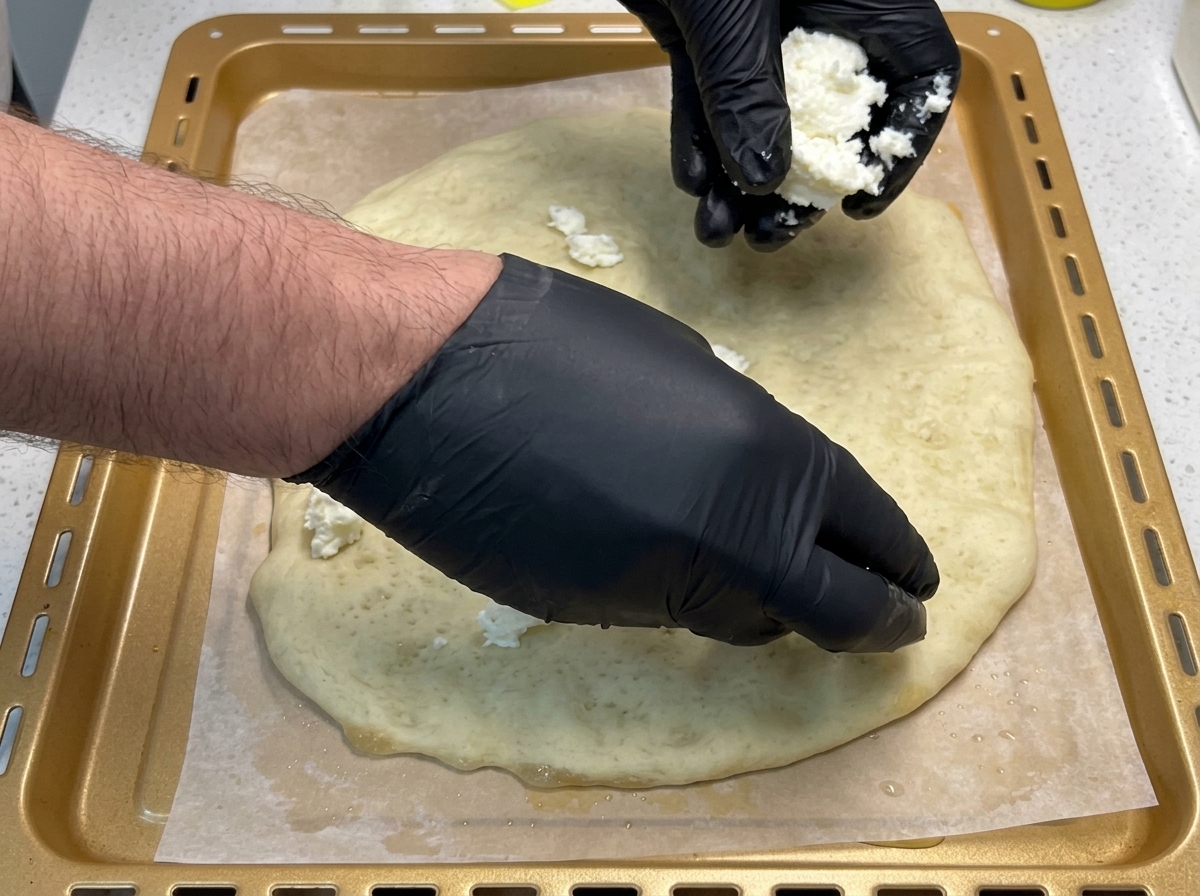
Take your par-baked pizza crust out of the oven. Tear fresh mozzarella cheese into smaller pieces and scatter them randomly across the base. This initial layer of cheese will melt directly onto the warm crust, creating a flavorful foundation for the rest of the toppings.
Tip: Tearing the fresh mozzarella by hand rather than grating it creates irregular, creamy pockets of melted cheese on the finished pizza. - 14Layer the pumpkin flowers
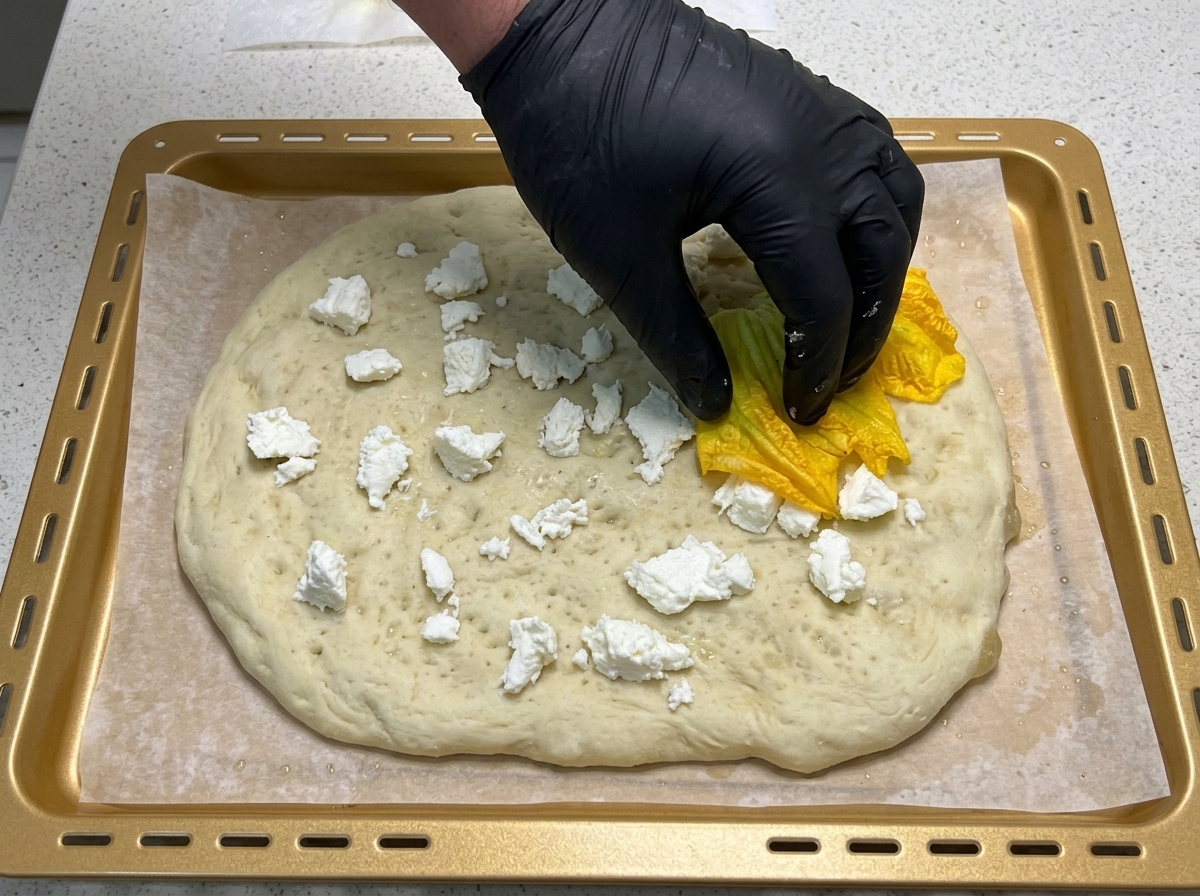
Take the cleaned, opened pumpkin flowers and lay them flat across the surface of the pizza. Arrange them evenly so that the delicate yellow petals generously cover the mozzarella layer, ensuring a taste of the blossom in every slice.
Tip: Spread the blossoms out as flat as possible so they roast evenly and dont clump together in the oven. - 15Add the anchovies
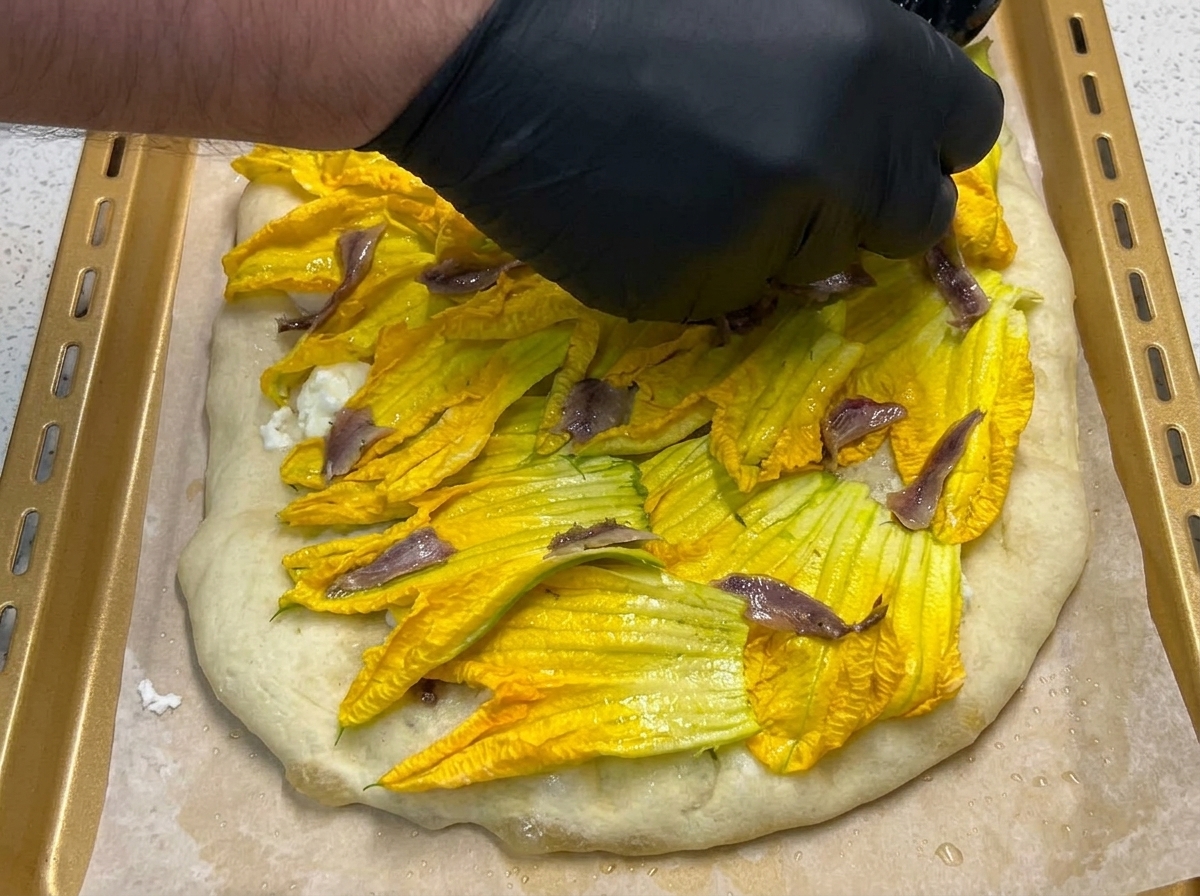
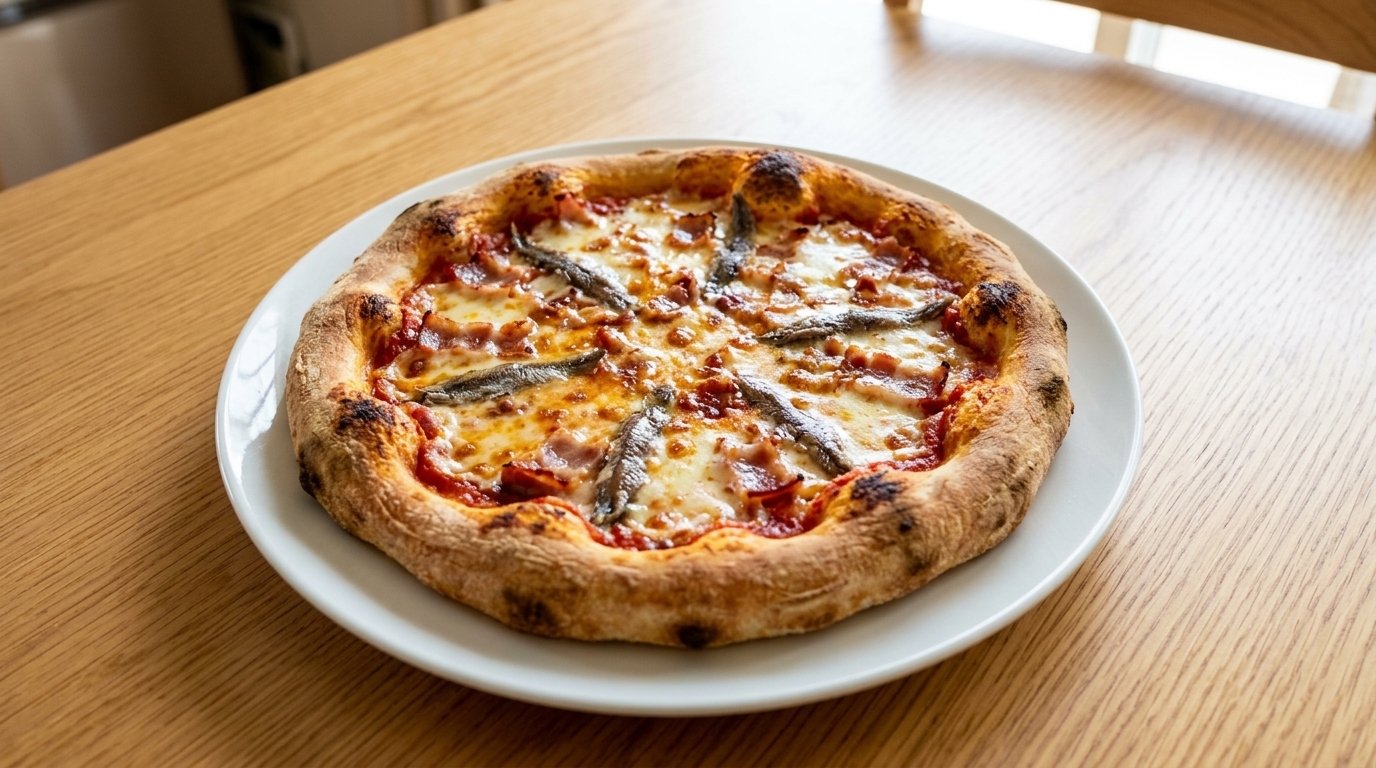
Distribute anchovy fillets evenly over the bed of pumpkin flowers. The intensely savory and salty flavor of the anchovies will provide a striking, delicious contrast to the mild, slightly sweet taste of the squash blossoms.
Tip: If the anchovy fillets are very large, you can tear or cut them into smaller pieces so they are more evenly distributed. - 16Season and bake the pizza
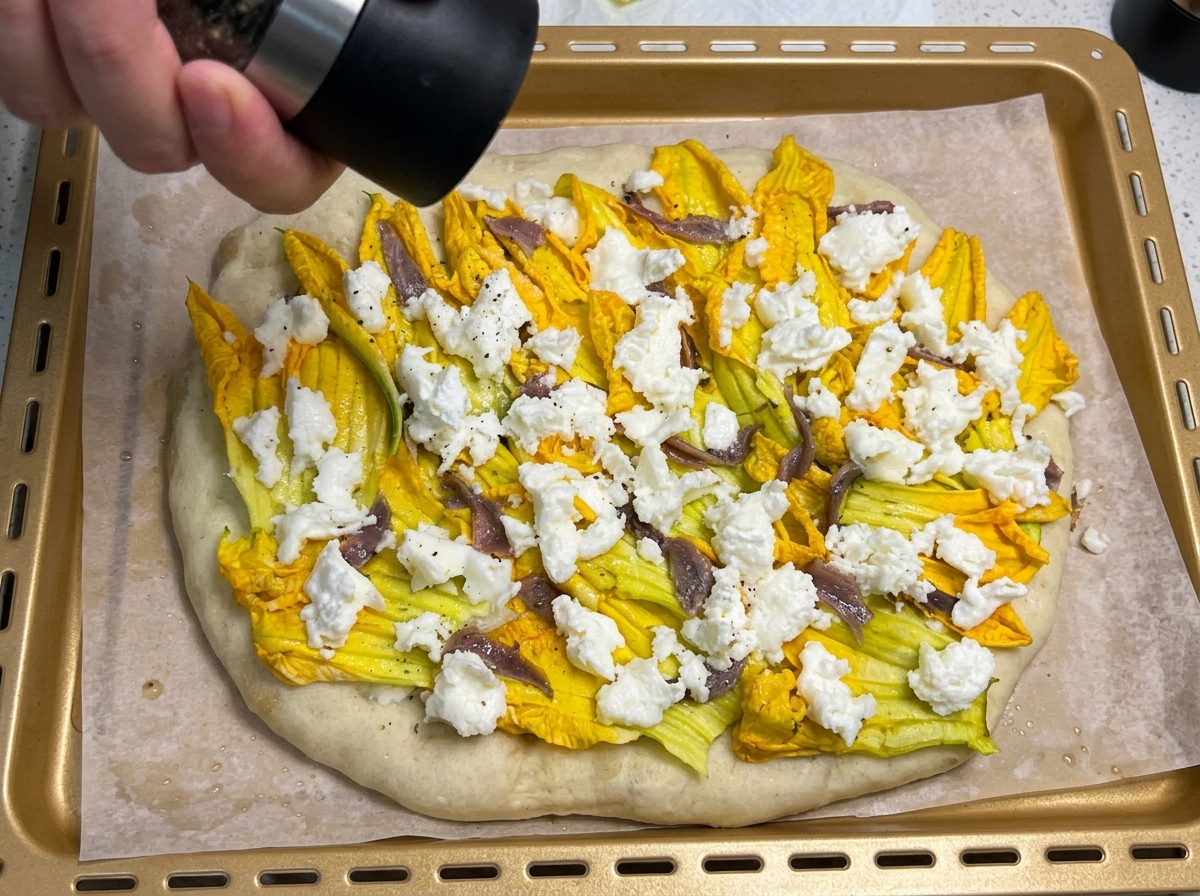
Add a light layer of torn mozzarella over the anchovies and flowers. Season the pizza with black pepper and drizzle with olive oil. Return the tray to the hot oven and bake for another eight to ten minutes until the cheese melts and the crust turns golden brown.
Tip: The olive oil drizzle helps protect the delicate flower petals from burning in the high heat.