Homemade Tomato
Black Olive Pizza
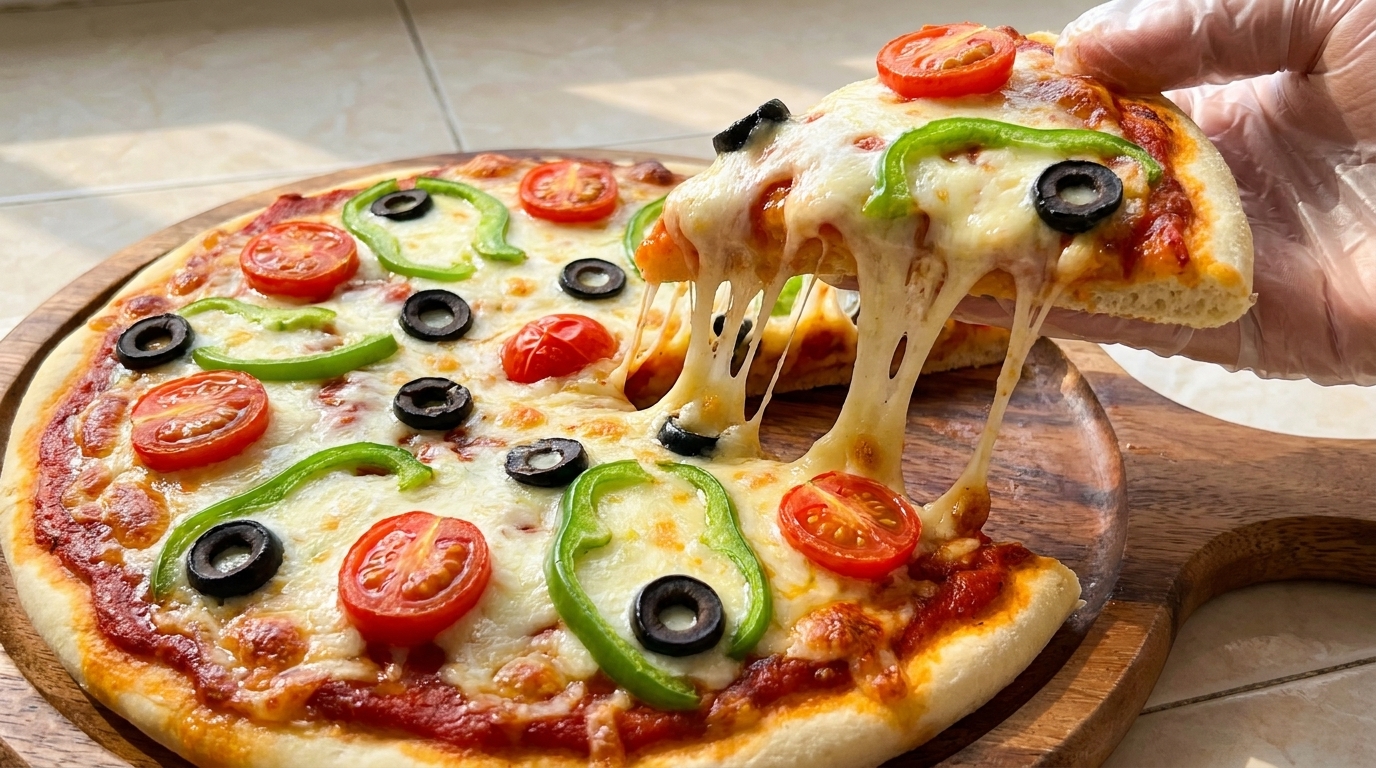
Experience the joy of homemade pizza with this easy, small-batch recipe featuring a crispy crust, stringy mozzarella, cherry tomatoes, and briny black olives.
Making pizza from scratch at home is incredibly rewarding, and this recipe scales it down perfectly for a quick personal pie. This classic combination balances the sweet, juicy burst of cherry tomatoes with the earthy brine of black olives and the fresh crunch of green peppers. Whether you are using a dedicated pizza maker or a hot oven, it is a fun and straightforward way to master homemade dough and customize your perfect slice.
Ingredients
- 80 g all-purpose flour
- 2 g dry yeast
- as needed warm water
- for dusting yellow cornstarch
- to taste pizza sauce
- 1 handful shredded white mozzarella cheese
- to taste cherry tomatoes
- 14 green bell pepper
- to taste black olives
Instructions
- 1Combine flour and yeast

Begin by placing 80 grams of all-purpose flour into a glass mixing bowl. Sprinkle two grams of dry yeast directly onto the flour to start the dough base.
Tip: Ensure your yeast is fresh and active so the pizza dough rises properly during the resting phase. - 2Mix the dry ingredients
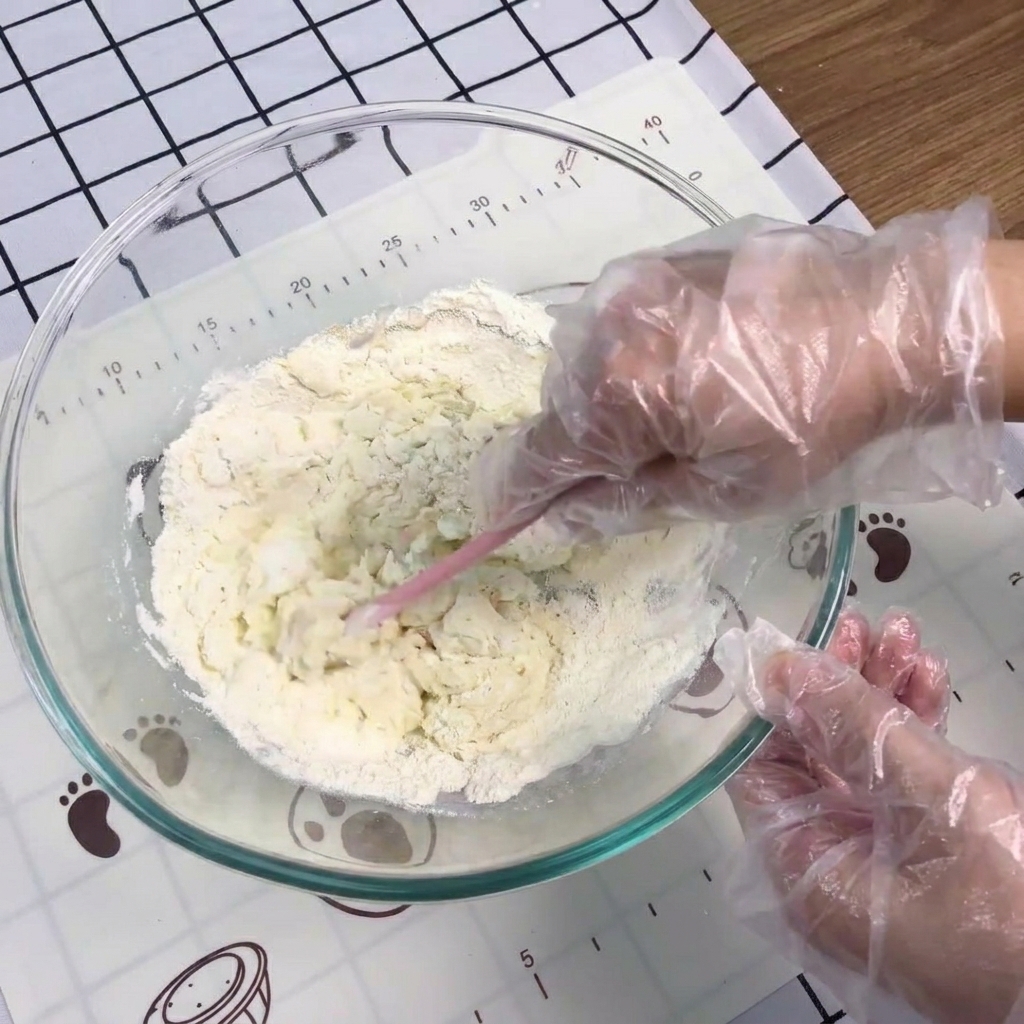
Combine the flour and yeast in a large clear mixing bowl. Using a spatula, thoroughly stir the dry ingredients together to ensure the yeast is evenly distributed before adding any liquids.
Tip: Distributing the yeast evenly throughout the flour prevents concentrated patches of yeast and helps the pizza dough rise consistently. - 3Knead the pizza dough
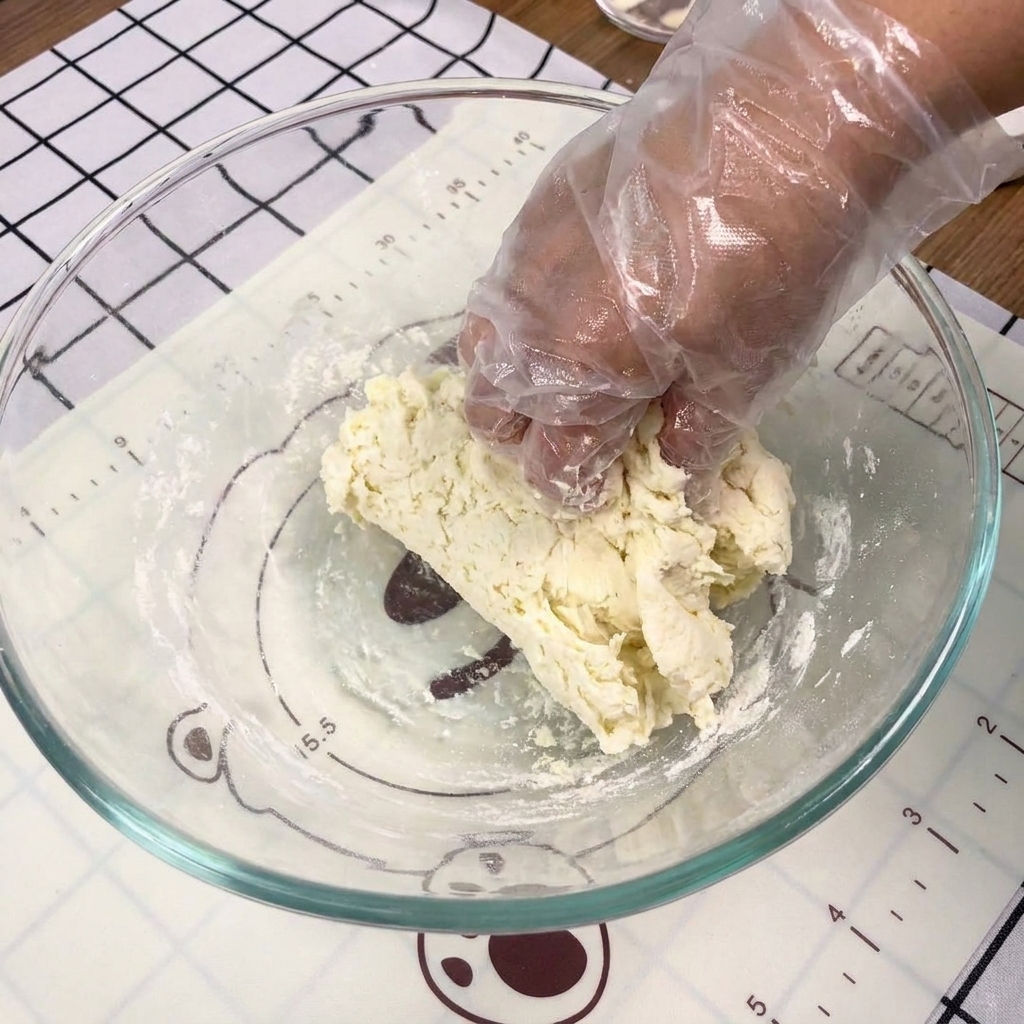
Once you have added enough warm water to form a shaggy dough, use your hands to knead it inside the bowl. Continue kneading until it comes together into a single, smooth, cohesive mass. Set it aside to rest for half an hour so the yeast can activate.
Tip: If the dough feels excessively sticky, dust your hands with a small amount of extra flour while kneading. - 4Halve the cherry tomatoes
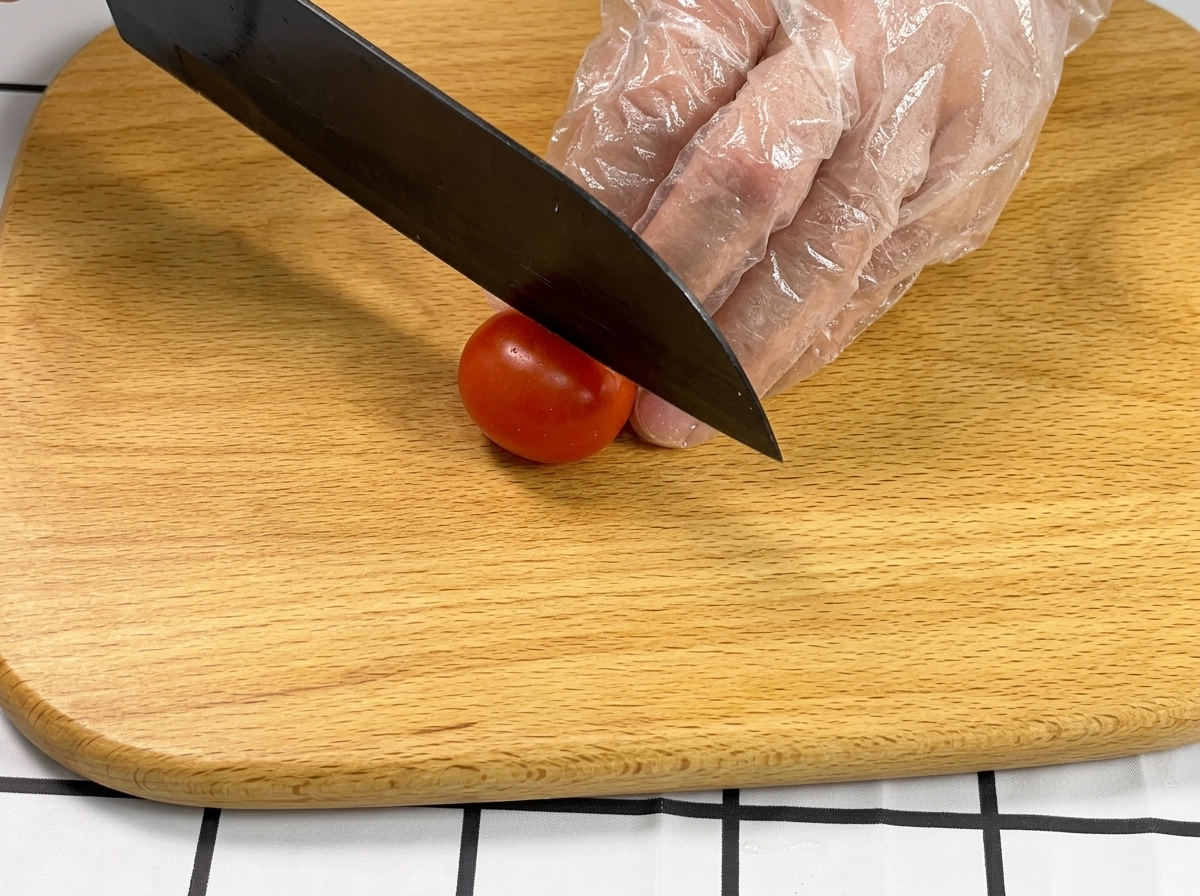
Place the fresh red cherry tomatoes on a wooden cutting board. Carefully slice each tomato in half using a sharp knife. These will add bursts of juicy, sweet flavor to the finished pizza.
Tip: Use a serrated knife or a very sharp chefs knife to cleanly slice through the tough tomato skin without crushing the delicate interior. - 5Shape the pizza dough
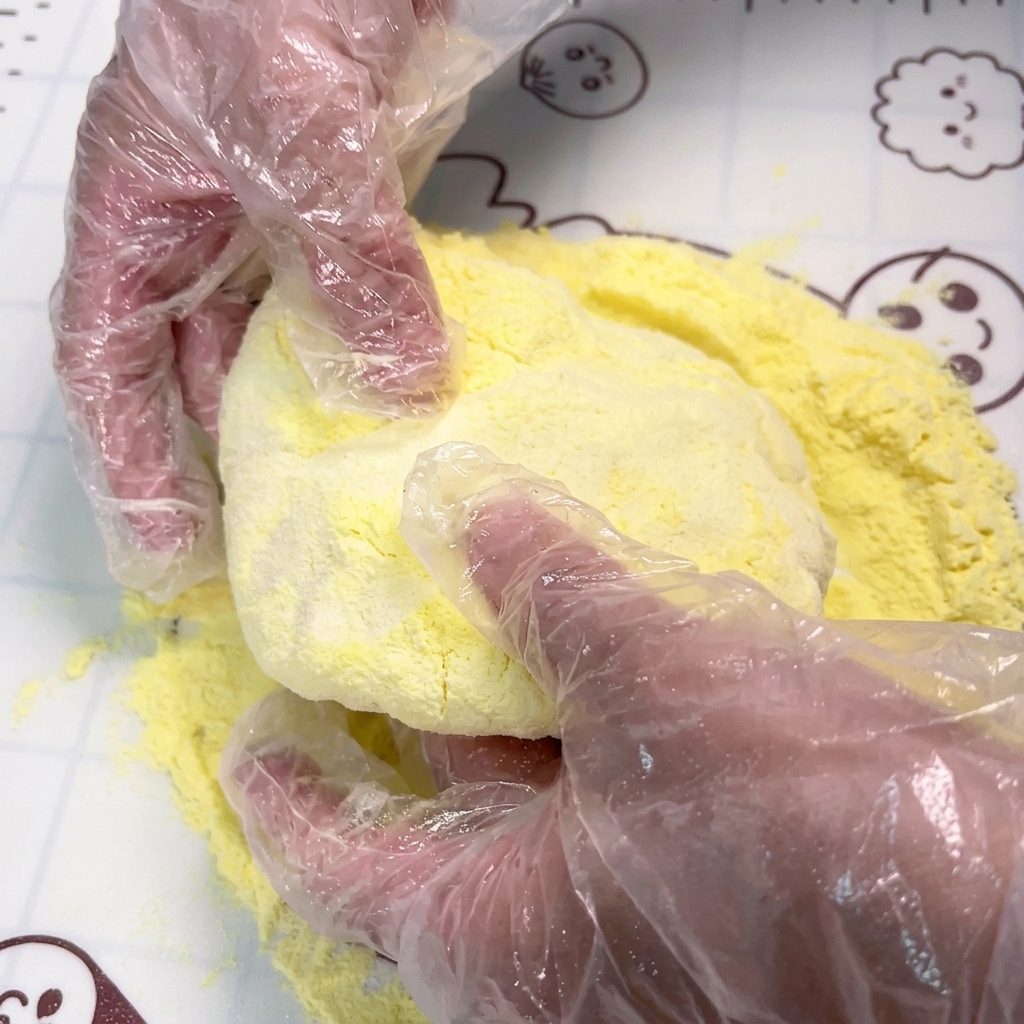
Generously dust your work surface or baking mat with yellow cornstarch. Place the rested dough in the center and use your hands to firmly press and flatten it outward, shaping it into an even pizza base.
Tip: Using cornstarch instead of regular flour to dust the surface gives the bottom of the pizza crust a distinctive, crispy texture when baked. - 6Spread the pizza sauce
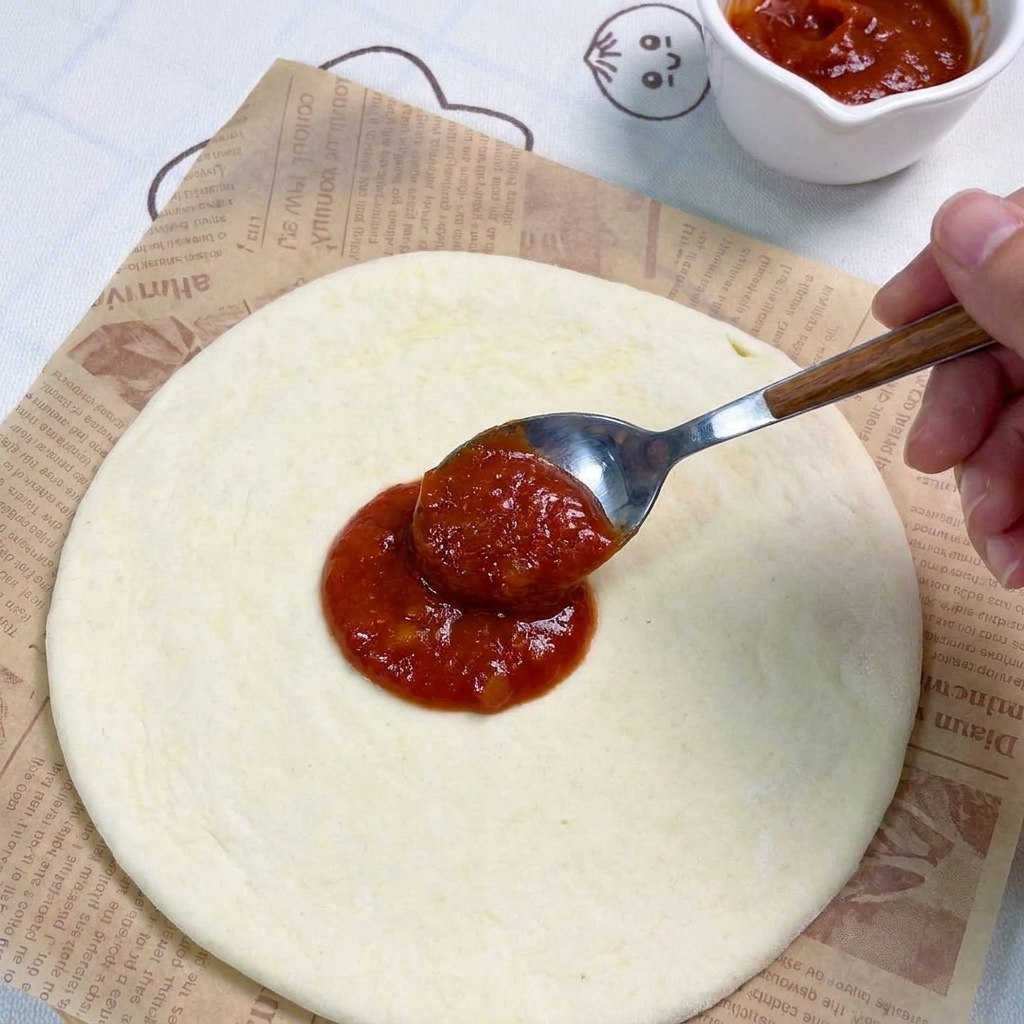
Place a generous scoop of red pizza sauce into the center of your flattened dough. Using the back of a spoon, spread the sauce evenly outward in a circular motion, covering the base.
Tip: Be sure to leave a slight border around the edge of the dough un-sauced to create a nice crust as it bakes. - 7Add the cheese
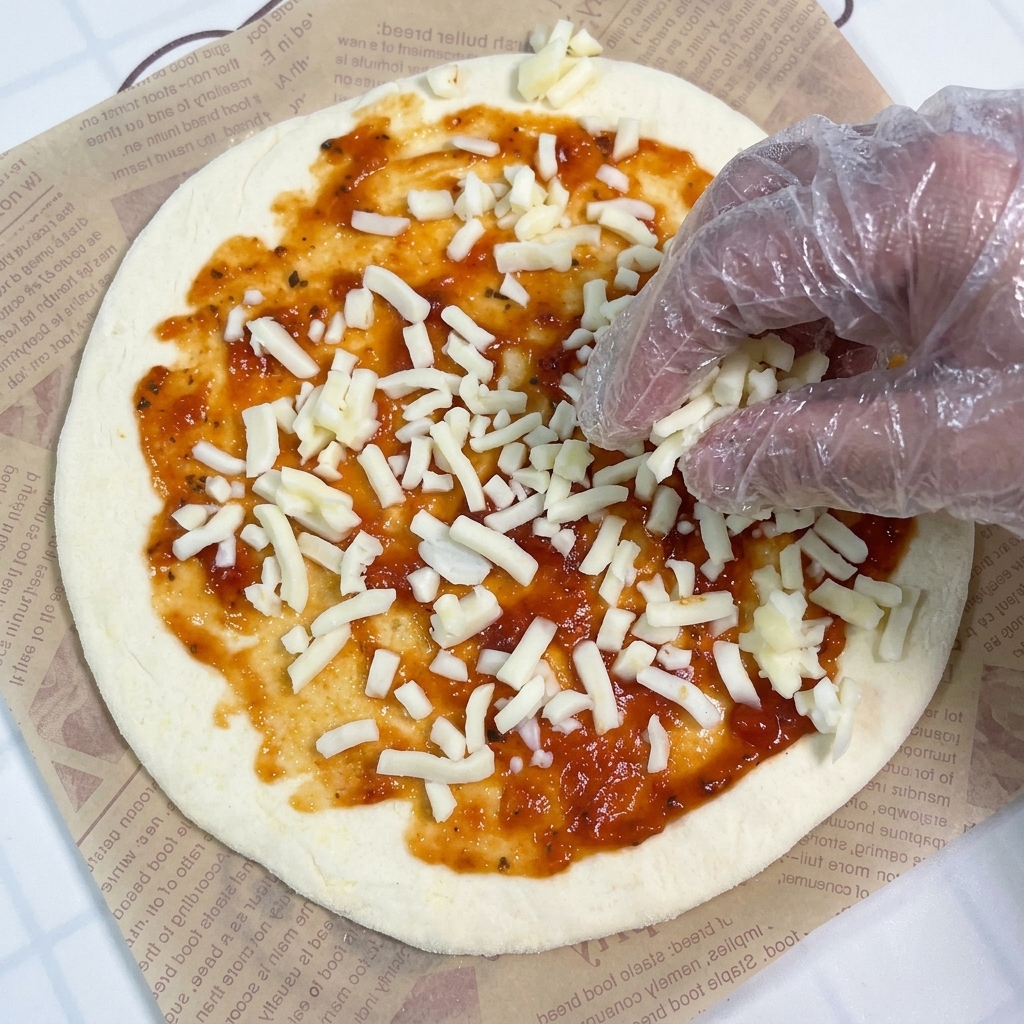
Once the pizza sauce is evenly spread across the dough, sprinkle a generous layer of shredded white mozzarella cheese over the top. Distribute it uniformly, leaving a small uncovered border around the edge for the crust.
Tip: For the best melting results, shred your own mozzarella from a block rather than using pre-shredded cheese, which often contains anti-caking agents. - 8Arrange the tomatoes
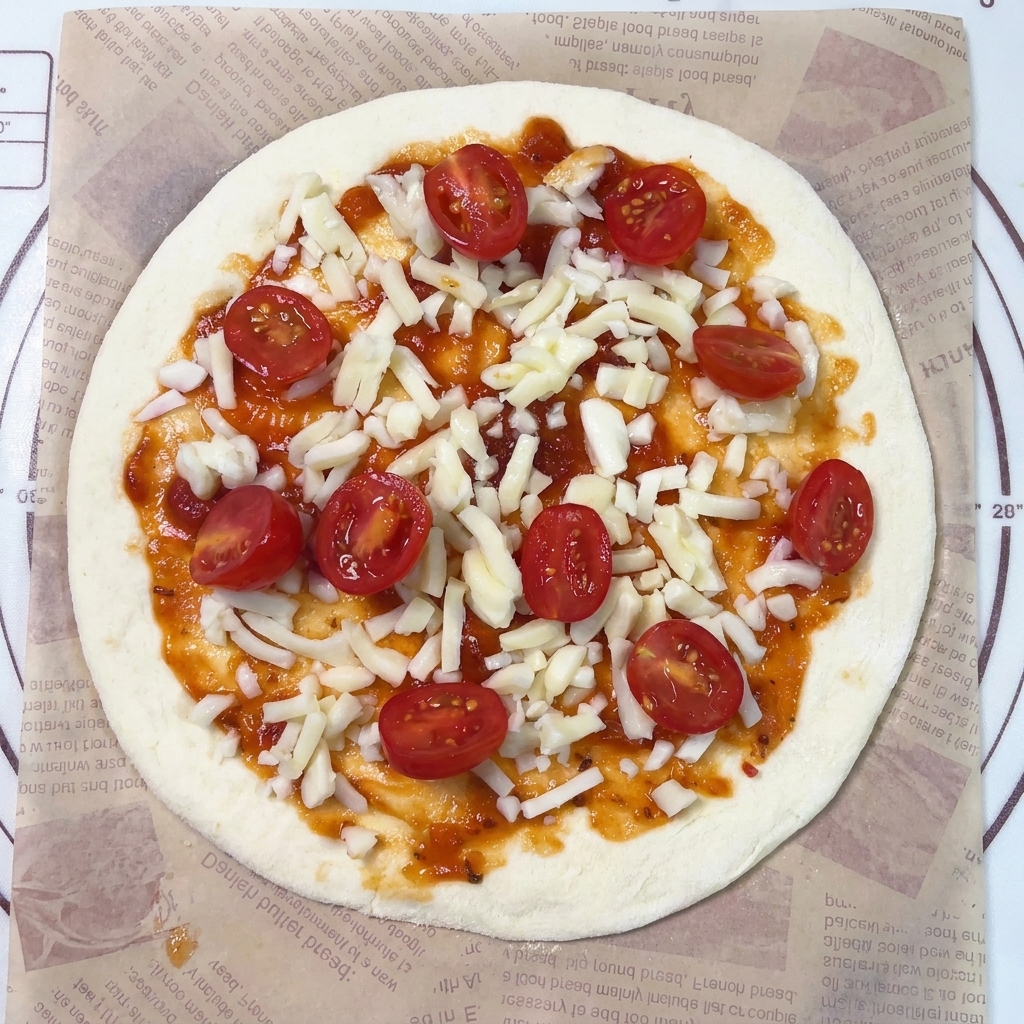
Take the cherry tomato halves you prepared earlier and arrange them evenly across the cheese-covered pizza base. Space them out well so that every slice of pizza will have a piece of tomato.
Tip: Place the tomatoes with the cut side facing upwards; this prevents their juices from seeping directly into the dough and making the crust soggy during baking. - 9Top with green peppers
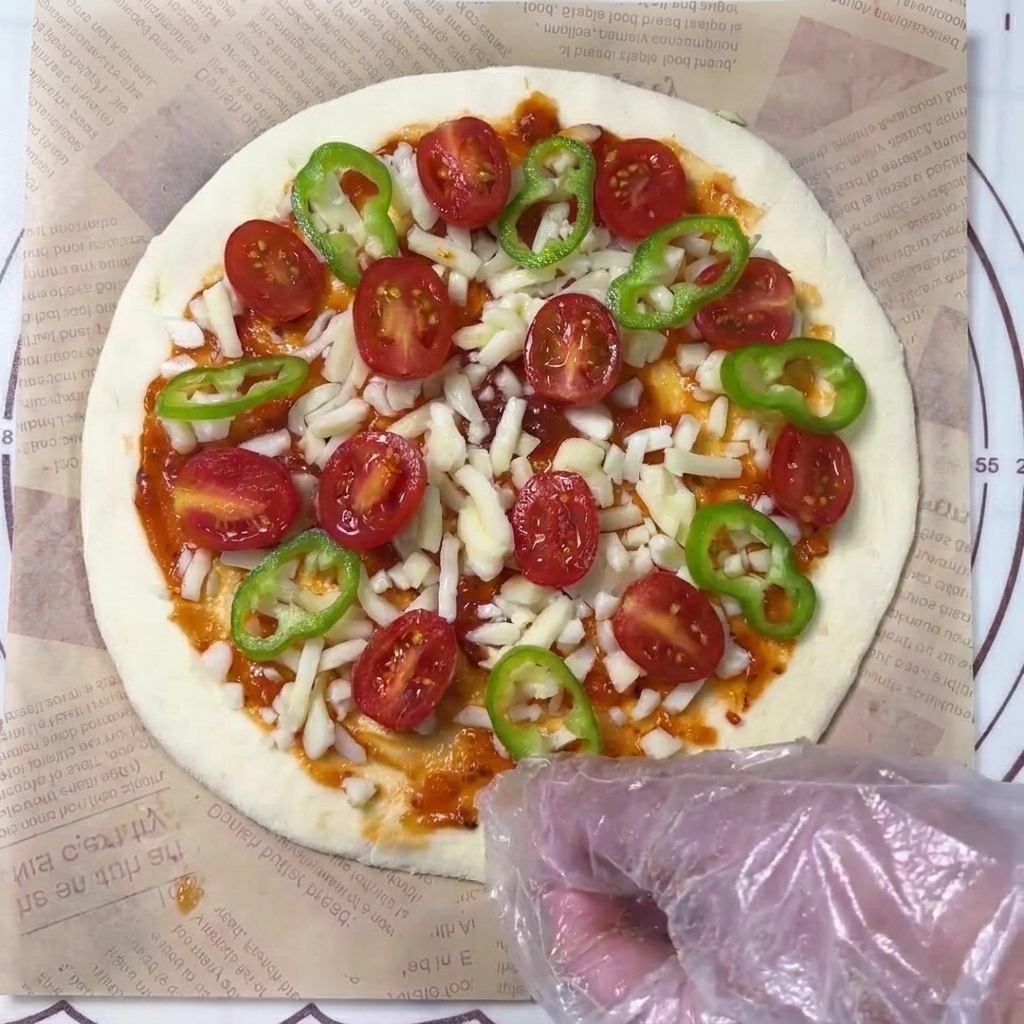
Next, add the sliced green bell pepper rings to the pizza. Distribute them evenly among the cherry tomatoes to create a vibrant contrast of colors and add a crisp, fresh bite to the pie.
Tip: Slice the green peppers relatively thinly so they soften adequately during the quick, high-heat cooking time of the pizza maker. - 10Add the black olives
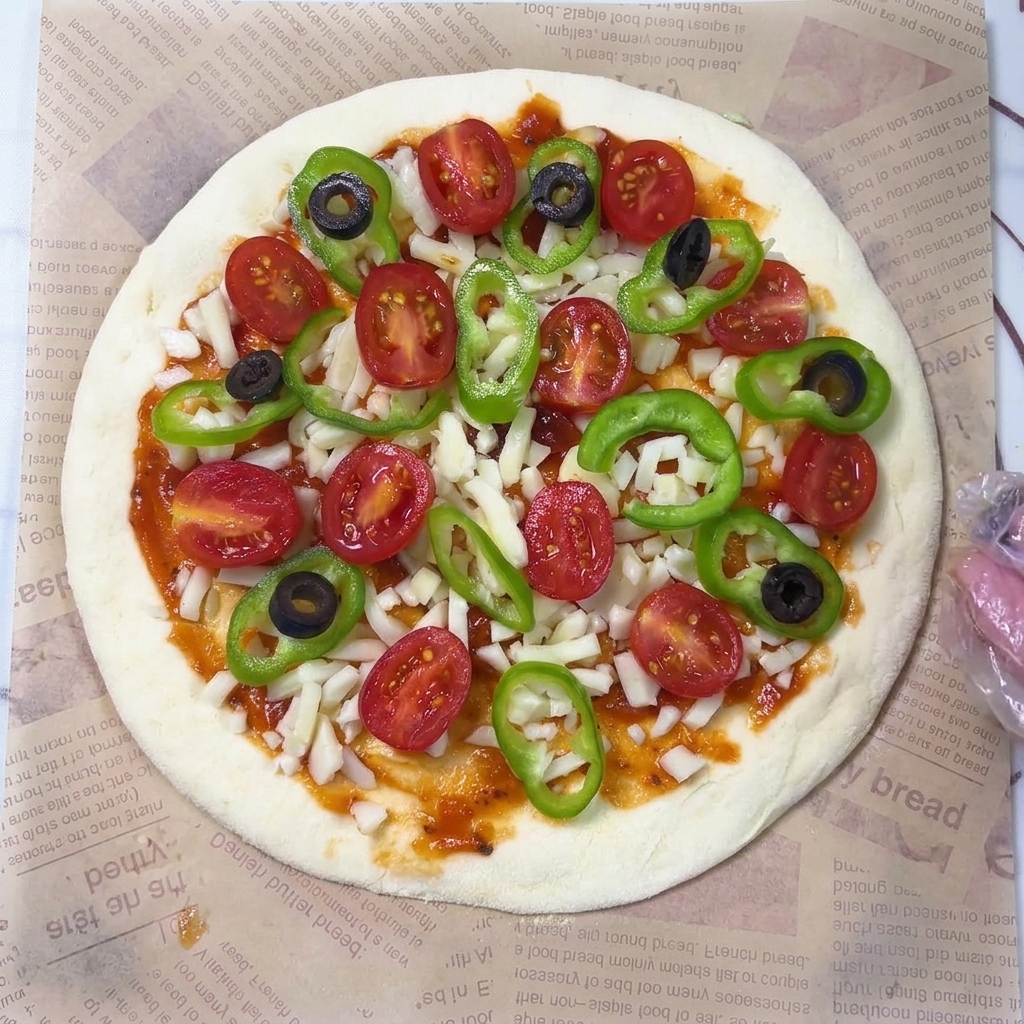
Complete your pizza prep by scattering the sliced black olives evenly over the top. Arrange them thoughtfully among the cherry tomato halves and green pepper rings to ensure every bite gets a good mix of flavors.
Tip: Pat your sliced olives dry with a paper towel before adding them to prevent excess moisture from making the pizza base soggy. - 11Bake the pizza
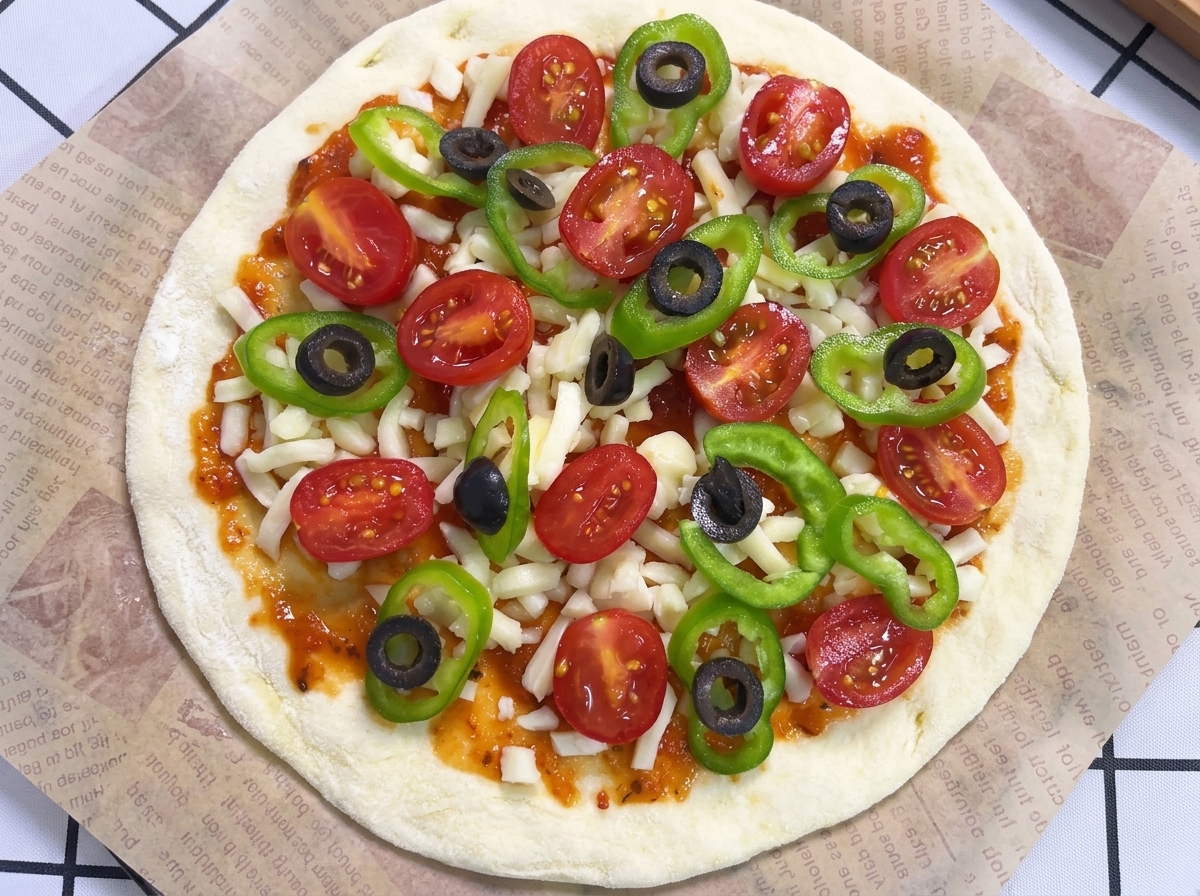
With all your favorite toppings beautifully arranged, the pizza is fully assembled and ready for the heat. Carefully transfer the raw pizza into your preheated pizza maker. Allow it to cook until the crust is crisp and golden brown, and the mozzarella cheese is perfectly melted and bubbling.
Tip: Building your pizza on a piece of parchment paper makes it much easier to slide it into the hot pizza maker or oven without stretching or tearing the delicate dough.