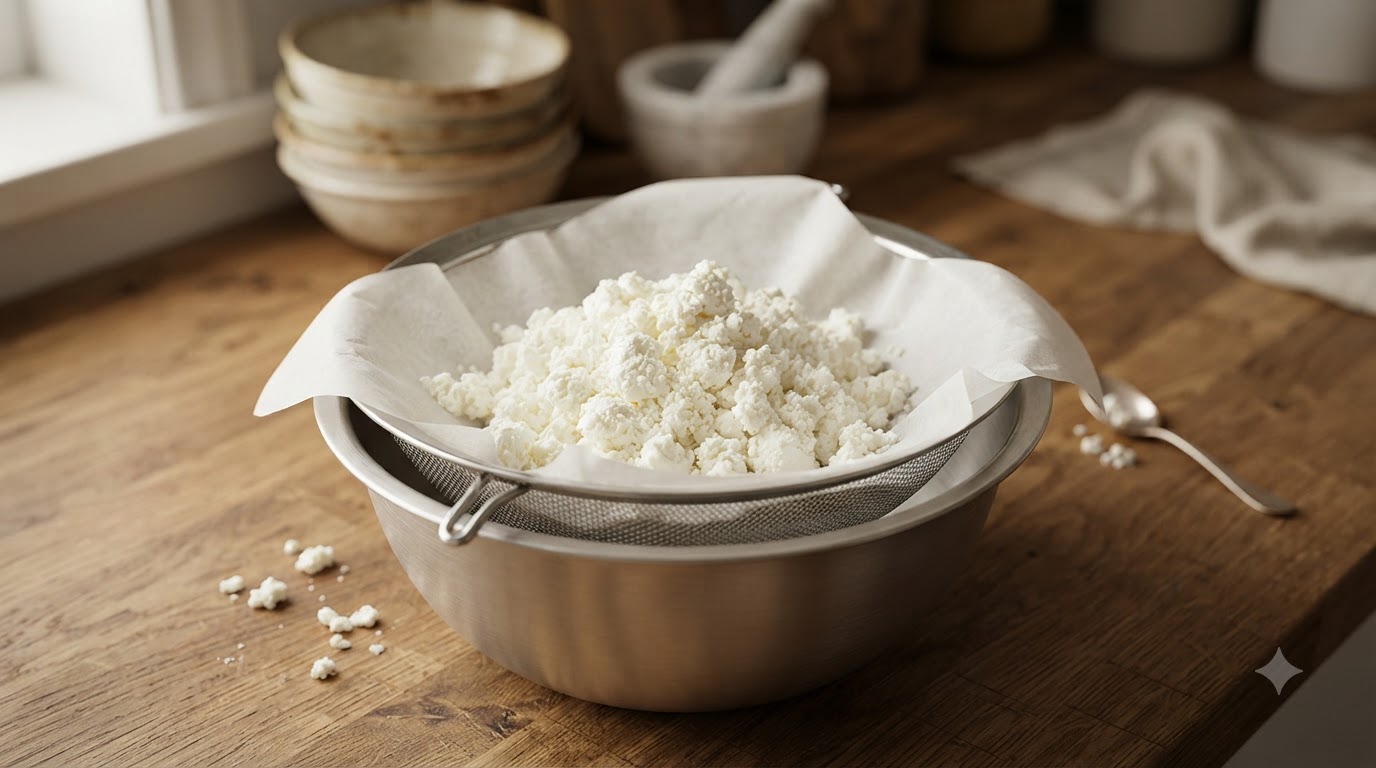
Qinghai Kun Guo Beef Pizza
Experience the unique fusion of traditional Qinghai Kun Guo and modern pizza. This cast-iron baked specialty features a braided crust, spiced beef, and colorful bell peppers layered with melted cheese.
Kun Guo is a traditional Qinghai cooking method that utilizes a heavy cooking pot to create incredible crusts and deeply savory flavors. By marrying this technique with the familiar profile of a pizza, this dish becomes a pioneering culinary creation. The aromatic base of pepper powder and star anise gives the beef a distinctly regional character, setting it apart from standard western pizzas.

Ingredients
- 0.5 unit red bell pepper
- 0.5 unit yellow bell pepper
- 1 unit green chili pepper
- 0.5 unit red onion
- 300 g fresh beef
- 1 tsp pepper powder
- 0.5 tsp star anise powder
- 0.25 tsp MSG
- 3 tbsp rapeseed oil
- to taste salt
- 1 portion pizza dough
- 200 g shredded cheese
Instructions
- 1Slice the vegetables
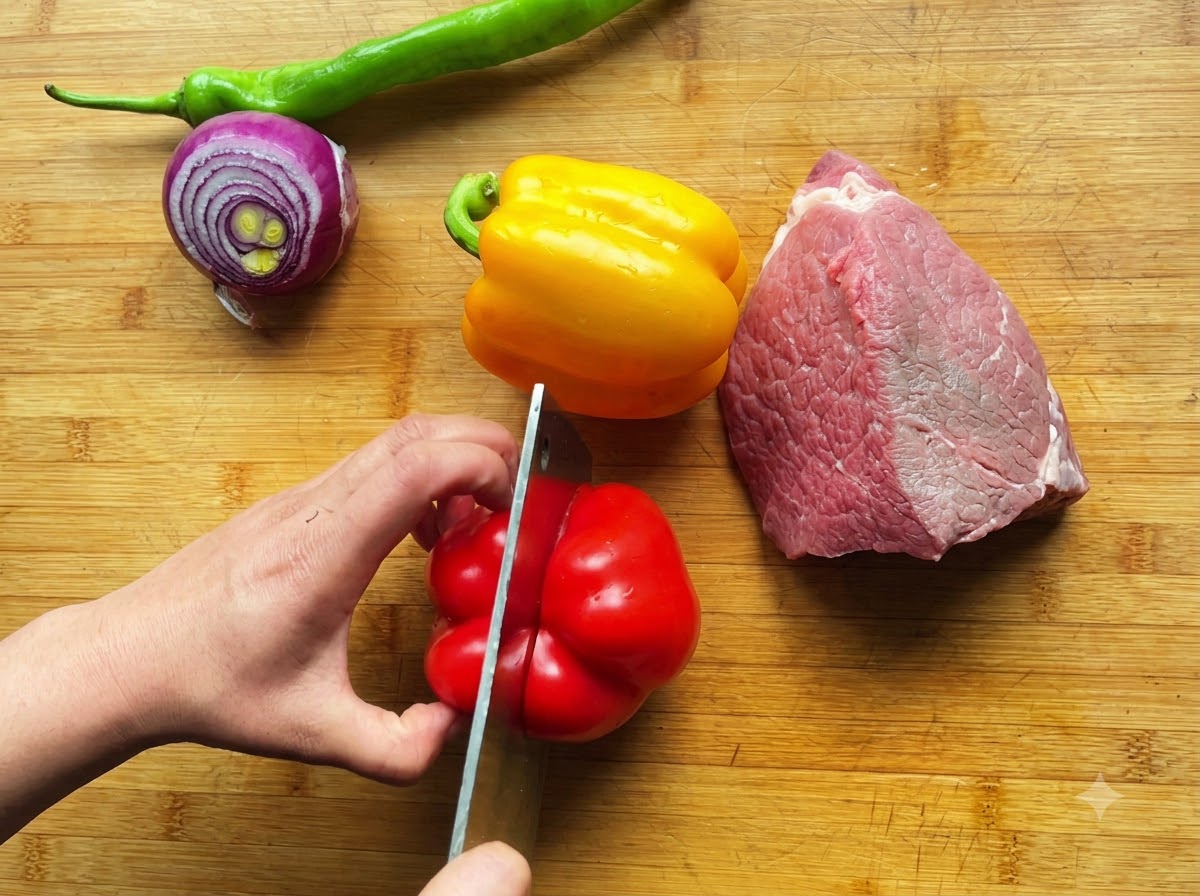
Prepare your fresh vegetables by slicing the red and yellow bell peppers, green chili peppers, and red onion into uniform pieces on a wooden cutting board. These vibrant aromatics will add both color and crucial flavor layers to the pizza.
Tip: Keep the slices relatively similar in size so they cook evenly later in the process. - 2Cut the beef
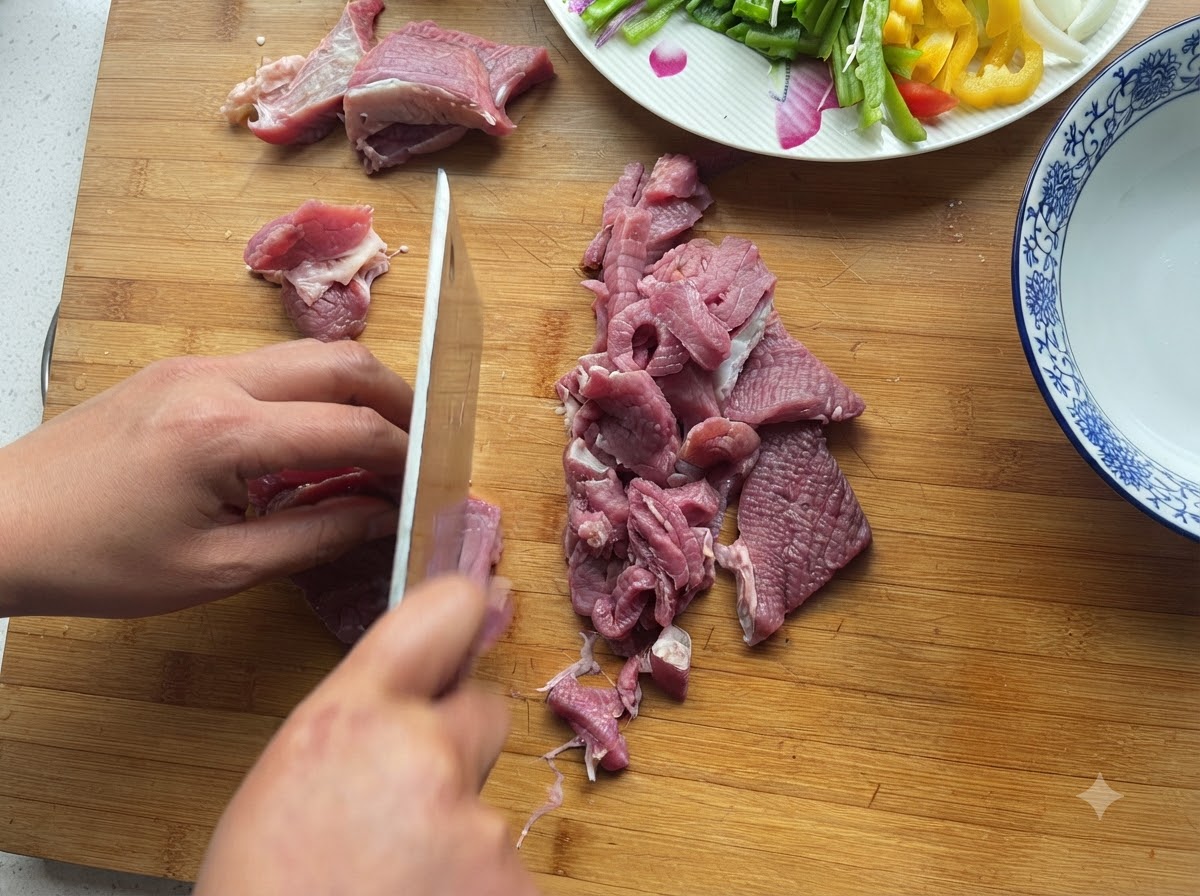
Take the fresh beef and use a sharp cleaver to cut it into smaller, bite-sized strips or chunks. Keep the previously sliced vegetables set aside on a plate while you prepare the meat.
Tip: Slicing the beef slightly across the grain will help ensure it remains tender when baked. - 3Add the dry spices
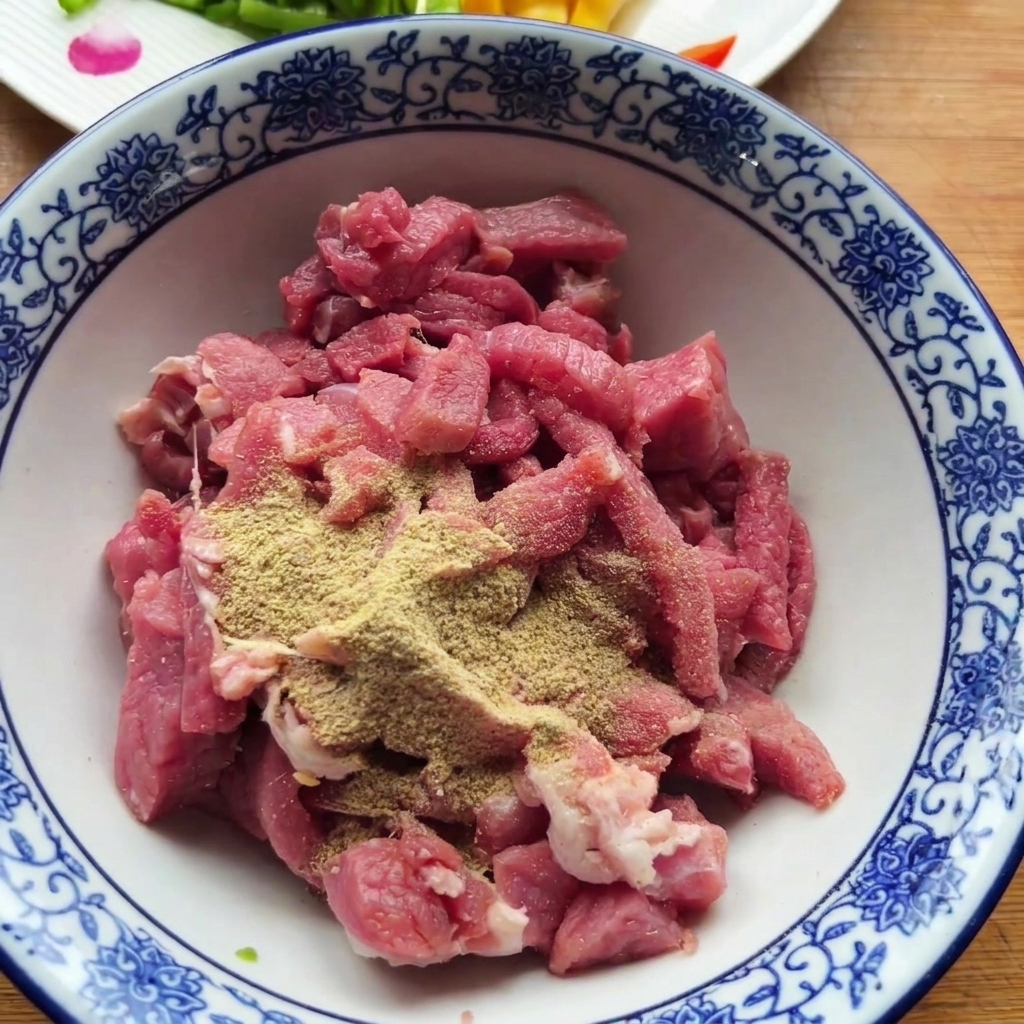
Transfer the cut raw beef into a mixing bowl. Sprinkle in your dry seasonings, including pepper powder, star anise powder, and MSG, to begin building the aromatic base for the meat.
Tip: You can adjust the amount of pepper and star anise depending on how intense you want the traditional Kun Guo flavors to be. - 4Add oil and salt
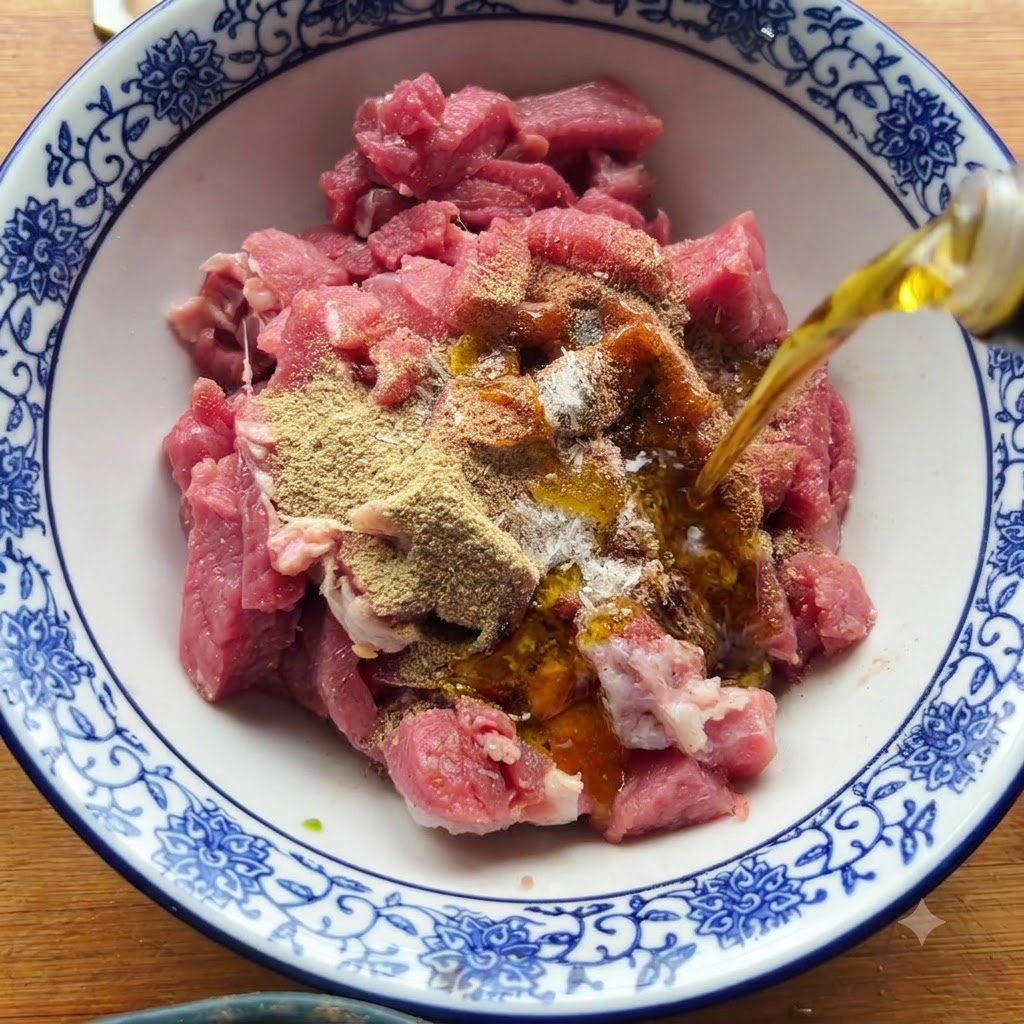
Pour rapeseed oil and sprinkle salt directly over the spiced raw beef. The oil will help bind the dry spices to the meat and lock in the moisture, keeping the beef juicy during the cooking process.
Tip: Rapeseed oil provides an authentic flavor, but a neutral cooking oil can be substituted if necessary. - 5Mix the beef marinade
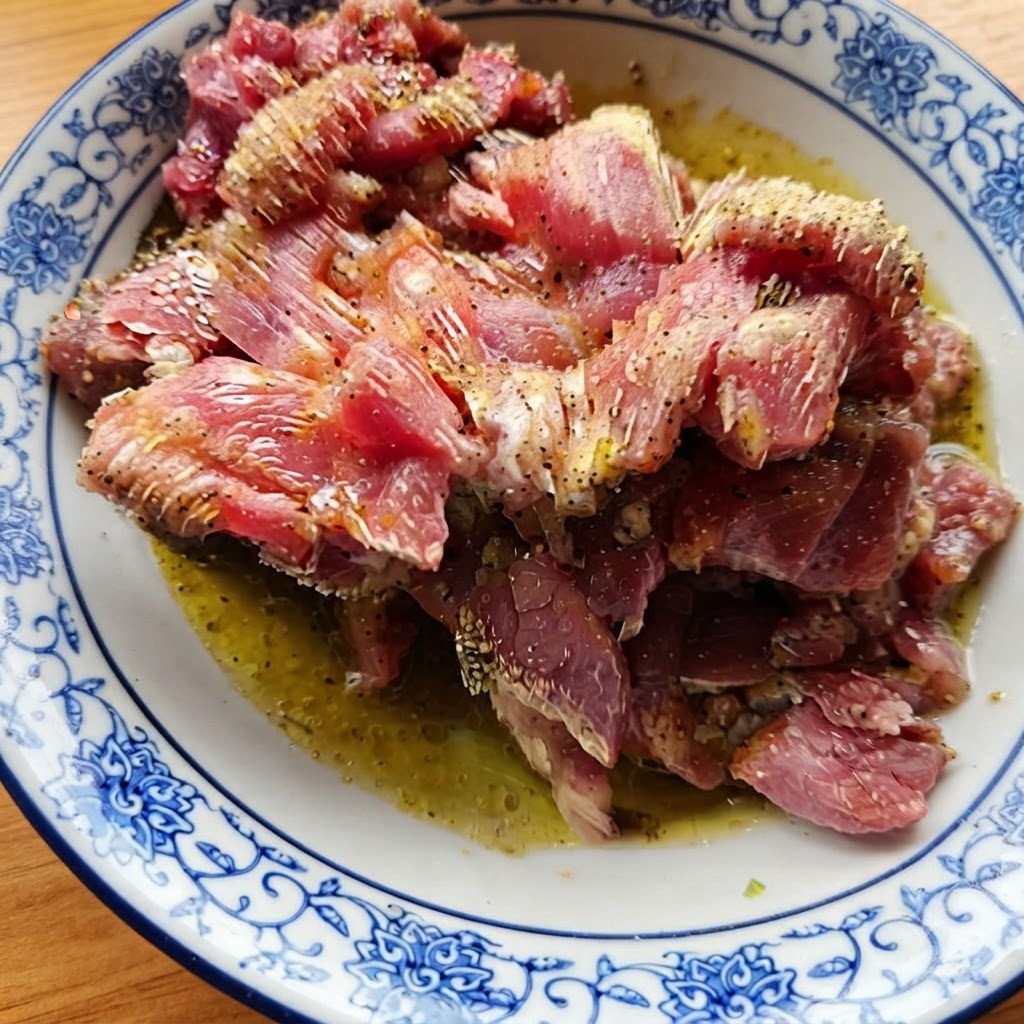
Thoroughly mix the beef with the oil, salt, and dry spices until every piece is evenly coated. Let the mixture sit briefly so the flavors can penetrate the meat before it is added to the pizza.
Tip: If time permits, let the beef marinate for 15-20 minutes to deepen the savory notes. - 6Roll out the pizza dough
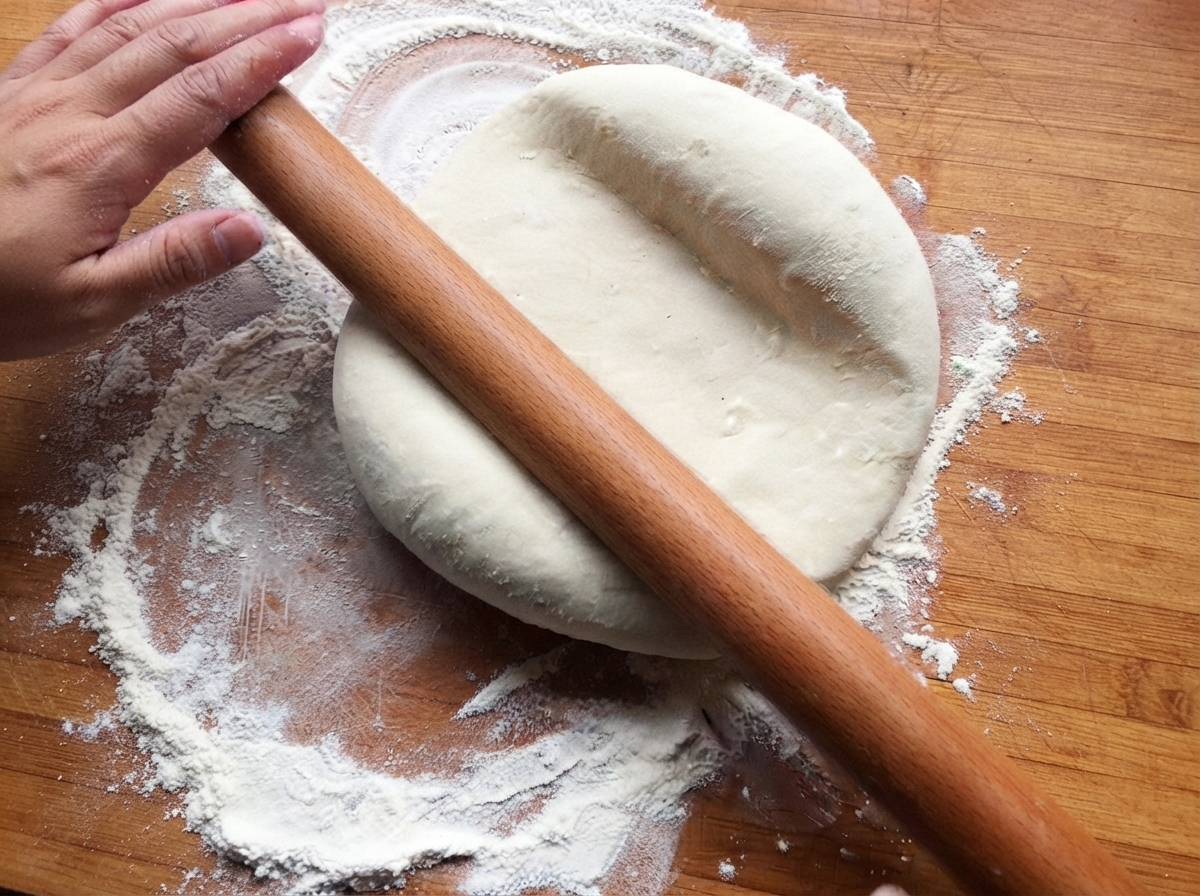
Dust your wooden work surface with flour to prevent sticking. Take your fermented dough and use a wooden rolling pin to roll it out into a large, thin, and even circular crust to form the base of your Kun Guo pizza.
Tip: Rotate the dough frequently while rolling to ensure an even thickness and a round shape. - 7Shape the decorative crust
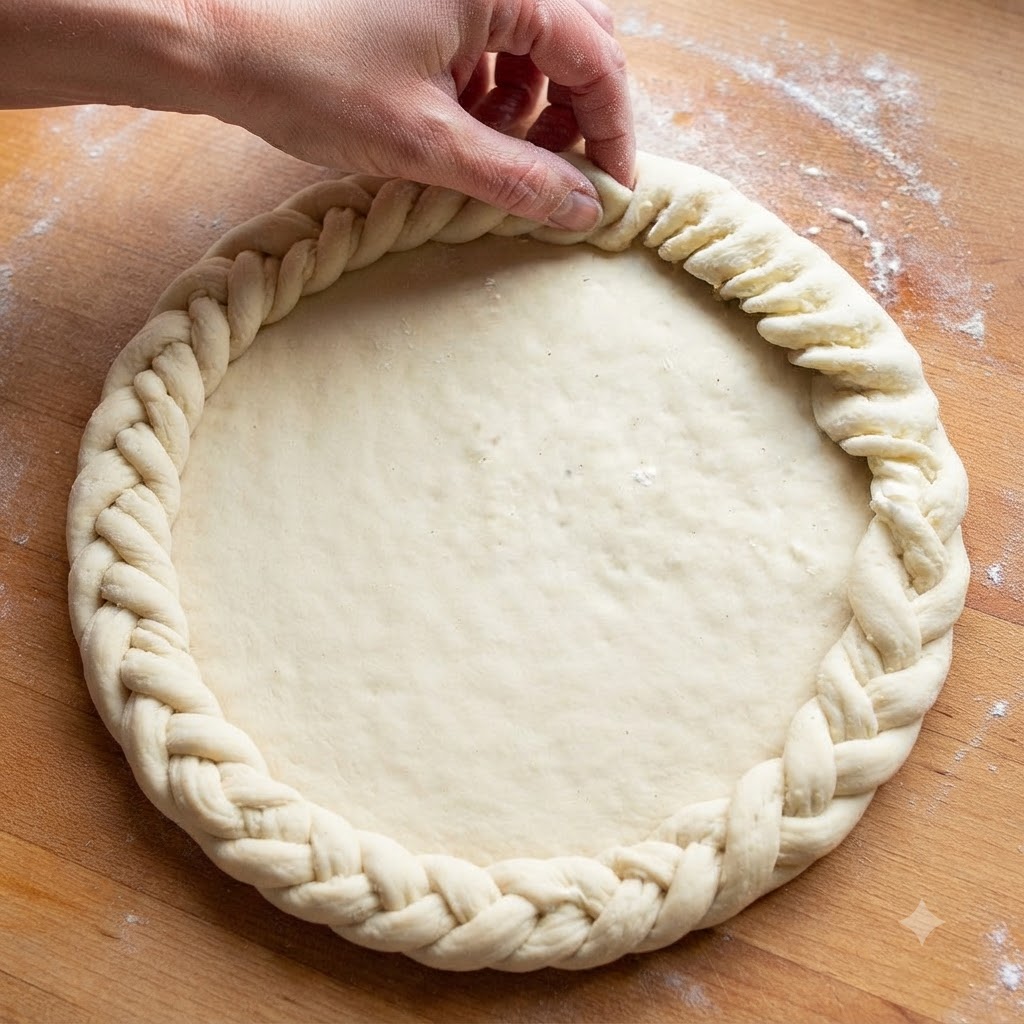
Take the edges of the rolled-out dough crust and carefully fold and twist them together to form an intricate, braided pattern along the border.
Tip: Press down firmly as you twist to ensure the decorative edge stays sealed during baking. - 8Poke holes in the dough
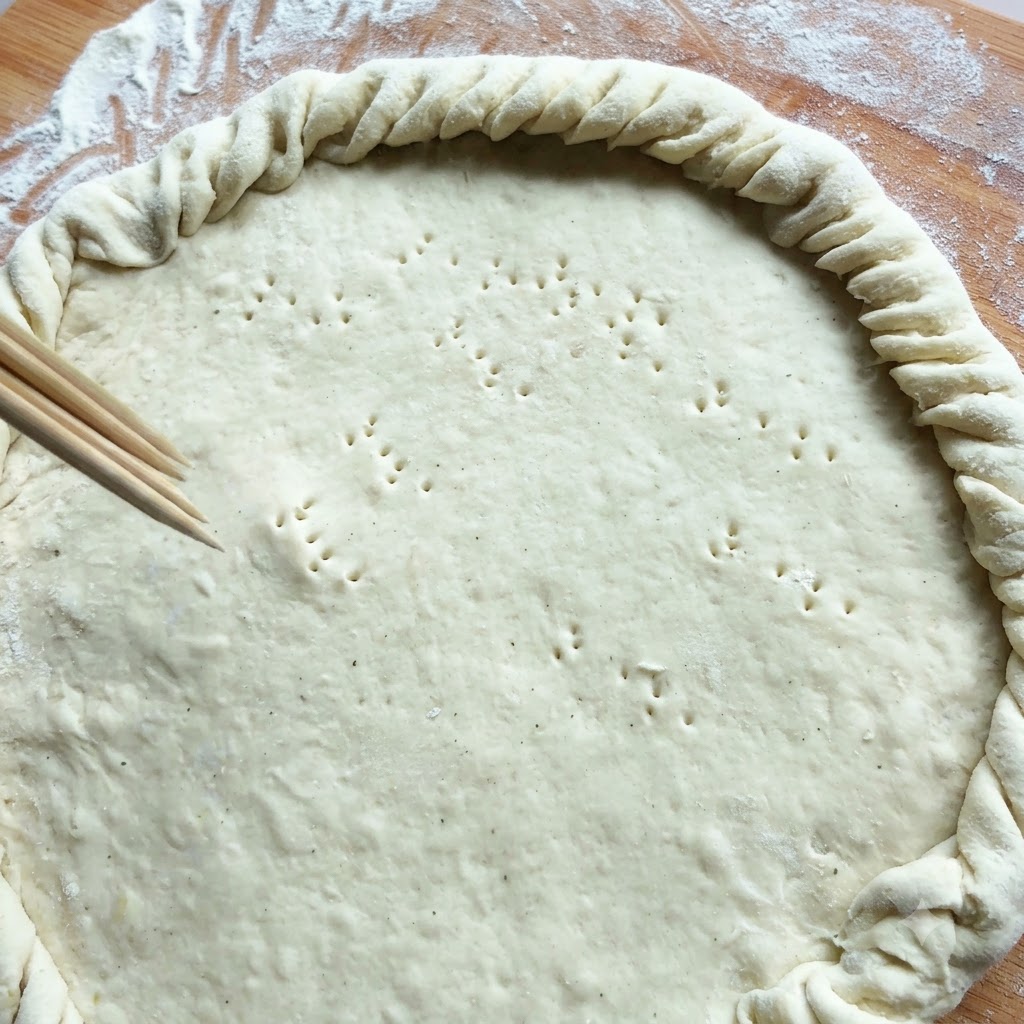
Using wooden chopsticks or skewers, poke small holes evenly across the center surface of the prepared dough crust. This helps release steam during cooking and prevents the center of the crust from puffing up unevenly.
Tip: Make sure to only poke the center flat area, leaving the decorative folded border intact. - 9Transfer crust to the pot
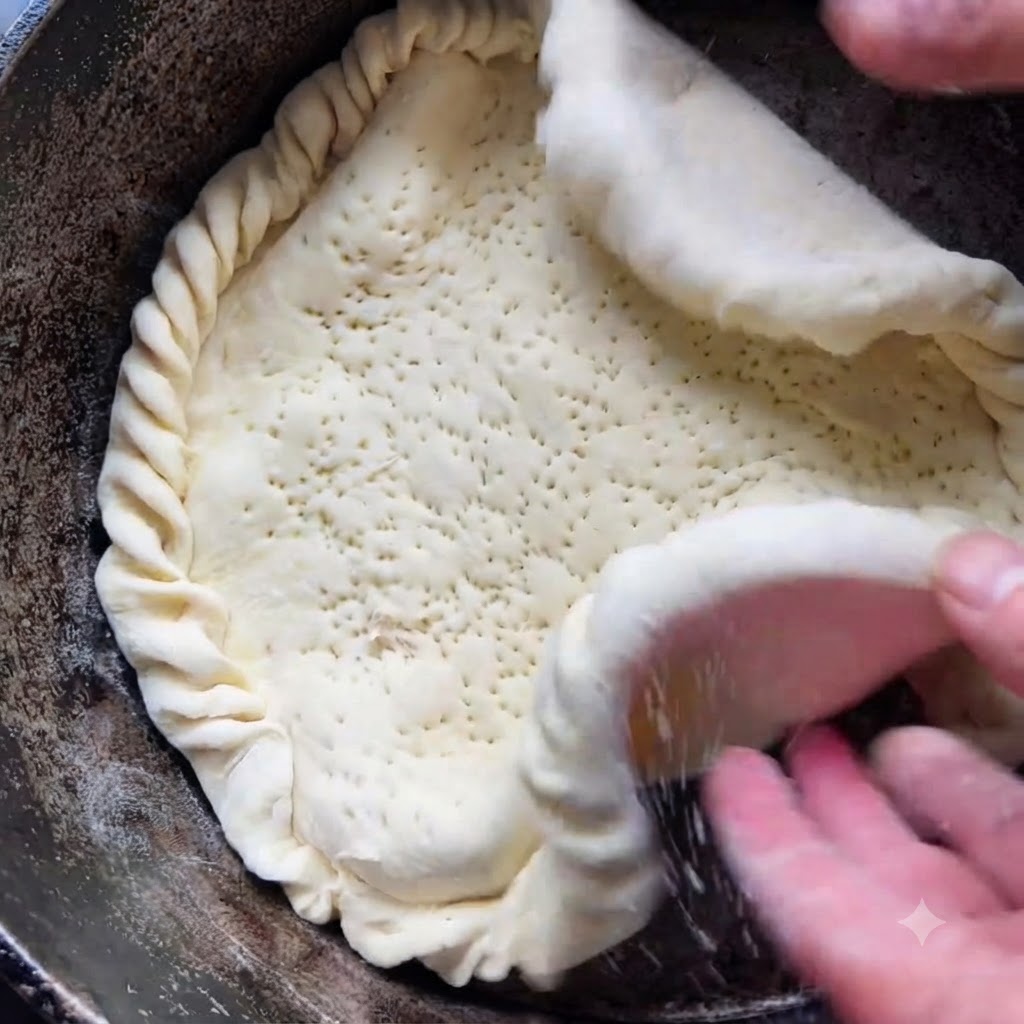
Carefully lift the prepared dough crust and lower it into a well-greased aluminum or cast-iron pot. Gently adjust the edges so the crust fits snugly against the base of the pan.
Tip: Greasing the pot thoroughly ensures the crust crisps up nicely without sticking to the bottom. - 10Oil the dough surface
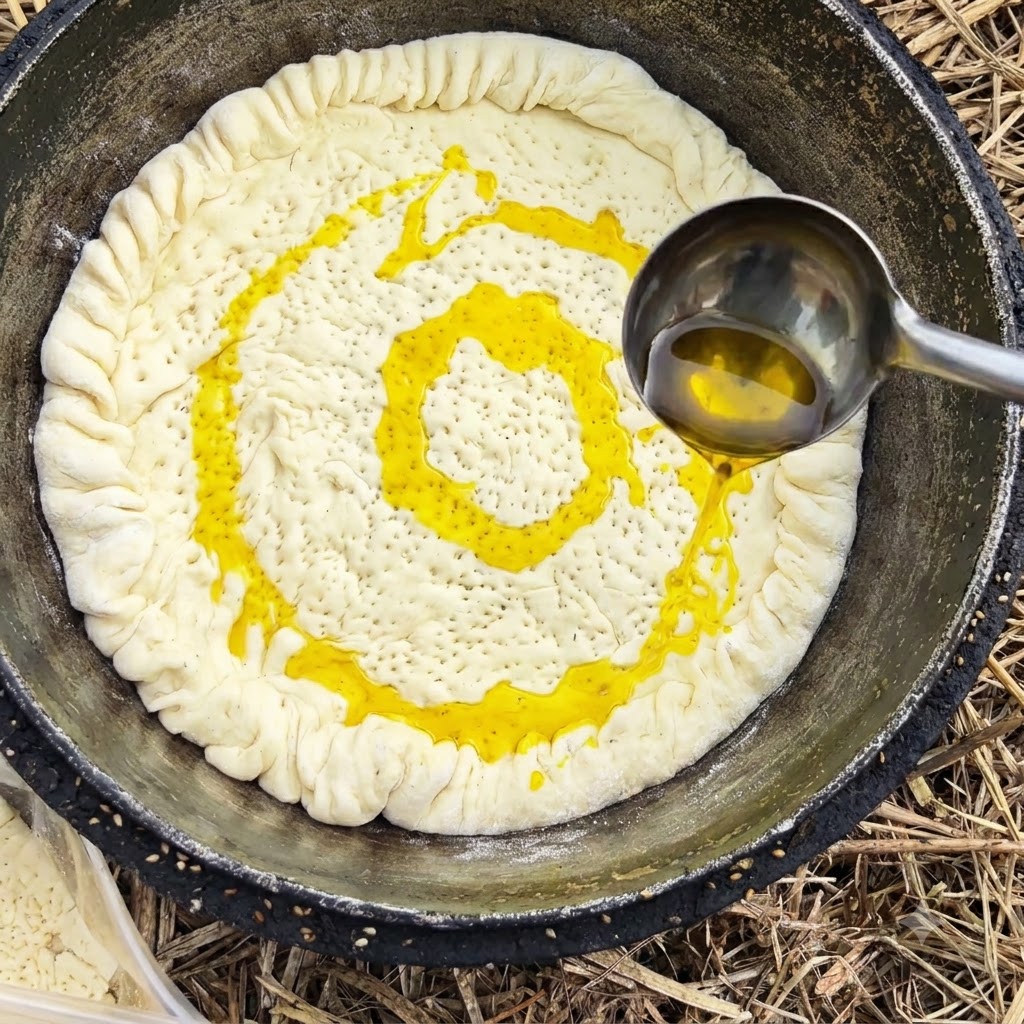
Use a ladle to pour cooking oil, such as rapeseed oil, evenly across the flat surface of the dough. The oil enriches the crust and helps cook the toppings placed above it.
Tip: Spread the oil evenly to ensure uniform flavor and texture in the final dish. - 11Add a layer of cheese
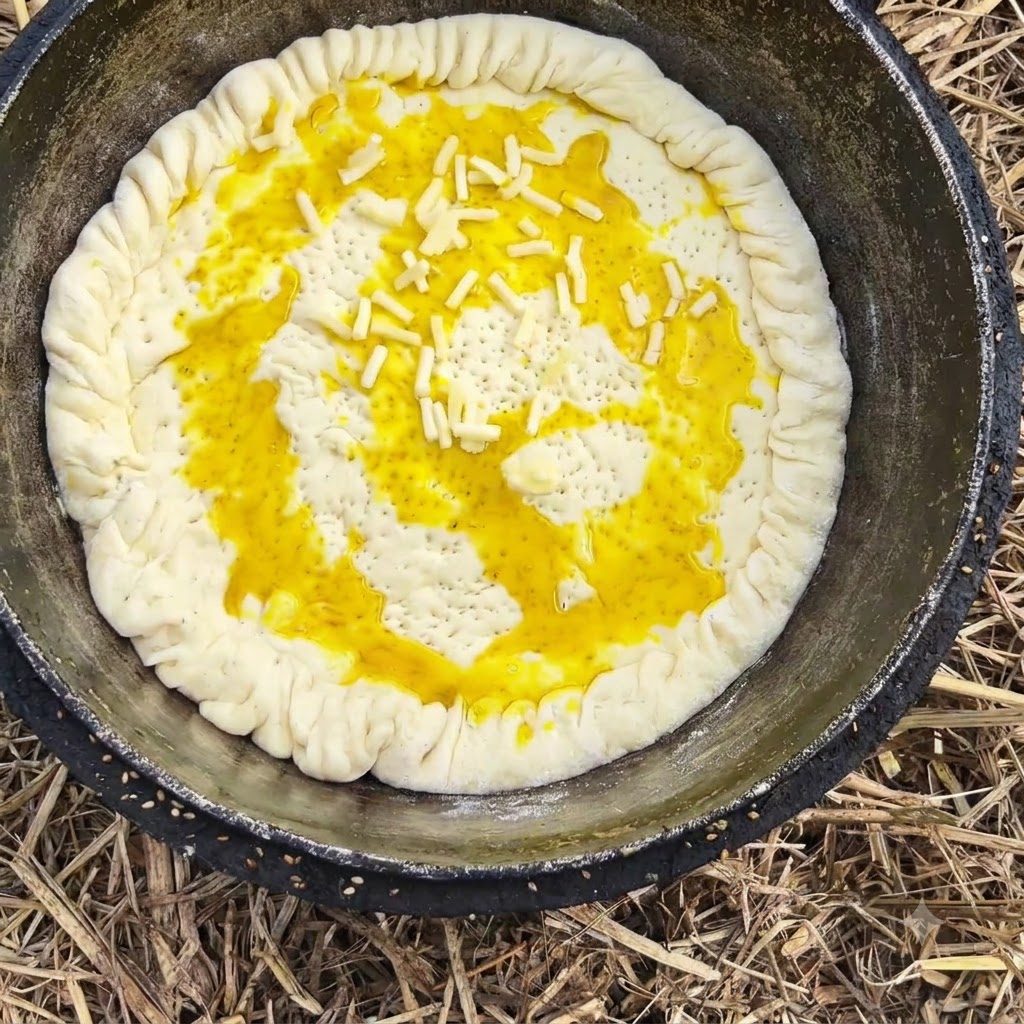
Sprinkle an even layer of shredded cheese over the oiled dough base. The cheese provides a savory foundation and will melt nicely to hold the toppings together.
Tip: Keep the cheese mostly in the center, away from the decorative crust edges, to prevent it from burning. - 12Layer the seasoned beef
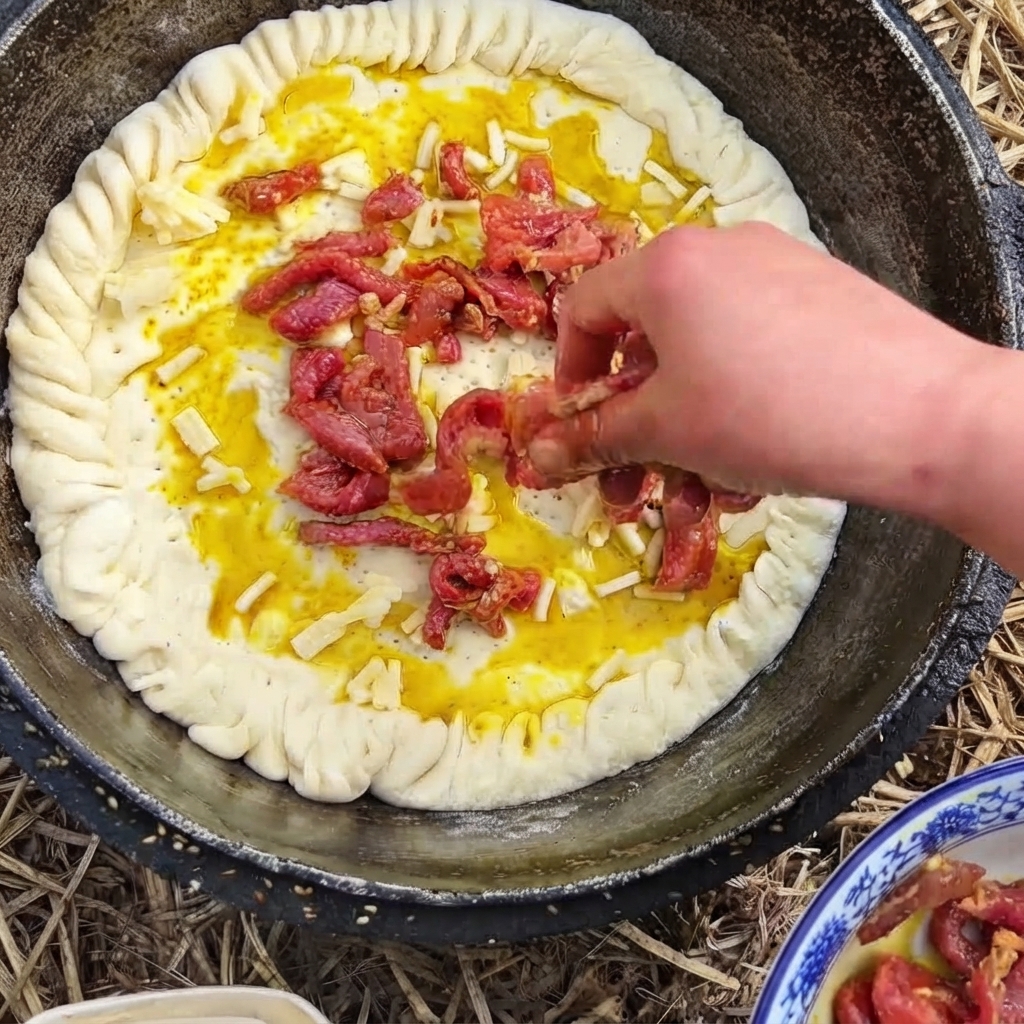
Scatter the prepared and seasoned raw beef pieces evenly over the cheese layer. Make sure the meat is distributed in a single layer so it cooks thoroughly and flavors the pizza evenly.
Tip: Slice the beef thinly to ensure it cooks at the same rate as the dough. - 13Layer the vegetables
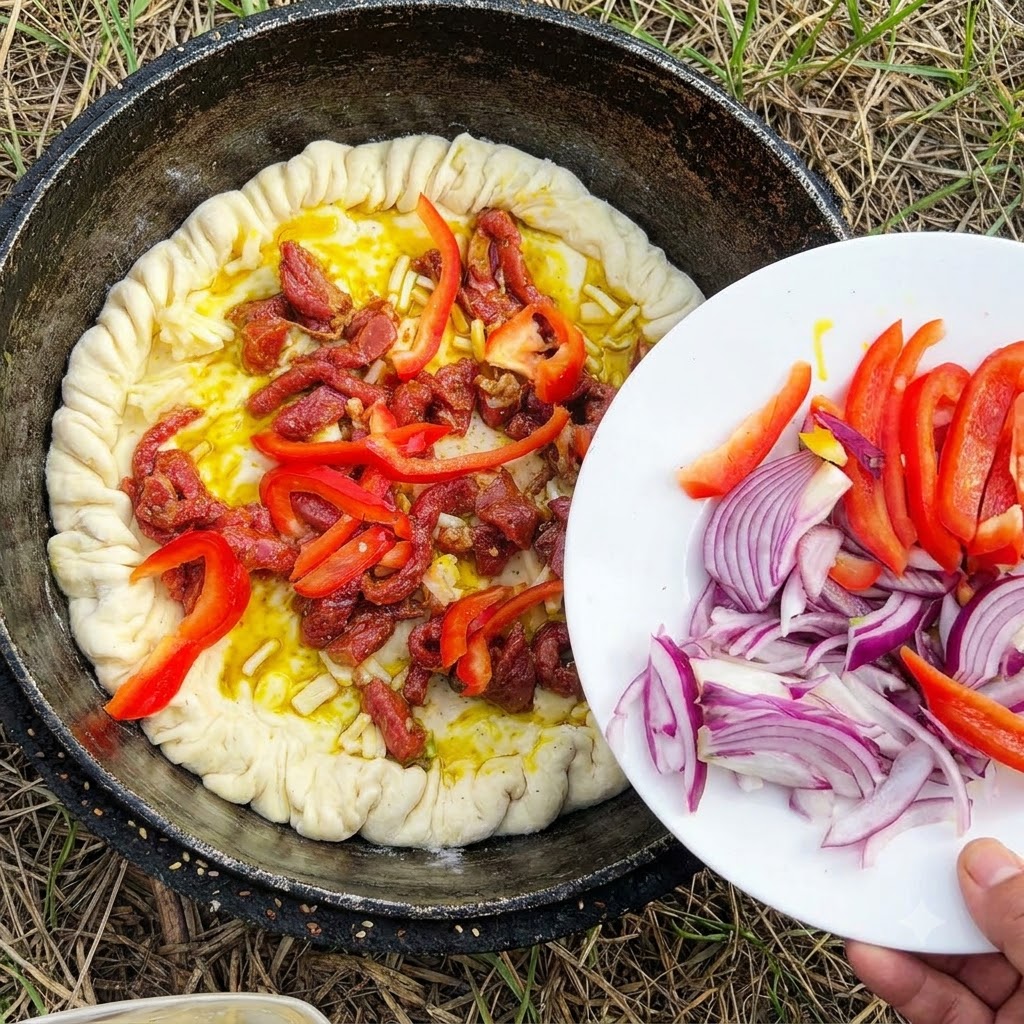
Layer the sliced red bell peppers, yellow bell peppers, green chilies, and red onions evenly over the beef and cheese base inside the prepared crust.
Tip: Distribute the vegetables evenly to ensure balanced flavor and texture in every bite. - 14Add final cheese layer
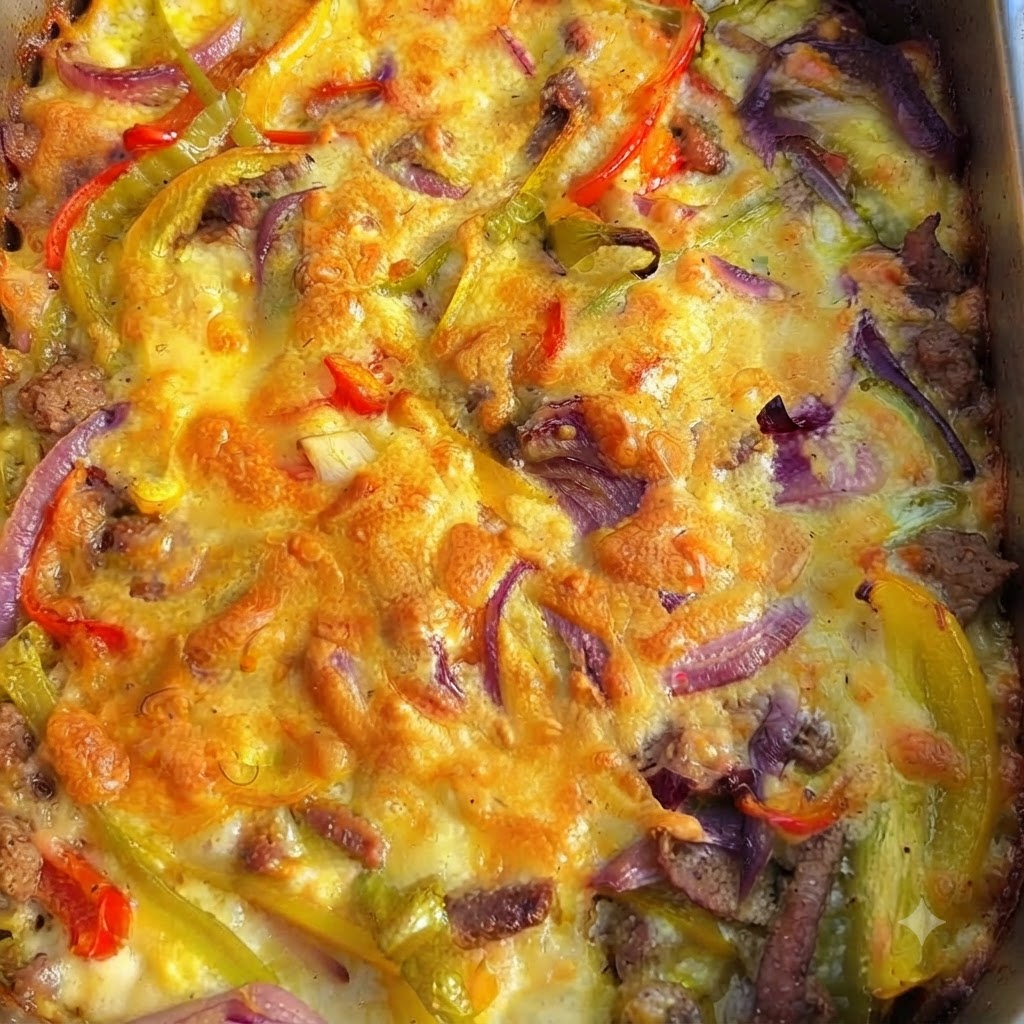
Sprinkle an additional generous layer of shredded cheese evenly across the top of the assembled vegetable and meat toppings.
Tip: Make sure to cover the edges of the vegetables so they bake nicely into the melted cheese.