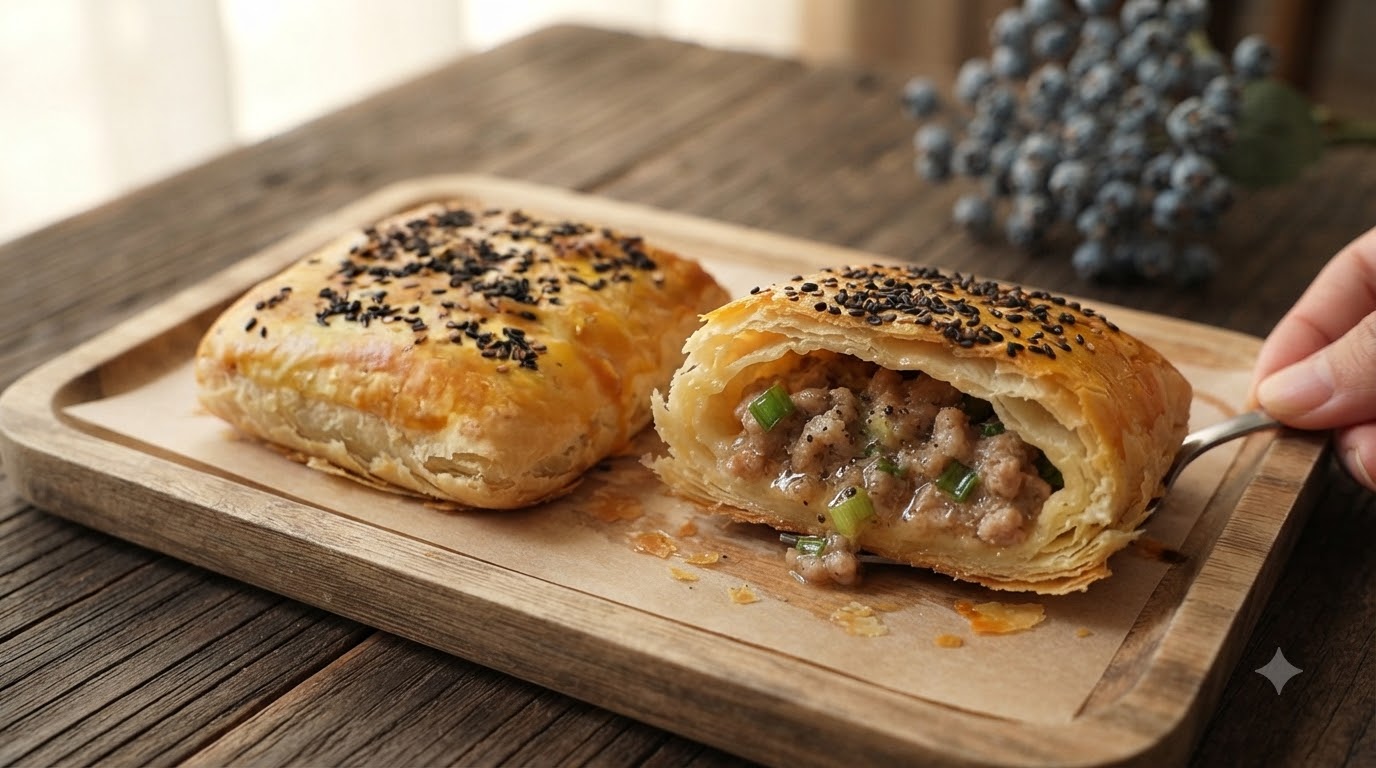
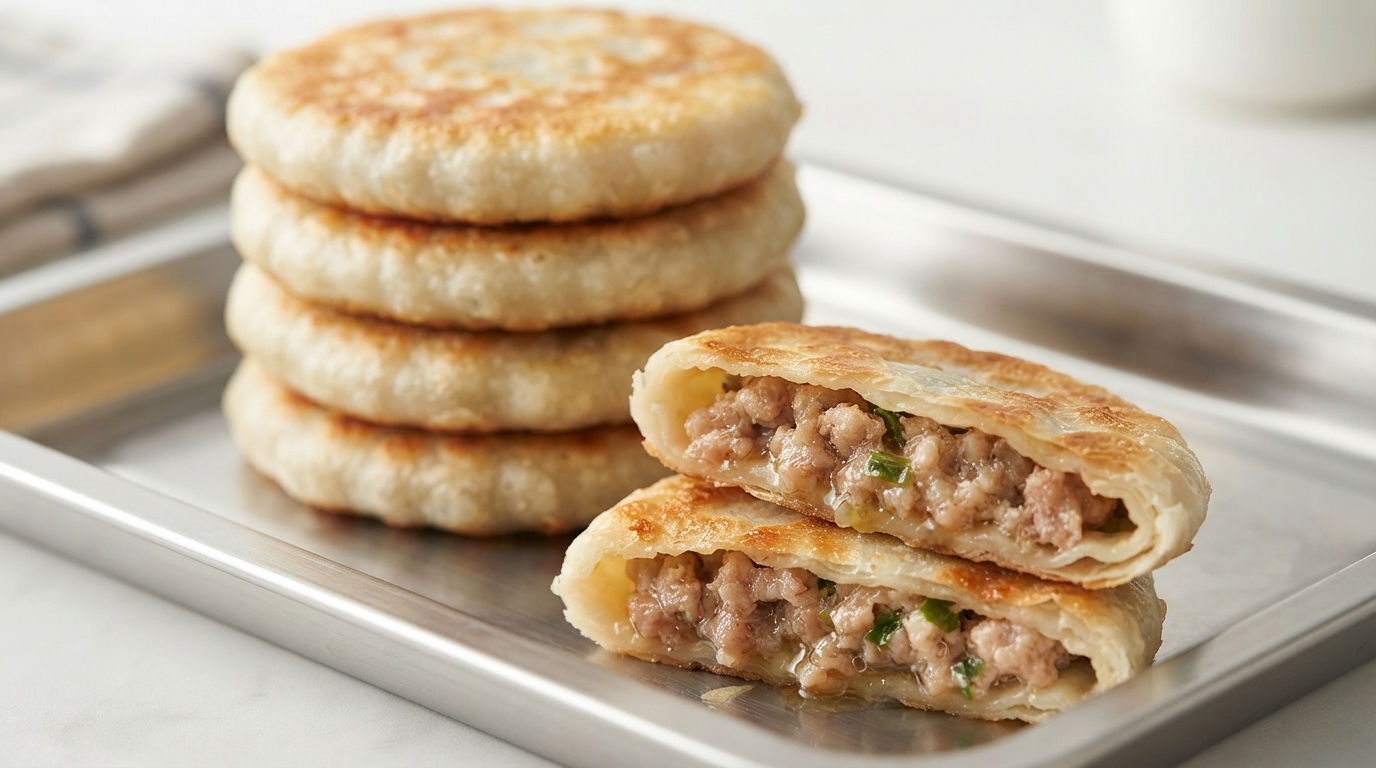
Crispy Meat
Scallion Oil Pancake
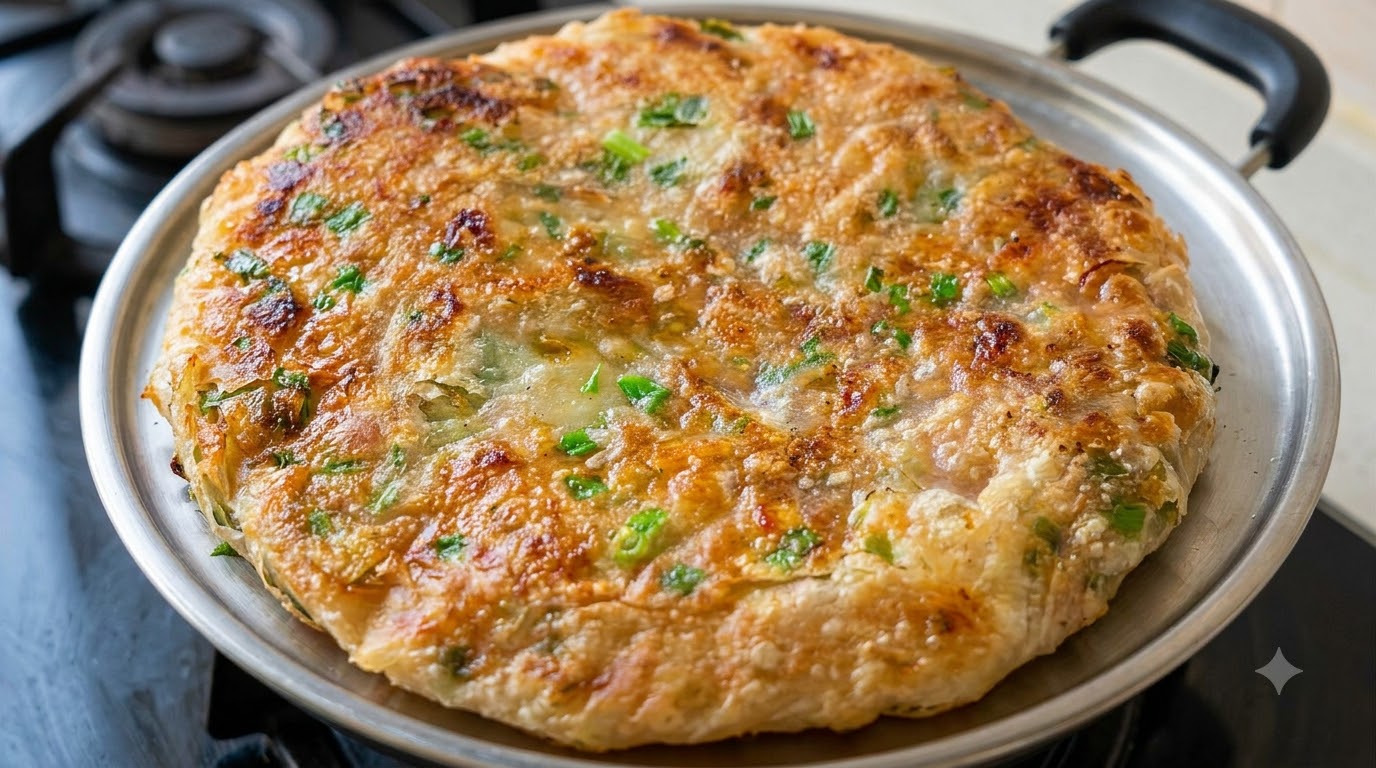
A traditional savory Chinese pastry featuring ultra-crispy, flaky layers, fragrant scallions, and a rich spiced meat filling, pan-fried to golden perfection.
Meat and scallion oil pancakes are a beloved staple of Asian street food culture, celebrated for their intricate spiral layers and contrast between a crunchy exterior and a savory, tender filling. The technique of oiling, rolling, and folding creates dozens of delicate pastry sheets that puff and crisp up when exposed to direct heat.
Ingredients
- 300 g all-purpose flour
- 3 g salt
- 170 g warm water
- 200 g minced meat
- 1 bunch chopped chives
- 1 tbsp light soy sauce
- 1 tsp dark soy sauce
- 1/2 tsp five spice powder
- 1/2 tsp white pepper
- 1/2 tsp salt
- 2 tbsp cooking oil
Instructions
- 1Mix flour, salt, and warm water
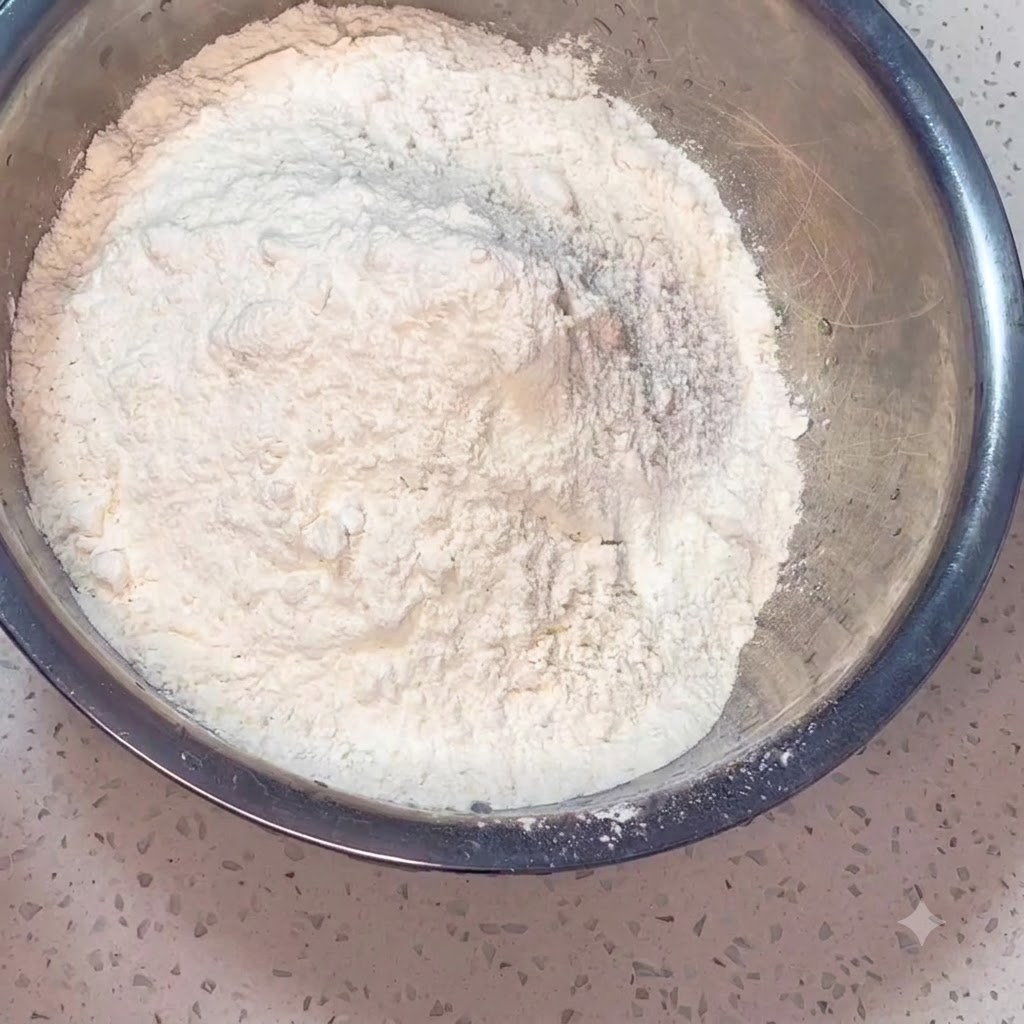
Place flour into a metal bowl, add salt and warm water, and use chopsticks to stir the ingredients together until they begin to combine.
Tip: Add warm water gradually to ensure even hydration of the flour mixture. - 2Knead the dough
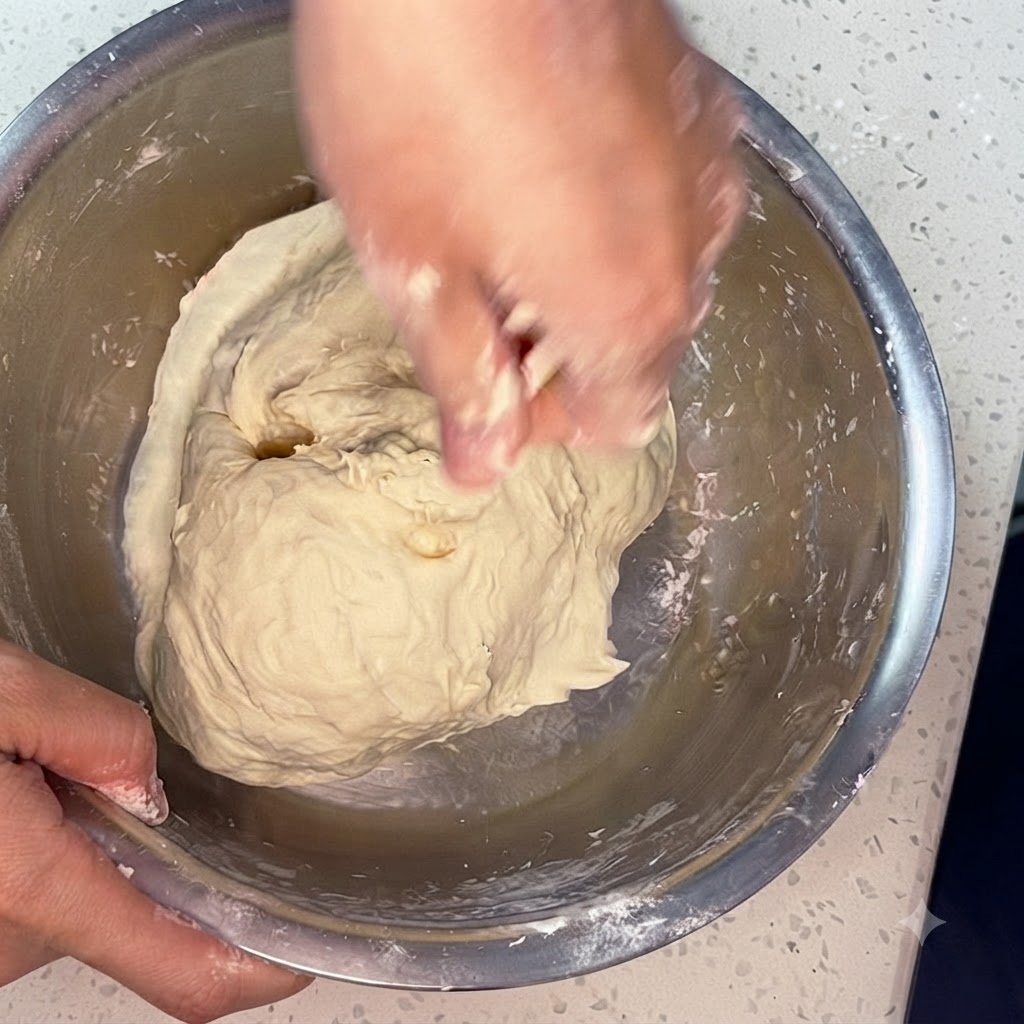
Use your hands to knead the mixture directly inside the metal bowl until it comes together into a cohesive, smooth dough mass.
Tip: Knead firmly to develop the gluten structure of the dough. - 3Coat the dough log with oil
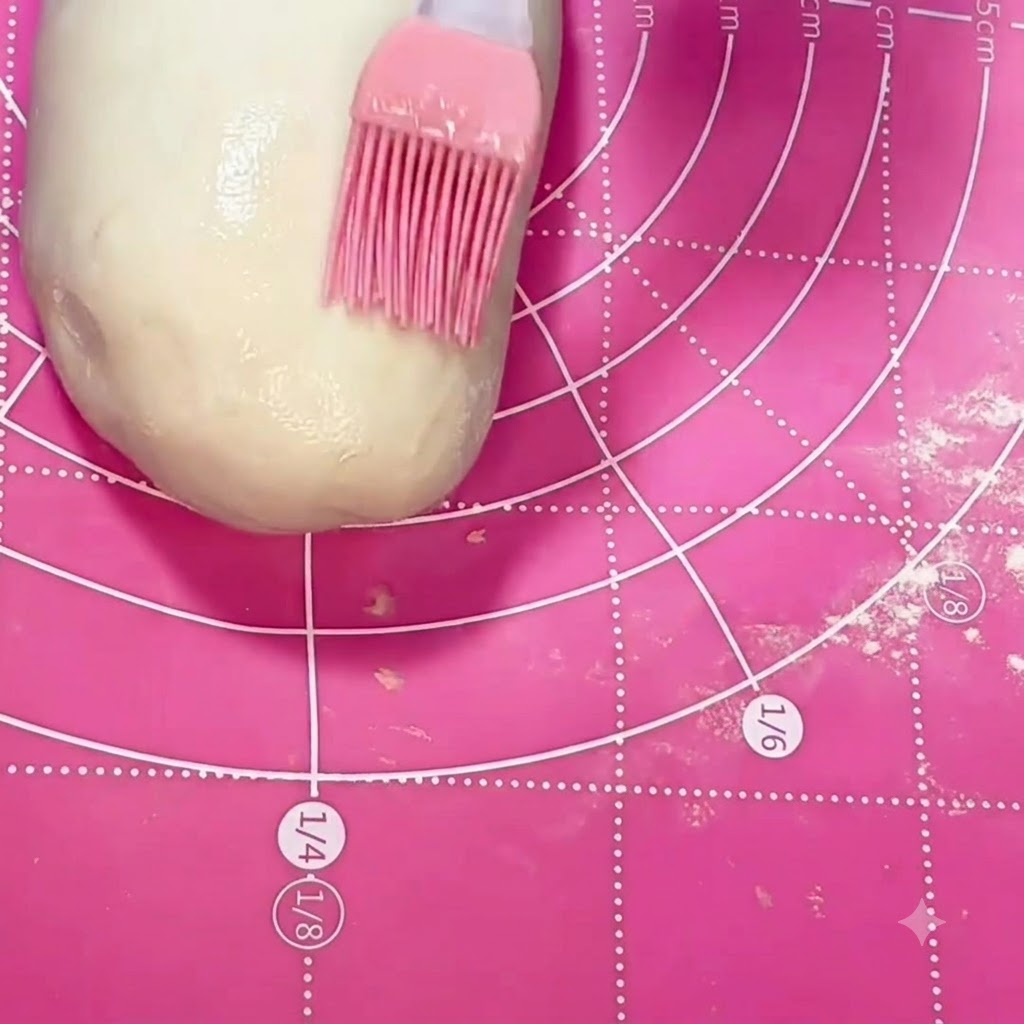
Place the shaped dough log onto a pink silicone mat and use a small pink brush to coat the entire surface evenly with a layer of oil.
Tip: Coating with oil prevents the dough from drying out while resting. - 4Divide the dough into portions
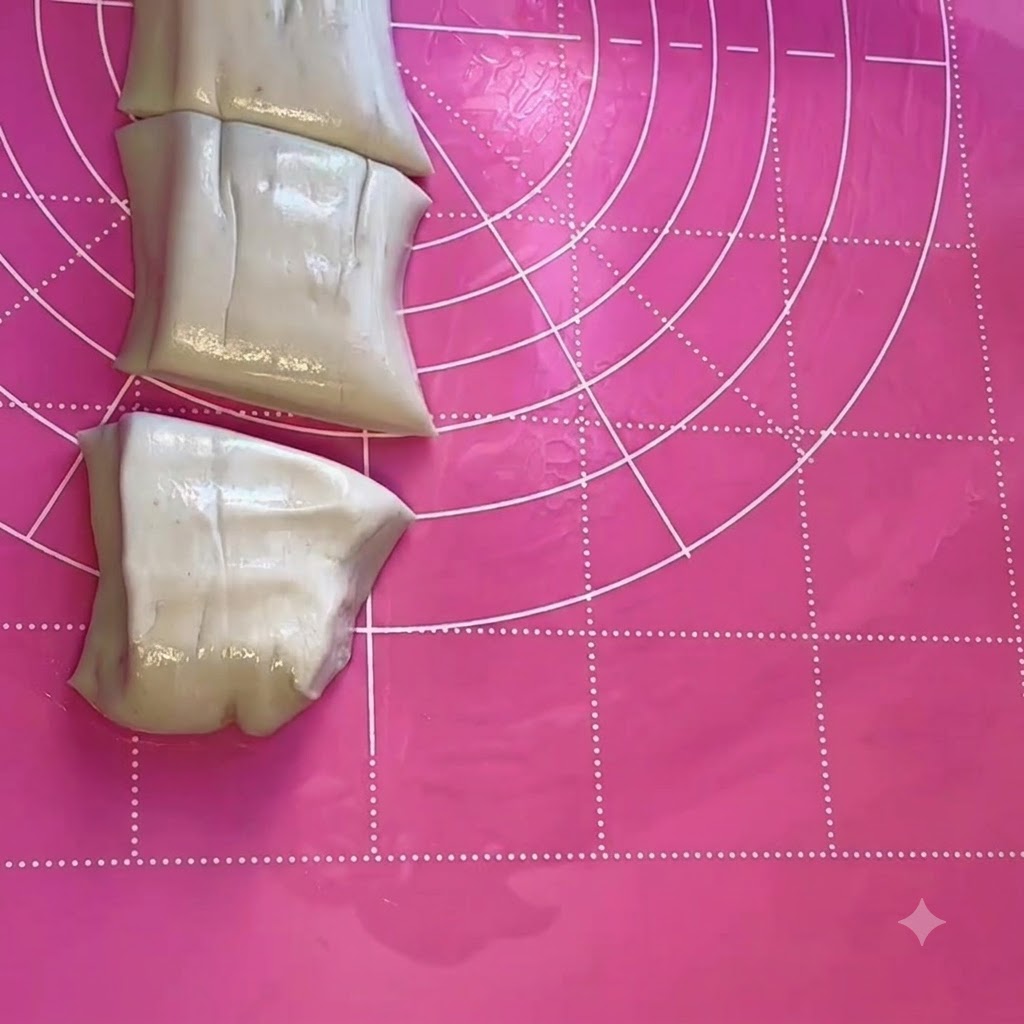
Cut the oiled dough log into smaller, evenly sized portions on the pink silicone mat, with bowls of oil positioned nearby.
Tip: Slice cleanly to ensure uniform individual pieces for rolling. - 5Roll out the dough sheet
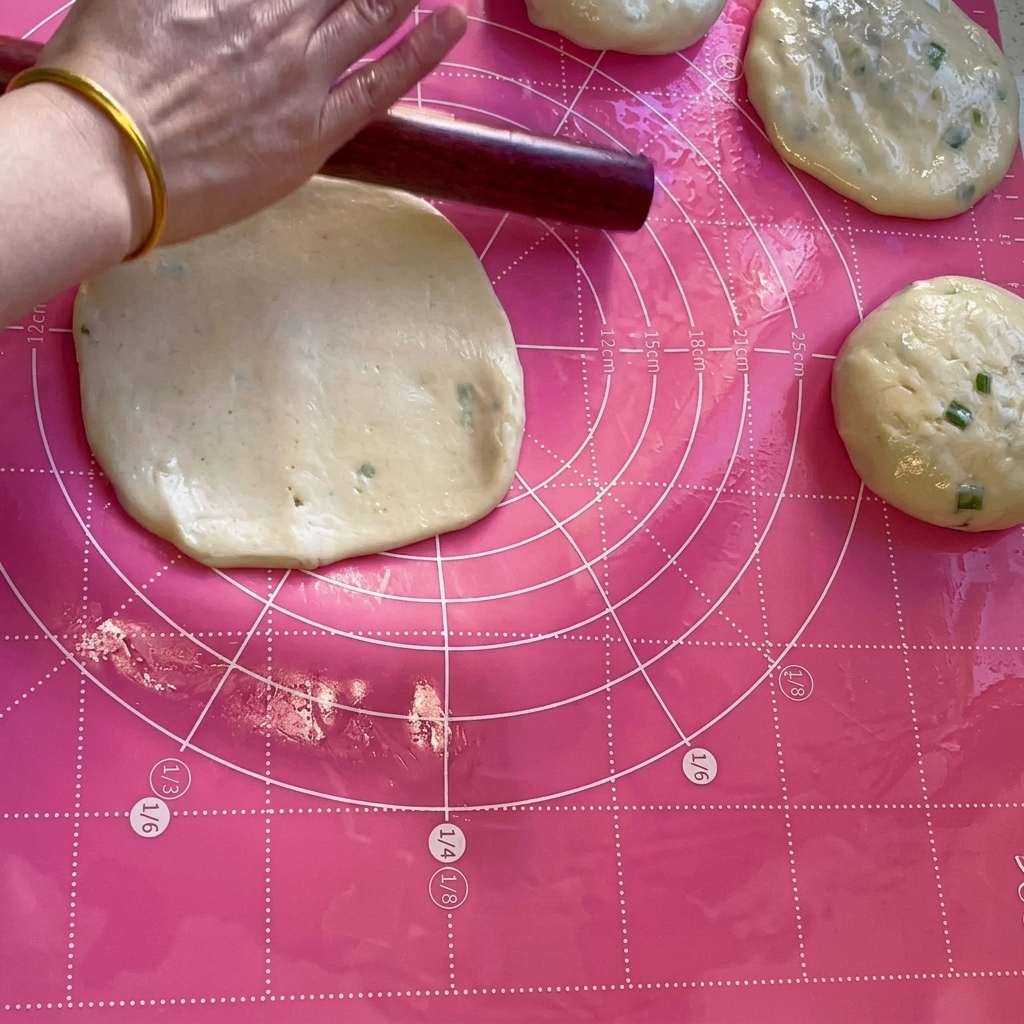
Take a dough portion and use a wooden rolling pin to flatten and roll it out into a thin, round sheet on the pink mat.
Tip: Roll evenly from the center outward to maintain a consistent thickness. - 6Prepare the meat filling
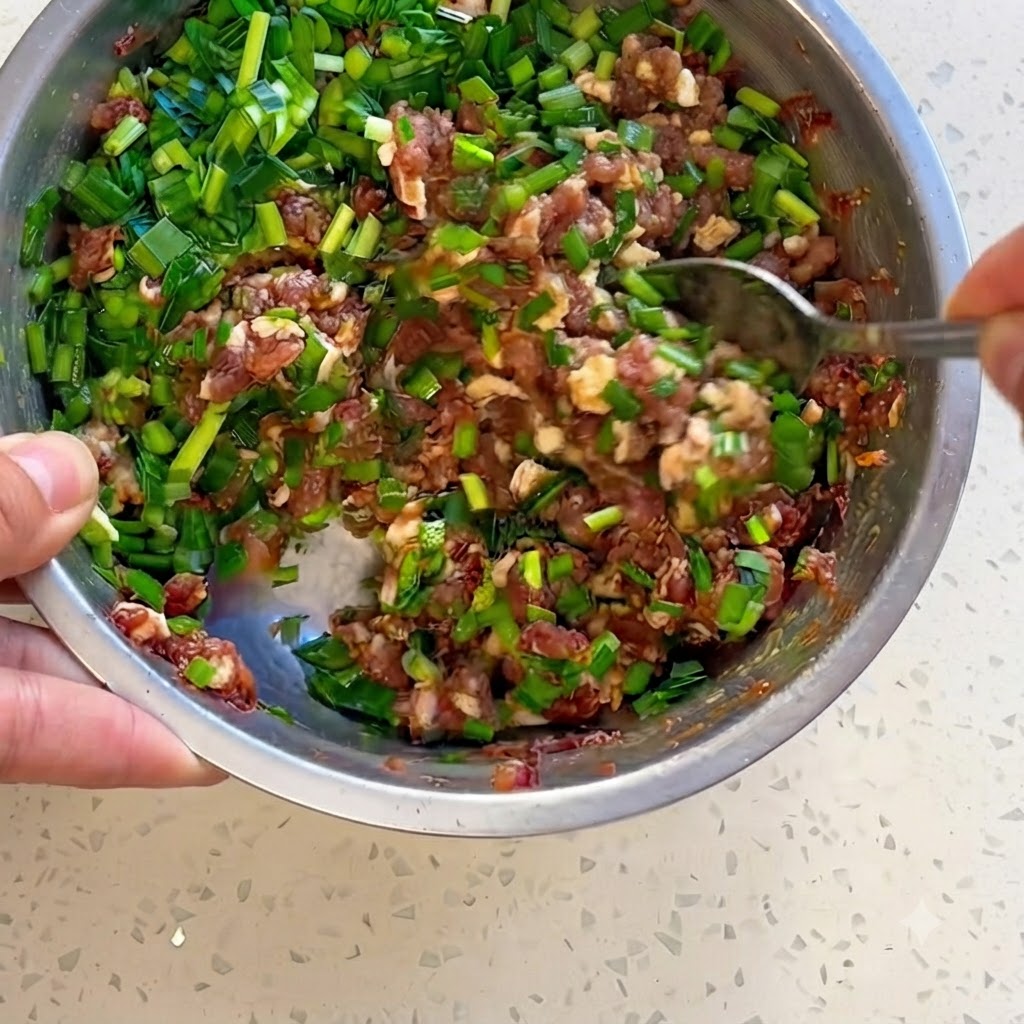
Combine minced meat and chopped chives in a metal bowl, add seasonings, and mix everything evenly together using chopsticks.
Tip: Mix thoroughly so the seasonings and chives are evenly distributed throughout the meat. - 7Spread the filling
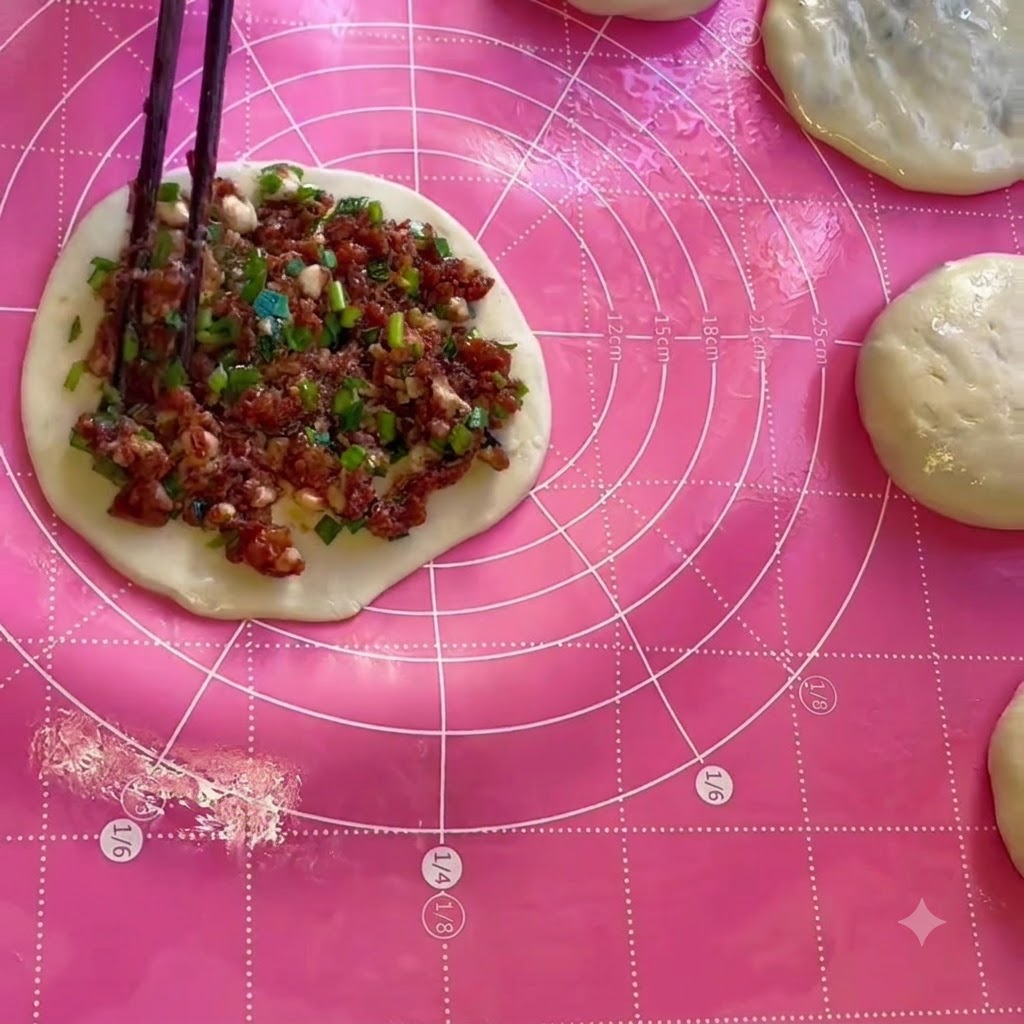
Take the prepared meat and chive filling and spread it evenly over the surface of the flattened dough sheet using chopsticks, leaving a small border around the edges.
Tip: Ensure the filling is spread in a thin, even layer so the pancake cooks uniformly and the dough layers remain distinct. - 8Cut and fold the dough
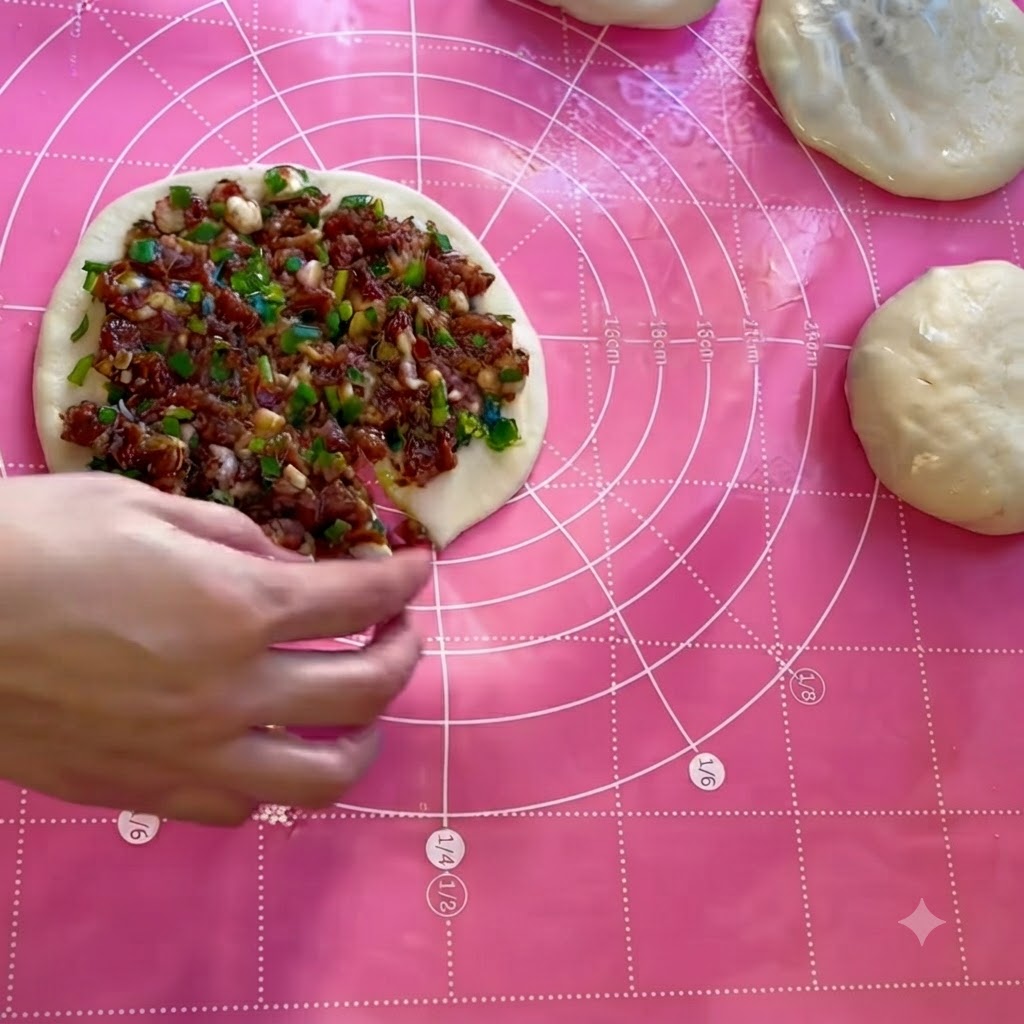
Make a single cut from the center of the dough to the outer edge. Begin folding the dough over itself along the cut edge to enclose the filling and create multiple distinct layers.
Tip: This cutting and folding technique is essential for creating the signature flaky, layered texture in the finished pancake. - 9Seal the edges
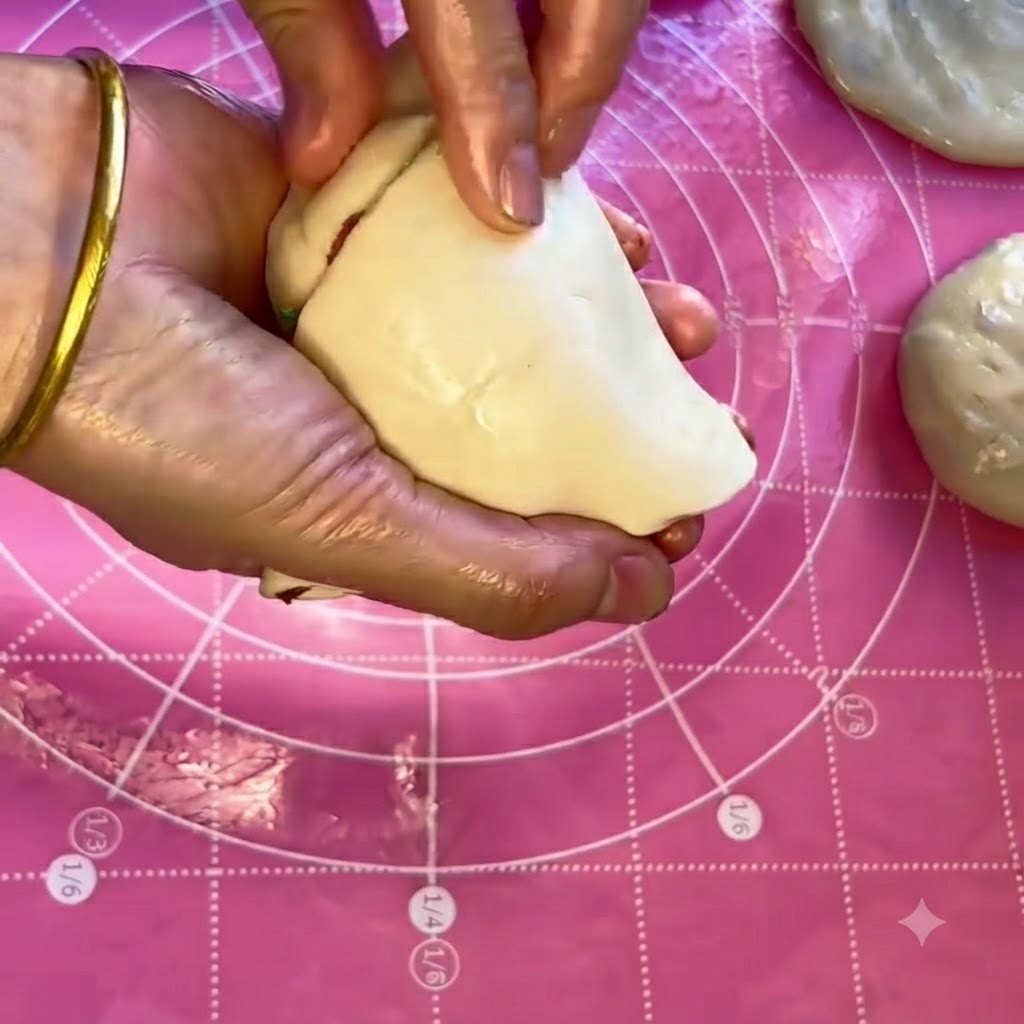
Once the dough is fully rolled into a cone or ball shape, carefully press and pinch the edges and the top together to completely enclose the meat filling.
Tip: Seal the seams tightly to prevent the savory meat juices and fat from leaking out during the pan-frying process. - 10Flatten the dough
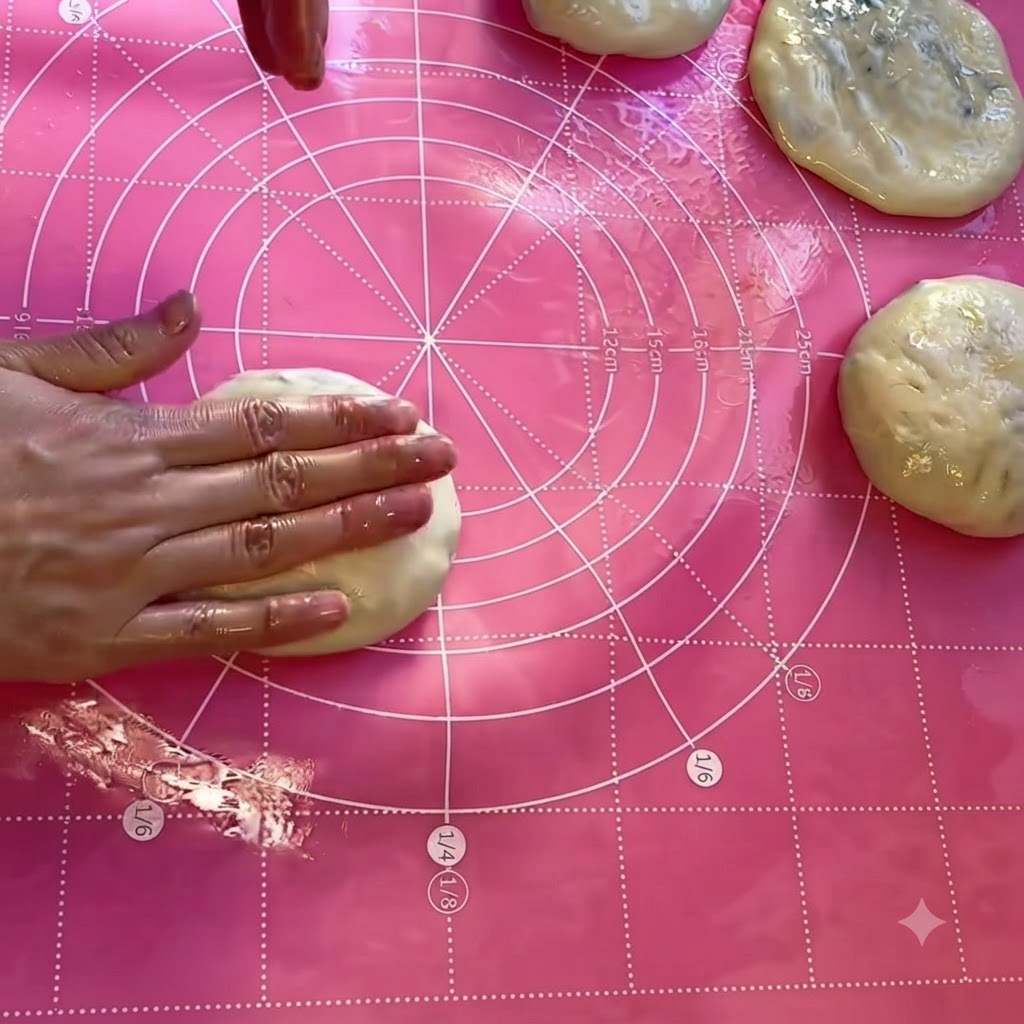
Place the sealed dough ball onto your work surface and gently press it down with the palm of your hand to flatten it into a thick pancake before rolling it out further.
Tip: If the dough shrinks back while rolling, let it rest for 5 minutes to relax the gluten before continuing to roll it out to its final thinness.