Crispy Niuzhuang Meat Pies (Chinese Xianbing)
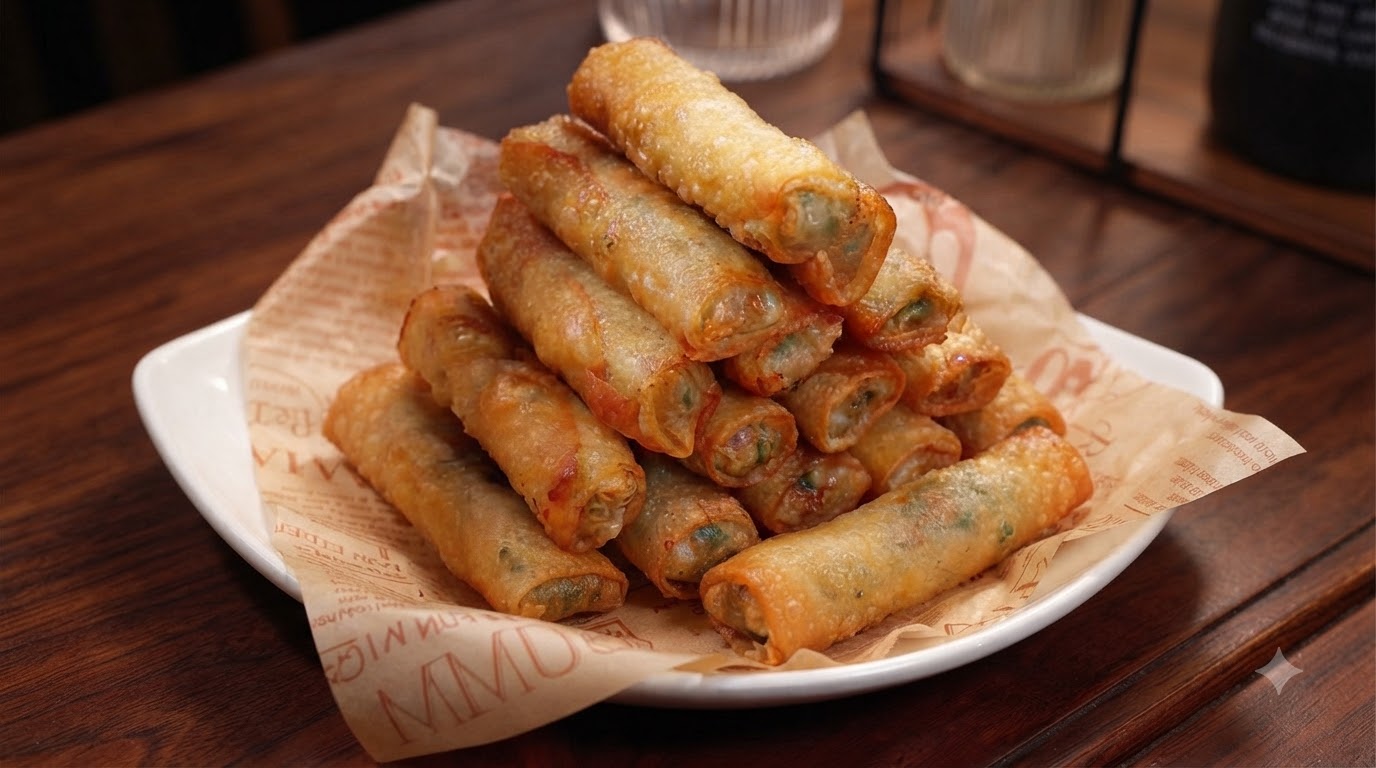
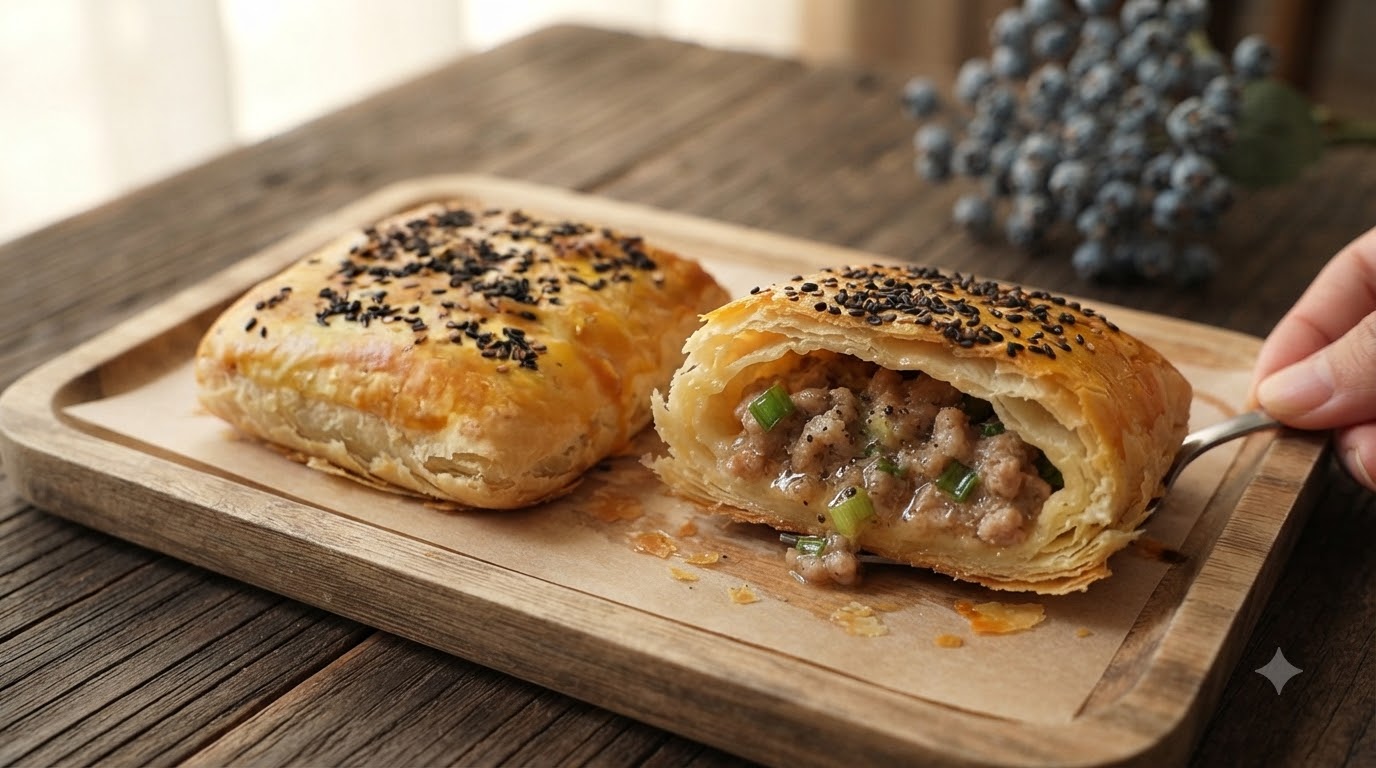
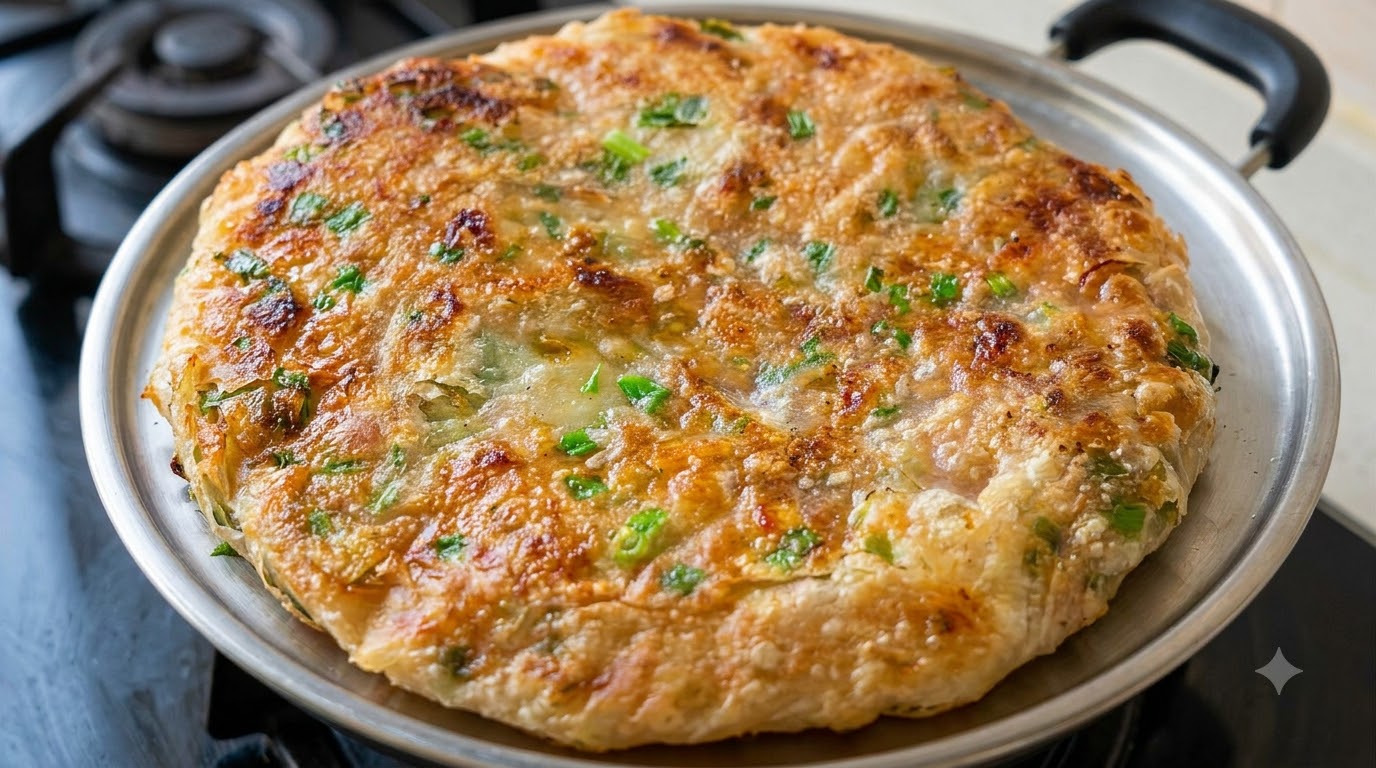
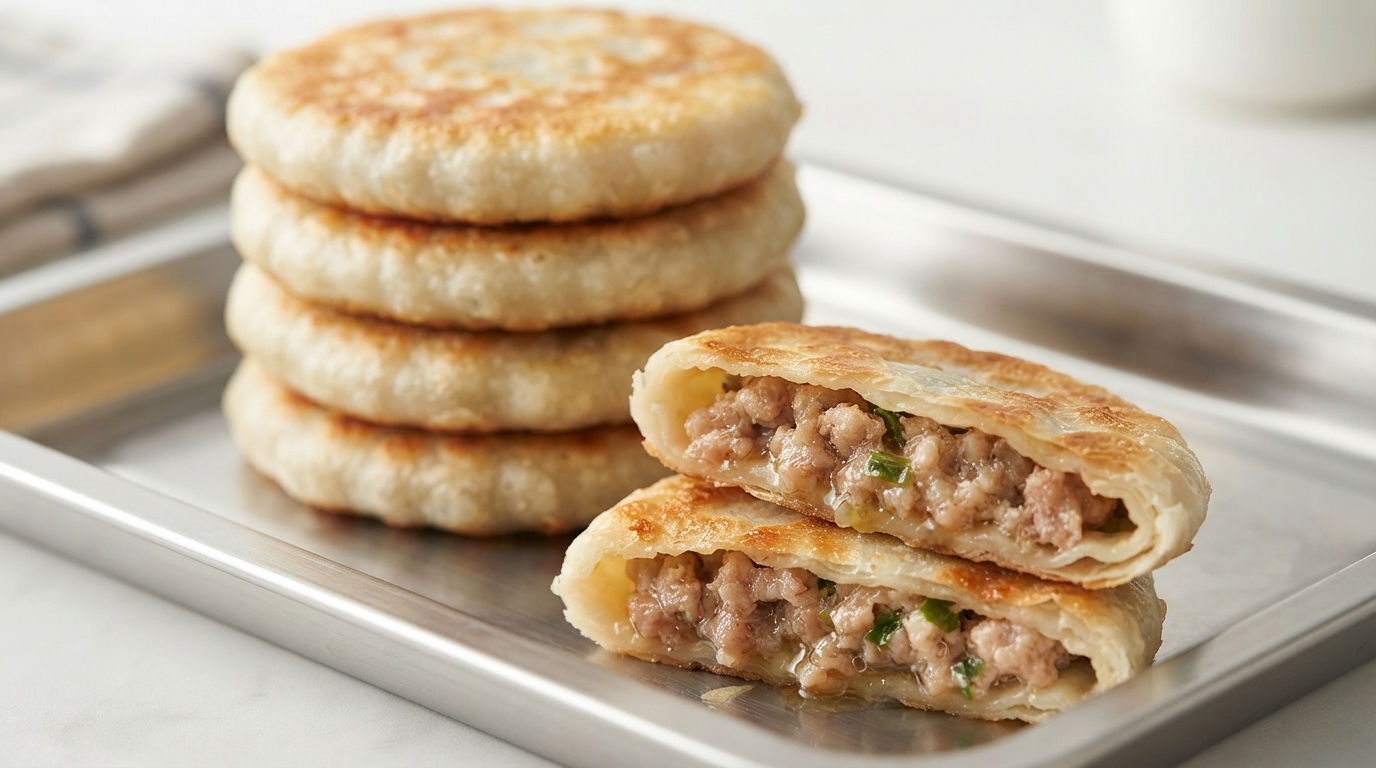
Experience the ultimate contrast of textures with these traditional Niuzhuang meat pies. They feature an incredibly thin, blistered, and crispy crust that gives way to a hot, fresh, and exceptionally juicy meat filling.
Originating from the regional culinary traditions of northern China, these pan-fried meat pies (often known as Xianbing) are celebrated for their satisfyingly crispy exterior and rich, savory juices. The secret lies in a highly hydrated, oil-brushed dough rested to perfect elasticity, allowing it to stretch paper-thin around a generous filling without tearing. It is a beloved street food and a comforting home-cooked staple that rewards careful technique with incredible flavor.
Ingredients
- 500 g high-gluten flour
- 360–380 g warm water (40–50°C)
- as needed salad oil
- 800–900 g seasoned minced meat filling (pork or beef)
Instructions
- 1Mix Water and High-Gluten Flour
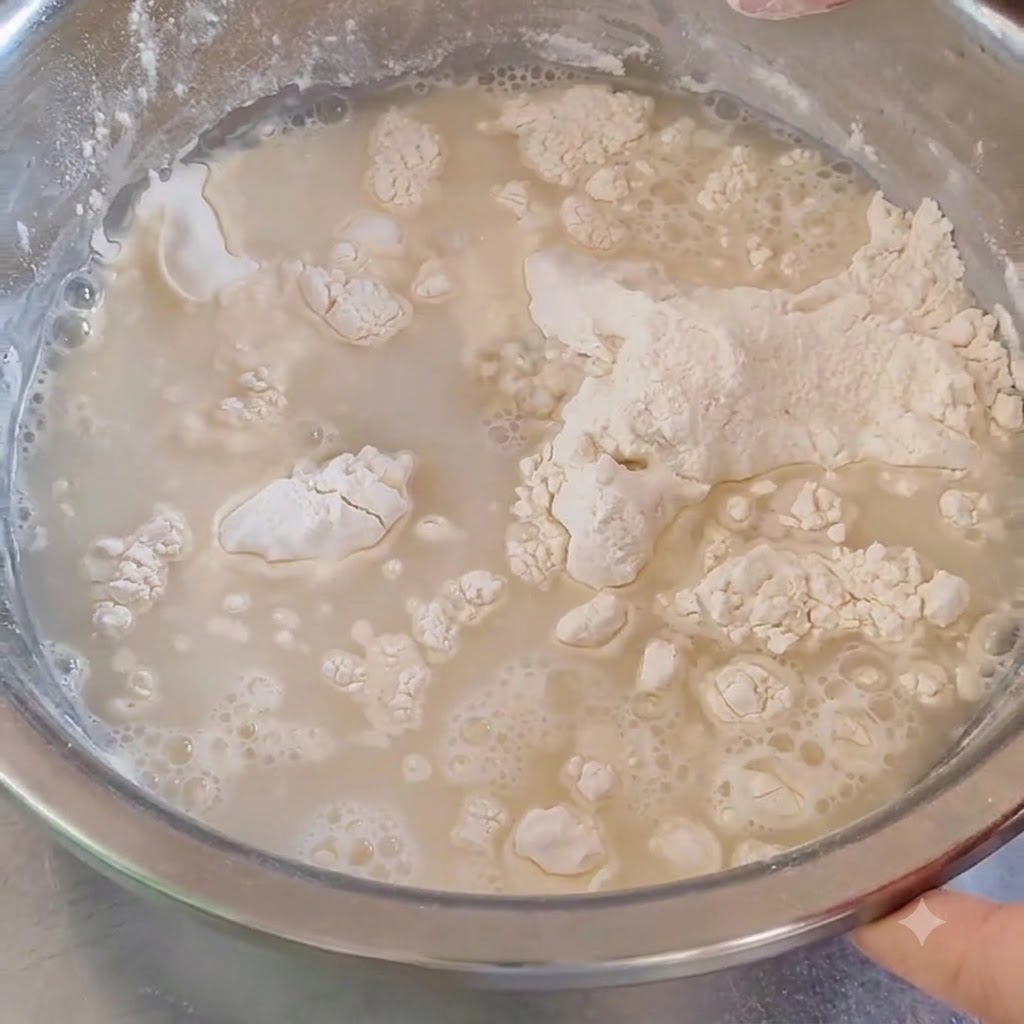
Pour water heated to about 40 to 50 degrees Celsius into a metal bowl containing 500 grams of high-gluten flour. Mix the water and flour thoroughly together.
Tip: Use water at the specified warm temperature to help properly hydrate the high-gluten flour. - 2Knead the Sticky Dough
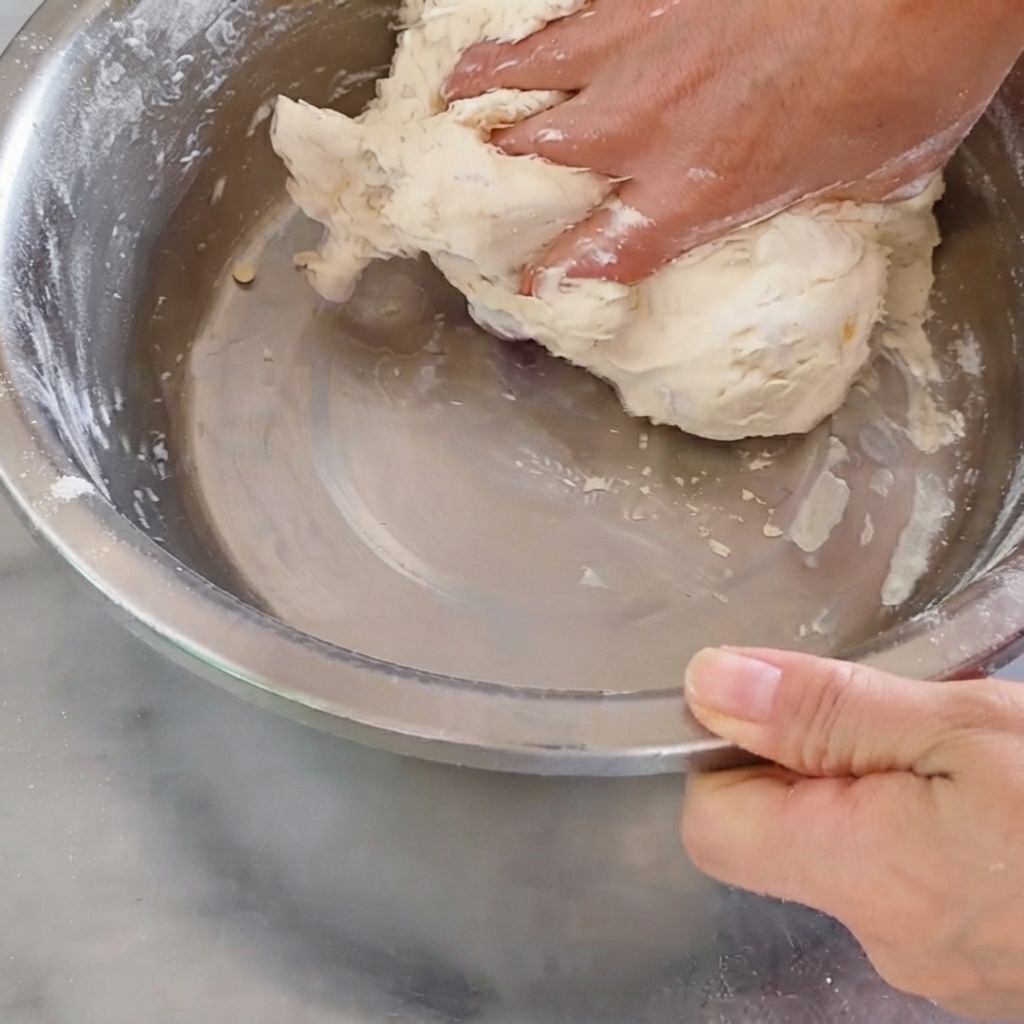
Continue kneading the sticky dough directly inside the metal bowl by hand until it begins to come together into a cohesive mass.
Tip: Keep kneading firmly to build up the gluten structure in the dough. - 3Brush Oil on the Dough
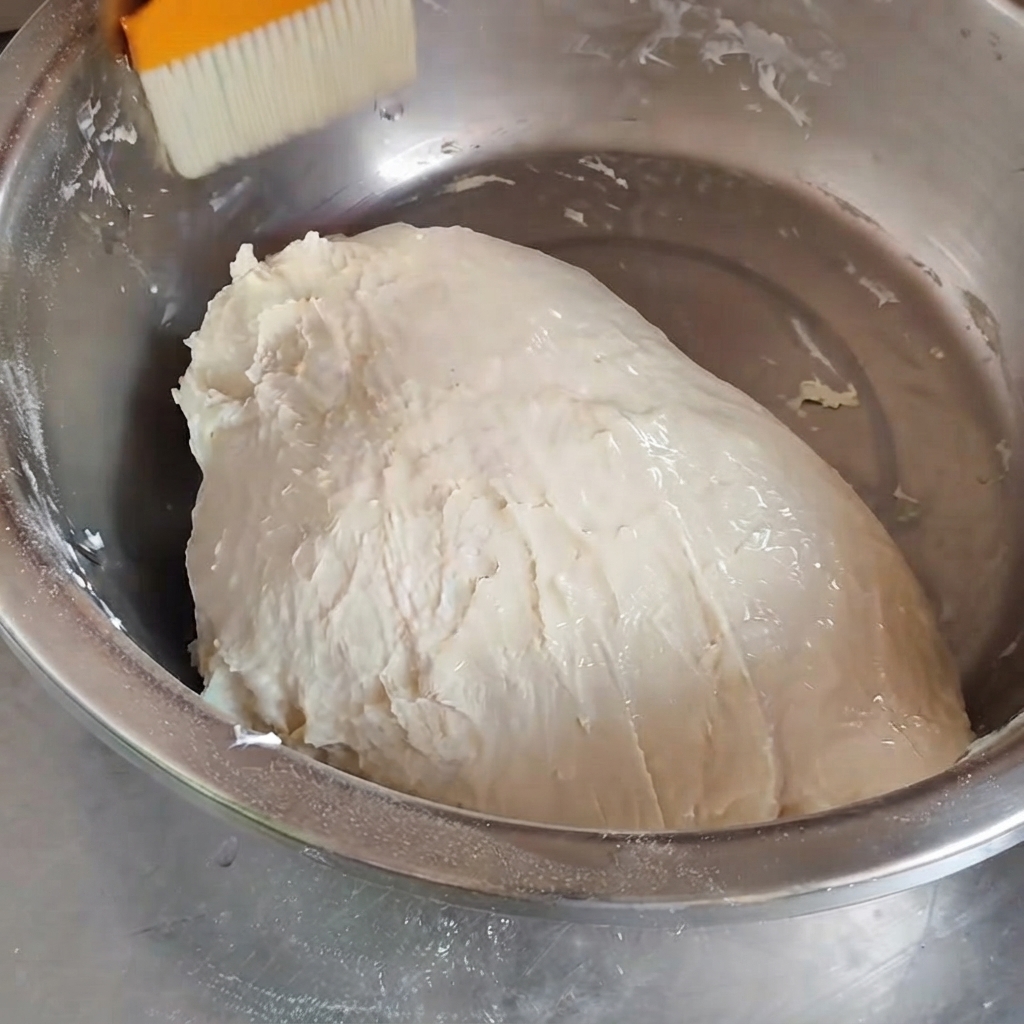
Apply a generous layer of salad oil over the cohesive doughs smooth surface using a brush, preparing it for its resting phase.
Tip: Brushing oil prevents the surface of the dough from drying out during the resting period. - 4Test the Doughs Elasticity
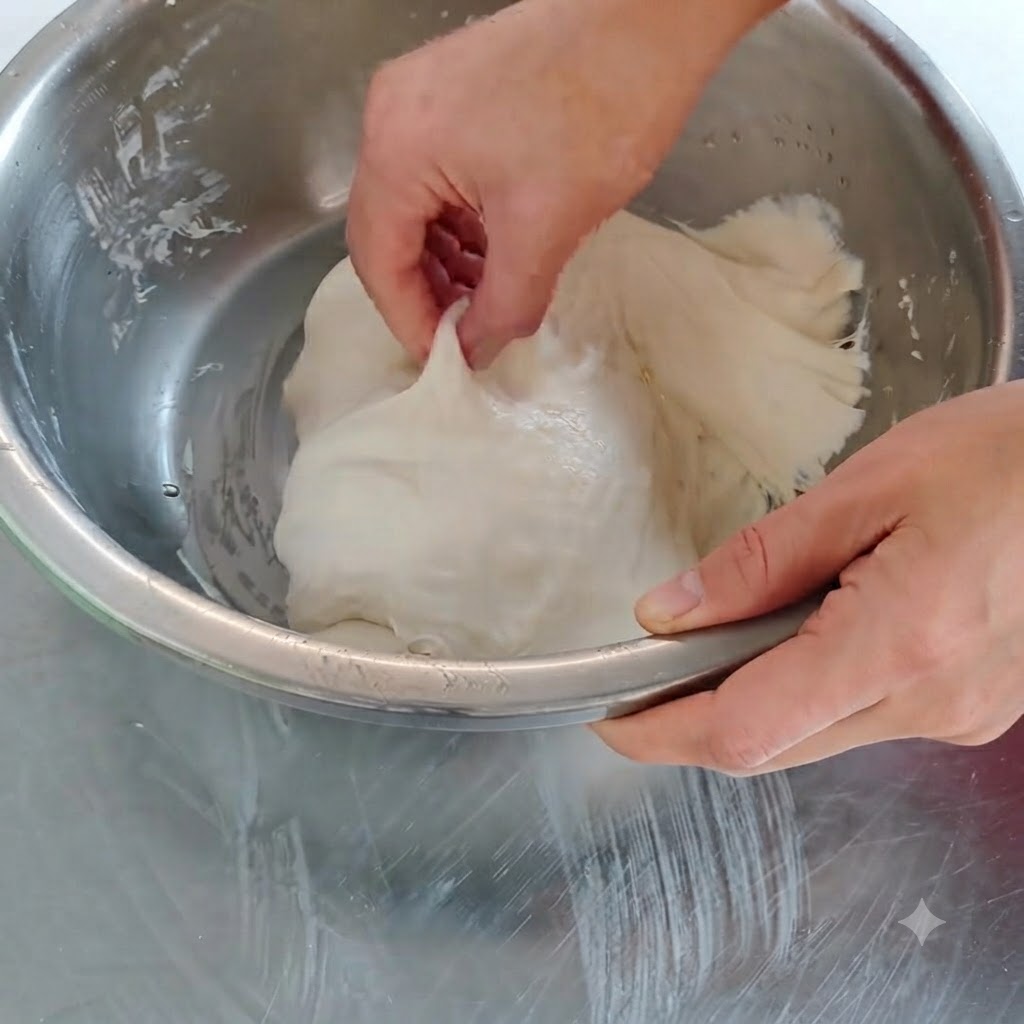
After the dough has rested for about 30 minutes, gently lift and pull a section upward to test its elasticity. It should stretch smoothly without breaking.
Tip: The dough is properly rested when it stretches smoothly without tearing easily. - 5Portion and Shape Dough Balls
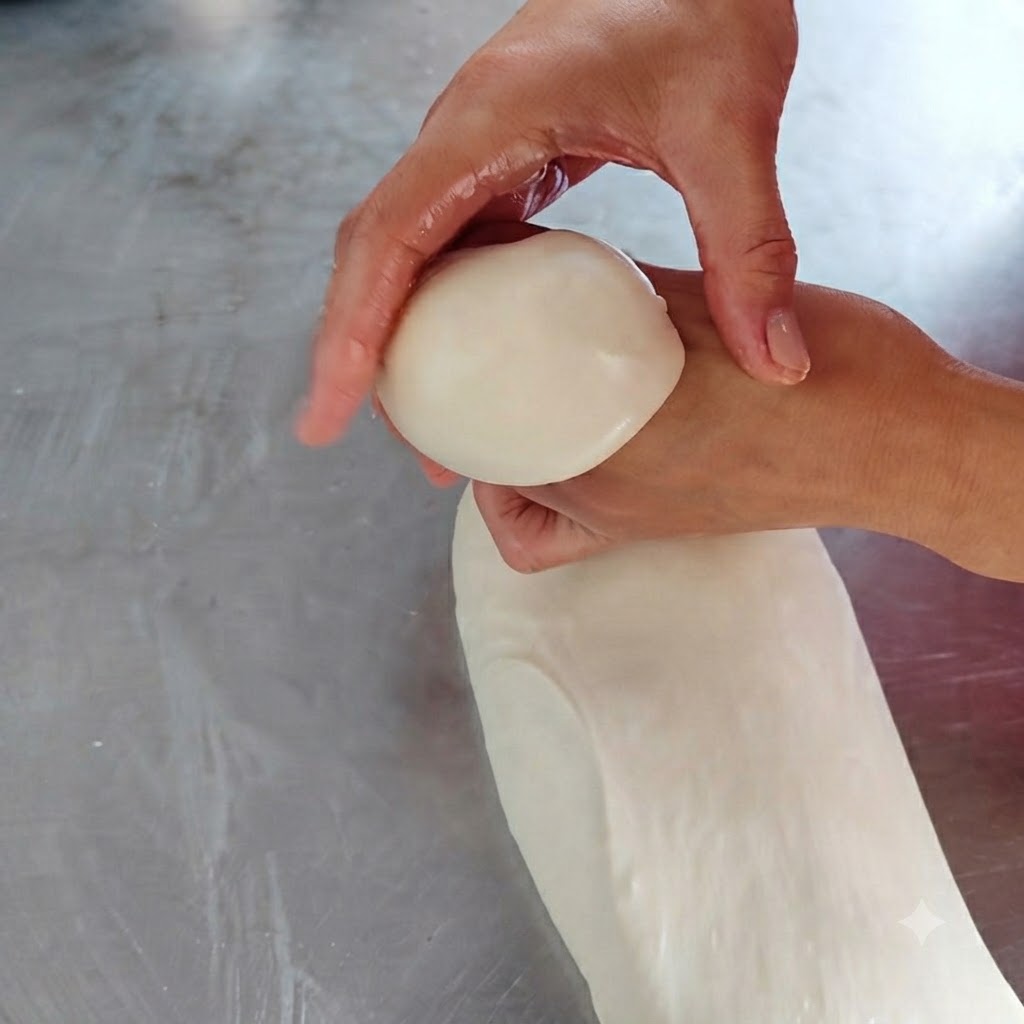
Transfer the dough to an oiled work surface. Shape it into a smooth log, then pinch off small, even portions weighing about 30 to 40 grams each.
Tip: Ensure the surface is well-oiled so the dough pieces do not stick while portioning. - 6Flatten the Dough Ball
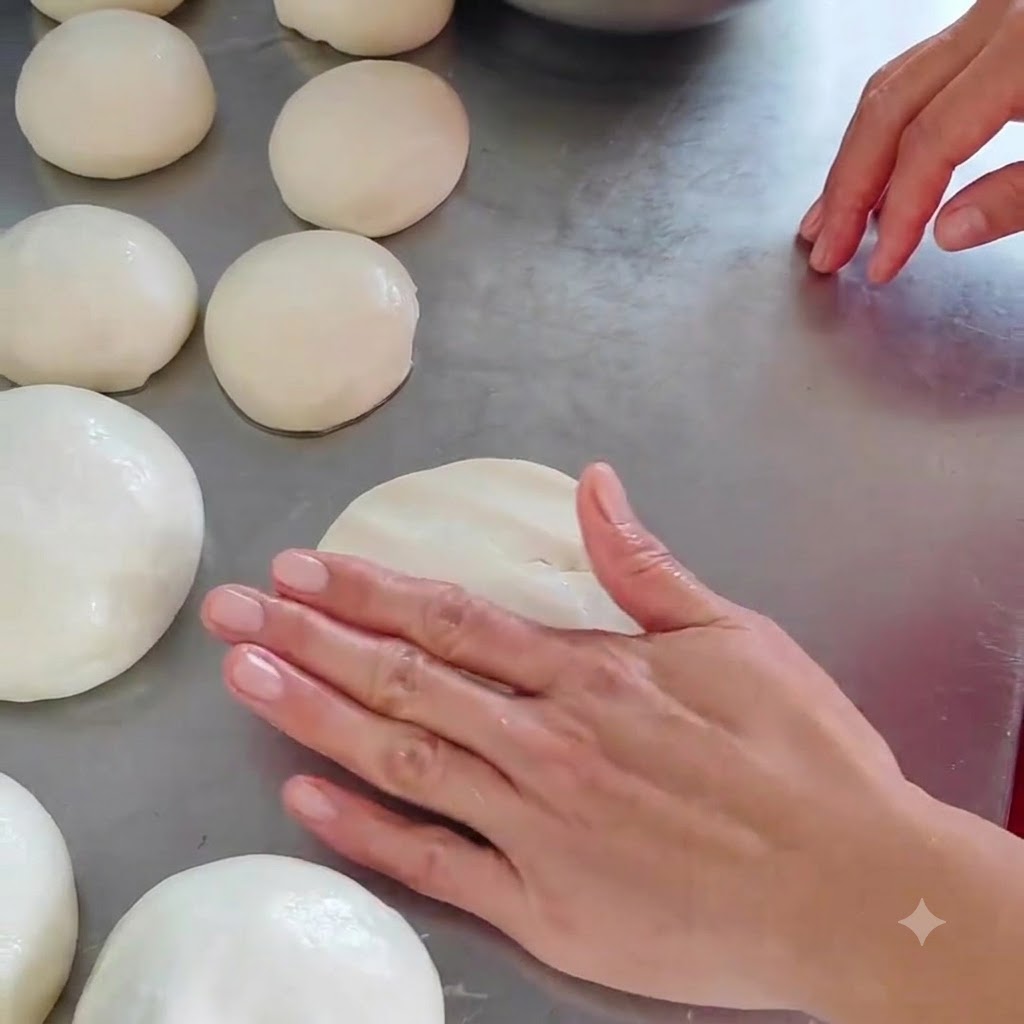
Take a portioned dough ball and press it flat directly onto the oiled metal surface using the palm of your hand.
Tip: Press evenly to prepare the dough for filling and shaping into flat pies. - 7Add the Meat Filling
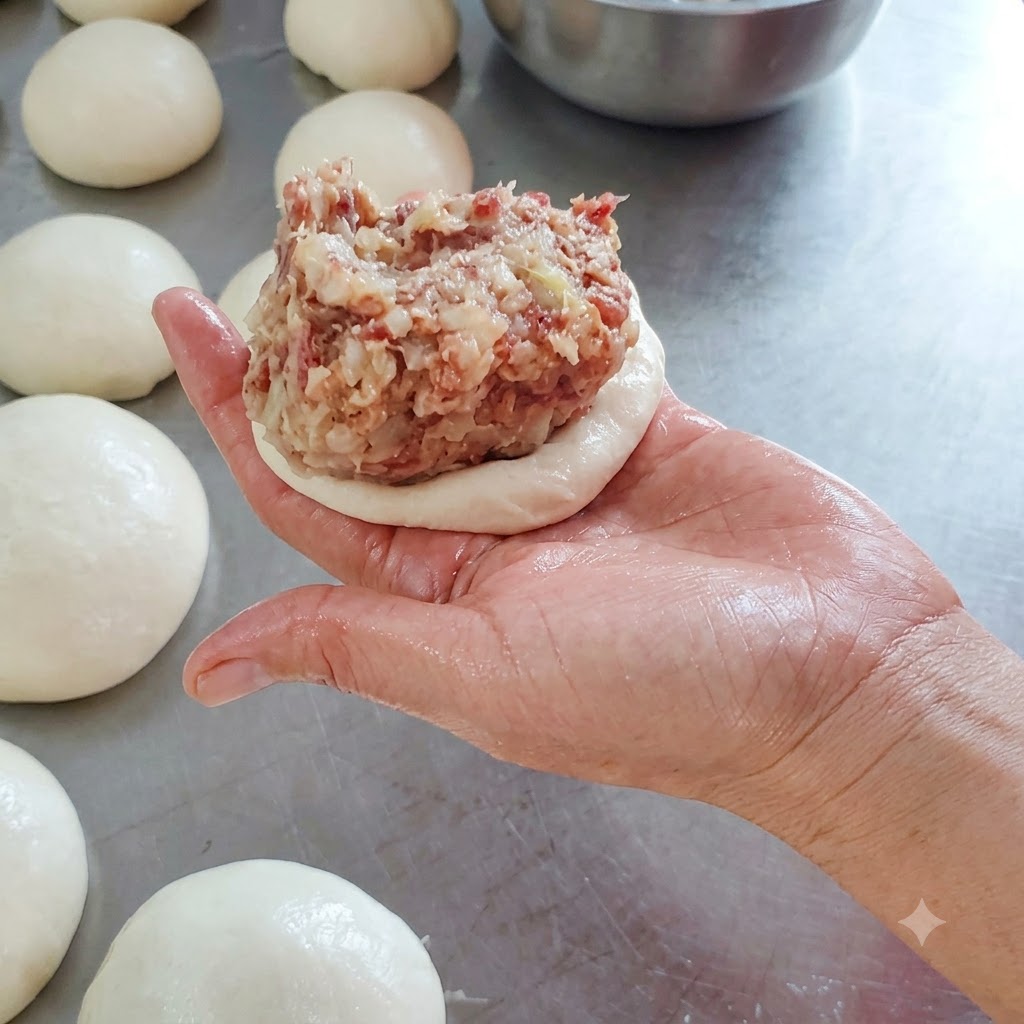
Place a generous portion—about 70 to 80 grams—of raw, seasoned minced meat filling directly onto the center of the flattened dough.
Tip: Ensure the filling amount is balanced with the dough size for a thin skin and rich filling. - 8Seal the Meat Pie
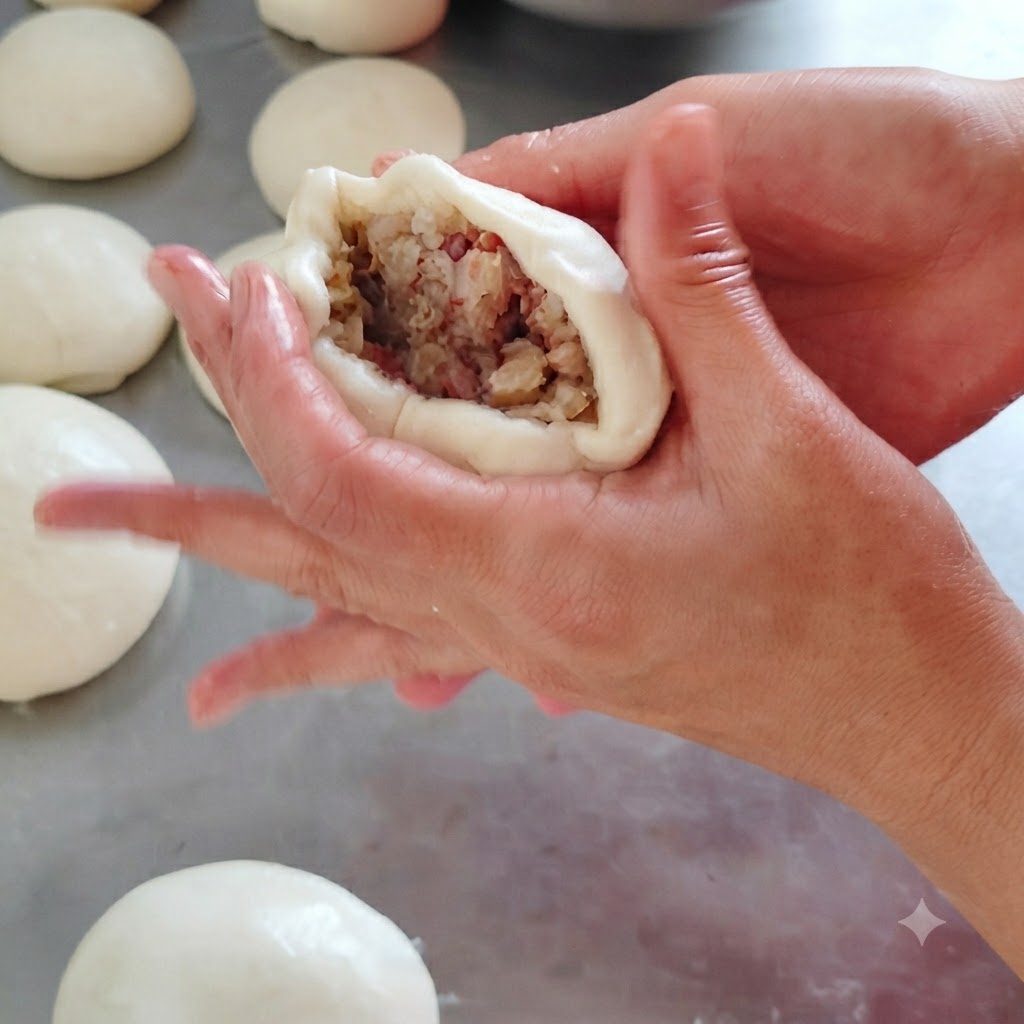
Carefully gather and pinch the outer edges of the dough upward and around the filling, sealing the opening completely.
Tip: Pinch the edges tightly to prevent the juices from leaking out during cooking. - 9Flatten the Stuffed Dough
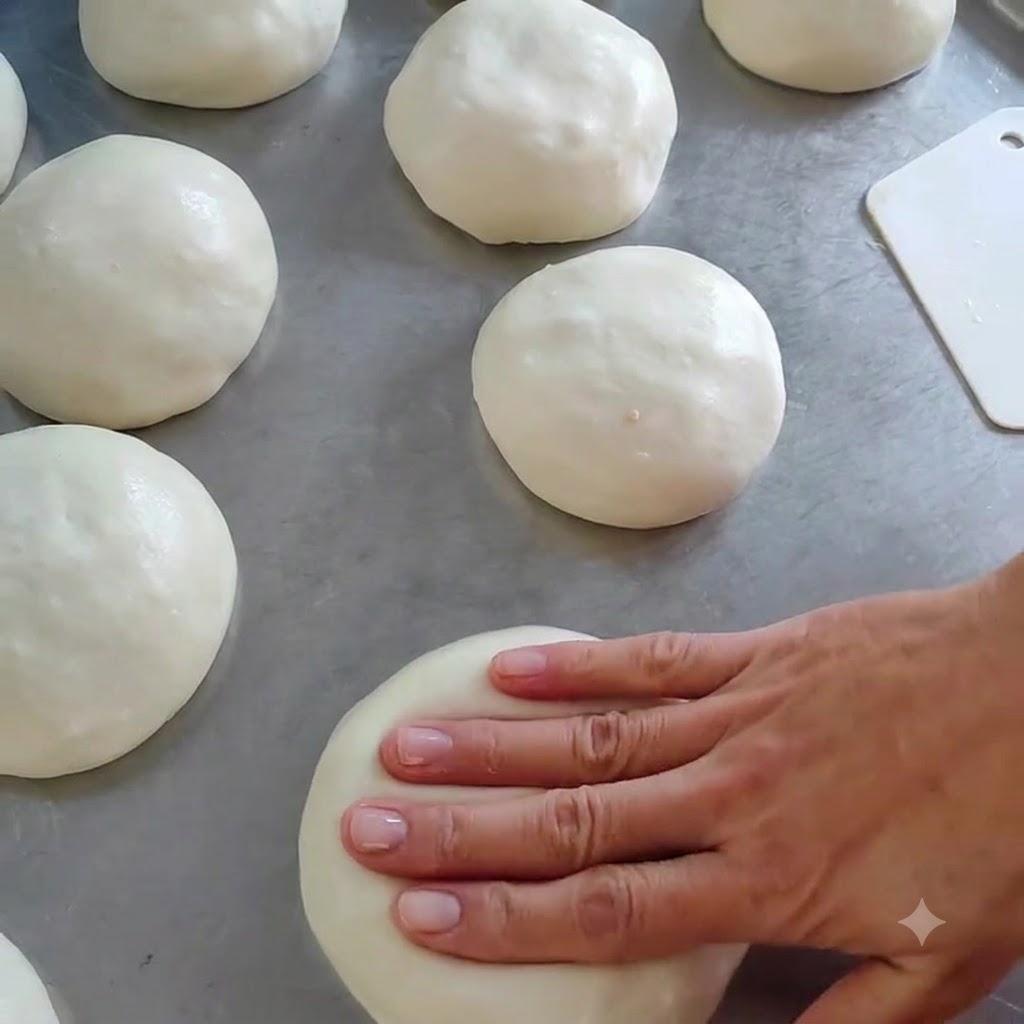
Allow the sealed dough to rest for about 5 minutes, then gently press down on it with your hand to flatten it into a smooth, even round disc.
Tip: Press evenly so the filling distributes across the pie without bursting the skin. - 10Place the Pies in the Pan
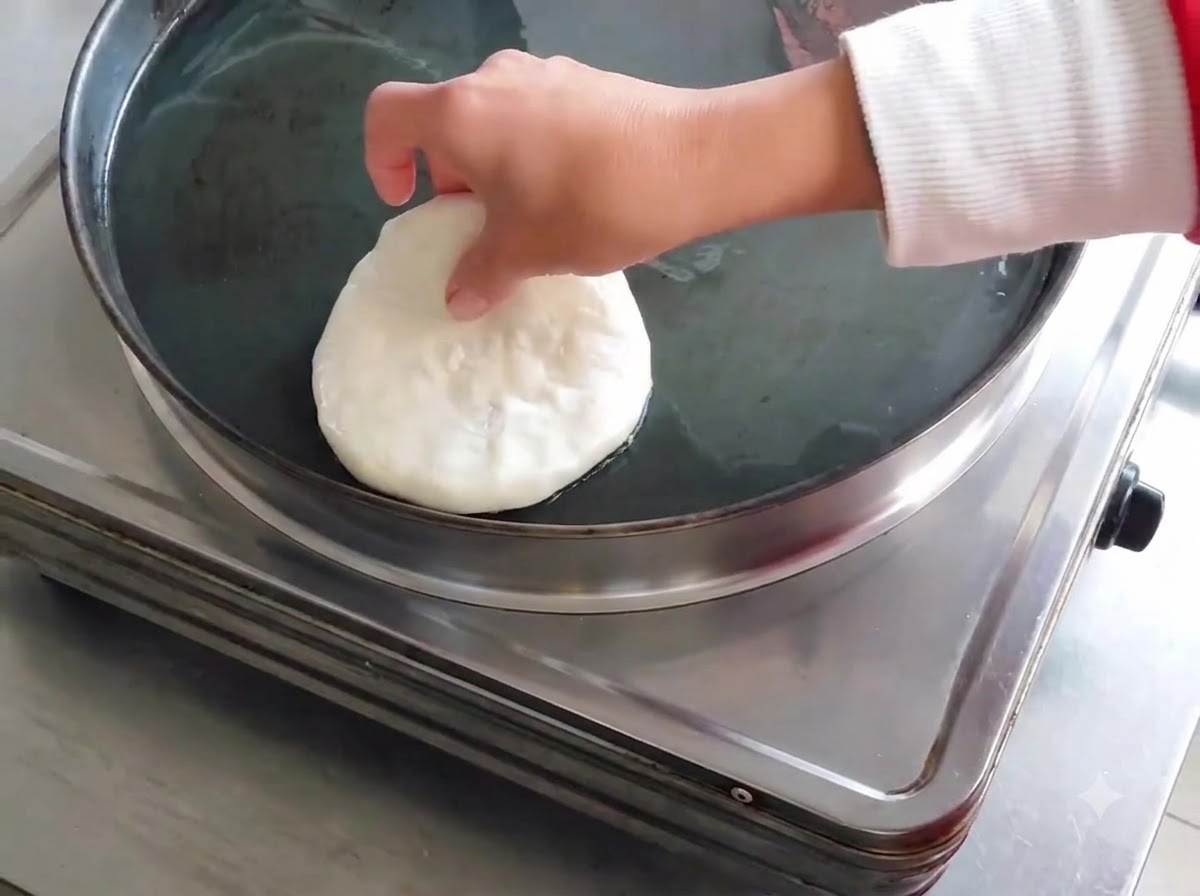
Place the shaped raw meat pies into a preheated, oiled flat electric skillet set to 180 degrees.
Tip: Preheat the pan and oil properly to ensure an immediate sizzle and crispy bottom crust. - 11Drizzle Oil on Top
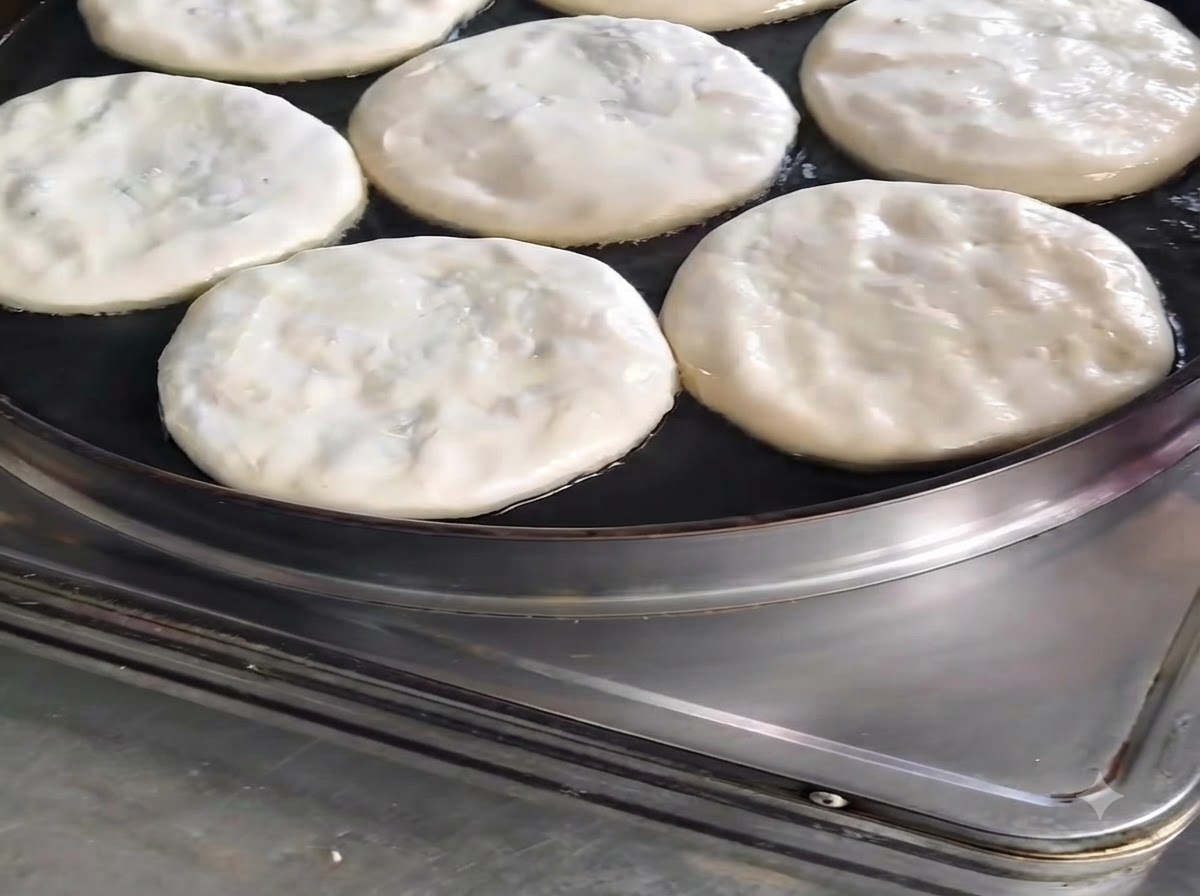
Drizzle a small amount of oil over the top surfaces of the pies cooking in the pan, then cover with the lid.
Tip: Covering the pan helps trap steam to cook the filling thoroughly while crisping the crust. - 12Flip to Crisp Both Sides
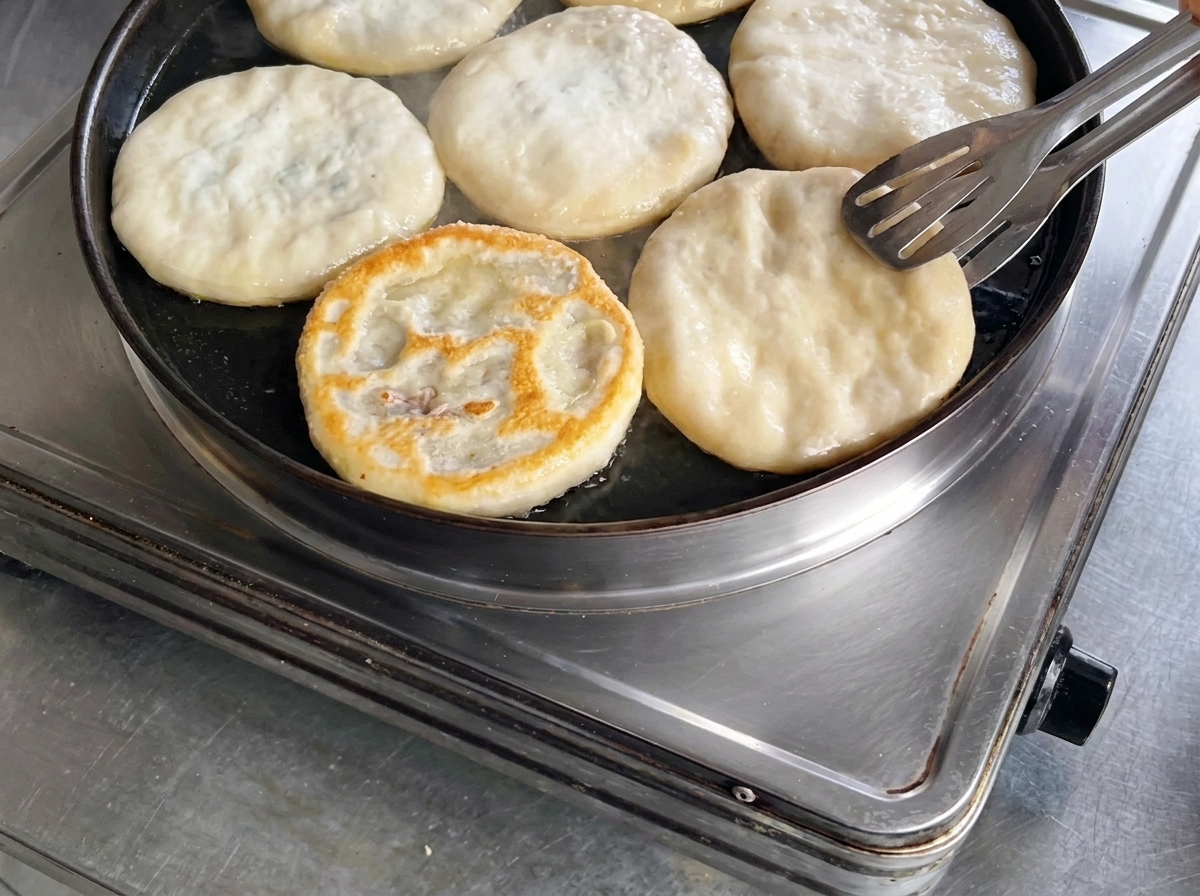
Once the bottom side changes color and turns golden brown, use tongs to flip the meat pies over. Place the lid back on and allow the second side to crisp and gain color.
Tip: If there is enough oil remaining in the pan after flipping, you dont need to add or brush any extra oil on the second side. - 13Check and Remove Cooked Pies
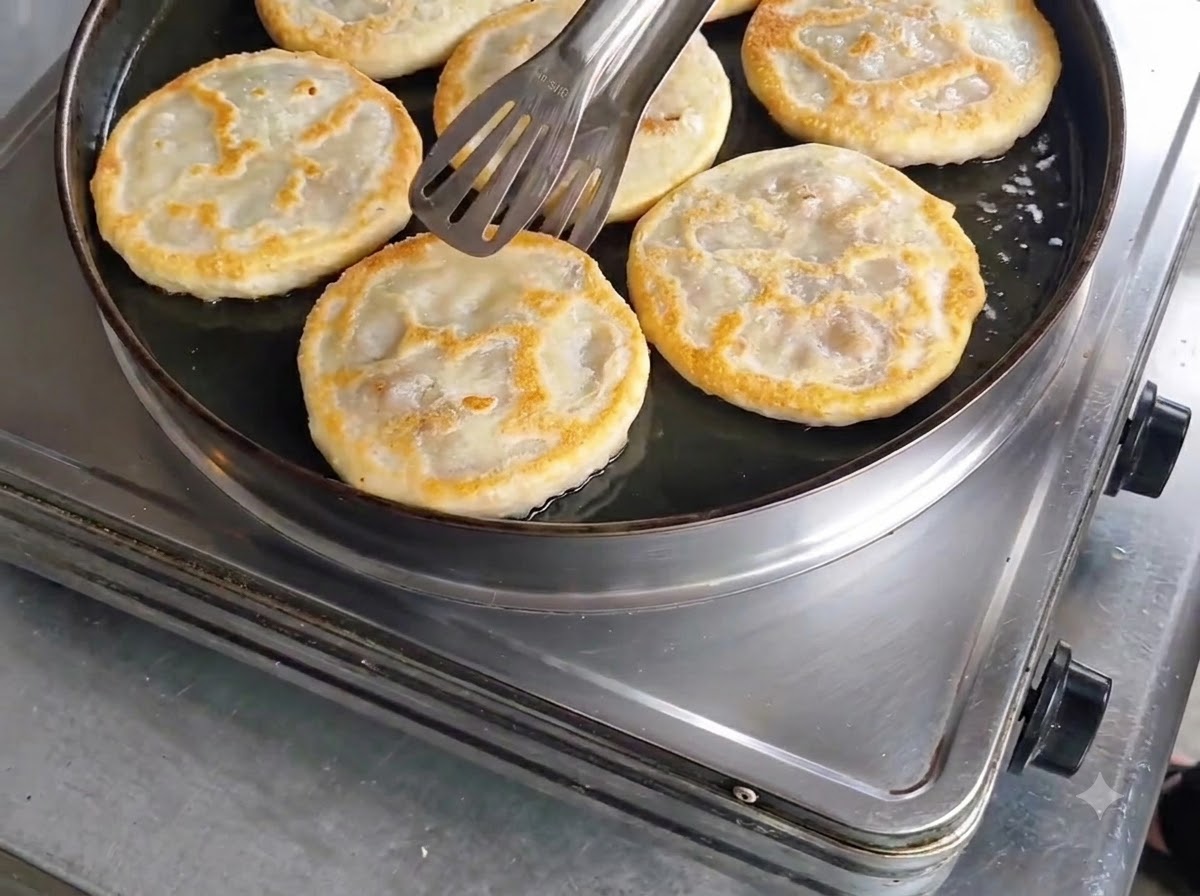
Check the fully cooked meat pies to ensure a golden-brown, crispy exterior on both sides before removing them from the skillet.
Tip: Take them out when both sides are nicely colored without letting them get too dark.