Crispy Pork
Chive Spring Rolls
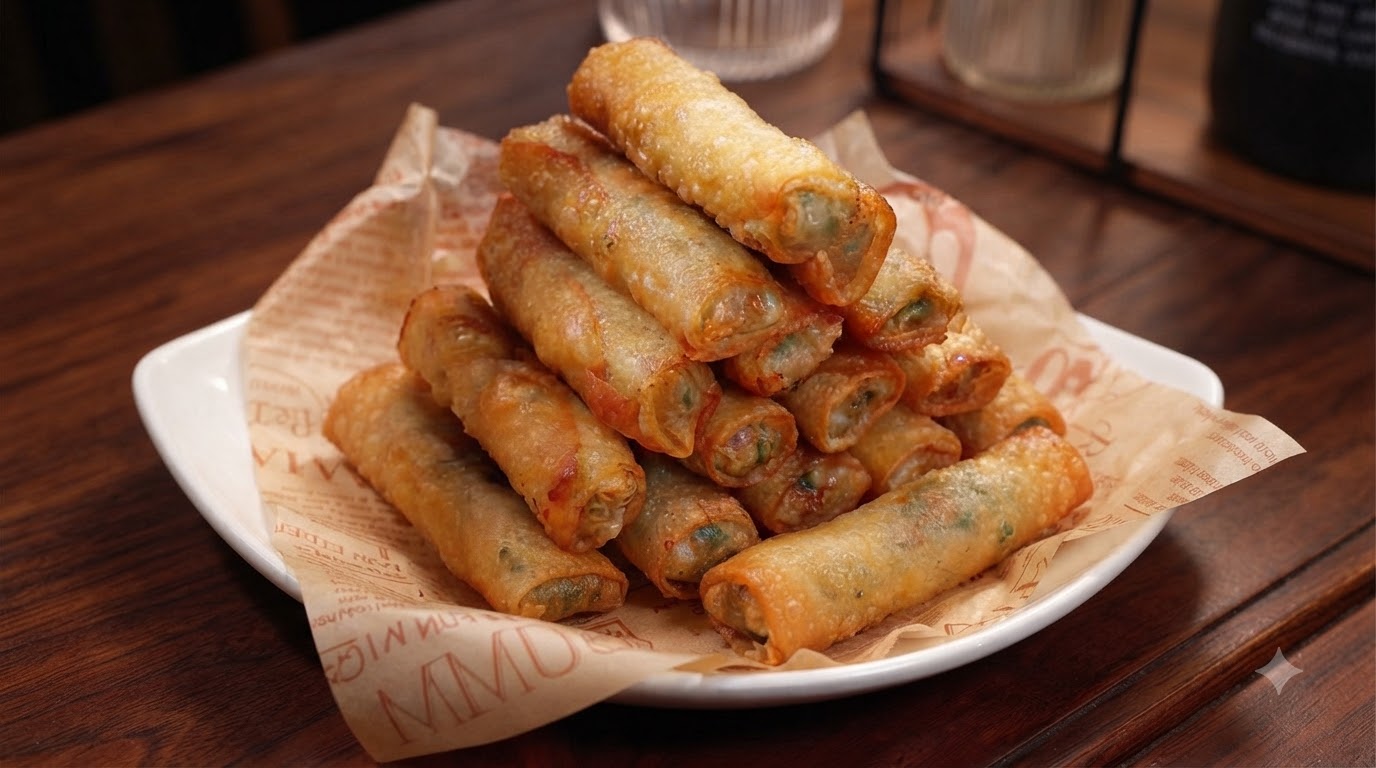
Master the art of crispy, golden spring rolls with this savory pork and chive recipe. A secret oil-coating technique keeps the filling perfectly juicy inside a shatteringly crisp shell.
Spring rolls are a beloved staple, cherished for their satisfying crunch and savory interior. This recipe combines minced pork with fresh chives, using a clever culinary technique of pre-coating the chopped chives in oil to prevent them from releasing excess water. Steaming the wrappers briefly before rolling ensures they are pliable and seal perfectly, resulting in a flawless, golden-brown finish when fried.
Ingredients
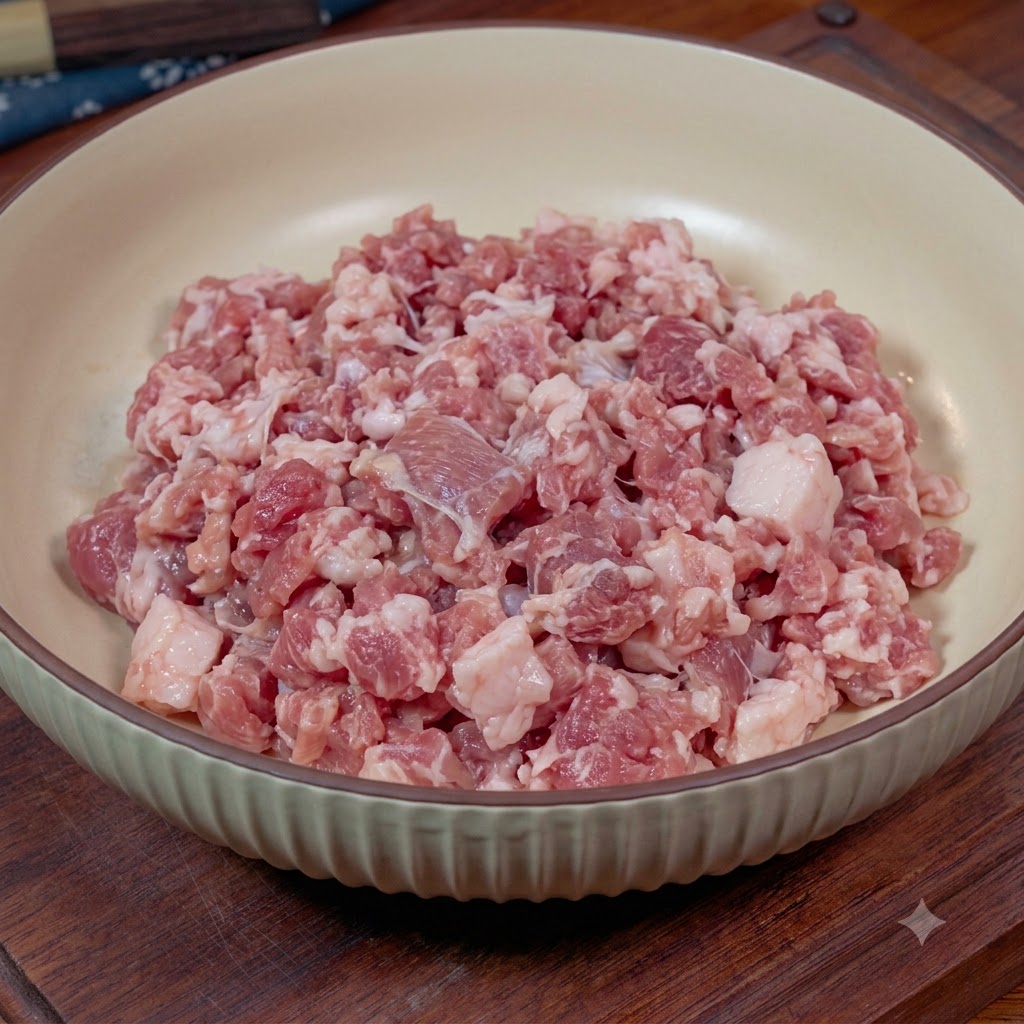
- 300 g minced pork
- 150 g fresh chives, finely chopped
- 2 tbsp chopped scallions
- 1 tbsp minced ginger
- 1 tsp salt
- 1 tsp chicken bouillon
- 1/2 tsp thirteen-spice powder
- 1 tbsp light soy sauce
- 1 tbsp oyster sauce
- 1 tbsp cornstarch
- 2 tbsp cooking oil (for chives)
- 15 thin spring roll wrappers
- 1 beaten egg
- 3 cups cooking oil for frying
Instructions
- 1Season the minced meat
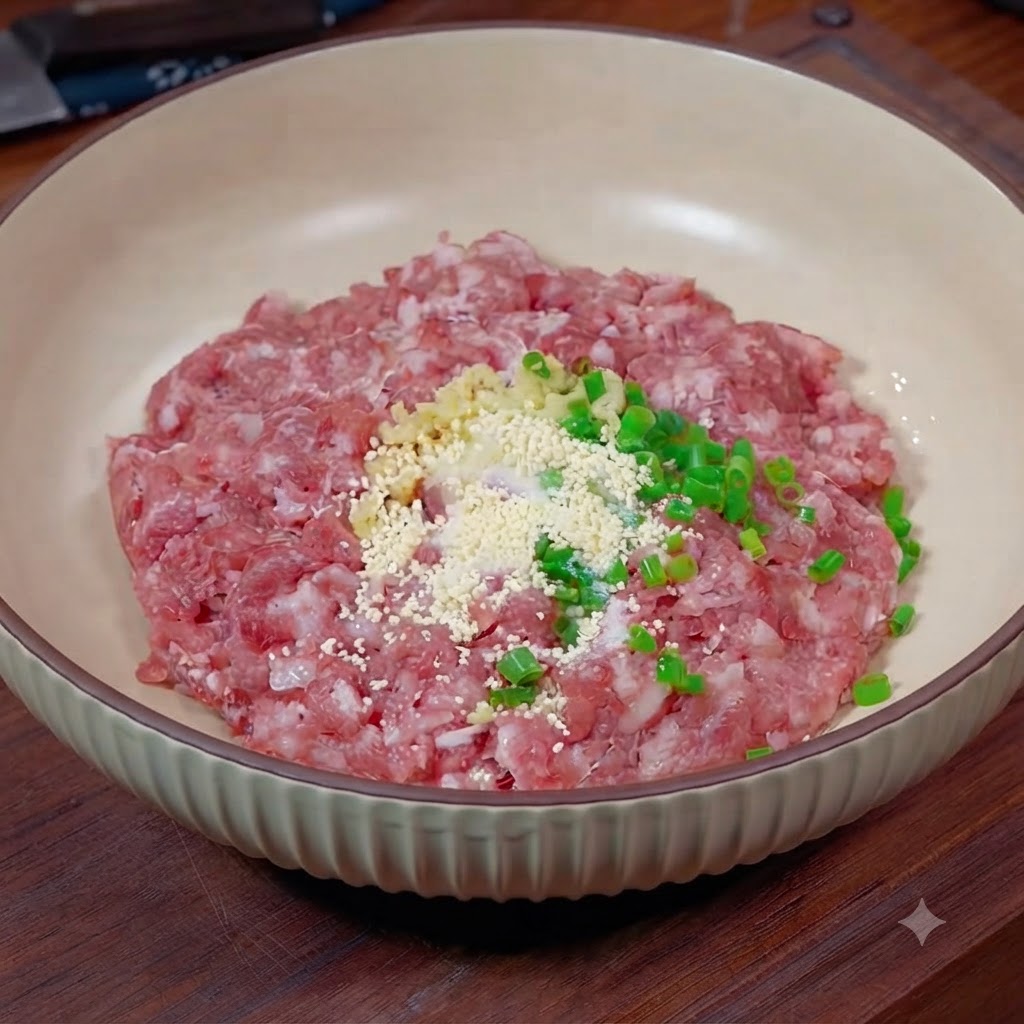
Add chopped scallions, ginger, salt, and chicken bouillon directly into the bowl of minced meat to build the foundational savory base for the filling.
Tip: Make sure to chop the scallions and ginger finely so they distribute evenly throughout the meat. - 2Add sauces and spices
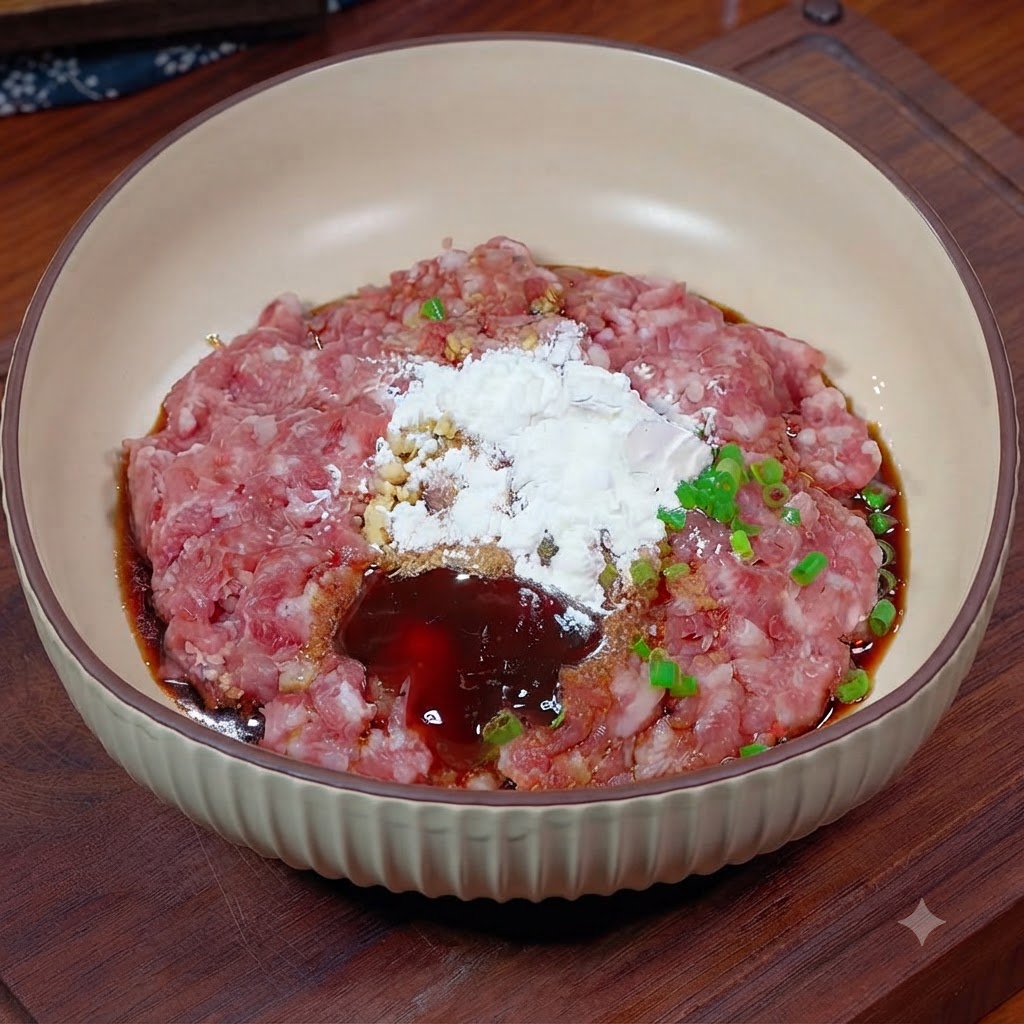
Pour in thirteen-spice, light soy sauce, oyster sauce, and starch over the seasoned minced meat mixture to enhance flavor, color, and binding consistency.
Tip: The starch helps lock in moisture, keeping the meat juicy during cooking. - 3Mix the meat filling
Use chopsticks to thoroughly combine all the added spices, sauces, and aromatics with the minced meat until fully incorporated and unified.
Tip: Stir in one consistent direction to help the meat mixture develop a cohesive texture. - 4Prep the chives with oil
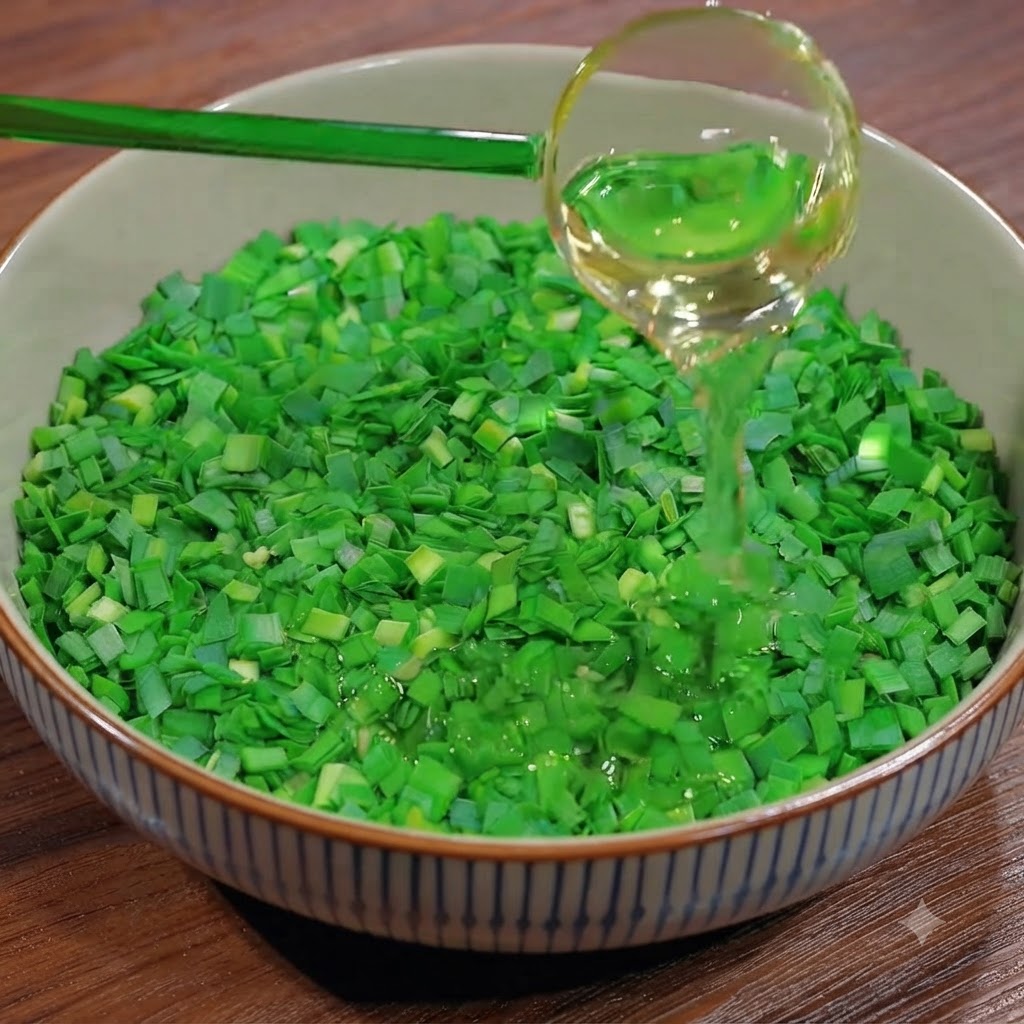
Pour cooking oil over the bowl of finely chopped chives and mix them together. Coating the chives with oil creates a moisture barrier that prevents them from releasing too much liquid later.
Tip: This step is crucial for chives to prevent the filling from becoming watery. - 5Combine chives and meat
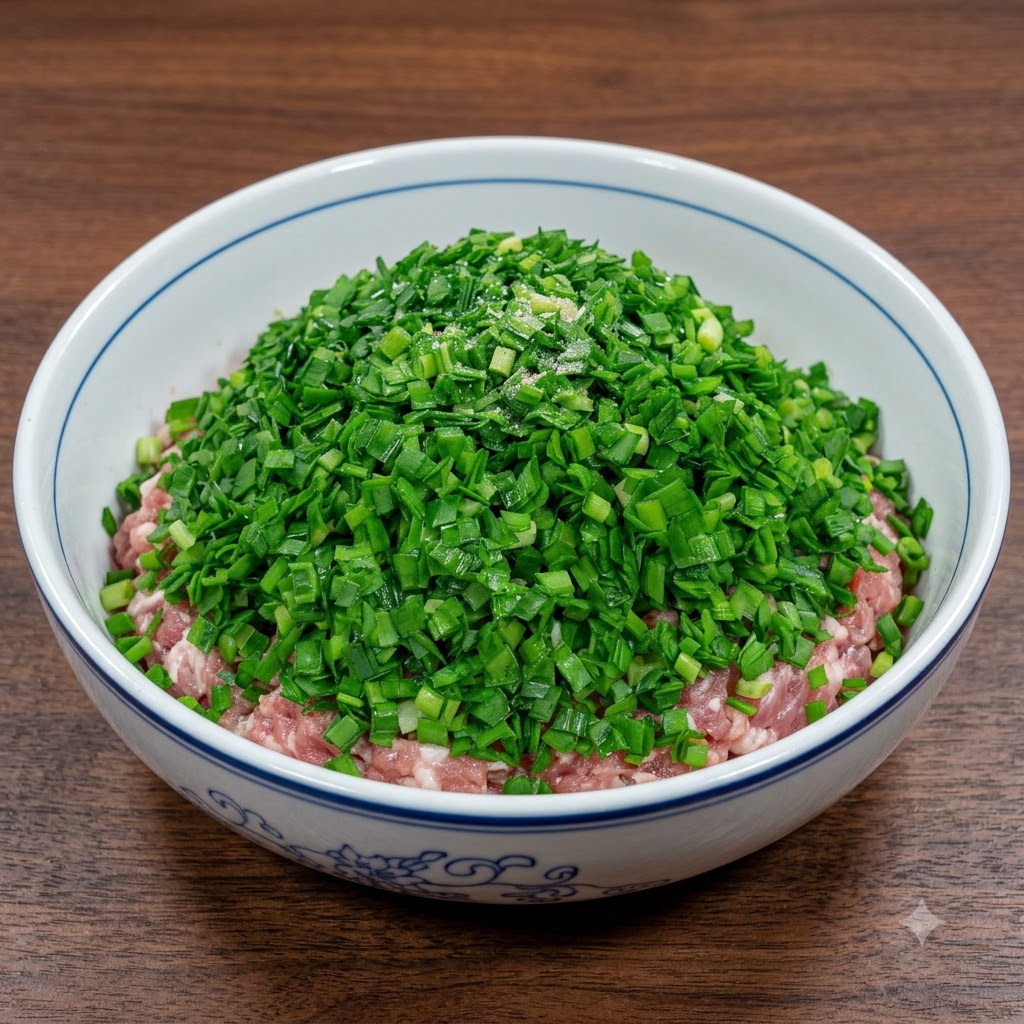
Pour the oil-coated chopped chives directly into the seasoned meat mixture and stir everything together to create the final unified filling.
Tip: Gently fold the chives into the meat so they do not bruise or release excess water. - 6Steam the thin wrappers
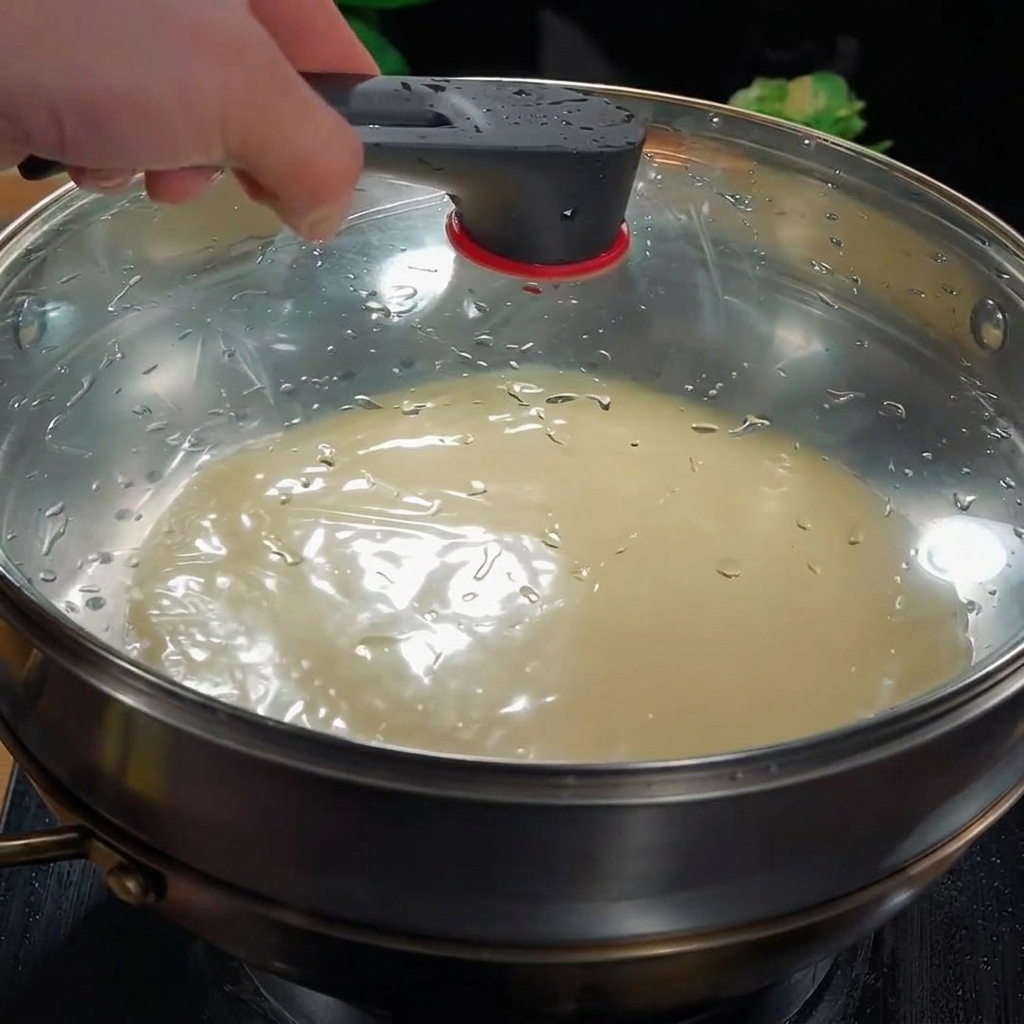
Place the thin wrapper sheets into a steamer pan, cover with the lid, and steam for 5 minutes to soften and prepare them for rolling.
Tip: Ensure the water is at a rolling boil before placing the steamer on top to get an even steam. - 7Roll the filling
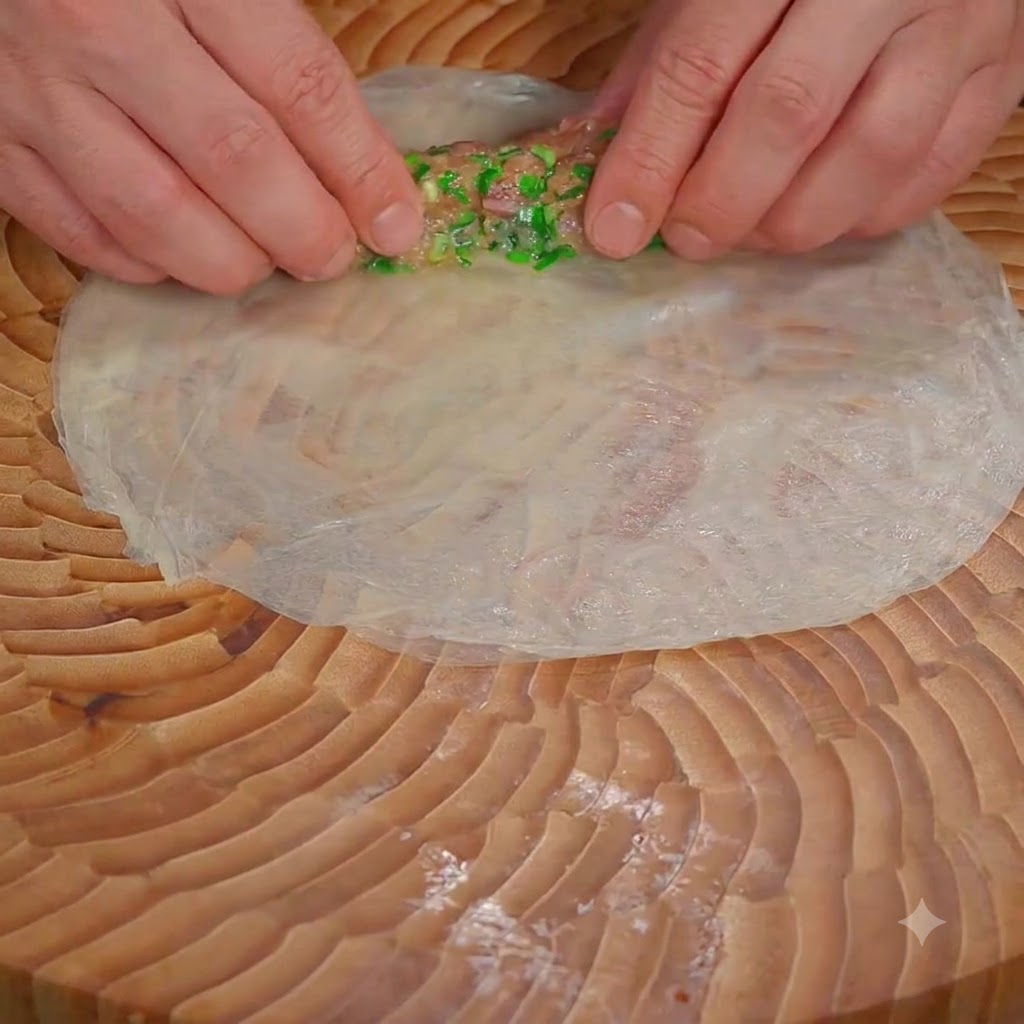
Place the prepared meat and chive filling onto a steamed wrapper, then carefully roll it up tightly to enclose the filling securely.
Tip: Roll evenly to ensure the spring rolls hold their shape during frying. - 8Seal the wrapper
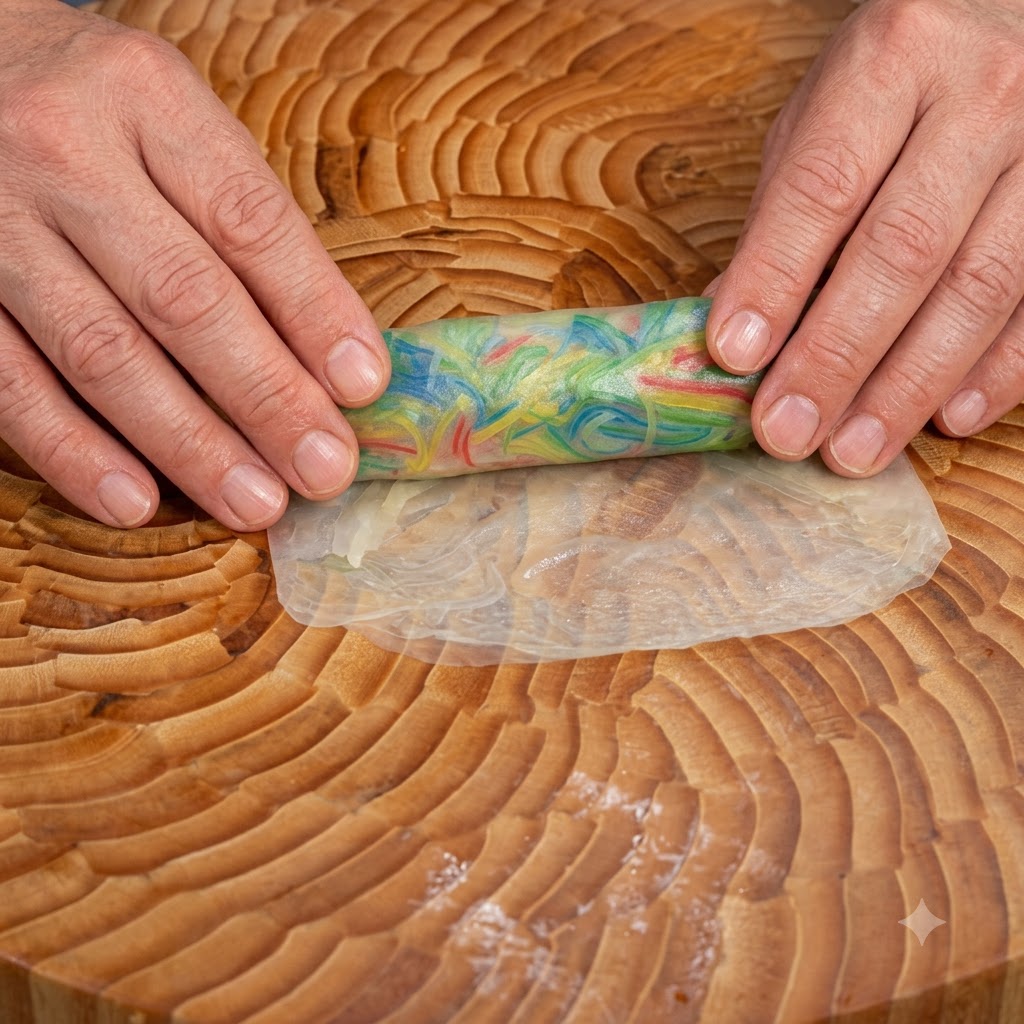
Brush egg wash along the edge of the rolled wrapper to act as an adhesive, sealing it securely so it does not open up during cooking.
Tip: Make sure the edge is completely sealed to prevent oil from getting inside while frying. - 9Fry the spring rolls
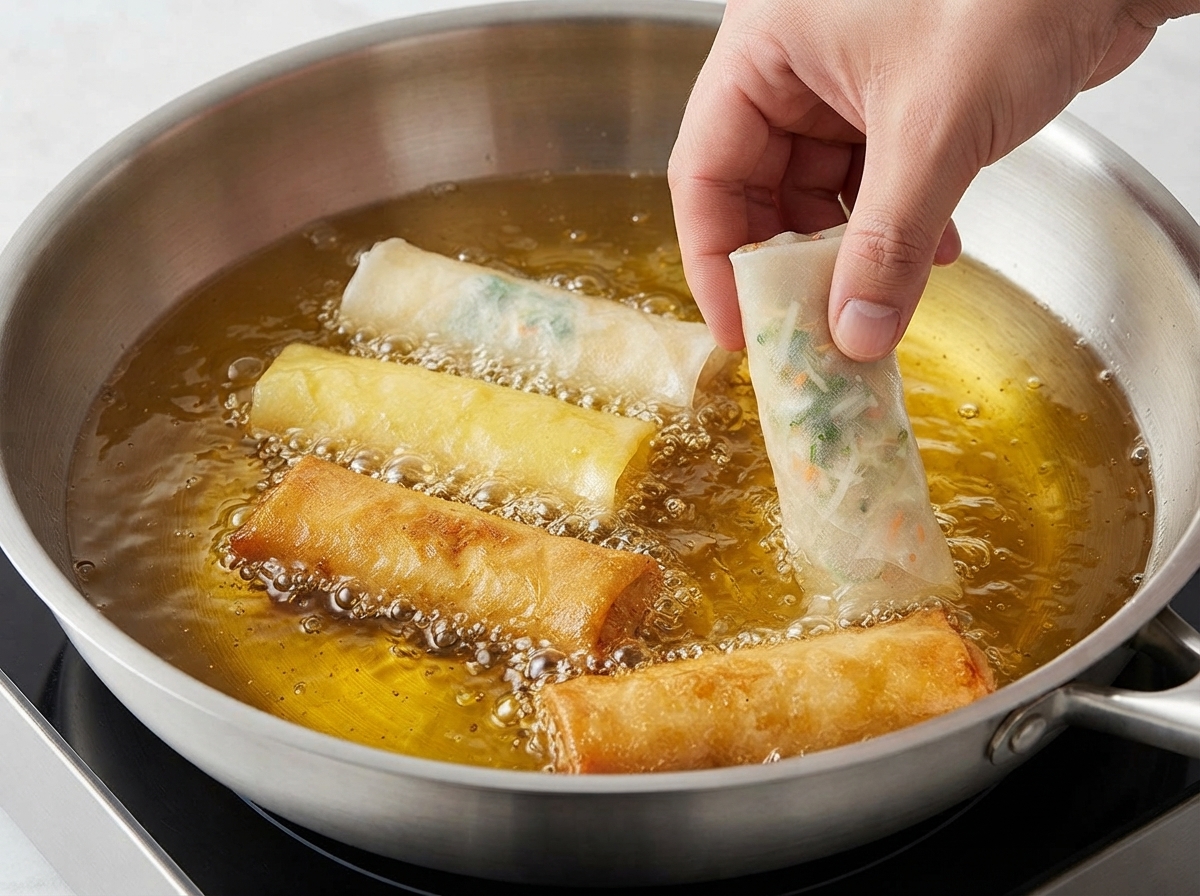
Carefully place the wrapped spring rolls into hot oil (around 325°F to 350°F) and fry them until they turn golden brown and crispy all over. Remove them from the oil, drain on a paper towel, and serve immediately.
Tip: Keep the heat at a moderate temperature so the exterior crisps beautifully without burning before the pork inside cooks completely through.