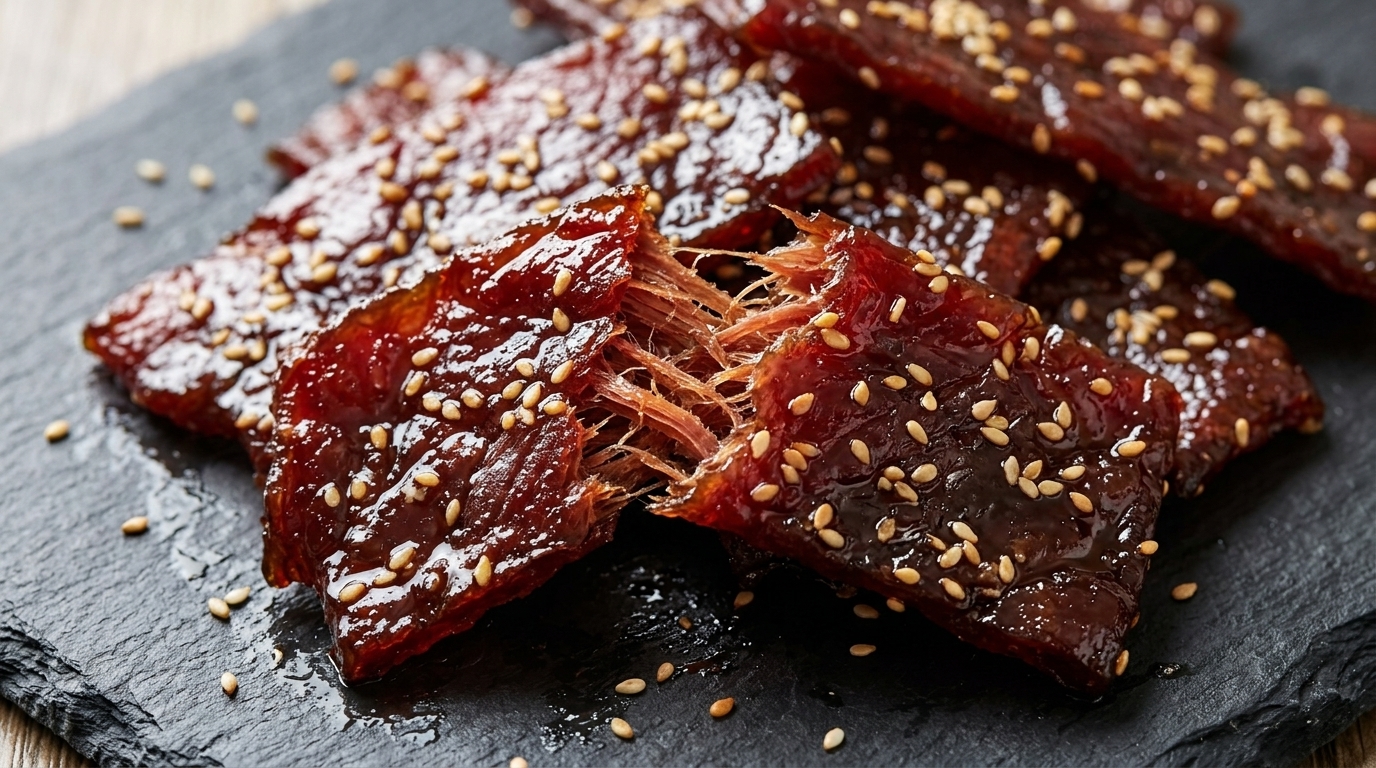
Hand-Shredded Air-Dried Pork Jerky (Homemade Meat Snack)
A traditional air-dried snack featuring lean pork leg meat, hand-shredded to reveal a beautiful fibrous texture with a glossy honey-sesame glaze.
Air-dried pork jerky is a quintessential home-style snack, prized for its intense savory profile and satisfyingly chewy texture. This version utilizes lean pork leg meat, which is meticulously marinated with red yeast rice for a natural mahogany hue and air-dehydrated to concentrate its flavors. The final steaming and glazing steps ensure the meat remains tender enough to shred by hand while maintaining a professional, glossy finish.
Ingredients
- 1 kg lean pork leg meat
- 20 g sliced ginger
- 2 stalks green onions
- 2 tbsp rice wine
- 2 tbsp light soy sauce
- 1 tbsp fish sauce
- 1 tsp red yeast rice powder
- 1 tbsp coarse chili flakes
- 2 tbsp honey
- 1 tbsp toasted white sesame seeds
Instructions
- 1Prepare the pork
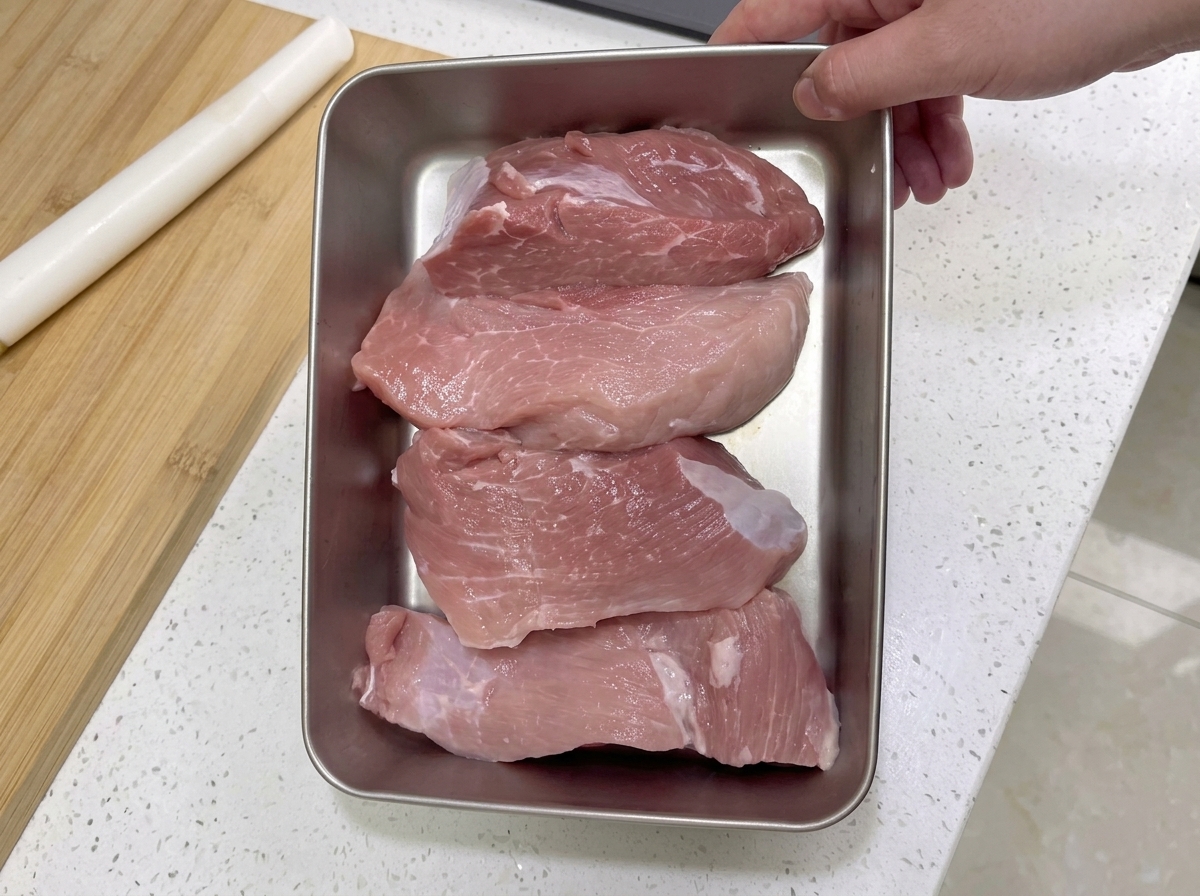
Select a lean piece of pork leg meat as the base for your homemade jerky. This cut provides the ideal texture and low fat content required for the air-drying process. Ensure the meat is clean and properly trimmed of any connective tissue before starting.
Tip: Choosing lean meat is critical; fat does not dry well and can cause the jerky to spoil quickly or develop an off-flavor during the curing process. - 2Pat the meat dry
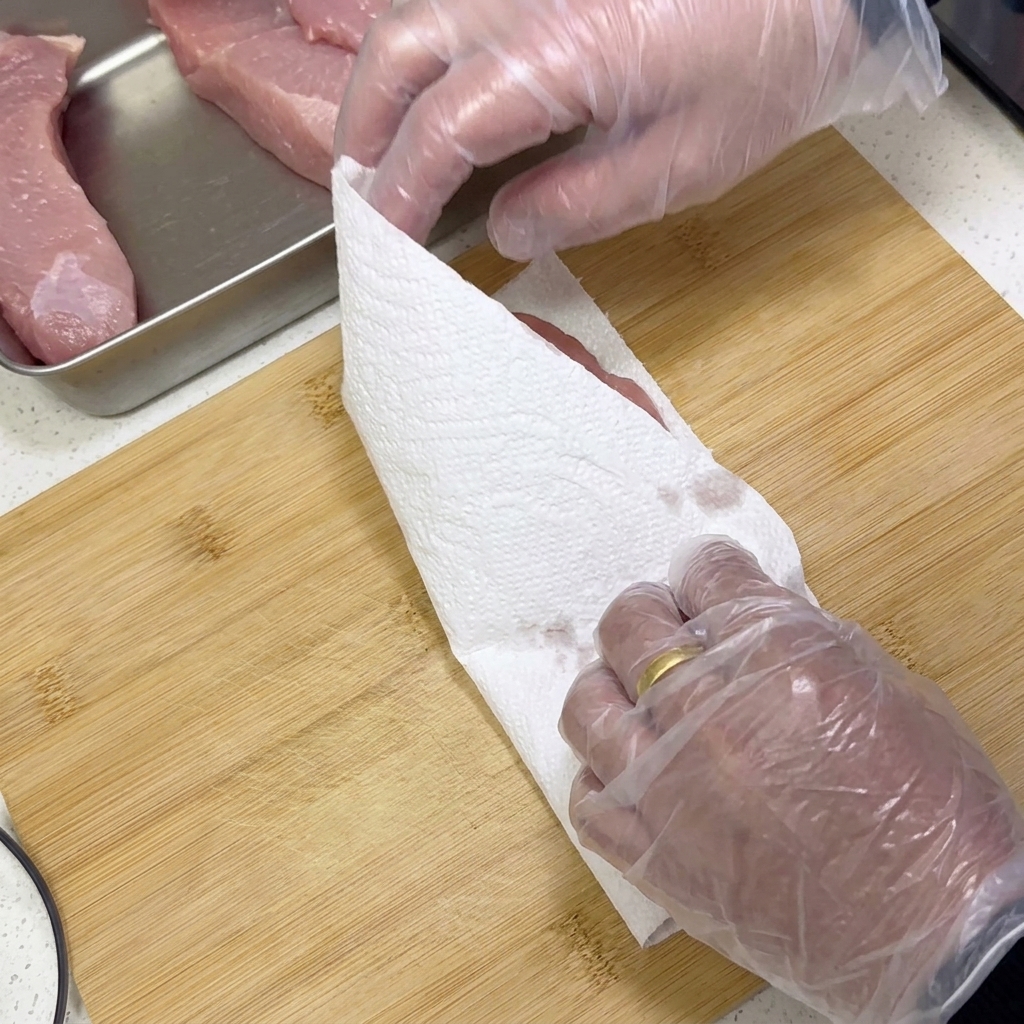
After washing, use a clean paper towel to thoroughly pat the surface of the pork dry. Removing surface moisture is a crucial step that ensures the marinade can penetrate the meat fibers effectively and speeds up the subsequent drying time.
Tip: Do not skip this step because excess water can dilute the seasonings and prevent the meat from reaching the desired sticky consistency during the marination process. - 3Slice into uniform pieces
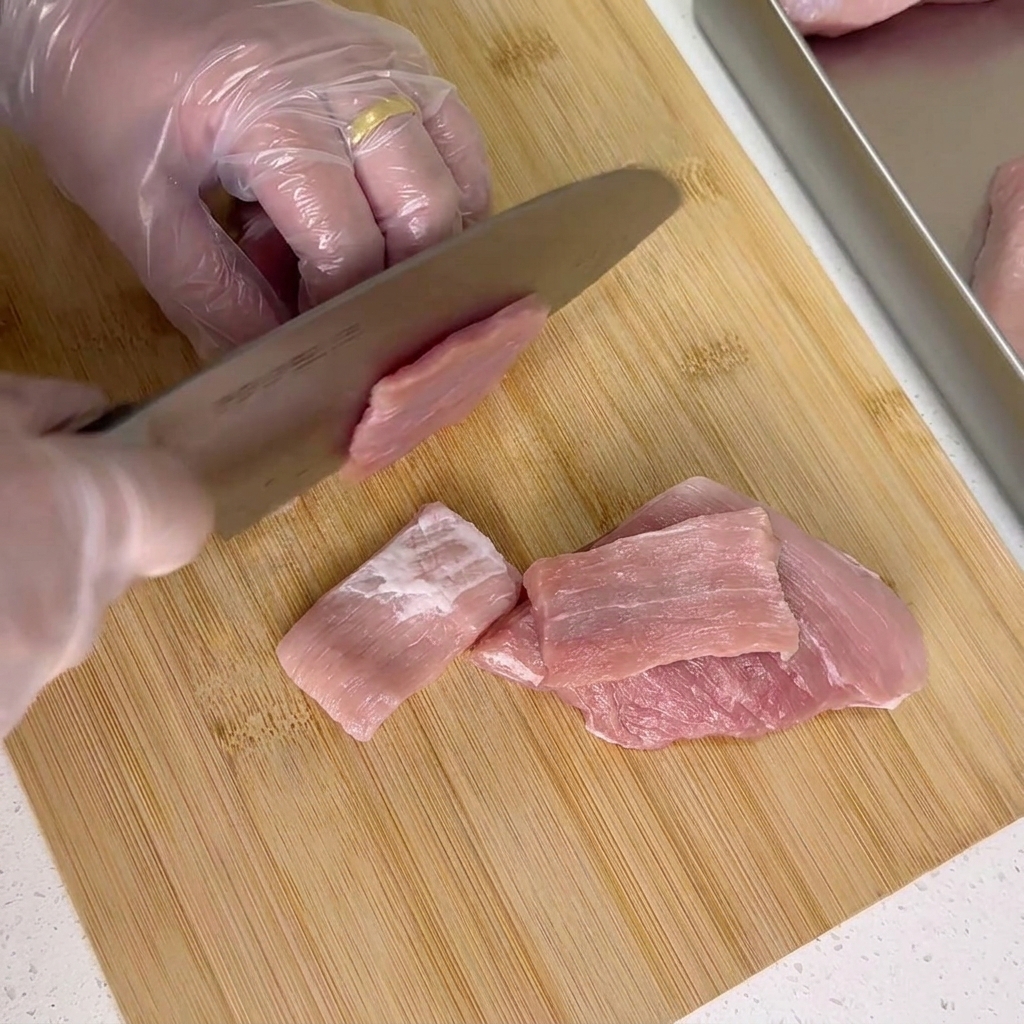
Using a sharp cleaver, slice the pork into uniform pieces roughly 5mm thick. Cutting against the grain will result in a more tender bite, while cutting with the grain offers a traditional, chewier texture that is perfect for shredding.
Tip: Keep the thickness consistent so that all pieces dry and cook at the same rate. Remember that the meat will shrink significantly once dehydrated. - 4Prepare kid-friendly meat strips
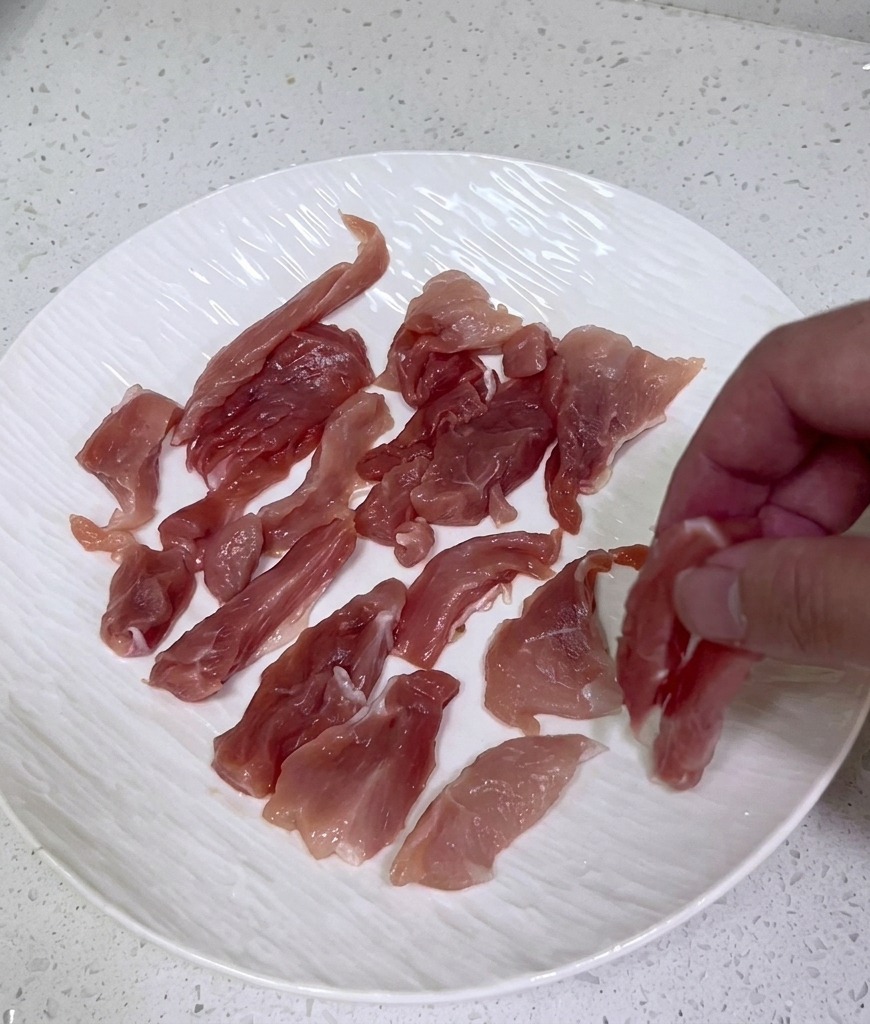
Slice a portion of the lean pork leg into smaller, thinner strips. These pieces are specifically sized to be easier for children to chew, ensuring they can enjoy the jerky as a safe and tasty snack once it has been processed.
Tip: Wipe the meat dry before slicing to make handling easier and to ensure a better texture after drying. - 5Add marinade and aromatics
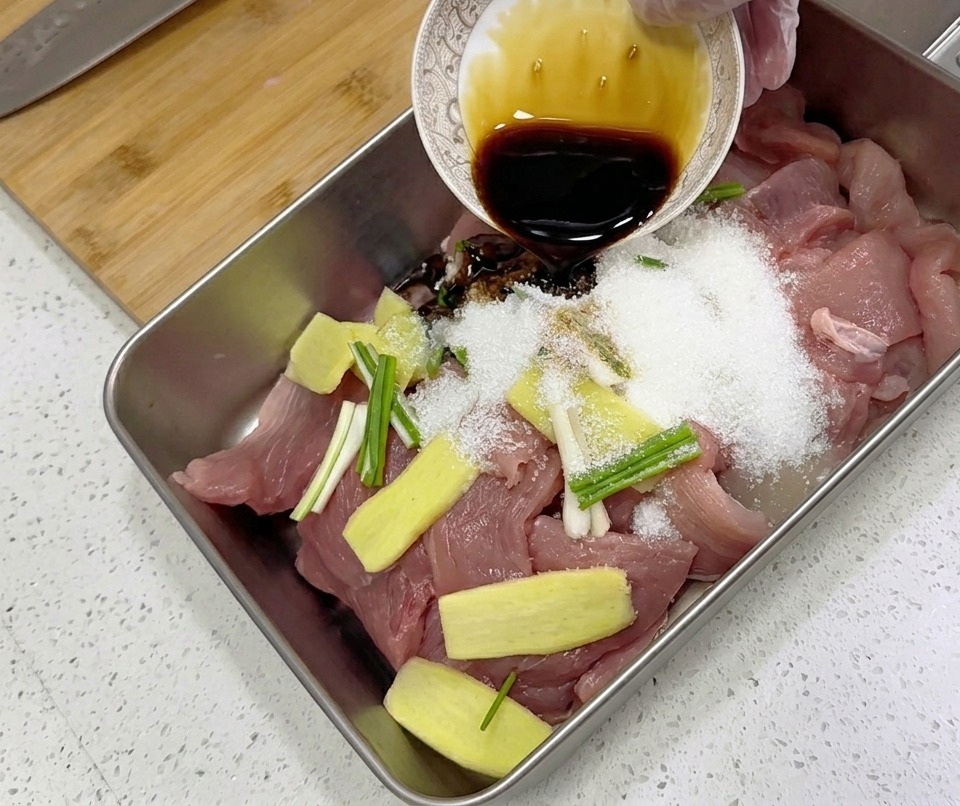
Pour the liquid seasonings, including rice wine and light soy sauce, over the raw pork slices in a tray. Add aromatic ingredients like sliced ginger and green onions to the mix to provide a fragrant base for the marinade.
Tip: If possible, add a splash of fish sauce to enhance the freshness and depth of the savory flavors. - 6Enhance the color
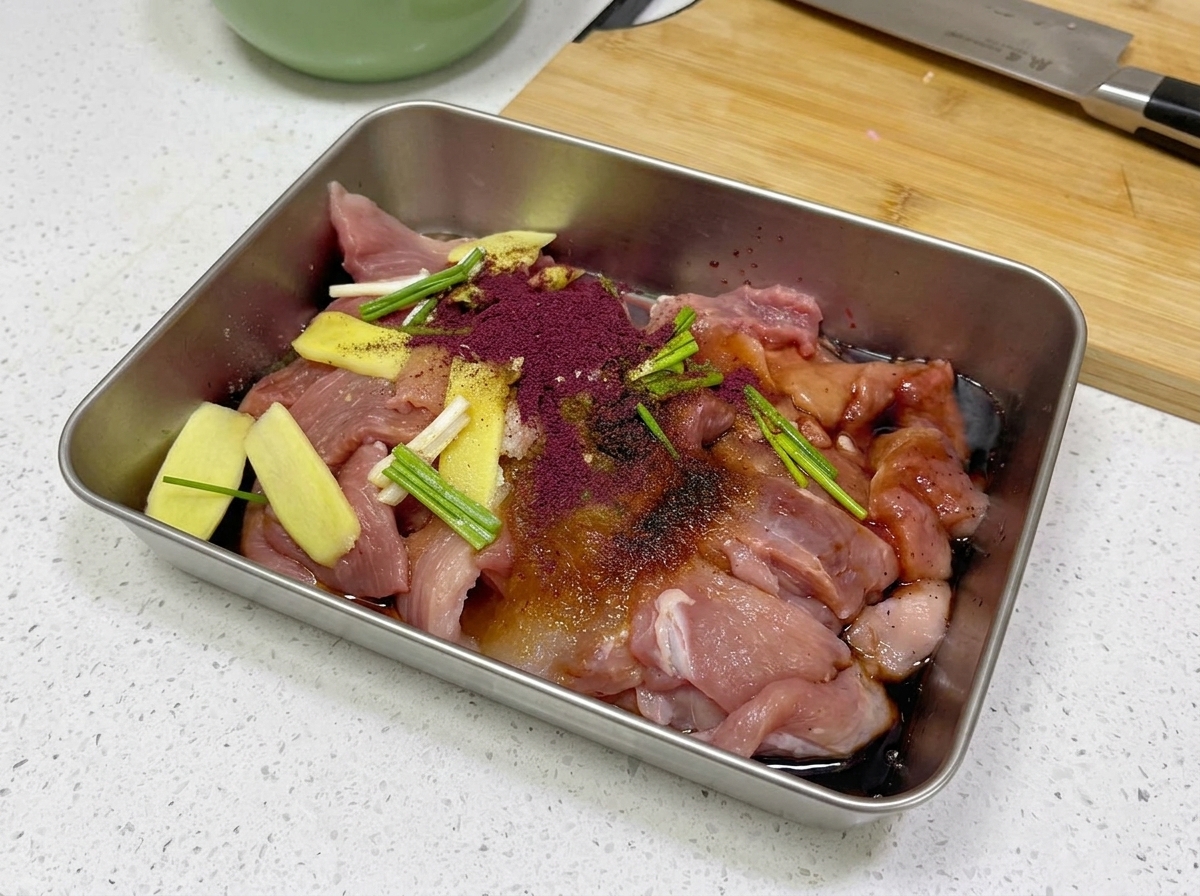
Sprinkle red yeast rice powder over the marinated meat. This natural ingredient provides the jerky with a vibrant deep red color. Mix and massage the meat thoroughly until the marinade is fully absorbed and the meat feels smooth and sticky.
Tip: Massage the meat for several minutes to help the fibers break down slightly and ensure the flavors are locked deep inside. - 7Develop a sticky marinade texture
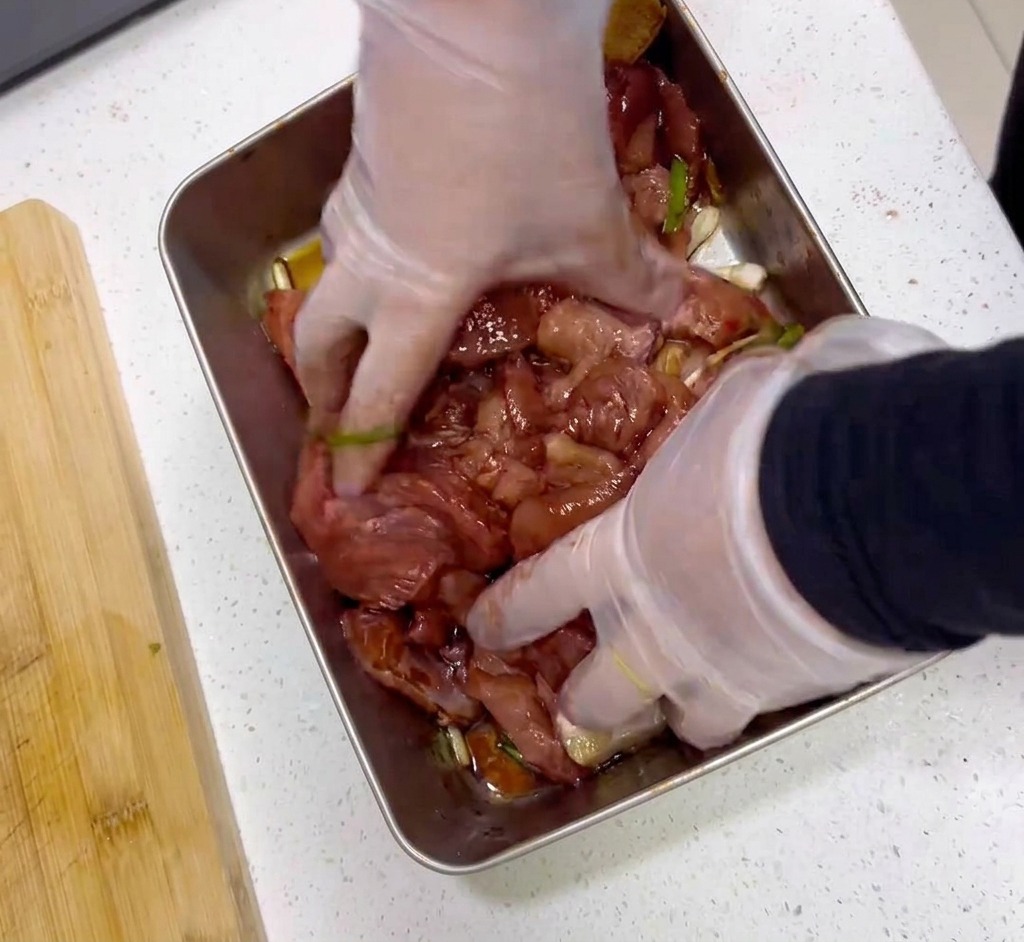
Using gloved hands, vigorously mix and massage the pork slices with the marinade ingredients. Continue this process for several minutes until the liquid is entirely absorbed and the meat develops a smooth sticky surface which is vital for deep flavor penetration.
Tip: If possible, add a dash of fish sauce to the marinade to enhance the freshness of the meat and help cut through the richness of the seasonings. - 8Season with chili flakes
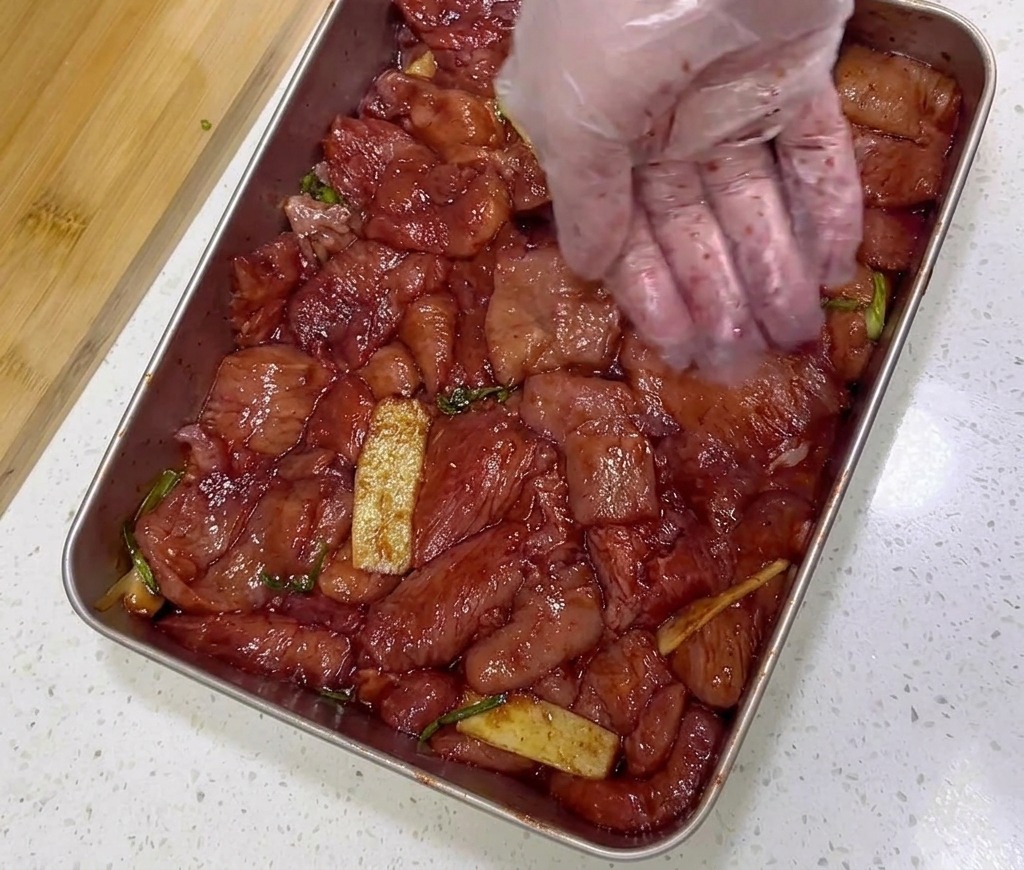
For a spicy version of the jerky, add a spoonful of coarse red chili flakes to the marinated pork. Mix them in so the flakes adhere to the sticky surface of the meat, ensuring even heat in every bite.
Tip: Adjust the amount of chili flakes according to your heat preference; you can also use red yeast rice powder for a deeper red color. - 9Arrange meat on drying racks

Carefully arrange the marinated pork slices one by one onto a wire cooling rack. Spread them out in a single layer with enough space between each piece to allow for optimal air circulation during the drying process.
Tip: Using a wire rack is essential because it allows both the top and bottom of the meat to dry at the same time. - 10Air-dry the pork jerky

Place the filled wire racks in a sunny and breezy outdoor location, such as a balcony railing. Allow the meat to dehydrate naturally until it is about 80% dry, feeling slightly firm to the touch but not completely hard.
Tip: If the weather is not suitable for outdoor drying, use an oven on fan mode at 50 degrees Celsius to achieve the same result. - 11Indoor Dehydration Alternative
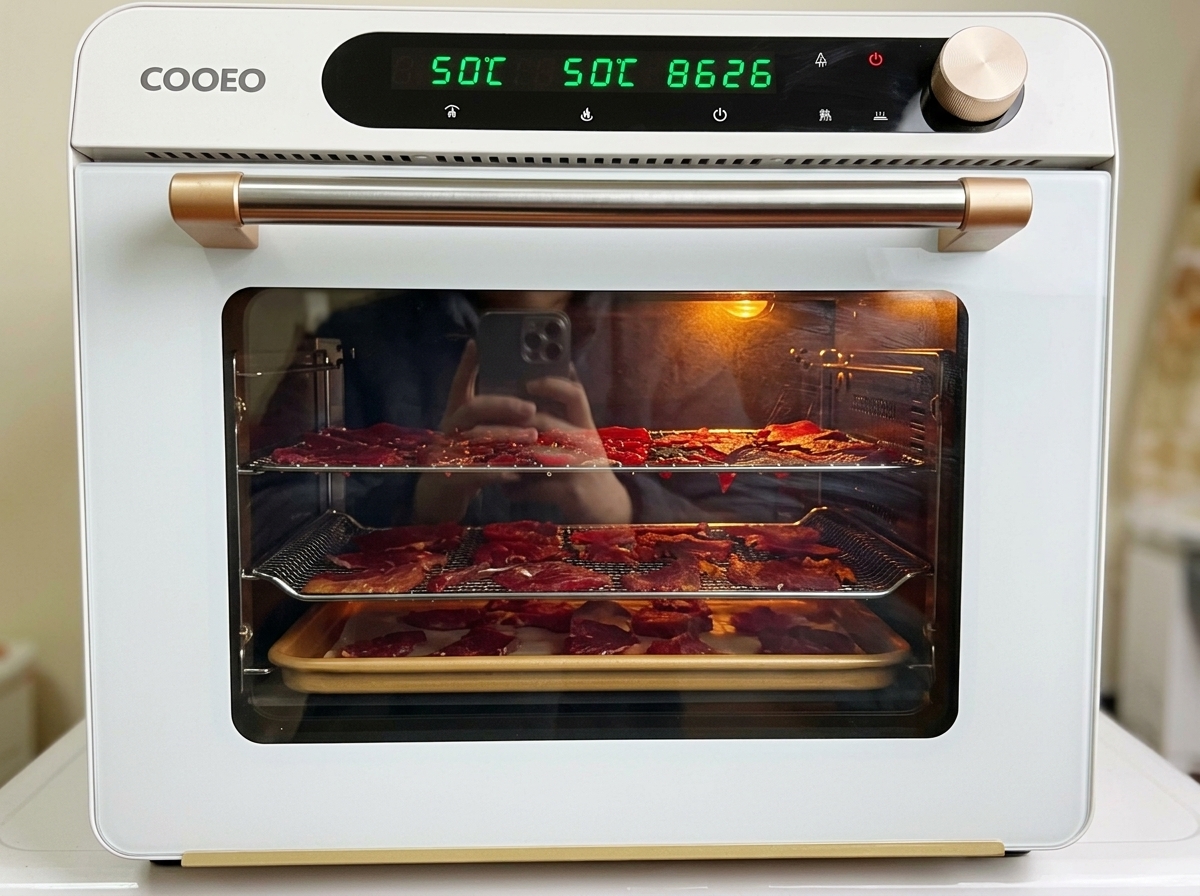
If outdoor conditions are not ideal, arrange the pork on wire racks inside a countertop oven. Set it to fan mode at 50 degrees Celsius and dehydrate until the pieces are about 80 percent dry and feel firm. Alternatively, an electric fan or hairdryer can be used in a well-ventilated room to achieve a similar air-dried effect.
Tip: If the oven does not have a low-temperature fan setting, you can use an electric fan or even a hairdryer to air-dry the meat in a cool well-ventilated area until it reaches the desired firmness. - 12Transfer jerky to steamers
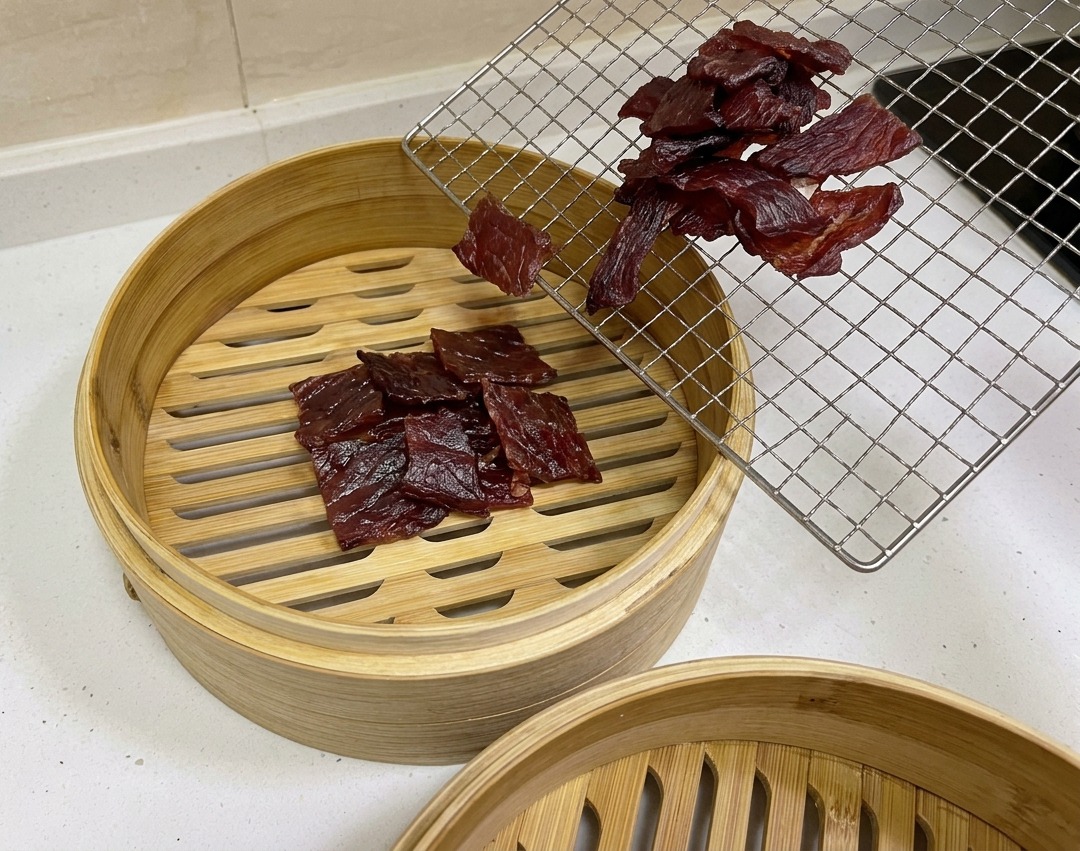
Once the pork has air-dried until it is slightly firm and roughly 80% dry, transfer the mahogany-colored pieces into bamboo steamer baskets. Using bamboo steamers allows for even steam distribution and adds a subtle natural fragrance to the meat as it cooks.
Tip: Arrange the pieces in a single layer or avoid excessive overlapping to ensure that each piece of jerky steams evenly. - 13Remove surface moisture after steaming
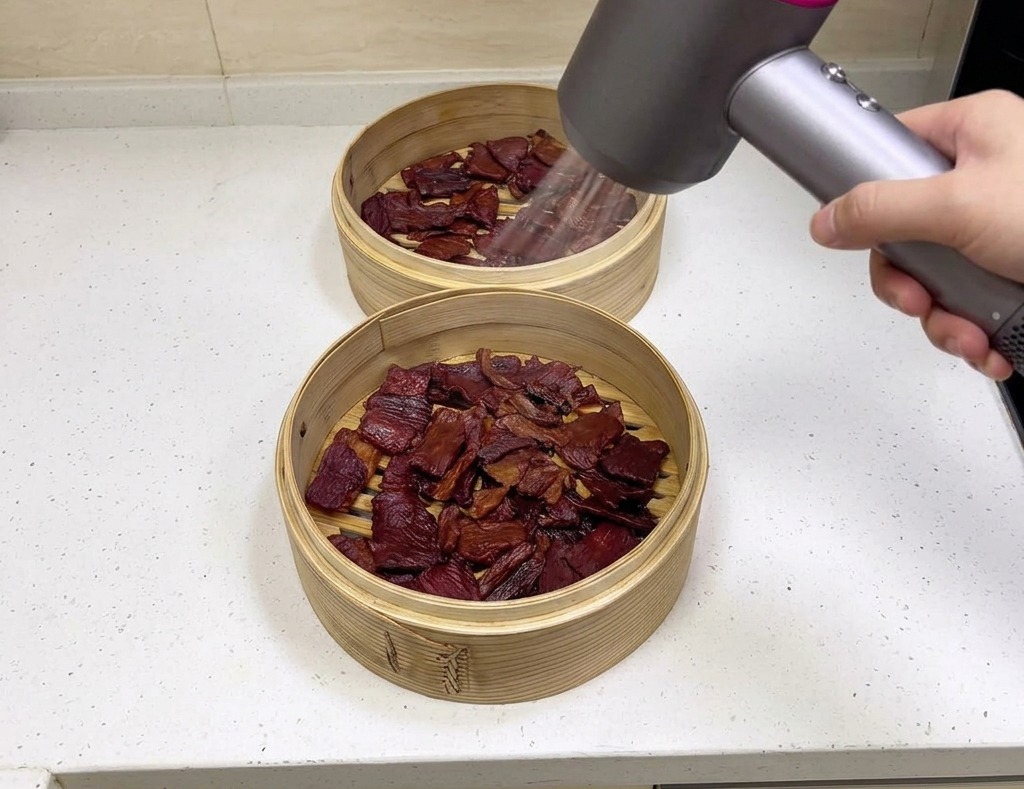
Once steamed, immediately use a hairdryer to blow air over the jerky pieces. This quickly evaporates any residual surface moisture from the steam, which is a critical step for improving the snacks shelf life and perfecting its chewy, non-greasy texture.
Tip: Make sure the surface of the meat is completely dry and the pieces have cooled down before proceeding to the final glazing step. - 14Apply a honey glaze
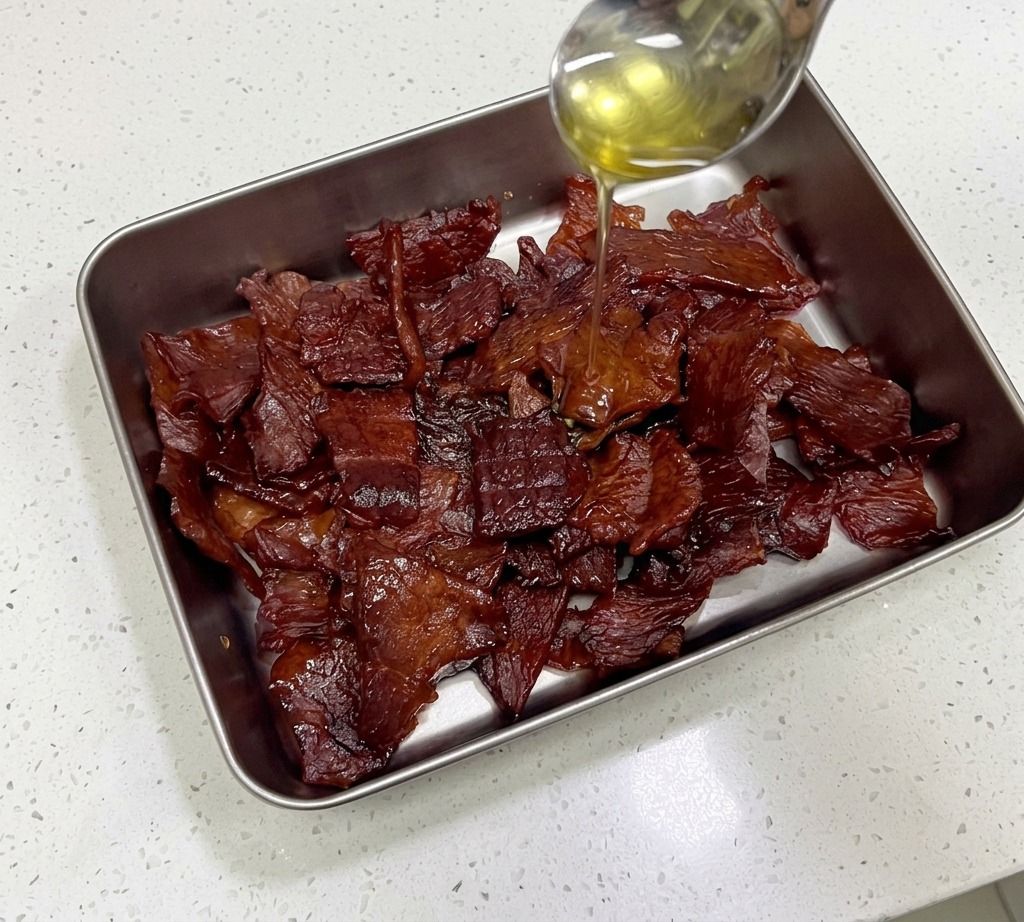
Place the dried jerky strips into a tray and drizzle honey over them using a spoon. The honey provides a brilliant glossy finish and serves as a natural preservative while adding a balanced sweetness that elevates the savory profile of the snack.
Tip: Toss the jerky strips while drizzling to ensure every piece is coated with a thin, even layer of honey. - 15Garnish with sesame seeds
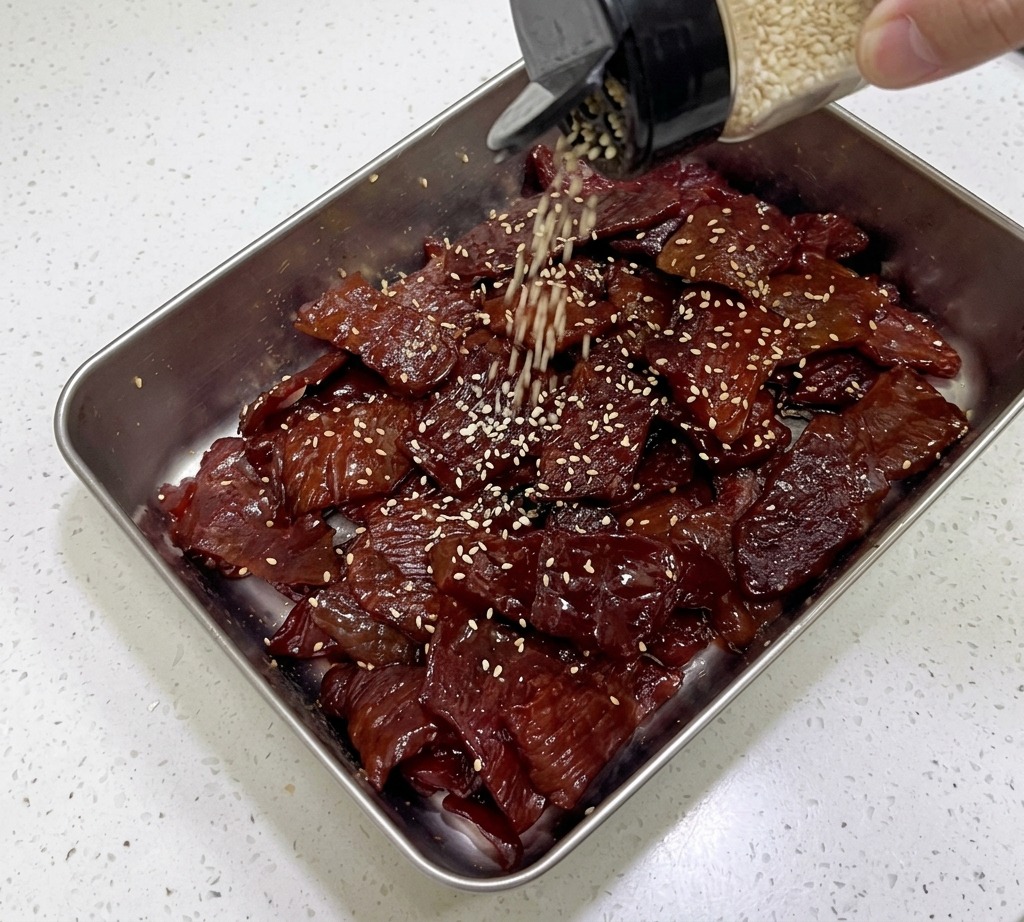
For the final touch, sprinkle toasted white sesame seeds over the honey-glazed pork jerky. Toss the strips together so the seeds stick to the honeyed surface, providing a nutty aroma and a professional look to your homemade snack.
Tip: Store the finished jerky in an airtight container to maintain its firm yet chewy texture and prevent it from becoming too tough.