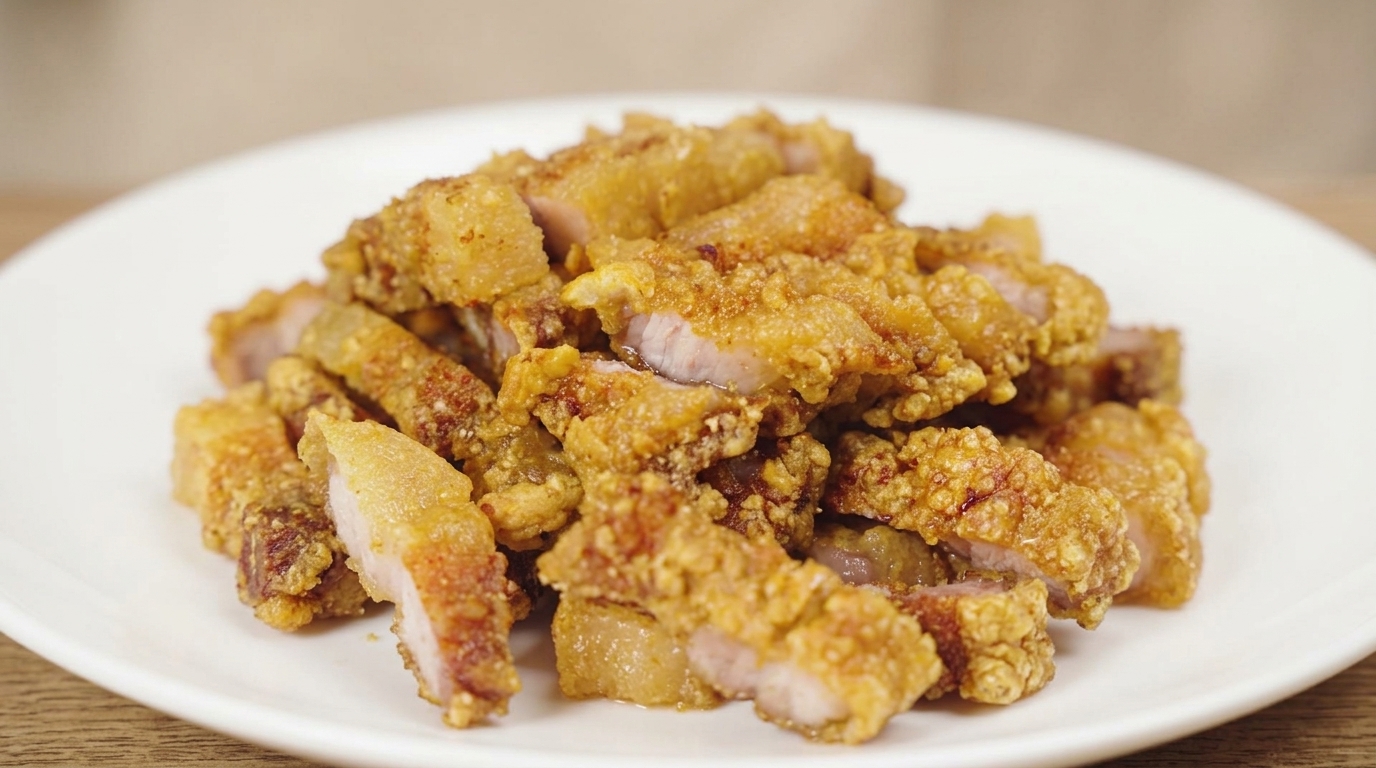
Crispy Garlic Fried Pork Belly
Achieve ultimate crunch with this double-coated garlic fried pork belly. Marinated in savory aromatics and flash-fried for a long-lasting, non-greasy crisp.
Fried pork belly is a beloved staple across East Asian home cooking, celebrated for its rich flavor and satisfying texture. The secret to this professional chef-style version lies in the meticulous marination with a generous amount of smashed garlic and a double-coating of coarse sweet potato flour. By slowly rendering the fat over low heat before a final high-heat flash fry, the pork stays incredibly juicy while developing an enduringly crispy exterior.
Ingredients
- 600 g pork belly
- 65 g garlic cloves
- 2 g salt
- 3 g sugar
- 15 g light soy sauce
- 20 g oyster sauce
- 1 g white pepper
- 75 g coarse sweet potato flour
- as needed cooking oil
Instructions
- 1Slice the pork belly
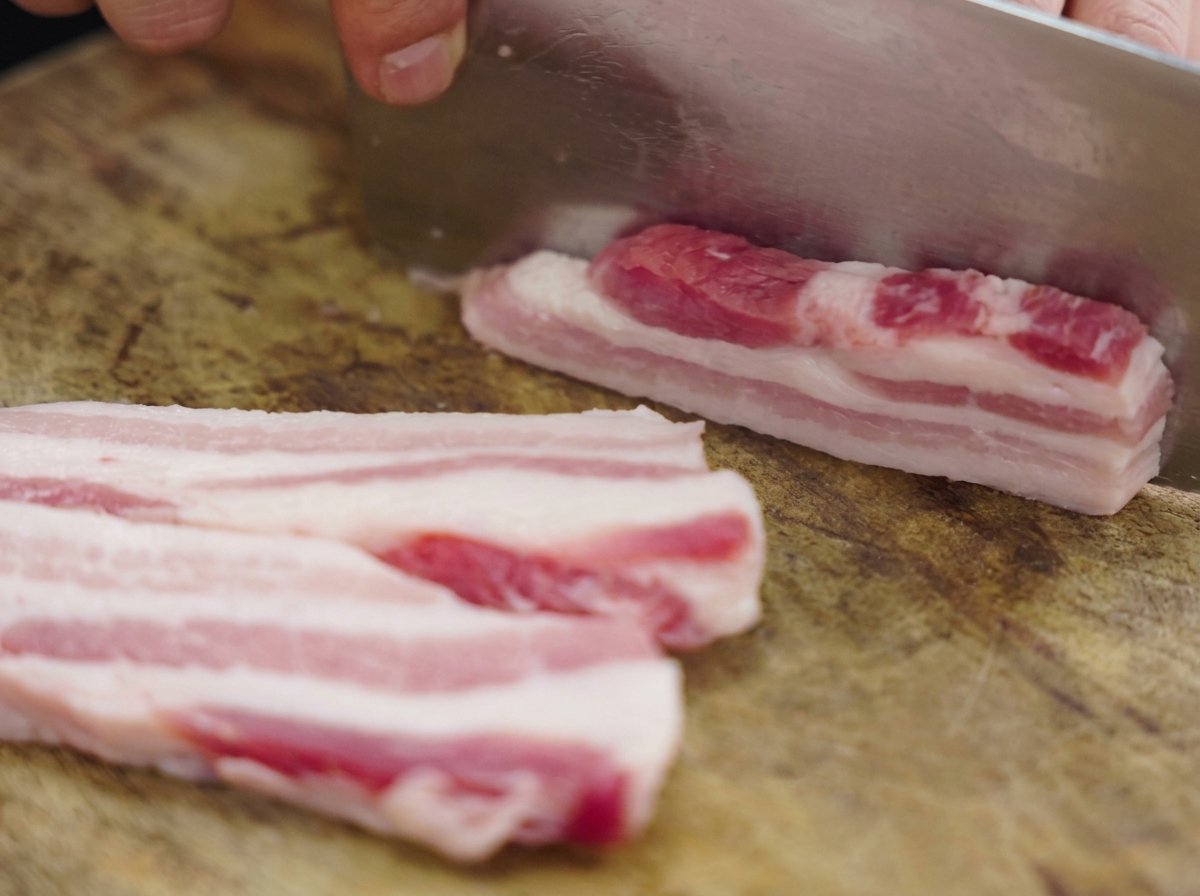
Wash and thoroughly pat dry 600 grams of heavily layered pork belly. Use a large, sharp metal cleaver to slice the pork belly into uniform, thick strips. Selecting a well-layered piece ensures an optimal fat-to-lean ratio, yielding a highly fragrant and juicy result.
Tip: Slicing the meat into equal thicknesses guarantees that all pieces will cook evenly at the same rate during frying. - 2Smash the garlic
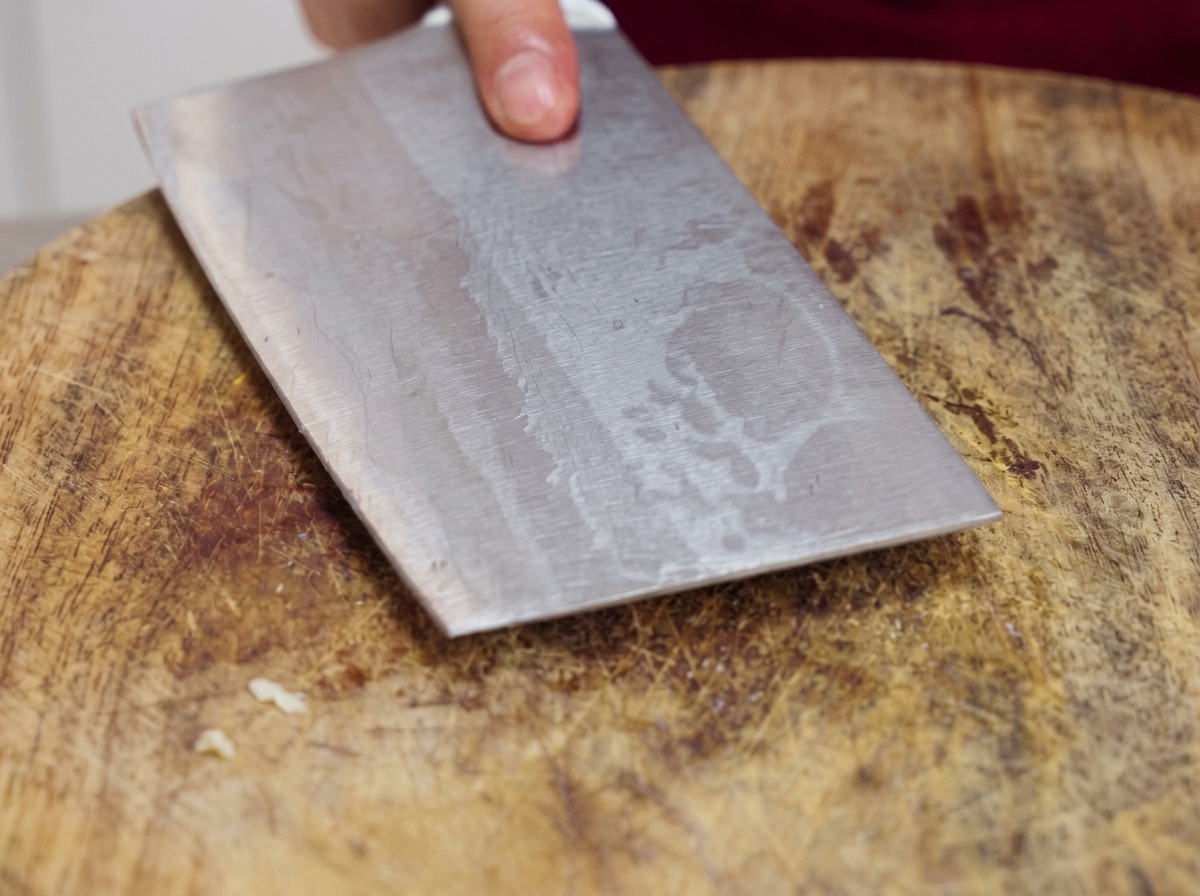
Place 65 grams of peeled raw garlic cloves onto the wooden cutting board. Use the flat side of a heavy metal cleaver to firmly smash them. Crushing the garlic cloves this way releases their natural oils and aromatic juices, maximizing their flavor impact in the marinade.
Tip: Smashing the garlic rather than mincing it makes it much easier to pick out and discard the pieces before frying, preventing them from burning in the hot oil. - 3Add the marinades and seasonings
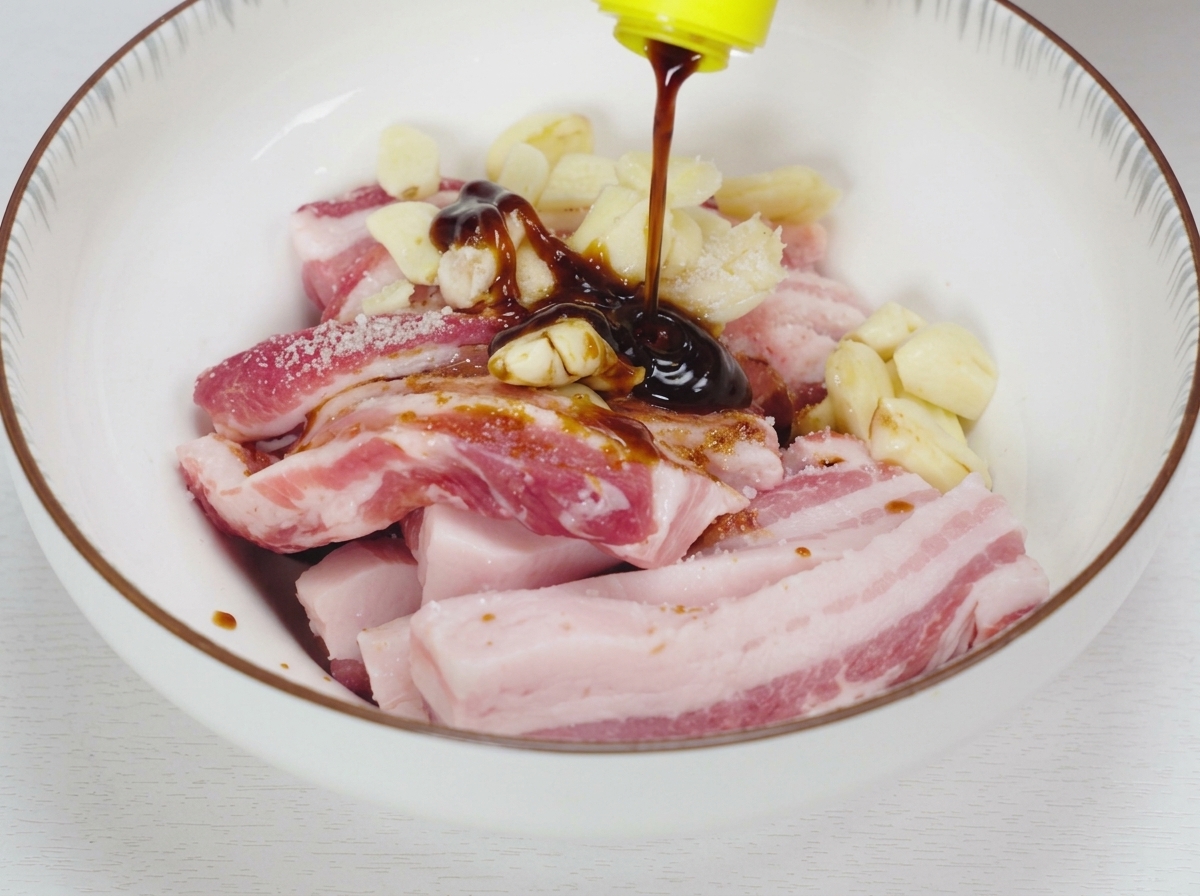
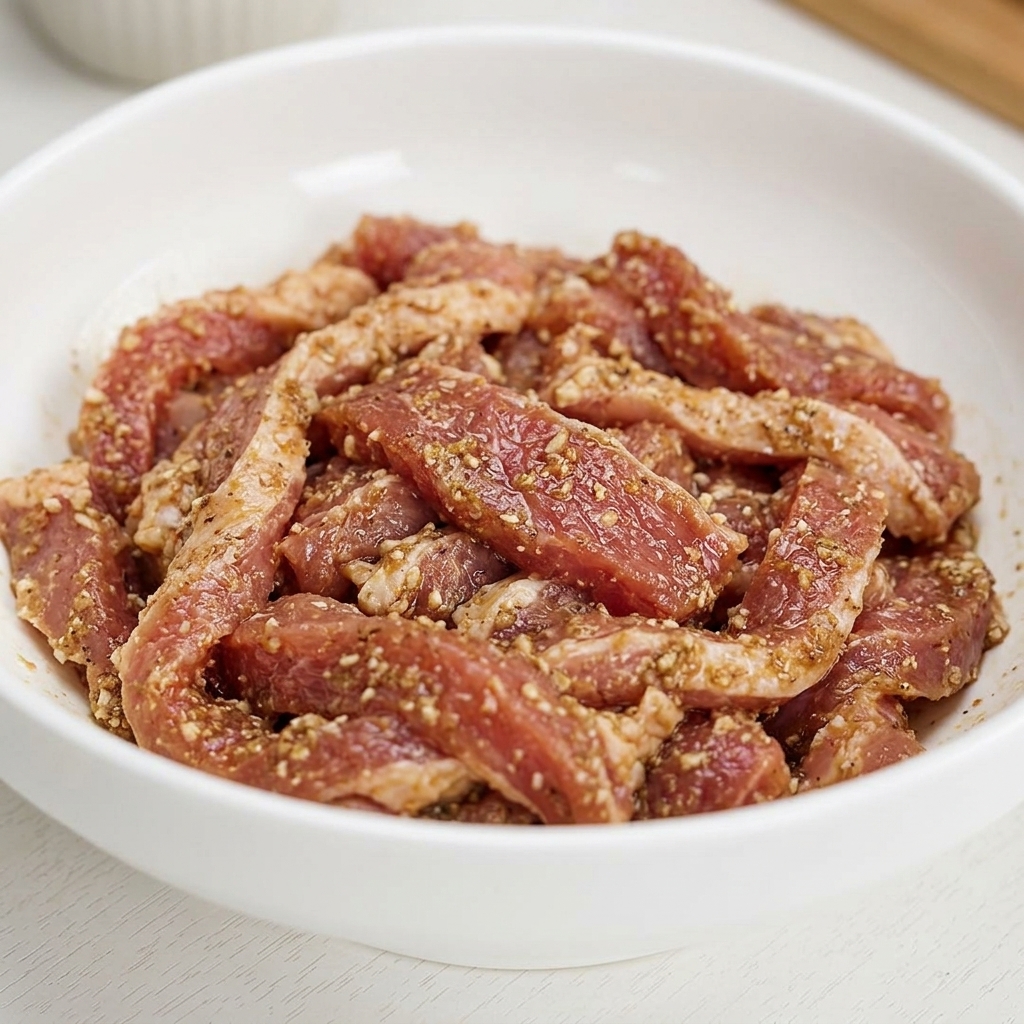
Transfer the sliced pork belly strips and smashed garlic into a clean white ceramic bowl. Season the meat by adding 2 grams of salt, 3 grams of sugar, 15 grams of light soy sauce, 20 grams of oyster sauce, and 1 gram of white pepper to establish a deep, savory base flavor.
Tip: Stick close to the recommended liquid proportions so the pork doesnt become too wet, which could compromise the crispiness of the outer batter. - 4Mix and marinate the pork
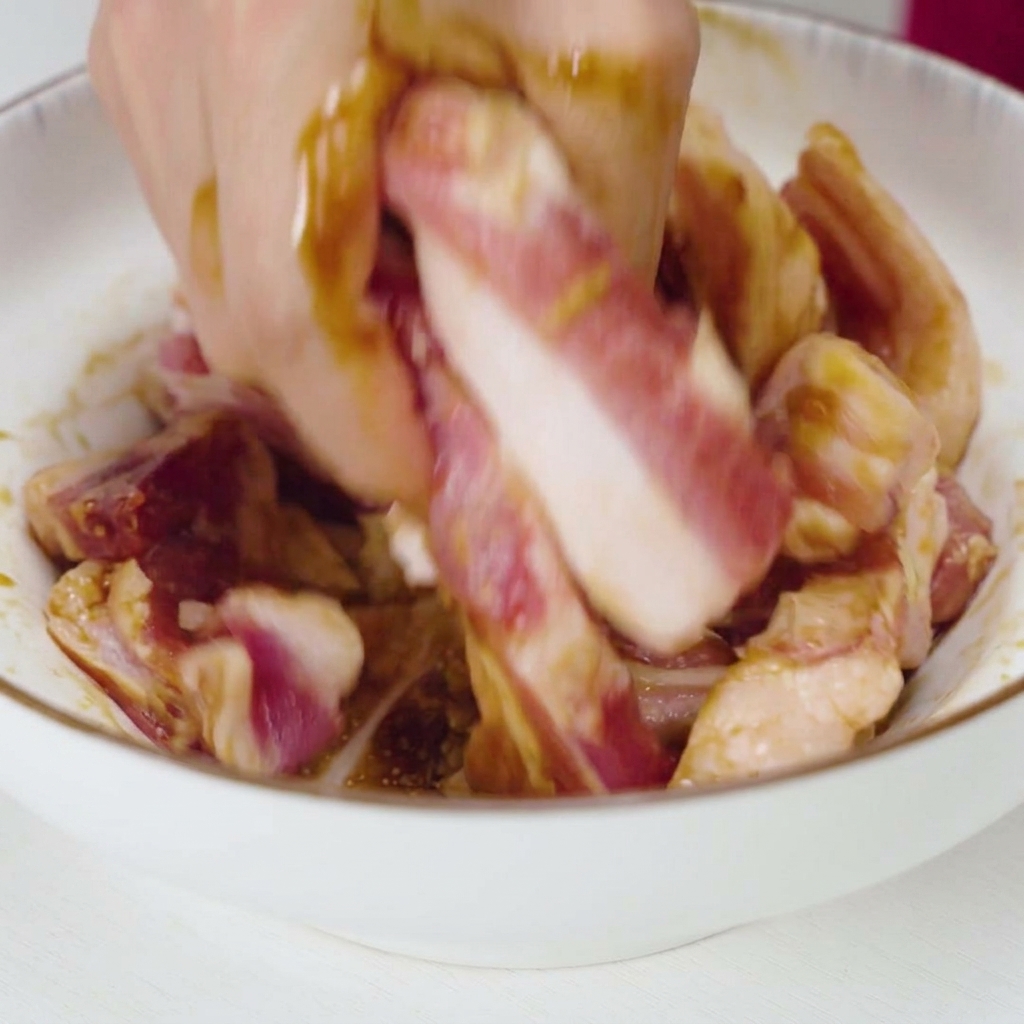
Use your hand to thoroughly mix and massage the raw pork belly strips with the dark liquid marinade and smashed garlic pieces. Ensure every piece of meat is uniformly coated, then let it rest to marinate for 30 minutes to fully absorb the rich flavors.
Tip: Kneading the meat gently helps relax the muscle fibers, allowing the seasonings to penetrate deeply and tenderize the pork. - 5Sprinkle sweet potato flour
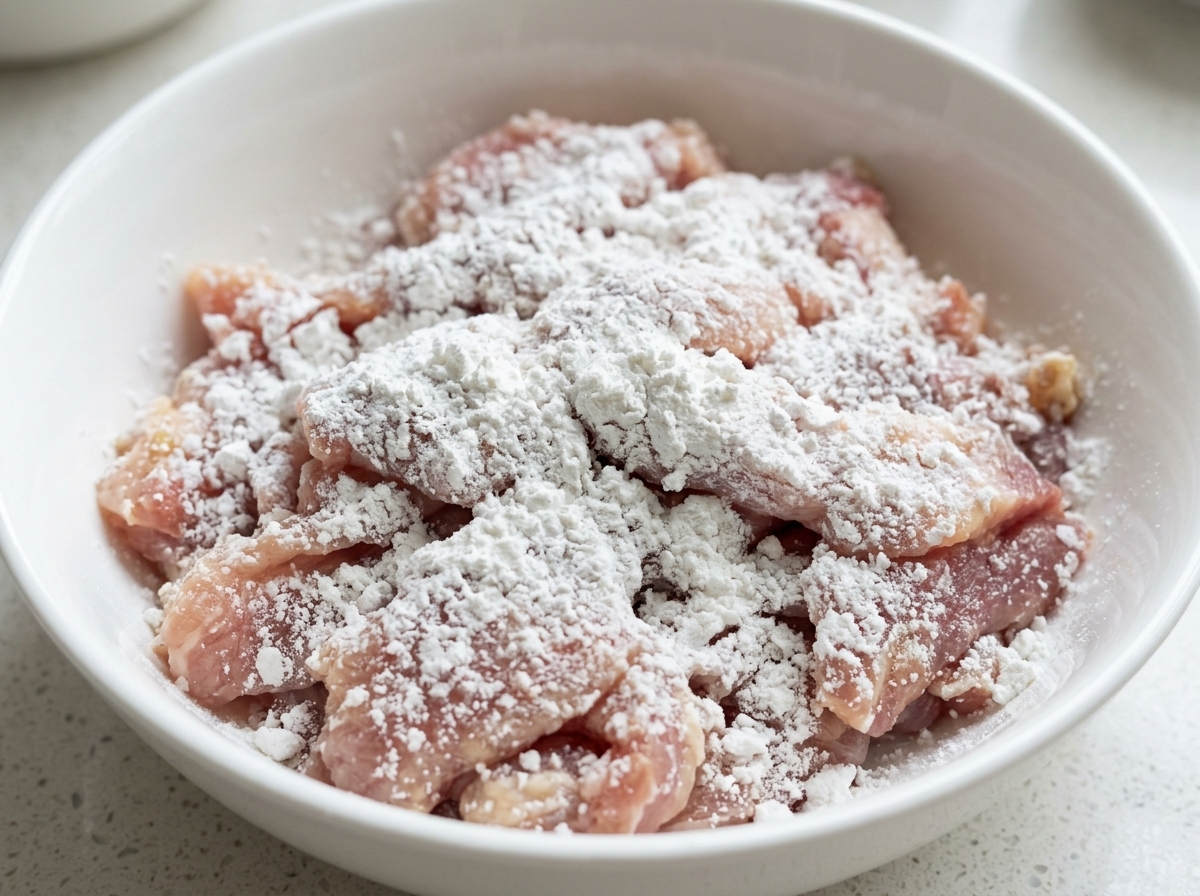
Measure out 50 grams of coarse sweet potato flour. Add it to the bowl in batches, sprinkling the bright white, granular flour evenly over the surface of the marinated pork strips to prepare for the first layer of coating.
Tip: Coarse sweet potato flour is the key secret to a long-lasting crunch; it holds up much better against moisture than standard cornstarch or flour. - 6Knead into a sticky coating
Thoroughly massage and knead the white granular flour directly into the wet, marinated raw pork strips. Continue mixing until the flour fully incorporates with the residual marinade juices, creating a thick, uniform, and sticky coating around each piece of meat.
Tip: Ensure there are no dry pockets of flour left at the bottom of the bowl; the coating must be fully hydrated and sticky to adhere perfectly during frying. - 7Add the second layer of flour
Before frying, sprinkle another 25 grams of coarse sweet potato flour over the marinated pork pieces. Mix well to ensure each piece has a double layer of coating, which helps achieve a long-lasting, extra-crunchy texture.
Tip: Kneading the sweet potato flour into the meat in multiple batches ensures it adheres tightly and wont flake off in the hot oil. - 8Slide the pork into hot oil
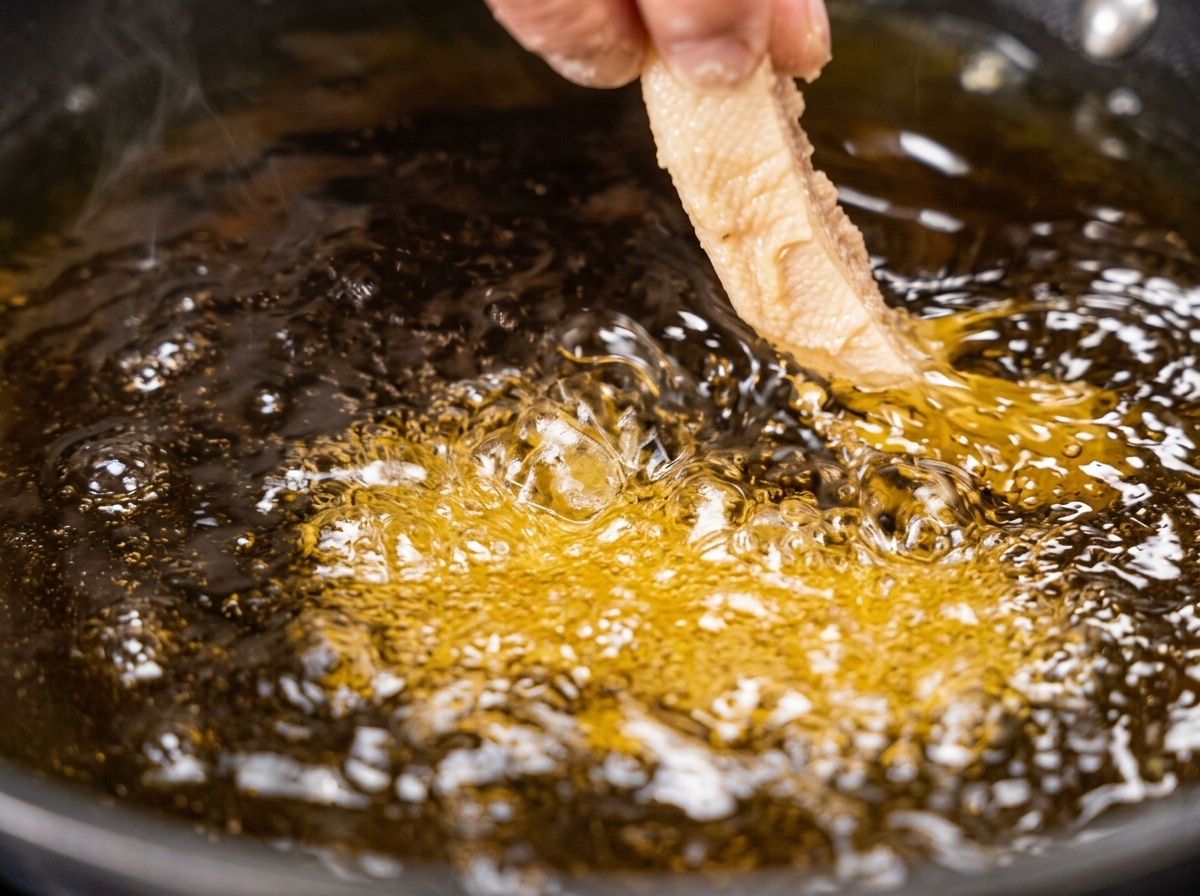
Remove any remaining garlic pieces from the marinated pork to prevent them from burning. Heat your cooking oil to about 40 percent capacity, then gently lower the coated pork strips into the pan one by one.
Tip: Starting at a lower oil temperature (around 140°C) allows the thick pork strips to cook evenly from the inside out without burning the exterior. - 9Deep-fry the pork slowly
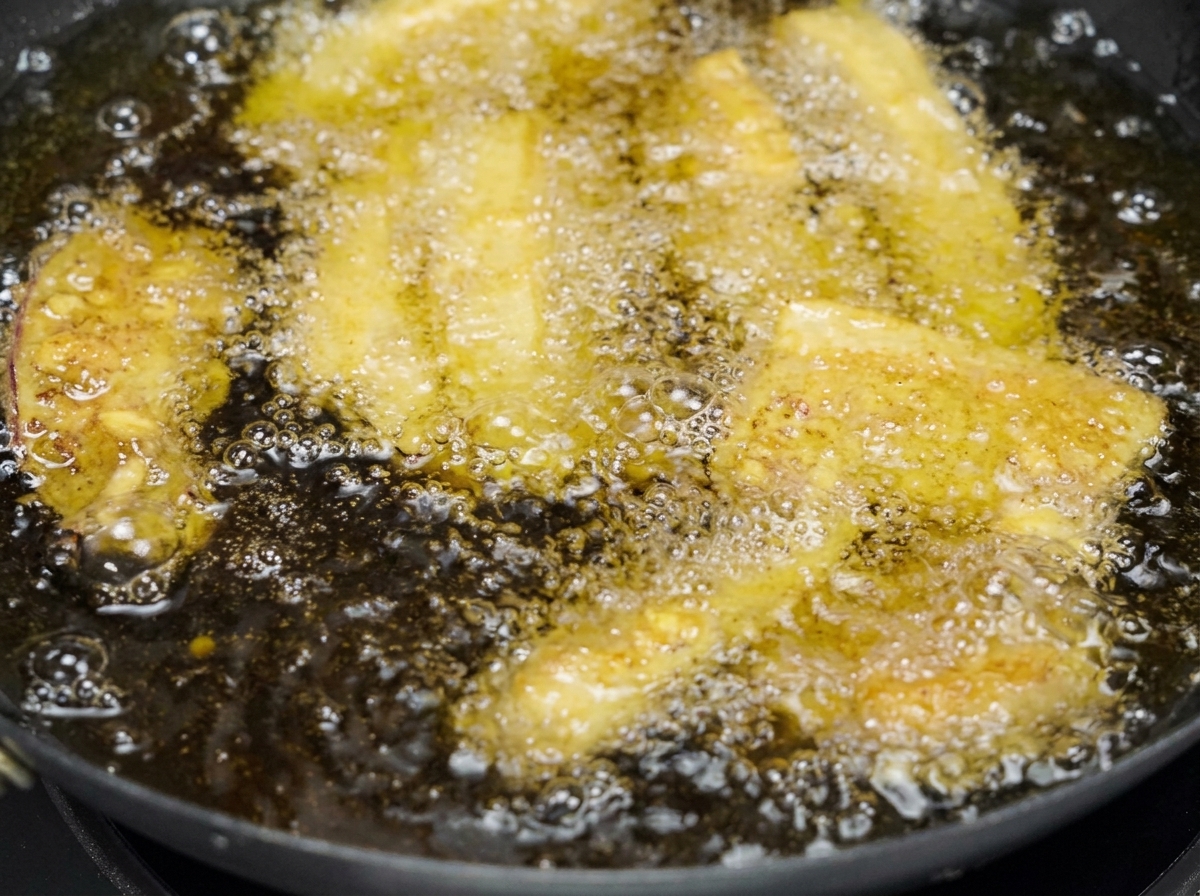
Allow the pork strips to deep-fry slowly over low heat. Avoid moving them around too much during the first few minutes to let the sweet potato flour coating fully set into a crispy shell.
Tip: Maintaining a steady low heat helps render out the fat from the pork belly layers while keeping the inside tender and juicy. - 10Flash-fry for maximum crispiness
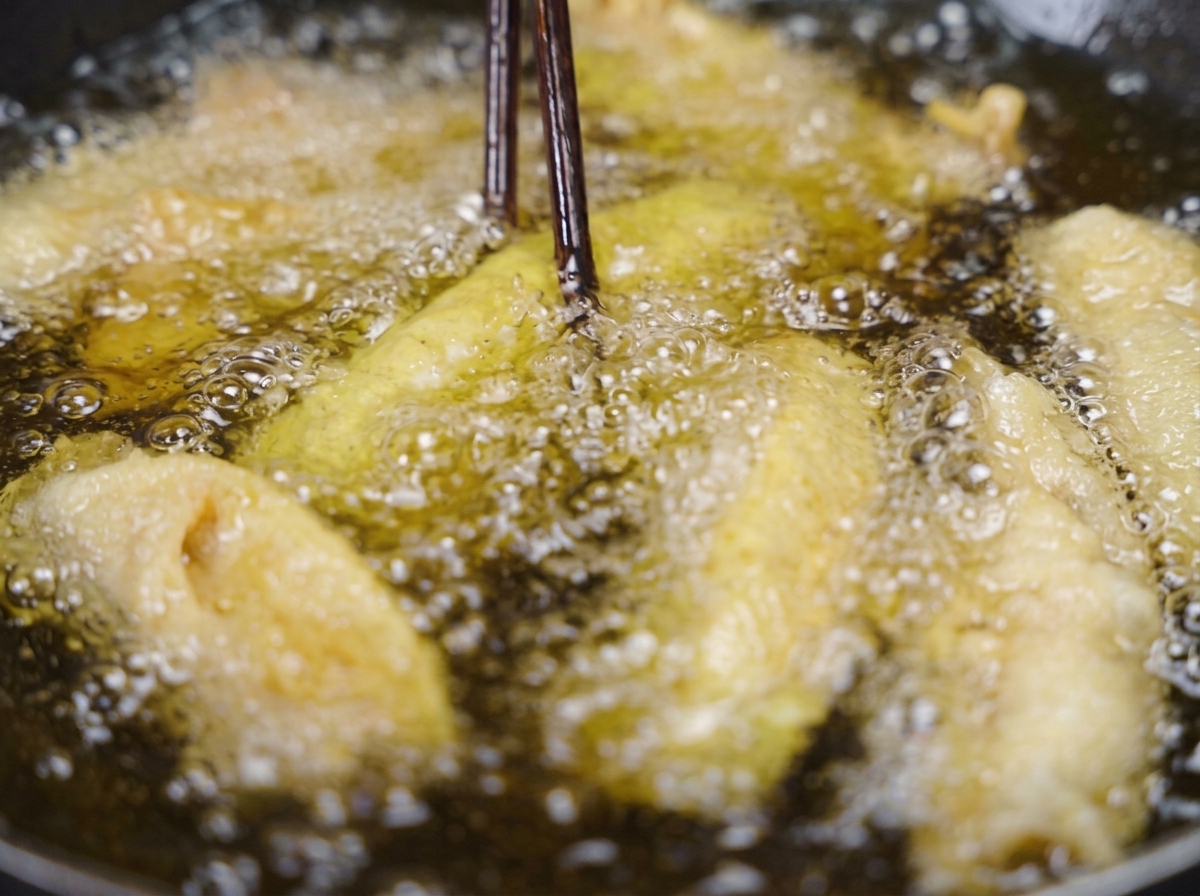
Fry the pork slowly for a total of 8 minutes, then crank up the heat to high for the final 1 minute. This flash-frying technique crisps up the exterior skin perfectly and forces out any excess oil trapped inside.
Tip: The sudden increase in temperature at the end is the key secret to achieving a completely non-greasy, long-lasting crunch. - 11Drain and cool the pork
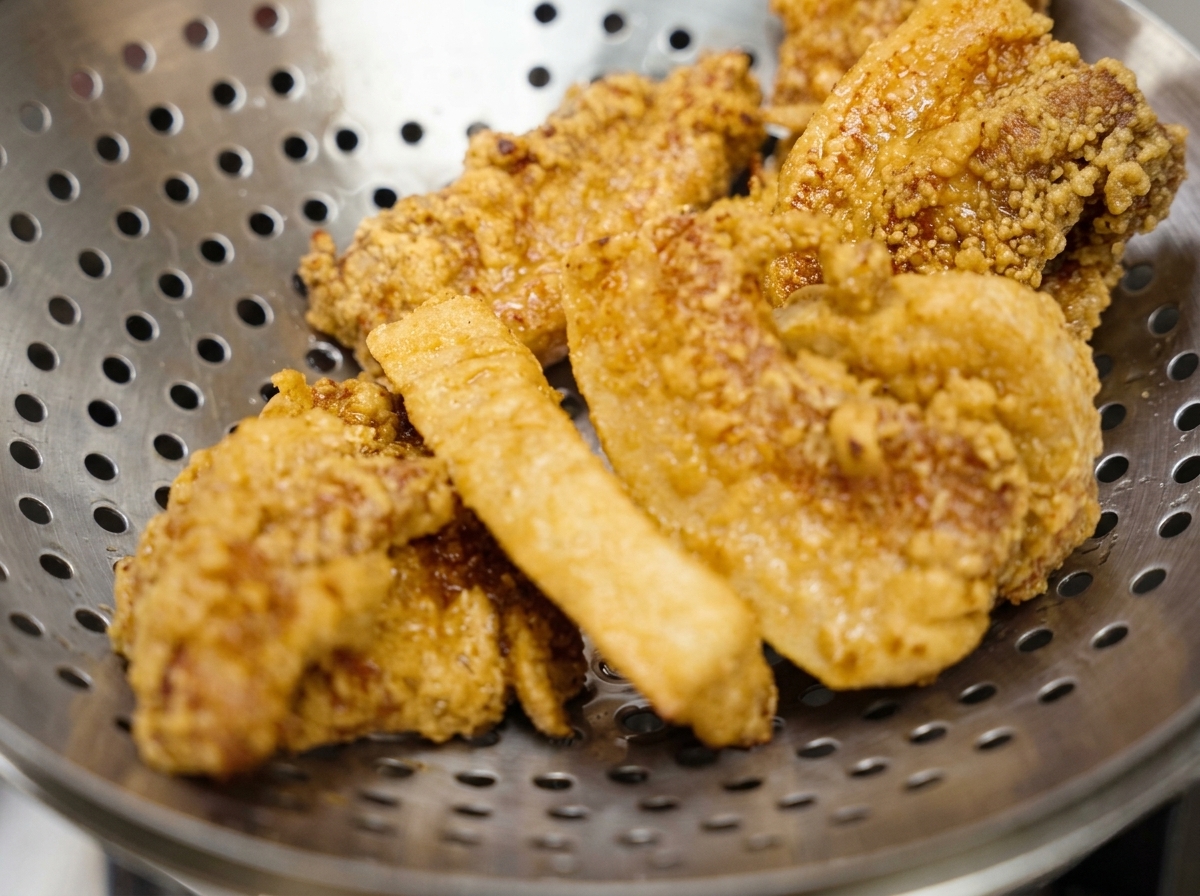
Once the pork pieces turn a deep golden brown and sound crunchy, scoop them out using a metal skimmer. Transfer them to a colander or wire rack to drain off the excess oil and let them cool slightly.
Tip: Letting the fried pork rest for a minute or two helps the outer crust firm up even more before slicing. - 12Slice into bite-sized pieces
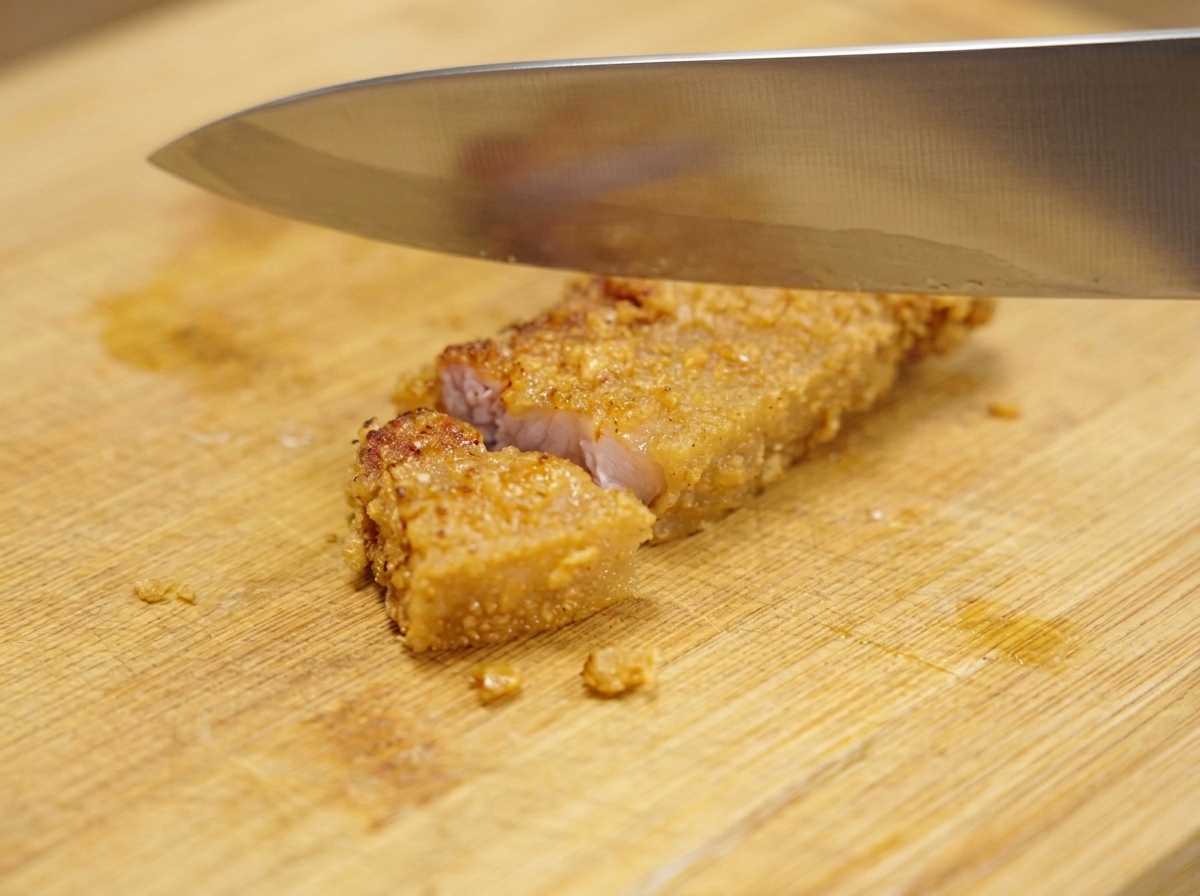
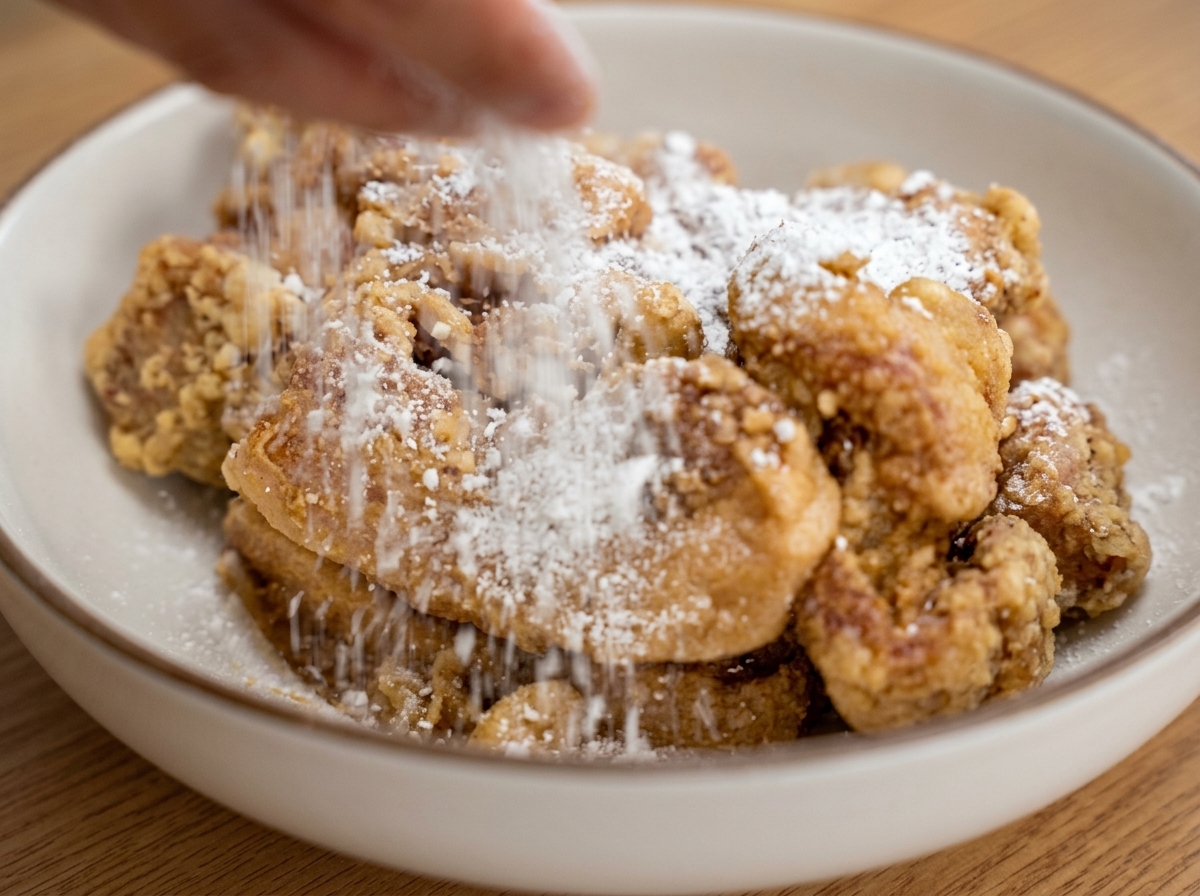
Place the slightly cooled fried pork strips onto a wooden cutting board. Use a sharp cleaver or chefs knife to slice the crispy pork into clean, bite-sized sections, then transfer them to a plate to serve.
Tip: Slicing while the pork is still warm ensures clean cuts without shattering the extra-crispy exterior coating.