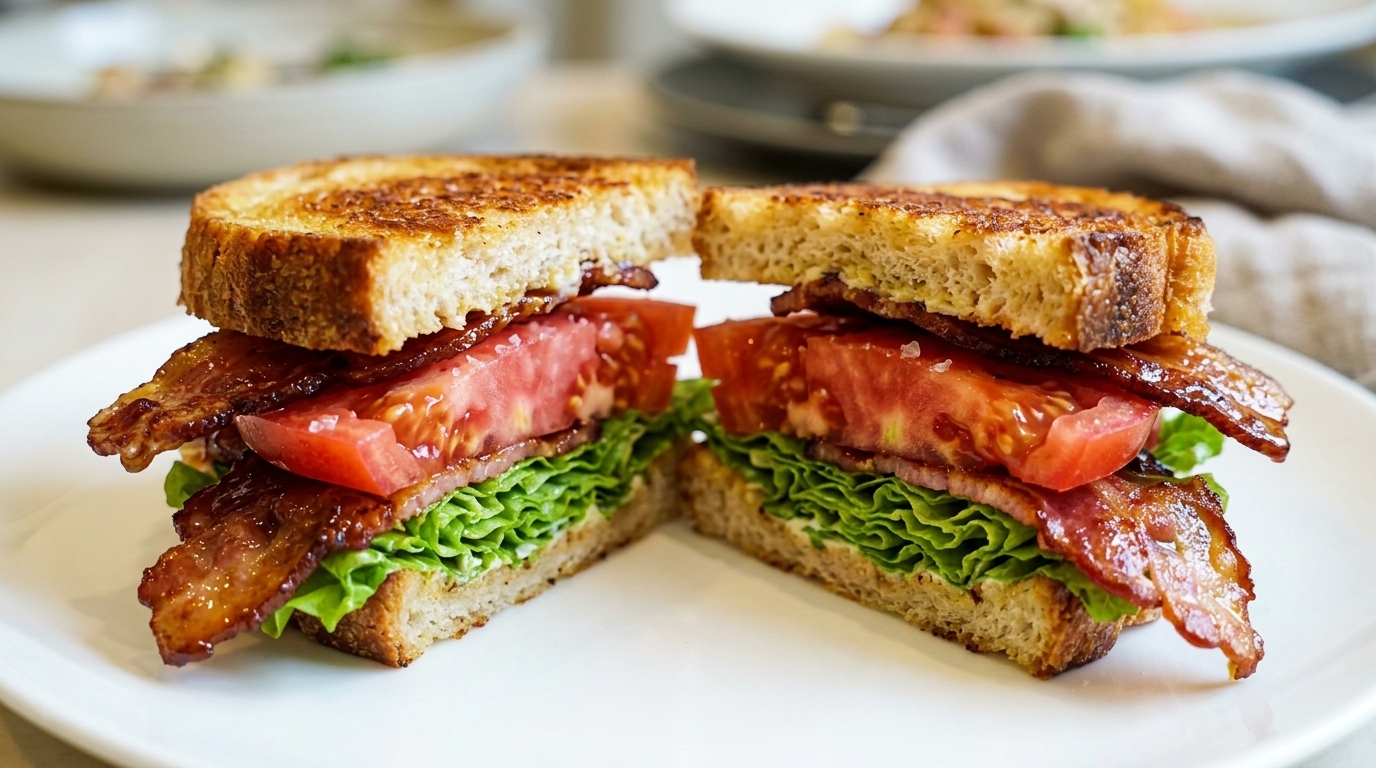
Japanese-Style Spinach, Bacon,
Egg Sandwich (Wanpaku Sando)
A vibrant, thick-cut sandwich layering fluffy scrambled eggs, savory bacon, and blanched spinach, all bound by a sweet-and-tangy honey grain mustard sauce.
In Japan, thick and colorful Wanpaku sandwiches are celebrated for their artistic cross-sections and hearty fillings. This version pairs the classic breakfast trio of eggs, bacon, and greens with a unique mustard-butter barrier that keeps the soft shokupan bread perfectly fresh.

Ingredients
- 2 slices thick-cut white bread (shokupan)
- 2 whole large eggs
- 3 slices bacon
- 100 g fresh spinach
- 1 tbsp butter
- 1 tsp Japanese mustard (karashi)
- 2 tbsp mayonnaise
- 1 tbsp whole grain mustard
- 1 tsp honey
- to taste black pepper
- to taste salt
- 1 tbsp cooking oil
Instructions
- 1Prepare the Karashi butter
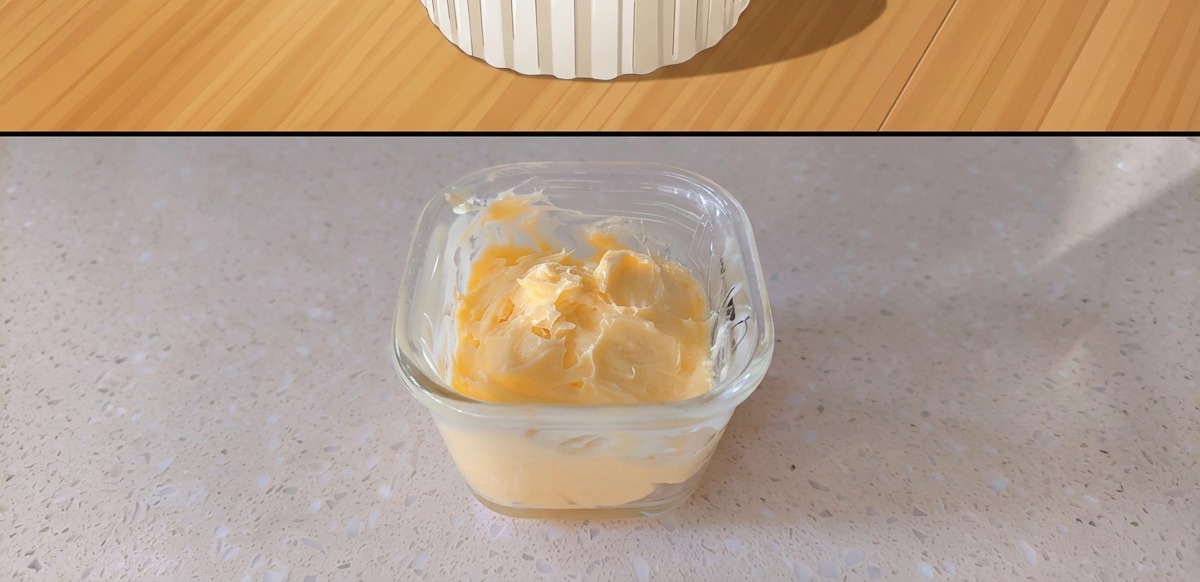
In a small glass container, mix together Japanese mustard and butter. Stir until well combined to create a smooth, spreadable mustard butter that will be used to coat the sandwich bread.
Tip: Ensure your butter is softened to room temperature before mixing so it blends seamlessly with the mustard. - 2Whisk the signature sauce

In a glass bowl, combine mayonnaise, whole grain mustard, honey, and coarsely ground black pepper. Stir the ingredients together thoroughly using a metal spoon until you achieve a creamy, well-blended sauce.
Tip: Taste the sauce and adjust the amount of honey or mustard to balance the sweetness and tanginess to your liking. - 3Salt the boiling water

Bring a pot of water to a rolling boil over the stove. Add a generous pinch of salt to the water, which will help season the spinach and keep it vibrant green as it cooks.
Tip: Salting the water is a crucial step for enhancing the natural flavor of the vegetables. - 4Boil the spinach
Carefully place the fresh green spinach into the boiling water. Make sure to submerge the harder-to-cook stems first before pushing the delicate leafy greens down into the pot. Let it boil for about one to two minutes.
Tip: Cooking the stems first ensures the entire vegetable cooks evenly without turning the leaves to mush. - 5Cool the spinach

Immediately remove the blanched spinach from the boiling water and transfer it directly into a bowl of cold or ice water. This halts the cooking process instantly, preserving the crisp texture and bright green color of the leaves.
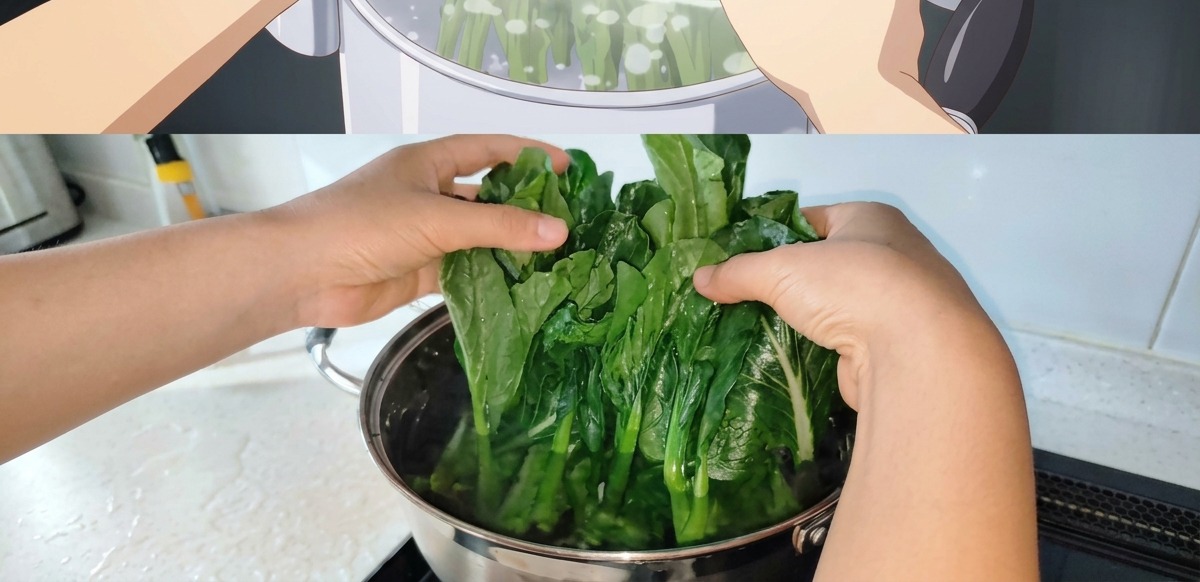
Tip: Shocking vegetables in cold water is a classic technique to lock in their vibrant color and prevent overcooking. - 6Squeeze out excess moisture

Once the spinach has completely cooled, gather it in your hands and firmly squeeze out as much excess moisture as possible over the sink. Getting rid of the extra water is critical to prevent the sandwich bread from becoming soggy later.
Tip: Squeeze the spinach tightly, but be gentle enough so you dont completely pulverize the delicate leaves. - 7Beat the eggs

Crack the raw eggs into a white bowl and beat them thoroughly using chopsticks until the yolks and whites are fully combined.
Tip: Beat the eggs vigorously to incorporate air, which will result in softer and fluffier scrambled eggs. - 8Prepare the scrambled eggs
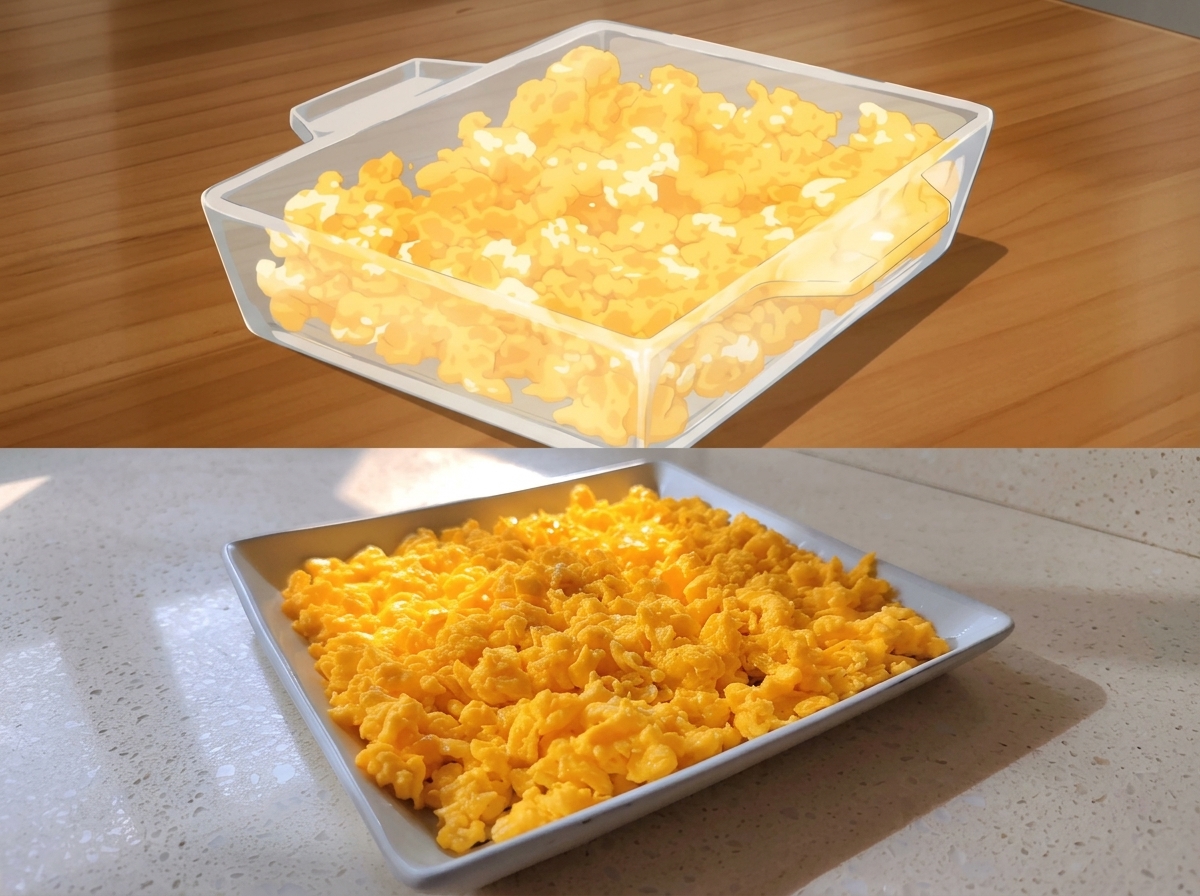
Cook the beaten eggs until they form soft, fluffy curds. Transfer the finished scrambled eggs to a shallow dish and set them aside for assembling the sandwich later.
Tip: Avoid overcooking the eggs; keeping them slightly soft and moist adds a wonderful texture to the final sandwich. - 9Heat oil in the pan

Place a frying pan over the stove and let it heat up. Pour a generous amount of cooking oil into the center of the hot pan, preparing it to fry the bacon.
Tip: Ensure the pan is properly heated before adding the bacon so it sears nicely and renders fat efficiently. - 10Fry the bacon

Place the slices of bacon into the heated pan. Fry them over low to medium heat, turning them occasionally with wooden chopsticks, until the surface becomes nicely browned.
Tip: Cooking the bacon over low to medium heat allows the fat to render out slowly, resulting in a perfectly crispy texture without burning. - 11Drain the bacon

Once the bacon is fully cooked and browned, remove it from the pan. Lay the slices flat on a kitchen paper towel to absorb and drain any excess oil.
Tip: Removing the excess fat ensures your sandwich doesnt become overly greasy or soggy. - 12Apply the mustard butter
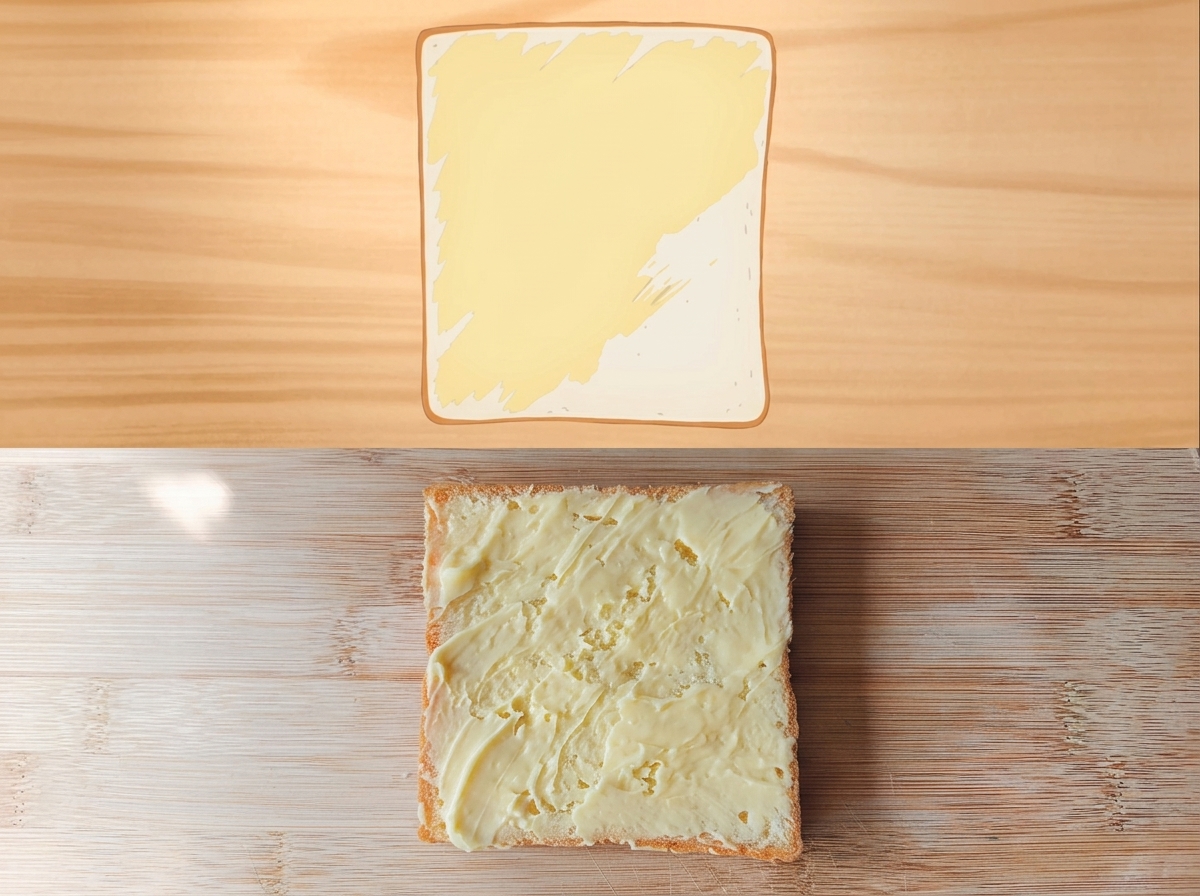
Take a square slice of white bread and spread a generous, even layer of the prepared mustard butter across one side of it.
Tip: Spreading the butter all the way to the edges adds flavor to every bite and acts as a moisture barrier to keep the bread from getting soggy. - 13Layer the bacon
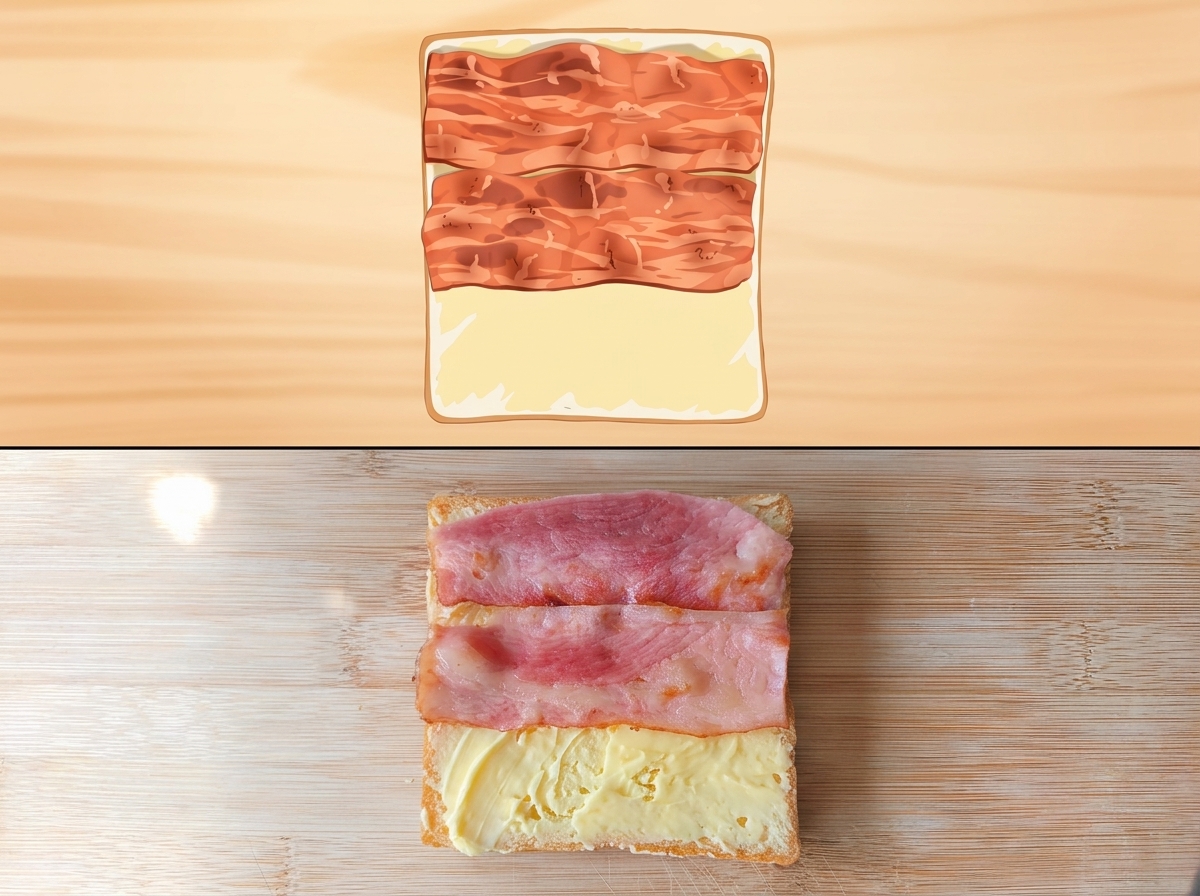
Begin assembling the sandwich by placing the cooked bacon slices onto the slice of bread that has been spread with mustard butter. Ensure the bacon is laid flat and covers the surface evenly.
Tip: Pat the bacon dry with a paper towel before adding it to the sandwich to prevent excess grease from making the bread soggy. - 14Add the spinach
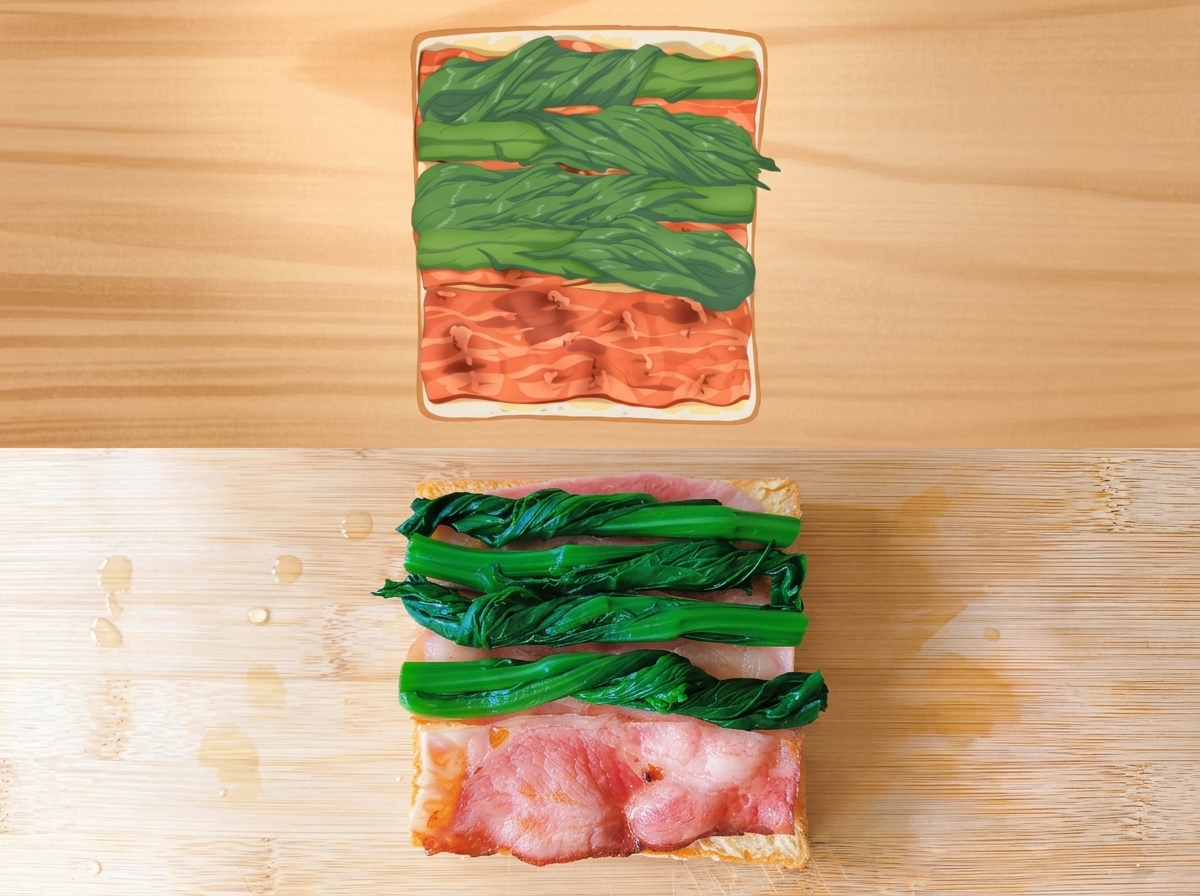
Neatly arrange the blanched and squeezed spinach over the layer of bacon. Spread it out evenly so that every bite of the sandwich will have some greens.
Tip: Make sure the spinach is squeezed as dry as possible to prevent the sandwich from becoming watery. - 15Drizzle the sauce
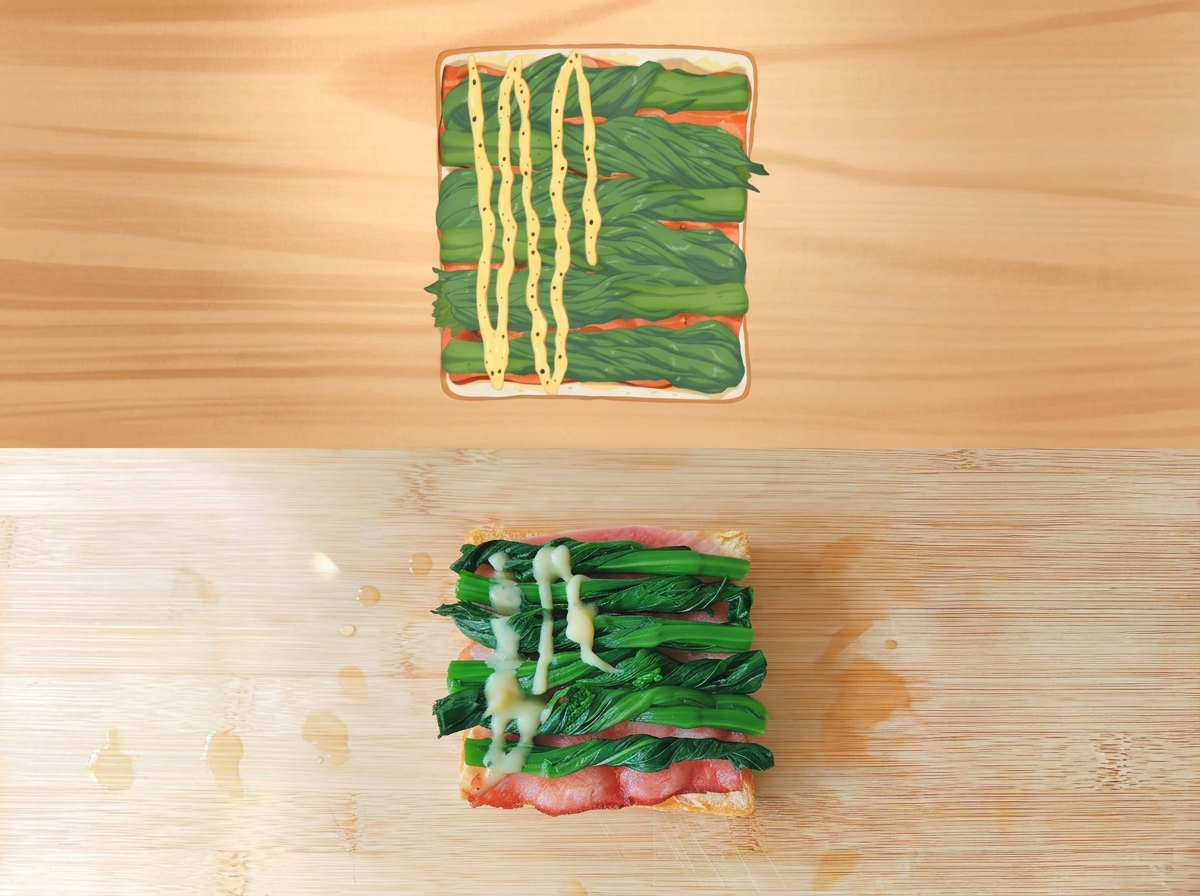
Drizzle the prepared creamy mustard and honey sauce in a zig-zag pattern generously over the spinach layer. This ensures the flavor is distributed evenly throughout the sandwich.
Tip: If your sauce is too thick, you can add a tiny splash of water or milk to thin it out for easier drizzling. - 16Add scrambled eggs
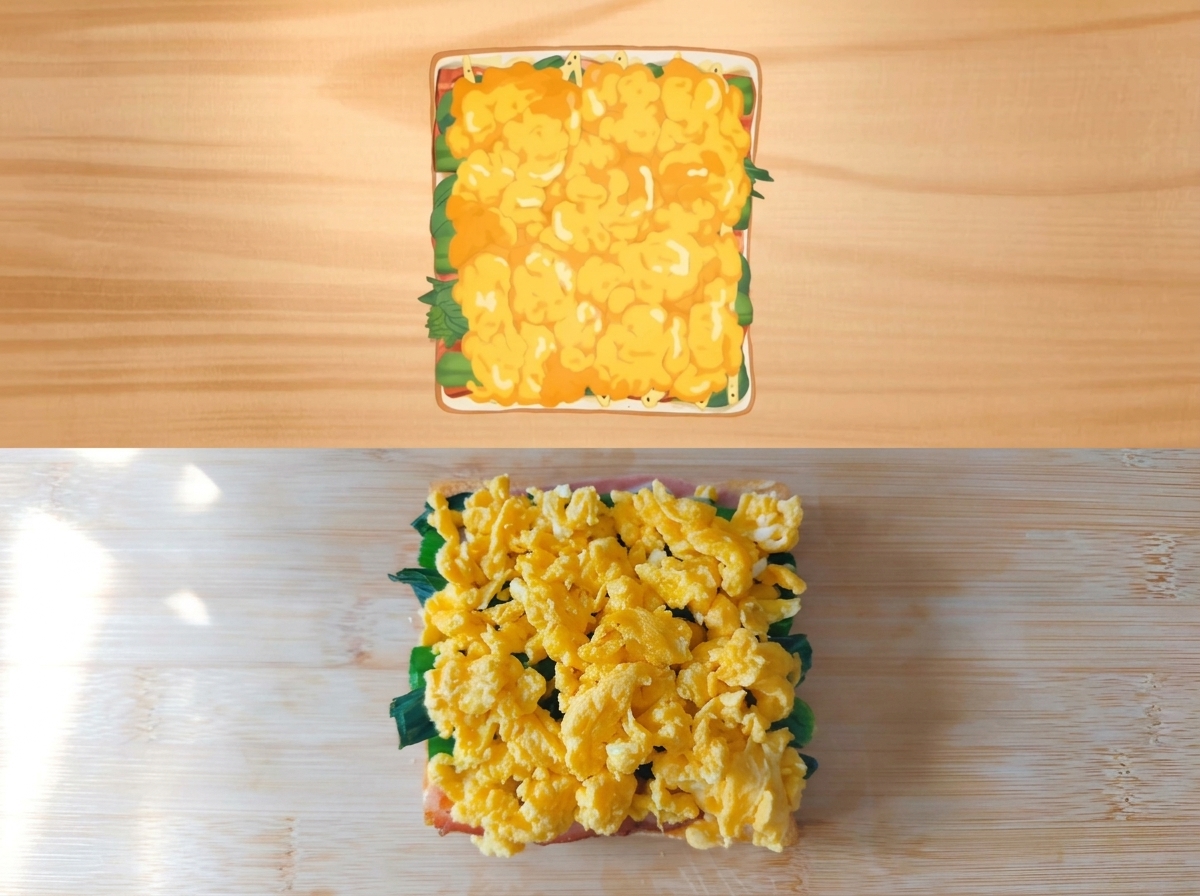
Pile the cooked fluffy scrambled eggs evenly on top of the sauce and spinach. Top with the second slice of bread and wrap the entire sandwich tightly in plastic wrap to let the flavors meld before slicing.
Tip: Keep the scrambled eggs slightly soft and fluffy, as they will add a great texture contrast to the crispy bacon.