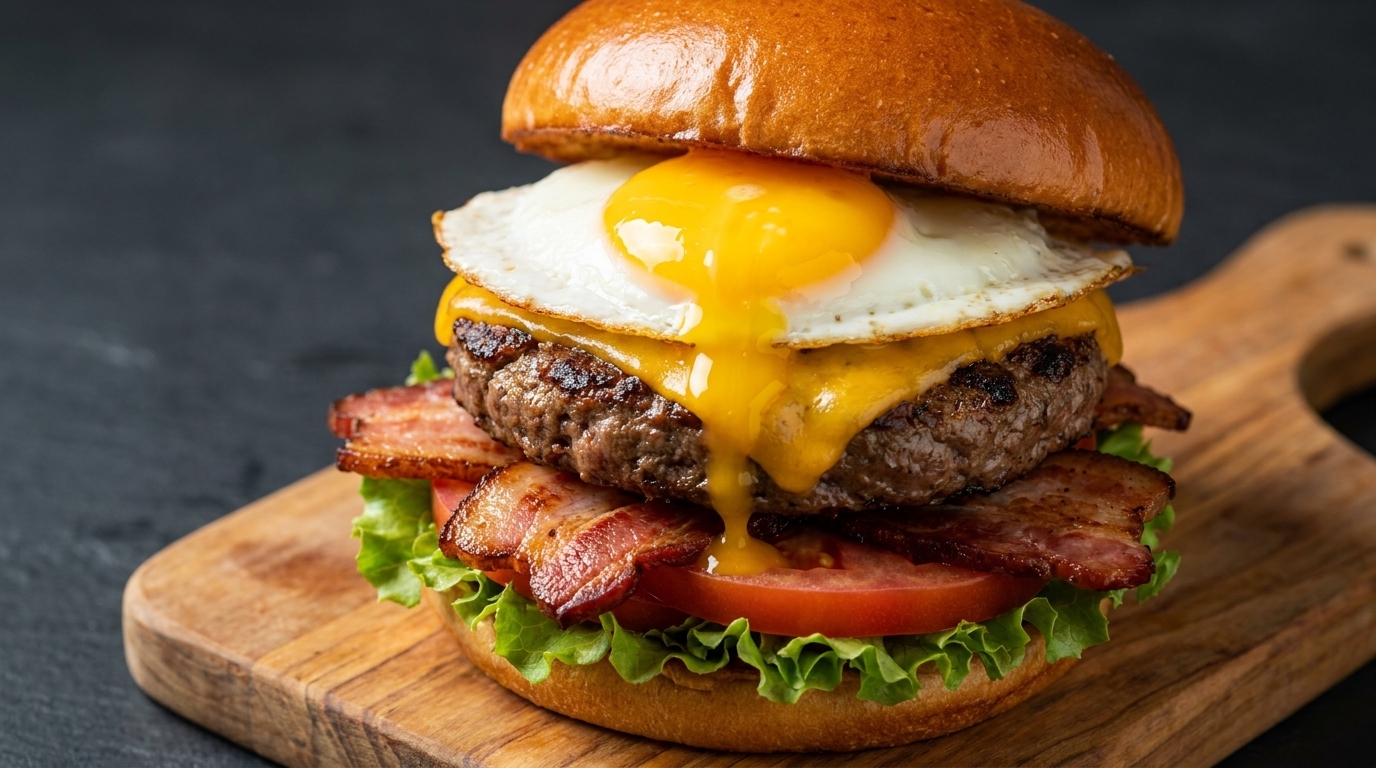
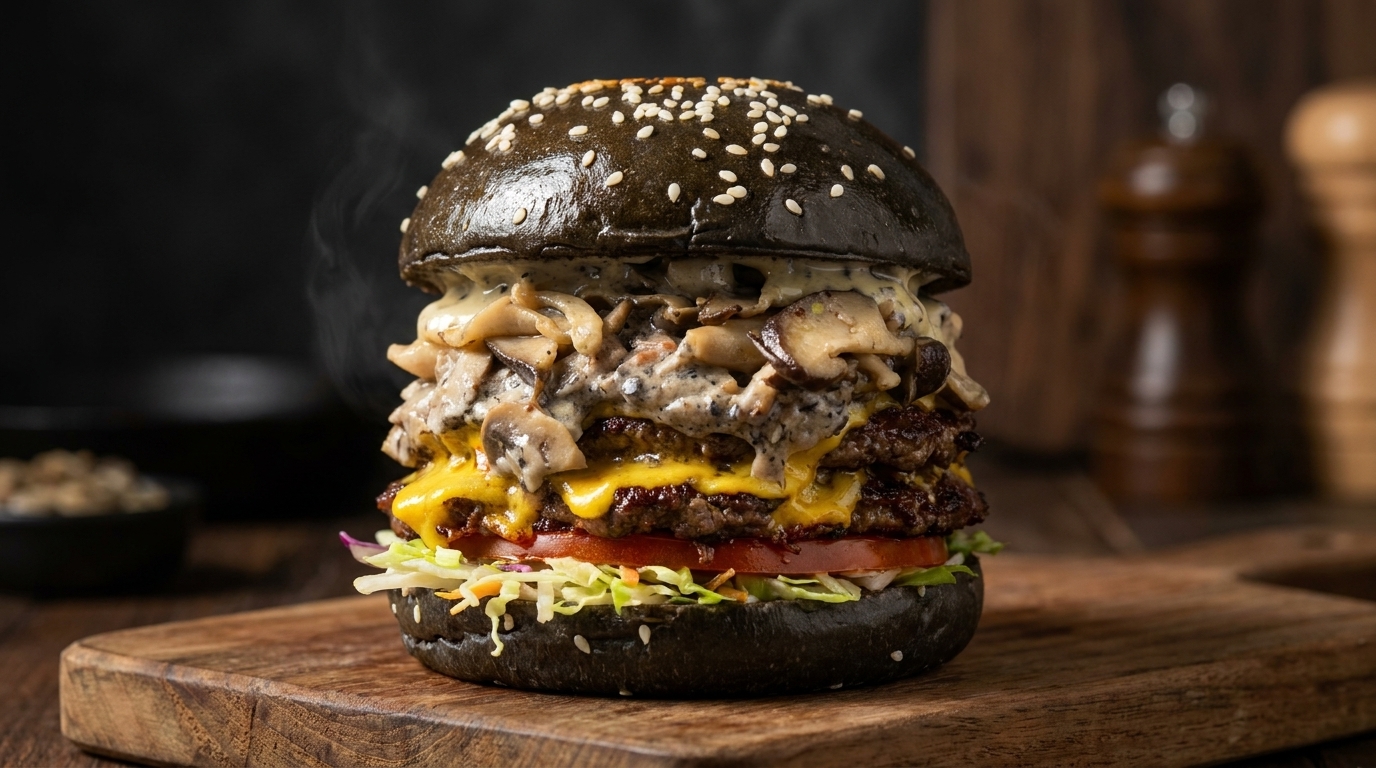
Outdoor Double Beef Cheeseburger
Signature Pink Sauce
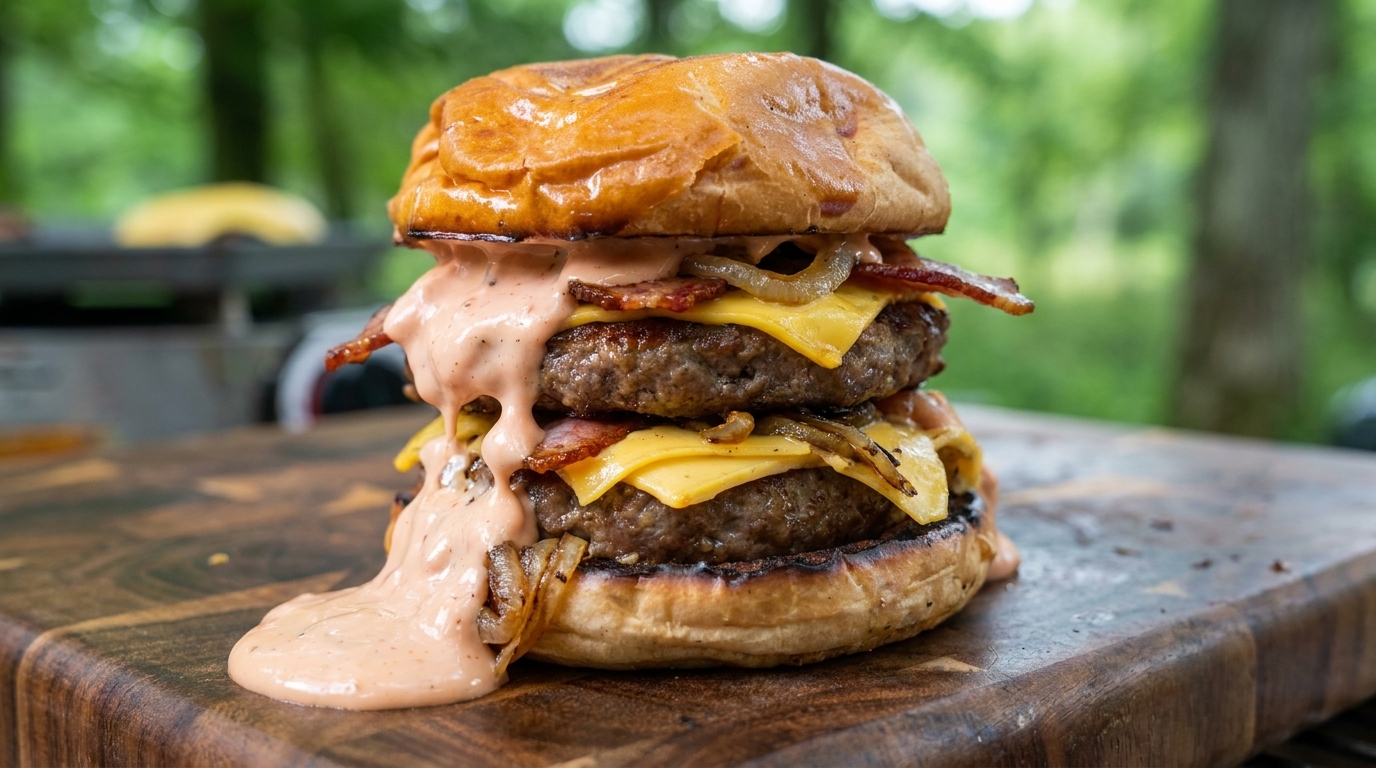
Savor a rustic outdoor dining experience with this towering double cheeseburger featuring flame-seared beef, melted cheddar, and a tangy homemade signature sauce.
There is something incomparable about a burger cooked in the fresh air. This double beef cheeseburger embraces the simplicity of outdoor cooking, elevated by the depth of caramelized onions and a rich, hand-mixed pink sauce. Using a portable stove and a blowtorch, we achieve a gourmet finish that rivals any high-end burger joint while surrounded by nature.
Ingredients
- 500 g ground beef
- 1 egg
- 1 white onion
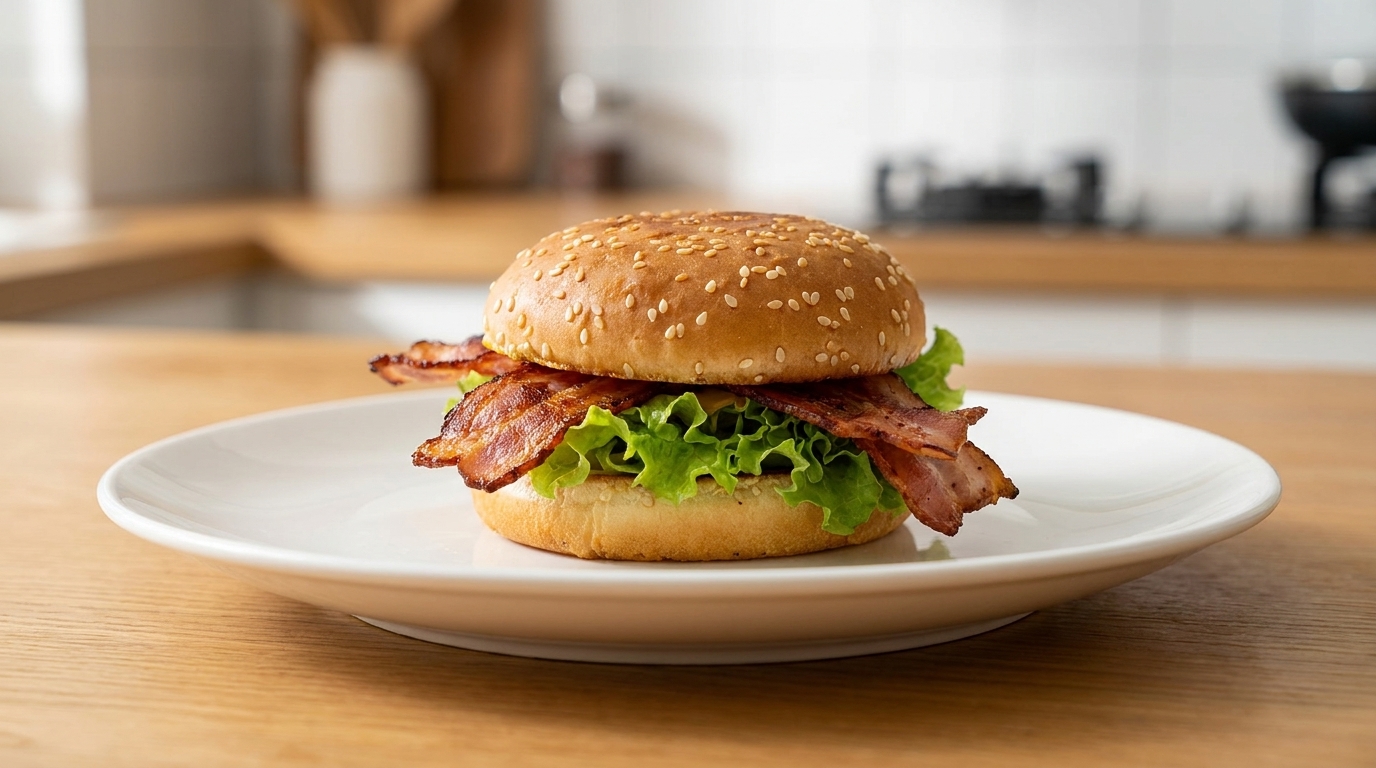
- 4 strips bacon
- 2 brioche burger buns
- 100 g shredded cheddar cheese
- 1 egg yolk
- 2 tbsp mayonnaise
- 1 tbsp ketchup
- 1 tomato
- to taste salt
- to taste black pepper
Instructions
- 1Prepare the beef mixture
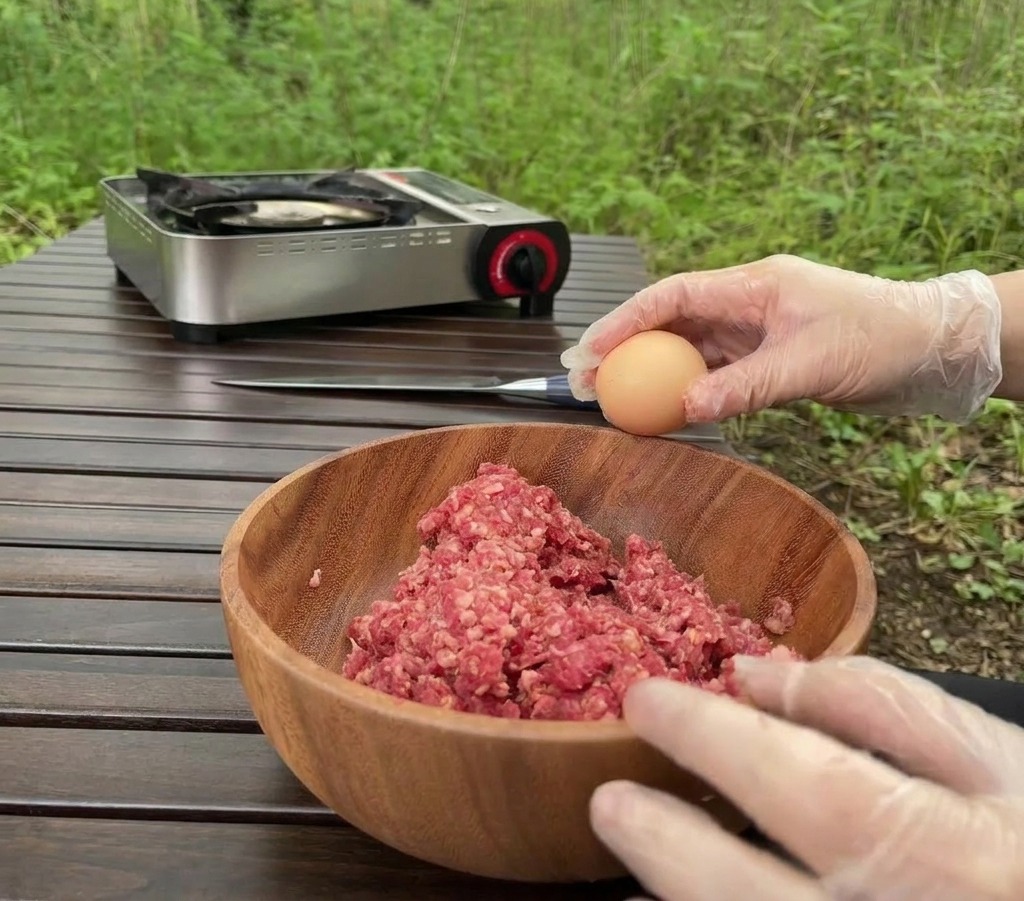
Place your fresh ground beef into a large wooden bowl. Crack one whole egg over the meat to serve as a binding agent, which will help the patties stay together during grilling. This is also the time to add your salt and black pepper seasonings.
Tip: Keep your ground beef chilled until the moment youre ready to mix it; cold fat ensures a much juicier burger once it hits the heat. - 2Slap the meat for texture
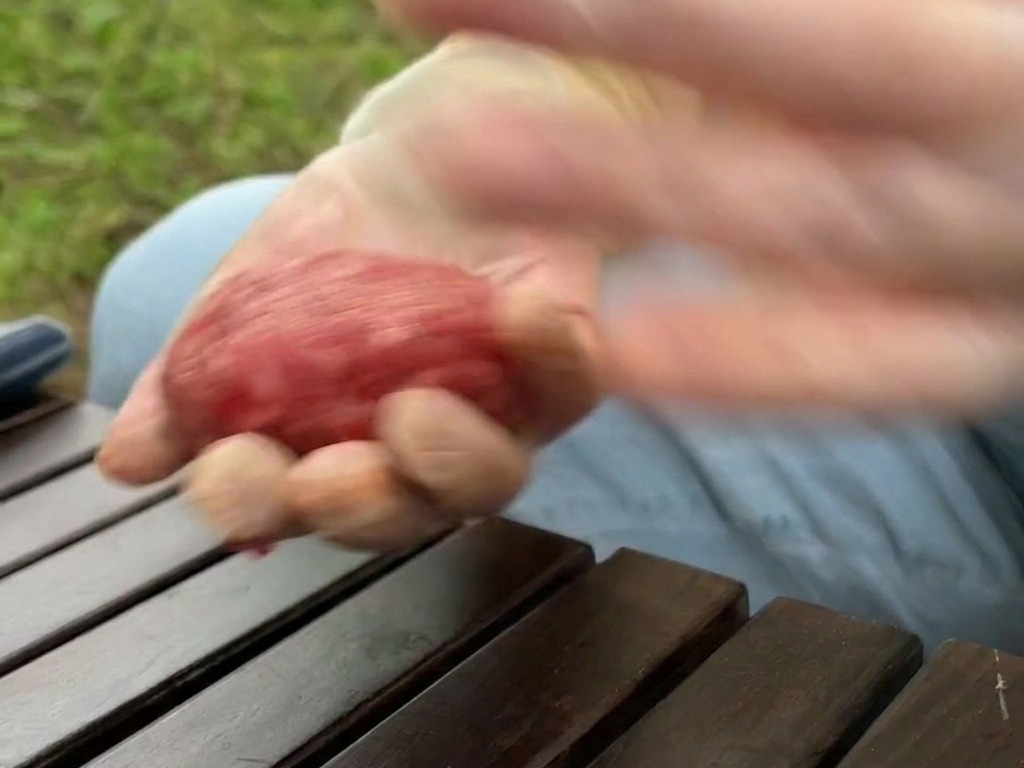
Pick up a portion of the seasoned beef and slap it back and forth between your hands with some force. This traditional technique helps to develop the meats texture and removes any trapped air pockets, preventing the patties from falling apart.
Tip: Dont overwork the meat for too long—just enough to get it cohesive. Over-handling can lead to a dense, tough burger. - 3Form the burger patties
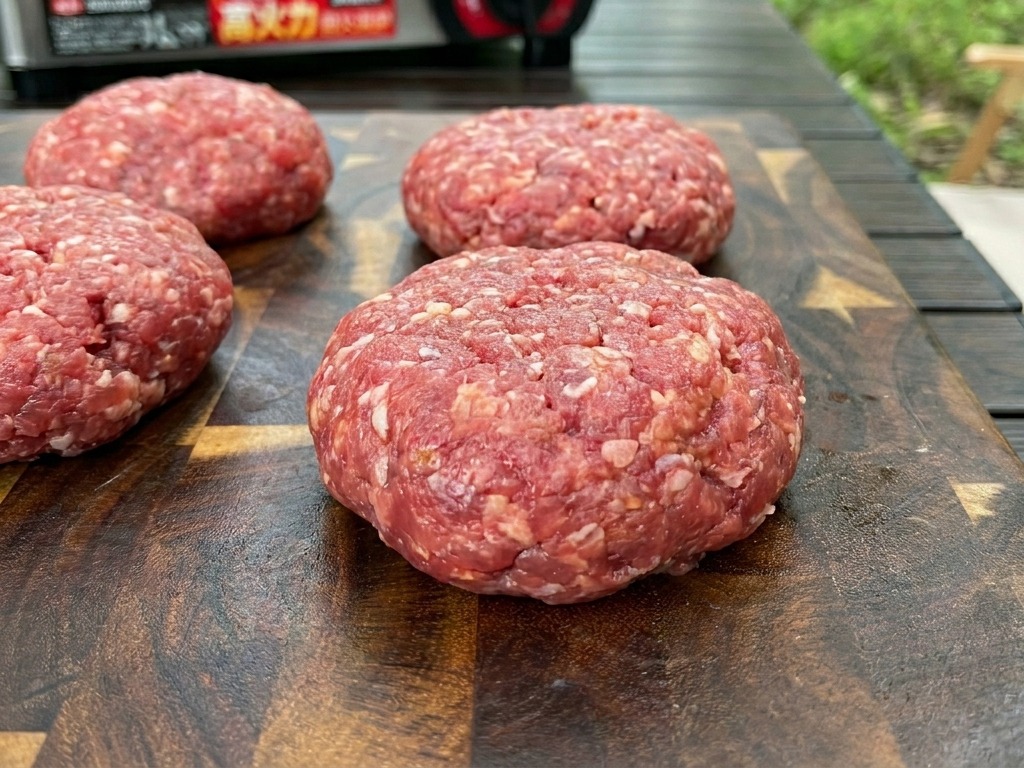
Divide the beef mixture into four equal portions and press them down onto a cutting board to form thick, circular patties. Ensure the edges are smooth and the thickness is consistent so that they all cook at the same rate on the griddle.
Tip: Make a slight indentation in the center of each patty with your thumb to prevent them from puffing up into a football shape while cooking. - 4Slice the onions
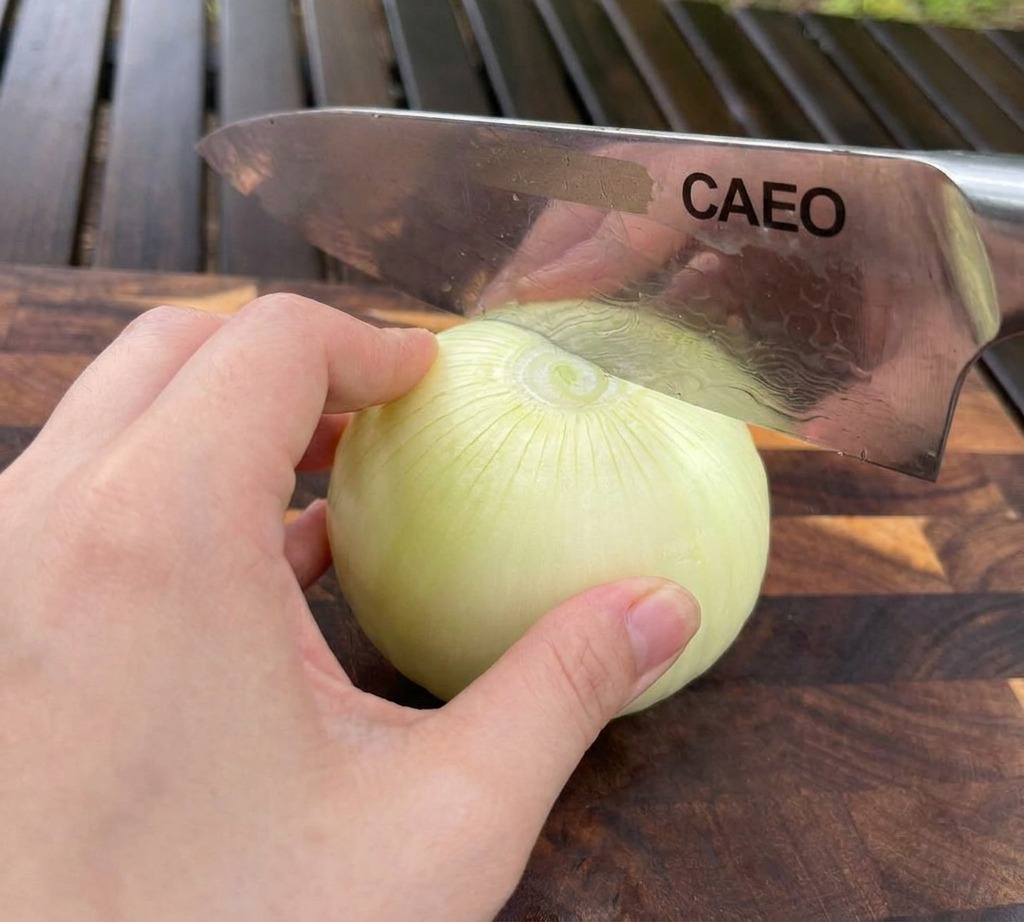
Prepare your toppings by slicing a white onion into thin, uniform half-moons. These slices will be sautéed later on the side of the griddle to add a sweet, caramelized depth to the final double cheeseburger assembly.
Tip: Chilling the onion in the fridge for 30 minutes before slicing can help reduce the eye-irritating gases released by the knife cuts. - 5Load the portable stove
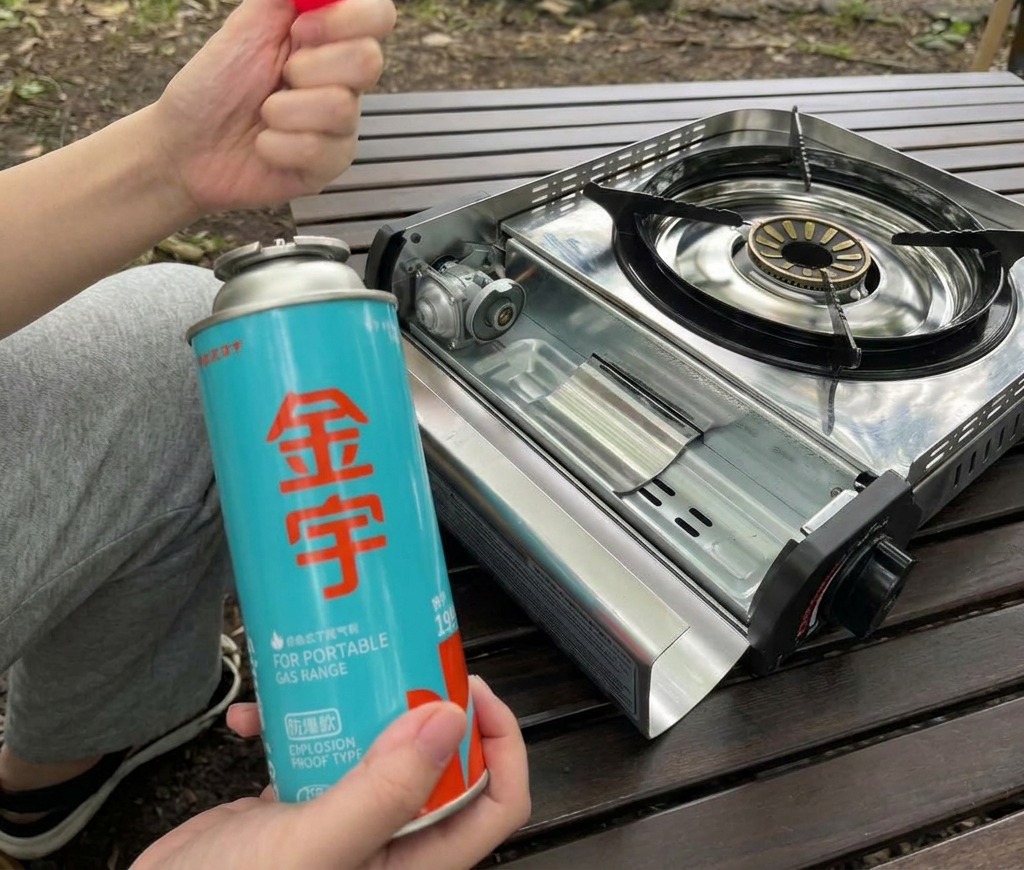
Prepare your cooking station by inserting a fresh butane gas canister into your portable camping stove. Align the notch on the canister with the stoves guide and lock it into place to ensure a steady fuel supply for high-heat searing.
Tip: Always perform a quick sniff test after locking the canister to ensure there are no gas leaks before you strike the igniter. - 6Griddle the beef patties

Place the flattened raw beef patties onto the preheated, ridged griddle pan. The high heat will create a savory crust on the meat, while the ridges allow any excess rendered fat to flow away for a cleaner sear.
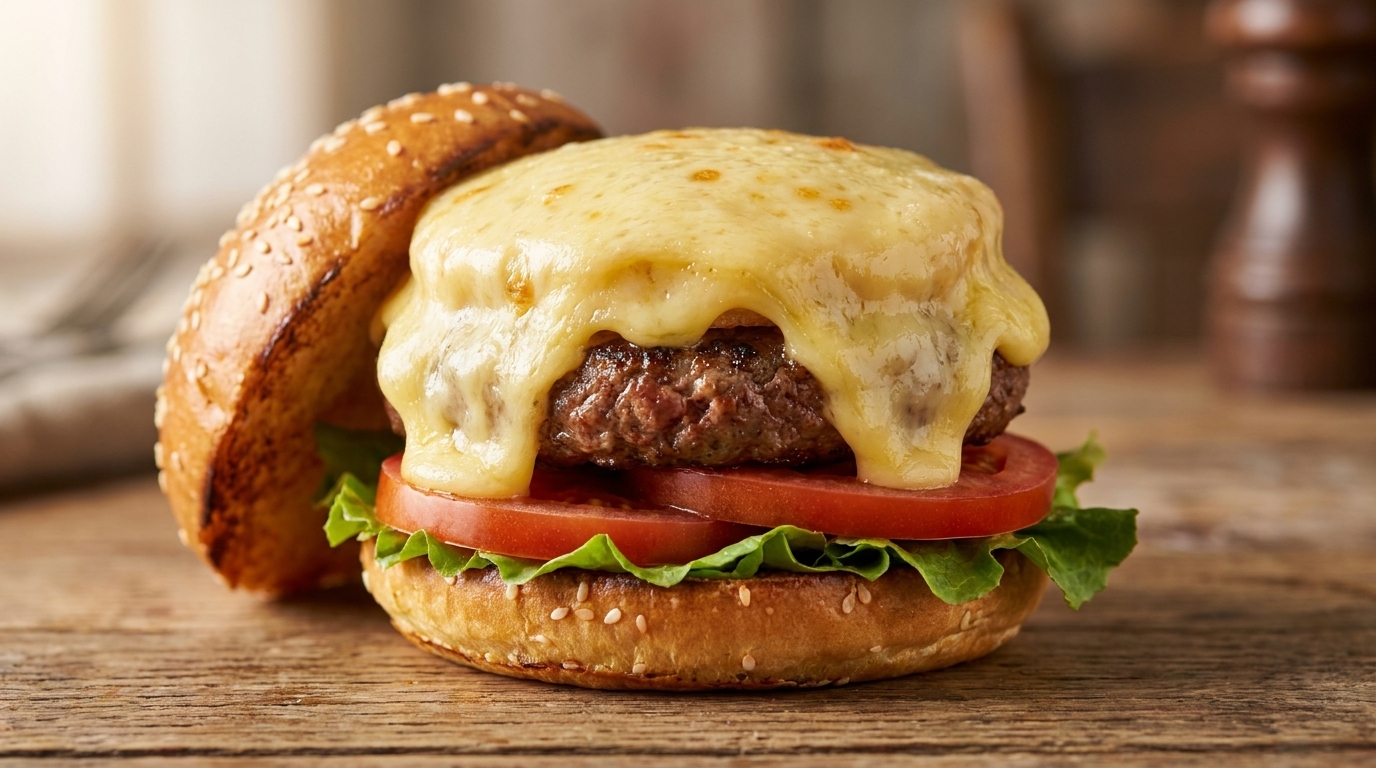
Tip: Ensure the griddle is very hot before adding the meat to get that perfect crust and prevent the patty from sticking. - 7Top with shredded cheese
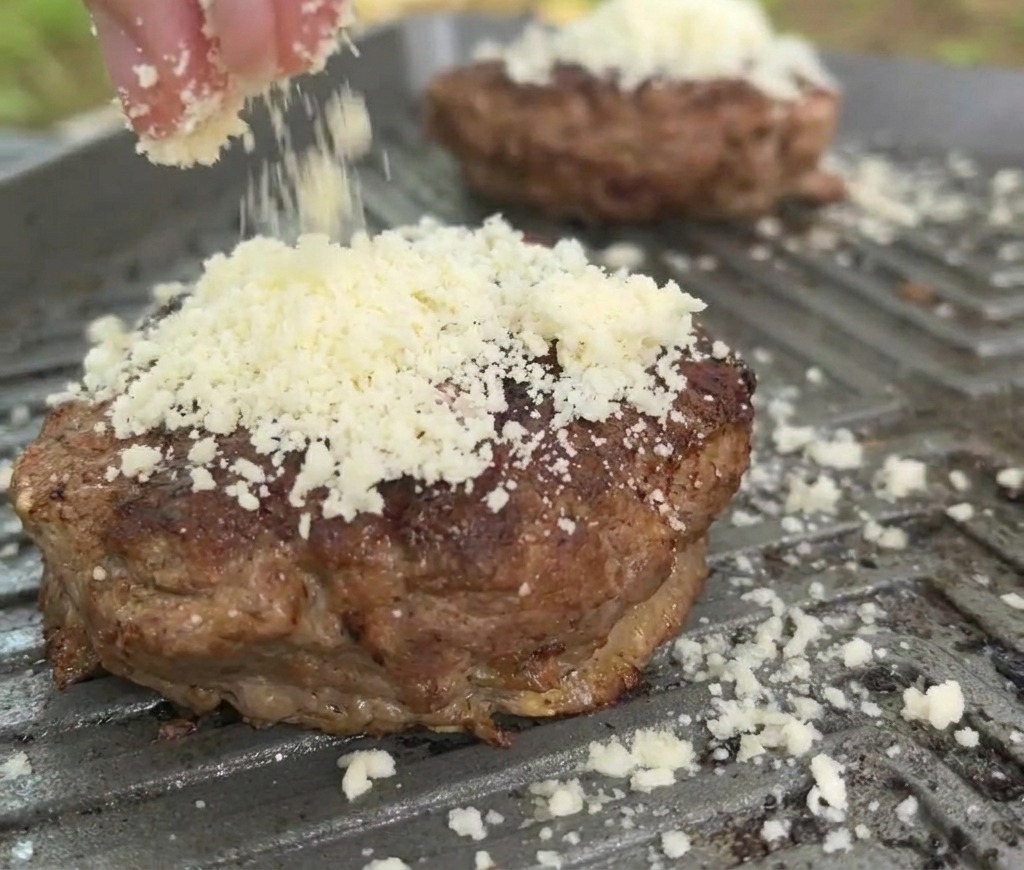
While the beef patty is still on the griddle, sprinkle a generous amount of shredded cheese over the seared surface. The residual heat from the meat will begin to soften the cheese in preparation for melting.
Tip: Using a blend of cheeses can add more depth of flavor, but a high-moisture variety will give you the best melt. - 8Melt the cheese with a torch
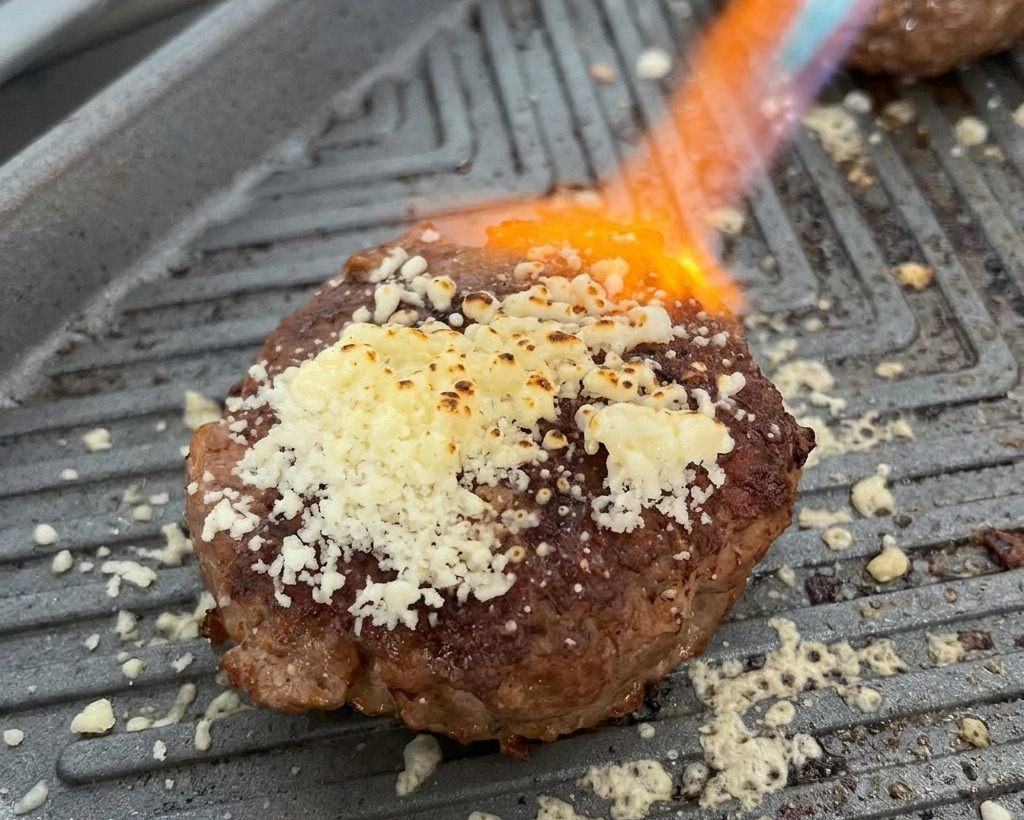
Use a handheld blowtorch to blast the cheese on the patty with direct heat, melting it rapidly until it becomes bubbly and slightly charred. This technique ensures a perfect melt and adds a touch of smoky flavor.
Tip: Keep the flame moving constantly to prevent the cheese from burning or the meat from drying out. - 9Fry the bacon strips
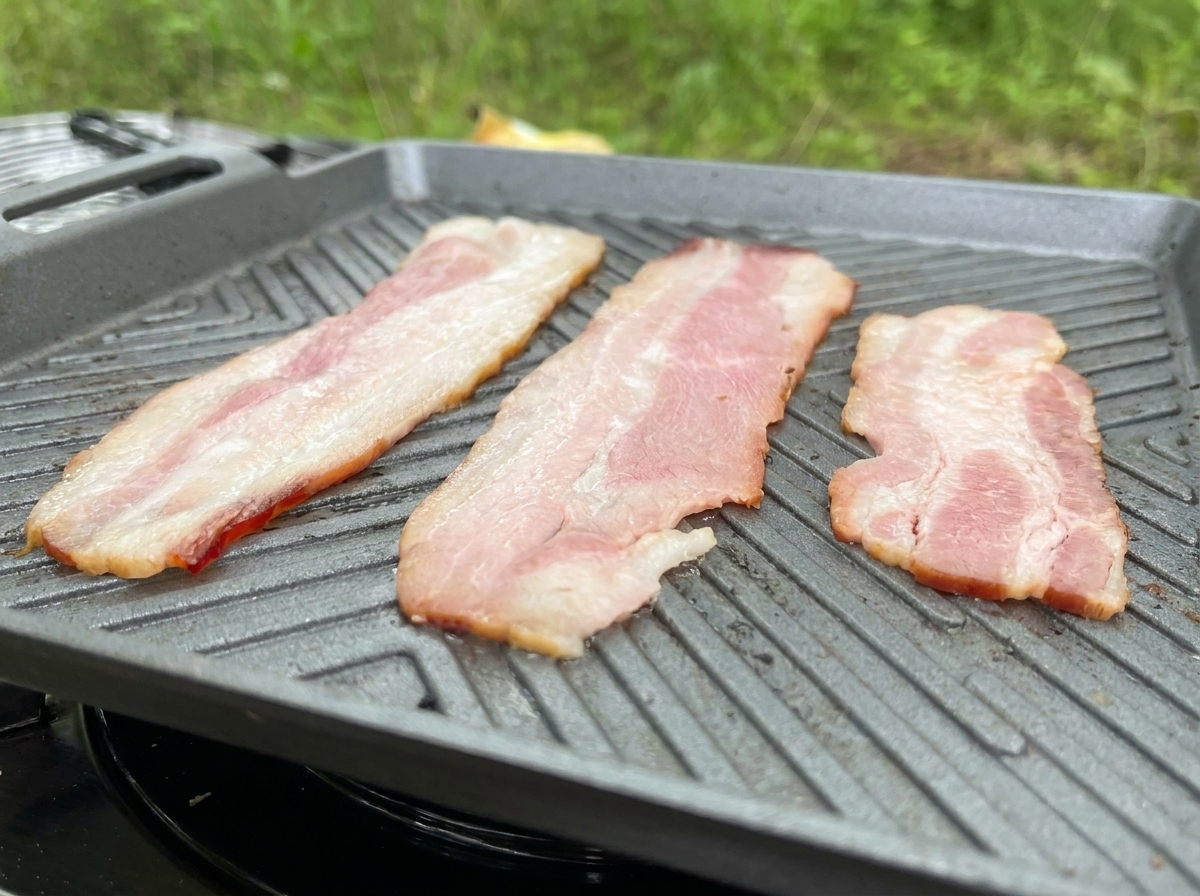
Lay the bacon strips onto the griddle pan and cook them until the fat is rendered and the edges become golden and crispy. Frying them on the same griddle as the meat allows them to soak up extra flavor.
Tip: Keep a close eye on the bacon as it can go from perfectly crispy to burnt very quickly on a hot griddle. - 10Sauté the sliced onions
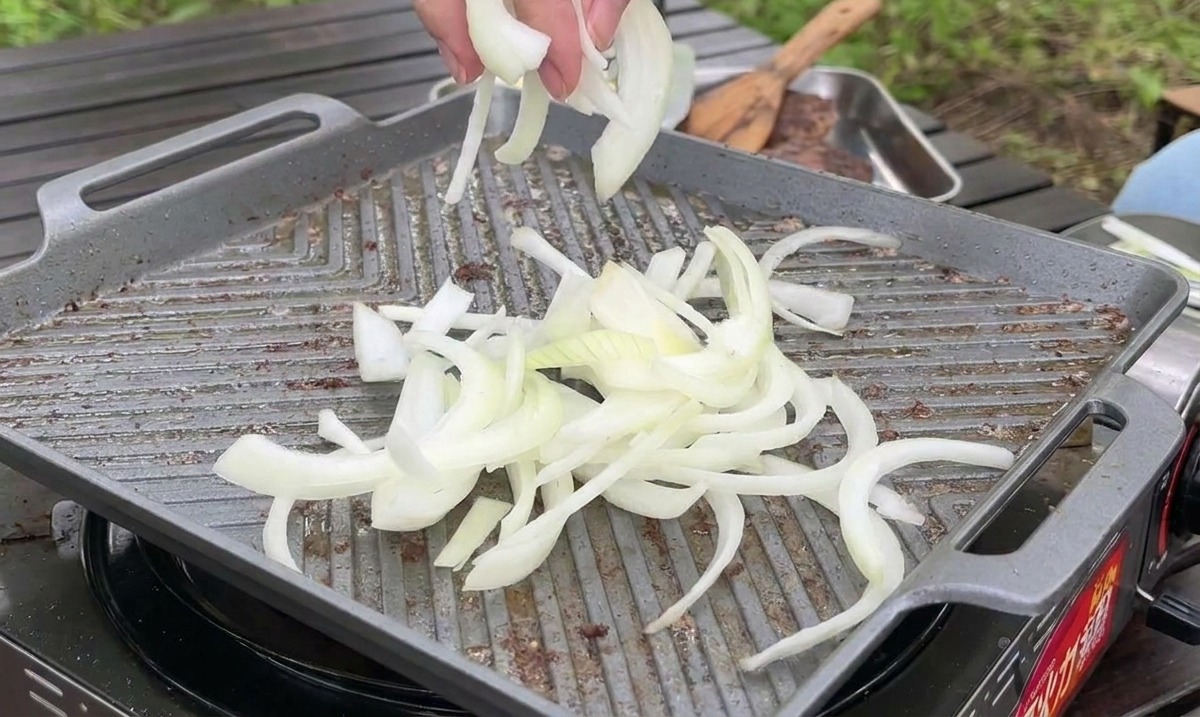
Add the thinly sliced white onions to the griddle pan. Sauté them alongside the meat until they soften and take on a light brown, caramelized color, which adds a sweet and savory element to the burger.
Tip: Use the fat rendered from the bacon and beef to sauté the onions for the most flavorful results. - 11Mix the burger sauce
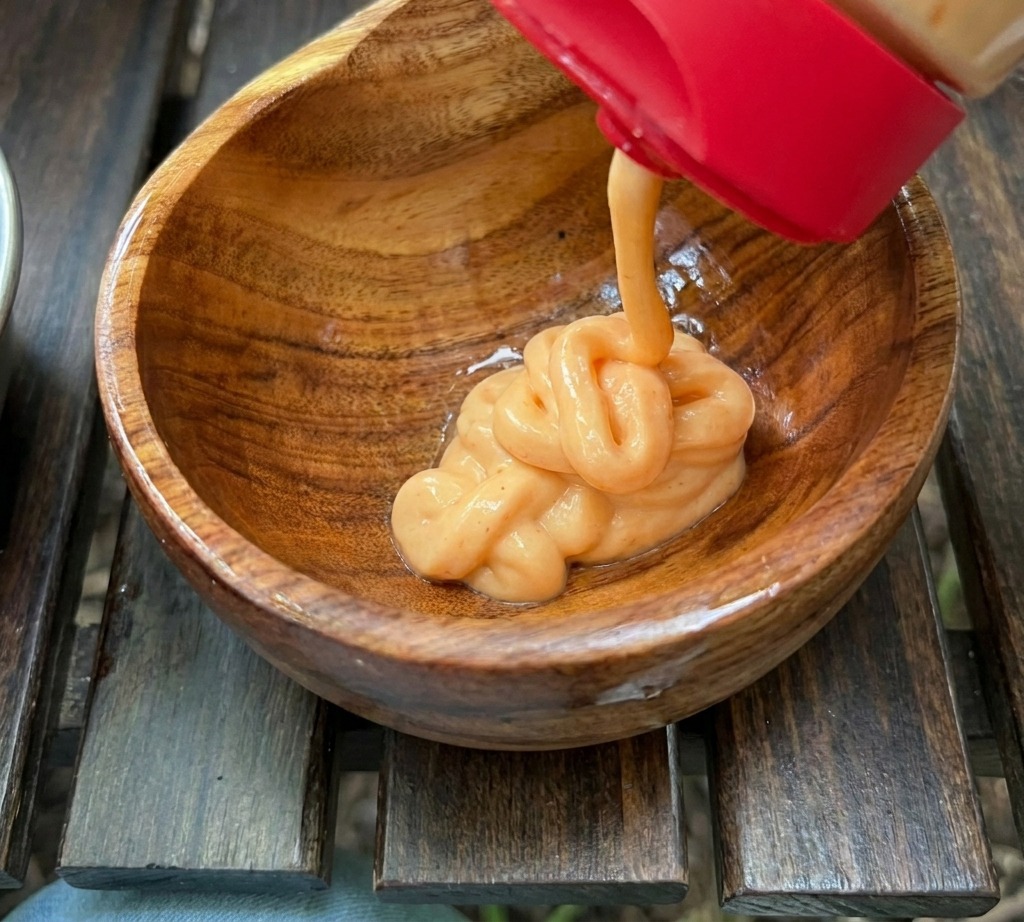
Combine the egg yolk sauce base with fresh ketchup and mayonnaise in a small bowl. Whisk or stir the ingredients together until the sauce is completely smooth and reaches a uniform creamy orange color.
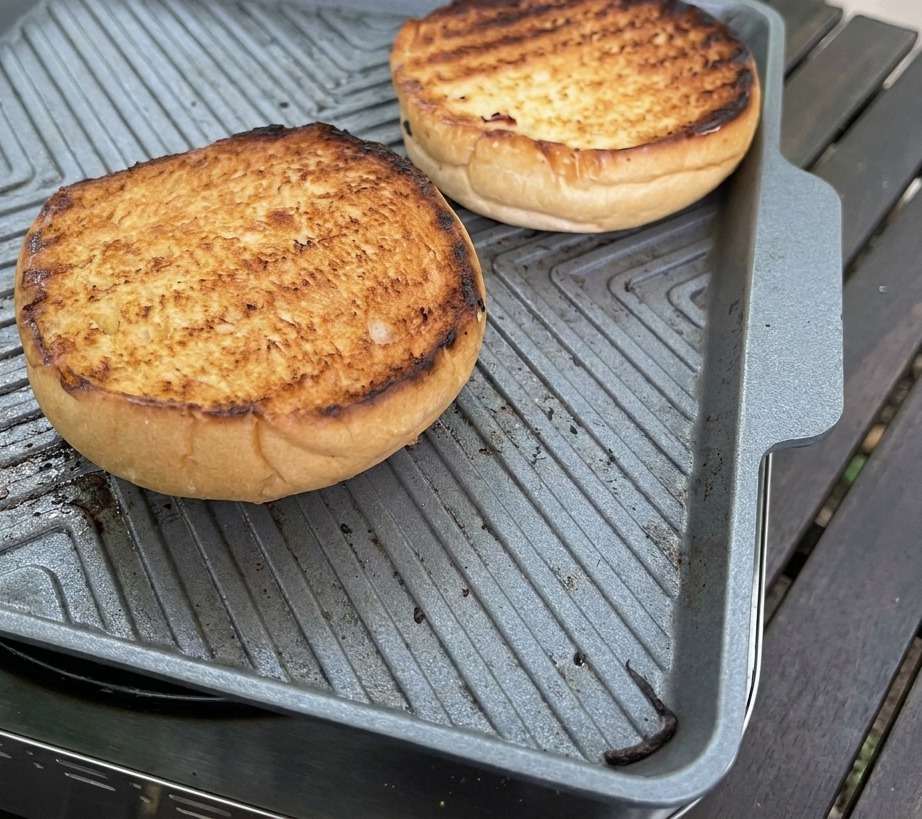
Tip: Add a pinch of black pepper or a dash of hot sauce if you want to give your burger sauce a bit more kick. - 12Toast the burger buns
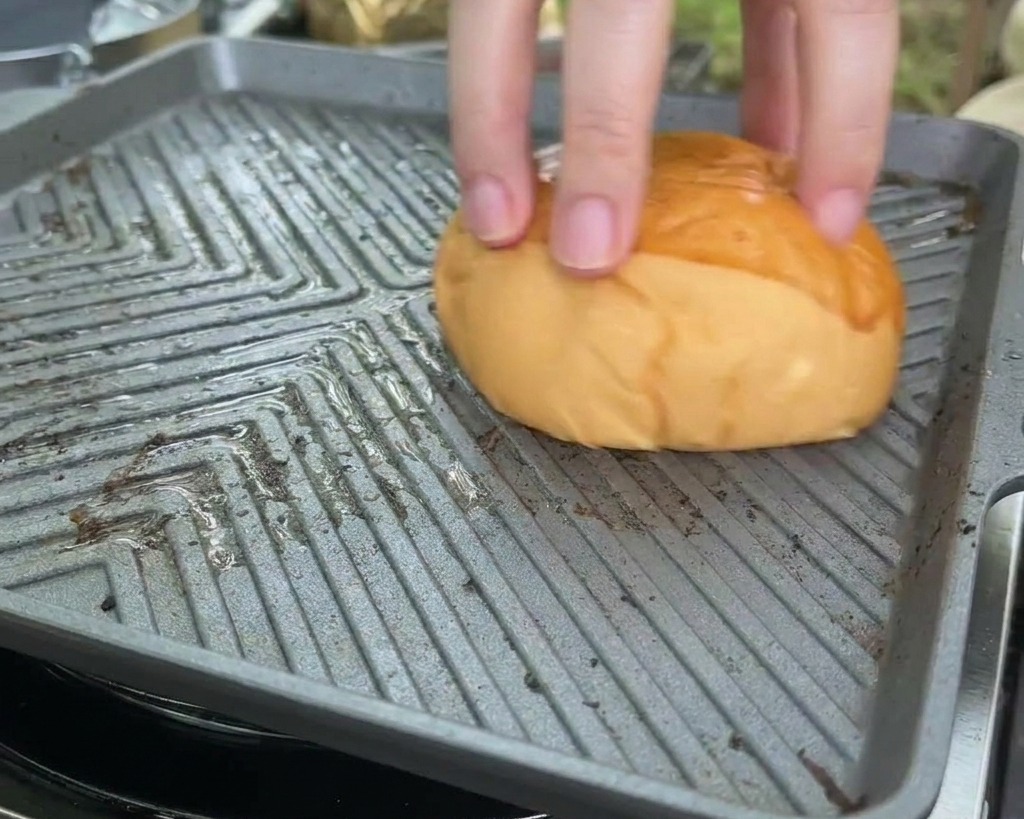
Place the brioche bun halves face-down onto the hot griddle. Press down gently with your hand to ensure the bread makes full contact with the heat, toasting it until the surface is golden brown and slightly crisp. This creates a textured barrier that prevents the bun from becoming soggy once the sauces are added.
Tip: Keep a close eye on the buns; because brioche has a high sugar and butter content, it can go from perfectly toasted to burnt very quickly. - 13Apply the signature sauce
Take the toasted bottom half of the brioche bun and apply a generous layer of the prepared pink sauce. Spread it evenly across the surface to provide a flavorful creamy base for the heavy beef patties.
Tip: Spreading the sauce all the way to the edges ensures every single bite is packed with flavor. - 14Add the first beef patty
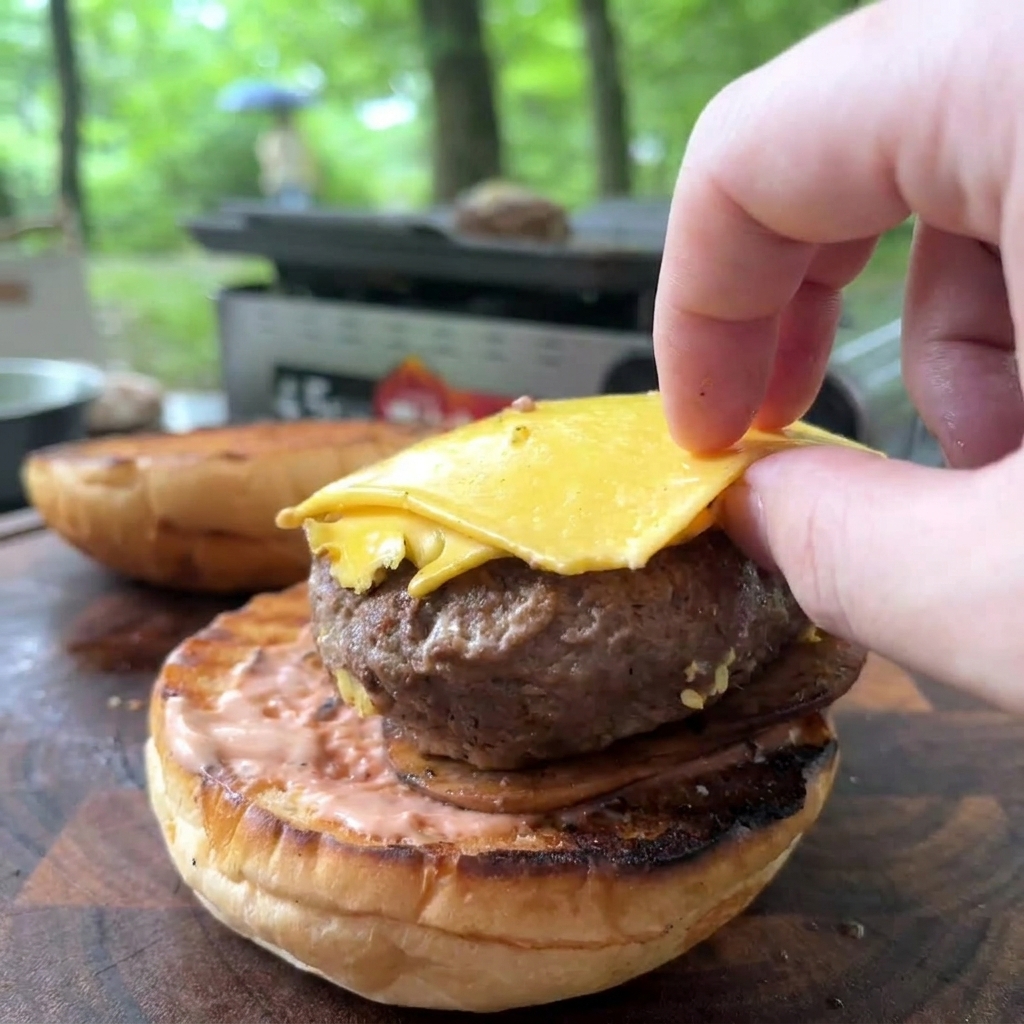
Carefully place the first cooked beef patty, topped with its layer of melted cheese, directly onto the sauce-covered bottom bun. This serves as the foundation for the towering layers of the burger.
Tip: Center the patty carefully to ensure the burger remains stable as you add the remaining layers. - 15Add caramelized onions
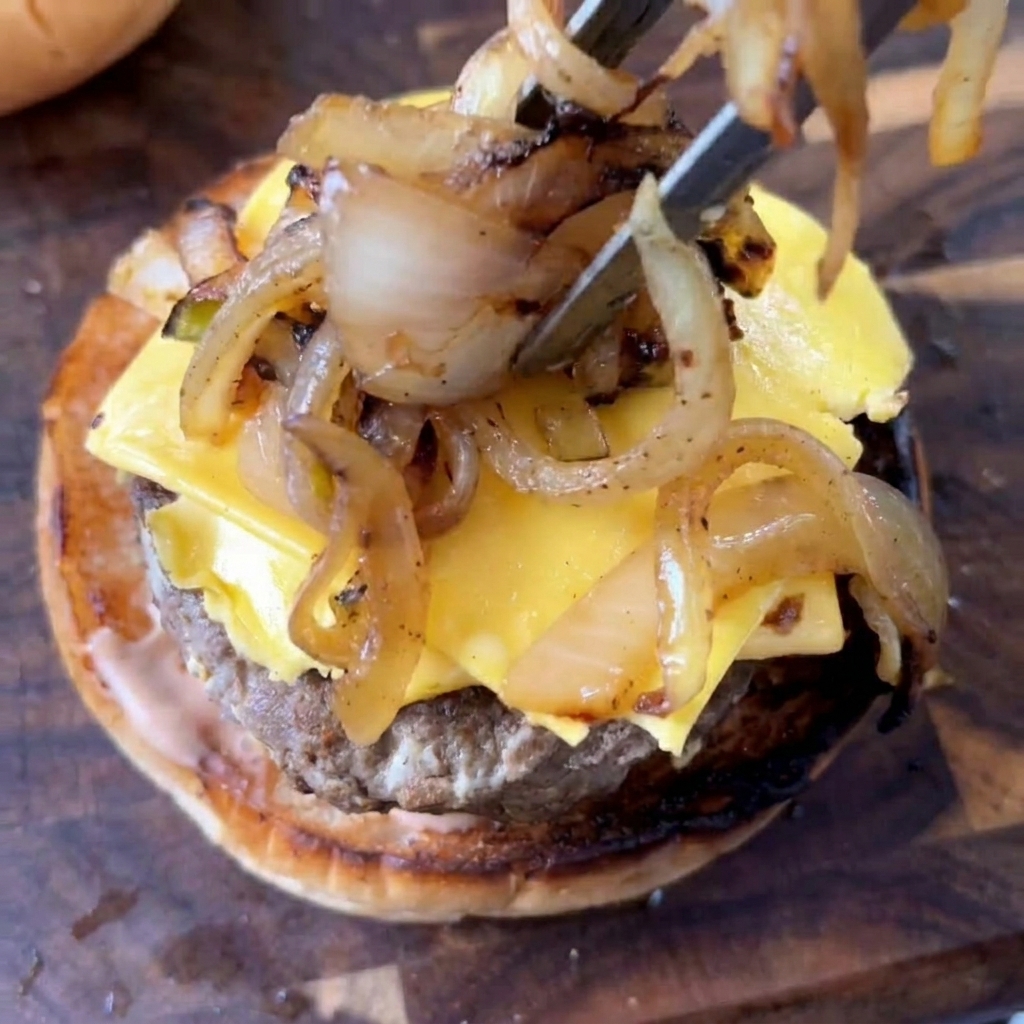
Using tongs, pile a generous portion of the sautéed white onions onto the first cheesy patty. These onions provide a soft, sweet contrast to the savory meat.
Tip: If the onions have cooled down, you can briefly toss them on the griddle again to warm them up before adding. - 16Layer the crispy bacon
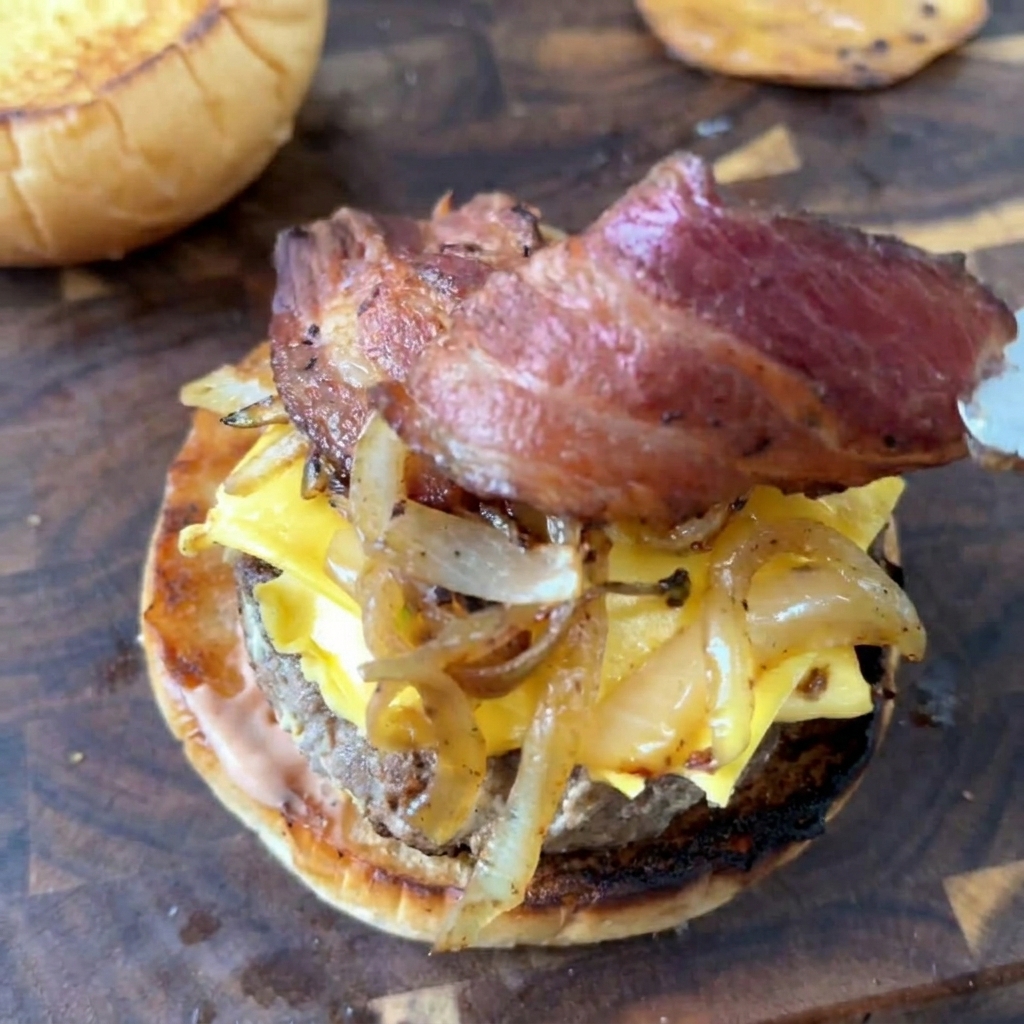
Place the fried bacon strips over the caramelized onions. The bacon should be positioned to provide a stable, crunchy layer before adding the final toppings and the second patty.
Tip: Layer the bacon in a cross pattern to ensure it stays in place when you add the second patty and tomato.