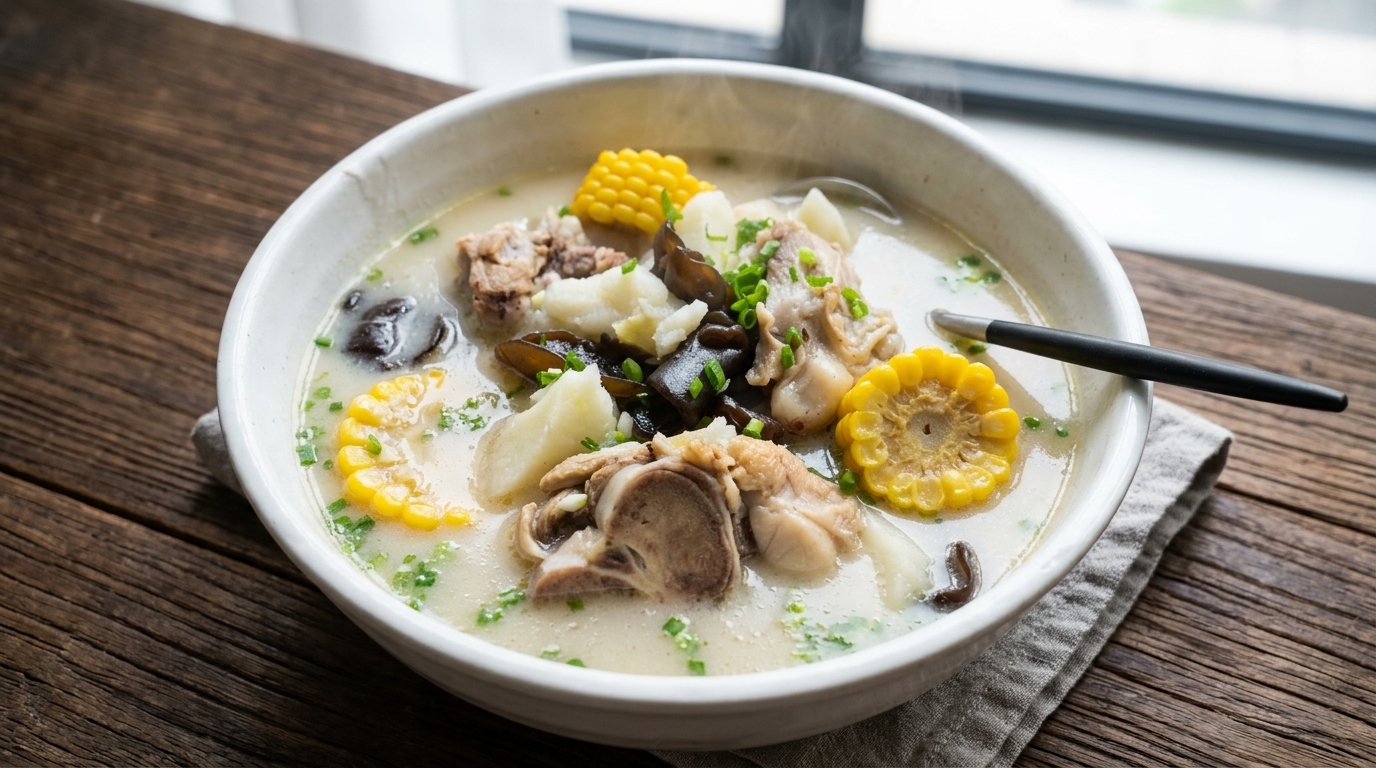
Rich Homemade Tonkotsu-Style Pork Bone Broth
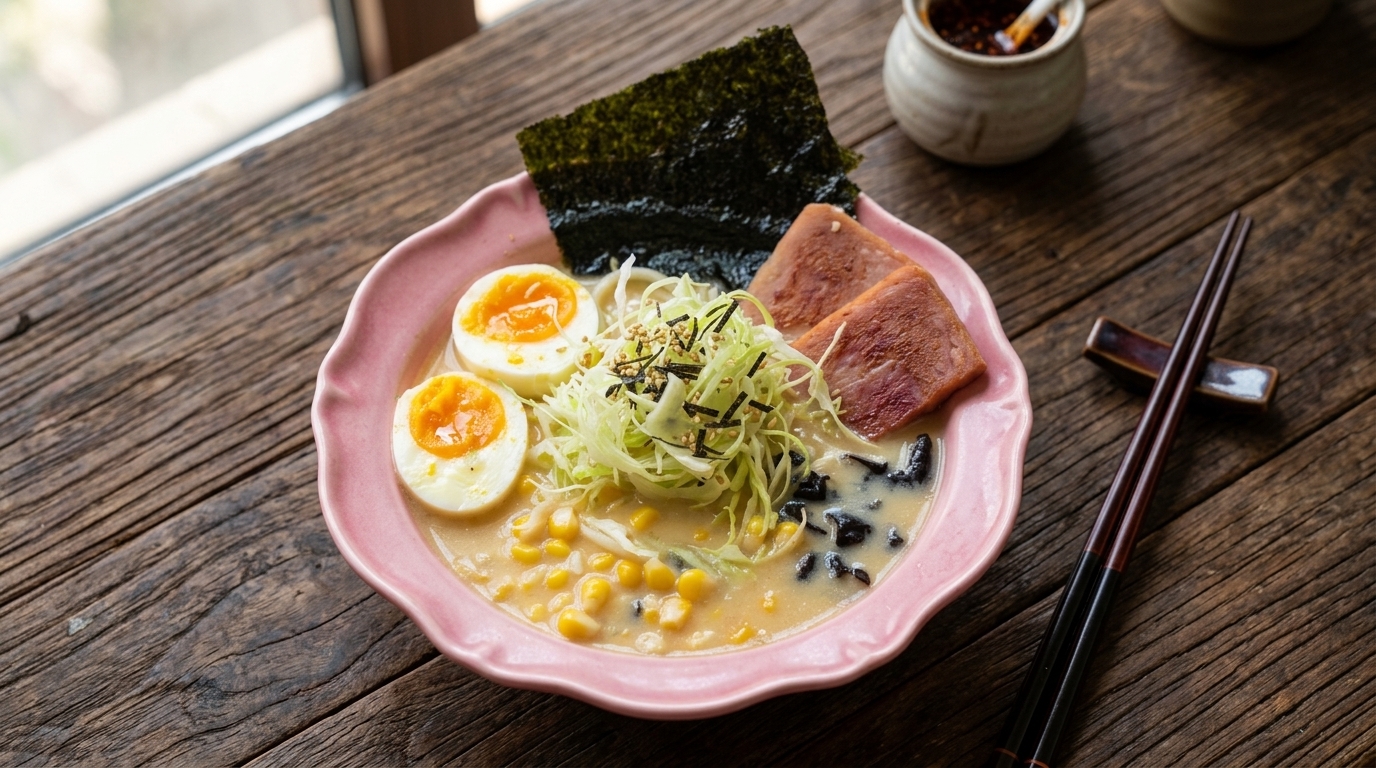
A masterclass in extracting flavor, this milky-white pork broth is simmered for four hours with marrow bones and trotters to create a luscious, velvety soup base.
Creating a professional-grade pork bone broth at home is a labor of patience rather than complexity. Known as the foundation for Japanese Tonkotsu ramen, this technique relies on long simmering and mashing marrow-rich bones to emulsify fats and collagen into a creamy, opaque liquid. It is a versatile pantry staple that elevates any noodle dish or stew into a restaurant-quality experience.
Ingredients
- 1 pork marrow bone
- 1 pigs trotter
- 3 slices fresh ginger
- 2 stalks green onions
- 1 tbsp cooking wine
- 4 liters fresh water
Instructions
- 1Prepare a pot of fresh water
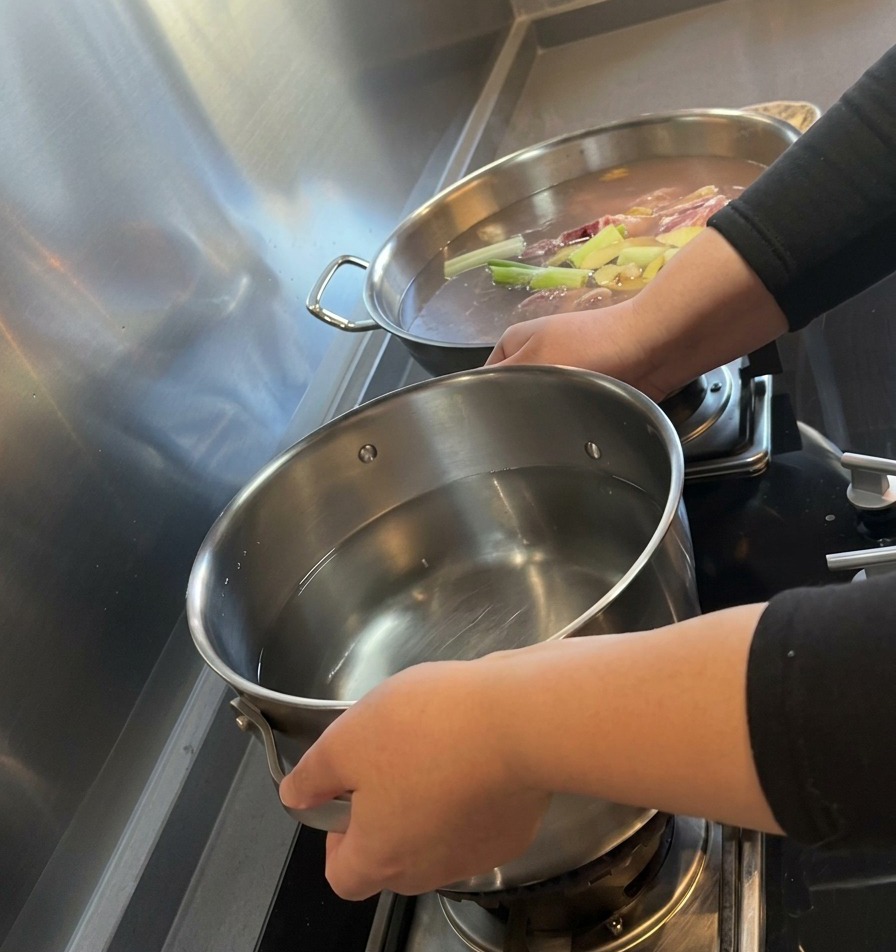
Fill a large stainless steel pot with fresh water and place it on a gas stove burner to heat up. This pot will be used for the final long simmering process once the pork bones and trotters have been properly blanched and cleaned.
Tip: Starting with a clean pot of fresh water for the main simmer is the secret to achieving a pure, high-quality broth without any off-flavors. - 2Remove the blanched bones
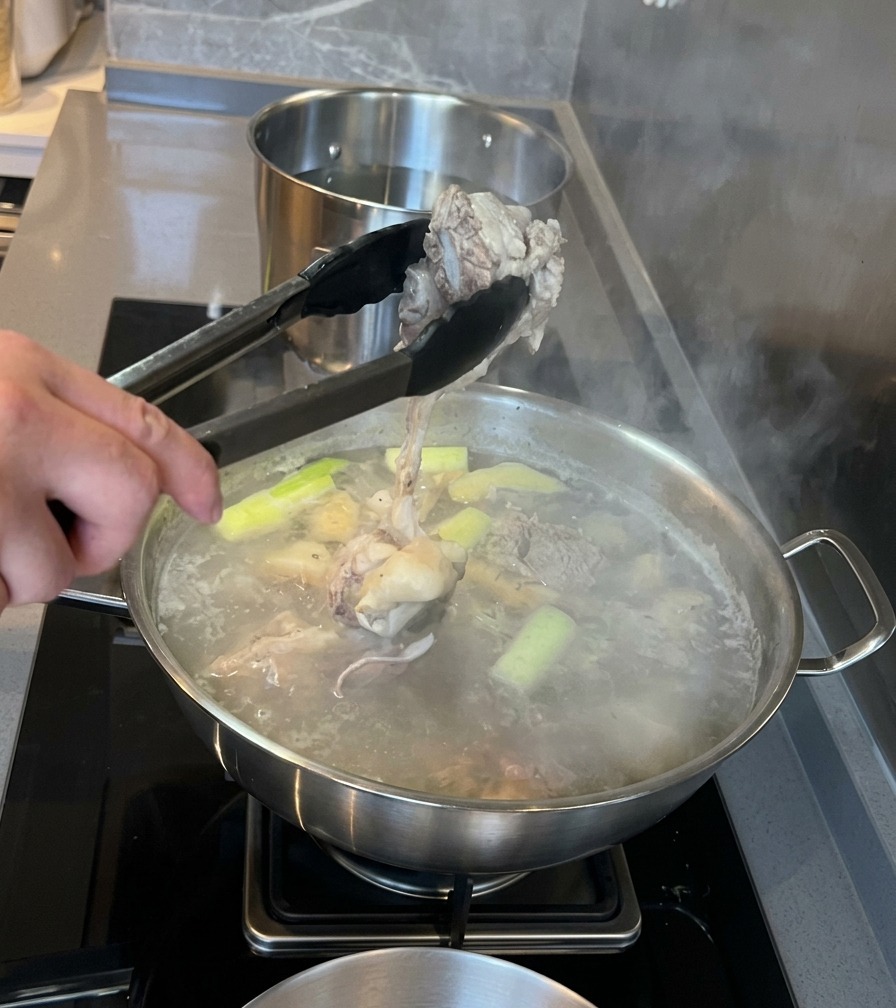
After blanching the pork marrow bones and trotters with ginger and scallions to remove impurities, use metal tongs to lift them out of the pot. Once removed, rinse the meat thoroughly with warm water to wash away any remaining foam or debris.
Tip: Rinsing with warm water rather than cold prevents the meat from toughening up, ensuring it remains tender during the subsequent four-hour simmer. - 3Start the main simmer
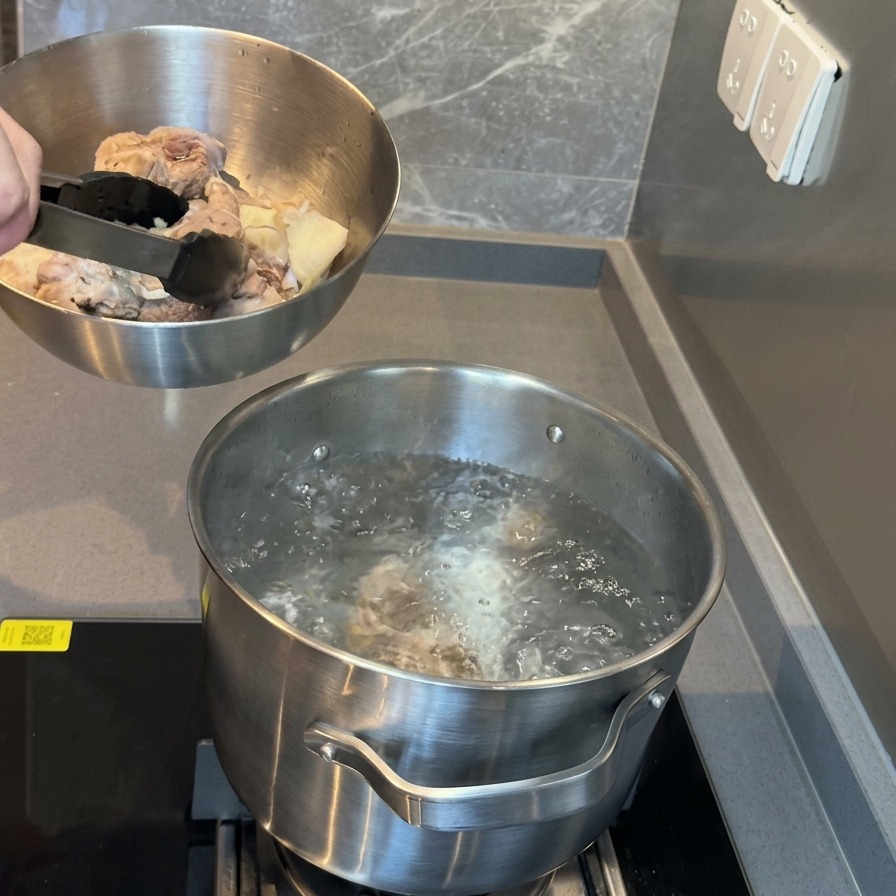
Carefully transfer the cleaned pork bones and trotters into the pot of clean, boiling water. This second stage of cooking is where the bones will slowly release their flavor and nutrients to create a rich, milky-white soup base.
Tip: Make sure the fresh water is at a rolling boil before adding the bones back in to maintain a consistent cooking temperature. - 4Infuse with aromatics
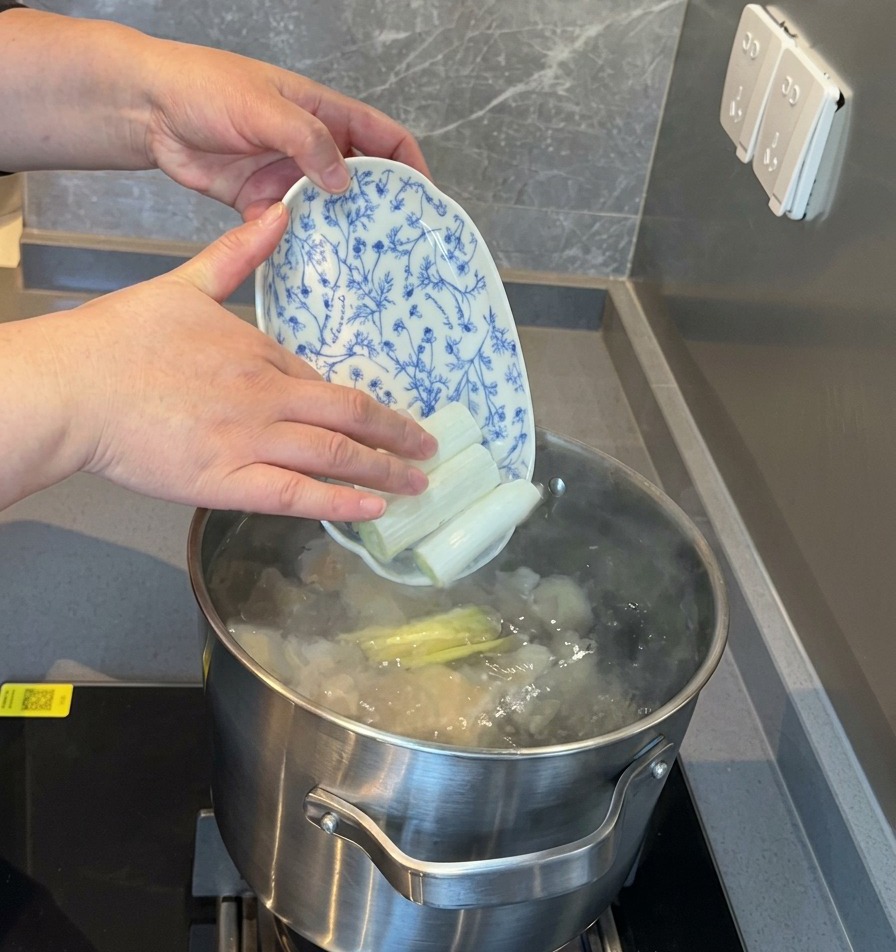
Add fresh ginger slices and large sections of green onion into the pot with the pork. These aromatics will gently infuse the broth with a subtle fragrance and depth of flavor without overpowering the natural essence of the pork bones.
Tip: Keeping the ginger slices and green onions in large pieces makes it much easier to strain them out once the broth is finished. - 5Cover and simmer
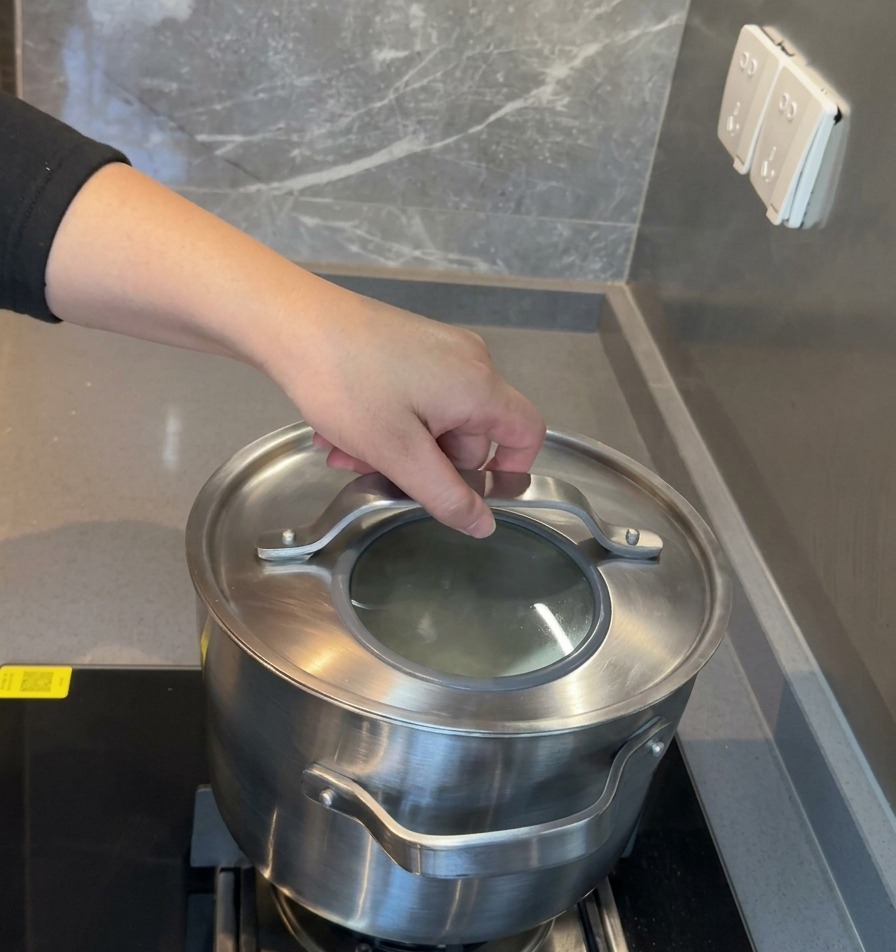
Place a glass lid on the pot and bring the water back to a boil over high heat. Once boiling, reduce the heat to low and cover. Let the soup simmer gently for at least four hours to extract all the richness from the bones.
Tip: Simmering with the lid on prevents excessive evaporation, ensuring you end up with a generous amount of concentrated, flavorful broth. - 6Extract bones for mashing
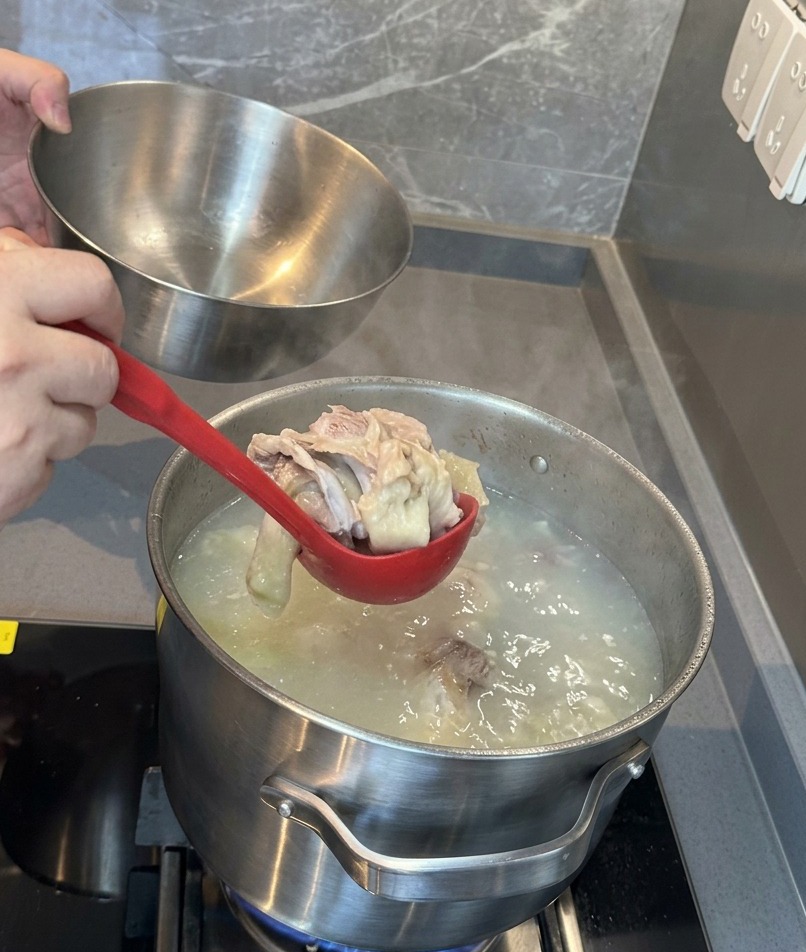
After the first two hours of simmering, use a ladle to scoop out the pork bones and trotters into a metal bowl. At this stage, the meat should be very tender and the broth should already be turning a creamy white color.
Tip: Dont discard the bones! You will mash them thoroughly to release more marrow and fat before returning them to the pot for the final two hours of simmering. - 7Mash the marrow and meat

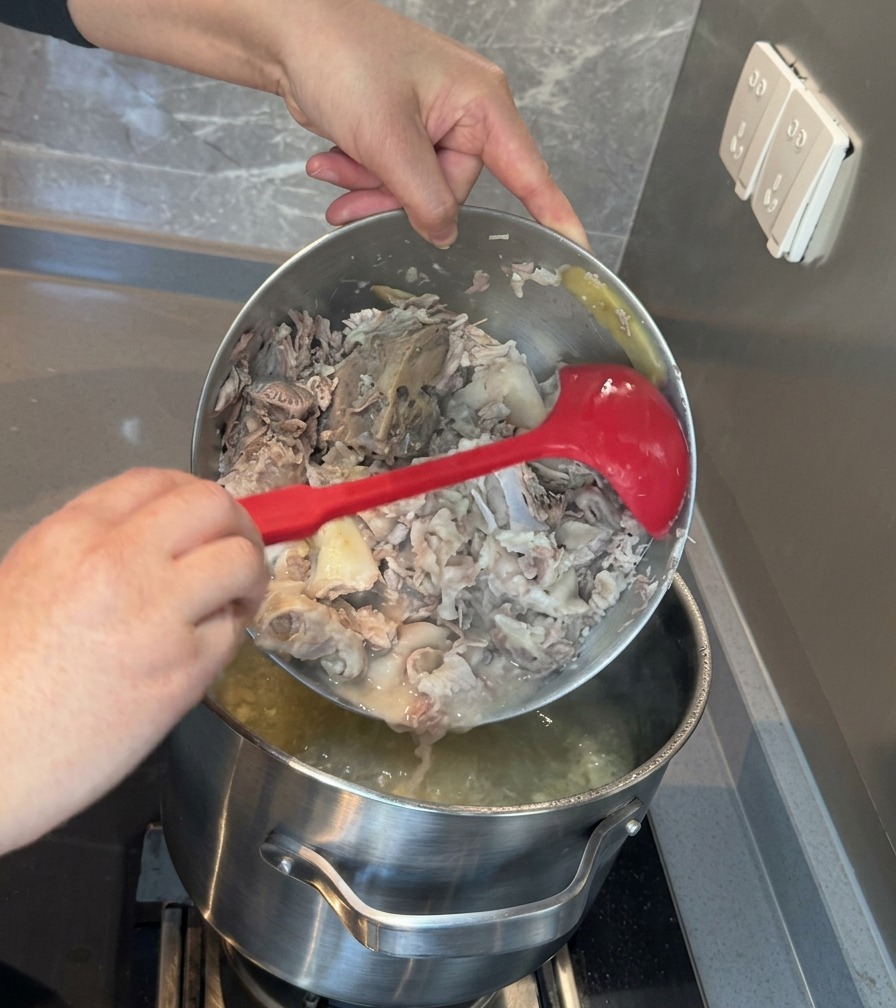
After the first two hours of simmering, remove the bones and trotters from the pot. In a separate bowl, use a hand masher to thoroughly crush the softened meat and marrow. This process releases the internal richness of the bones into the final broth, ensuring it becomes thick and flavorful.
Tip: Be careful as the meat and marrow will be very hot; hold the bowl steady with a kitchen towel or oven mitt if needed. - 8Return to the simmer
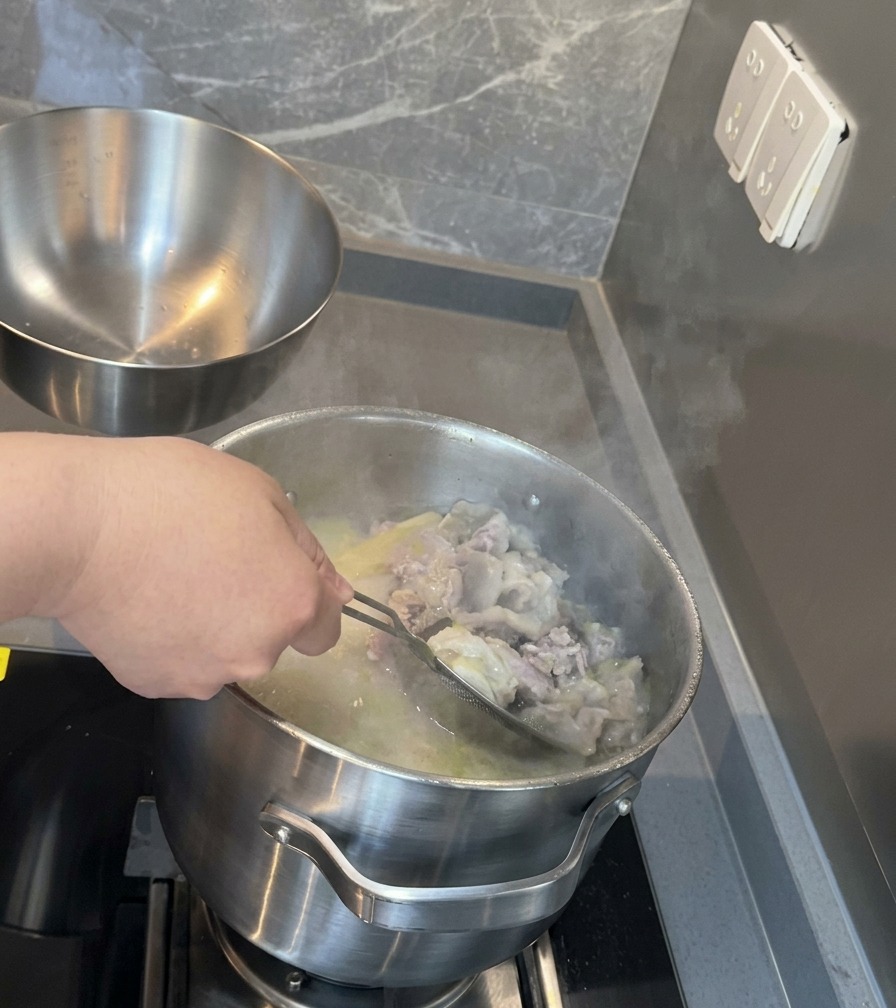
Pour the mashed meat and marrow mixture back into the pot of broth. Continue simmering for another two hours. This allows the broken-down fibers and marrow to fully emulsify into the liquid, which is what gives the soup its signature rich, white appearance.
Tip: Keep the heat on low during this final simmer to prevent the soup from reducing too quickly and becoming overly salty. - 9Strain the broth
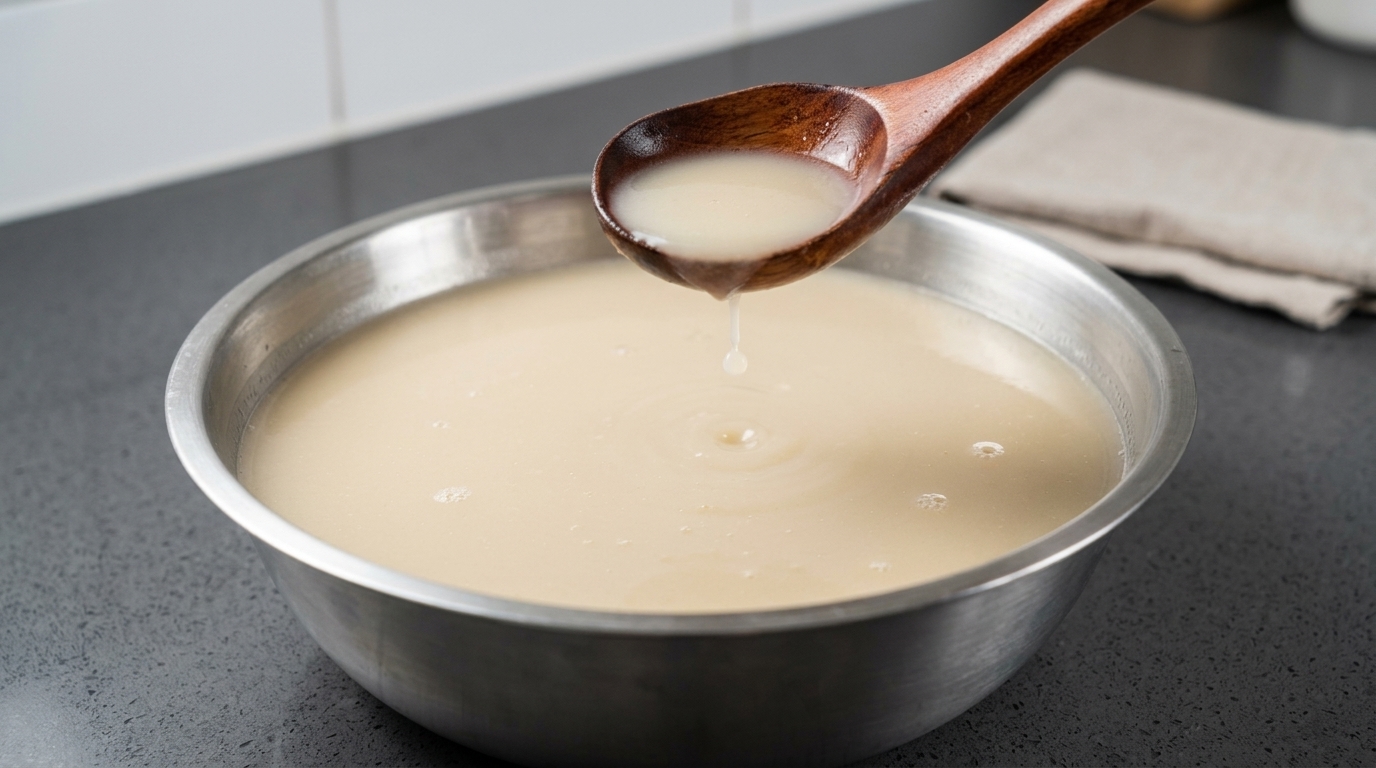
Once the total simmering time reaches four hours, use a fine mesh strainer to carefully lift out all remaining bone fragments and meat particles. After extensive simmering and mashing, the solids have yielded all their flavor, leaving behind a smooth and velvety soup base.
Tip: For an even clearer result, you can line the strainer with cheesecloth to catch the smallest bits of sediment. - 10Portion for storage
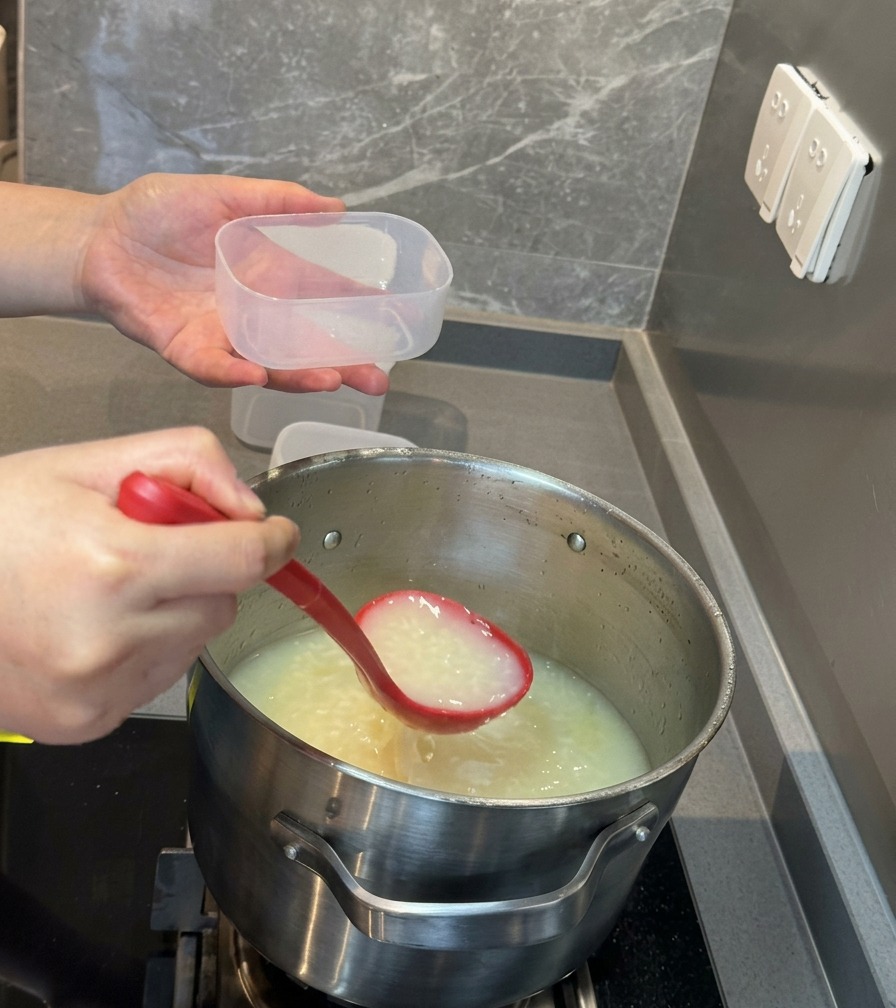
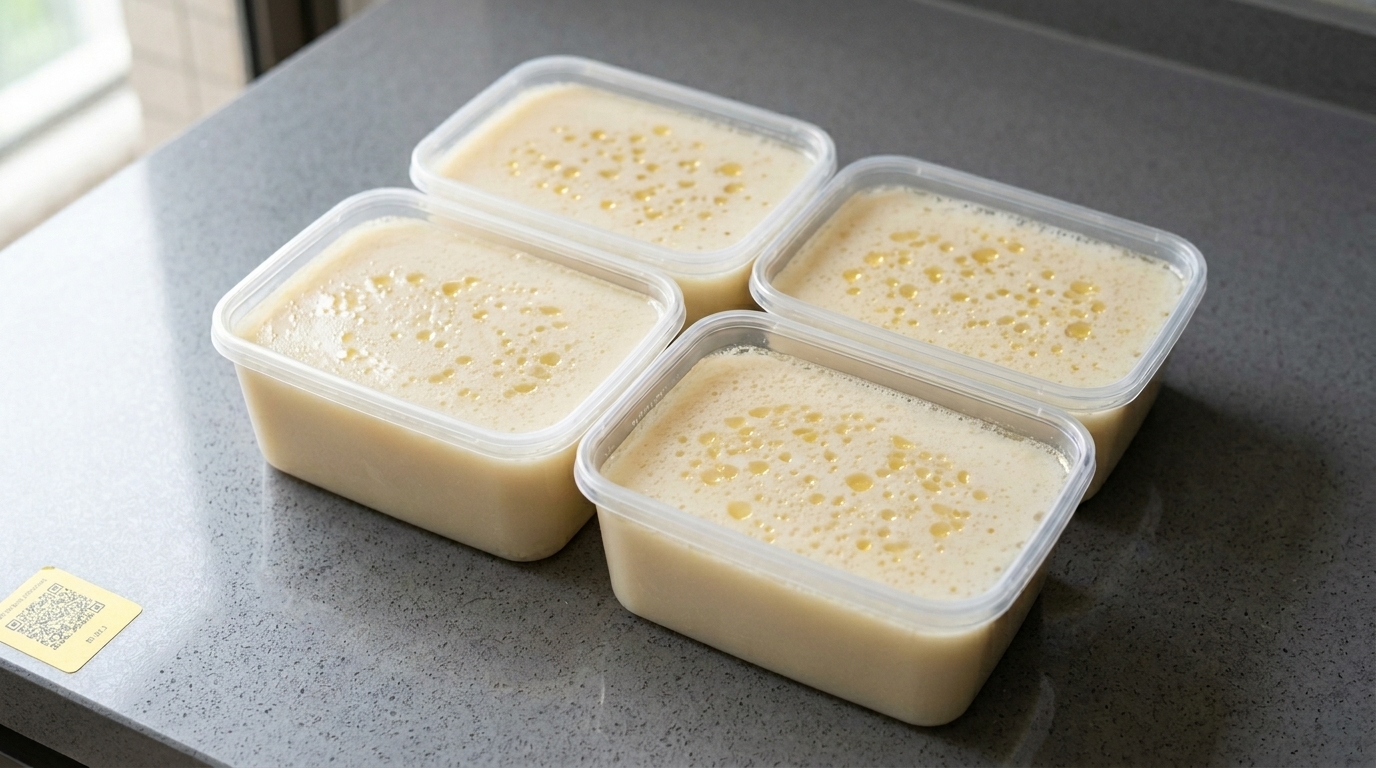
Allow the finished broth to cool slightly before ladling it into individual, clear plastic storage containers. Dividing the batch into smaller portions is much more convenient for future use, allowing you to defrost only what you need for a quick meal.
Tip: Leave a small amount of headspace at the top of each container, as the liquid will expand slightly when it freezes. - 11Label and freeze
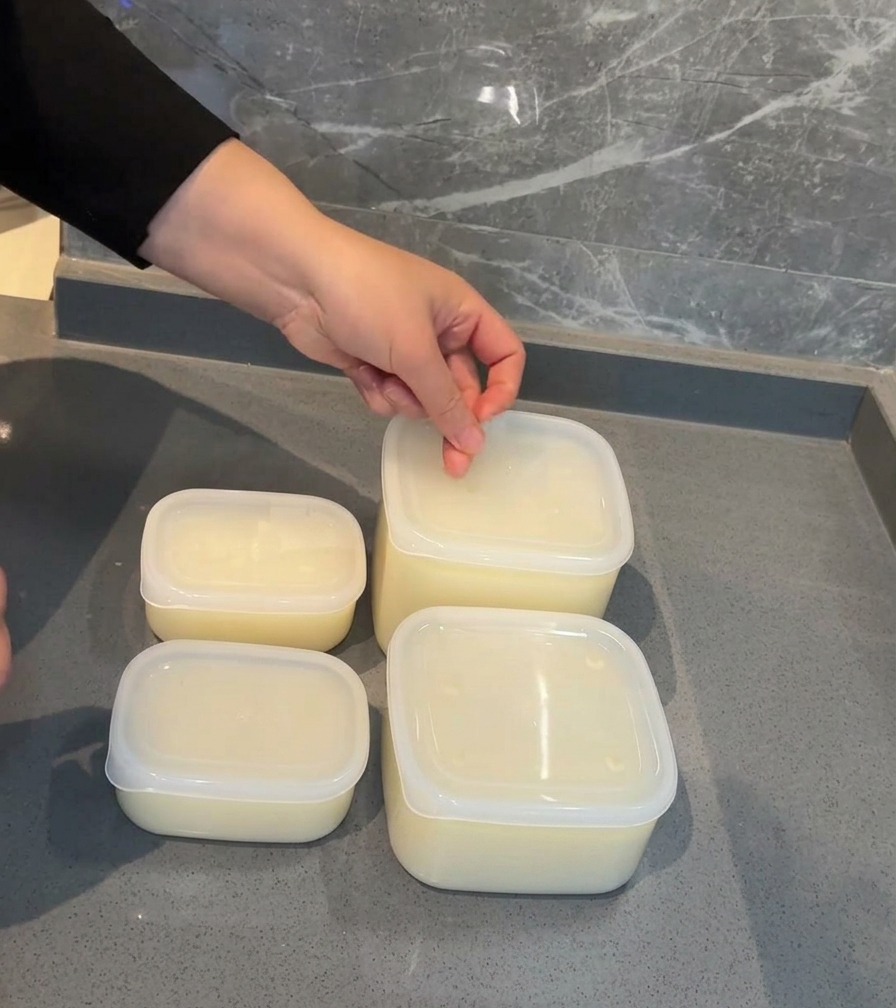
Secure the lids onto each of the containers and apply labels indicating the date of preparation. Store the broth in the freezer, where it will stay fresh for months, ready to be used as a base for noodles, braised dishes, or stews.
Tip: Use a permanent marker or waterproof labels so the text doesnt smudge or peel off due to condensation when defrosting.