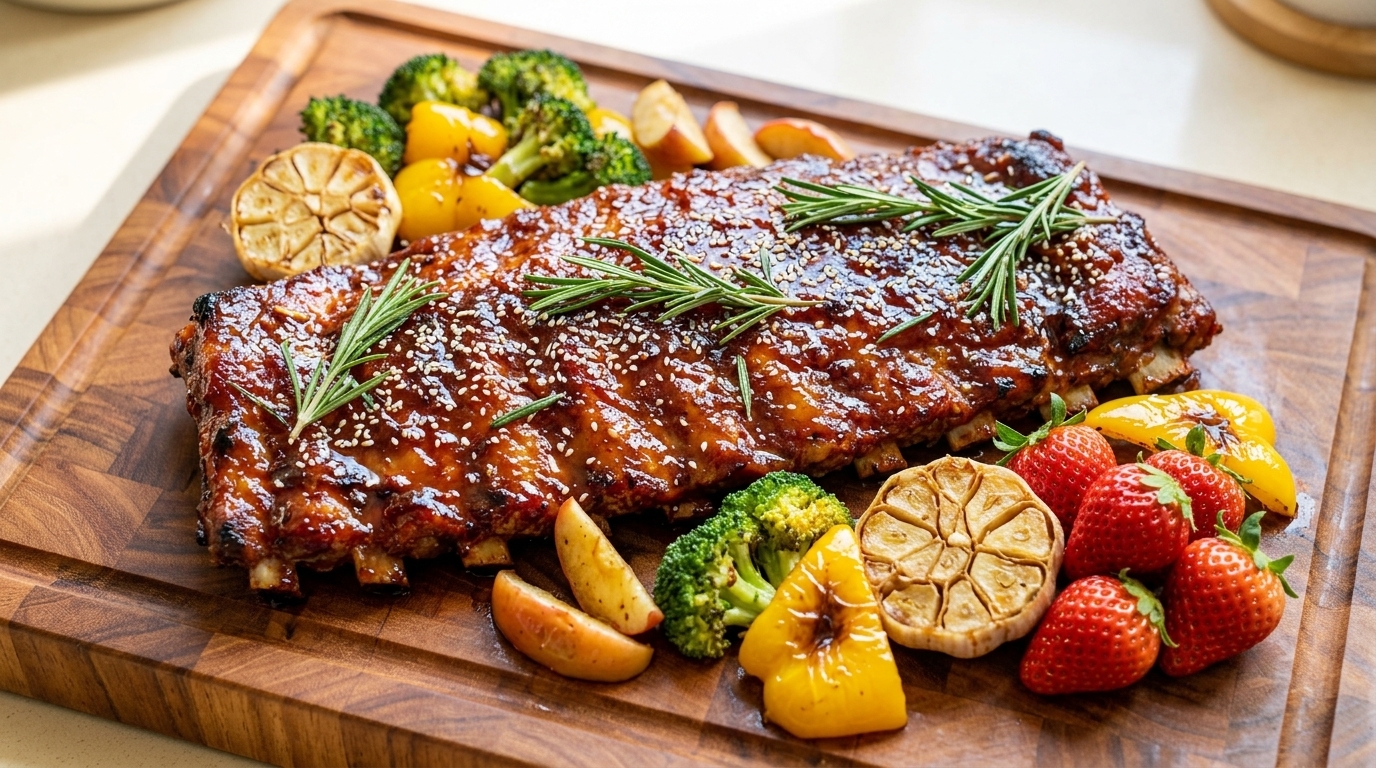
Honey BBQ Glazed Oven-Baked Pork Ribs
Fall-off-the-bone tender pork ribs slow-baked in foil and finished with a sticky, caramelized honey BBQ glaze for the ultimate home-cooked feast.
Oven-baked ribs are a masterclass in patience and technique. By tightly sealing the meat in foil, we allow the connective tissues to break down into succulent tenderness, while a high-heat finishing glaze provides that iconic charred, BBQ-pit sweetness without needing a grill.

Ingredients
- 1 rack pork ribs
- 2 tbsp paprika
- 2 tbsp black pepper
- 2 tbsp mixed meat seasoning
- 2 tbsp minced garlic
- 3 tbsp BBQ sauce
- 1 tbsp oyster sauce
- 1 tbsp yellow mustard
- 2 tbsp honey
- 1 tbsp light soy sauce
Instructions
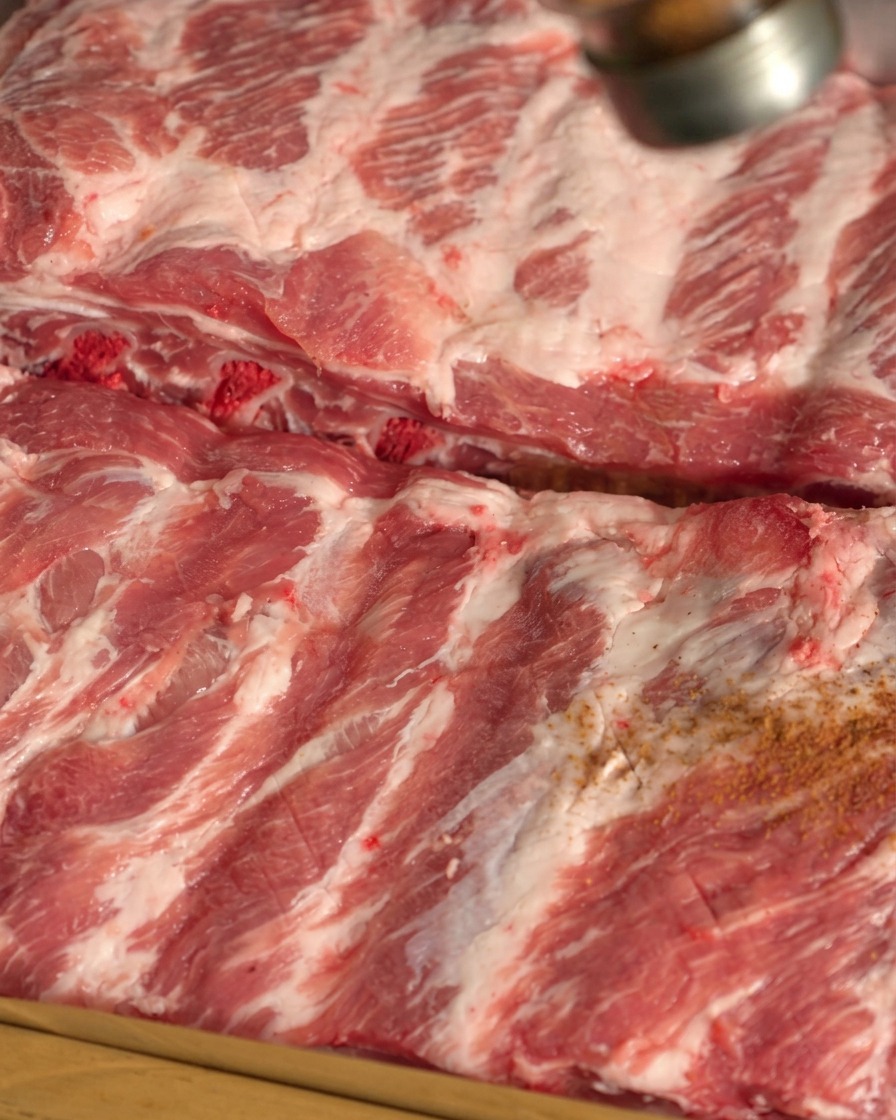
- 1Score the ribs
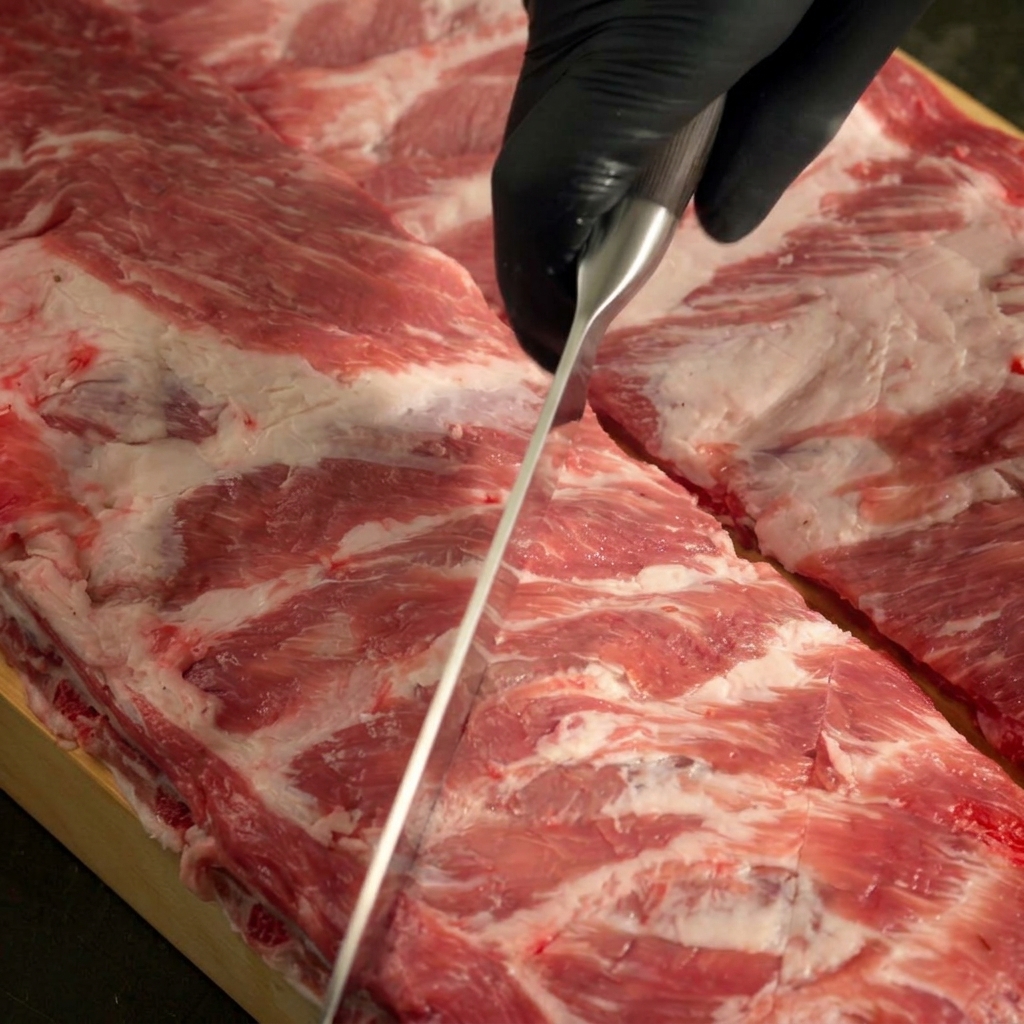
Place the raw pork ribs on a wooden cutting board and use a sharp knife to carefully score the membrane side. This essential preparation step allows the dry rub and aromatics to penetrate deeply into the meat for maximum flavor.
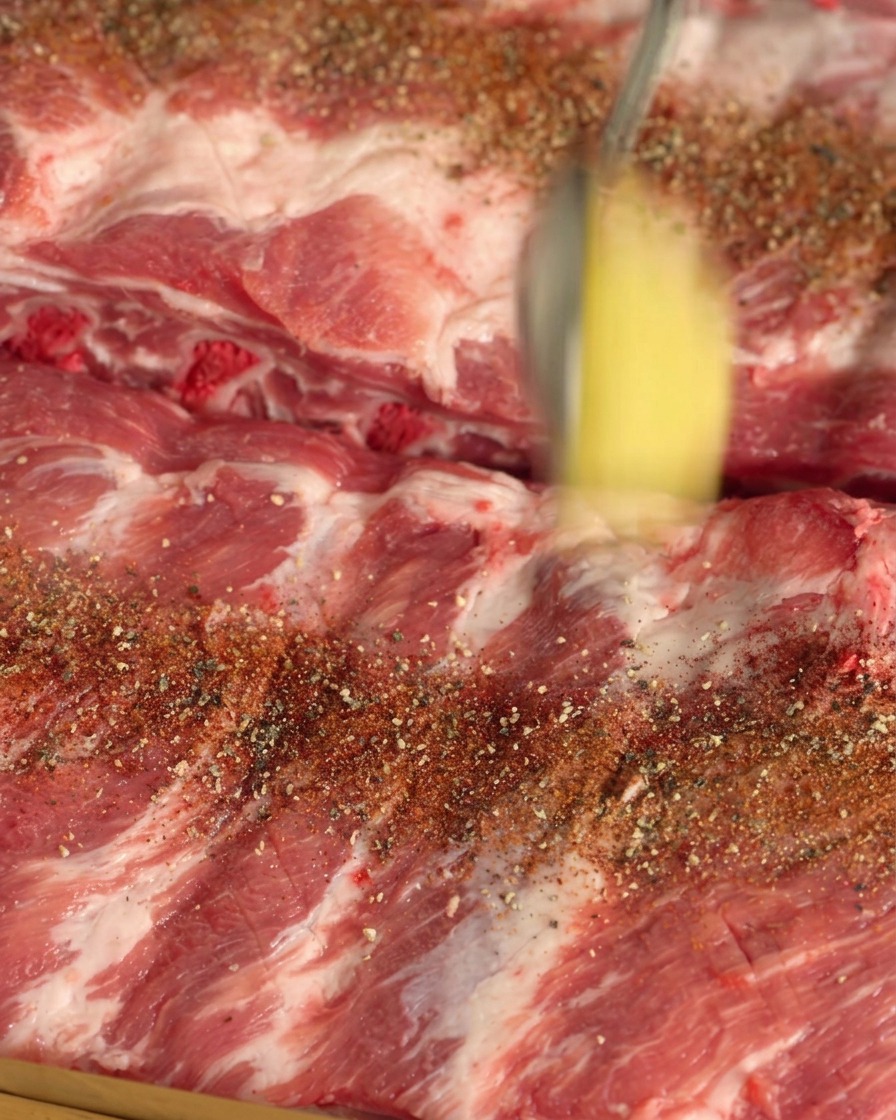
Tip: Scoring the membrane also helps prevent the rack of ribs from curling up as the meat cooks and contracts in the heat. - 2Season with dry spices
Generously season the scored ribs with paprika, black pepper, and your preferred mixed meat seasoning. Make sure the dry spices are evenly distributed across the entire surface of the pork.
Tip: Pat the raw ribs dry with a paper towel before applying the seasoning to help the spices adhere better. - 3Add minced garlic
Spoon freshly minced garlic directly over the spice-covered ribs. As the ribs slow-bake, the garlic will roast alongside the meat, creating a deeply aromatic and savory flavor profile.
Tip: Using freshly minced garlic provides a much more vibrant and robust flavor than using pre-jarred or powdered garlic. - 4Rub in the seasoning
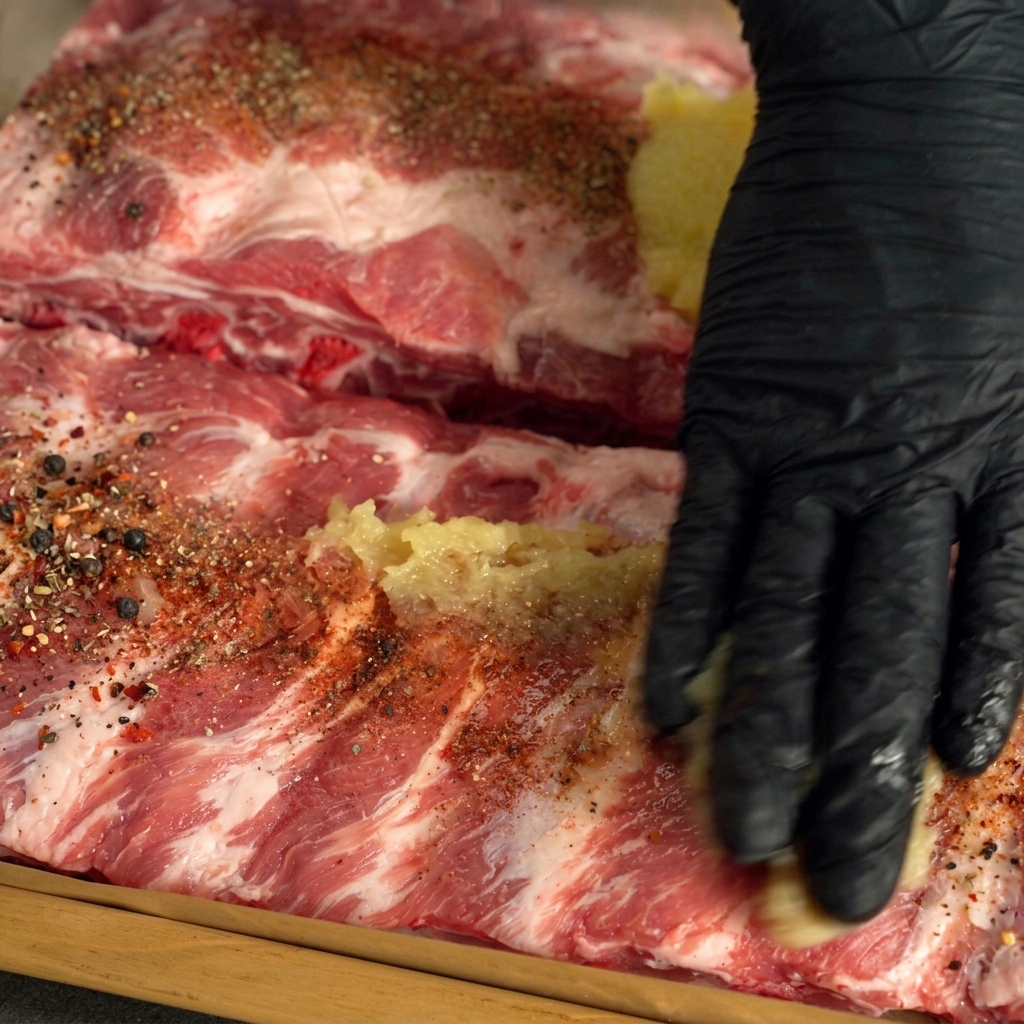
Using gloved hands, firmly massage the minced garlic and dry spices into the meat. Ensure you press the mixture into the score marks and thoroughly coat the edges for an even crust.
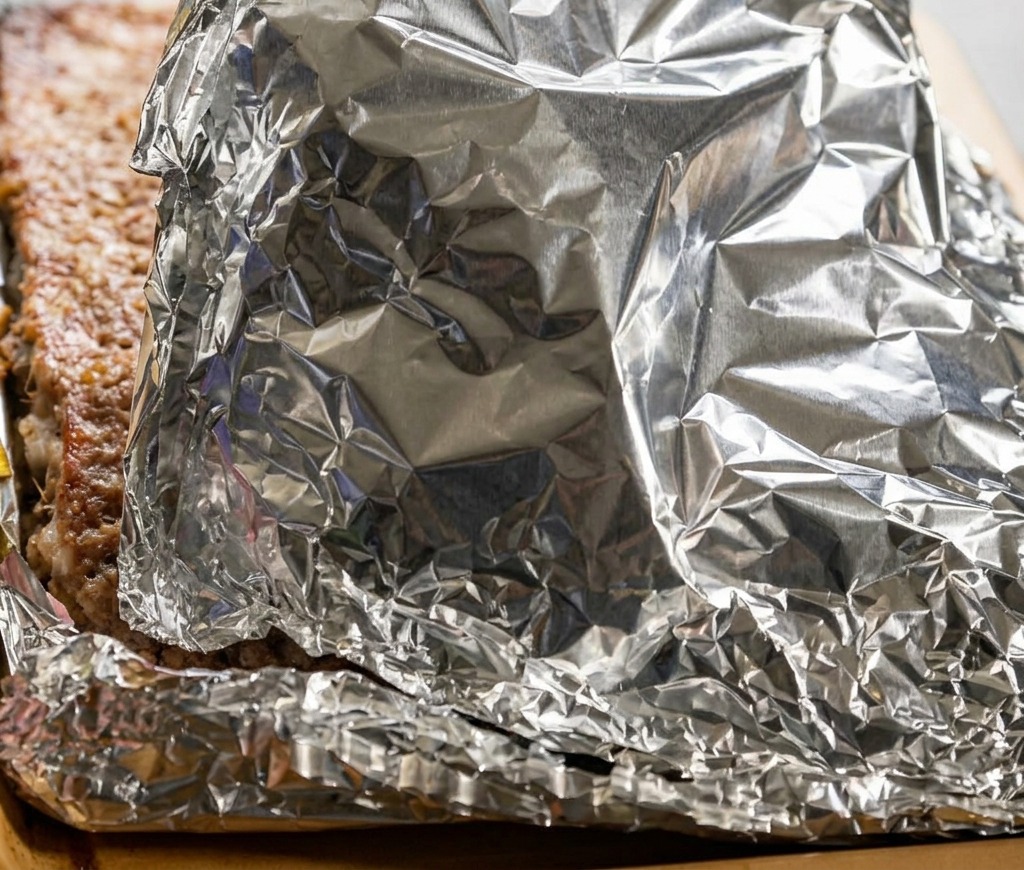
Tip: Wearing disposable food-safe gloves prevents the strong garlic odor and vibrant paprika color from lingering on your skin. - 5Wrap tightly in foil
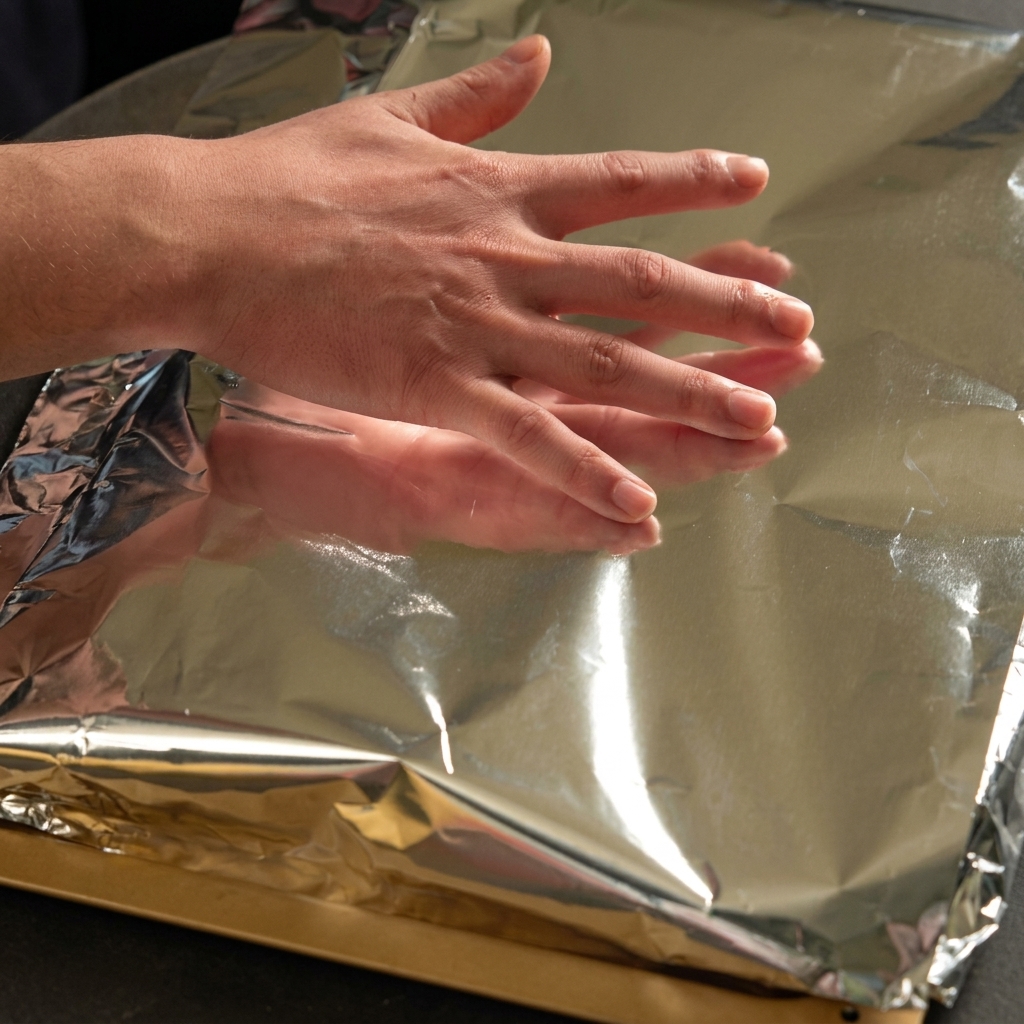
Transfer the seasoned ribs onto a large sheet of aluminum foil and wrap them up securely. Sealing the ribs tightly traps the steam and prevents natural juices from escaping, ensuring the meat becomes incredibly tender.
Tip: Use heavy-duty aluminum foil to ensure the rib bones do not accidentally puncture the wrapping during the slow bake. - 6Bake the ribs
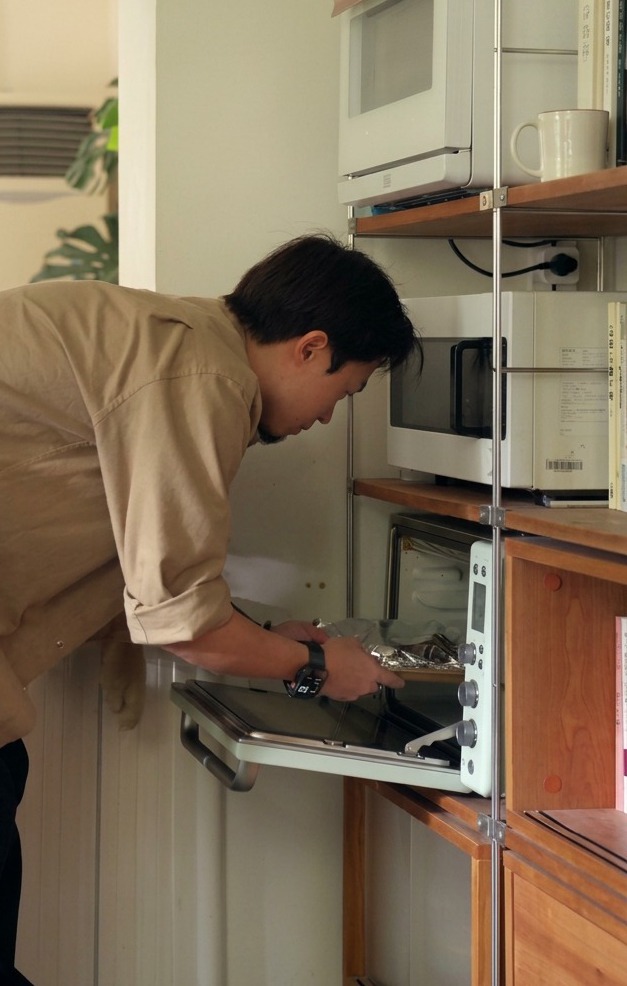
Place the tightly wrapped ribs onto the center rack of your preheated oven. Bake at 180°C for approximately 90 minutes. This slow roasting process allows the connective tissues to break down, ensuring the meat becomes incredibly tender while infusing it with the dry rub seasonings.
Tip: Make sure the foil is sealed airtight to trap the steam, which keeps the ribs juicy during the long baking time. - 7Start the BBQ glaze
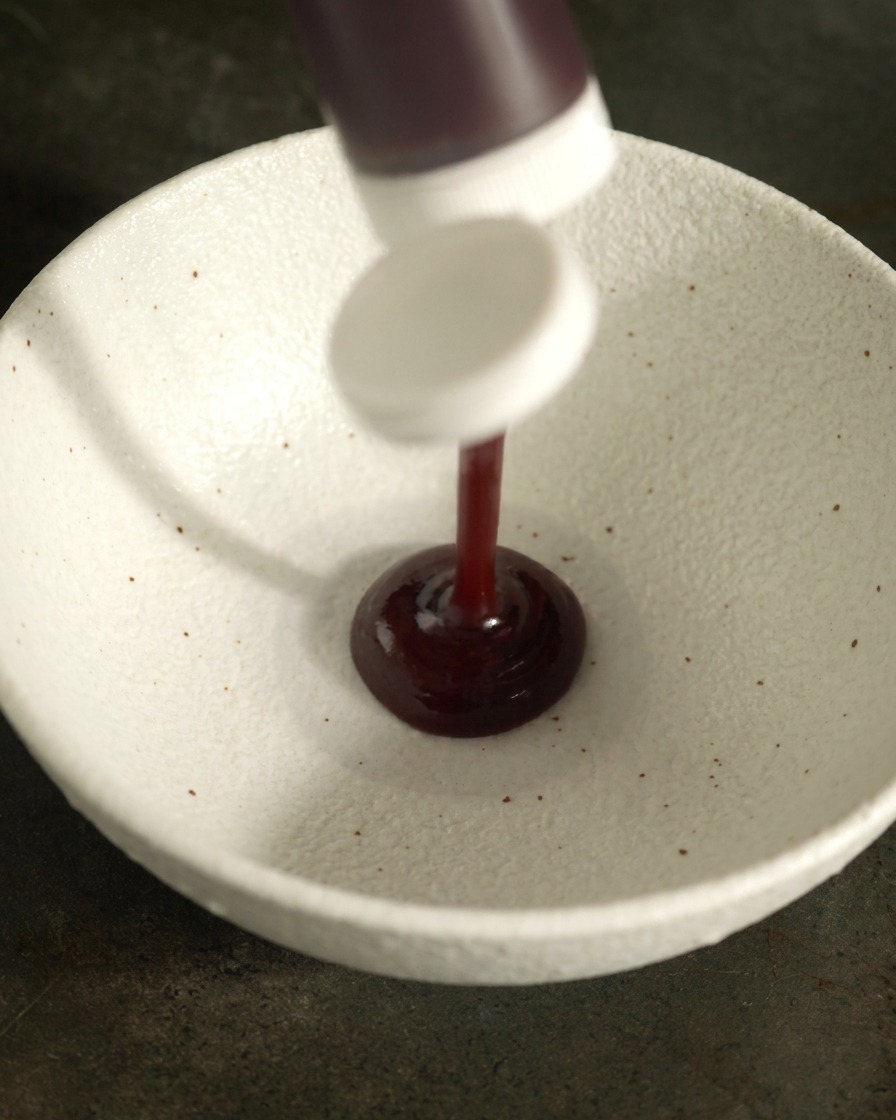
Begin preparing the sweet and savory glaze for the ribs. Squeeze three generous spoons of your favorite BBQ sauce into a small mixing bowl to form the base of the sauce.
Tip: Using a thick, high-quality, smoky BBQ sauce will give the ribs a better, more authentic flavor profile. - 8Add mustard and soy sauce
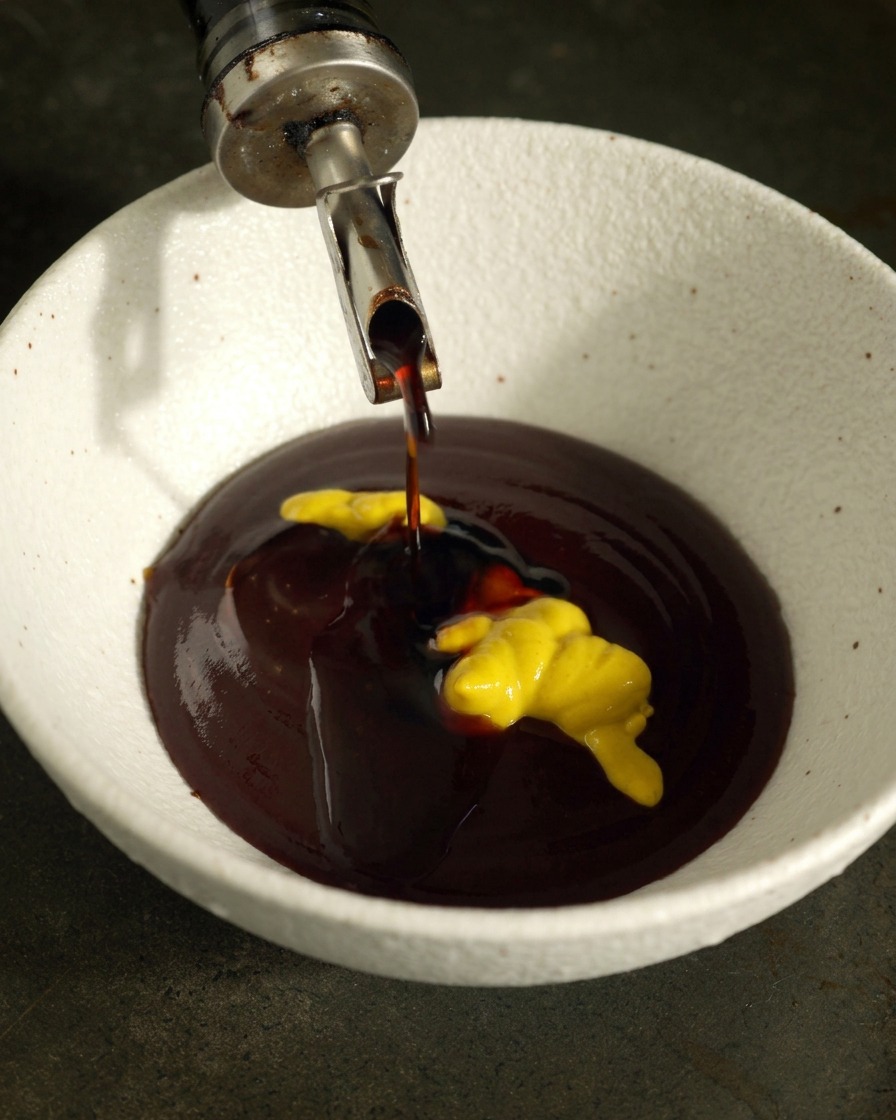
Pour the light soy sauce and squeeze the yellow mustard into the bowl containing the dark BBQ sauce. These additional ingredients will balance out the sweetness of the sauce with a rich touch of umami and tanginess.
Tip: Use light soy sauce rather than dark soy sauce to add saltiness without overpowering the color of the BBQ glaze. - 9Mix the glaze
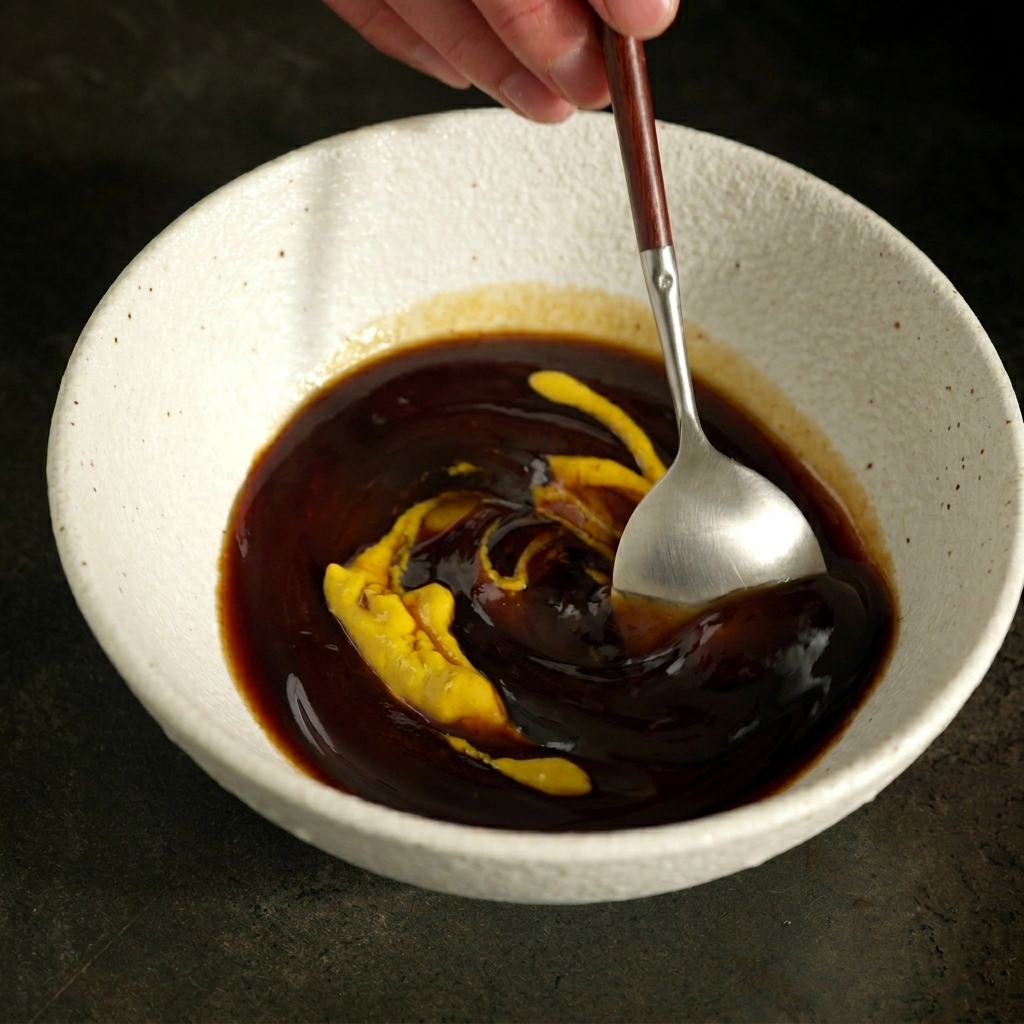
Use a spoon to thoroughly stir the BBQ sauce, mustard, oyster sauce, honey, and light soy sauce together. Continue mixing until all the ingredients combine into a uniform, thick, and smooth glaze.
Tip: Ensure the honey is fully dissolved into the mixture so the ribs get an even, sticky coating when brushed. - 10Unwrap and check
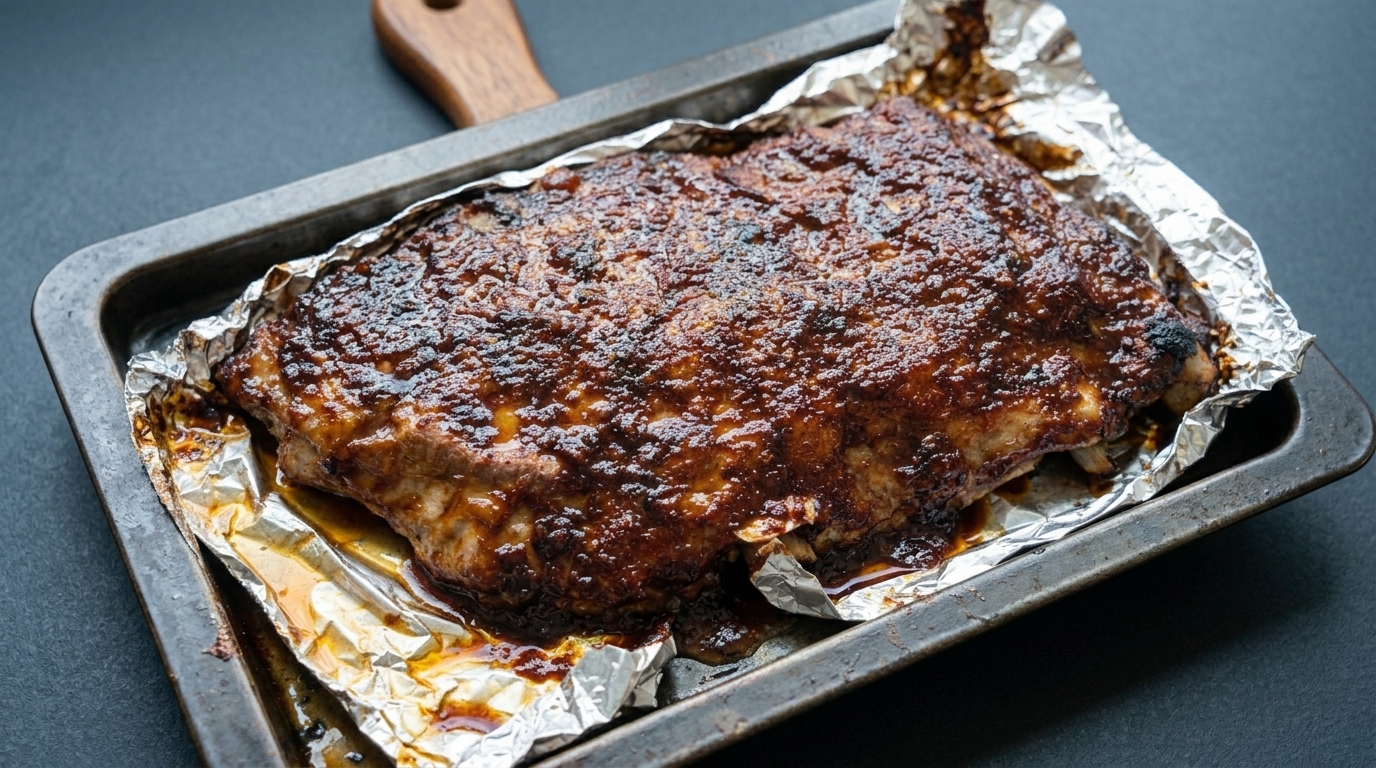
Carefully remove the ribs from the oven and peel back the aluminum foil. Be cautious of the hot steam releasing from the packet. The ribs should be browned and the meat should have started to shrink back slightly from the bones, indicating they are ready for glazing.
Tip: If there is a lot of rendered fat and juice in the foil, you can carefully pour it off before glazing to help the sauce caramelize better. - 11Glaze and final char
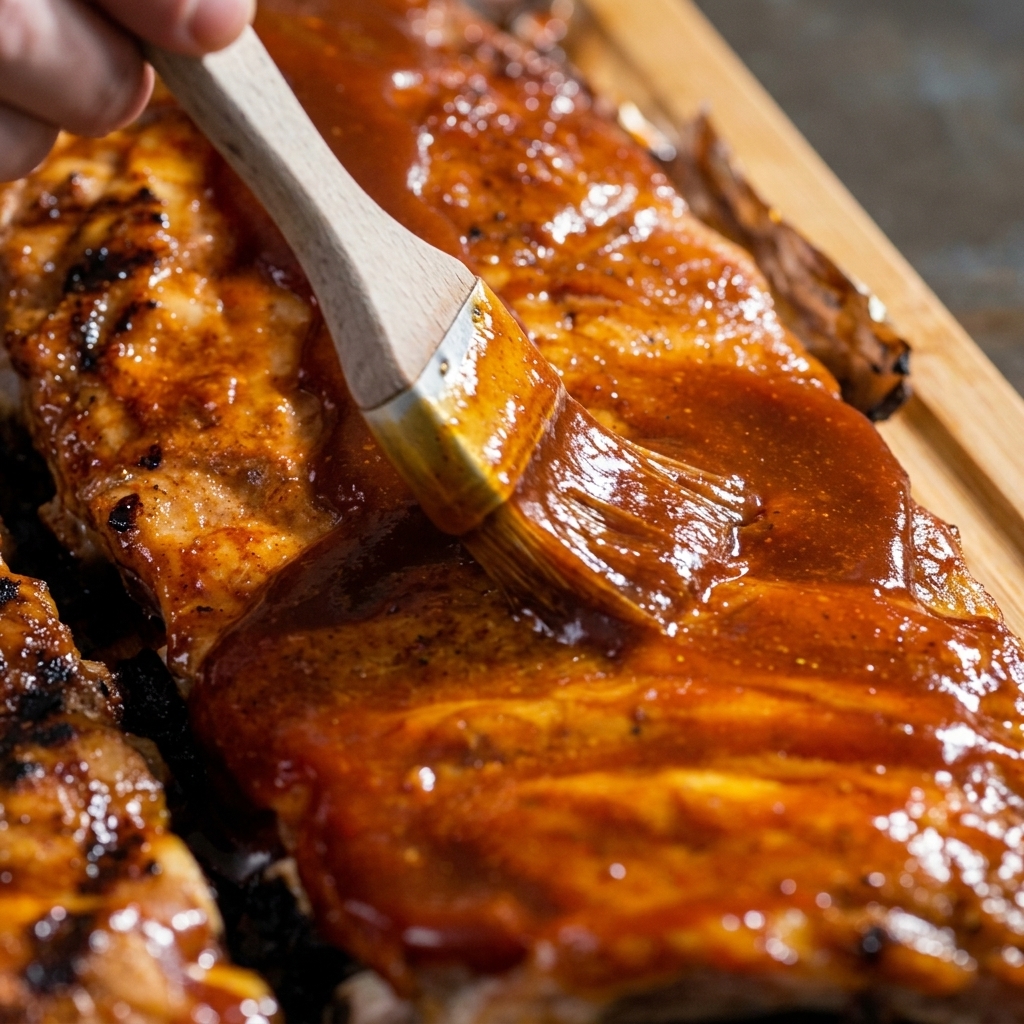
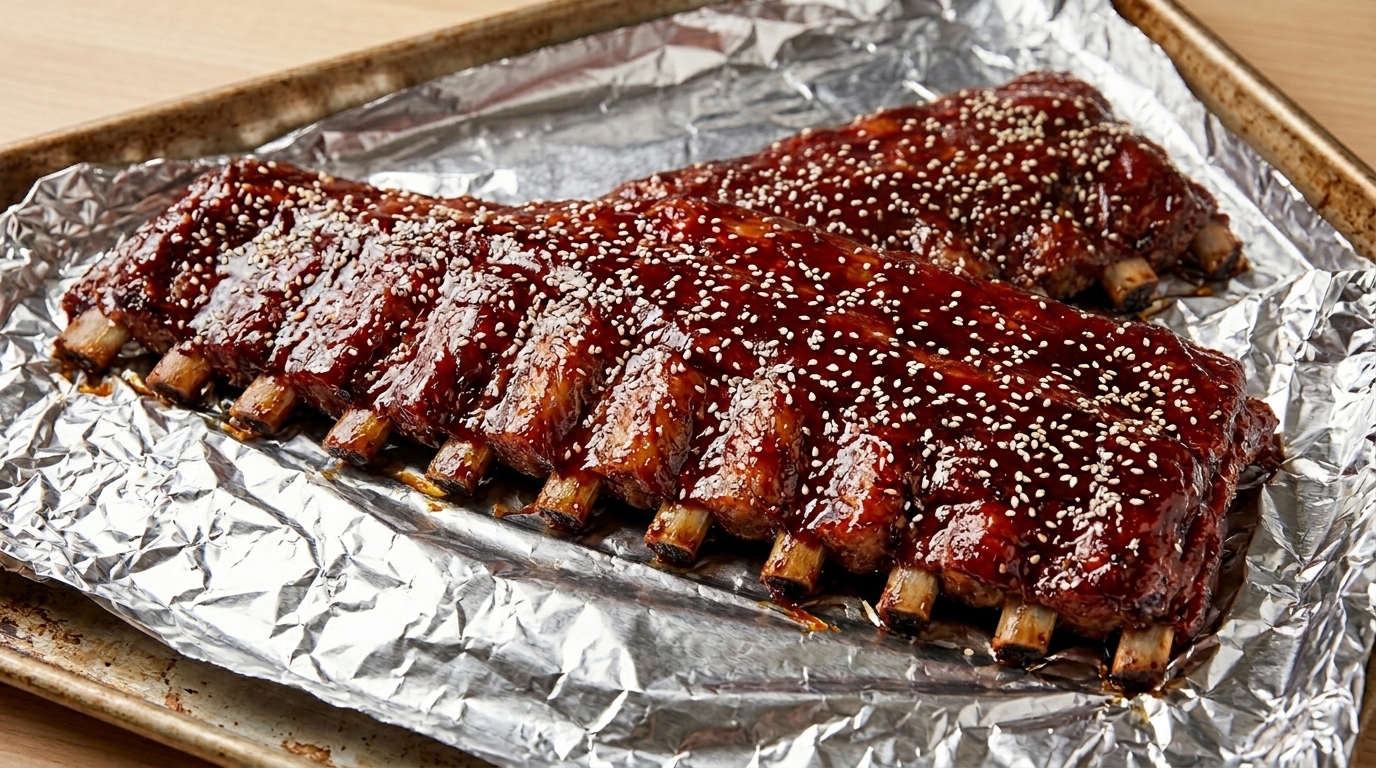
Use a basting brush to apply a thick, even layer of the BBQ glaze over the surface. For the perfect finish, return the ribs to the oven at 220°C for 10 minutes until the sauce is bubbling and caramelized.
Tip: Applying the glaze thickly at this stage allows it to caramelize perfectly under high heat, creating a beautiful sticky and charred exterior.