Classic Japanese Teriyaki Chicken Bowl (Teriyaki Donburi)
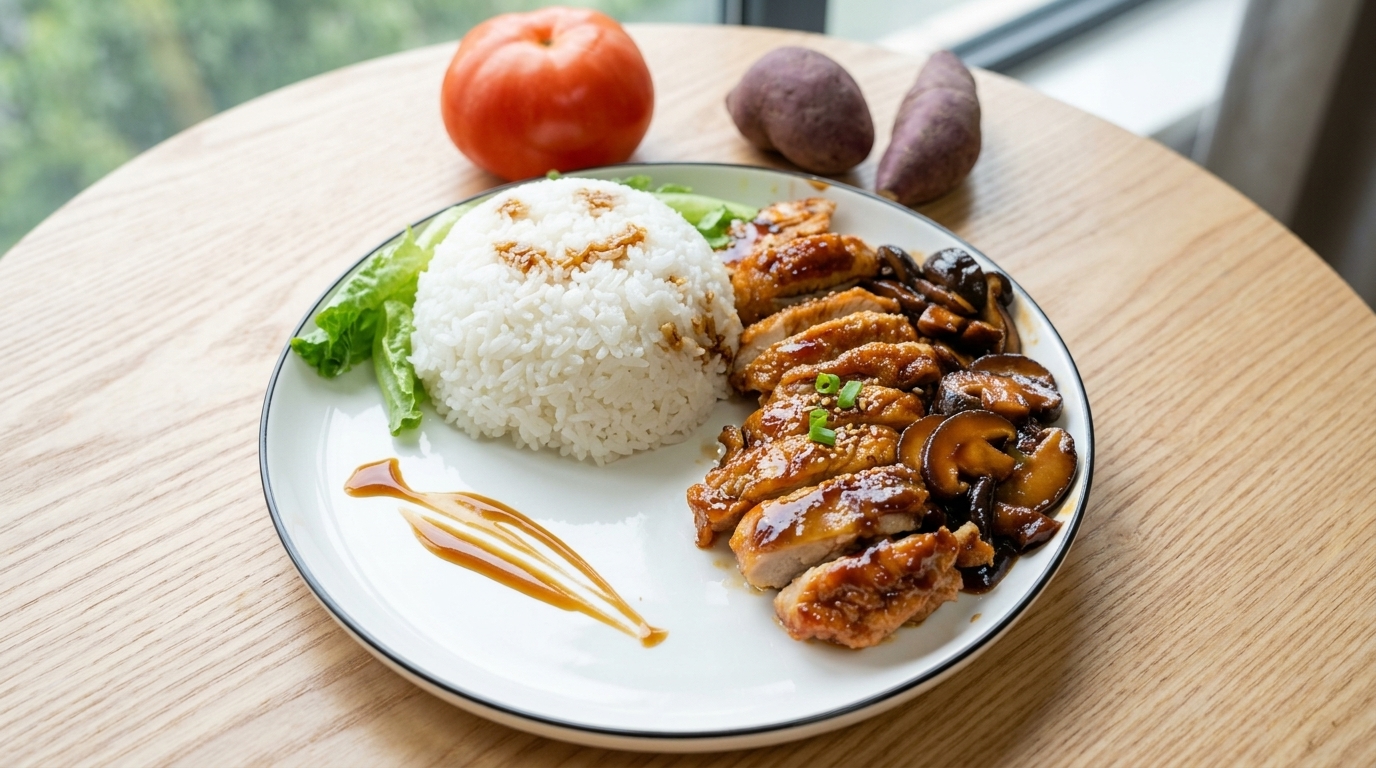
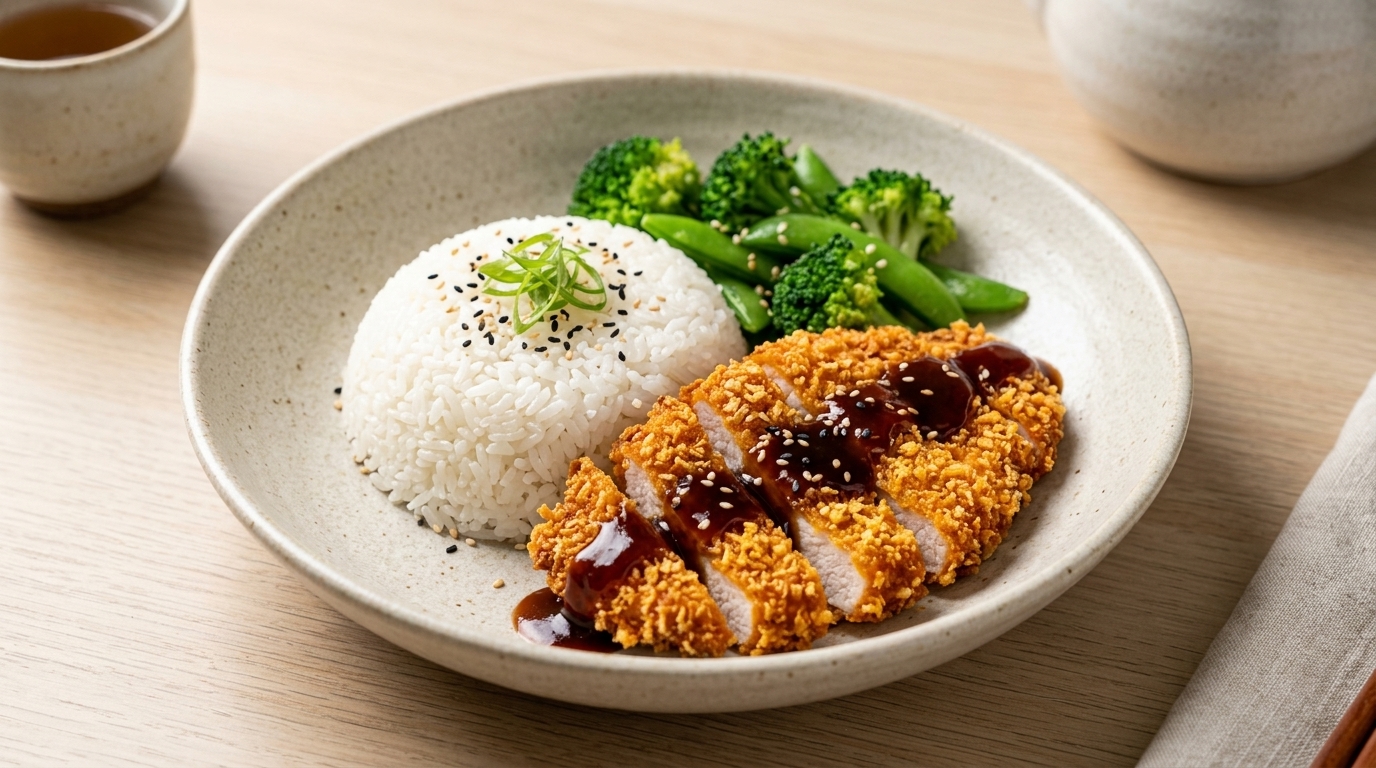
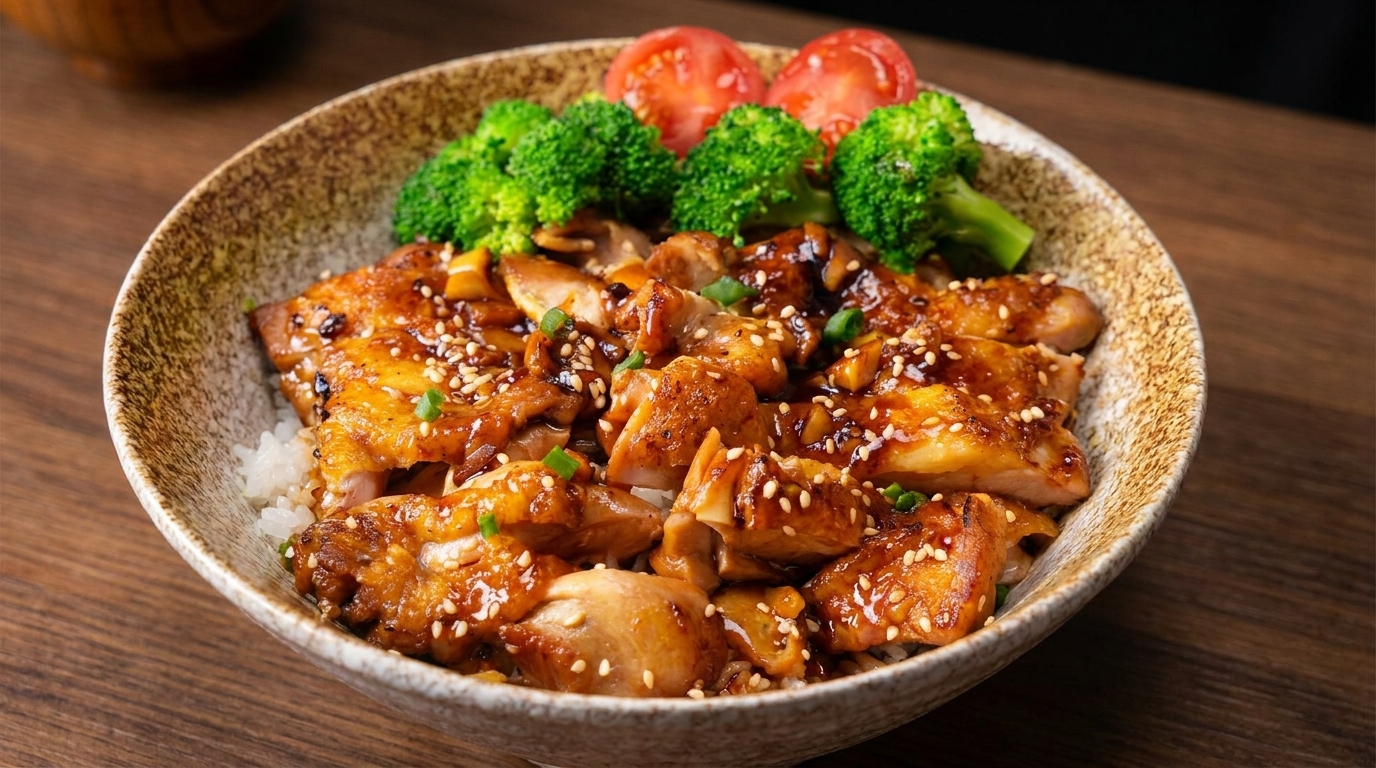
Savor succulent chicken thighs glazed in a sweet and savory homemade teriyaki sauce, served over a bed of fluffy steamed rice with crisp seasonal vegetables.
Teriyaki is more than just a sauce; it is a traditional Japanese cooking technique where meat is pan-seared or grilled with a glossy glaze of soy sauce, mirin, and sugar. This home-style version focuses on rendering the chicken skin to a perfect golden crisp before simmering it into a rich, mahogany finish. It is a staple of Japanese shokudo for its comforting balance of salty, sweet, and umami flavors.
Ingredients
- 2 pieces deboned chicken thighs
- 80 ml teriyaki sauce
- 1 bowl cooked white rice
- 1 tbsp minced garlic
- 3-4 slices fresh ginger
- 1 tbsp cooking wine
- 12 tsp black pepper
- 12 tsp salt
- optional steamed broccoli
- optional cherry tomatoes
- to taste toasted sesame seeds
- to taste chopped green onions
Instructions
- 1Pat the chicken dry
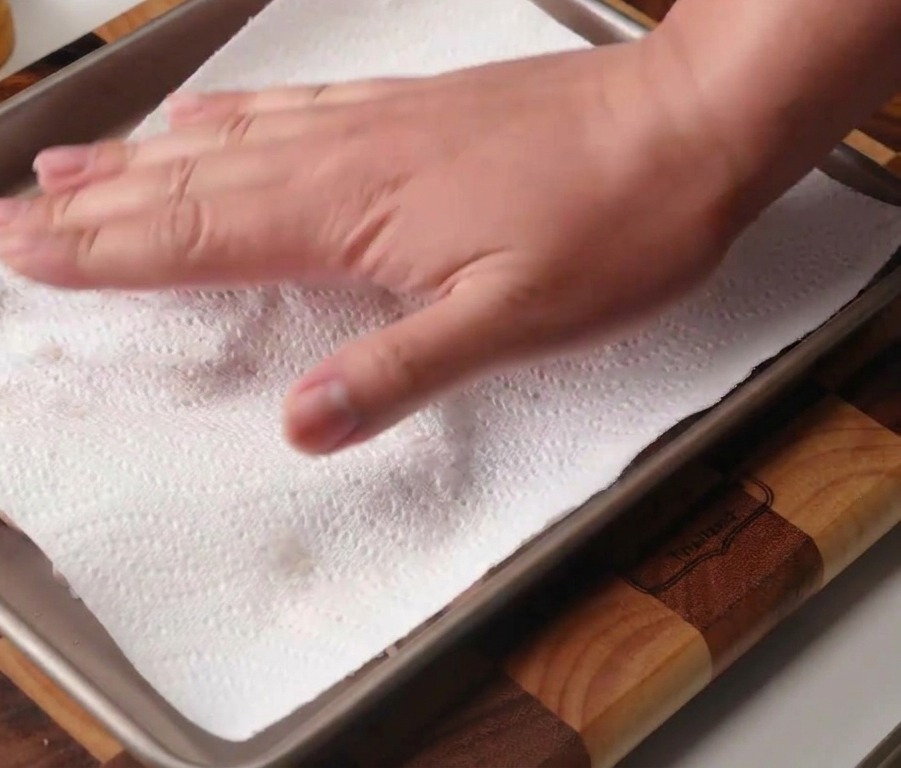
Use a paper towel to thoroughly pat the deboned chicken thighs dry on both sides. Removing excess surface moisture is a critical step to ensure the skin becomes crispy when fried and to help the marinade seasonings adhere better to the meat.
Tip: Dont skip this step—dry chicken skin renders better and achieves that perfect golden-brown crunch without steaming. - 2Score and tenderize the chicken
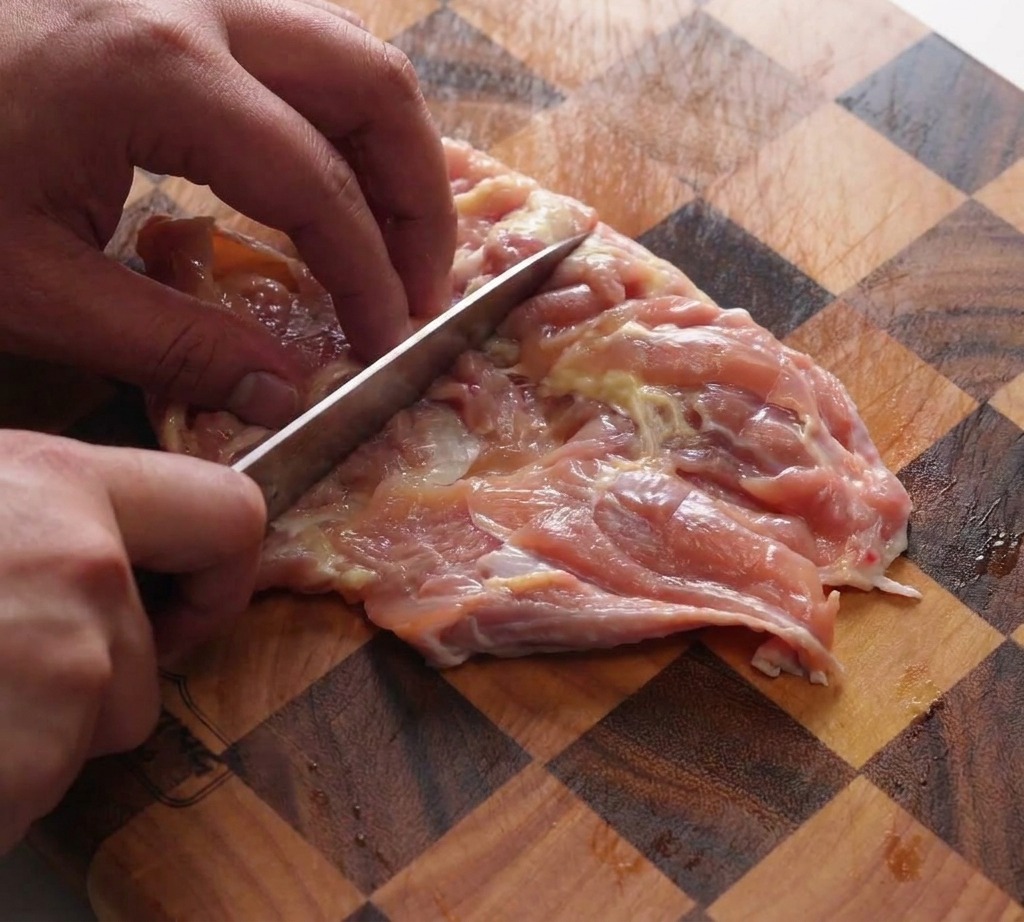
Use the tip of a chefs knife to make shallow, parallel cuts across the chicken meat. Then, use the back of the knife to pound the thighs evenly. This process tenderizes the meat and prevents the chicken from curling or shrinking during the frying process.
Tip: Pounding the meat ensures an even thickness, which leads to much more consistent cooking results across the whole piece. - 3Add aromatics and seasoning
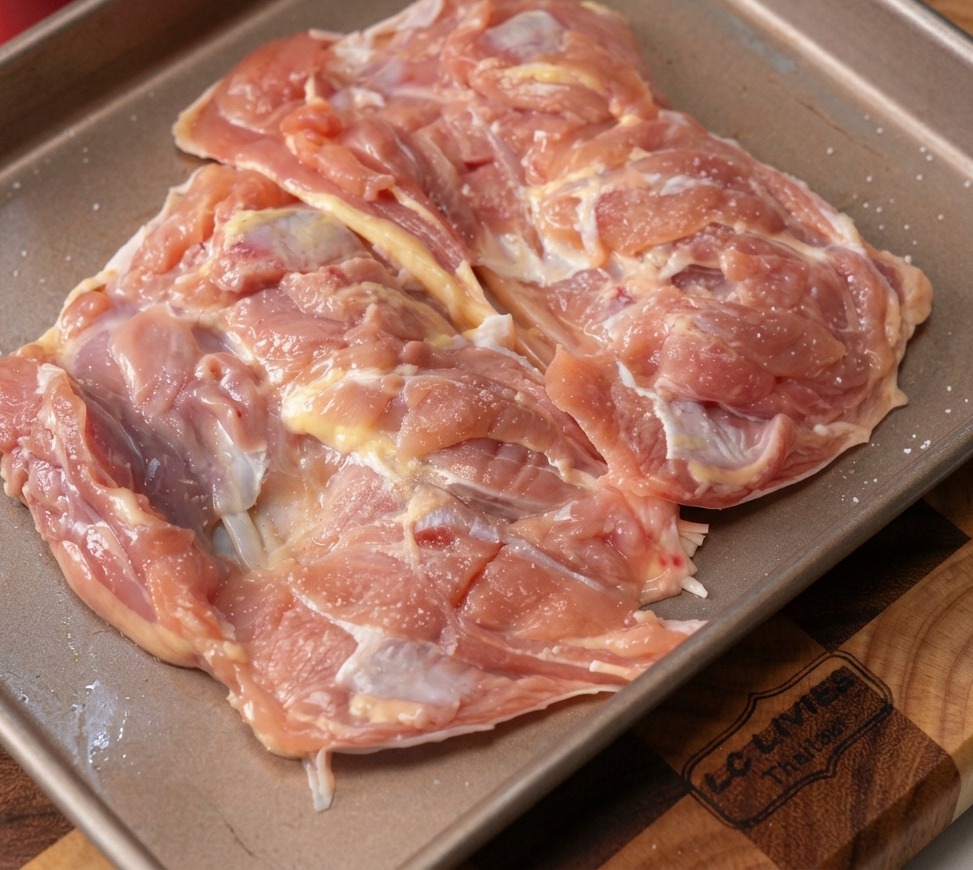
Sprinkle minced garlic and freshly cracked black pepper over the raw chicken thighs on the tray. These aromatics are essential for building a savory base that perfectly complements the sweet and umami-rich teriyaki sauce used later.
Tip: For the best flavor profile, use freshly minced garlic rather than the pre-minced jarred variety. - 4Mix and marinate
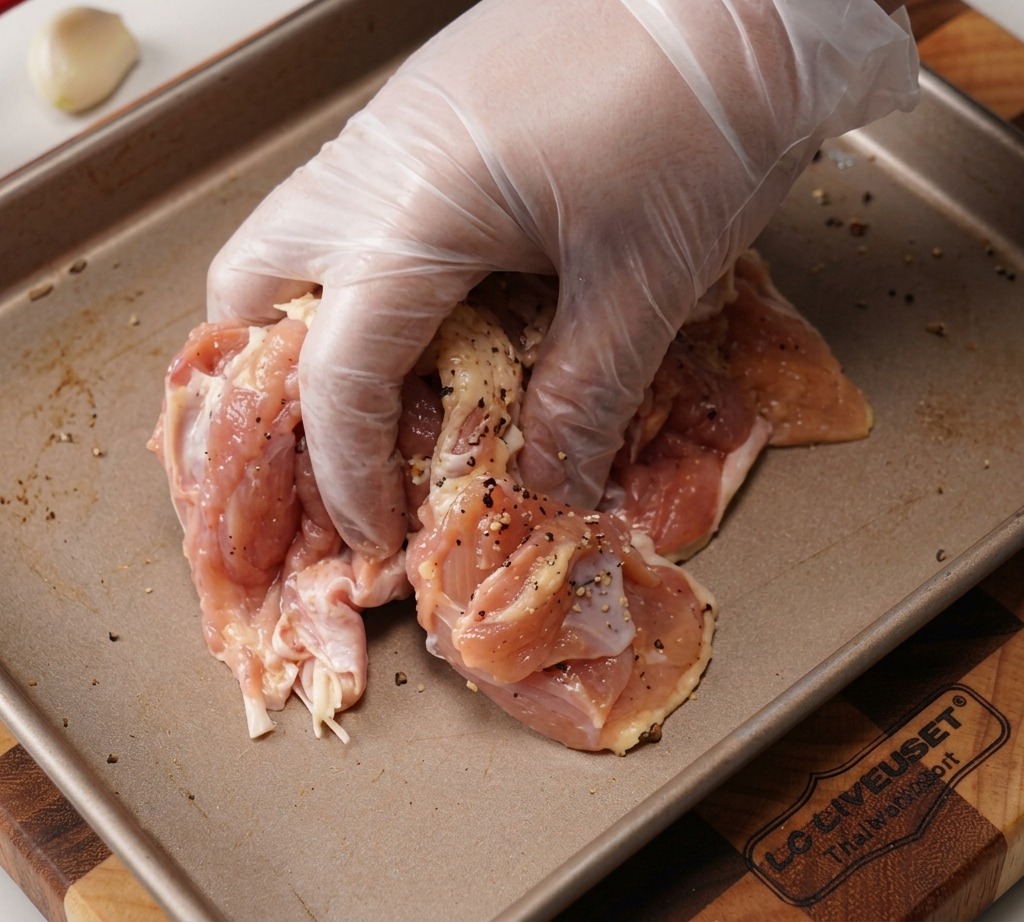
Using a gloved hand, thoroughly massage the seasonings, cooking wine, and ginger into the chicken thighs. Ensure every part of the meat is well-coated, then let it sit for at least ten minutes to absorb the flavors and tenderize further.
Tip: Massaging the meat helps break down the muscle fibers, resulting in a much juicier and more tender final dish. - 5Sear the skin side
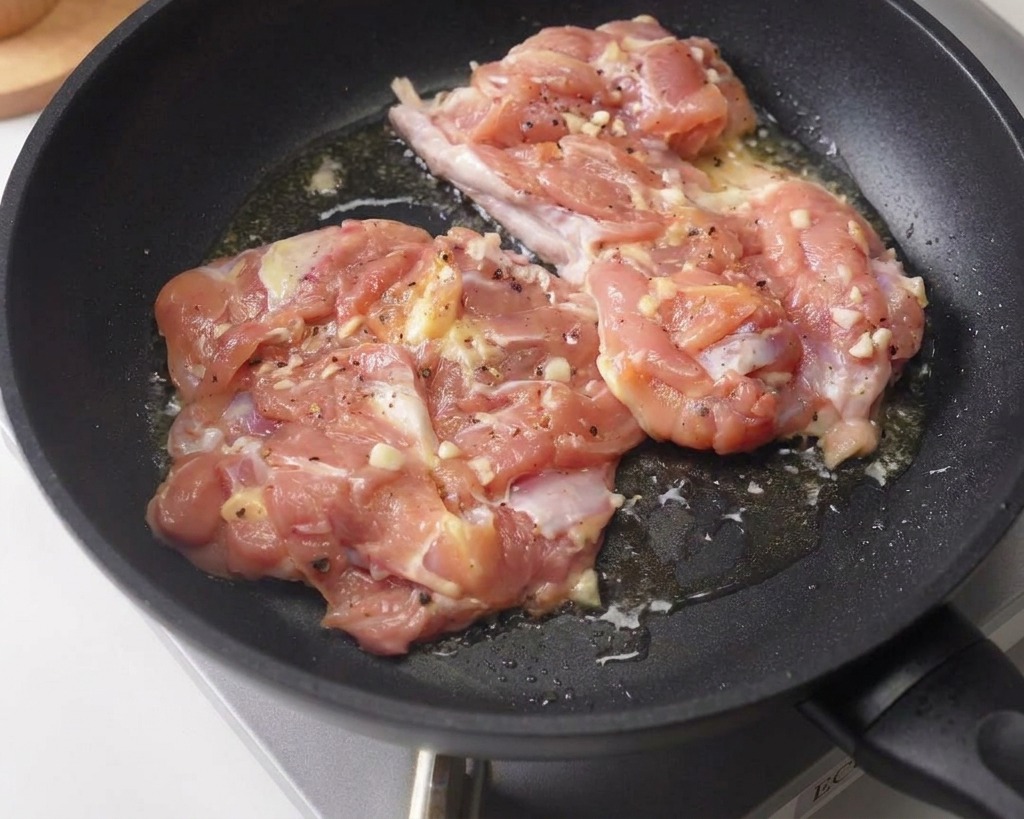
Place the marinated chicken thighs skin-side down into a preheated pan over low heat. Starting skin-side down allows the natural chicken fat to render out, creating an extra-crispy exterior while keeping the meat underneath juicy.
Tip: Keep the heat low when frying the skin side to prevent the garlic in the marinade from burning. - 6Flip and sear the meat side
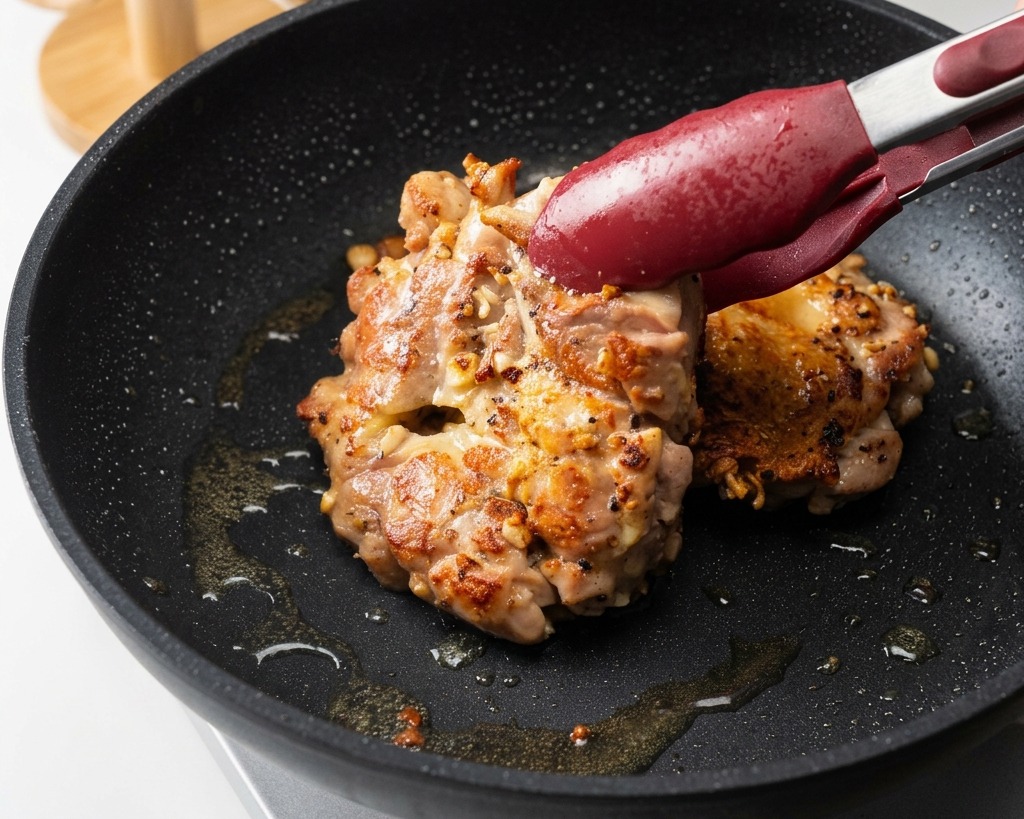
Once the skin side is beautifully browned and crisp, use tongs to flip the chicken thighs. Sear the meat side over low heat for several minutes until the chicken is nearly cooked through.
Tip: Frying skin-side down first on low heat allows the fat to melt away naturally, which helps achieve that signature crispy texture without overcooking the meat. - 7Add the teriyaki sauce
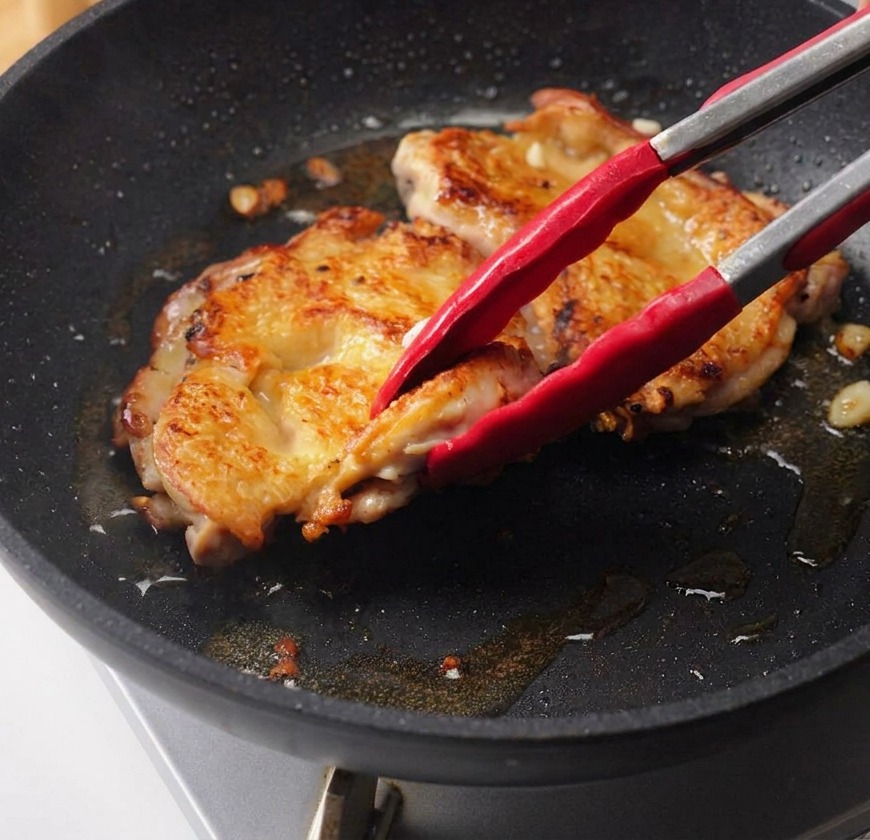
Pour the teriyaki sauce directly over the chicken thighs in the pan. The sauce should begin to bubble immediately as it hits the hot surface, starting the glazing process.
Tip: Lower the heat before adding the sauce to ensure it reduces into a glaze without scorching or becoming bitter. - 8Baste and glaze
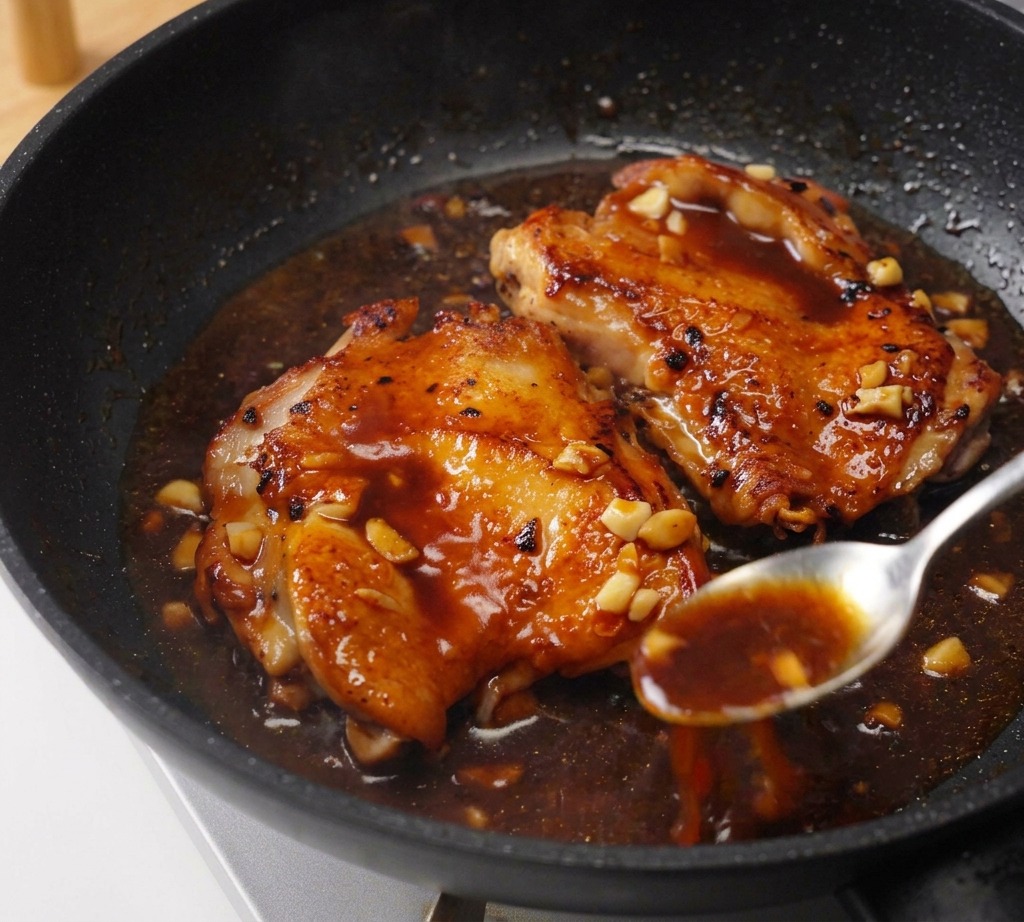
As the sauce simmers and reduces, use a spoon to repeatedly baste the liquid over the chicken. This builds a thick, glossy, and flavorful coating on the meat.
Tip: Keep the heat low during this step to prevent the sugars in the sauce from burning while you develop the glossy coating. - 9Slice the chicken
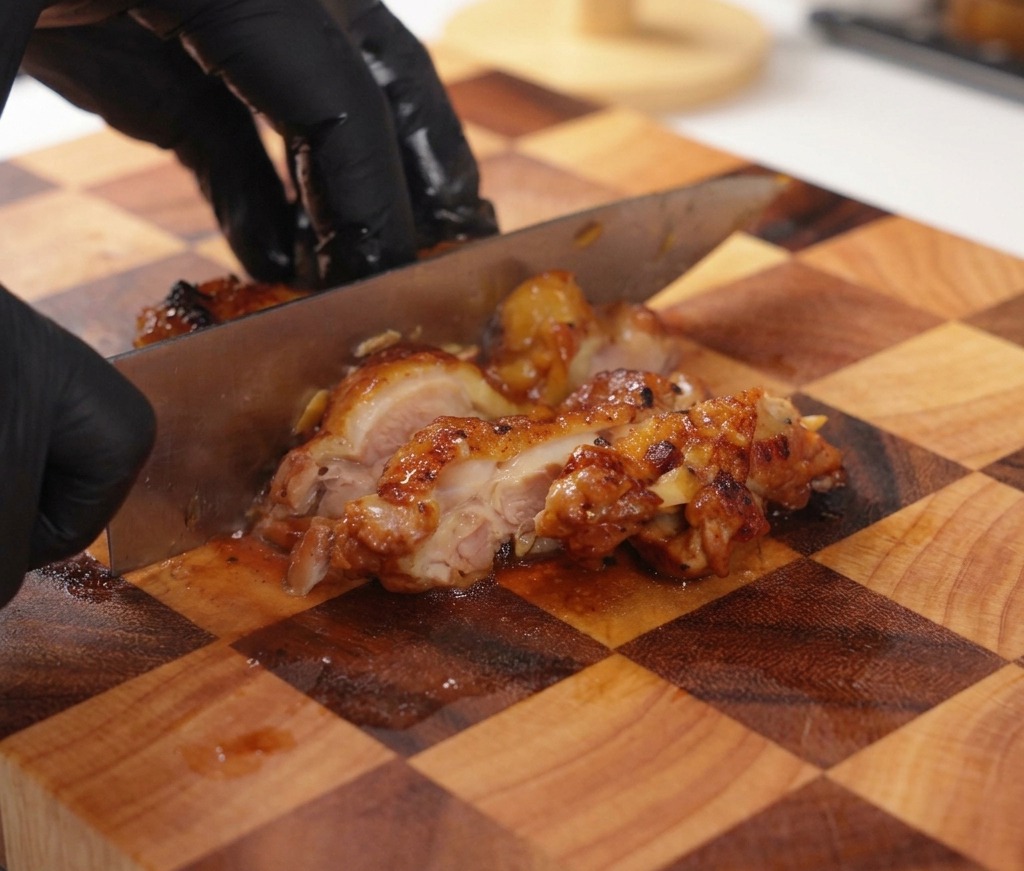
Move the glazed chicken thighs to a cutting board and slice them into even, bite-sized strips. The meat should be tender and juicy, with the thickened teriyaki sauce forming a beautiful, glossy coating on the outside of each piece.
Tip: Let the chicken rest for a minute before slicing to allow the juices to settle, which keeps the meat moist and tender.