Classic Japanese Oyakodon (Chicken
Egg Rice Bowl)
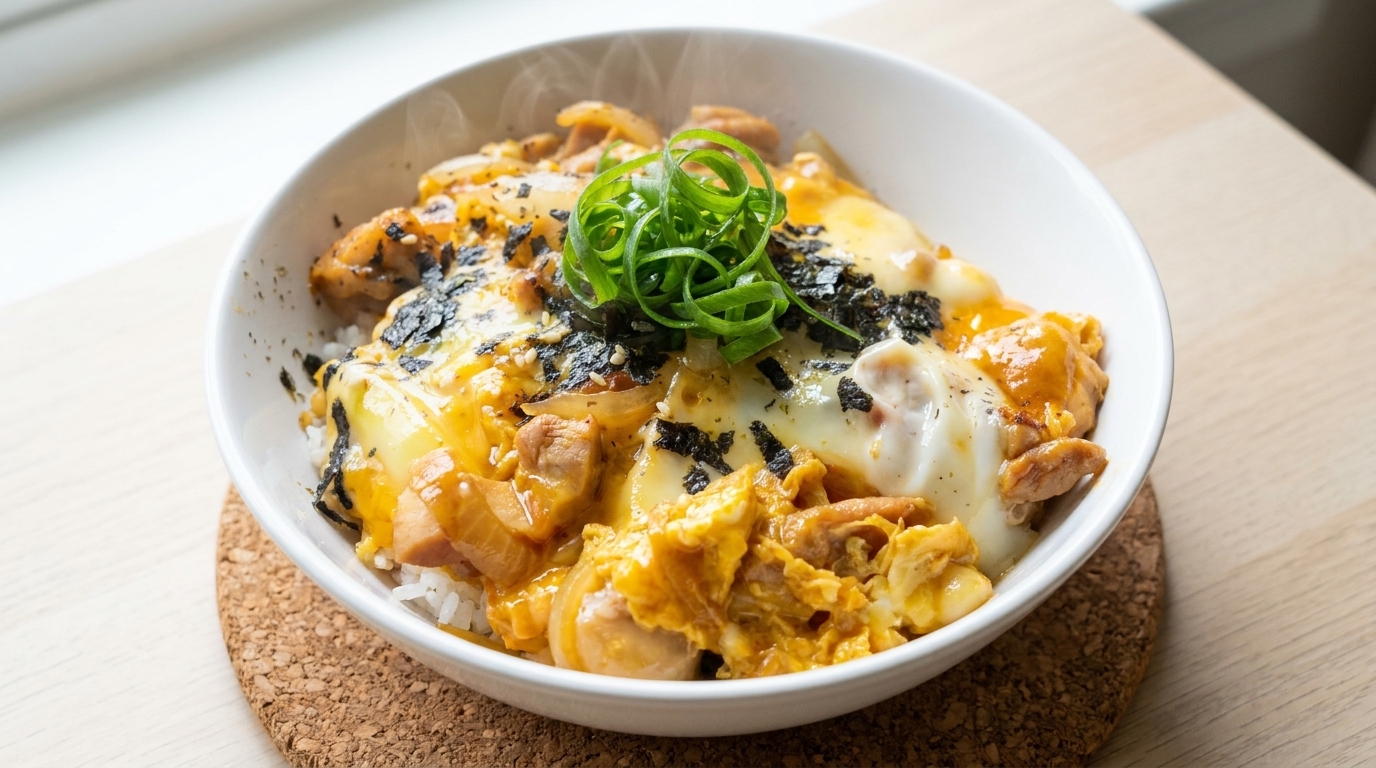
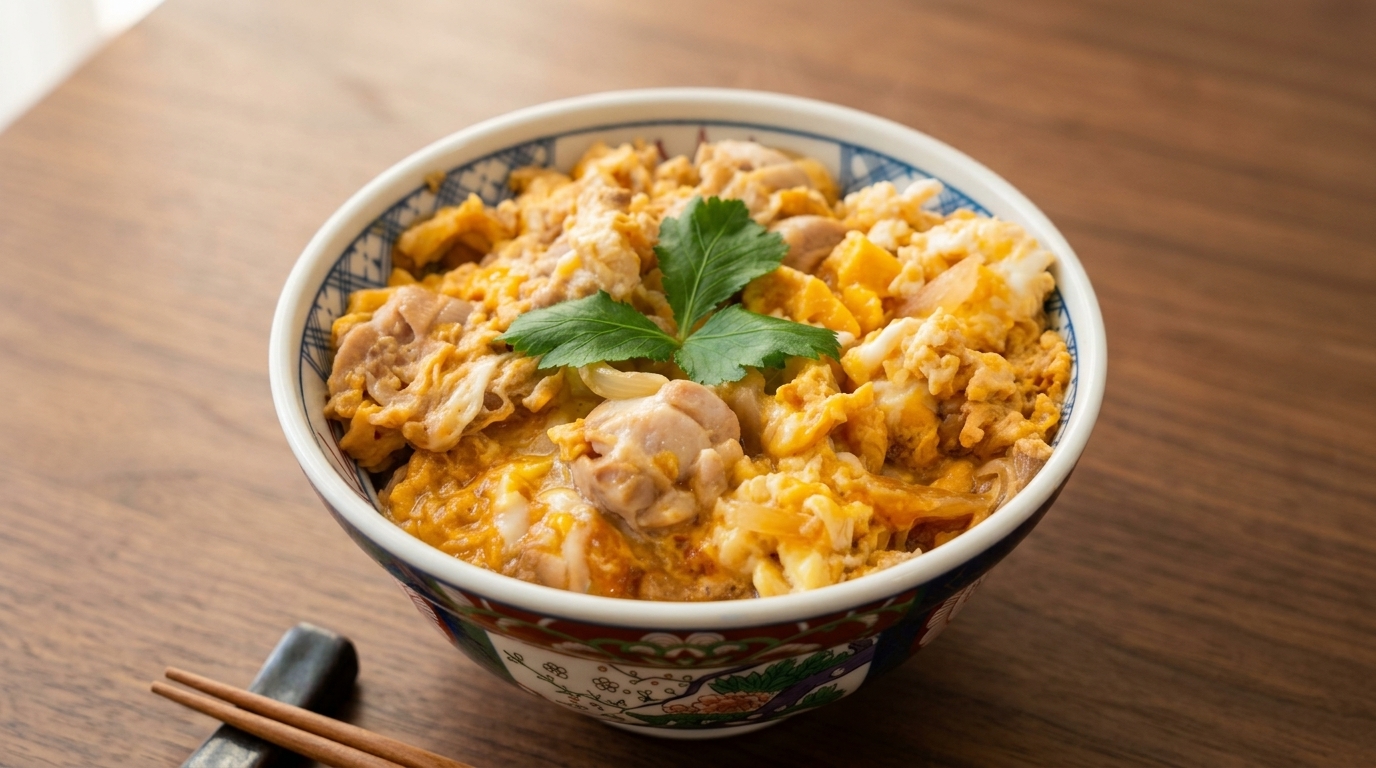
Experience the ultimate Japanese comfort food with this Oyakodon—tender seared chicken thighs and silky, semi-set eggs simmered in a sweet-savory dashi broth.
Oyakodon translates to parent and child bowl and is a classic Japanese donburi dish featuring chicken and egg simmered together. Originating in Tokyo in the late 19th century, it is prized for its simplicity and the beautiful custard like texture of the eggs.
Ingredients
- 2 chicken thighs, boneless
- 3 large eggs
- 12 onion
- 20 g mirin
- 10 g sake
- 10 g soy sauce
- 8 g sugar
- 100 ml chicken broth or dashi
- to taste black pepper
- 1 tbsp cooking oil
- 1 bowl steamed white rice
- optional chopped green onions
- to taste toasted sesame seeds
Instructions
- 1Debone the chicken thighs
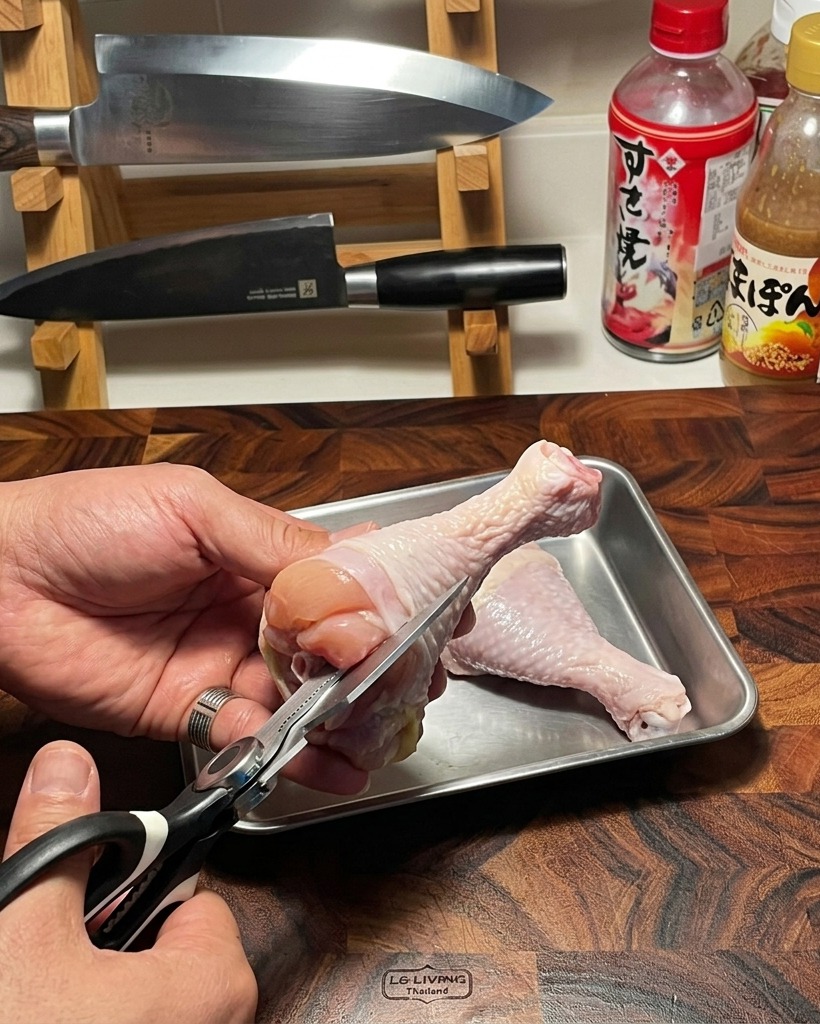
Begin by removing the bone from the raw chicken thighs. Using sharp kitchen scissors, carefully cut along the bone to separate it from the meat. Removing the bone ensures the chicken cooks evenly and is much easier to eat in the final dish.
Tip: If you find the scissors slipping, use a paper towel to grip the meat or bone more firmly for better control. - 2Season the chicken
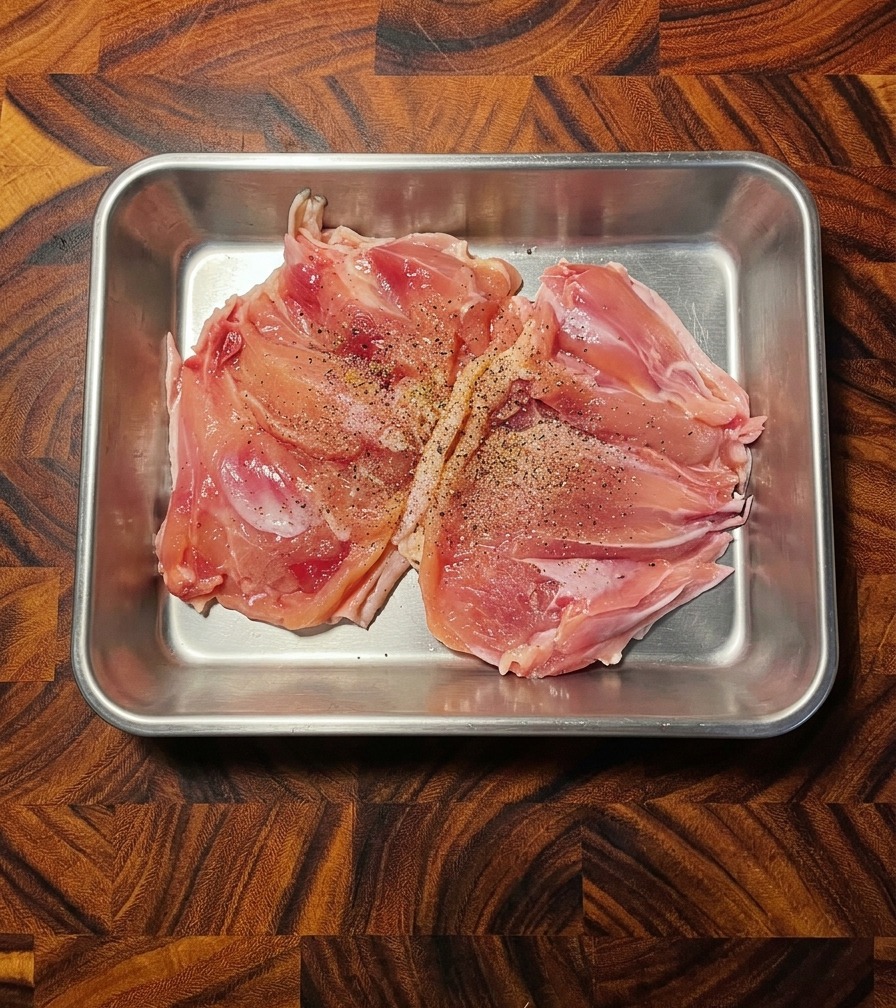
Lay the deboned chicken thighs flat in a tray. Season them evenly with a generous amount of freshly cracked black pepper and a splash of soy sauce. This initial seasoning helps build a savory base layer of flavor within the meat.
Tip: Freshly ground black pepper provides a much more vibrant aroma than pre-ground pepper. - 3Marinate the meat
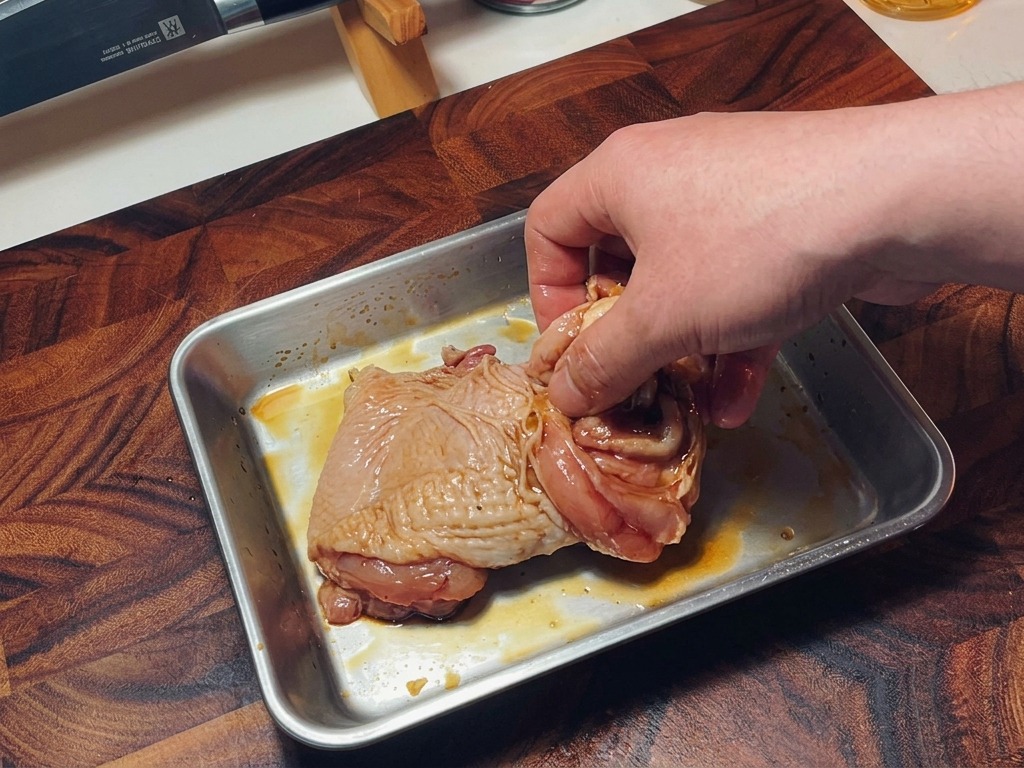
Using your hands, massage the seasonings into the chicken thighs until every part is thoroughly coated. Allow the chicken to marinate for approximately 10 minutes; this short rest ensures the soy sauce and pepper penetrate the meat for a deeper flavor profile.
Tip: If you have time, marinating for up to 30 minutes in the fridge will result in even more tender chicken. - 4Prepare the onion
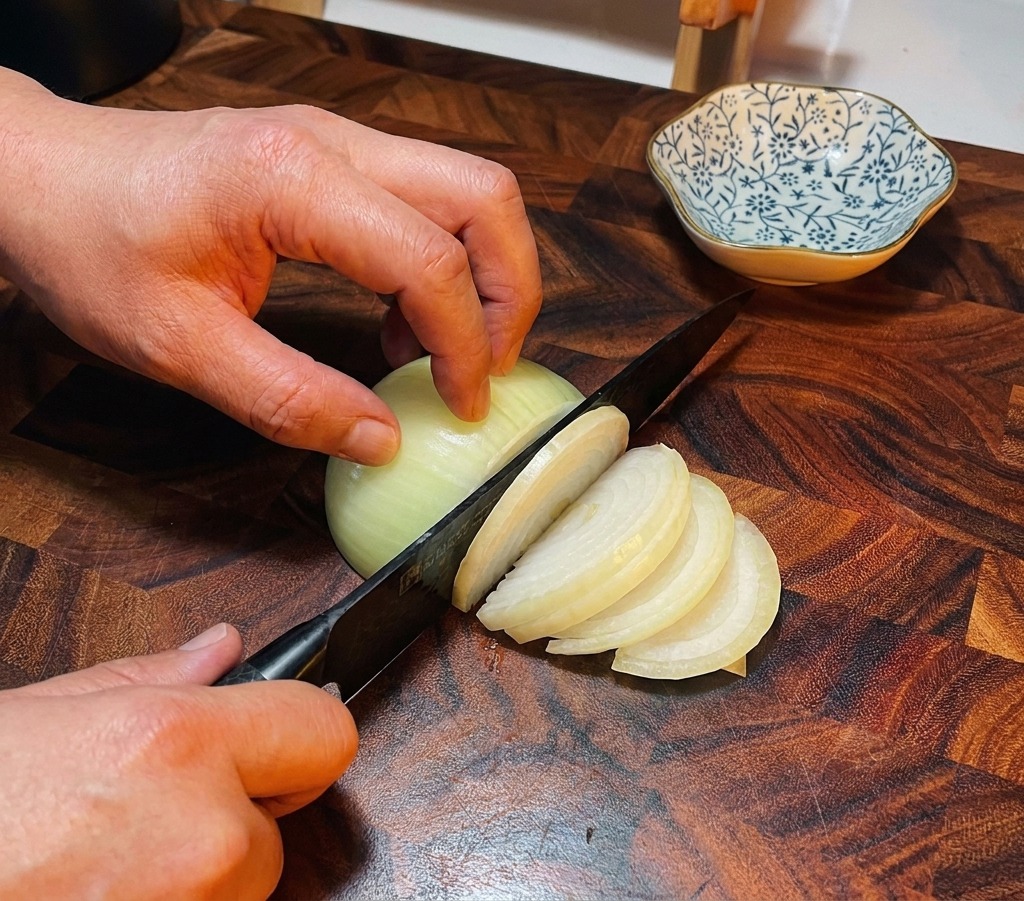
Take half of a yellow onion and slice it into thin half-moons. Consistent, thin slices are crucial as they will sauté more evenly and eventually melt into a sweet, tender component of the Oyakodon sauce.
Tip: To prevent your eyes from watering, use a very sharp knife to minimize the release of onion vapors. - 5Lightly beat the eggs
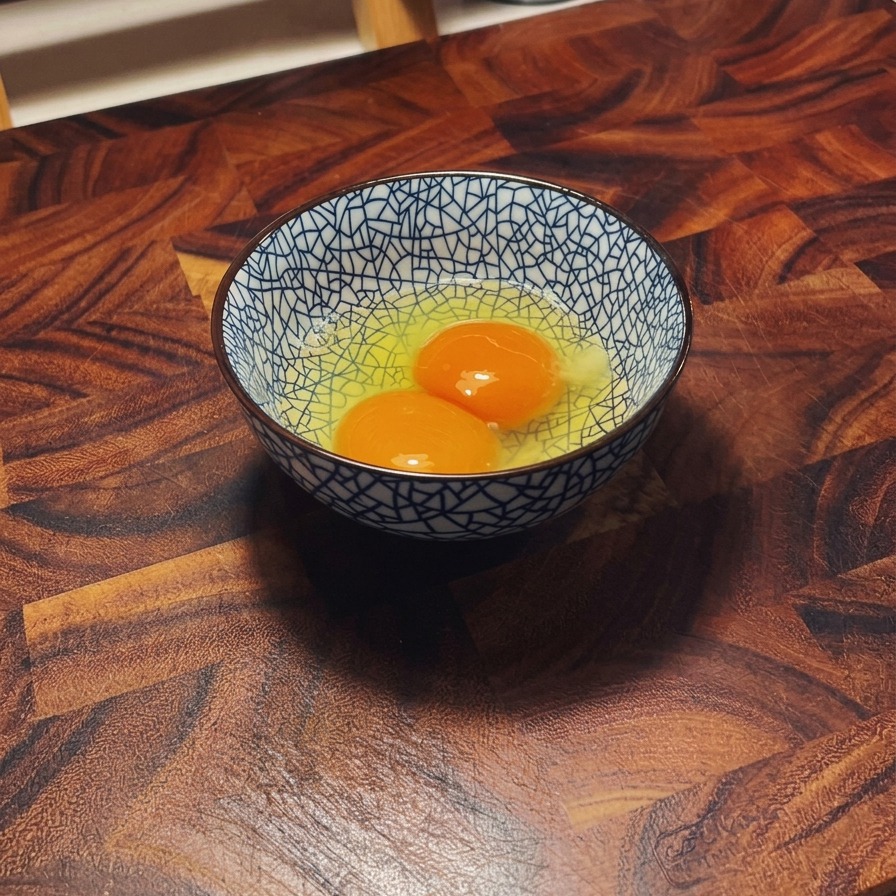
Crack two fresh eggs into a small ceramic bowl. Use chopsticks to lightly break the yolks and stir a few times. For a traditional Oyakodon, the eggs should not be fully homogenized; having distinct streaks of white and yellow creates a beautiful texture once cooked.
Tip: Be careful not to over-whisk; the goal is a marbled look, not a uniform yellow liquid. - 6Whisk the sauce ingredients
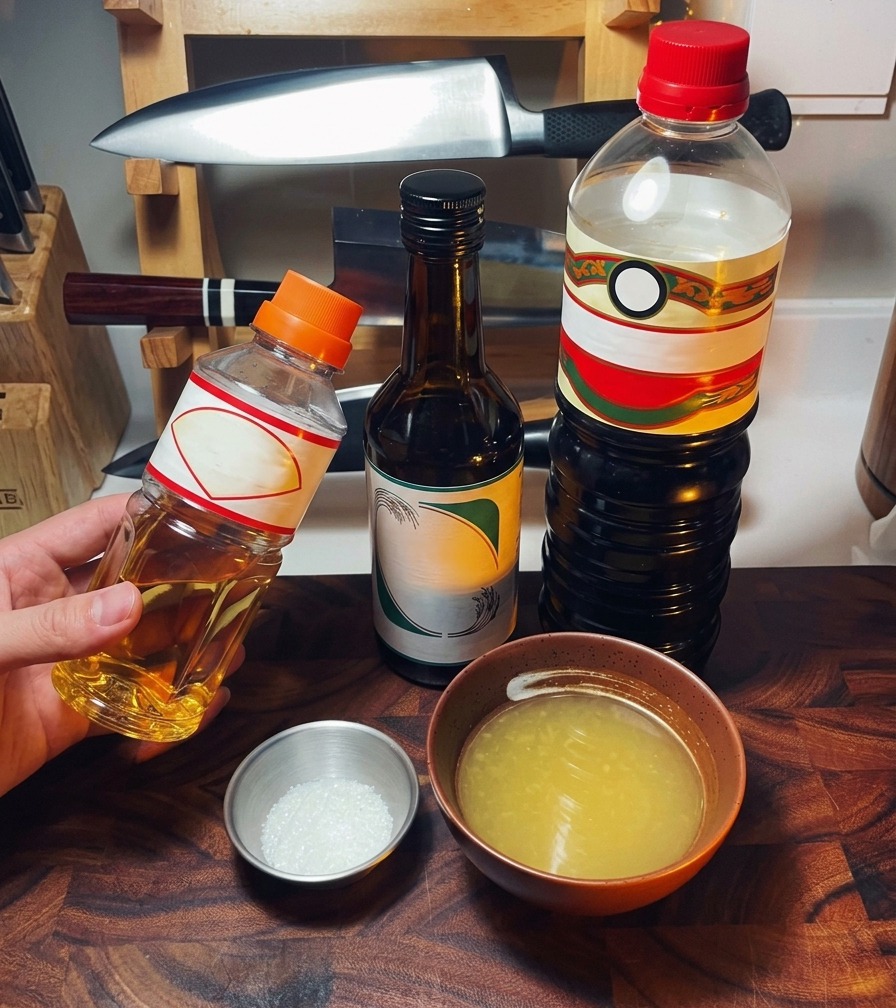
In a small bowl, combine the mirin, sake, soy sauce, sugar, and chicken broth. Stir well until the sugar is fully dissolved. Preparing this mixture beforehand ensures the chicken doesnt overcook while you measure ingredients later.
Tip: If you prefer a more traditional Japanese flavor, you can replace the chicken broth with dashi stock. - 7Sear the chicken skin side down
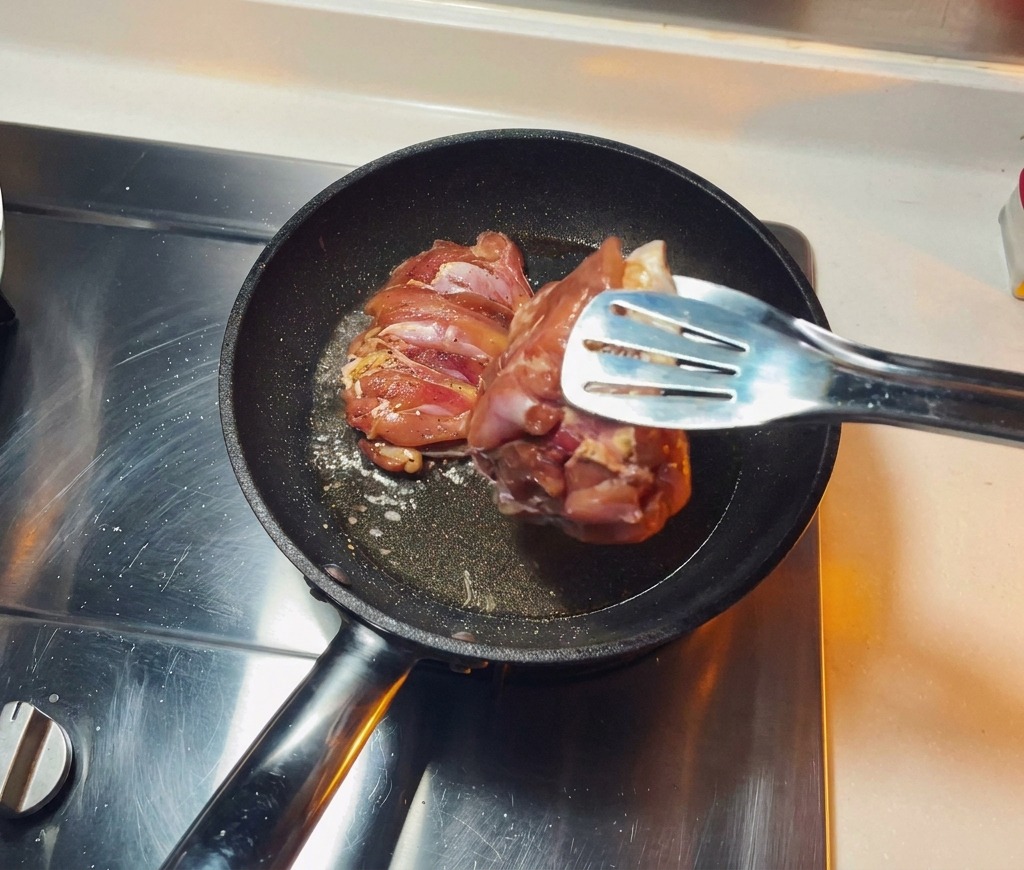
Heat a small amount of oil in a pan over medium heat. Place the marinated chicken thighs into the pan skin side down. Searing the skin first renders out the fat and creates a delicious golden brown crust that adds essential texture to the Oyakodon.
Tip: Avoid overcrowding the pan and sear in batches if necessary to ensure the skin gets properly crispy rather than steaming. - 8Brown both sides
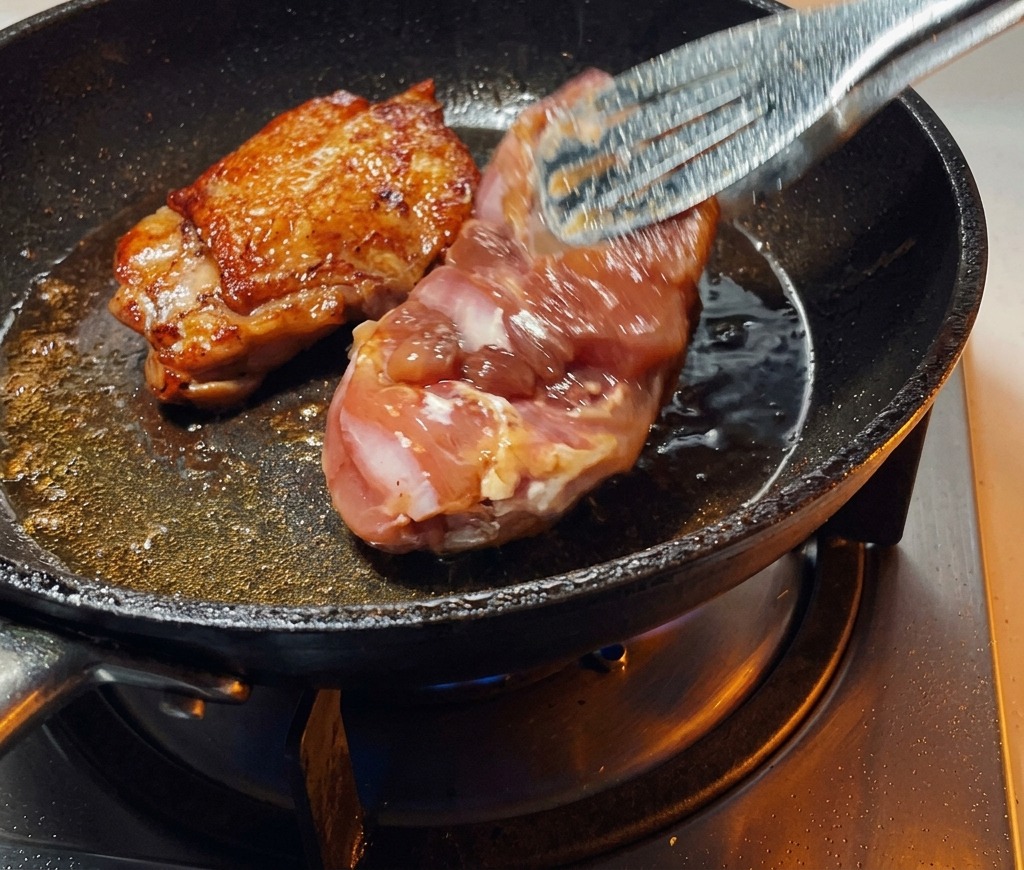
Once the skin is golden and crispy, use tongs to flip the chicken thighs over. Sear the other side until it is also browned. This partial cooking process locks in the juices before the chicken is sliced and simmered later in the sauce.
Tip: Aim for a deep golden color; this Maillard reaction is key to building the savory flavor profile of the meat. - 9Cut into bite-sized pieces
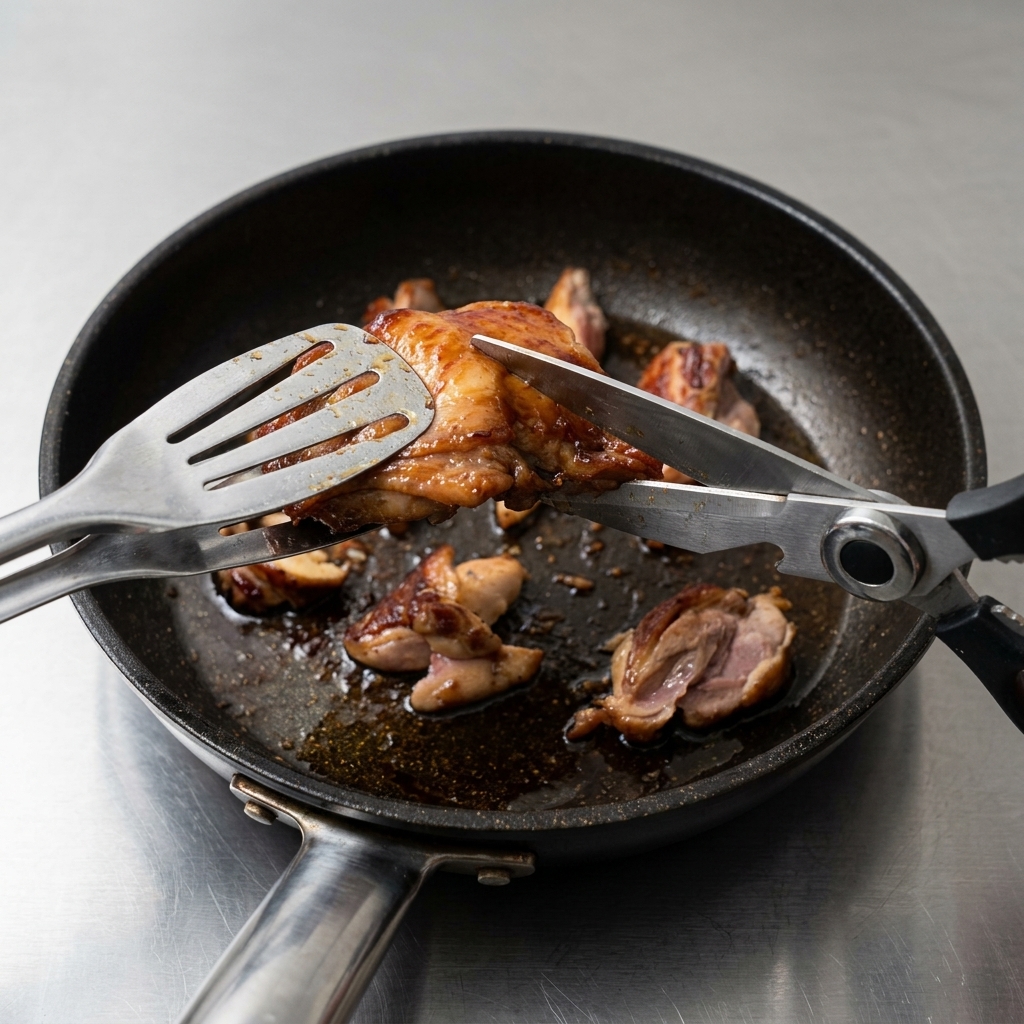
While the chicken is still in the pan, use kitchen scissors to cut the partially cooked thighs into small, bite-sized pieces. This technique is faster than using a knife and board and keeps all the flavorful juices within the pan to season the meat.
Tip: Ensure the pieces are relatively uniform in size so they finish cooking at the same time during the final simmering stage. - 10Sauté the onions
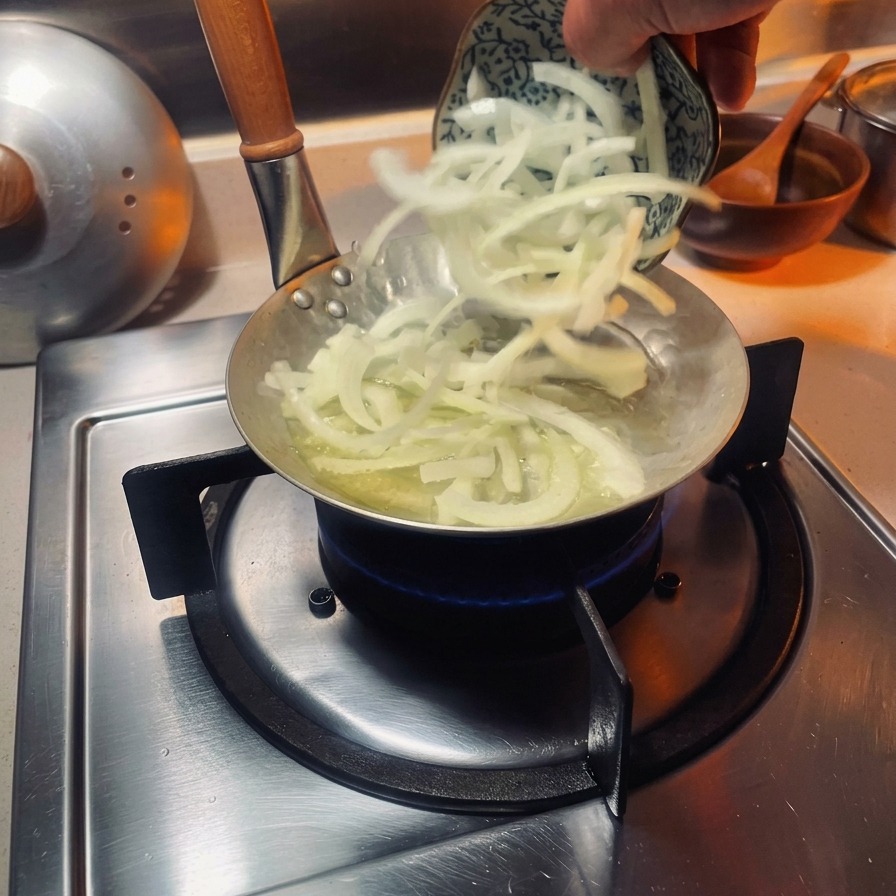
In a separate, smaller frying pan (traditionally an oyakodon pan), add a little oil and the sliced onions. Sauté over low heat, stirring occasionally, until the onions become soft and translucent. This creates a sweet, aromatic base for the dish.
Tip: Sautéing on low heat prevents the onions from browning too much, which keeps the final sauce clear and emphasizes their natural sweetness. - 11Add chicken to the onions
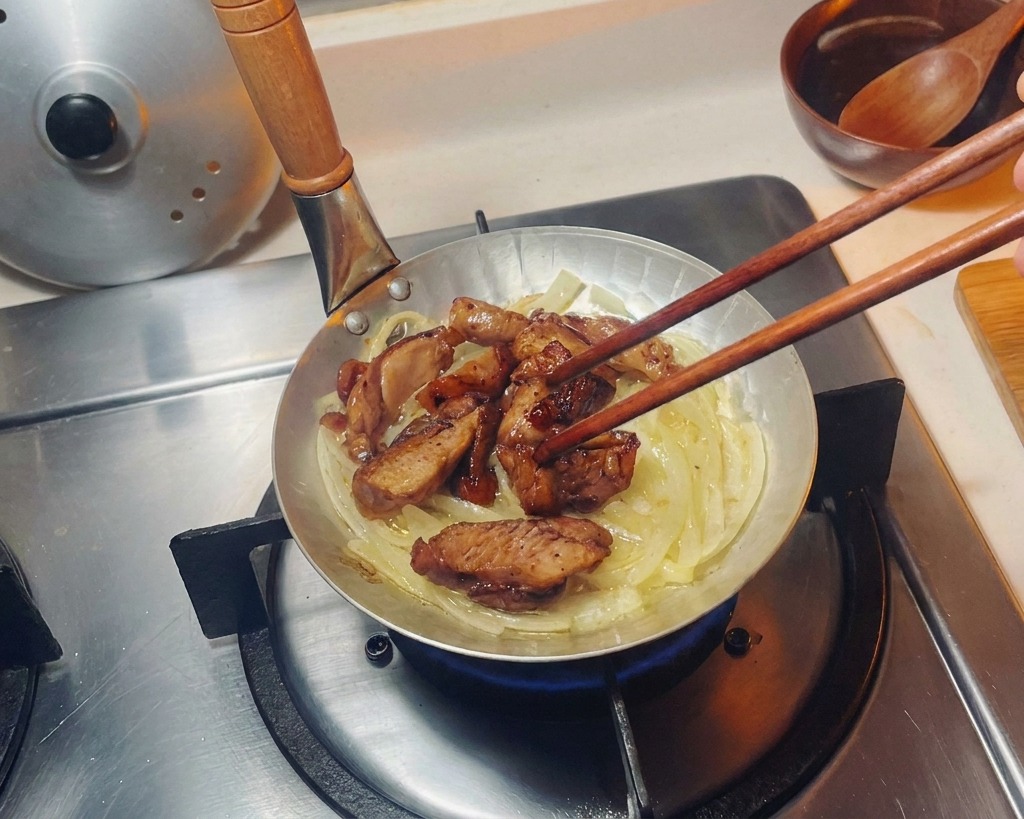
Once the onions have softened, place the seared chicken pieces on top of them in the small pan. Distribute the chicken evenly across the onions to ensure every bite of the final dish has a perfect balance of meat and onion flavor.
Tip: Try to arrange the chicken skin-side up if possible to help maintain some of that crispy texture while the meat simmers in the sauce. - 12Add the sauce
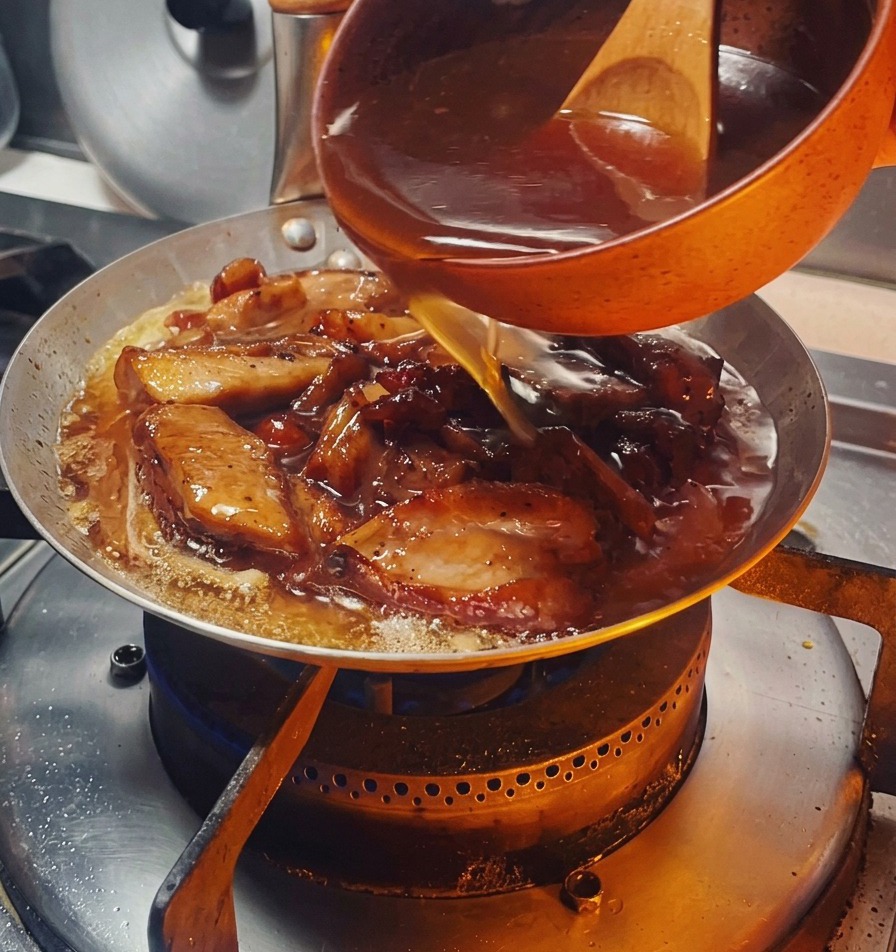
Pour the prepared sauce mixture which is a blend of mirin, sake, soy sauce, sugar, and chicken broth over the seared chicken and softened onions. This savory liquid will form the base of the rich and flavorful profile of this dish.
Tip: Distribute the chicken pieces evenly in the pan before pouring to ensure every piece is submerged and flavored. - 13Simmer to infuse flavors
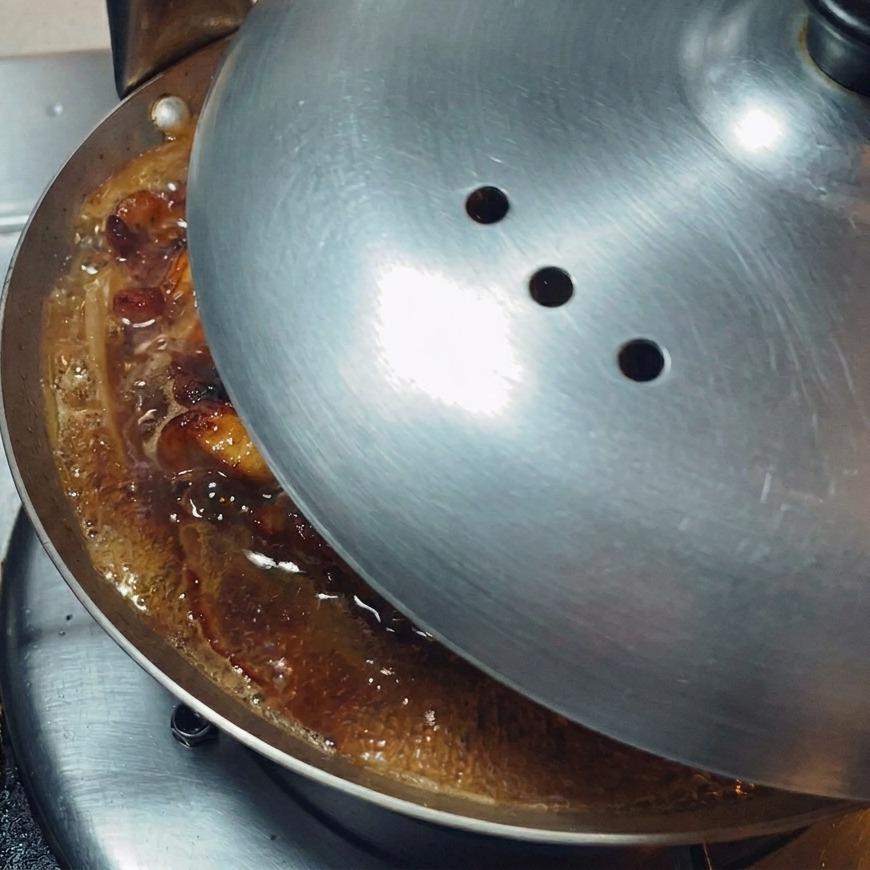
Cover the pan with a lid and allow the chicken and onions to simmer in the sauce over low heat for about 3 minutes. This step ensures the chicken is fully cooked through and has thoroughly absorbed the umami-rich sauce.
Tip: Keep the heat low during simmering to prevent the sauce from reducing too much or becoming overly salty. - 14Add the egg mixture
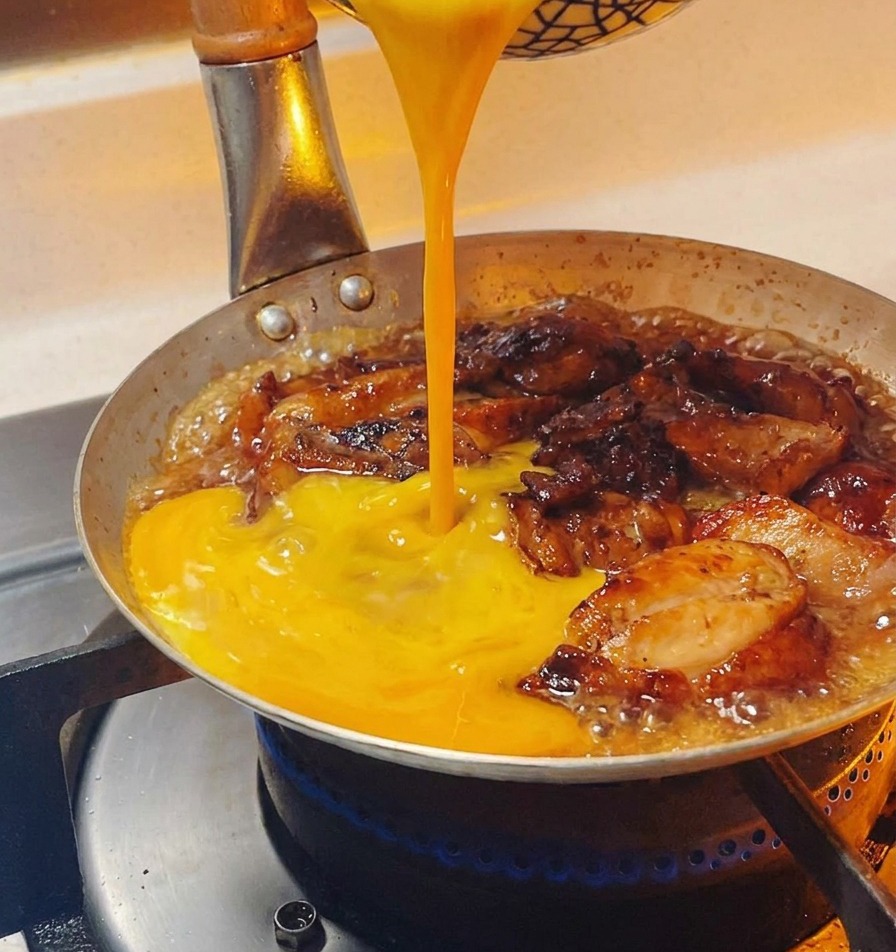
Slowly pour about two-thirds of the lightly beaten eggs over the simmering chicken in a circular motion. Let it set for about 30 seconds, then pour the remaining egg over the top. This two-stage method creates the perfect contrast between set and silky egg textures.
Tip: Beat the eggs only lightly; you want to see distinct streaks of white and yolk for a more traditional look and varied texture. - 15Cook until semi set
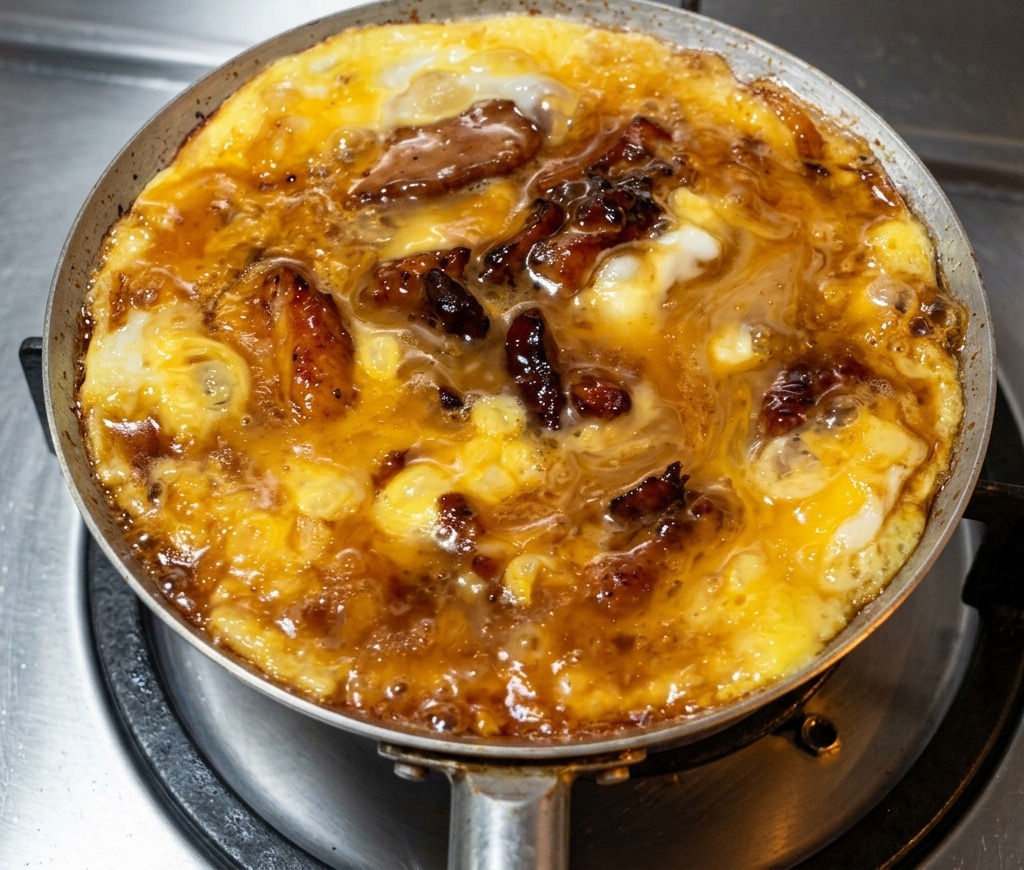
Gently shake the pan over the burner as the eggs cook. You are looking for a semi set state where the bottom is firm but the top remains soft, glossy, and slightly runny.
Tip: Residual heat will continue to cook the eggs even after you turn off the stove so remove it from the heat while it still looks a bit wet. - 16Serve over rice
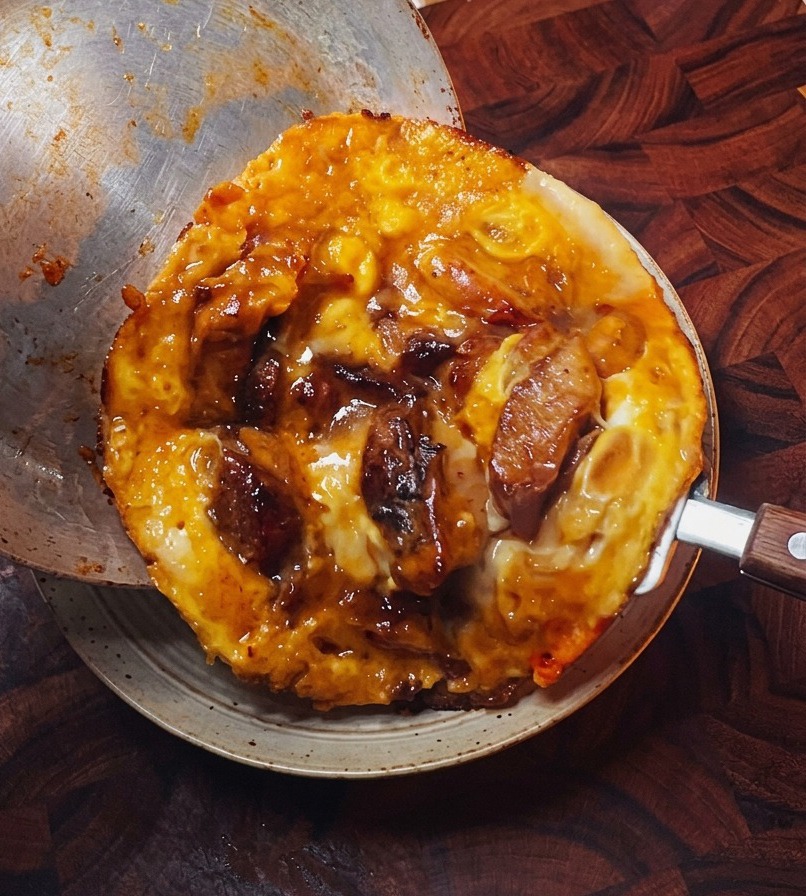
Tilt the pan and carefully slide the tender chicken and egg mixture onto a waiting bowl of steamed white rice. The flavorful sauce will seep into the rice, making every bite delicious.
Tip: Use a gentle sliding motion to keep the egg layer intact as it moves from the pan to the bowl.