Classic Japanese Oyakodon (Chicken
Egg Rice Bowl)
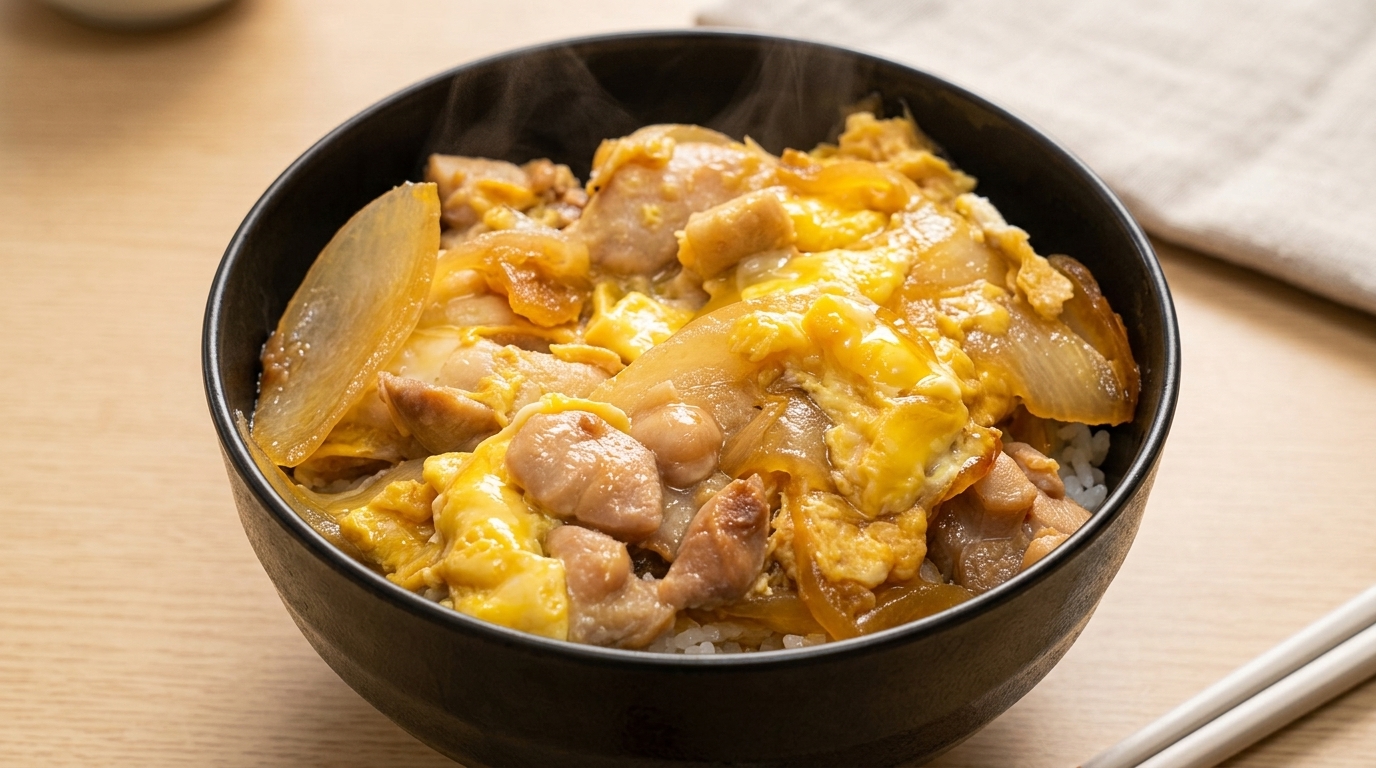
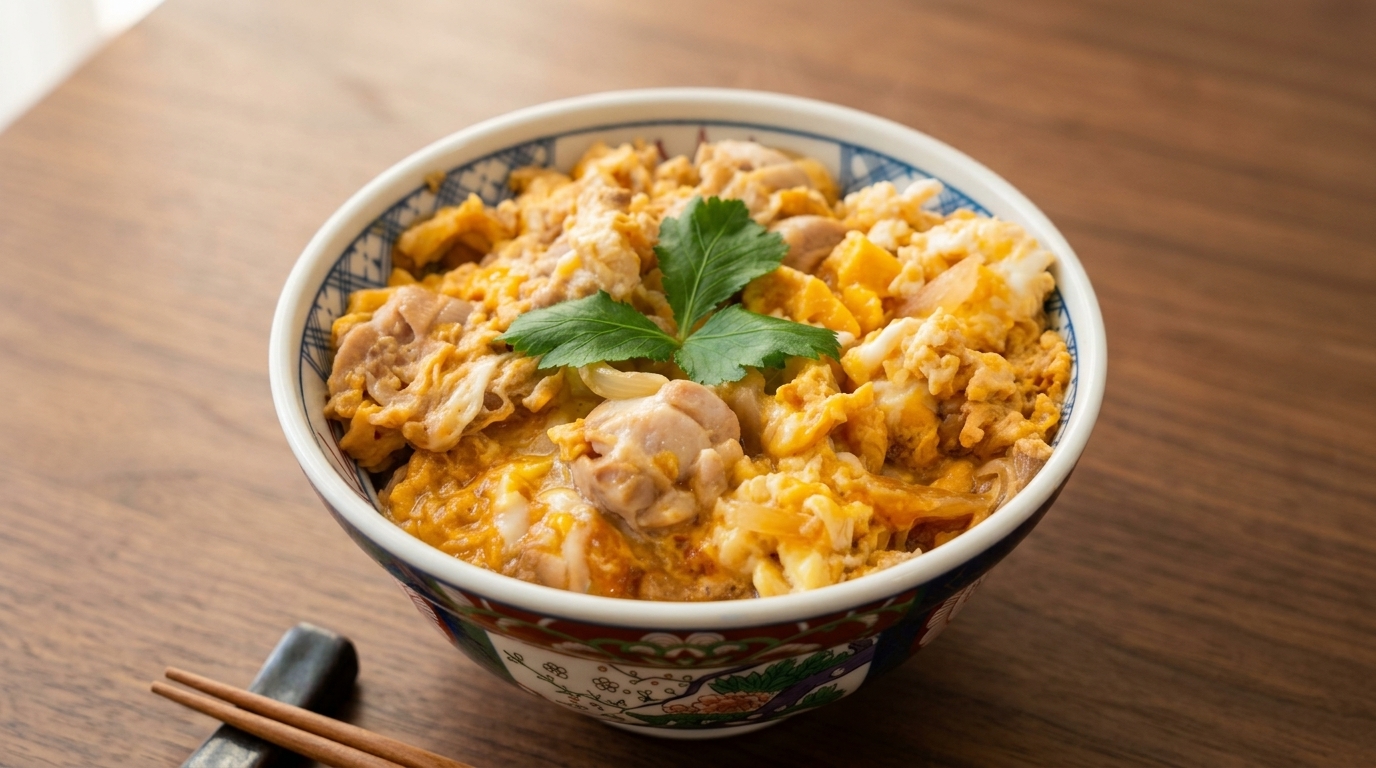
Experience the comforting harmony of dashi-simmered chicken and silky, soft-set eggs served over steaming rice in this quintessential Japanese soul food classic.
Oyakodon literally translates to parent and child bowl, a poetic nod to the chicken and egg that form its heart. This home-cooking staple relies on a delicate balance of sweet mirin and savory dashi, finished with a signature two-pour egg technique that ensures a custardy, melt-in-your-mouth texture.
Ingredients
- 250 g chicken thigh meat
- 12 white onion
- 3 large eggs
- 150 ml water
- 2 tbsp sake
- 2 tbsp soy sauce
- 2 tbsp mirin
- 1 tbsp sugar
- 12 tsp dashi powder
- 1 bowl steamed white rice
- optional mitsuba or scallions
Instructions
- 1Slice the onion
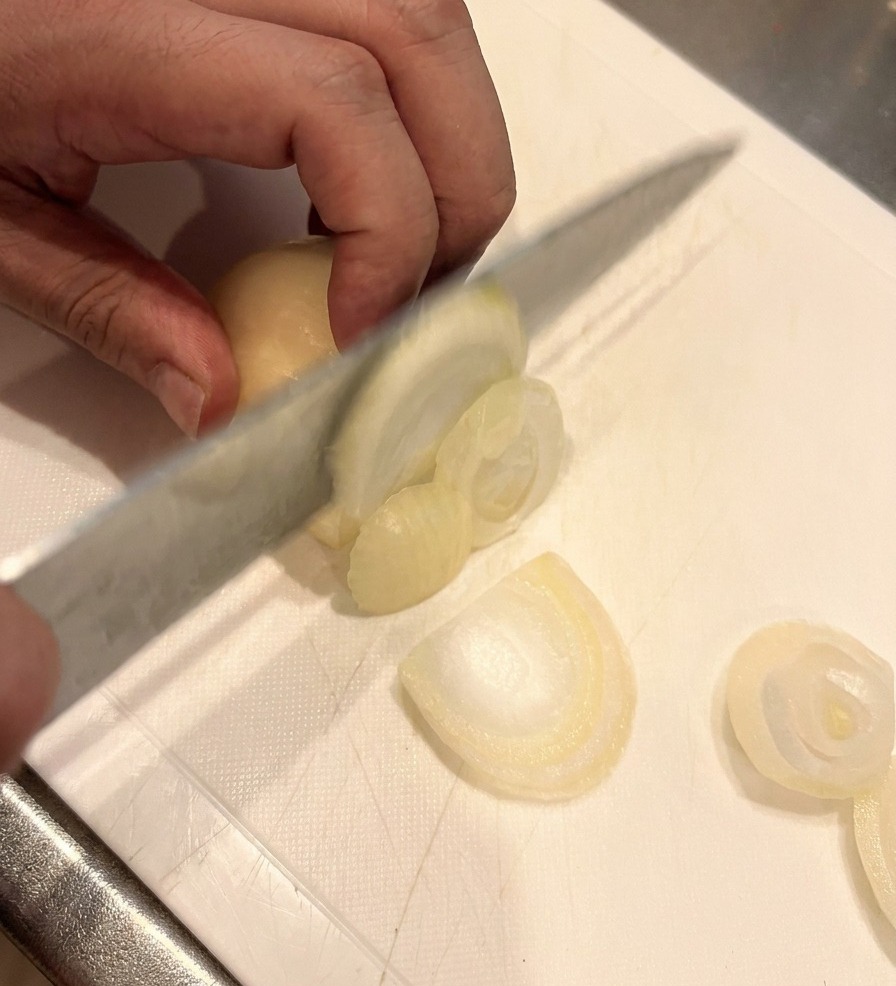
Prepare the white onion by slicing it into thin, even segments. These thin slices will soften and caramelize slightly as they simmer, providing a sweet aromatic base for the Oyakodon sauce.
Tip: Slice from pole to pole (root to tip) for onion pieces that maintain a better texture in the sauce. - 2Cut the chicken
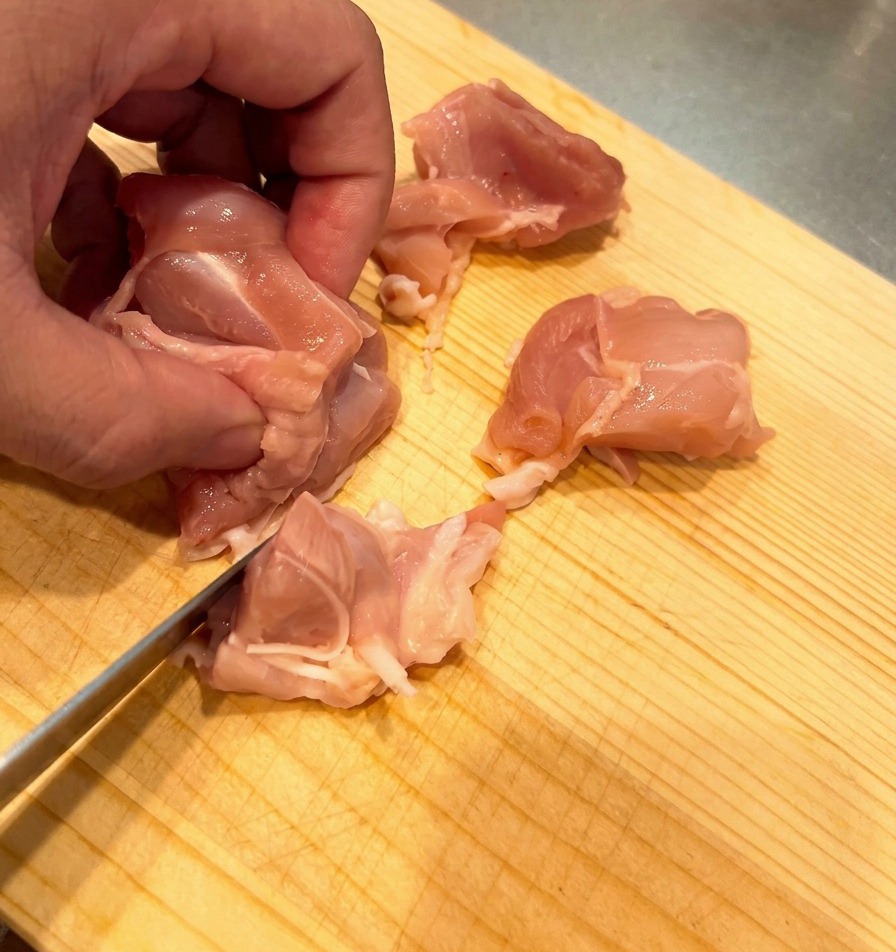
Take the chicken thigh meat and cut it into small, bite-sized pieces. Using thigh meat instead of breast meat ensures the dish remains juicy and tender after being simmered.
Tip: Try to keep the chicken pieces uniform in size so they cook through consistently. - 3Beat the eggs
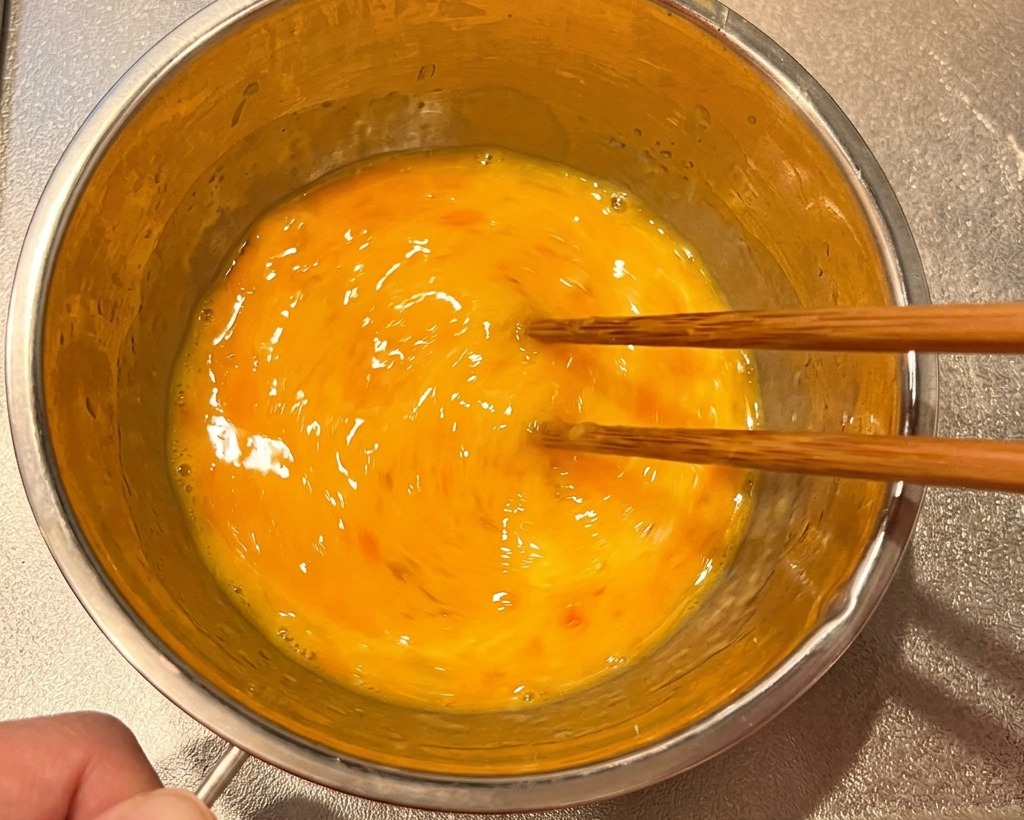
Crack three eggs into a stainless steel bowl and beat them gently using chopsticks. Aim for a light mix where the yolks and whites are combined but still show some distinct streaks. This technique ensures a beautiful, marbled texture in the final dish rather than a uniform omelet style.
Tip: Avoid over-whisking; a gentle, brief beating is all you need for a traditional, fluffy Oyakodon texture. - 4Prepare the sauce base
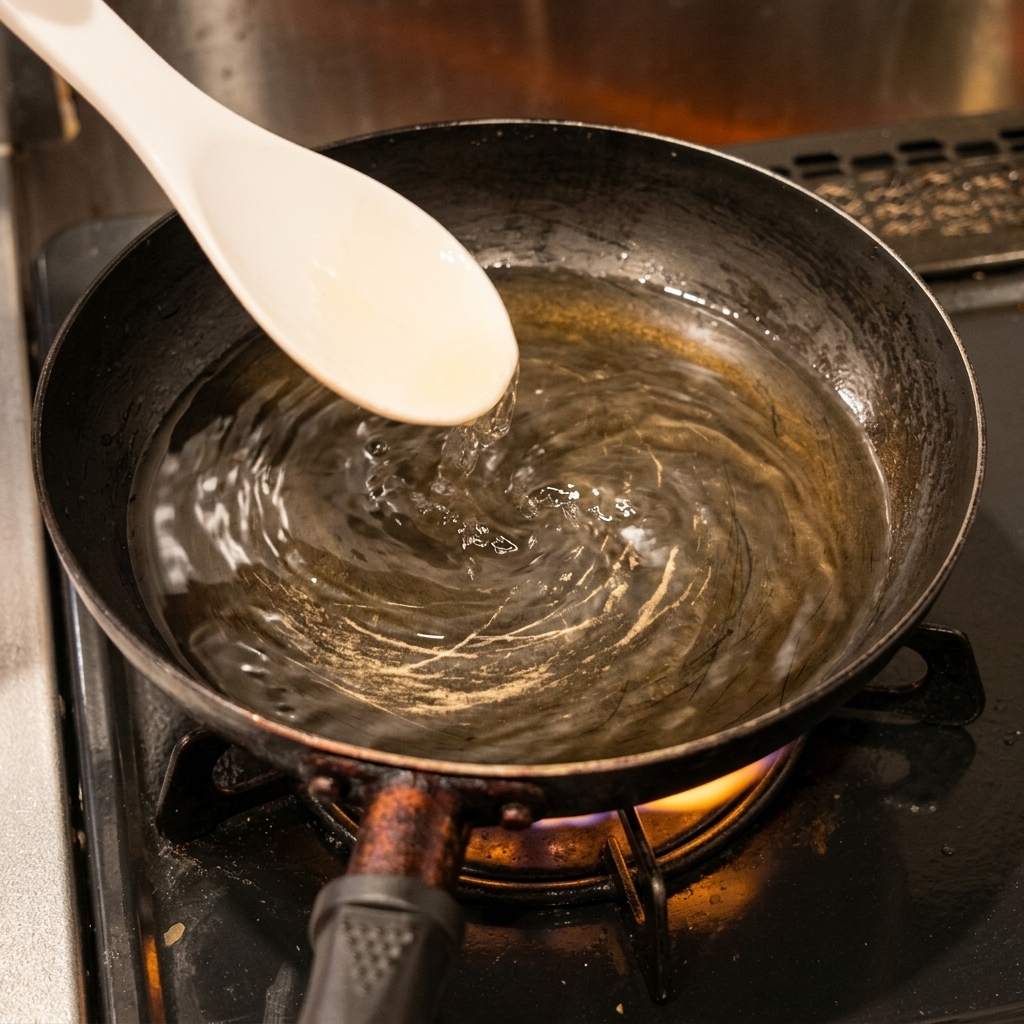
In a small frying pan, combine water with the seasonings: sake, soy sauce, mirin, sugar, and a pinch of dashi powder. Bring the mixture to a boil over medium heat, stirring to dissolve the dry ingredients.
Tip: Feel free to adjust the seasoning balance of sweet and salty by slightly changing the sugar or soy sauce amounts. - 5Simmer the chicken
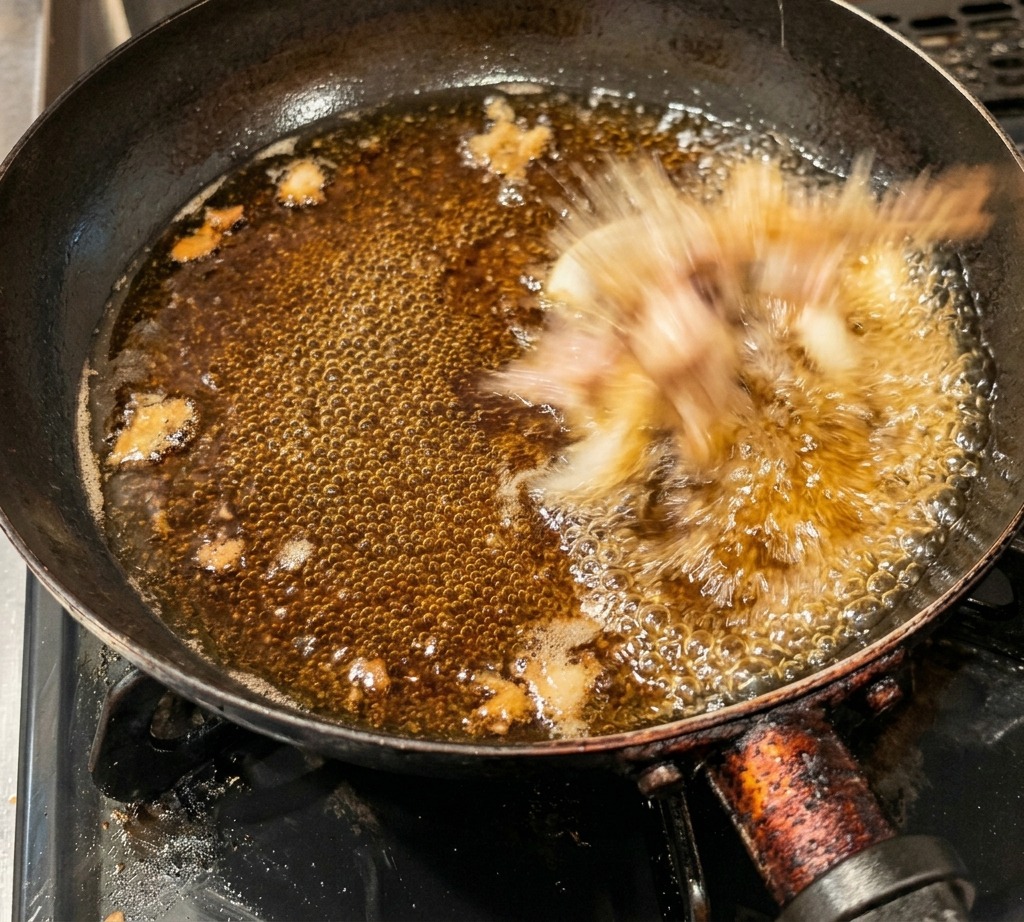
Add the raw chicken pieces to the boiling sauce, spreading them out to ensure even cooking.
Tip: Adding the chicken to a boiling sauce helps lock in the juices and ensures a tender result. - 6Add the onions
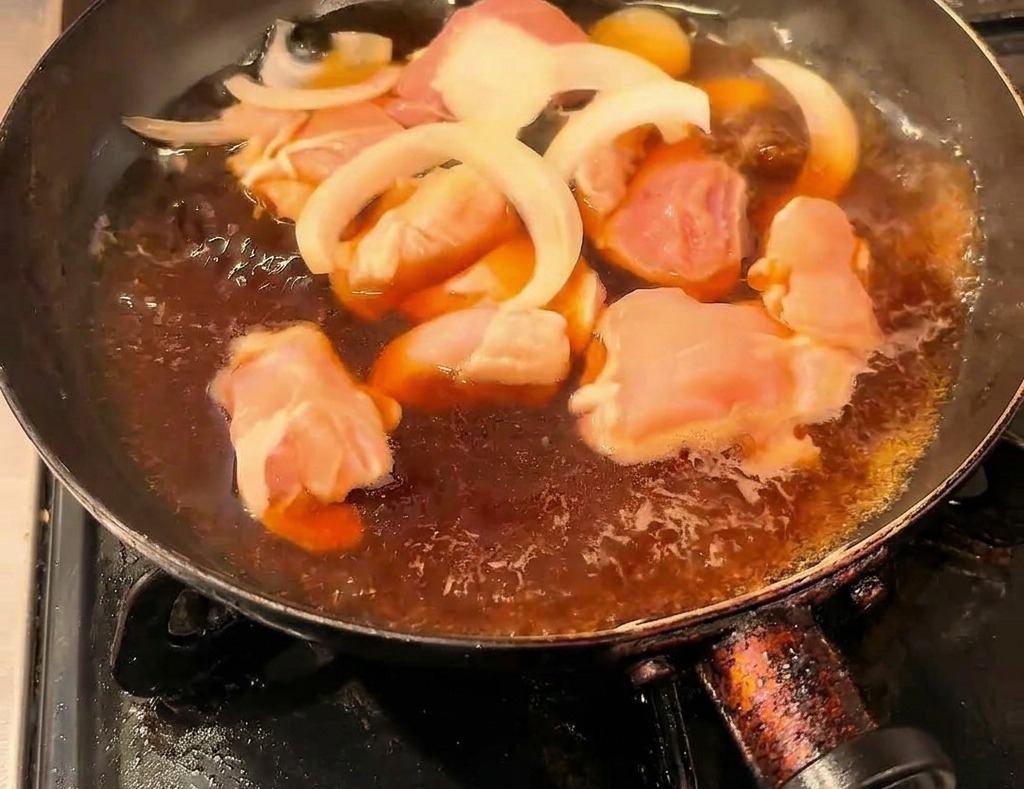
Add the sliced onions to the pan with the chicken. The onions will provide a sweet contrast to the savory dashi broth as they soften and absorb the liquid.
Tip: Maintain a medium heat to ensure the chicken stays tender and the onions soften without the sauce reducing too quickly. - 7Pour the first egg layer
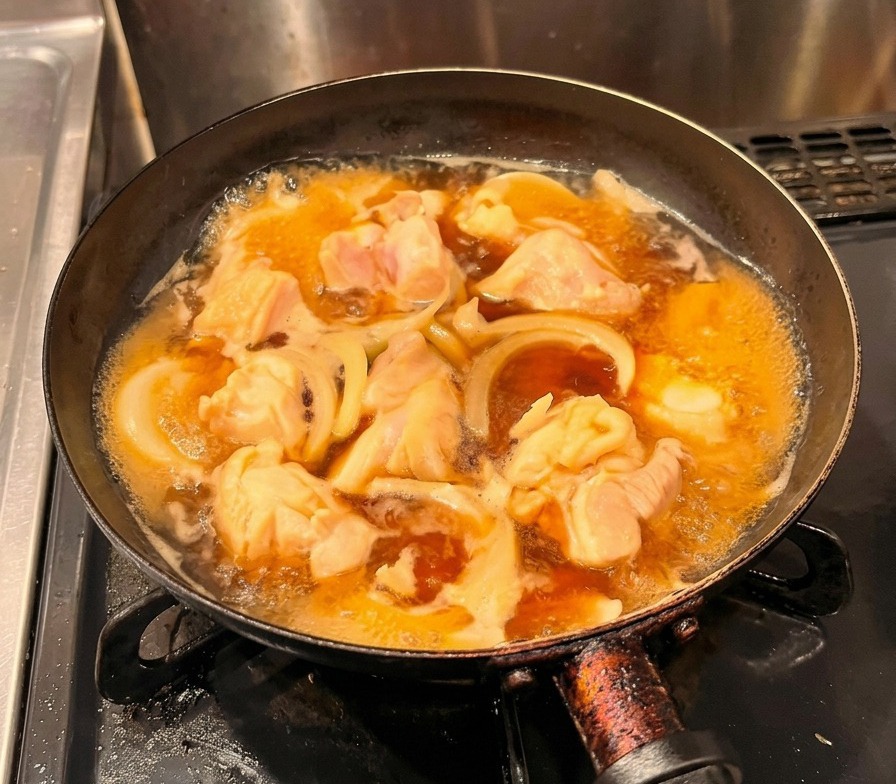
Slowly pour half of the beaten egg mixture over the simmering chicken and onions in a circular motion. This layer will act as the binder for the dish.
Tip: Keep the heat at a steady medium; a rolling boil might toughen the chicken, while a gentle simmer keeps it tender. - 8Cover and simmer
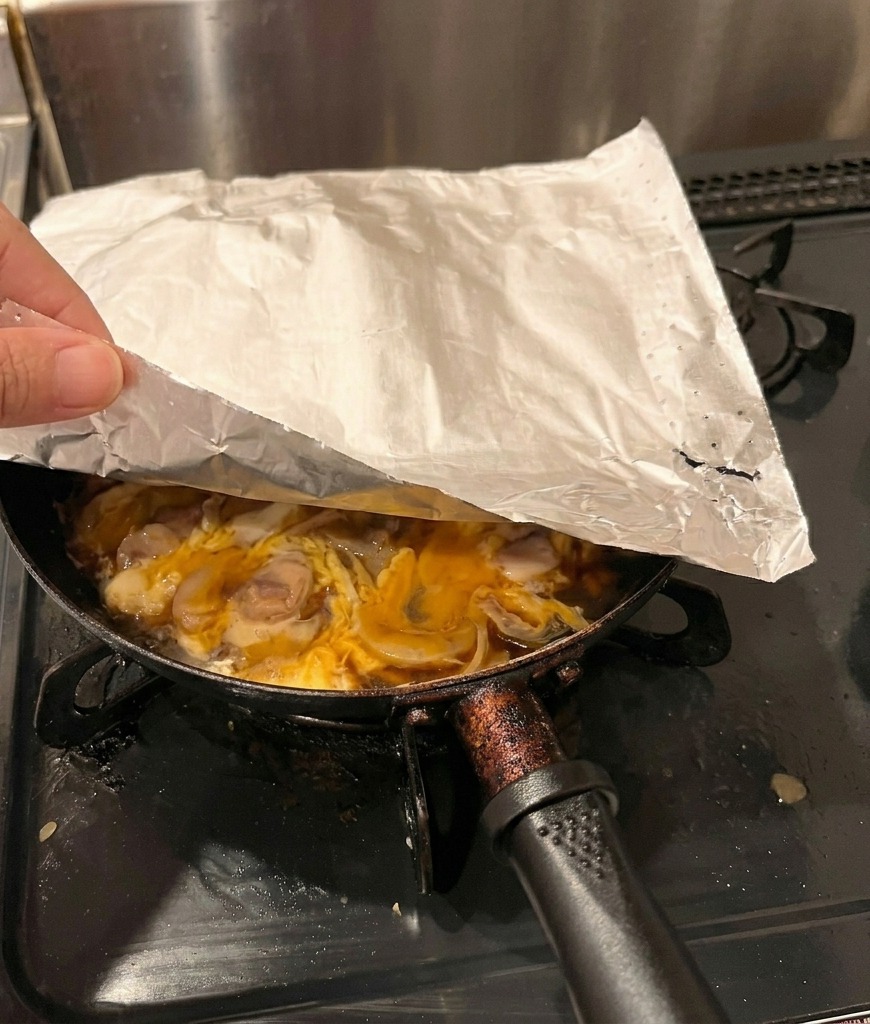
Cover the pan with a lid or parchment paper. Reduce the heat to low and simmer for 2 minutes, allowing the first layer of egg to set while remaining moist.
Tip: Using a parchment paper lid (otoshibuta) helps distribute the steam evenly across the surface of the eggs for a smoother texture. - 9Add the final egg layer
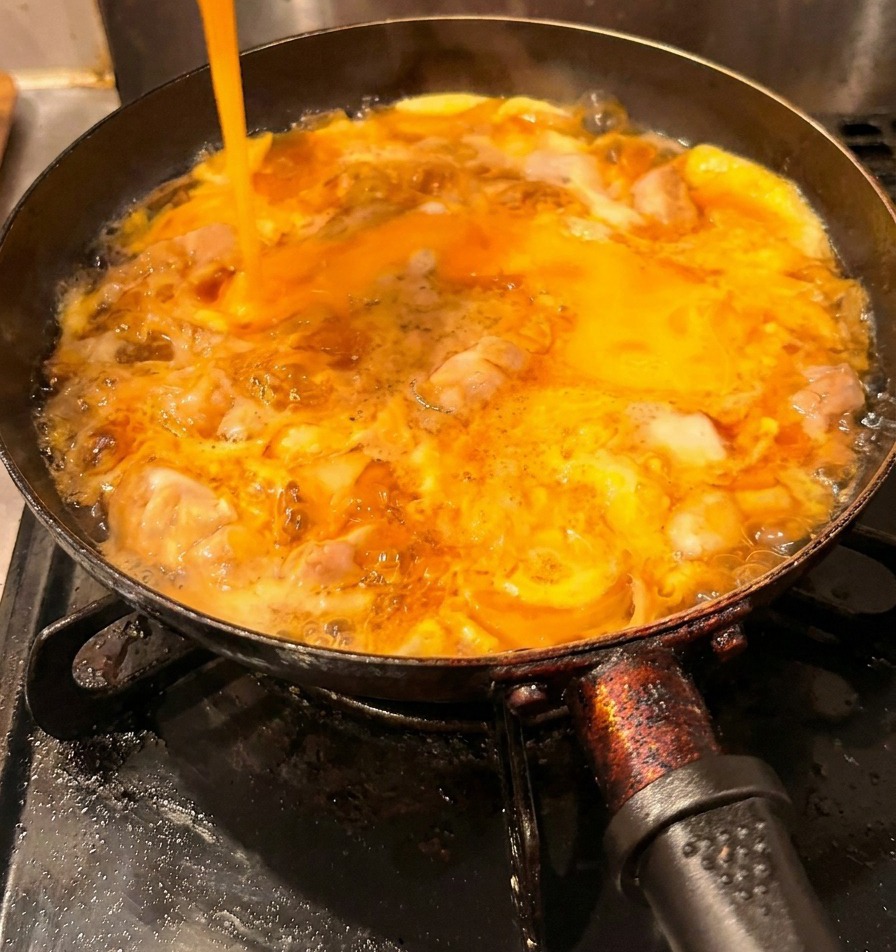
Remove the cover and pour the remaining half of the beaten eggs over the mixture. This two-step pouring method is essential for authentic Oyakodon, as it creates a beautiful contrast between the fully cooked base and the creamy, soft-set top layer.
Tip: Pour the second batch of egg more slowly than the first to ensure even coverage without breaking the bottom layer. - 10Final steam and serve
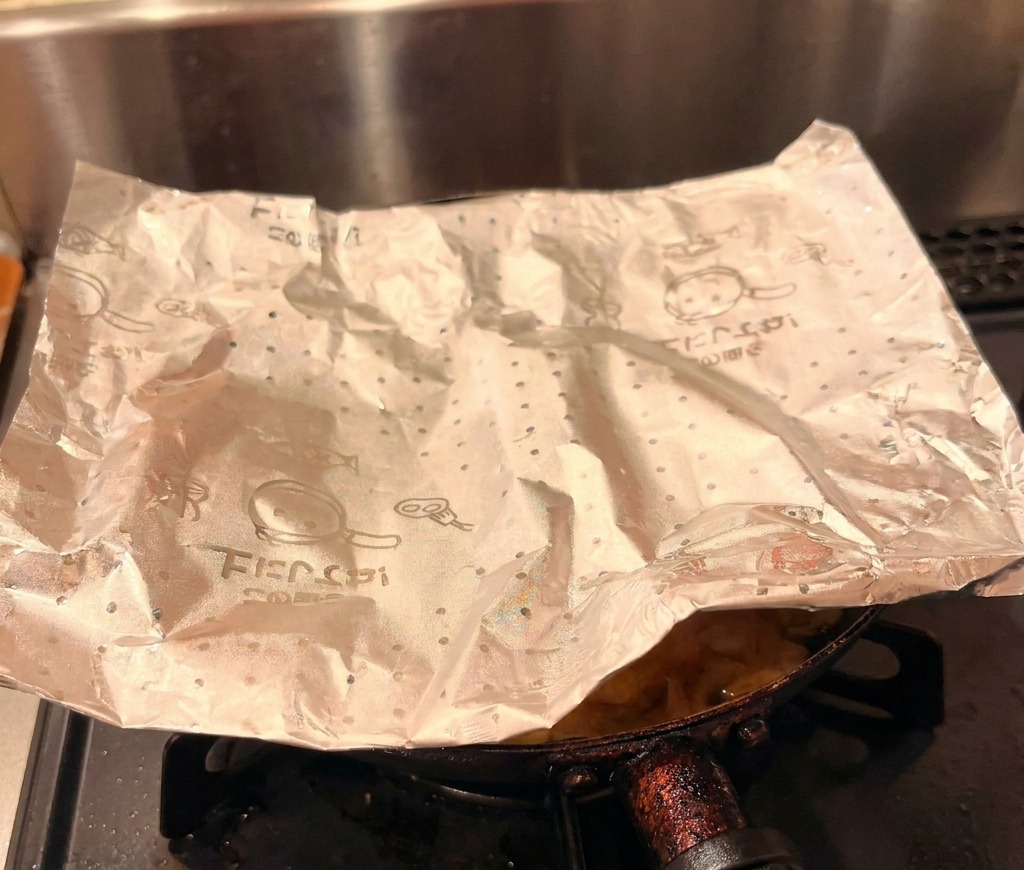
Cover the pan one last time and simmer on low heat for another 2 minutes. The eggs should be just set but still look glossy and slightly runny on top. Once finished, carefully slide the mixture over a bowl of warm steamed rice and garnish with fresh greens.
Tip: Residual heat will continue to cook the eggs even after the heat is off, so plate the dish immediately to maintain the perfect consistency.