Wood-Fired Prosciutto e Rucola Pizza (Arugula
Parma Ham)
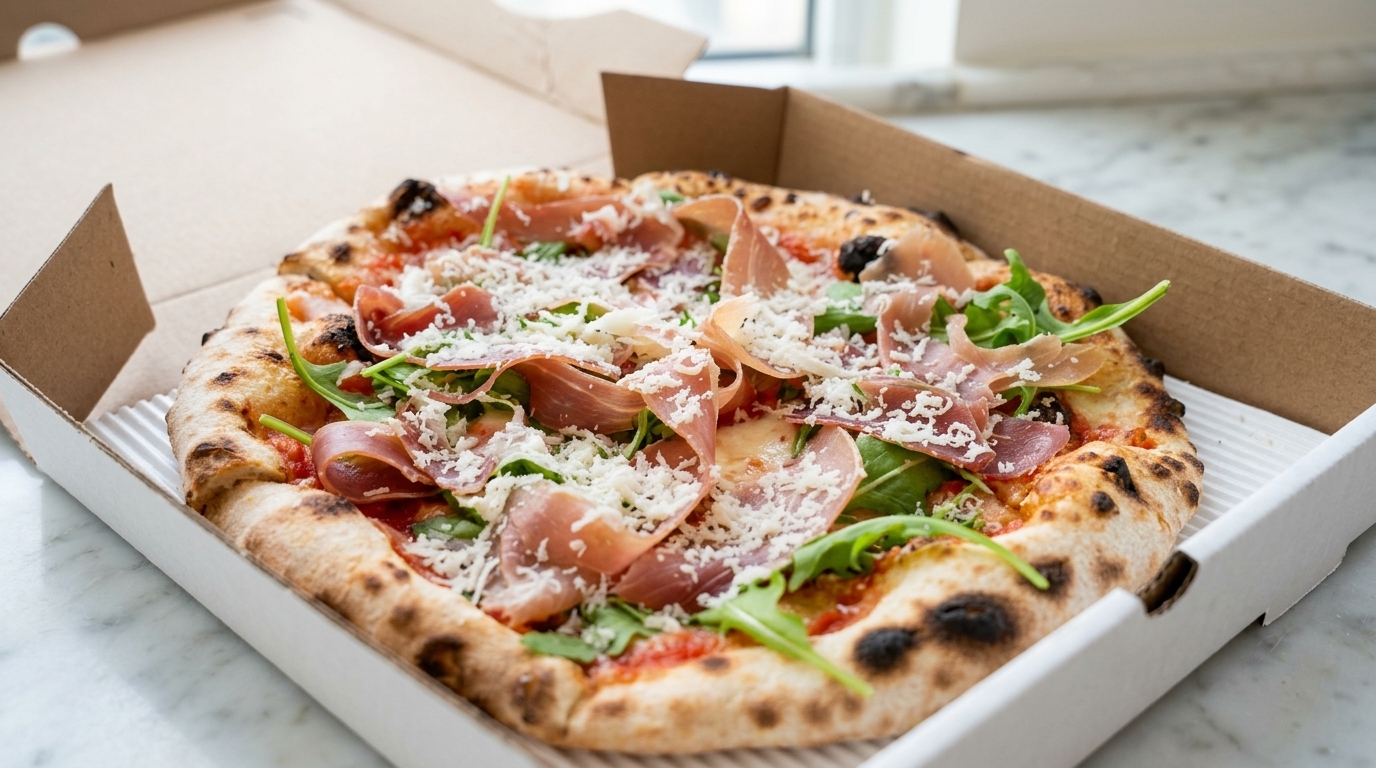
A masterclass in Italian simplicity featuring a blistered, hand-stretched crust topped with peppery fresh arugula, silky Parma ham, and aged Parmesan shavings.
The Prosciutto e Rucola pizza is a classic of modern Italian pizzerias, celebrated for its vibrant contrast of temperatures and textures. Unlike traditional baked toppings, the fresh arugula and salt-cured ham are added immediately after the pizza leaves the intense heat of the wood-fired oven. This preserves the delicate fats of the Parma ham and the crisp, peppery bite of the greens, creating a sophisticated balance against the smoky, charred crust.

Ingredients
- 1 portion fermented pizza dough
- 2 tbsp all-purpose flour
- 3 tbsp tomato sauce
- 4-5 fresh basil leaves
- 80 g fresh mozzarella cheese
- 1 handful fresh arugula
- 4-5 slices Parma ham
- to taste shaved Parmesan cheese
- optional extra virgin olive oil
Instructions
- 1Retrieve the fermented dough
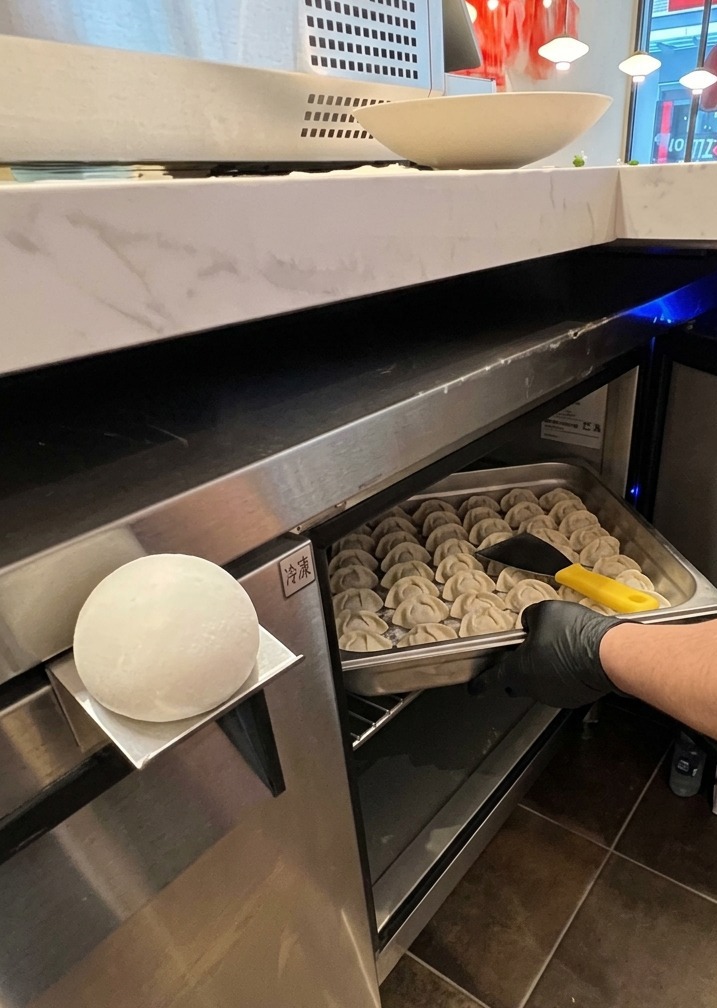
Carefully remove the tray of portioned dough balls from the refrigerated proofing cabinet. These dough balls have undergone a slow fermentation process to develop a complex flavor and an airy, elastic structure that is essential for a high-quality pizza crust.
Tip: Keep the dough refrigerated until just before use to ensure it remains easy to handle and doesnt over-proof. - 2Dust the dough with flour
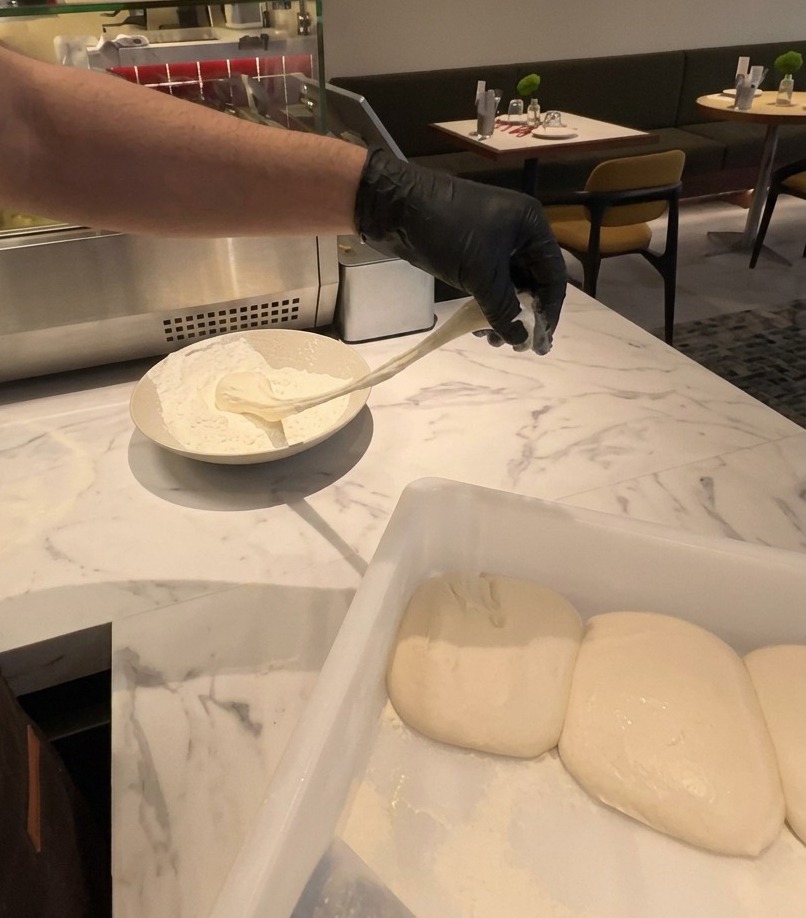
Before handling the fermented dough, coat it thoroughly with flour. This essential prep step prevents the sticky dough from clinging to your hands or the countertop, ensuring a smooth transition to the stretching phase.
Tip: Use a generous amount of flour in the bowl to ensure every part of the dough is covered, making it much easier to work with. - 3Stretch the pizza base
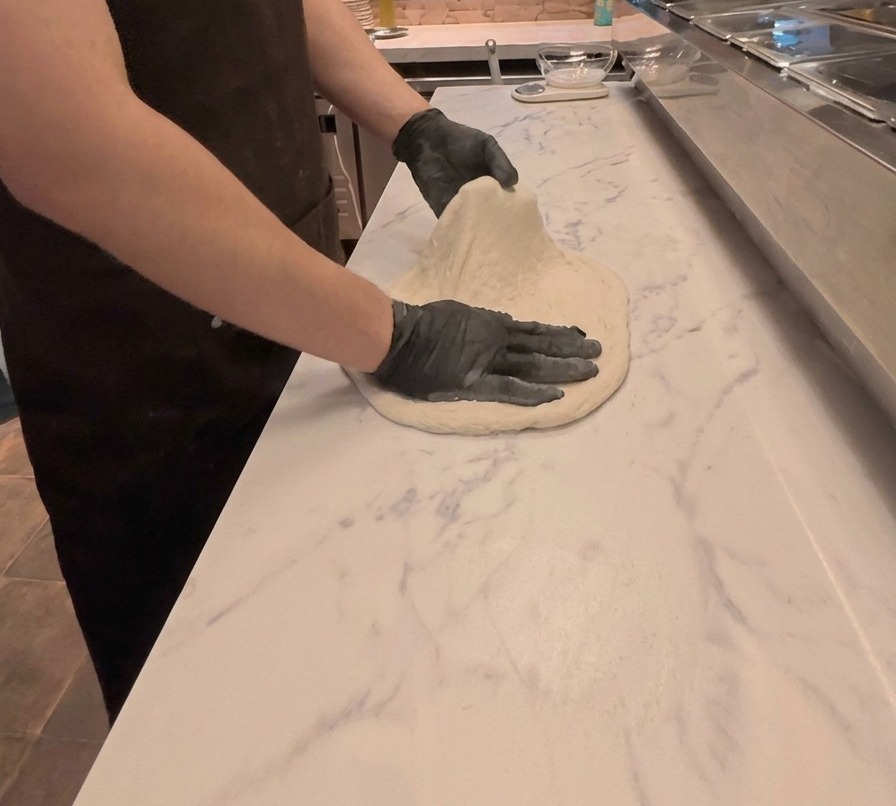
Place the floured dough on a clean surface and use your hands to gently press and stretch it into a thin, circular shape. Work from the center outward to create a uniform base while leaving a slightly thicker edge for the crust.
Tip: Avoid using a rolling pin if you want a light, airy crust; hand-stretching preserves the internal gas bubbles created during fermentation. - 4Spread the tomato sauce
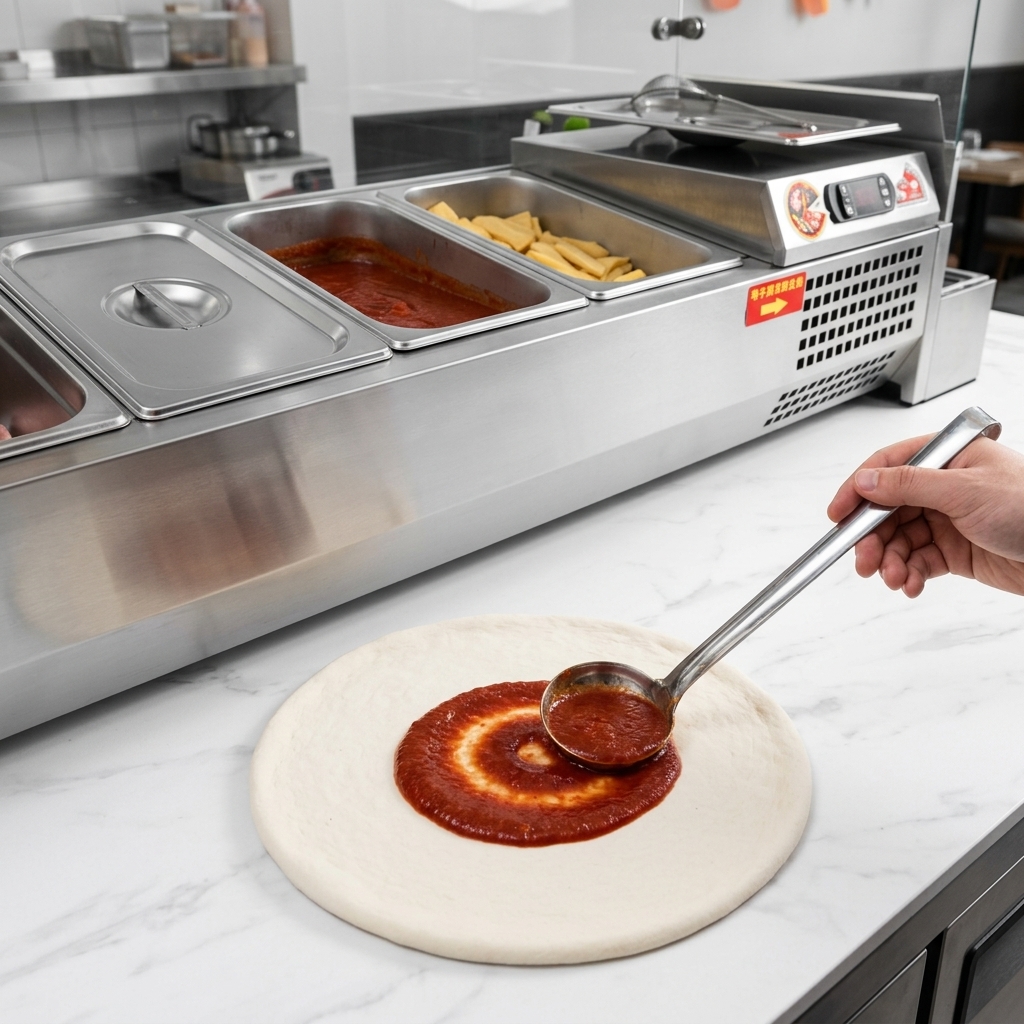
Using a ladle, pour a generous spoonful of tomato sauce onto the center of the stretched pizza dough. Use the bottom of the ladle to spread the sauce outward in a smooth, circular motion, leaving a clean border around the edges for the crust.
Tip: Avoid applying too much sauce to the very center to prevent the dough from becoming soggy during baking. - 5Add fresh basil
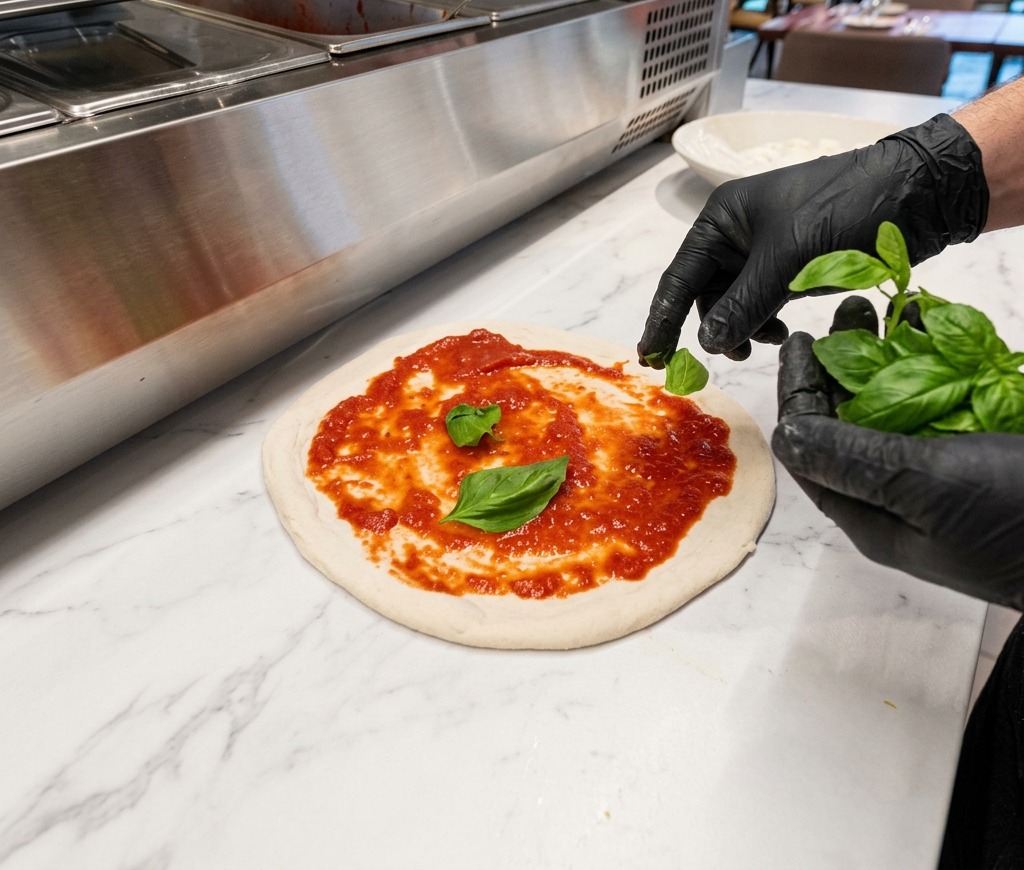
Scatter fresh basil leaves evenly over the tomato sauce base. The high heat of the oven will cause the basil to release its aromatic oils, infusing the pizza with a classic herbal fragrance that perfectly complements the tomato and cheese.
Tip: For the best flavor, use whole fresh basil leaves. Tearing them slightly by hand just before adding them can help release even more aroma without bruising the leaves. - 6Top with fresh mozzarella

Tear pieces of fresh mozzarella cheese and scatter them evenly across the sauced dough. This completes the classic Margherita-style foundation before the pizza is ready for the high-heat oven.
Tip: If using fresh mozzarella stored in liquid, pat the pieces dry with a paper towel first to prevent the pizza from becoming soggy in the oven. - 7Load the pizza into the oven
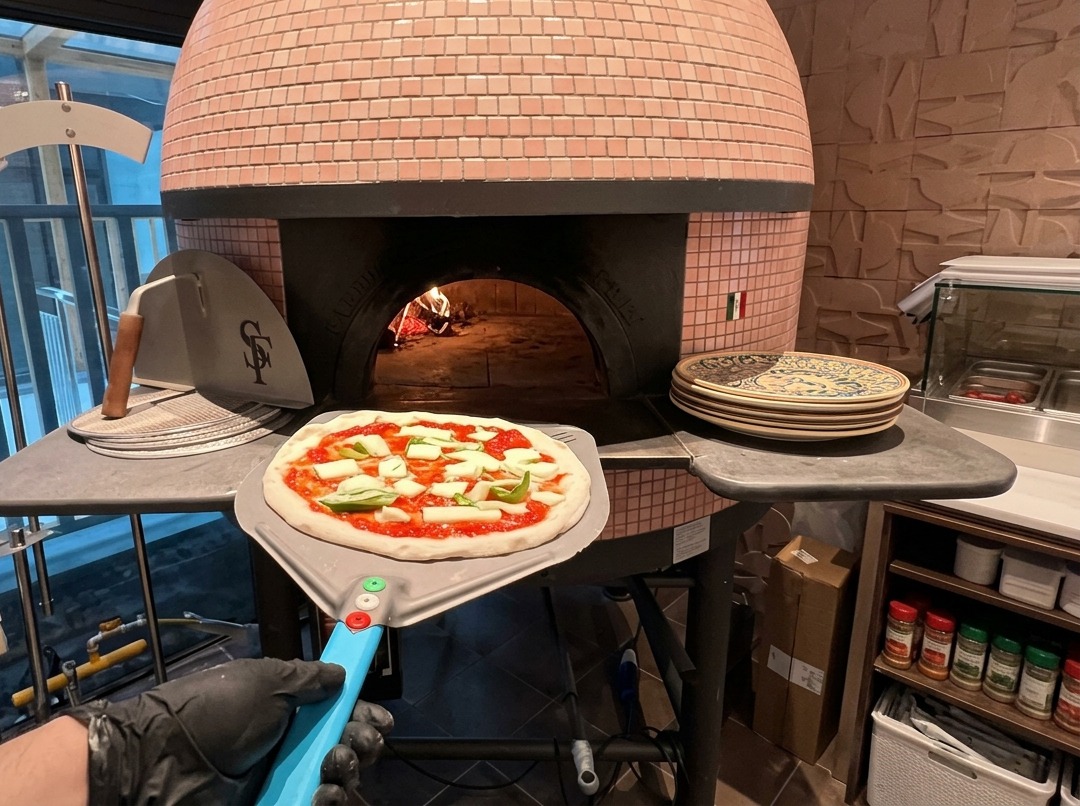
Use a metal pizza peel to slide the prepared pizza onto the hot stone floor of the wood-fired oven. Positioning the pizza close to the active fire ensures that the intense heat immediately begins to puff the crust and melt the cheese.
Tip: A light dusting of flour on the peel will help the pizza slide off smoothly without sticking or tearing. - 8Bake in the wood-fired oven
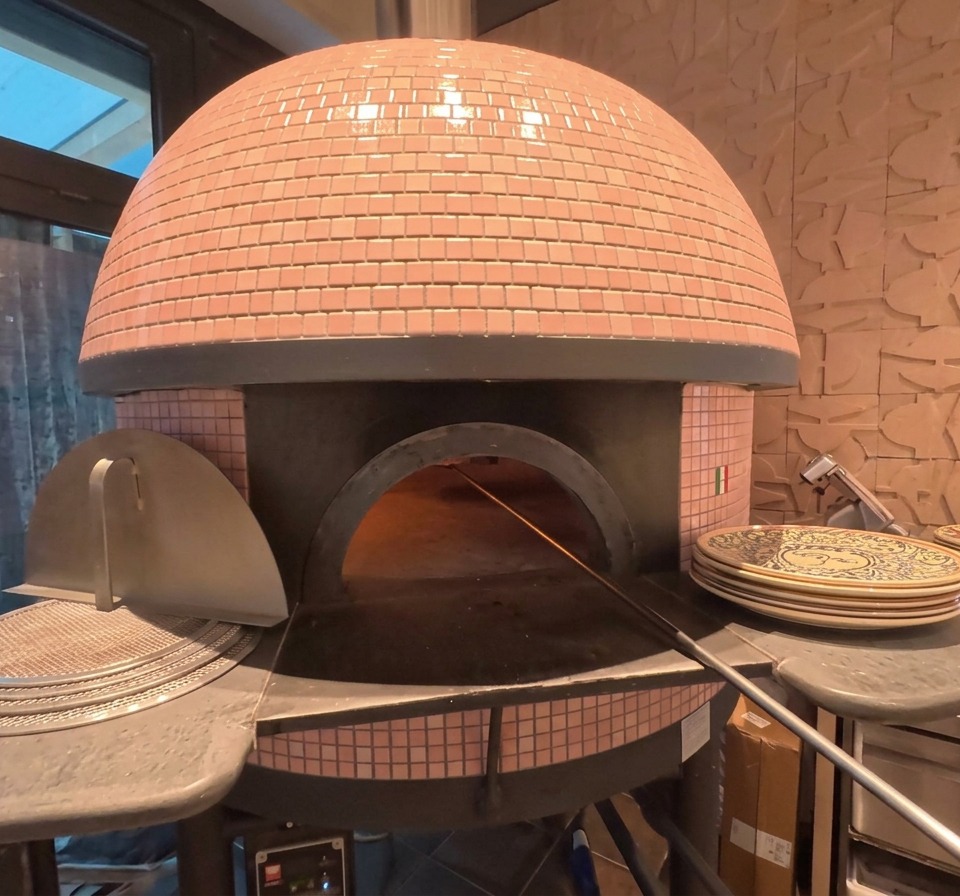
Slide the prepared pizza into the heart of a traditional wood-fired oven. Bake at a high temperature until the crust rises, becomes airy, and develops characteristic dark charred spots, while the cheese becomes perfectly melted and bubbly.
Tip: Keep a close eye on the pizza as it bakes; in a traditional oven, it only takes 60 to 90 seconds. Use a pizza peel to rotate it halfway through for an even char. - 9Top with fresh arugula
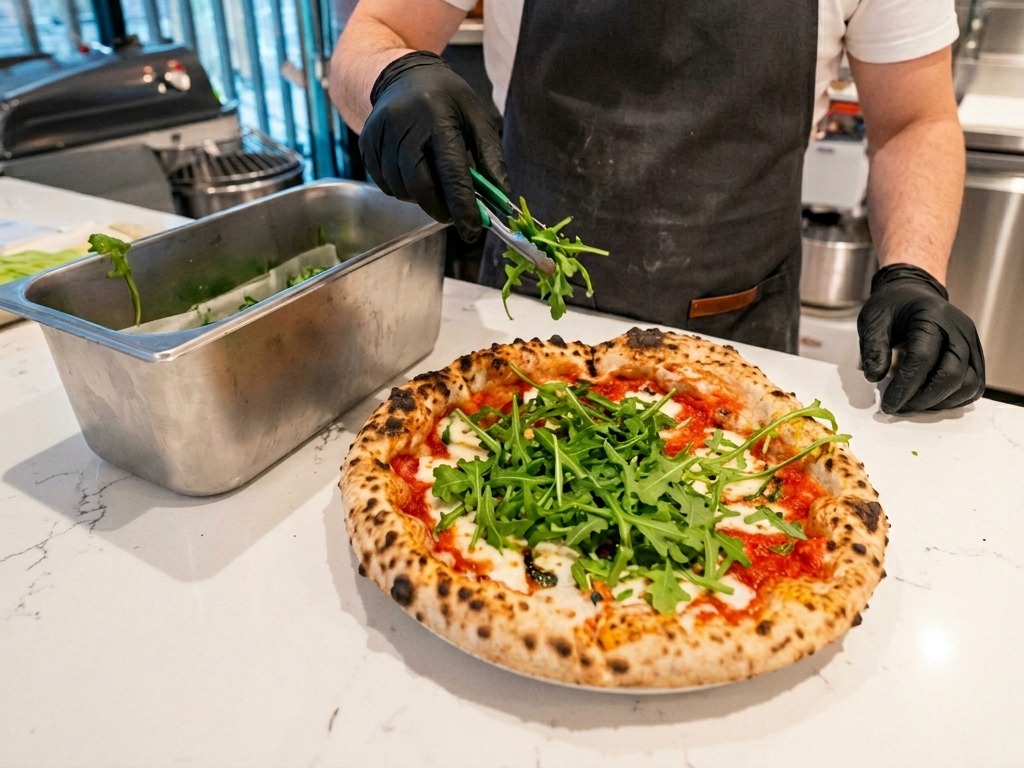
Immediately after removing the pizza from the oven, pile a fresh, generous mound of crisp arugula onto the center of the hot crust. The residual heat from the baked pizza will slightly soften the greens, releasing their peppery aroma without making them soggy.
Tip: Wait until the pizza is out of the oven to add the arugula to maintain its fresh color and crunchy texture. - 10Top with Parma ham
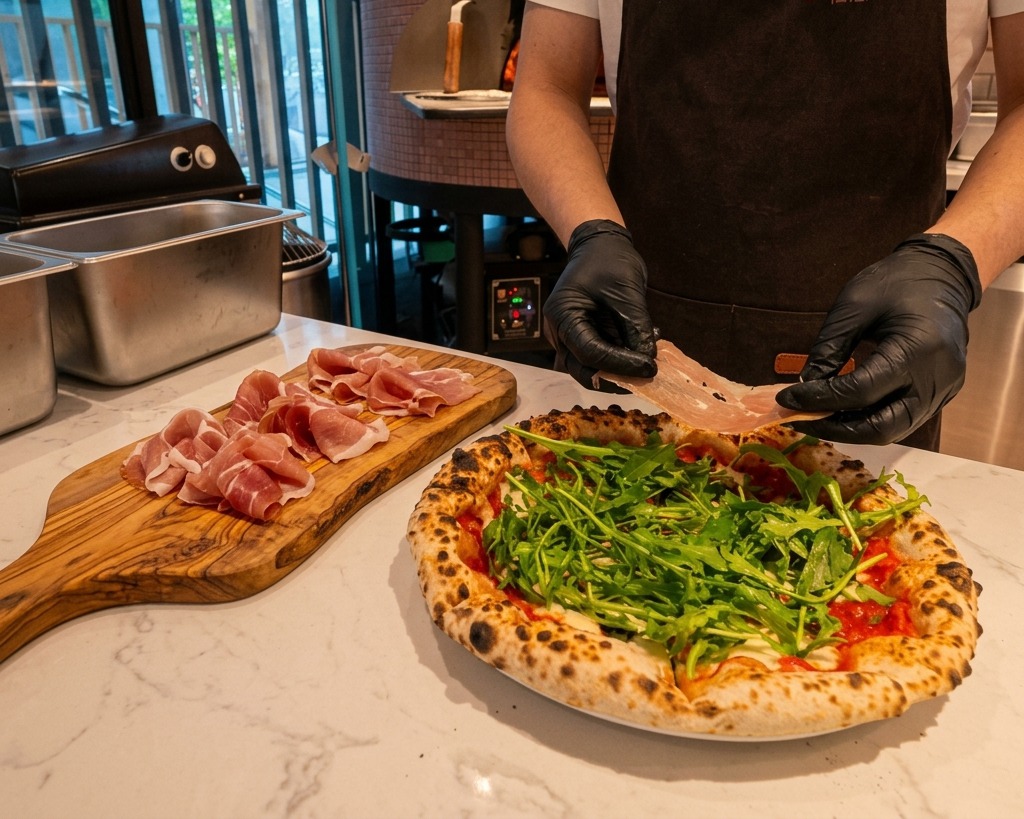
After the pizza has been baked and a fresh layer of arugula has been added, drape thin, translucent slices of Parma ham over the top. Complete the assembly with a generous scatter of freshly shaved Parmesan cheese and a light drizzle of extra virgin olive oil.
Tip: Add the ham only after the pizza is out of the oven. This preserves its silky texture and prevents the delicate fats from over-rendering.