Summer Italian Pizza
Prosciutto and Arugula
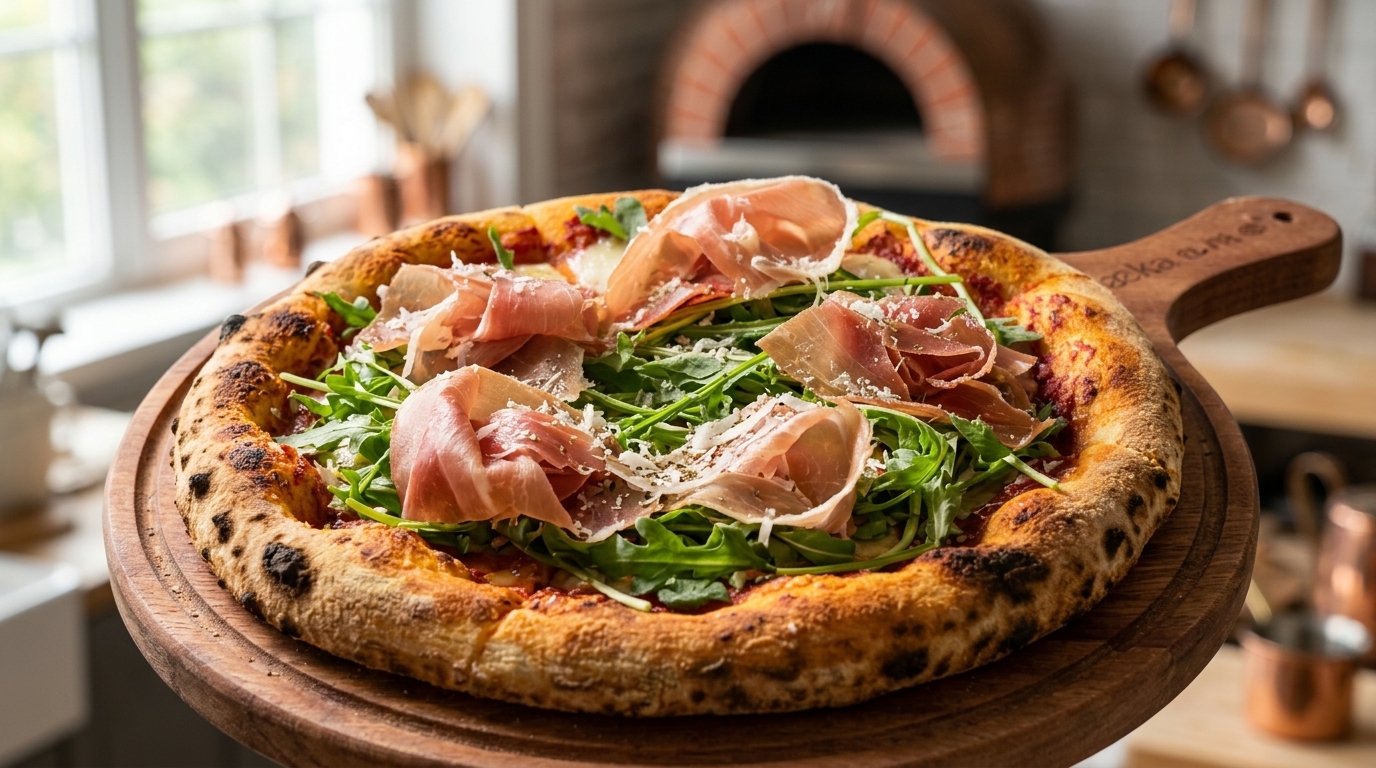
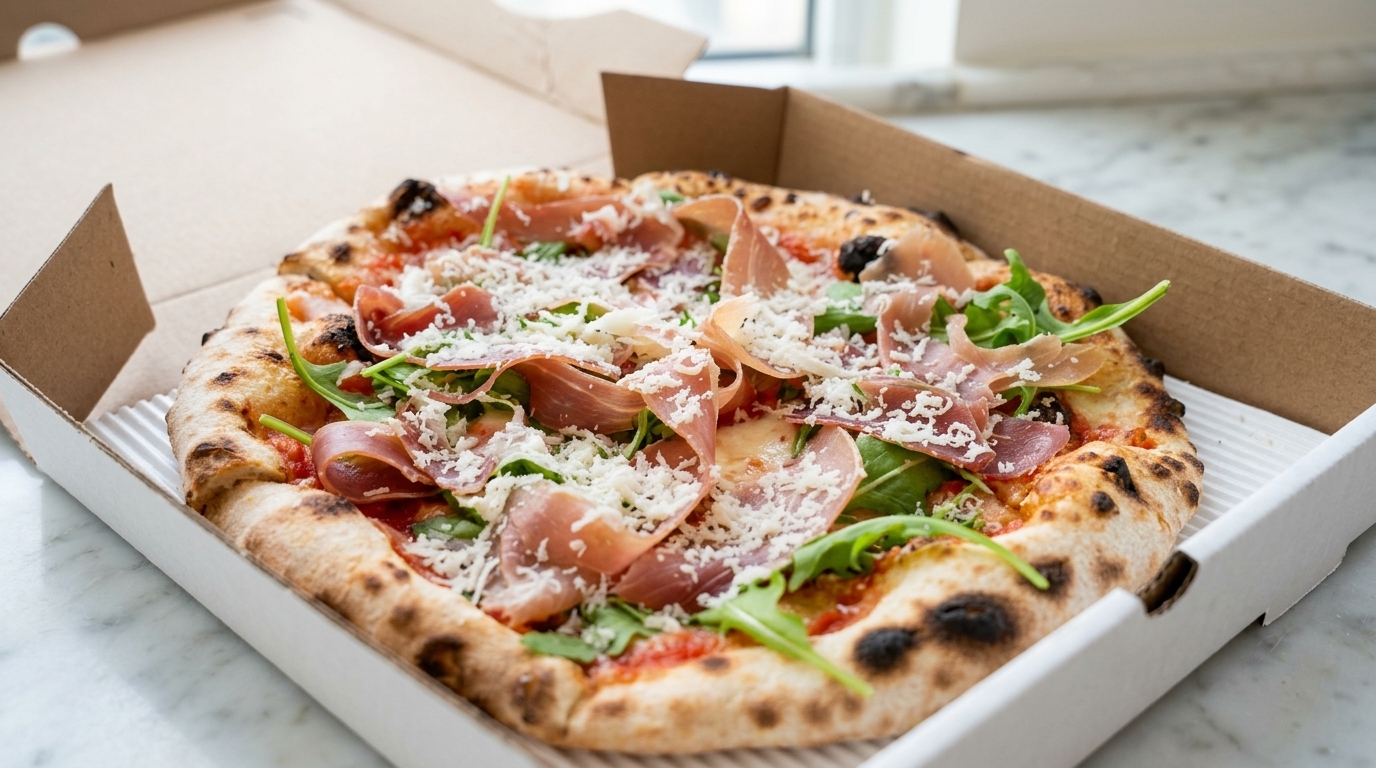
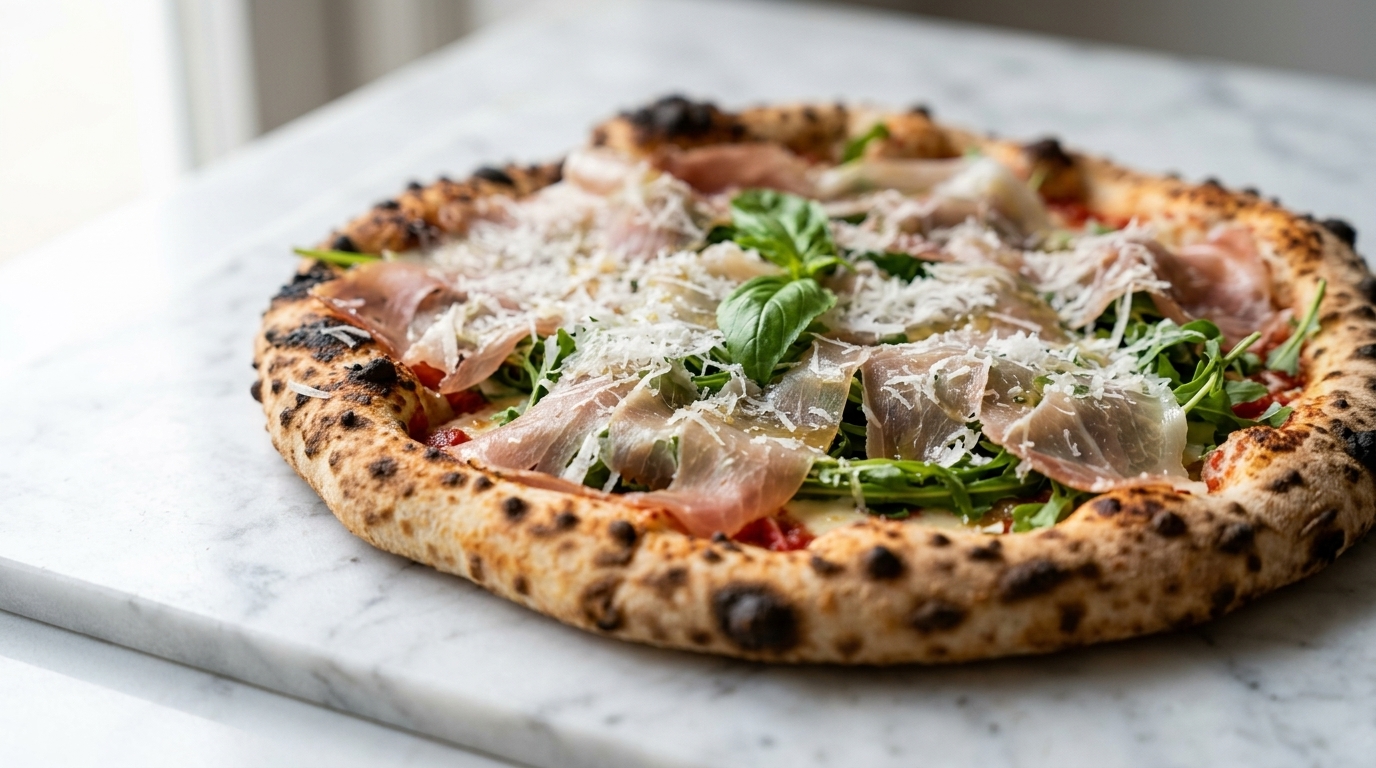
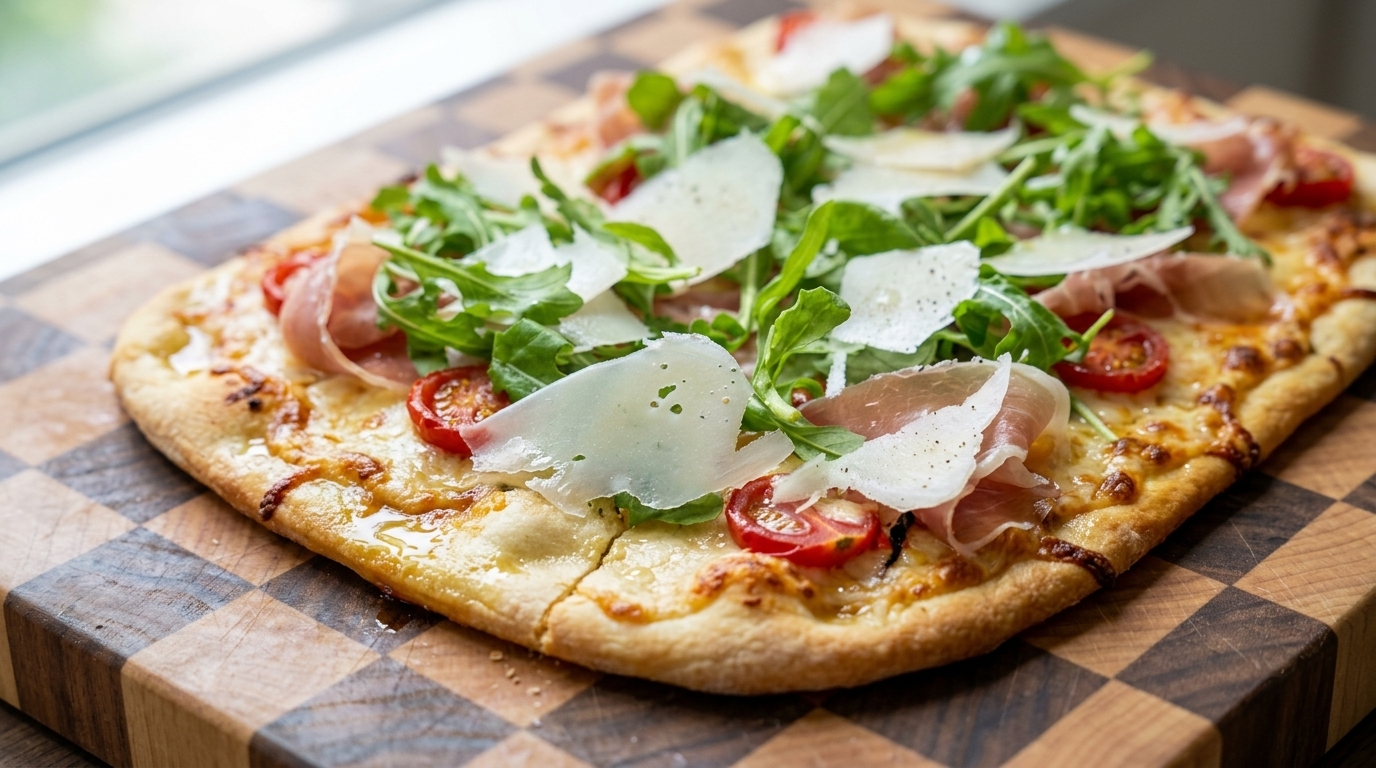
A light and vibrant Italian pizza featuring sweet roasted cherry tomatoes, melted mozzarella, salty prosciutto di Parma, and peppery arugula on a high-hydration crust.
This pizza captures the essence of an Italian summer, balancing the warmth of a freshly baked crust with the crisp, cooling bite of raw greens. Using a long-fermented poolish starter ensures a professional-grade dough that is airy and complex in flavor, perfectly complementing the rich saltiness of the prosciutto di Parma.
Ingredients
- 505 g poolish starter
- 110 g all-purpose or bread flour
- 8 g salt
- 200 g cherry tomatoes
- 150 g fresh mozzarella cheese
- 100 g prosciutto slices
- 1 bowl fresh arugula
- 30 g parmesan cheese block
- 2 tbsp extra virgin olive oil
- to taste cooking oil spray
Instructions
- 1Combine ingredients with the poolish
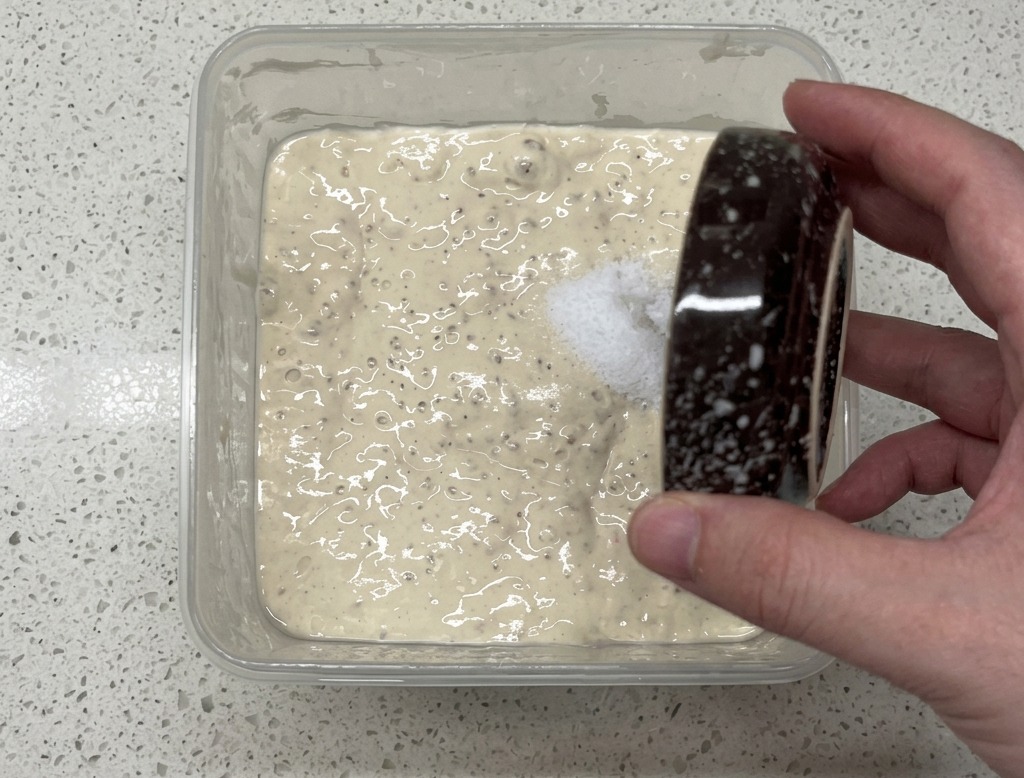
To the container holding 505g of your prepared poolish, add 8g of salt and 110g of flour. These additions will transform the pre-fermented starter into a workable pizza dough.
Tip: Add the salt directly to the poolish before the flour to help it dissolve and distribute more evenly throughout the dough. - 2Mix into a shaggy dough
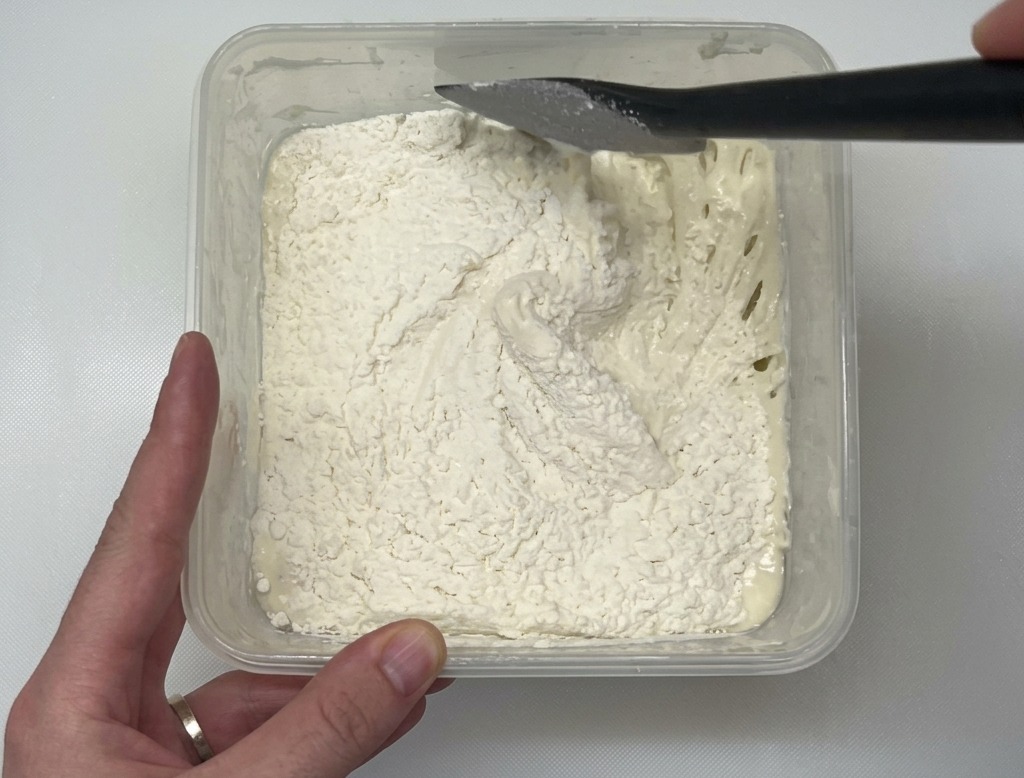
Use a spatula to mix the dry flour and salt into the poolish. Continue stirring and folding until all the dry flour is fully incorporated and the mixture forms a sticky, uniform dough.
Tip: Make sure to scrape the corners of the container to ensure no pockets of dry flour are left behind. - 3Prepare for handling
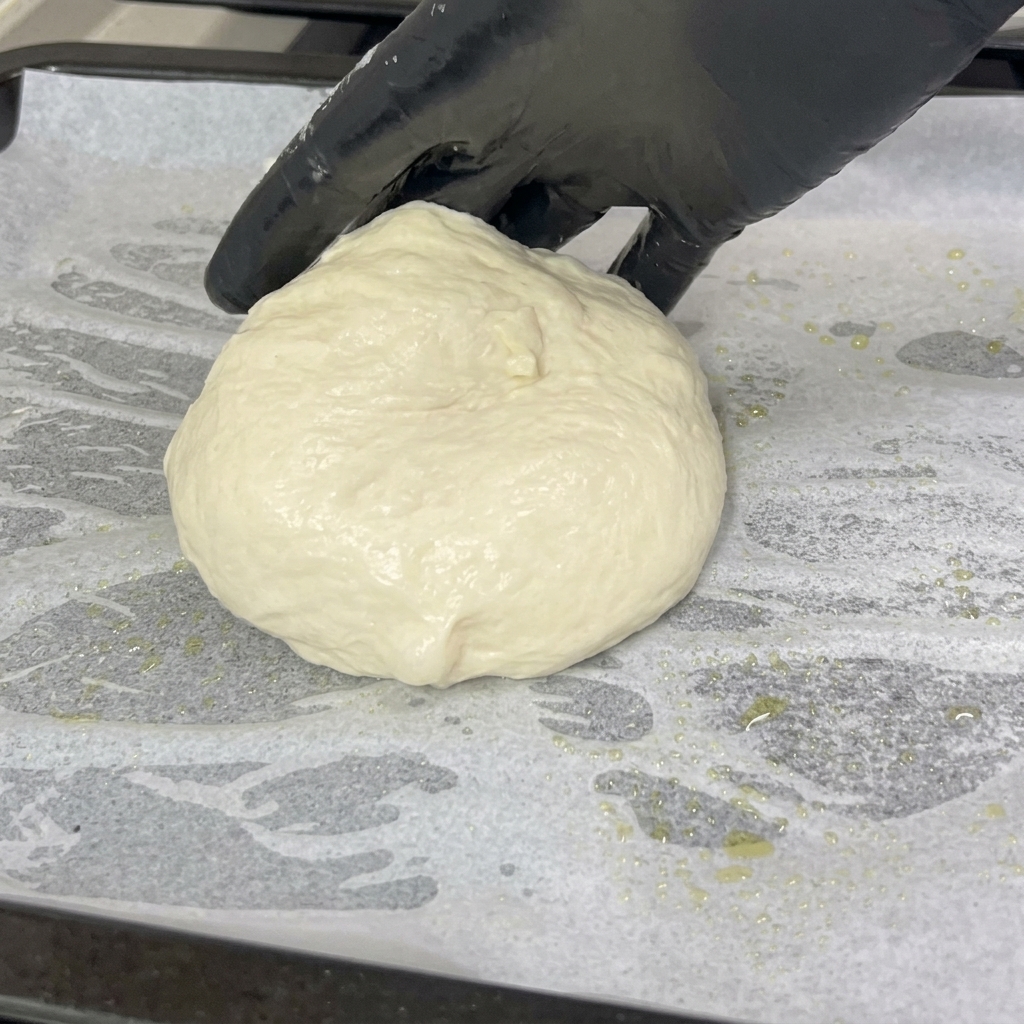
Spray your work surface or a white cutting board lightly with oil. Transfer the wet, high-hydration dough from the container onto the board. The oil is essential here to prevent the sticky dough from adhering to the surface.
Tip: Using an oil spray provides a much more even coating than pouring oil, which helps prevent the dough from sticking without adding too much fat. - 4Develop the dough structure
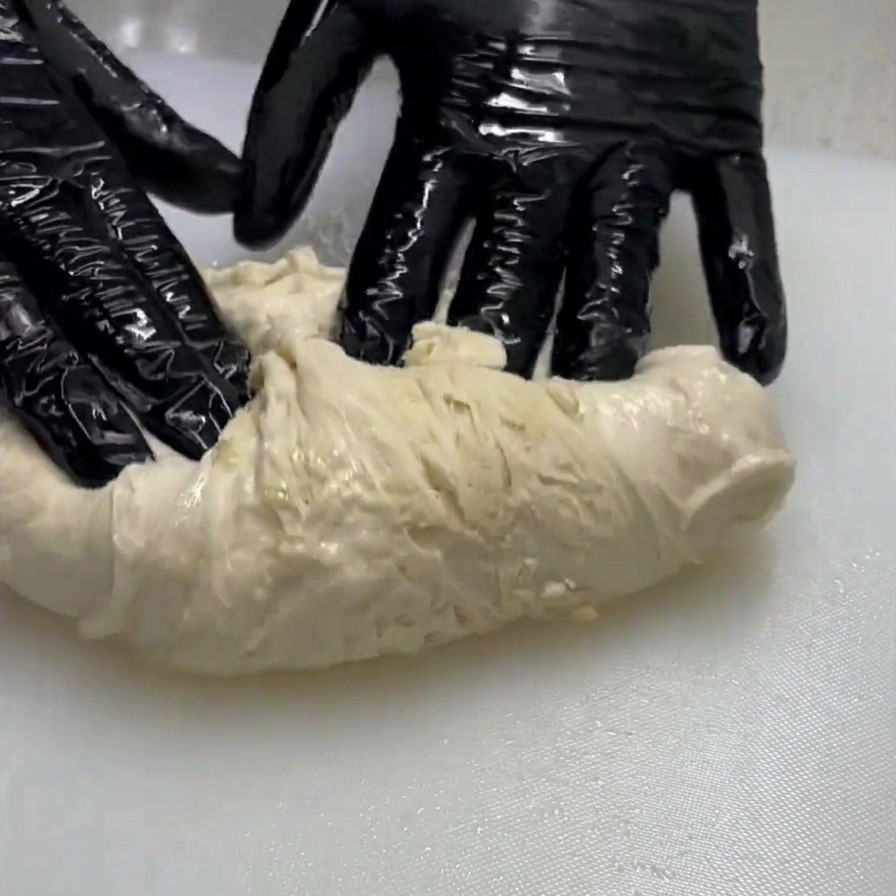
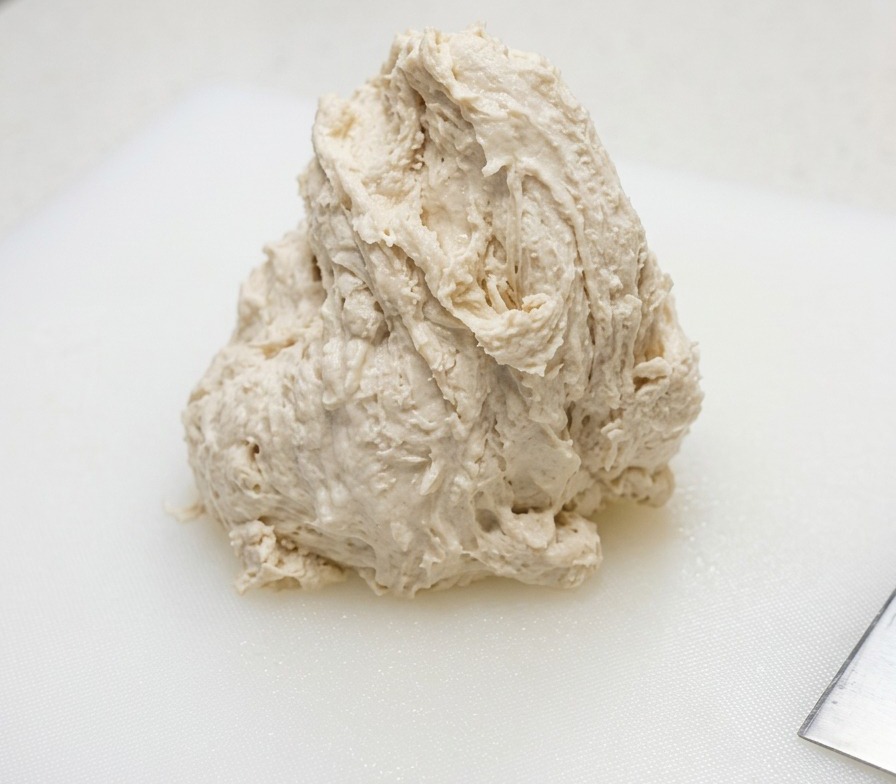
Using gloved hands sprayed with oil, begin kneading the dough. Perform several folds by stretching the dough and folding it back over itself. This process helps develop the gluten despite the high moisture content of the dough.
Tip: Do not be tempted to add more flour; simply keep your hands and the board oiled to manage the stickiness. - 5Form a smooth ball
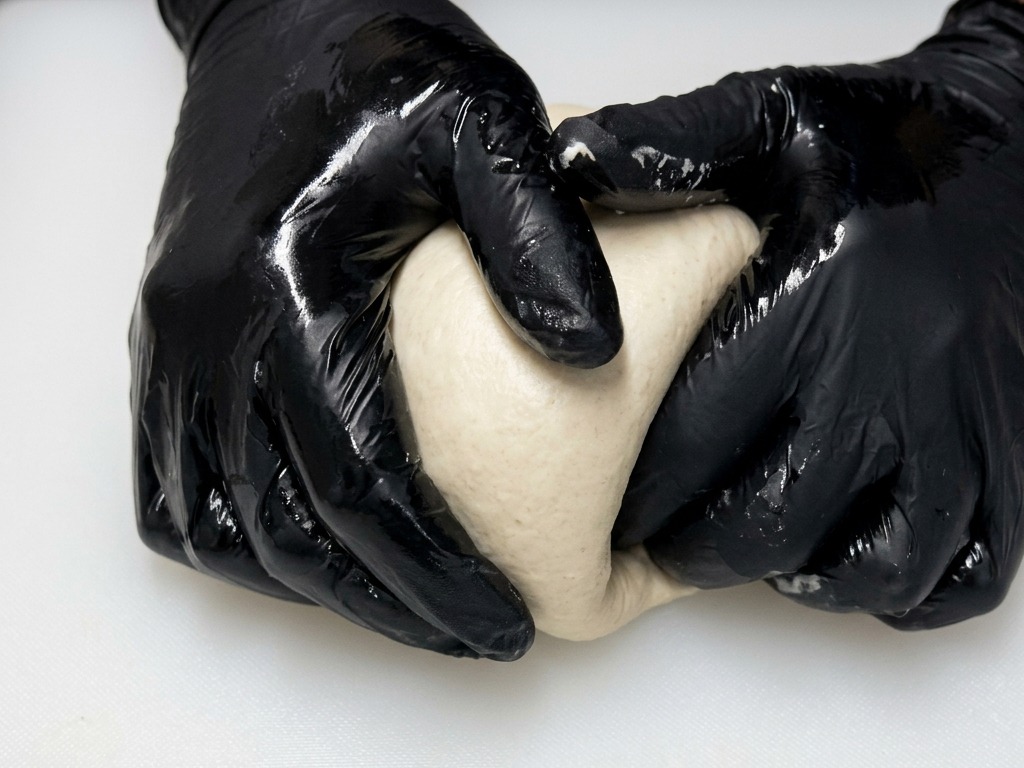
After initial kneading, build tension in the dough by dragging it across the board in a circular motion. This creates a smooth outer skin and helps the dough hold its shape while proofing.
Tip: Dragging the dough toward yourself while rotating it is the most effective way to create a tight, round ball. - 6Begin the first proof
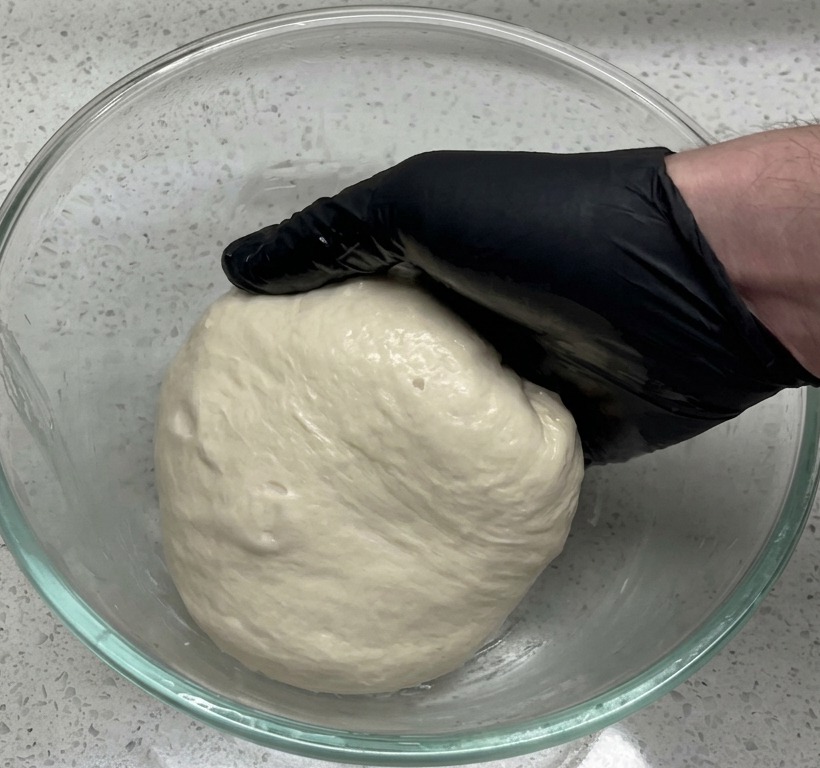
Lightly grease a glass bowl with extra virgin olive oil. Place the dough ball inside, seal the bowl with a lid or plastic wrap, and let it rest for one hour. The dough should grow until it is approximately twice its original size.
Tip: Ensure the bowl is large enough to accommodate the dough doubling in size without touching the lid. - 7Divide the proofed dough
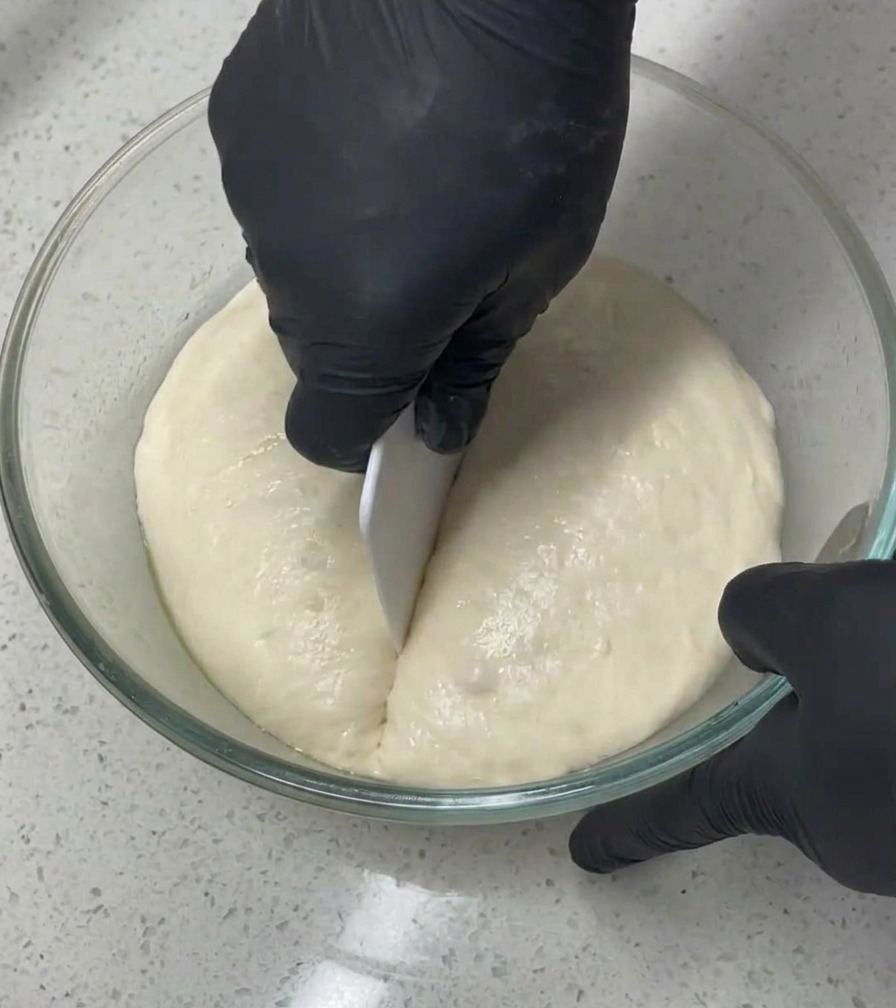
Once the dough has doubled in size and is full of air, turn it out onto a lightly oiled surface. Use a bench scraper to gently divide the dough mass into two equal portions. Handle the dough carefully to maintain the internal air pockets built during the proofing process.
Tip: Keep your hands and the bench scraper well-oiled to prevent the high-hydration dough from sticking. - 8Transfer dough to baking sheet
Line a large baking tray with parchment paper and apply a light spray of oil. Transfer one of the dough portions onto the prepared sheet. Placing it directly on the baking surface now prevents unnecessary handling after the final shape is formed.
Tip: Parchment paper ensures the pizza wont stick and makes it easier to slide the finished pie onto a cutting board later. - 9Spread and shape the dough
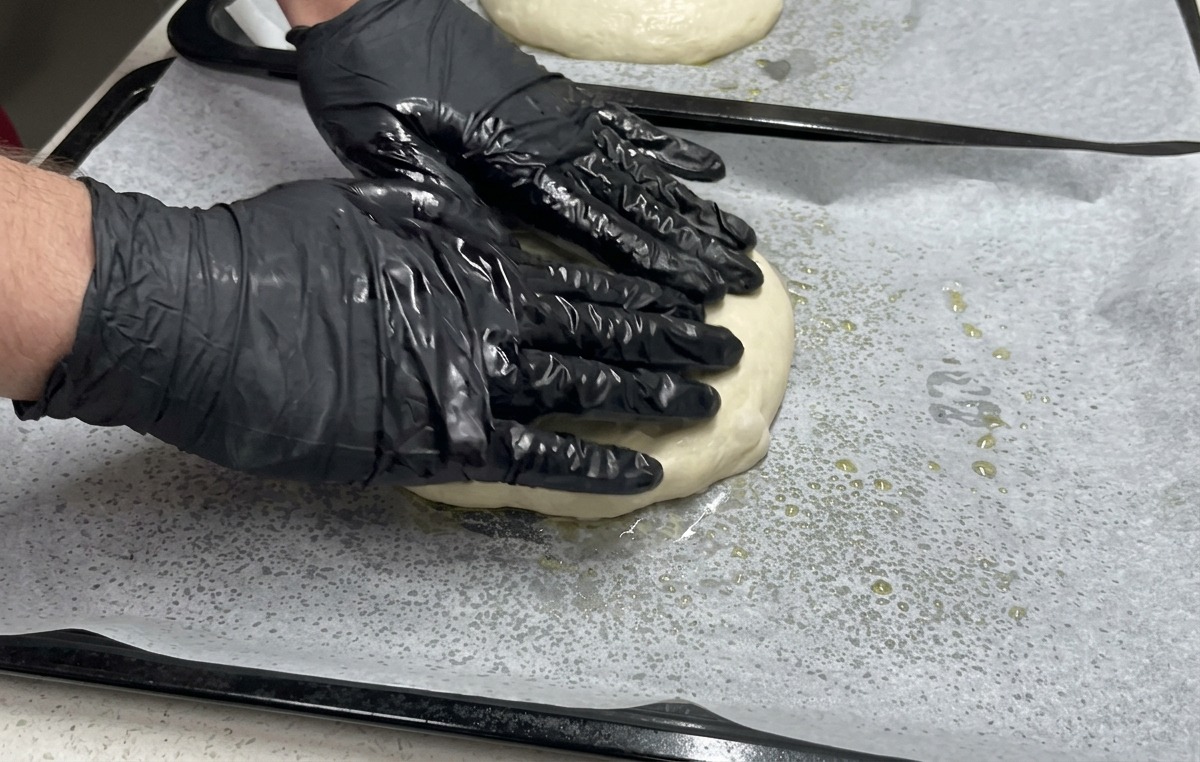
Using your fingertips, gently press and stretch the dough outward to fill the tray. Work from the center toward the edges, following the rectangular shape of your pan. If the dough resists, let it rest for a few minutes to relax the gluten before continuing.
Tip: Avoid using a rolling pin; your fingers preserve the airy bubbles in the dough, resulting in a lighter crust. - 10Add halved cherry tomatoes
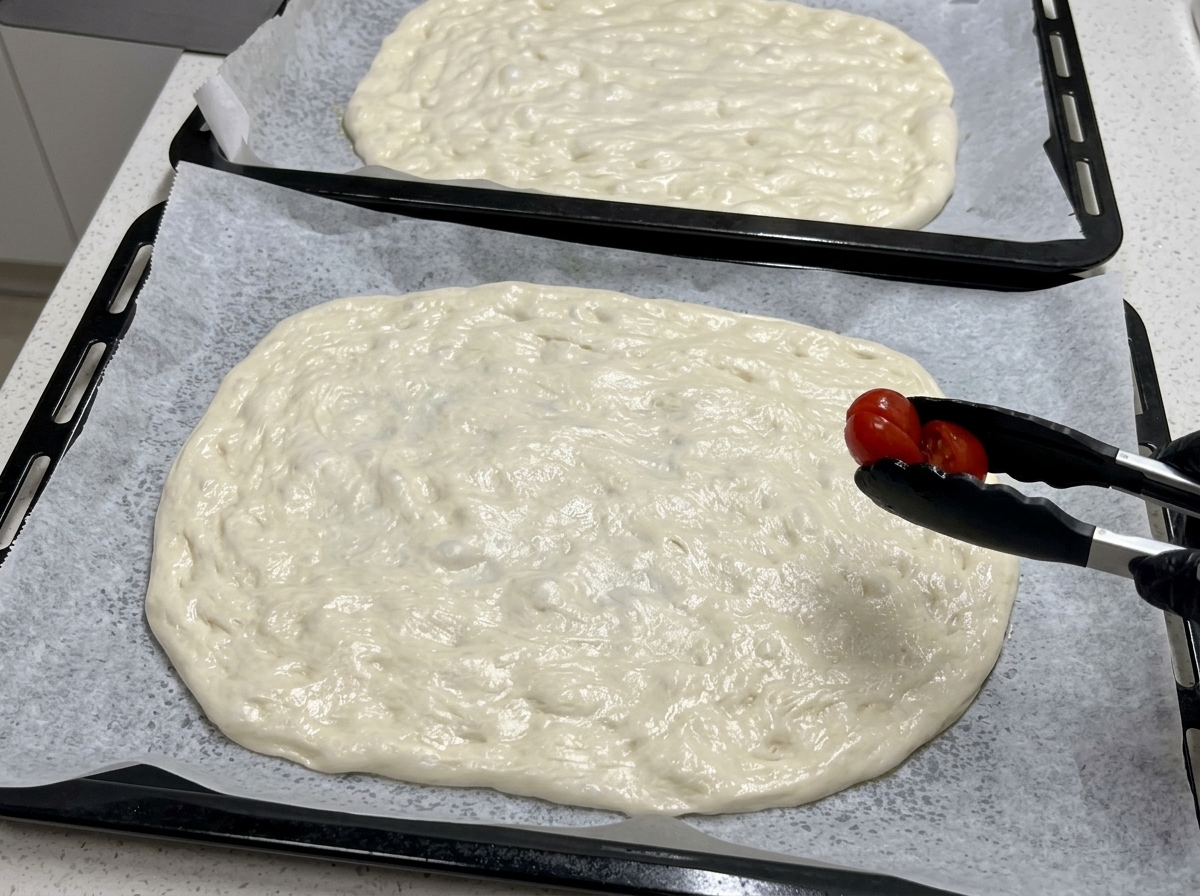
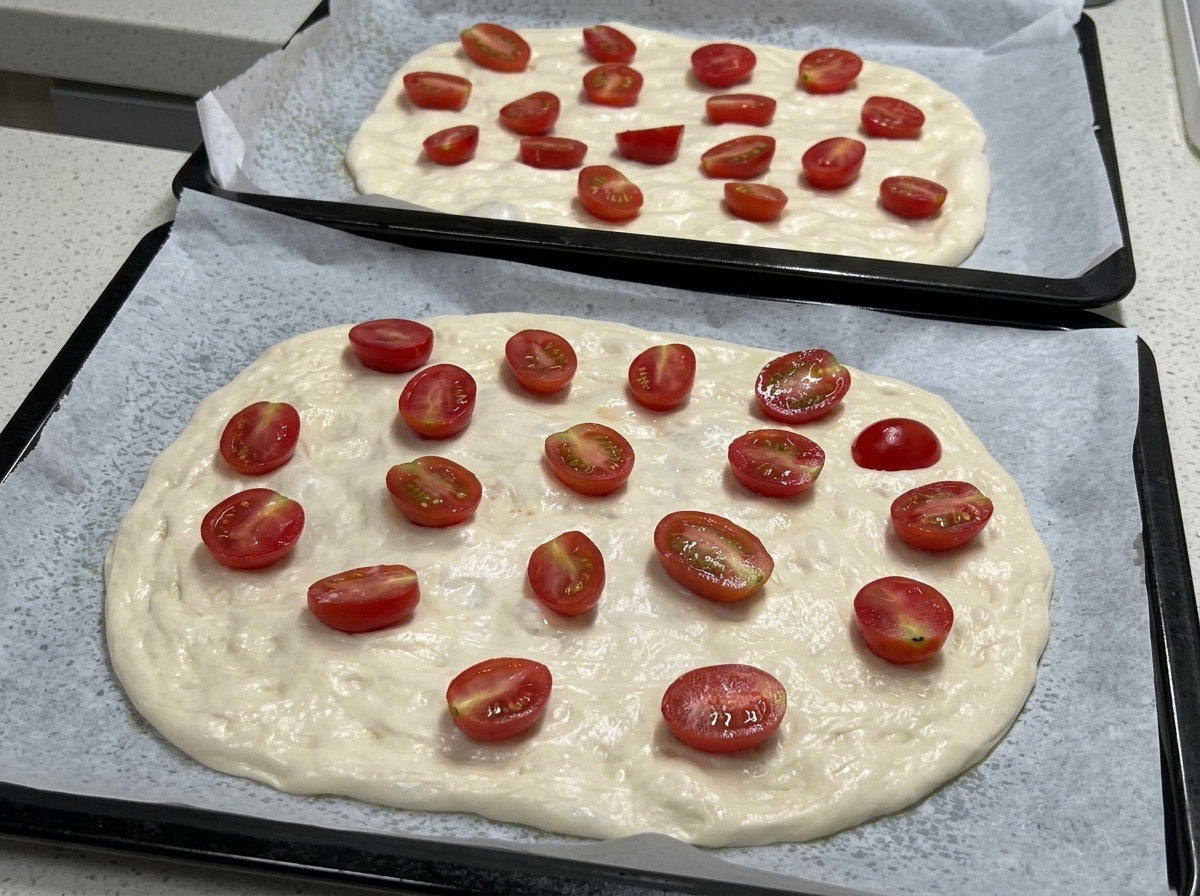
Slice fresh cherry tomatoes in half and arrange them evenly across the surface of the spread dough. The moisture from the tomatoes will roast into the crust, creating a sweet and savory base.
Tip: Place the tomatoes cut-side up to allow some of the moisture to evaporate, concentrating their natural sugars. - 11Season with salt and olive oil
Sprinkle a generous pinch of salt over the arranged tomatoes to enhance their sweetness. Finish by drizzling a tablespoon of extra virgin olive oil over the top. This oil helps the tomatoes roast and prevents the surface of the dough from drying out in the high heat.
Tip: Use high-quality extra virgin olive oil for the best flavor profile. - 12Bake the pizza crust
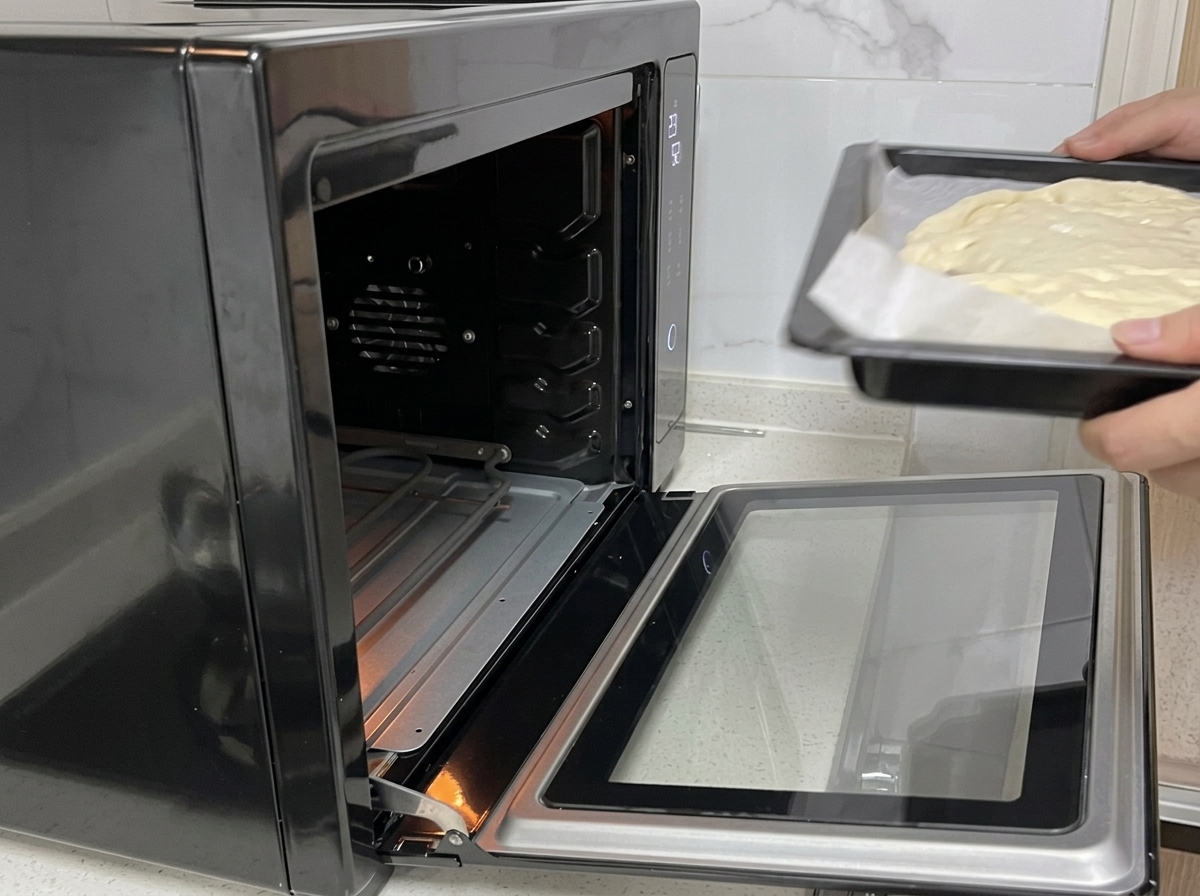
Slide the baking tray with the prepared dough and cherry tomatoes into the preheated oven. Bake at 230°C for 10 minutes to allow the crust to cook and the tomatoes to soften.
Tip: If you have a high-temperature oven, you can bake the tomatoes and mozzarella cheese together in a single step.