Direct Method Neapolitan Pizza
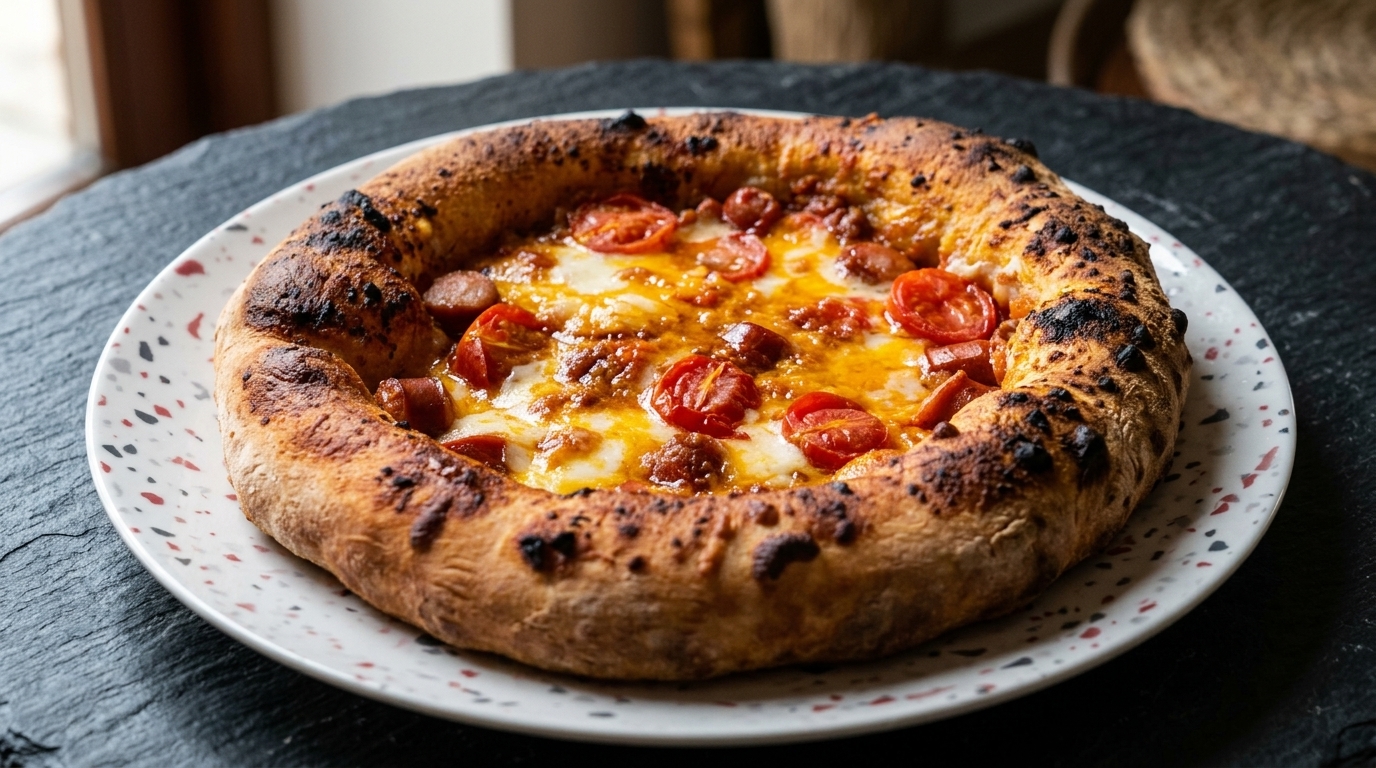
Savory Meat Toppings
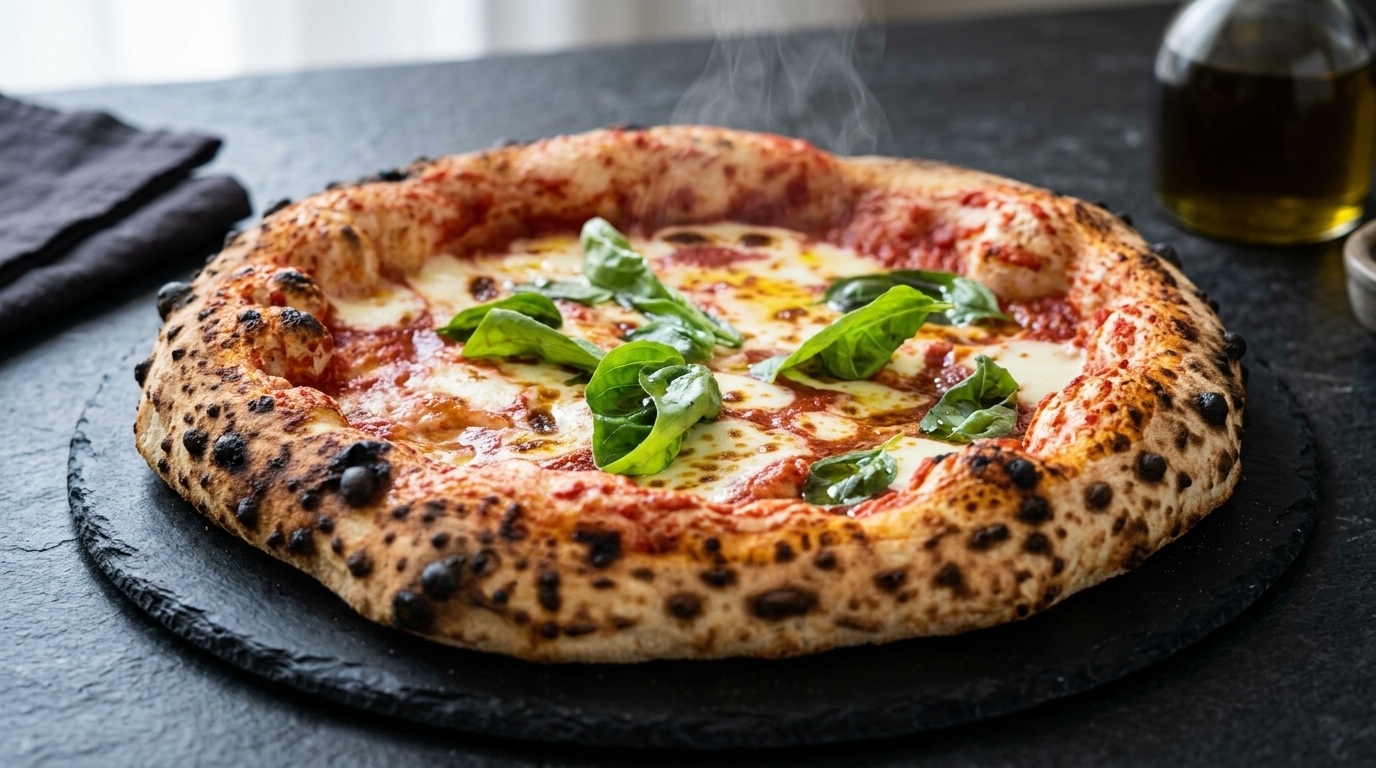
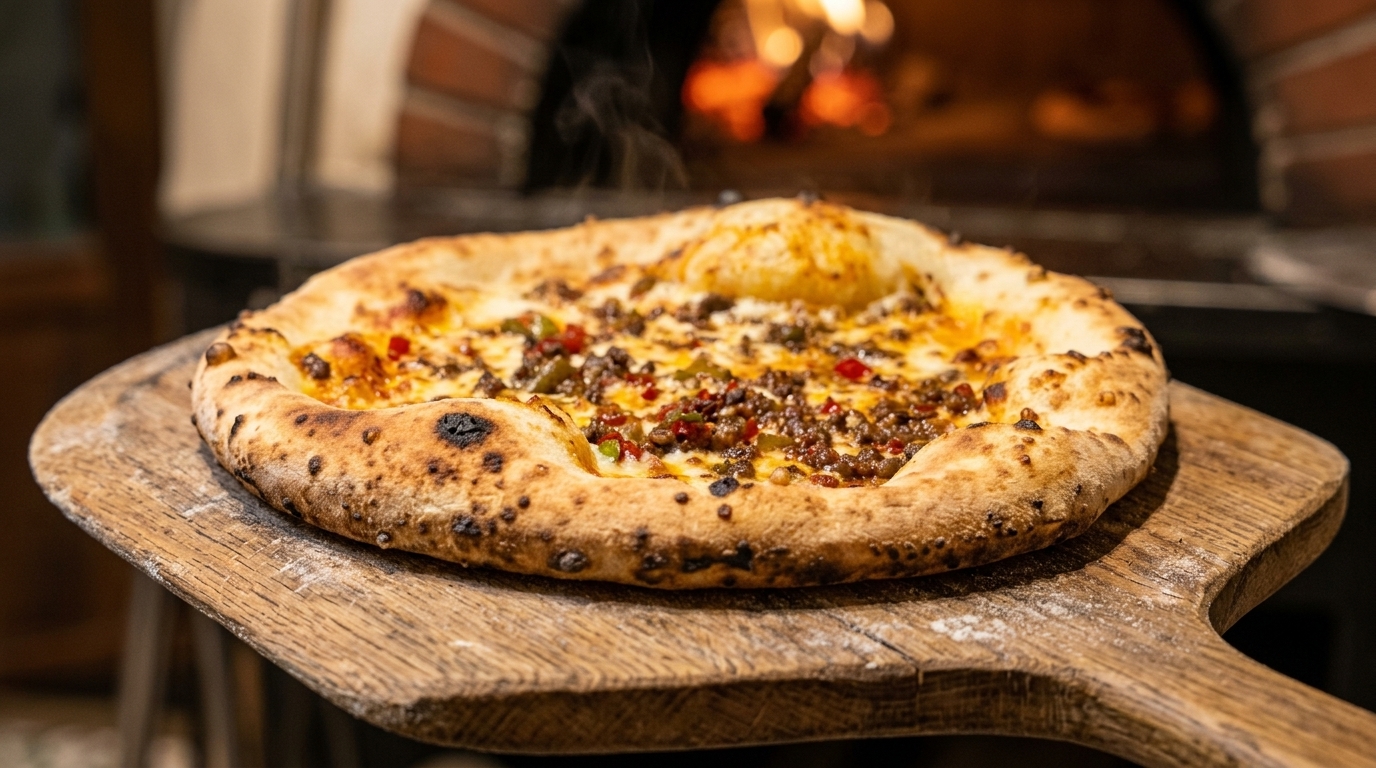
Master the art of authentic Neapolitan pizza. Featuring a 48-hour cold-fermented dough, classic leopard-spotted crust, and savory meat toppings baked to perfection.
Neapolitan pizza is celebrated for its soft, airy crust and the distinct leopard spotting achieved through high-heat baking. This direct method recipe relies on a long cold fermentation to develop deep, complex flavors and a superior texture without the need for complex pre-ferments. It is a testament to how patience and high-quality ingredients can transform simple flour and water into a world-class dish.
Ingredients
- 2000 g high-quality pizza flour (type 00)
- 1500 g water
- 60 g salt
- 5 g dry yeast
- to taste tomato sauce
- to taste mozzarella cheese
- to taste minced meat
- to taste red chili pieces
- optional olive oil
Instructions
- 1Add the flour to the mixer
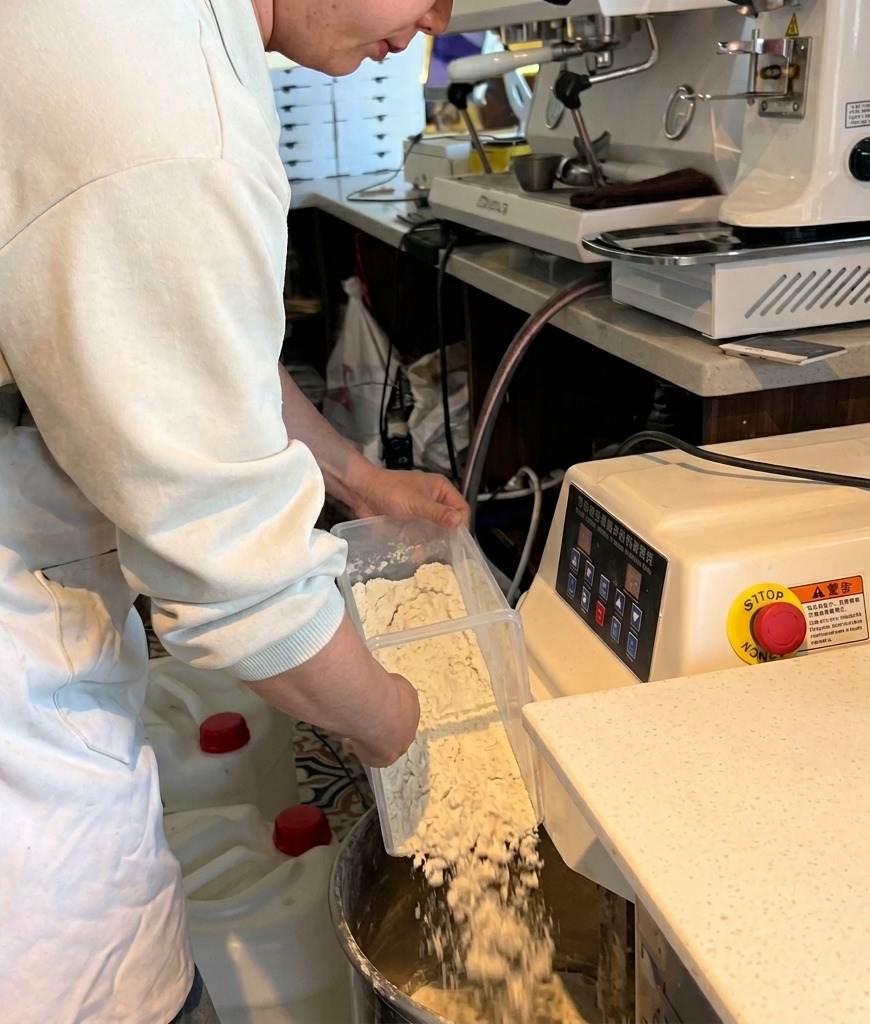
Begin the dough process by pouring 2000g of high-quality pizza flour into the bowl of a commercial dough mixer. Ensure the bowl is clean and dry before starting to ensure accurate measurements and proper hydration.
Tip: Using a professional dough mixer helps develop gluten structure more consistently than hand mixing for large batches. - 2Initial hydration
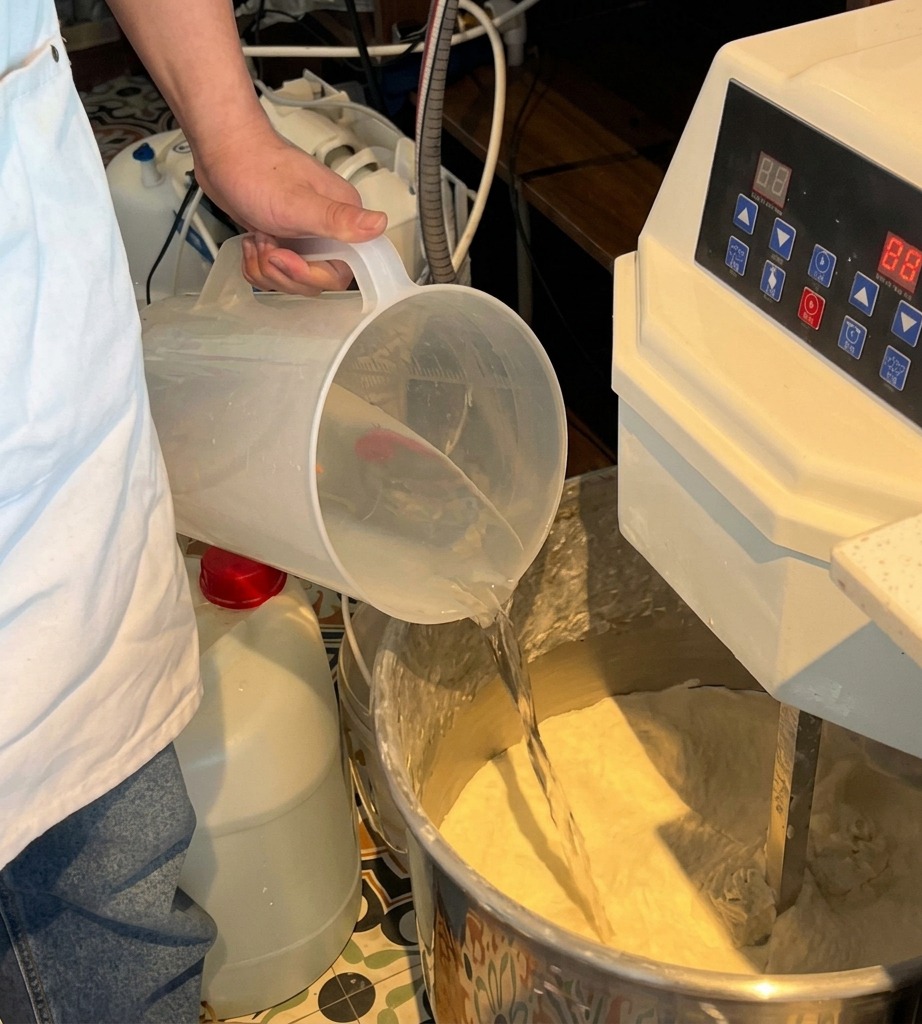
Pour the first 1100g of water into the mixer with the flour. Start the mixer at a low speed to allow the flour to absorb the water gradually without creating a dusty mess. The remaining water will be added in stages to control the doughs consistency.
Tip: Using room temperature water is generally best for a controlled fermentation process unless your kitchen is exceptionally hot. - 3Incorporate the yeast
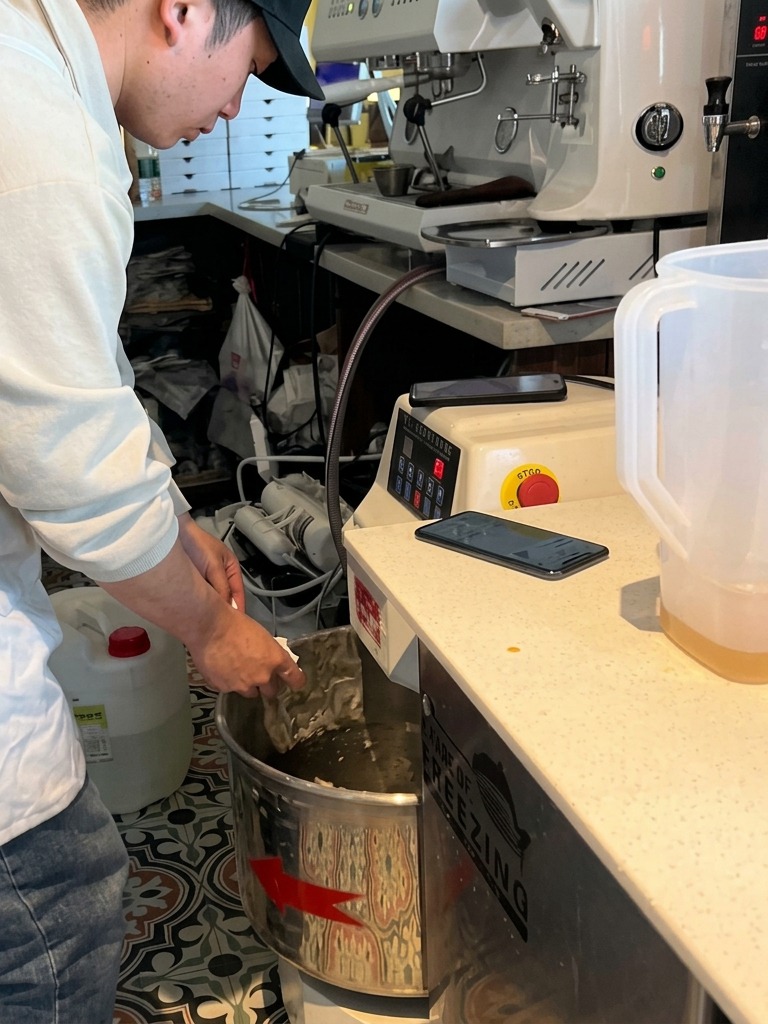
Once the flour and water have formed a shaggy mass and there is no visible dry flour, add 5g of yeast to the mixture. Increase the mixer speed to begin developing the gluten network while the yeast is evenly distributed through the dough.
Tip: Avoid placing yeast directly on top of salt later in the process, as high concentrations of salt can inhibit yeast activity. - 4Season the dough
Add 60g of salt to the rotating mixer along with the final portion of water. Continue mixing until the dough reaches approximately 90% gluten development, appearing smooth, elastic, and pulling away cleanly from the sides of the bowl.
Tip: Adding salt towards the end of the mixing process helps with gluten strength and prevents the dough from becoming too tough too early. - 5Bulk fermentation
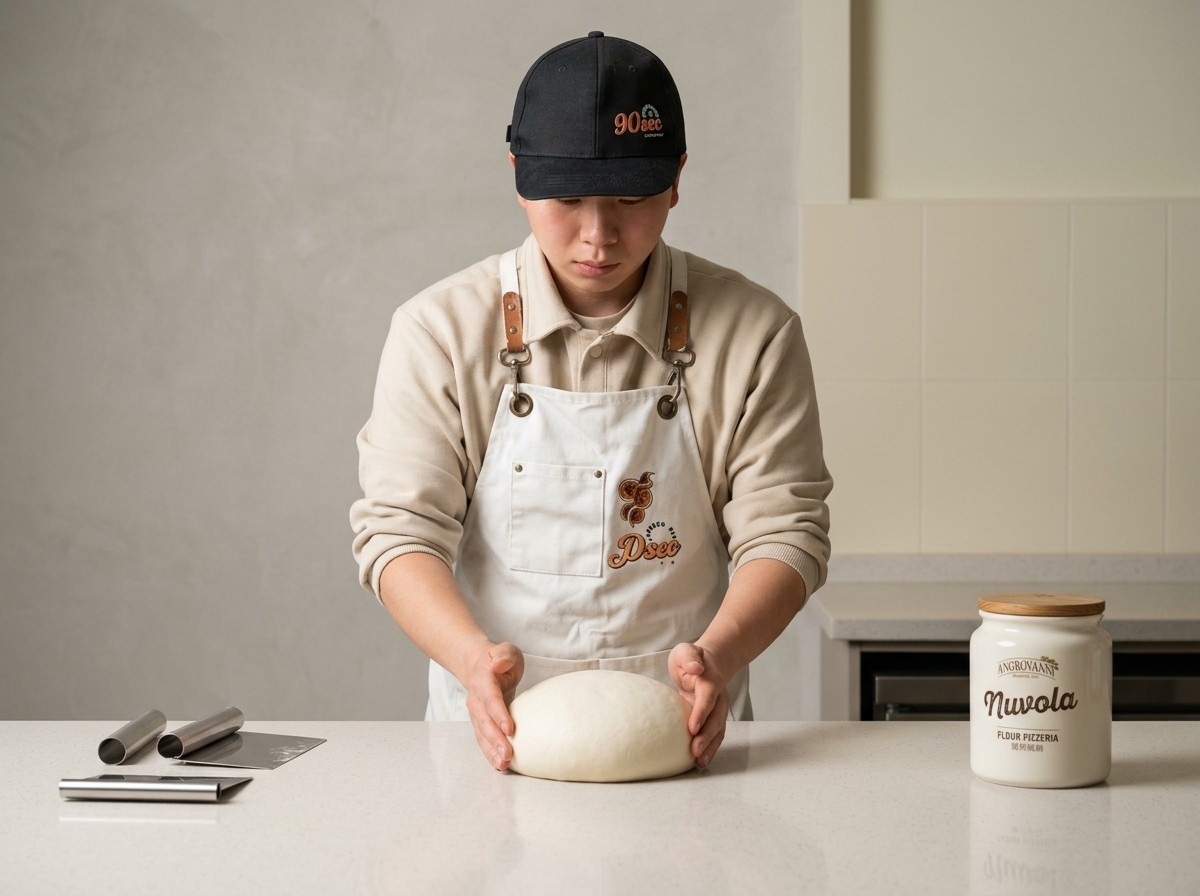
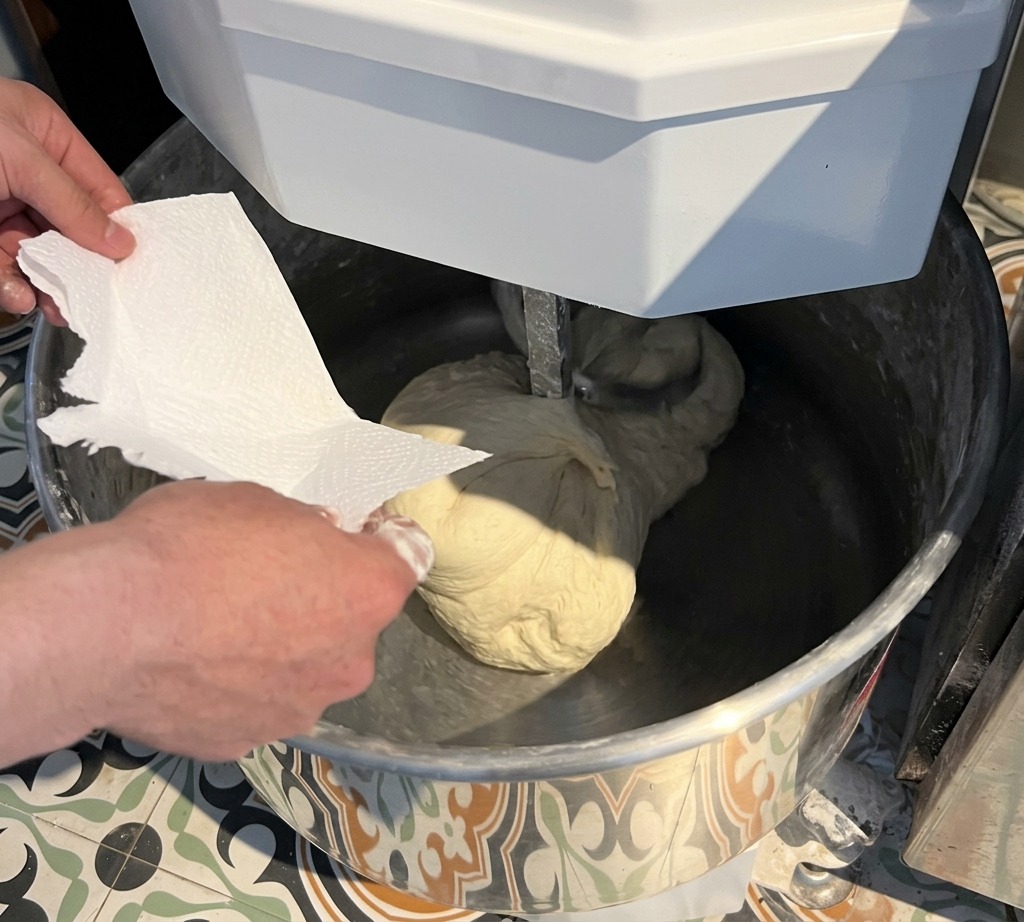
Remove the finished dough from the mixer and place it on a clean work surface. Shape it into a smooth, tight bulk ball and let it rest for the first fermentation period of about 40 minutes. This rest allows the gluten to relax and the yeast to begin producing gases.
Tip: Cover the dough with a damp cloth or plastic wrap during this rest to prevent a dry skin from forming on the surface. - 6Portion the dough
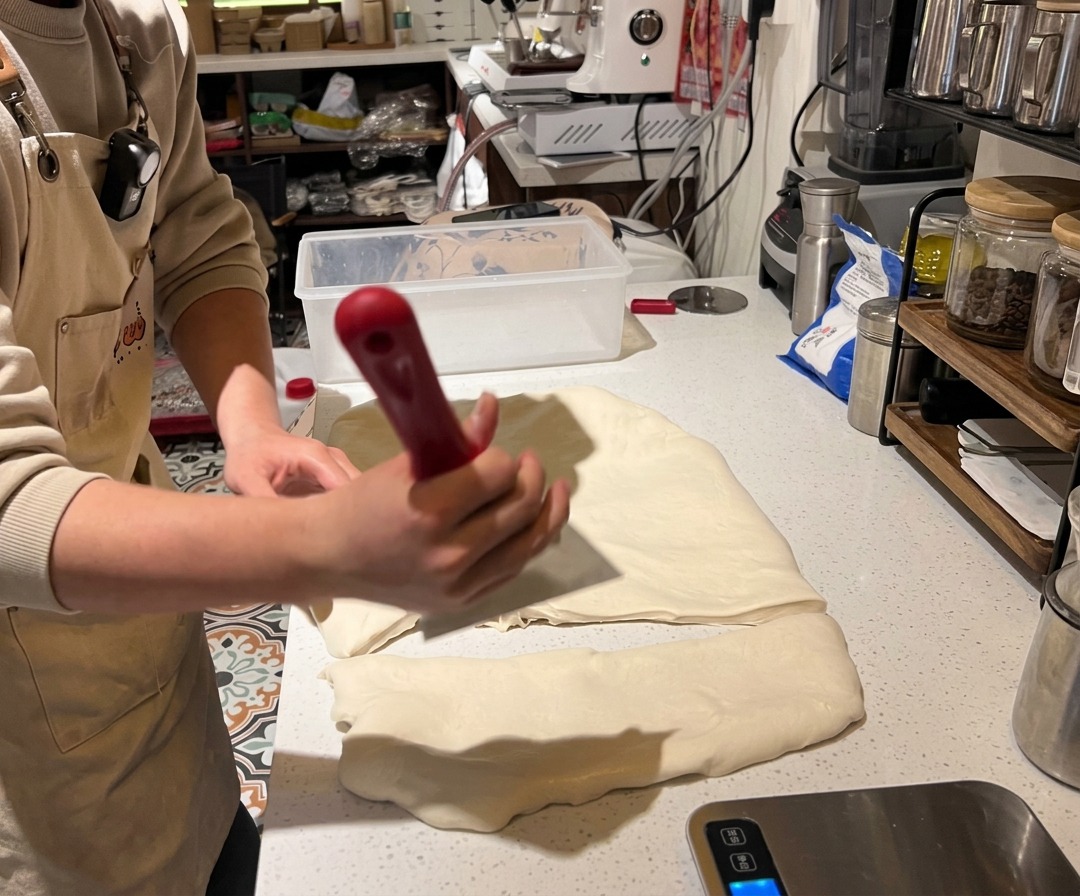
Spread the rested dough out and use a bench scraper to divide it into individual portions. Weigh each piece on a digital scale to ensure they are exactly 185g. Consistent weights are crucial for even baking and uniform pizza sizes later.
Tip: Work quickly but gently during portioning to avoid degassing the dough too much. - 7Proof the dough portions
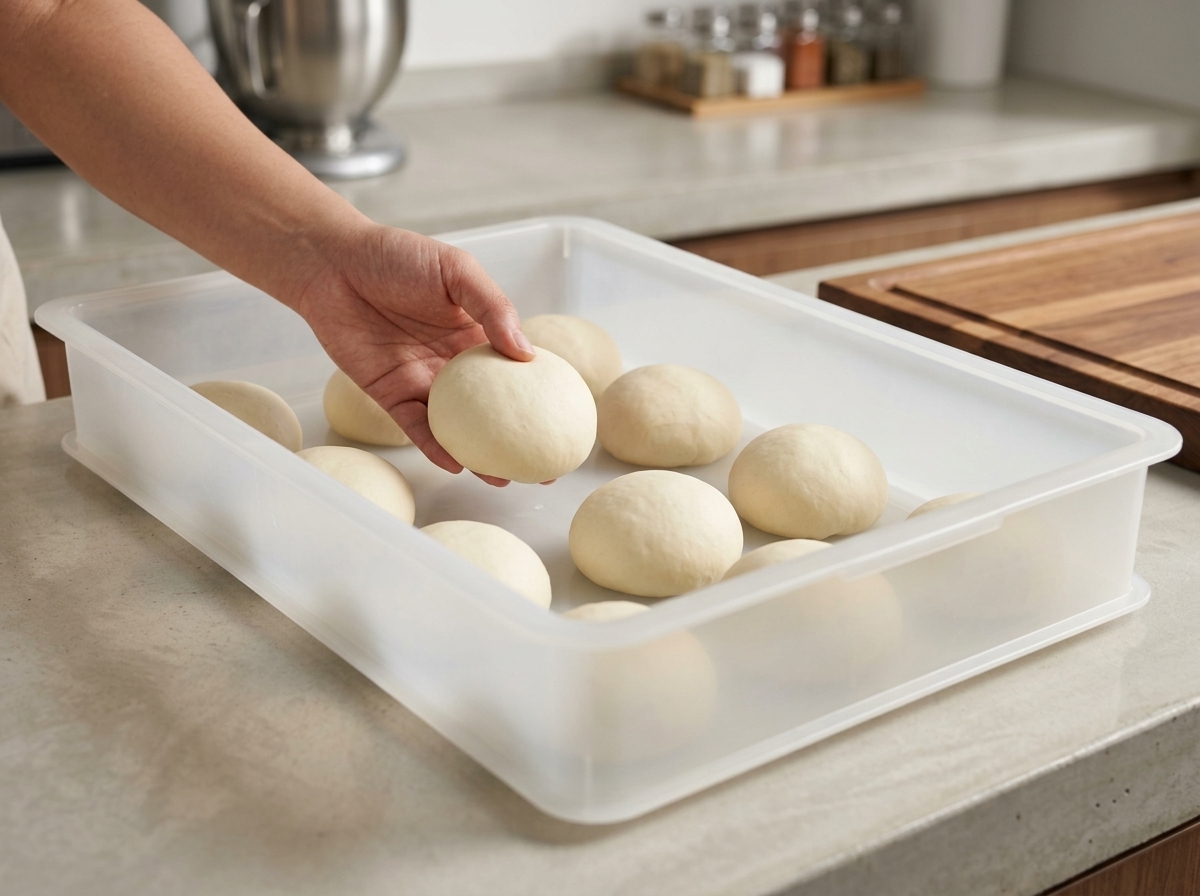
After dividing and kneading the dough into individual 185g portions, carefully place the rounded dough balls into a white plastic proofing container. Set them aside to undergo a second fermentation process for 48 hours, which helps develop the flavor and creates a light, airy texture.
Tip: Ensure you leave enough space between each dough ball in the container, as they will expand significantly during the 48-hour fermentation. - 8Shape the pizza base
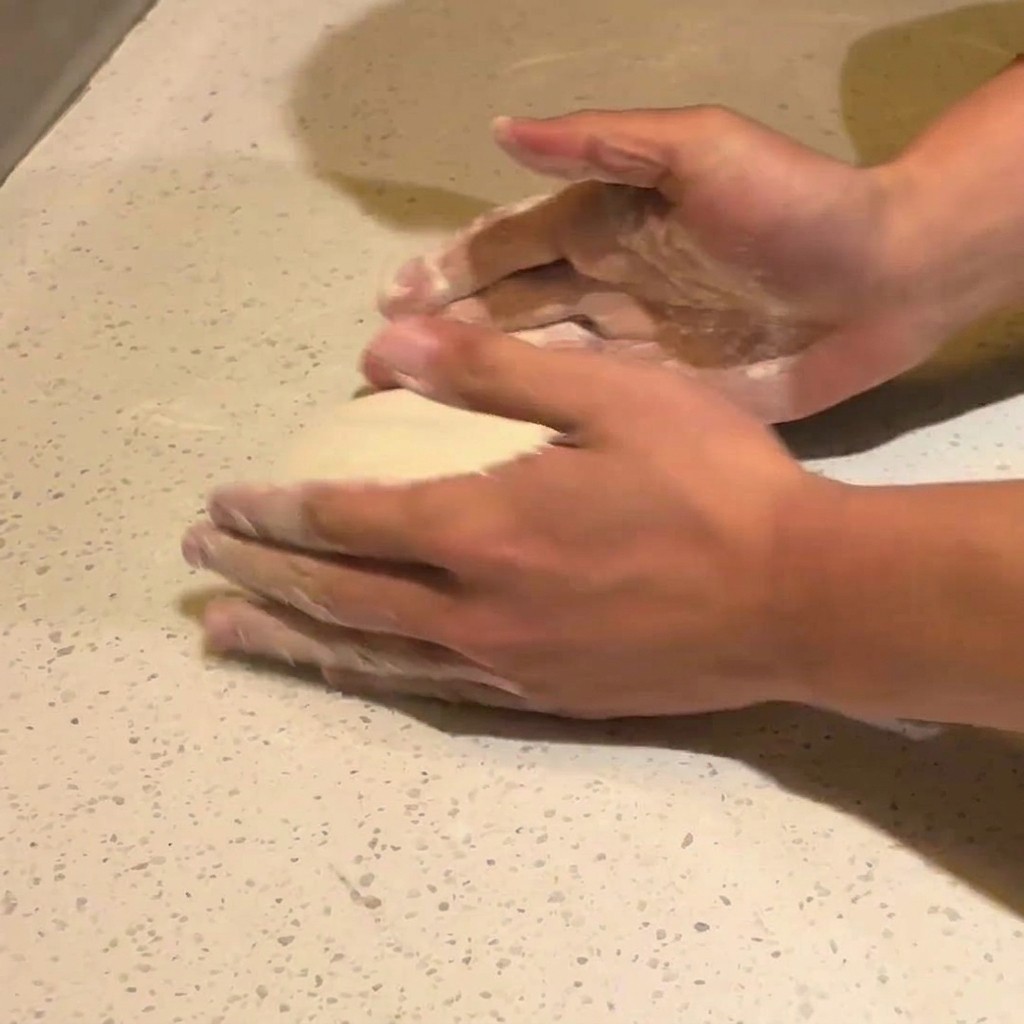
Take one of the fully fermented dough balls and transfer it to a lightly floured work surface. Using your fingers, gently press down on the center of the dough to begin flattening it, leaving the outer edges untouched to form the crust.
Tip: Always press the dough from the center outwards. This pushes the trapped air to the edges, creating a beautifully puffed crust when baked. - 9Spread the sauce
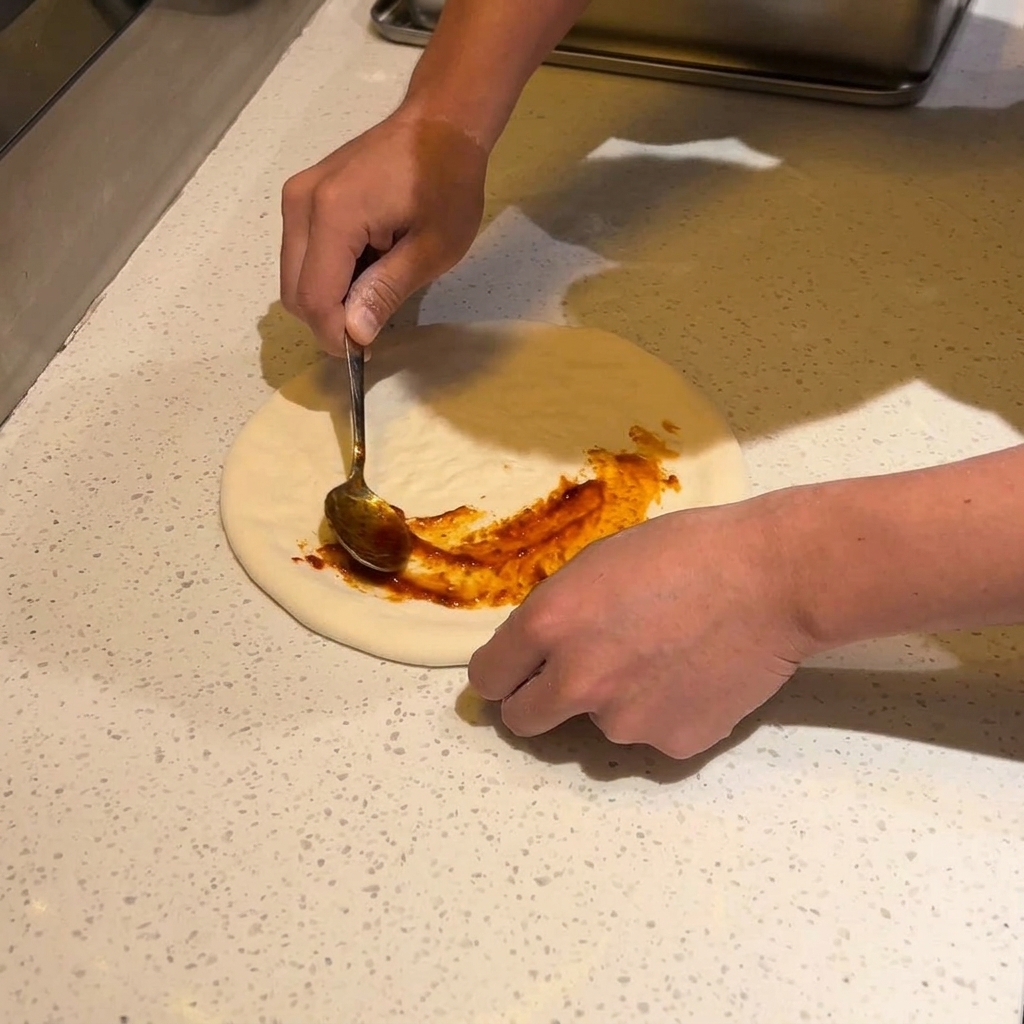
Using a spoon, gently spread a thin layer of tomato sauce onto the center of the stretched pizza dough. Work in a circular motion outwards, leaving a border around the edge for the crust to form during baking.
Tip: Avoid overloading the center with sauce, which can make the middle of the pizza soggy. - 10Add the toppings
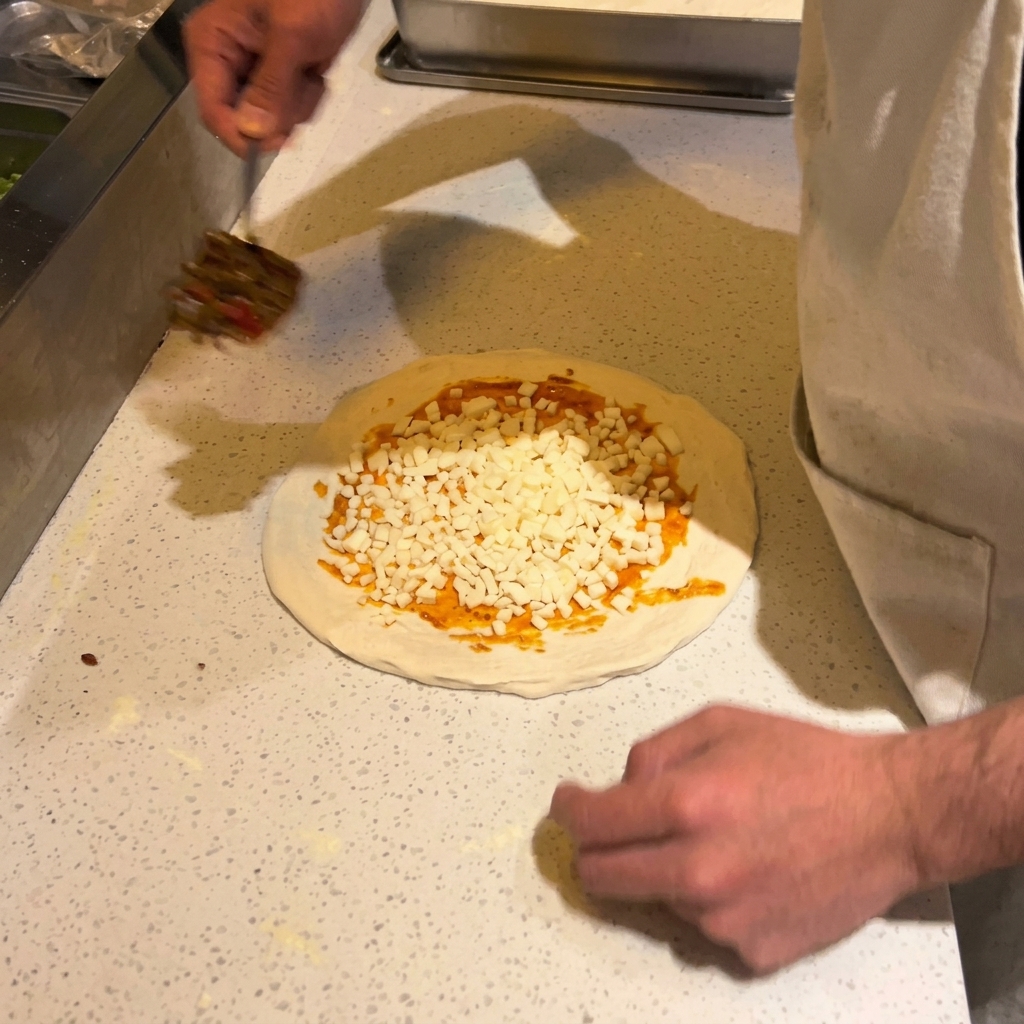
Once the dough is fully stretched and a thin layer of sauce has been spread across the center, distribute the cheese evenly over the base. Add the meat and peppers, then finish with a drizzle of olive oil before transferring the pizza to the oven.
Tip: Do not overload the center of the pizza with too many toppings, as this can weigh down the dough and prevent it from baking properly.