Authentic 100% Biga Italian Pizza
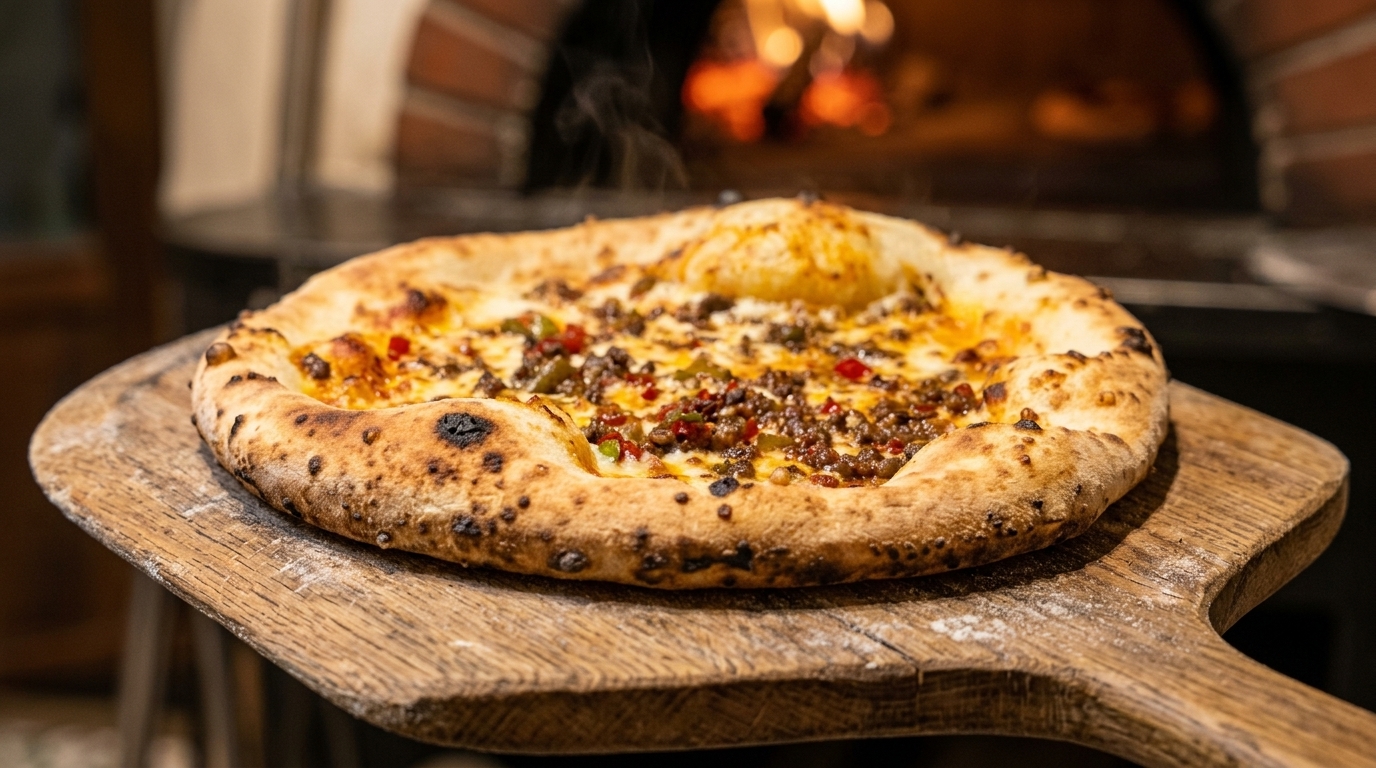
Meat Sauce
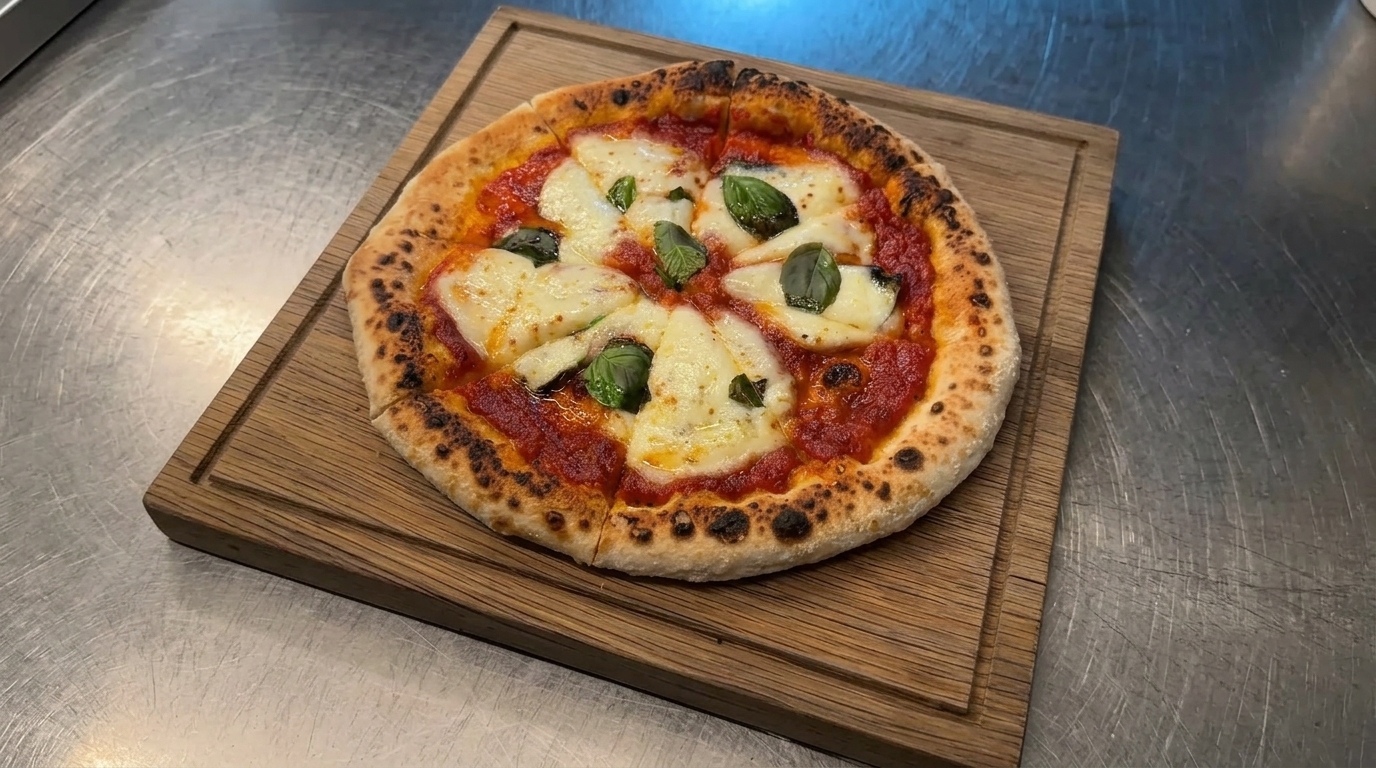
Master the art of Neapolitan style pizza at home using a long fermented 100 percent biga starter for a light airy bicycle wheel crust and rich meat sauce topping.
The secret to a world-class crust lies in the biga, a traditional Italian pre-ferment that provides unmatched depth of flavor and a honeycomb structure. By using a 100% biga method, this recipe achieves professional-grade charring and elasticity even in a standard household oven. Paired with a savory meat sauce and a triple-cheese blend, it represents the pinnacle of home-baked Italian comfort.
Ingredients
- 500 g bread flour or Tipo 00 flour
- 250 ml water (for biga)
- 3 g dry yeast
- 150 ml water (for final dough)
- 10 g sea salt
- 1 tbsp extra virgin olive oil
- 200 g tomato meat sauce
- 150 g shredded mozzarella cheese
- 50 g cheddar cheese
- 50 g fresh mozzarella
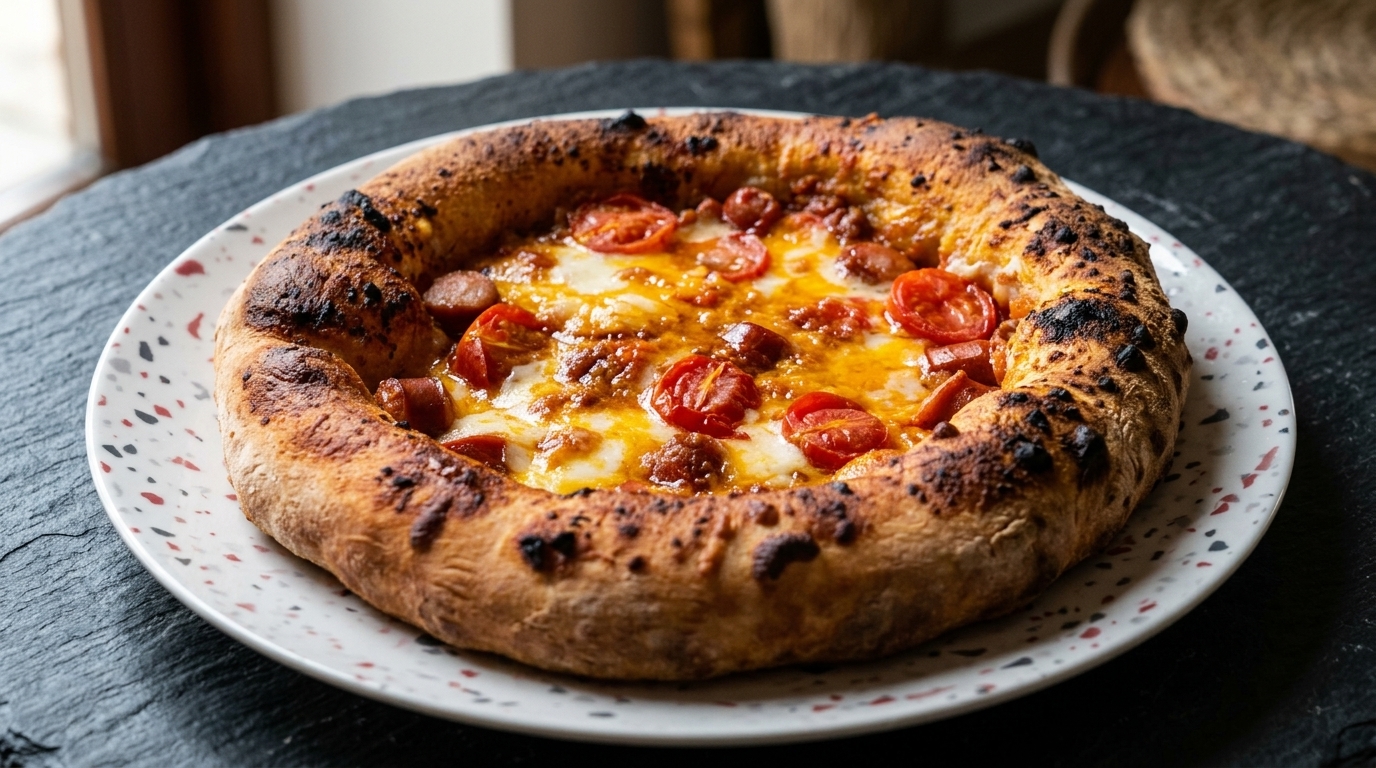
- 4 sausages, sliced
- 6 cherry tomatoes, halved
- optional fresh basil leaves
- to taste extra olive oil for drizzling
Instructions
- 1Prepare the biga starter
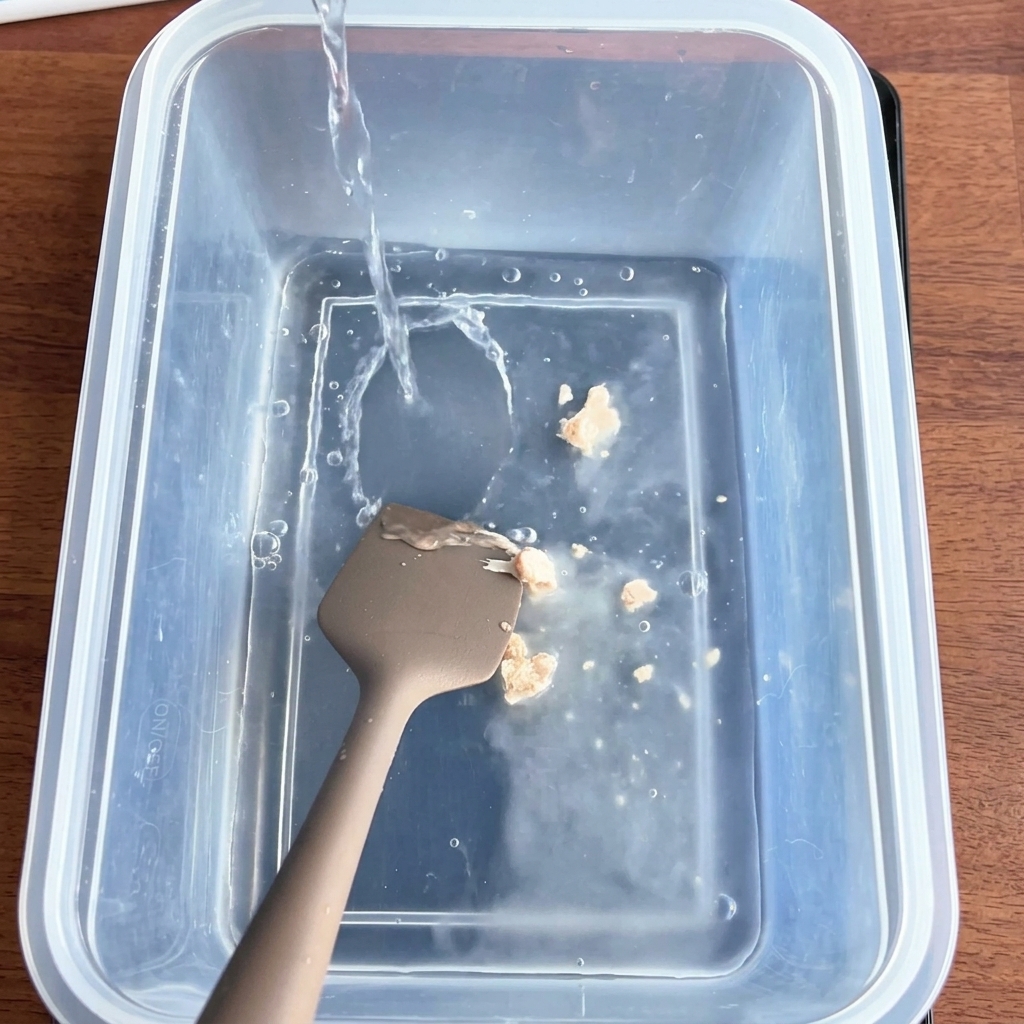
Dissolve the yeast in water and pour it into the flour. Use a spatula to stir the mixture until it reaches a shaggy, shredded state with no dry flour remaining. This biga will serve as the fermented foundation for your pizza dough.
Tip: Dont overwork the mixture at this stage; you just want to ensure all the flour is hydrated before the long fermentation process begins. - 2Transfer biga to mixer
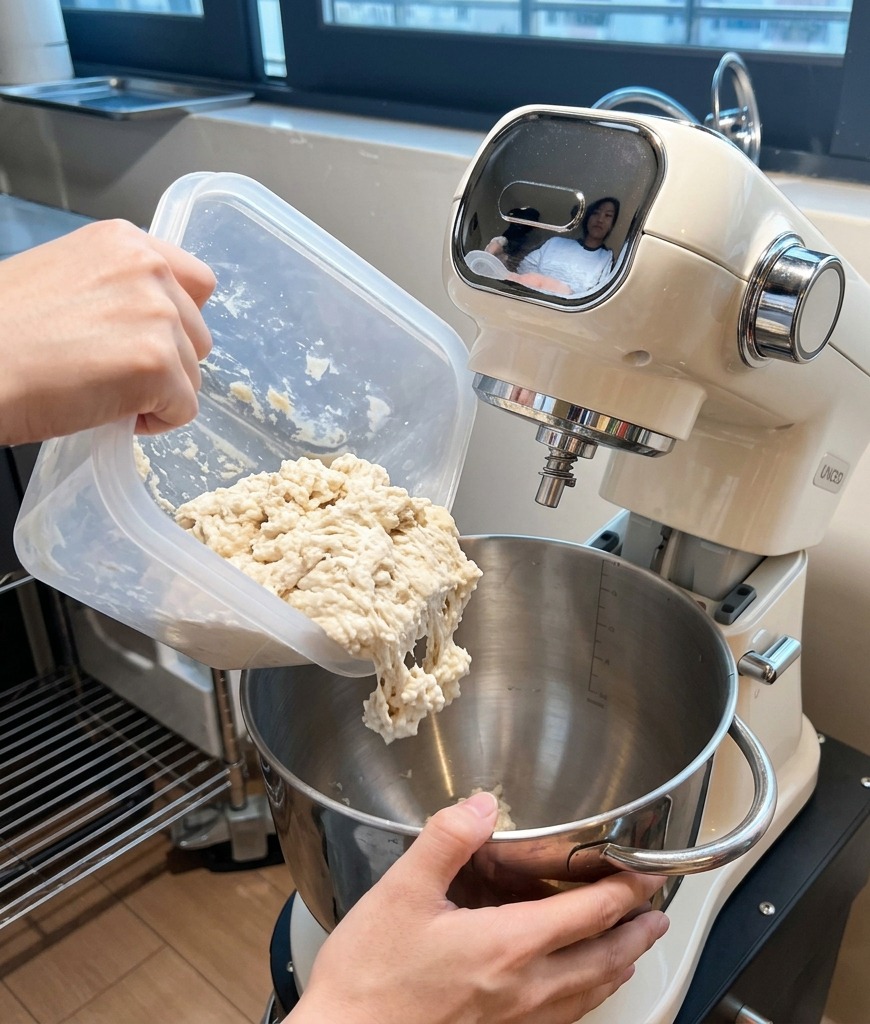
After the biga has fermented at room temperature and then chilled in the refrigerator for at least 24 hours, tear the cold, porous dough into small chunks. Place these pieces into the bowl of a stand mixer to begin the final dough preparation.
Tip: Tearing the biga into smaller pieces helps it incorporate more evenly and quickly with the additional water in the mixer. - 3Check gluten development
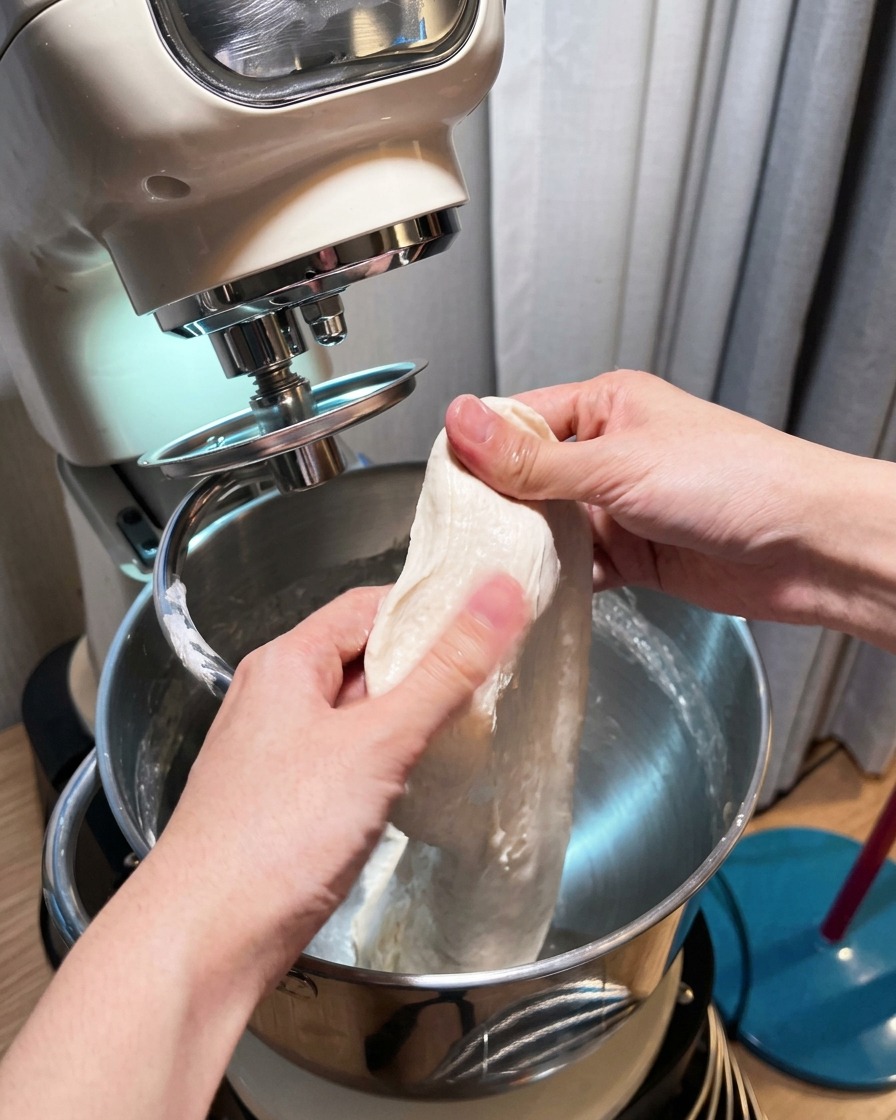
Once the dough is mixed and becomes smooth, perform a windowpane test. Take a small piece of dough and gently stretch it with your fingers; it should be extremely elastic and capable of being stretched very thin without breaking.
Tip: If the dough tears quickly, continue mixing for a few more minutes to strengthen the gluten network. - 4Add olive oil for browning

After the water is fully absorbed and the dough is smooth, add a small amount of olive oil. The oil helps the dough achieve a beautiful, golden-brown char when it hits the high heat of the oven.
Tip: Add the oil slowly while the mixer is running to ensure it is fully emulsified into the dough rather than just coating the surface. - 5First proofing
With wet hands, round the large batch of dough into a smooth, tight ball. Place it on a tray or in a container and let it proof at approximately 28°C for about half an hour to allow the gluten to relax.
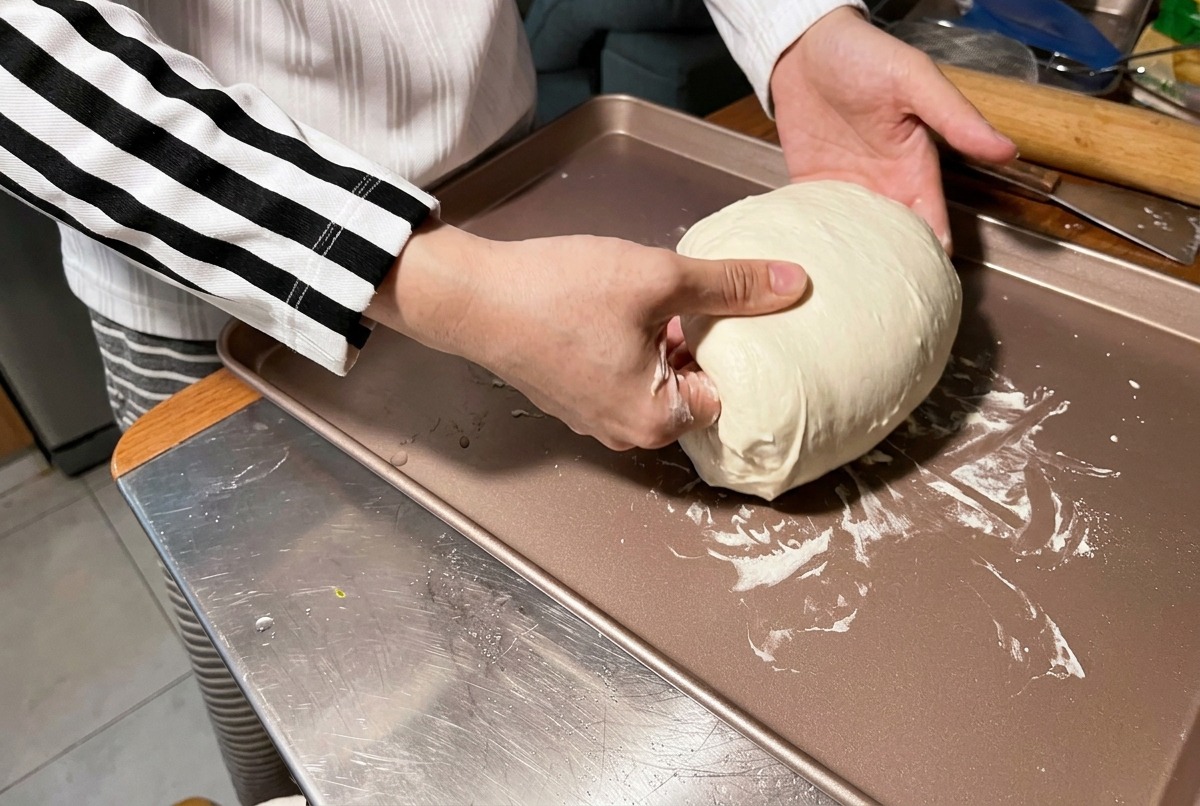
Tip: Using wet hands prevents the high-hydration dough from sticking to your skin, making it much easier to handle. - 6Portion and tension the dough
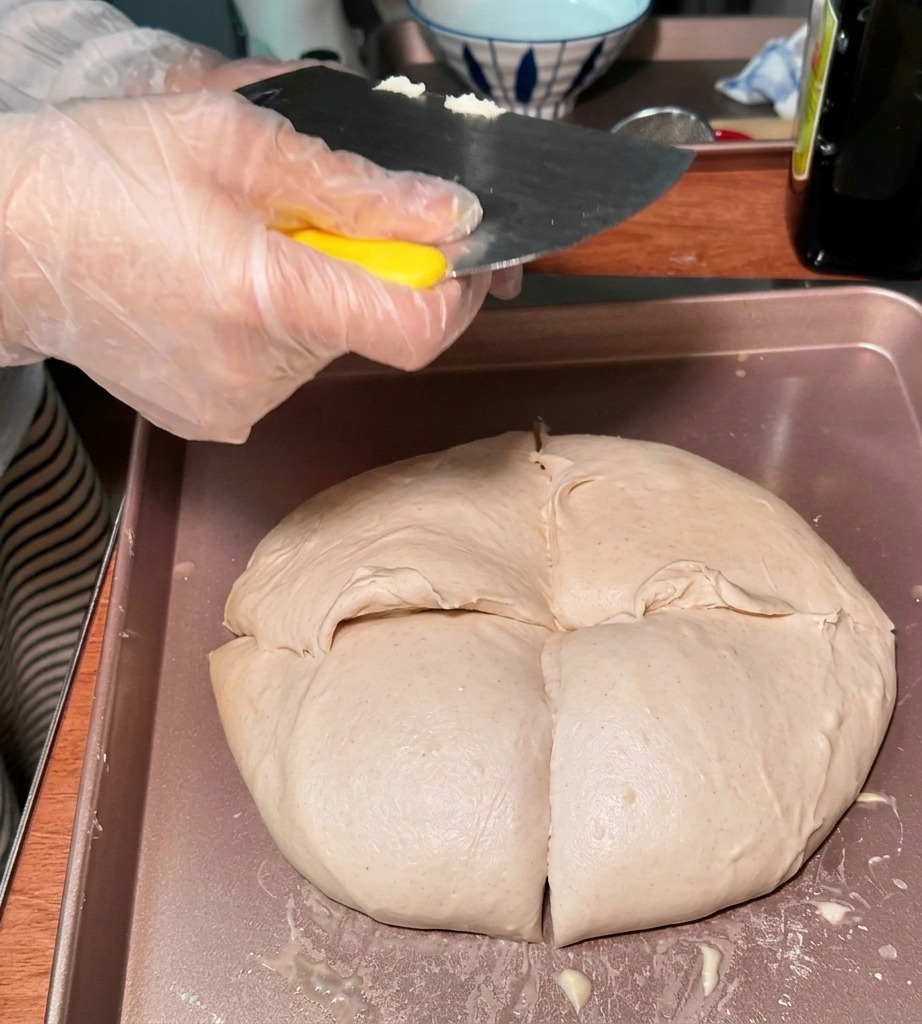
Divide the main dough into four equal portions. Using a bench scraper for precision, tuck the edges of each portion under itself to create surface tension, resulting in four smooth, tight balls ready for their final rise.
Tip: If you arent baking immediately, these individual balls can be refrigerated for 24 hours to develop a deeper, more complex fermented flavor. - 7Shape the pizza crust
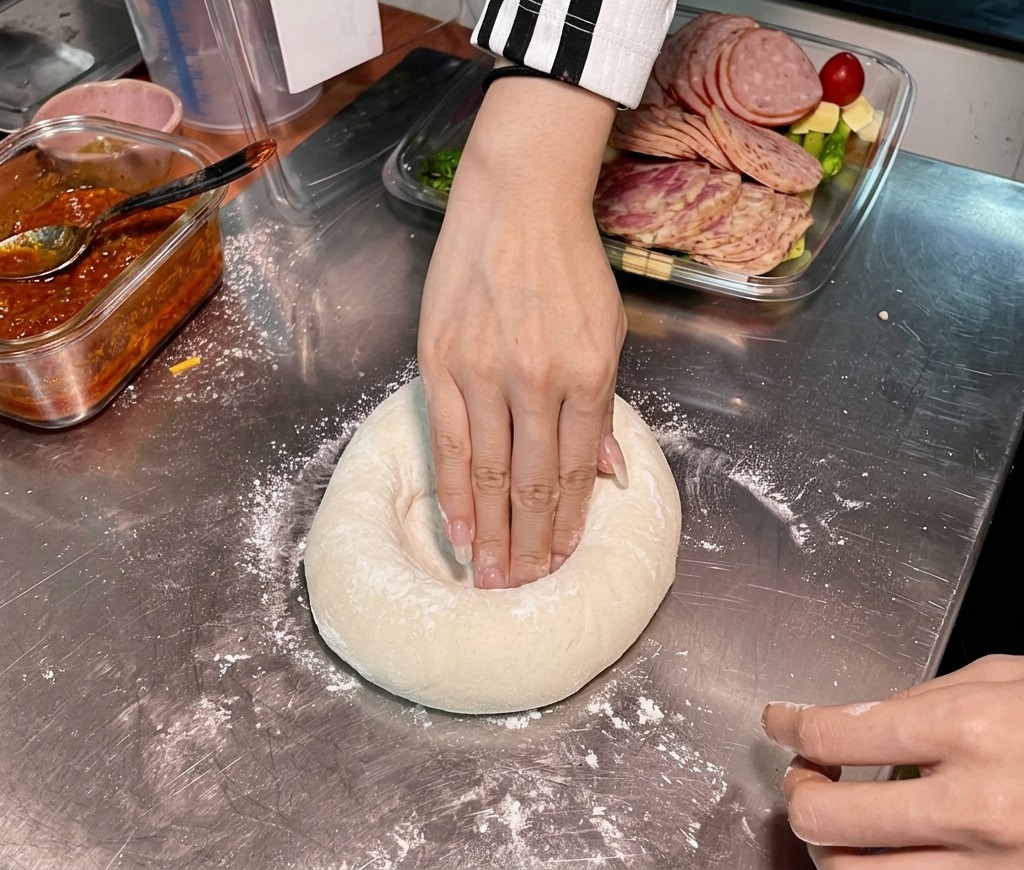
Place the fermented dough ball onto a well-floured surface. Use your fingertips to press firmly into the center of the dough, pushing the air outward toward the edges to create a defined, puffy rim. This technique, known as forming the cornicione, ensures a light and airy crust while keeping the base thin.
Tip: Avoid pressing or touching the outer rim itself; you want to preserve the air bubbles inside for a better rise in the oven. - 8Stretch the dough
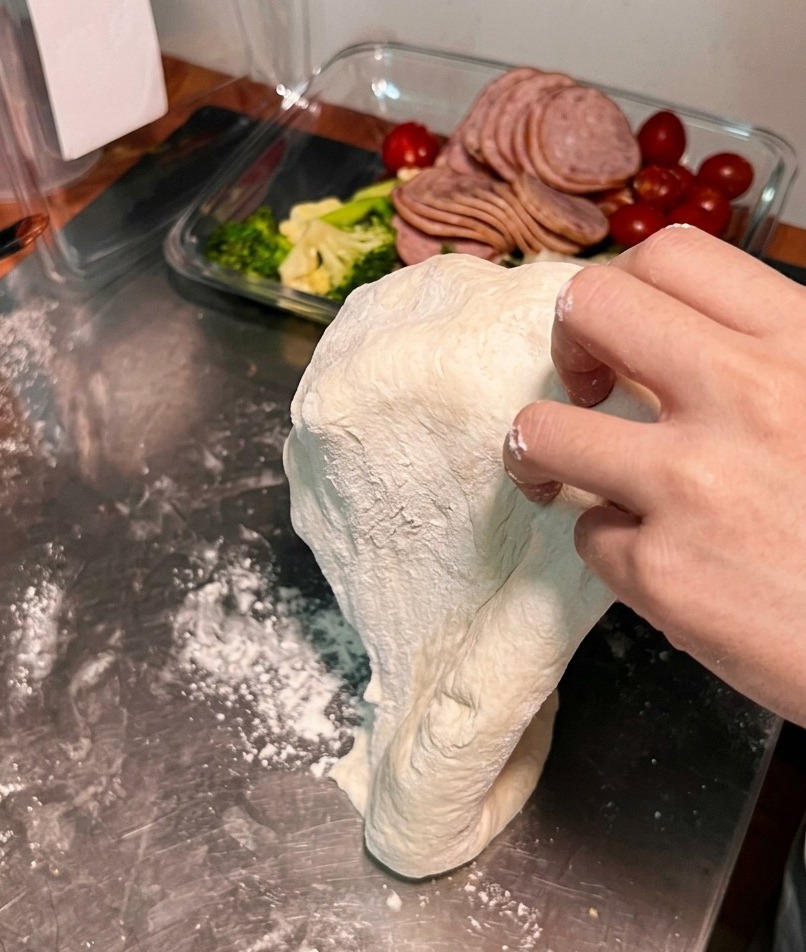
Gently lift the shaped dough and place it over the backs of your hands. Carefully rotate and stretch the dough outward, using the weight of the dough to help expand the base until it reaches a diameter of 8 to 10 inches. The center should be thin enough to be translucent without tearing.
Tip: If the dough is too elastic and keeps shrinking back, let it rest for 5 minutes to allow the gluten to relax before stretching again. - 9Spread the meat sauce
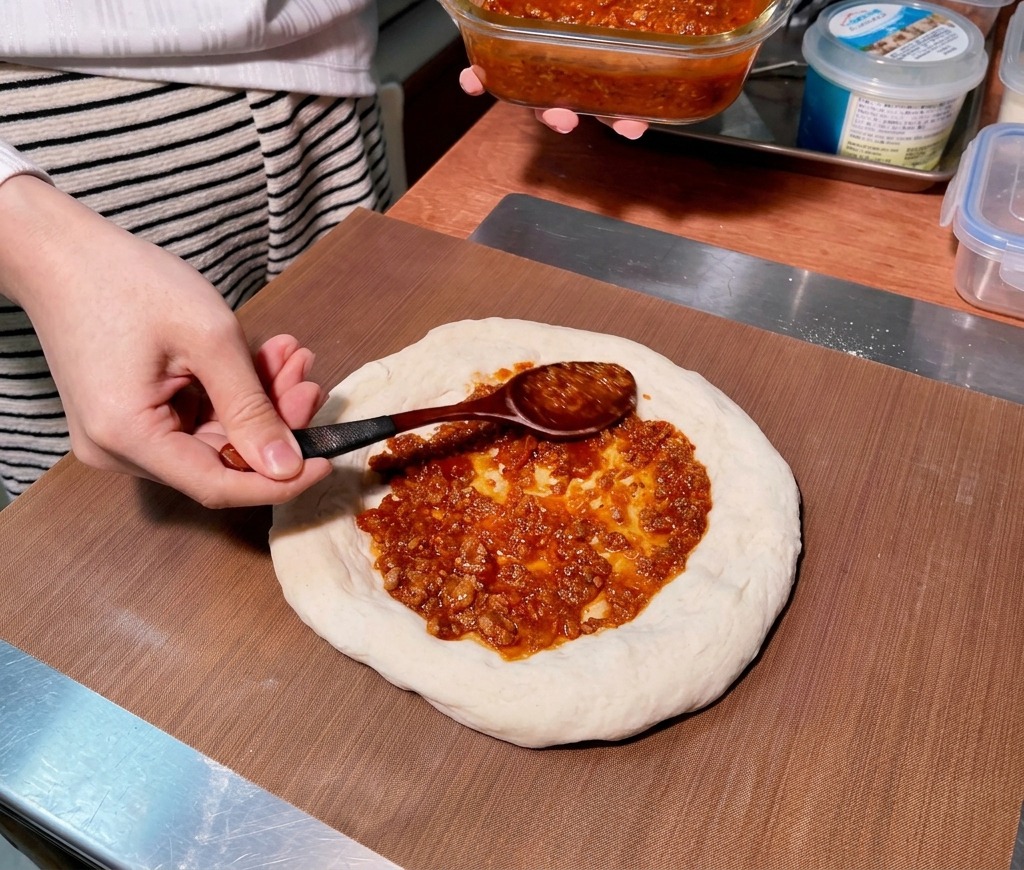
Ladle a generous portion of the prepared meat sauce onto the center of the stretched pizza base. Use the back of a spoon to spread the sauce in a steady spiral motion toward the edges, ensuring an even layer while leaving the outer rim clean.
Tip: Apply the sauce thinly; too much sauce can make the crust soggy and prevent it from crisping up properly in the oven. - 10Add the ham toppings
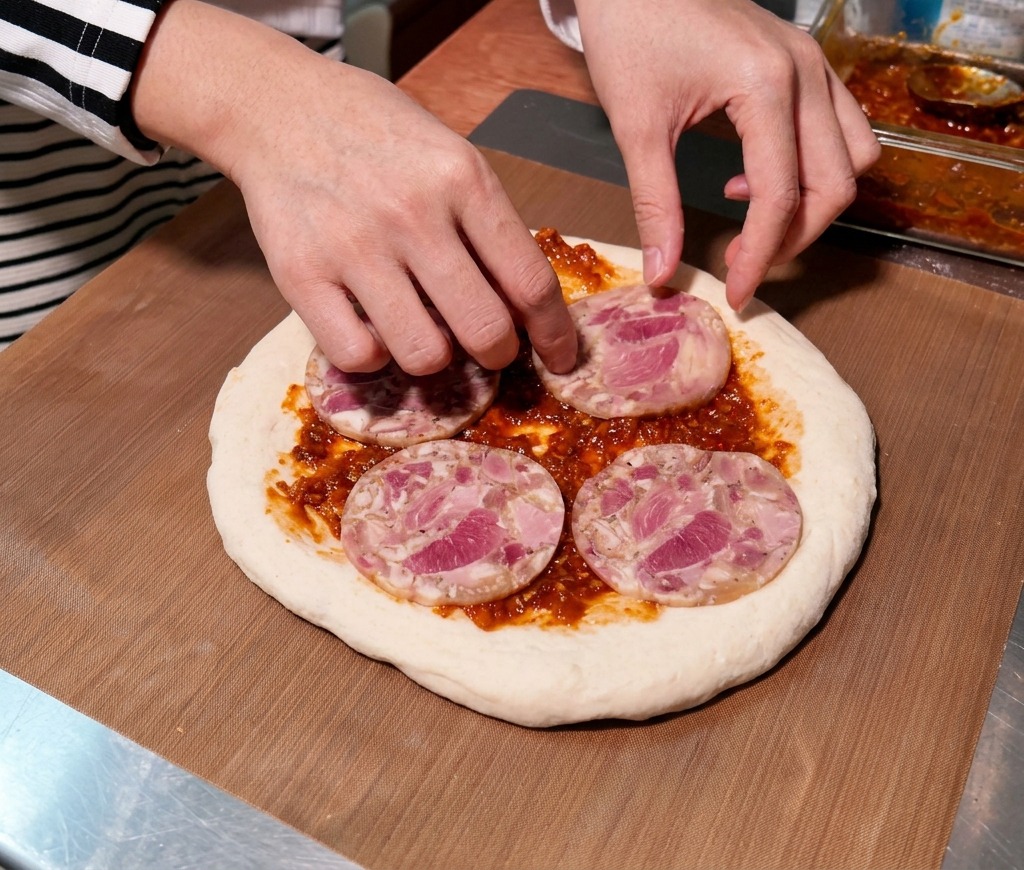
Layer circular slices of smoked ham or your favorite cured meat over the sauced base. Distribute them evenly so that every slice of the finished pizza contains a balanced amount of meat and sauce.
Tip: You can tear the ham into smaller pieces if you prefer a more rustic look and easier eating. - 11Apply the cheese blend
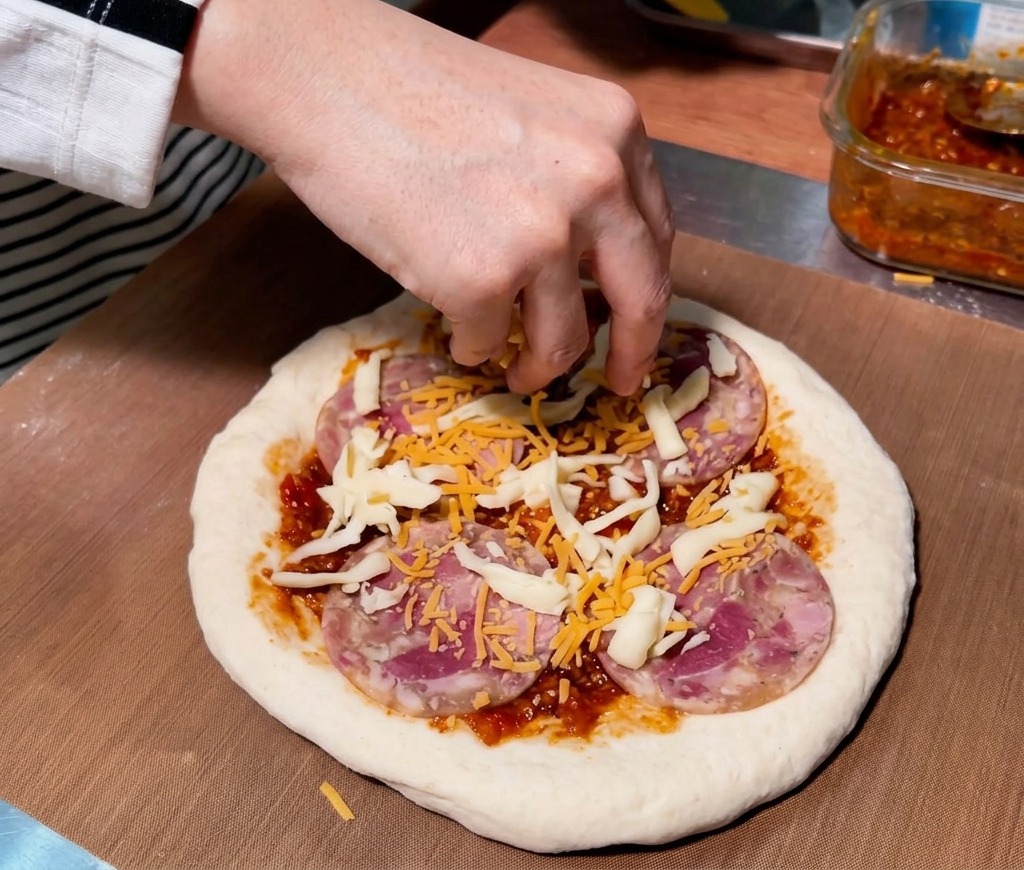
Sprinkle a generous blend of shredded mozzarella and cheddar cheese over the meat toppings. This combination provides both the classic stretchy texture of mozzarella and the sharp, savory flavor of cheddar for a perfect melt.
Tip: For the best results, use a mix of mozzarella for stretch, cheddar for flavor, and a bit of fresh mozzarella for creaminess. - 12Bake on high heat
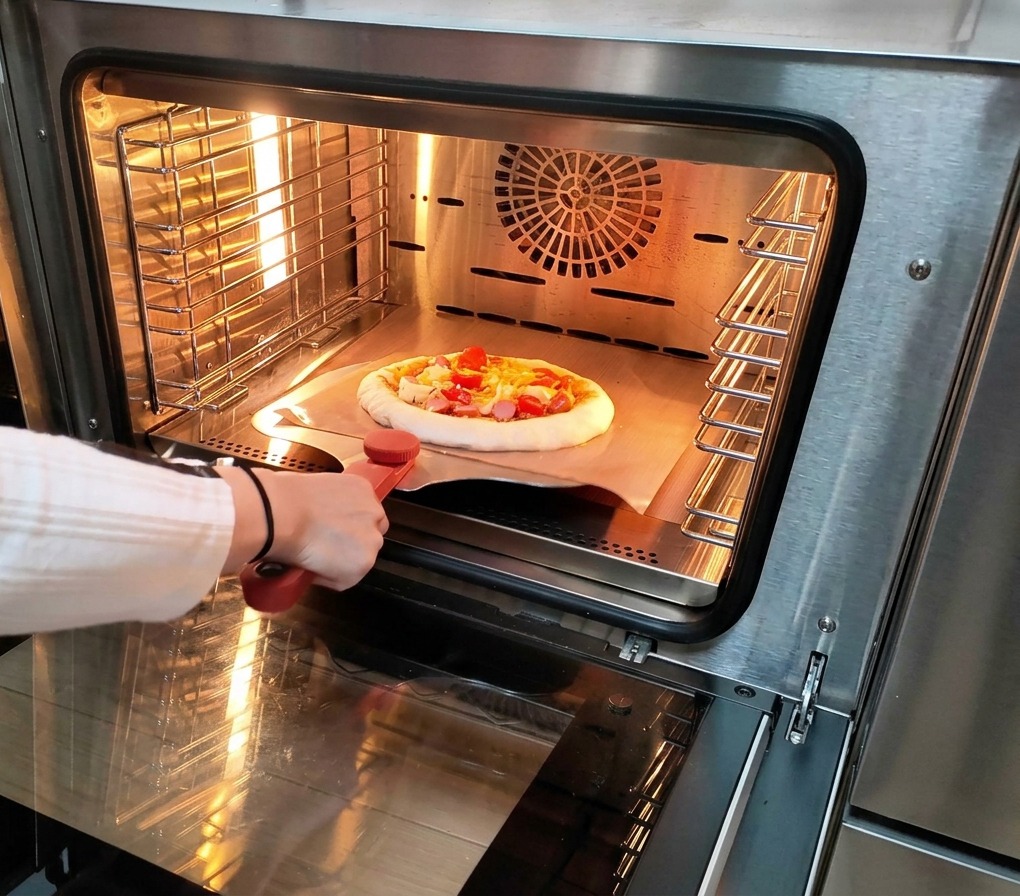
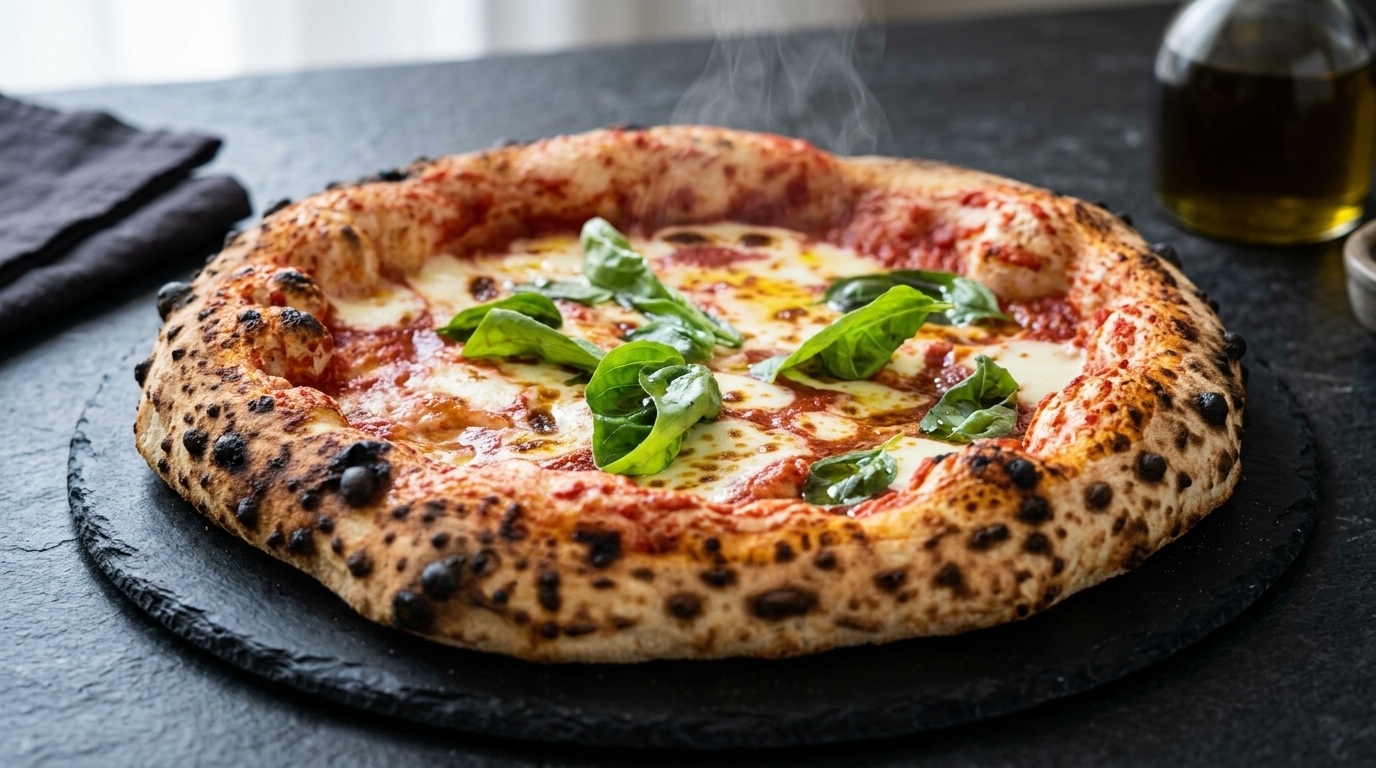
Slide the pizza onto the preheated stone. The oven must be at its absolute maximum temperature—the thermal shock is what creates the airy crust and beautiful leopard spotting on the bottom.
Tip: If the dough sticks to the peel, gently lift an edge and blow a little air underneath or add a pinch of flour before sliding. - 13Watch for the puff and char
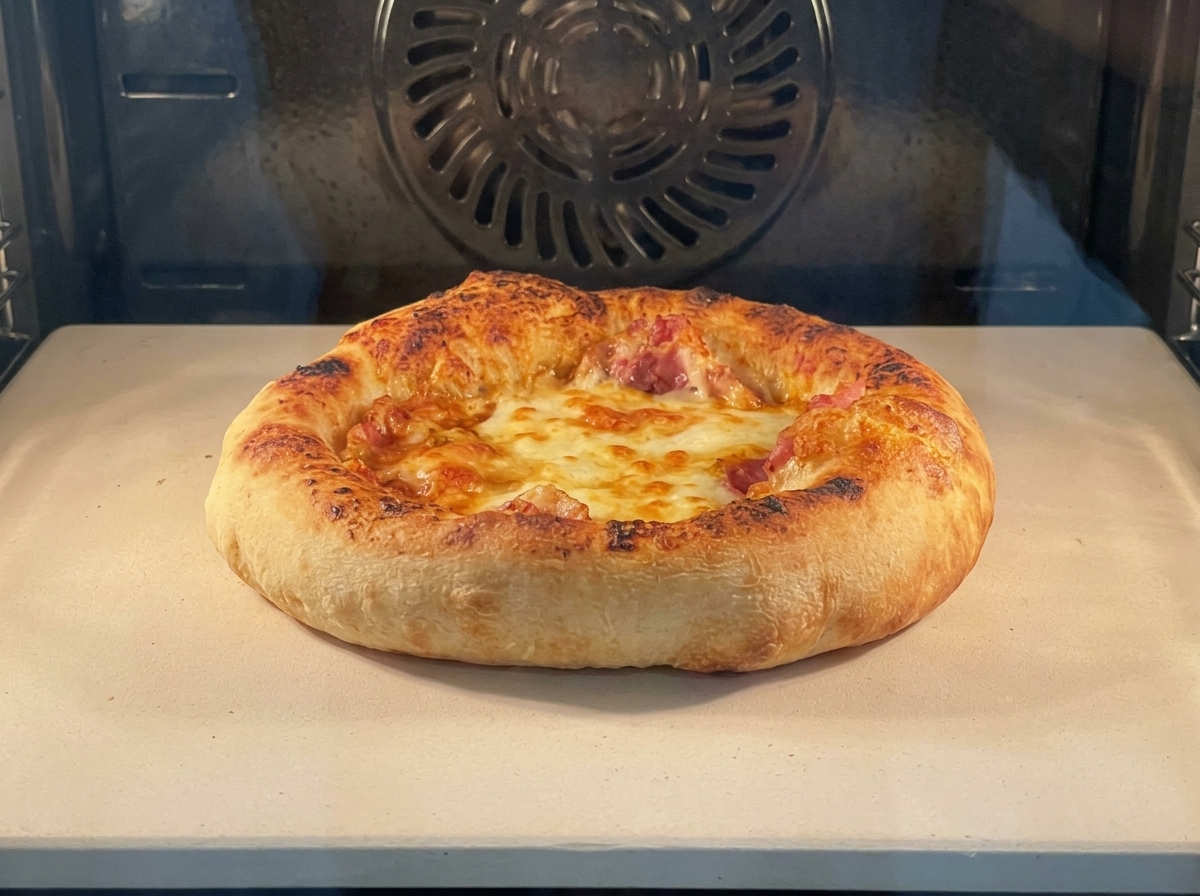
Bake the pizza for 10 to 15 minutes. Watch as the edges rapidly puff up into a bicycle wheel crust and the cheese bubbles. The pizza is ready when the crust develops beautiful charred spots and the cheese is melted and golden. Listen for a crispy sound when you finally remove it from the heat.
Tip: Do not open the oven door too often during baking as this drops the temperature and prevents the crust from puffing properly.